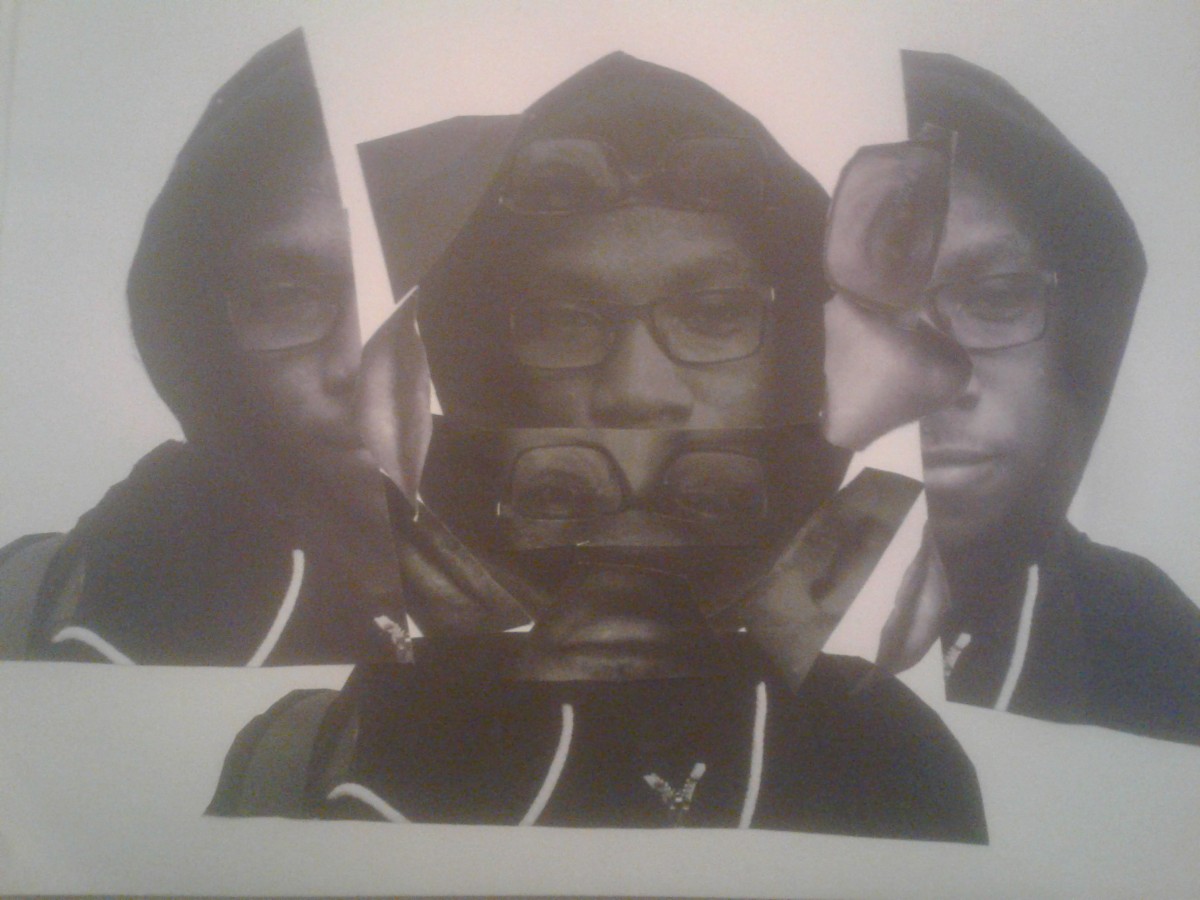
So far, it wasn’t not my best thing when it comes to painting and it can be a mess and take alot of time to get it done. At first, I wasn’t very interested of doing Cubist-style with our portraits, but I guess testing it out wouldn’t hurt so bad. After the process of design the cubic style with our portraits, I didn’t really like or enjoy the result becasue to be honest, I was pretty disturbed of what I’ve created. Then, I had to take another bristol paper for the painting but before I did, I first sketch one of the collage that we design and after the process, the painting comes next. It was very difficult for me to paint and blending the values because sometimes mixing balck and white can give you different values of gray and it was complicated to get the right value, as well as for the small area of the figure. But I managed to pull it off at the end. Then, working on the digital collage was very similar and convenient because in photoshop, you can just take piece from your portrait and place them together and it’s a great thing that the value color is already on our portrait to use. In my personal opinion, it was disturbing to watch my design (I was more frighten at the digital collage) but I did learn something as always and I have to admit, as much as I dislike my work, I pretty much enjoyed it in the end and it’s not a satisfying thing for me but at least I had something fun to do.
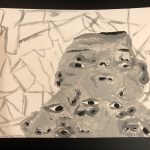
Phase 1
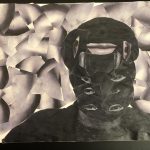
Phase 2
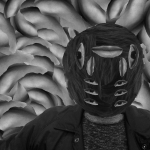
Phase 3