September 21, 2016
Due this Class:
- Your final post (Phase 4: Deliver) for Project #1
- NOTE: You will receive a grade and comments from the Professor on this post. If you do not create this post, you will not receive a grade for the project.
Materials Need for This Class:
- Sketchbook
- Pencils (wide range from 4h to 4B)
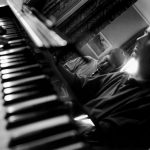
- A song or piece of music that you like & headphones
Discussion
The Elements: basic components used as part of any composition, independent of the medium.
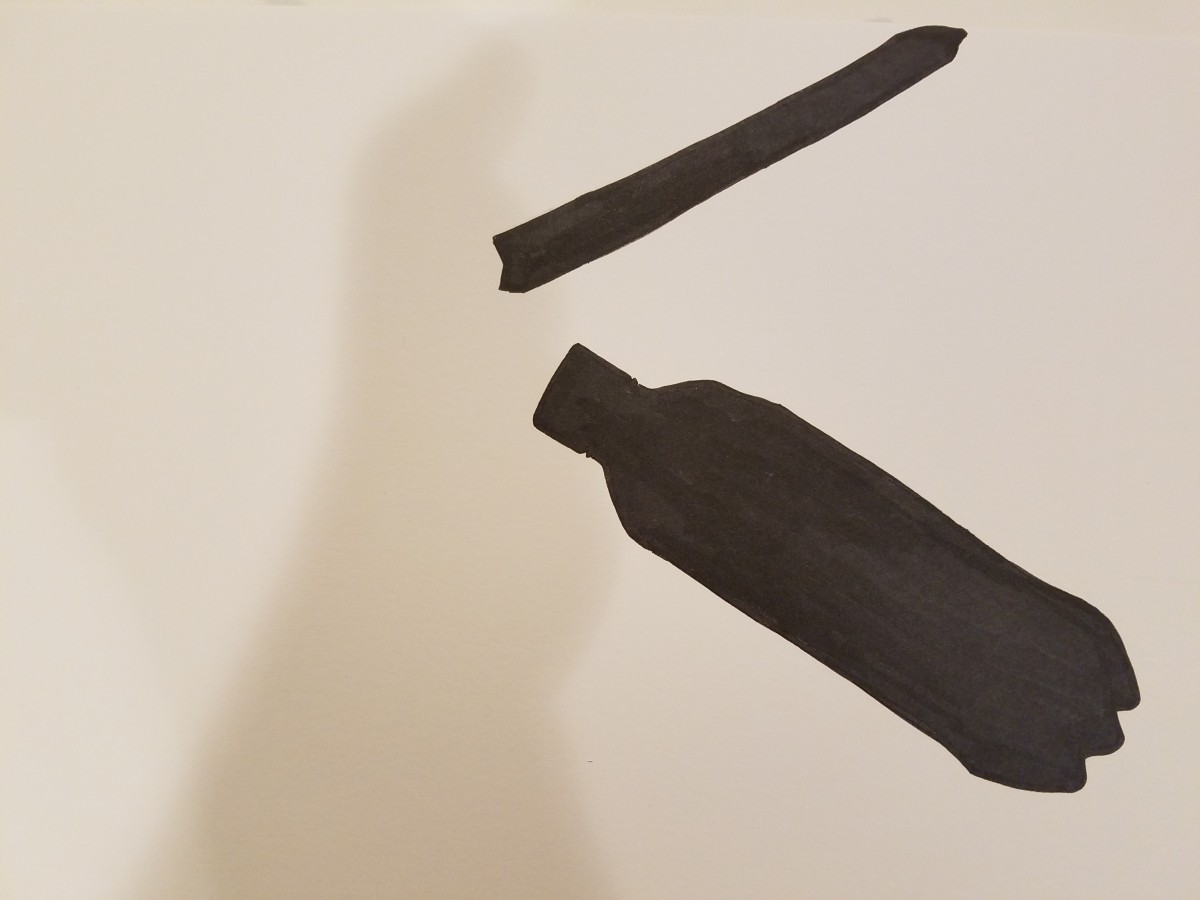
- Line: An series of points, which has length and direction. It can be the connection between two points, the space between shapes, or the path of a moving point. A closed line creates a shape.
The Principles: basic assumptions that guide the design practice.
- Rhythm: Is a repeated pattern, such as what we hear in music. In different art forms, it can be a very complex interrelationship or a regular, steady beat.
- Repetition: Repeating a sequence; occurring more than a few times. In design, repetition can create visual consistency and a sense of unity.
- Pattern: Unbroken repetition, the repeating of an line, object or symbol.
- Variety: Visual rhythm is often punctuated with variations or changes in color, texture, or form. Creating variety is easy. Too much variety can lead to chaos and confusion for the viewer. A designer must effectively use pace and spacing to create rhythm and achieve unity in a composition.
- Monotony: Without variety or change, excessive repetition can lead to boredom and uninteresting compositions.
References:


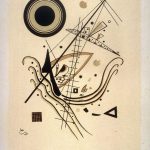
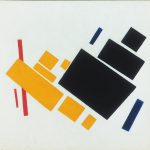

Lab 1: Play
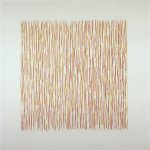
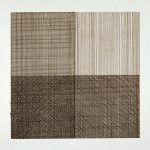
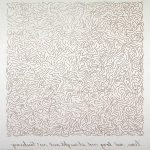
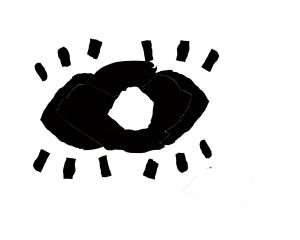
Line Networks : Monotony and Variety
Create two types of pencil drawings in your sketchbook.
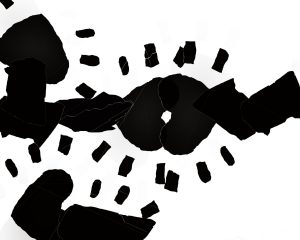
The first drawing will demonstrate a lack of variety or monotony by visualizing a piece of music with very little variety and contrast. The second drawing will visualize a song or series of songs that have variety and obvious changes in meter, pitch, and volume. Both drawings will use a network of repeated horizontal, vertical, and diagonal lines to demonstrate visual pattern, repetition and rhythm. If the music ends before your drawing is finished — REPEAT.
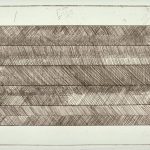
Monotony Line Network (LISTEN MP3):
- To begin this drawing, simply create a freehand line from top edge of the page to bottom or in whatever direction you “hear”.
- Continue creating the “vibrations” of this line until the entire page is filled with lines eminating off of this original line. Once you get to the edge of the paper, turn the paper 90 degrees and create a grid– drawing intersecting lines across the same page.
- Working slowly, with intention, try to keep your lines consistent, close together, and evenly spaced (this is hard– nearly impossible, actually). Create several versions of this drawing in your sketchbook, using one type of pencil for the whole drawing- perhaps a soft pencil (2B or 4B).
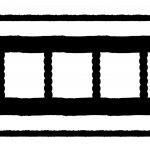
- Your final drawing should look like a grid, woven fabric, or network of lines.
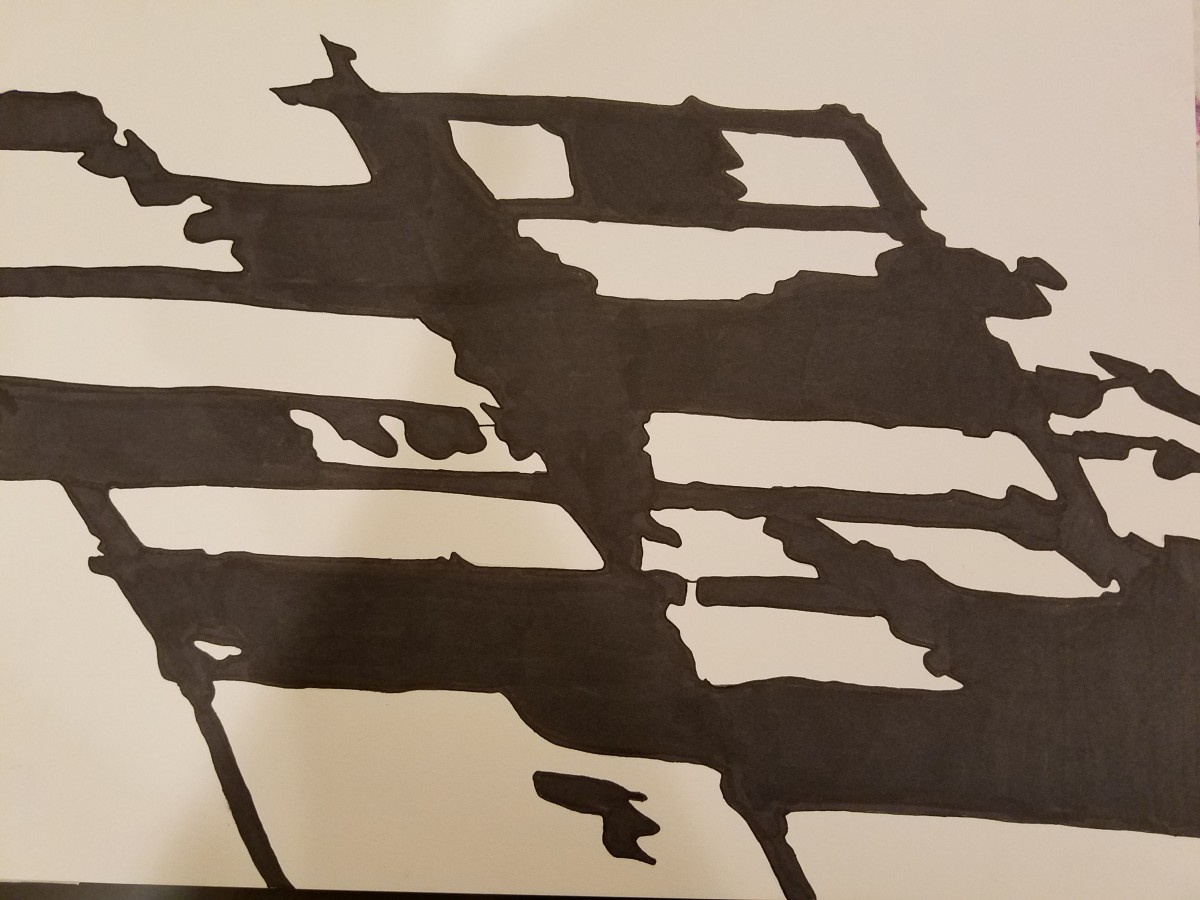
Variety Line Network (LISTEN MP3):
- As soon as you hear the music, consider the sound you hear and visualize it as a line.
- Choose a pencil (hard or soft) and start drawing lines– don’t draw anything recognizable.
- Let your pencil move in one direction, until you hear the sound change. At that moment, change the direction/angle/length/weight of your line.
- Notice how easy it is to create variety and how quickly your drawing become cluttered, chaotic, and confused. Let this happen.
- Create several versions of this drawing in your sketchbook, using a variety of line weights and styles (thick, thin, medium, short, long, broken). Choose to make a mark based what you “hear”. For example, if you hear a low tone, perhaps your marks should become thicker, denser or darker.
- In some parts of your drawing you may make lines so dense that groups of lines become solid shapes. In other areas, your lines may be light, thin, and sparse.
- Take the entire page into consideration– observing figure/ground, unity, and economy, even if these principles are lacking.
In your sketchbook you should complete at least:
- 2 Monotony Line Networks
- 2 Variety Line Networks
Lab 2: Project #2 | Sound Visualizations
Phase 1: Discover
Listening
- Listen to your favorite piece of music with headphones
- Imagine how the sounds and patterns look if they were lines or shapes and consider how they relate to each other.
Writing
- Compose a minimum 2-paragraph description of the sounds you hear.
- Describe them in terms of pattern, line, shape, variety. Consider how some sounds repeat to create rhythm.
- Are some sounds rough or sharp and other smooth and flowing?
- Do any of these observations affect how you understand the meaning of the music or the intention of the composer/songwriter/artist?
Documentation and Feedback
- Create a new blog post called Sound Visualizations: Phase 1.
- Add a link to the piece of music via YouTube, SoundCloud, or similar.
- Refine your writing and add it to the post.
- Include the hours that you worked on this part of the project.
- Don’t forget to comment on at least 3 other student’s posts.
Homework
- Post your Phase 1 of Project #2 writing to the class blog. Comment on at least 3 other students posts. See Guidelines for specifics.
- Materials Needed for next class: Sketchbook with and variety of pencils — plus inking pens, 9×12″ bristol.


Recent Comments