First Year Learning Community

Category: COMD1100 (Page 12 of 15)

COMD Class 11: Animated Mashup

October 5, 2016

What’s needed for this class:

  1. Animated Mashup Prep
    • Find your scanned hi-res file for animation in this Dropbox folder.
    • Save to Dropbox and/or bring in on a drive.
  2. We will prep, animate and add audio to your digital mashup file. Come prepared to work.
  3. NOTE: If you didn’t finish your inked mashup, please see/contact me ASAP!

Lab: Animating and Adding Sound in Photoshop

PREP in Photoshop:

  • Open your scan file in Photoshop, rename and save it FirstInitalLastNameMashupPrep.psd. Make the following adjustments:
    • Image size: 72 dpi, 1028 wide x768 high
    • Color Mode: RGB
  • SAVE AGAIN.
  • Using the rectangle marquee tool, cut (Command + X) and paste in place (Command + Shift + V) each pattern square on a new layer for use in your animation.

Add Sound and Animate:

  • We will be importing two pieces of music, one with staccato rhythm and one with legato rhythm: Summertime and Another One Bites the Dust. Download these files to your working folder or desktop.
  • Review the guidelines: Creating Timeline Animations
  • Follow the demo presented in class.
  • Save your file(s) to Dropbox, GDrive or flash

Homework

  1. Bring your completed Animation Mashup to the next class.
  2. We will export and upload to the class blog for critique.

Download PDF

COMD Class 10 | Crit & Mashup Animation Prep

October 5, 2016

What’s due for this class?

  1. DUE: Final inked version of your Pattern Mashup on a piece of 9″x12″ bristol board, based on your finalized preparatory compositions. Come prepared to present your work!
  2. Post to the blog.
    • Create a new blog post called Sound Visualizations: Phase 2.
    • Take photos of your finished Inked Pattern Mashup and add them to the post (make sure it is well-lit and in focus.)
    • Include the hours that you worked on this part of the project.
    • Don’t forget to comment on at least 3 other student’s posts.
  3. Materials needed: Flash/jump drive.

Grades

  • If you turned in your work on the date due you will find a comment and a grade in your post: Urban Artifacts: Phase 4.
  • If you turned in your work late, please confirm that you have posted your final blog post Urban Artifacts: Phase 4. Your grade will be posted shortly.
  • If you did not complete your final blog post Urban Artifacts: Phase 4, your project is incomplete and you will receive an F grade. Please see me.
  • Refer to the Project Rubric and grading policy “Understanding Your Grade.”
  • You have until Midterm to rework Project #1 and improve your grade.
  • If you have any concerns or questions, ask!

Critique

Present your finished inked mashups to the class.

  • Present and analyze your finished work in terms of concept, craft, what you learned, and the design process.
  • State your name, your understanding of the project goals (ie: what is the point?), which parts are successful and which parts need more work.
  • Your peers and the professor will provide feedback. You will have an opportunity to revise your work based on the feedback and improve your grade.
  • When critiquing other student’s work, clearly describe what works and what doesn’t work using the project vocabulary: Line, Rhythm, Repetition, Variety, Pattern, Unity, Grid, Rule of Thirds, Economy

Discussion

Examples:

Careers in Communication Design:

Lab: Scanning and preparing digital files

SCAN:

  • Create a folder on your drive called FirstInitalLastNameMashup
  • Scan your finished inked Pattern Mashup (300dpi, grayscale, jpg).
  • Save this hi-res file as FirstInitalLastNameMashupHIRES.jpg to the folder you just created.
  • Open your file in Photoshop, rename and save it FirstInitalLastNameMashupPrep.jpg and save it to the same folder. Make the following adjustments:
    • Image size: 72 dpi
    • Uncheck Resample
    • Color Mode: RGB
  • SAVE AGAIN.

PREP in Photoshop:

  • Using the rectangle marquee tool, cut and paste each pattern square on a new layer for use in your animation.
  • We will do this together in class.
  • Save your files to your FirstInitalLastNameMashup folder.

Homework

  1. Complete Animated Mashup Prep
    • Find your scanned hi-res file for animation in this Dropbox folder.
    • Complete PREP in Photoshop. Save to Dropbox and/or drive.
  2. We will animate and add audio to your digital mashup file next class. Come prepared to work.
  3. NOTE: If you didn’t finish your inked mashup, please see/contact me ASAP!

Download PDF

COMD Class 9 | Pattern Mashups

September 28, 2016

What’s needed for this class?

  1. Project #2: Phase 1
  2. Completed Project #2: Phase 2 > Staccato / Legato Pattern Mashup Prep
  3. Materials: Sketchbook and variety of pencils — plus inking pens, 9×12″ bristol.

Peer Critique

  • Divide into groups of three
  • Present your refined Staccato / Legato Pattern drawings
  • When critiquing your peer’s work, remember to identify which patterns are successful AND WHY THEY ARE SUCCESSFUL and which patterns are not successful AND WHY THEY ARE NOT SUCCESSFUL.
  • The goal is to help your peers successfully realize this part of the project and “solve” the design problems presented.
  • Try to use of the vocabulary: Line, Rhythm, Repetition, Variety, Pattern, Organic, Geometric and Movement

Lecture

  • Review Elements and Principles
  • Discuss examples of Repetition in web design from Design Meltdown
  • How are pattern and rhythm used?
    • Regular pattern repeats elements in timed or predictable intervals.
    • Progressive pattern repeats elements, but changes in size or color to create progressive steps.
    • Flowing patterns are organic or natural feeling patterns that create movement

Lab

Pattern Mashup Work

Once you have created at least 4 strong pattern squares (2 Staccato and 2 Legato) move on to the next step in Phase 2: Define > Inked Mashup.

Before the end of class

  • Review Phase 2: Define > Inked Mashup guidelines.
  • Complete at least 3 drawings in your sketchbook to explore how you will arrange your final inked Pattern Mashup. These are NOT thumbnails. These are preparatory drawings that you will use to complete your final inked compositions.
  • Ask the Professor to review your work. If the work is approved, you may begin work on your final inked Mashup on 9″x12″ bristol board.

Homework

  1. DUE: Phase 2: Define > Inked Mashup 
    • Final inked version of your Pattern Mashup on 9″x12″ bristol board. Come prepared to present your work!
  2. DUE: Documentation and Feedback
    • Create a new blog post called Sound Visualizations: Phase 2.
    • Take a photo of your finished Inked Pattern Mashup and add it to the post (make sure it is well-lit and in focus.)
    • Include the hours that you worked on this part of the project.
    • Don’t forget to comment on at least 3 other student’s posts.
  3. Materials needed: Flash/jump drive.
  4. Contact me with questions.

Download PDF

Urban Artifacts: Phase 4

This Project was fun. I was unable to complete it on time due to my trouble getting the supplies. Other than that, this project was unique. At first I was questioning how can photoshoping random object teach us about Foreground and Background relationships. It all started to make sense when the class was critiquing. Seeing other students work, hearing what they had to say about each others work, all helped me understand the relationship between the black and white compositions. Overall this was a fun and unique project.


Phase 1

Phase 2

Phase 3

Urban Artifacts: Phase 3


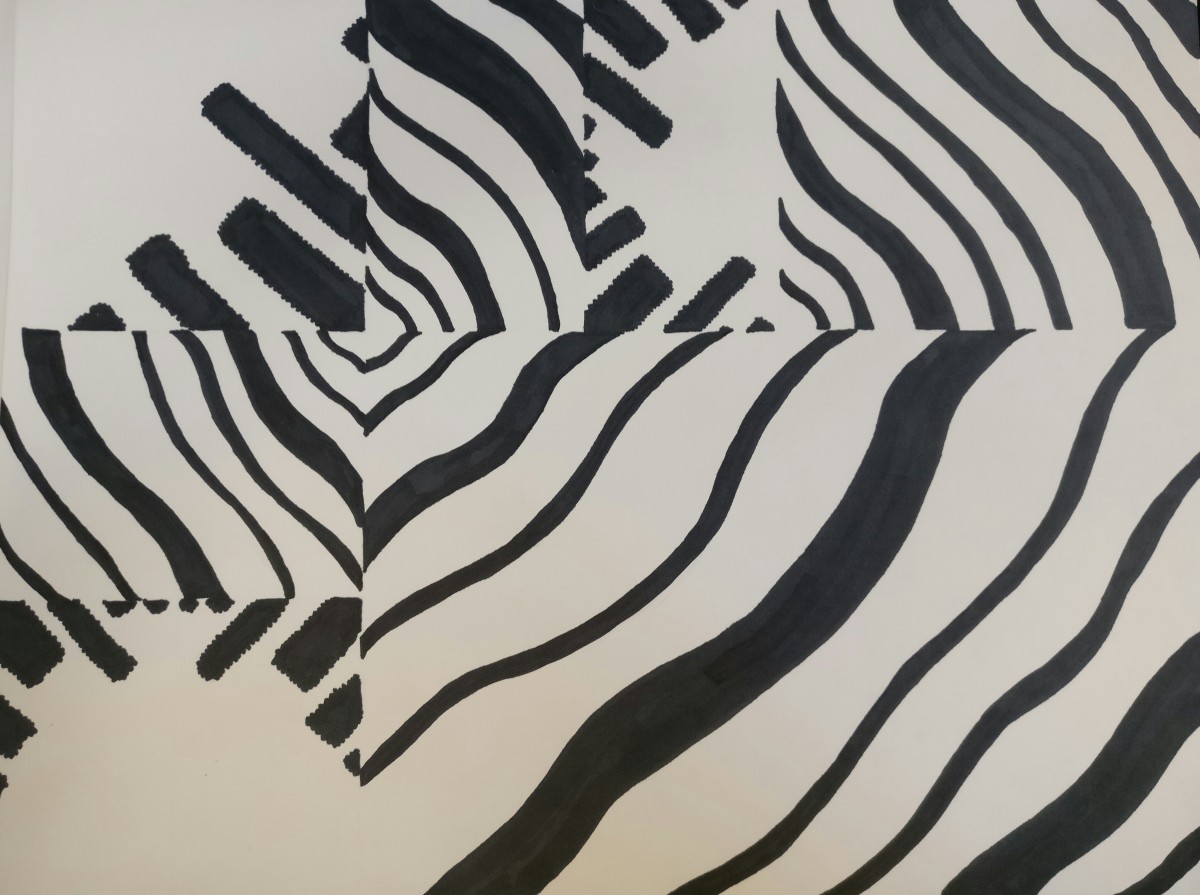
This part of the project was more difficult and the others. Creating the compositions on Photoshop was quicker due to the tools we’re able to use. Inking the lines and getting ever curve took quite long. Choosing which set of Stable and Ambiguous was difficult. Not only did I want to pick a stable that was easy to understand and an ambiguous that really mad you think, both compositions had to compliment each other.

Time Spent: 2-3 hours.

Sound Visualizations: Phase 1

The Song I used is Disclosures, Omen, featuring Sam Smith. At the beginning of the song there are 5 present sounds that make up the beat. A banging a sound, a sound resembling a tambourine, a sound that reminds me of a rain drop hitting a puddle ever so lightly, a techno-sounding piano key and a series of clapping. The banging sound fades into this tranquil, relaxing sound, with a smooth flow. The techno sound becomes much softer and slightly less periodic. The clapping fades out all together. At the climax of the song, all the previously mentioned sounds that make up the beat begin again but noticeably stronger. This sequence of events repeats 3 times throughout the whole in the same pattern.

As I continue to listen to this song I begin to visualize the flow as something that isn’t consistent. The flow of the song constantly changes and it can be hard to explain exactly what it is you are listening to.  With regards to the art project we did, I see the line going in a motion that is constantly going up and down, hardly every straightening itself out. It reminds of a persons brain hard at work, trying to think about their next move or reminiscing on the past and all these events just happening at one time. It feels somewhat out of order but in the end it all makes sense to you but no one else. I definitely see the song in a different way now that I’ve put a lot of thought into the sounds and the flow of the song. It just portrays this feeling of confusion but at the same time, understanding of the situation. The amount of sounds were acting as a distraction from the truth which very closely relates to the meaning of the song. There is so much that you have to pay attention to and even when you feel like you’ve pinpointed every aspect, something smaller than what you had noticed just suddenly emerges and makes a rather large difference in the end.

Visualizations: Phase 1.


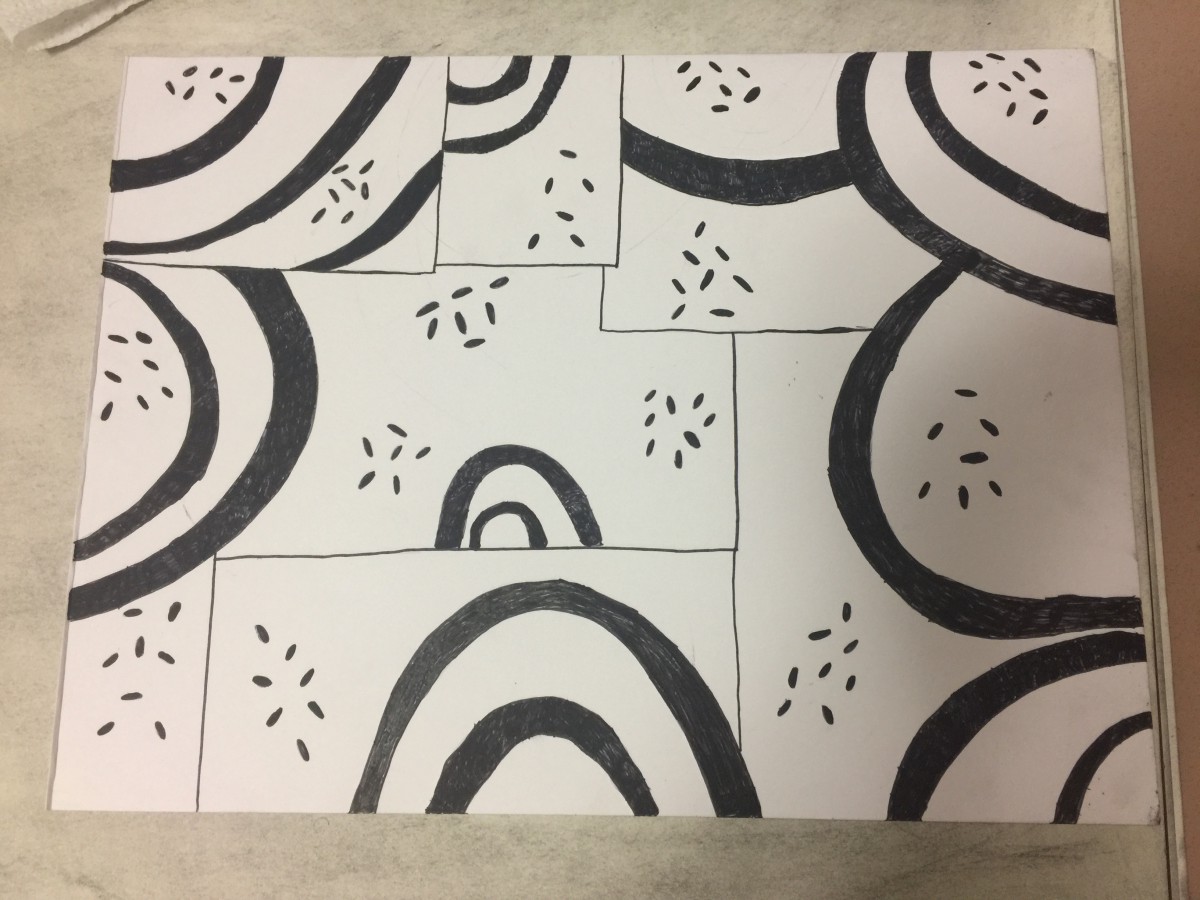
There are many sounds that I hear through the song middle. Its starts very slow with the piano and then that starts to repeat the same piano beat being very smooth. Then the sounds of the guy singing with the sound of snapping go into the repeating piano beat starts to flow very well together.The flow of the beginning part of the song makes it feel like the song is a sad song. louder vibration beat also starts to join all of the other musical instruments and sounds that repeat besides the guys voice singing start to get louder, but continues to flow together with a very rough loud sound. The vibe of song doesn’t change and the flow of the song changes a little with the beat by the lyrics having a deeper meaning when the beat drops.

Later on in the song when the beat starts to drop everything starts to change. The beat and vibration increase with a weird voice that sounds pleasing and catchy and makes everything very rough, but not to rough yet well enough to notice it. The Flow of the song changed from being Loving into a forgiving loving song. After that section of the part ends it goes straight to being a smooth rough sound with the other instruments and the guy singing. The song then repeats itself even when it drops the second time.

My Song that I chose 

Sound Visualization:Phase 1

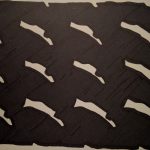
While listening to  “Formation- Beyonce “, the sound was repetitive and then it  switched to a different beat automatically. Afterwards, the  sound went back to original beat. The beginning sound was sharp and straight forward , it reminds me of squares because  the geometric form and the sharp edges represent the  sound . The second sound had a smooth  sound and it reminds me of ocean waves. The shapes also represent the beat and the chronological order of the song itself.

In addition to listening to that  song, I was listening to “Fade-Kanye West” and “Work-Rihanna”. When switching between these two songs, it was quite difficult since they both give off different emotions and I was able to fill in the previous shapes with different colors based on the emotions that the beat was giving off at that specific moment

Work Time : 30 minutes


Formation-Beyonce 

Fade-Kanye 

Work-Rihanna

« Older posts Newer posts »