I worked 2 hours and 30 min on it
First Year Learning Community
I worked 2 hours and 30 min on it
This was a difficult project for me because it was my first time making a video in Photoshop. I had difficulty making thumbnails for staccato and legato pattern but then knew what the meaning was and saw examples. The position on the layers was tricky in Photoshop because I did not know where and what to place them to go along with the music. I think if I knew more about making a video in Photoshop and the illustration, I would have done a good job at it. For the next project, if we do video in Photoshop, I know how to use it and also look up at other projects people have made doing this technique.
Work Time: 2 hours
October 19, 2016
Finish Phase 3 and Phase 4 feedback/documentation posts for Project #2. And thoughtfully critique at least 3 other students’ animations. If you don’t post Phase 4: Deliver, you will not receive a grade for the project.
Materials needed:
Review Vocabulary From Last Class
Collages
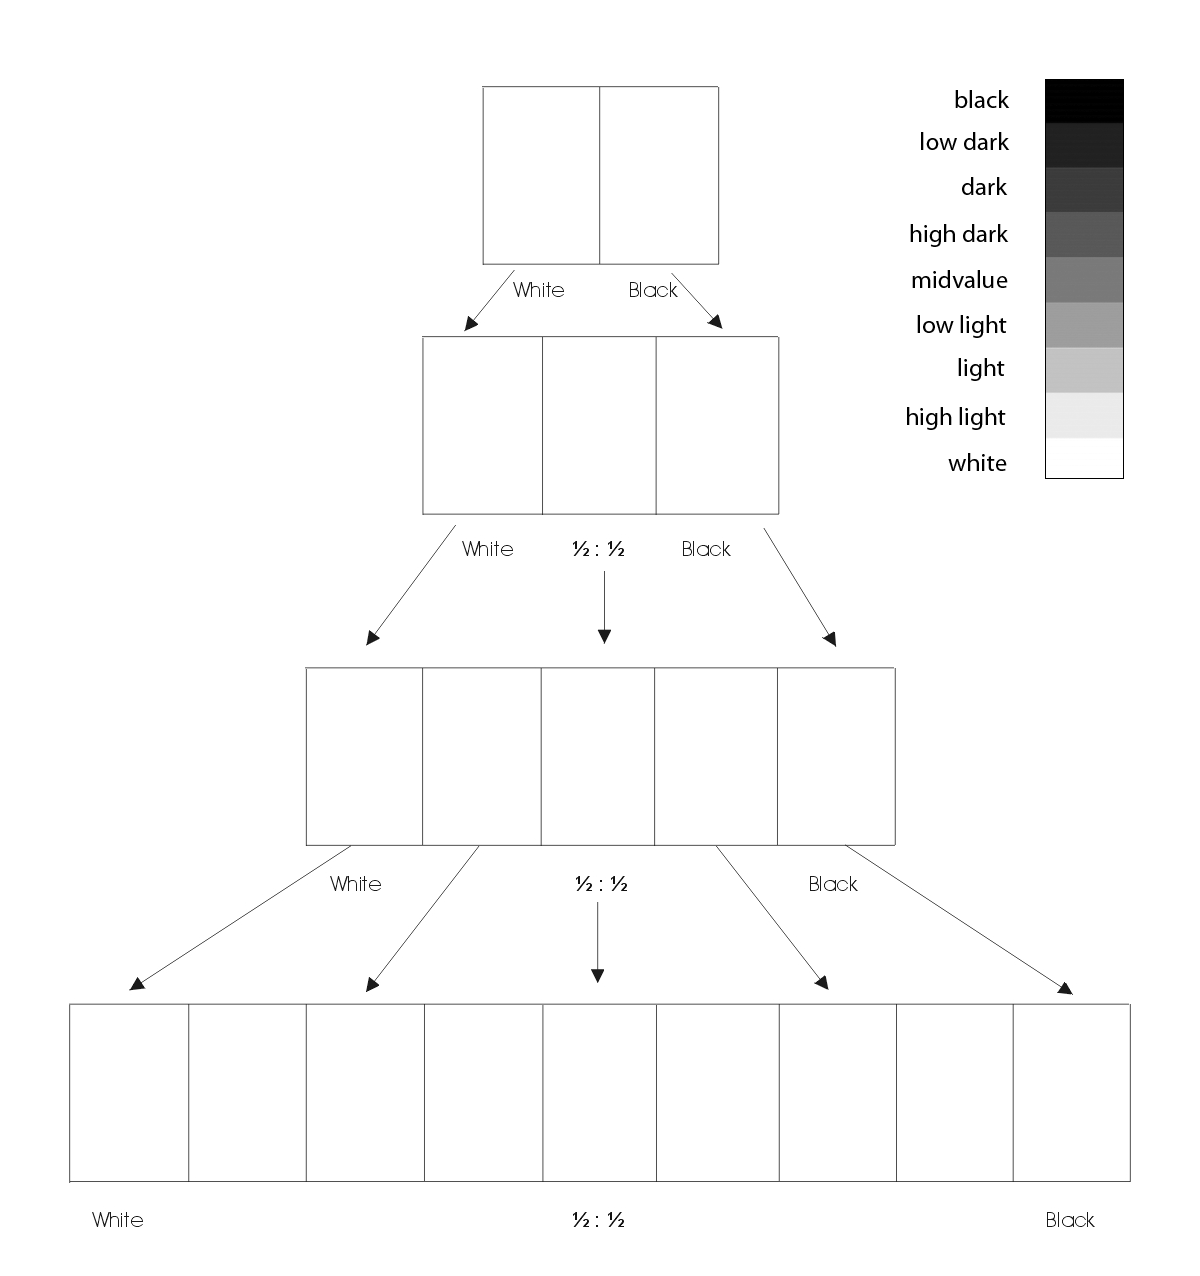
Goal: Create two 6″ collage compositions that use COMPOSITIONAL FLOW to direct the viewer to a clear FOCAL POINT through the use of CONTRAST and changes in VALUE. (past student examples)
NEXT
Materials Needed:

In my video I tried to do something new and different then everyone else. I made the image pop out and go with the flow with the two songs. I also made up the image come together at the end.
This was my first time creating an animation. I enjoyed the opportunity of learning how to create an animation using Photoshop. What I enjoyed the most was editing my mashup to the best of my ability. I will definitely enjoy learning more about this, so I can become more skillful at animation. This project was a bit complicated for me but as i continued, the easier it became. I wish that I ended my animation a bit differently due to the abrupt ending. I believe that I could have made my animation end smoothly rather than so sharp.
My thoughts on this project is that it’s kind of interesting. It helps spark creativity, and improvises on your drawing skills. If I had better drawing skills, and more creativity I probably could have made the project into something more.
https://openlab.citytech.cuny.edu/schmerlerspevackfylcfa16/2016/10/06/sound-visualizationphase-2/
I must say this project was super confusing and hard; i diffidently had to stay calmed and relax because moving each individual pieces and then adding many keyframes to have the effects that I wanted; was quite annoying. However, it had to be done. Then after a few minutes I got used to it and found it easy to keep on working on this project. If I could change anything on my project I think I would have spent more time working on it and i could have created a better animation.
Time spent on this project: 2 hrs
The Songs used in this project were “Another One Bites The Dust” and “Summertime”
This project involved a lot of work and dedication in order to complete it to your liking. Overall, it was a very fun and time consuming project.
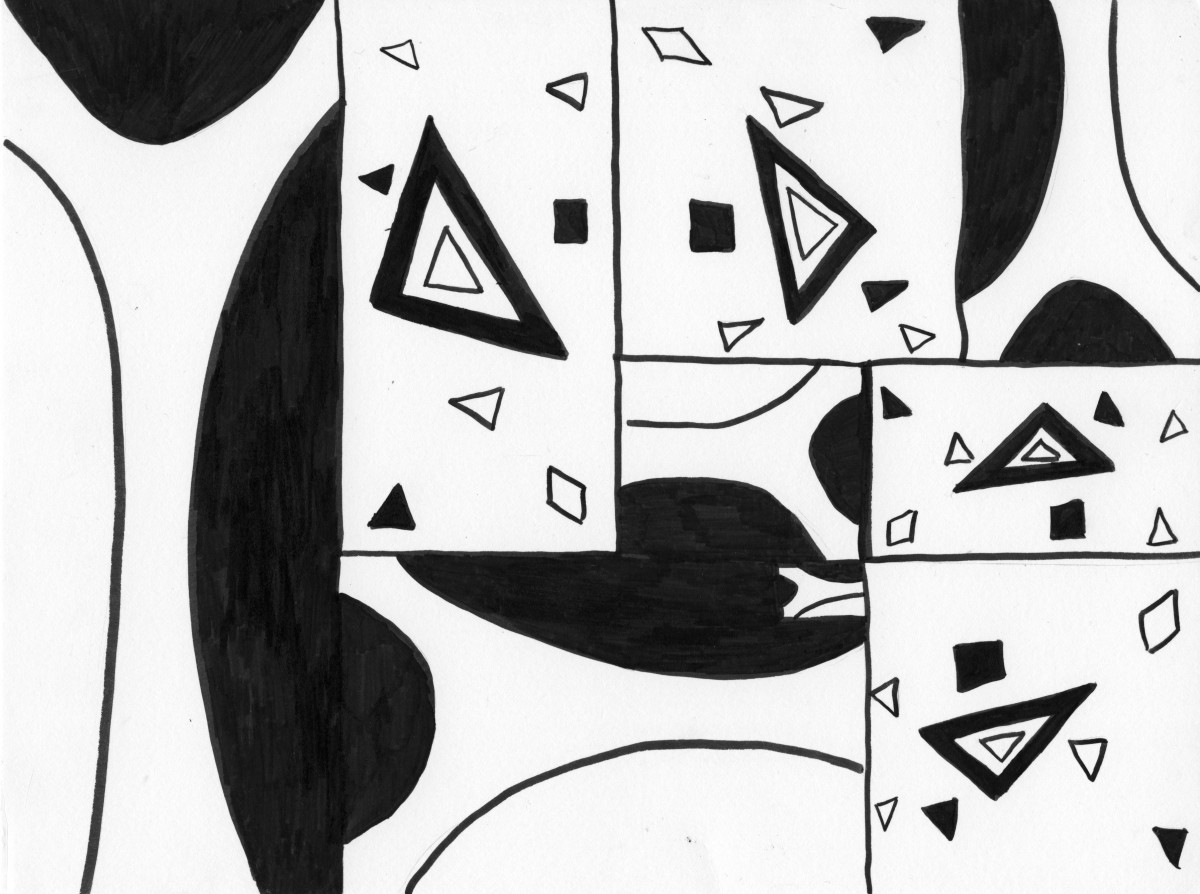
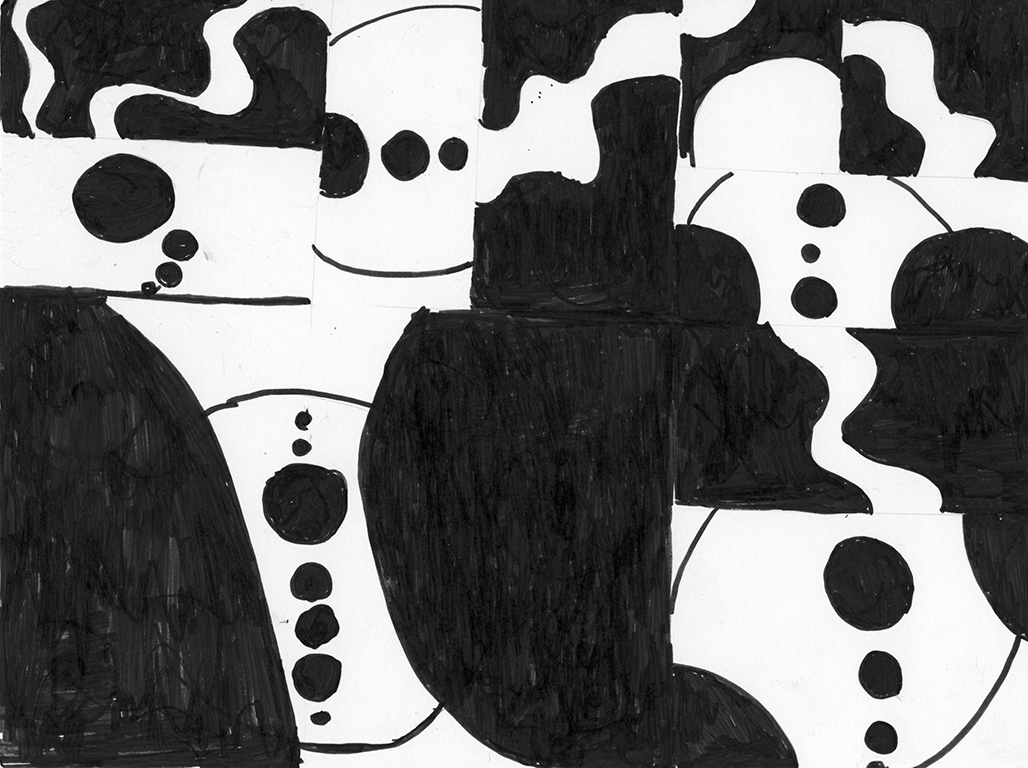
this project too pretty long but its not hard once you know what to do , this was mainly about clashing sounds and different rhythm together into one mash up . first we had to listen different types of music with hard and soft melodies and drawing them . mine is mostly a hard and soft sound with little beats , you can also see a smooth flow in there will big beats . this project was pretty funny i liked it
© 2024 PLAY WITH YOUR PROBLEMS – FYLC Fall 2016
Theme by Anders Noren — Up ↑
The OpenLab is an open-source, digital platform designed to support teaching and learning at City Tech (New York City College of Technology), and to promote student and faculty engagement in the intellectual and social life of the college community.


Recent Comments