Work Time: 4 Hours
Category: COMD1100 (Page 11 of 15)
This project has truly helped me a lot in my understanding of Staccato and Legato sounds and shapes. Coming into this project, I had no clue what these terms meant. Class discussion and classwork helped me to start to understand what these terms meant. I found myself mixing up the two terms after the first class on Sound Visualization. After the second class, I did completely understand these two terms. This project also helped my analyze sound more carefully. I realized there was a lot more going on than when I usually listened to music. These lessons helped me clearly identity whether a certain sound or instrument was staccato or segato. Due to my previous experience with Photoshop, animating my composition wasn’t much of a difficult task. It did take a lot of my time though. I thoroughly enjoyed what this project had to offer and had fun animating my drawings to visualize these terms.
October 19, 2016
What’s DUE?
Finish Phase 3 and Phase 4 feedback/documentation posts for Project #2. And thoughtfully critique at least 3 other students’ animations. If you don’t post Phase 4: Deliver, you will not receive a grade for the project.
Materials needed:
- Download and PRINTOUT 5 laser prints of your portrait ((DOWNLOAD HERE))
- IMPORTANT NOTE: IF you missed the last class and didn’t get your photograph taken, contact the professor BEFORE Wednesday.
- Sketchbook, 9×12″ Bristol, pencils, eraser, knife/scissors, ruler/T-square, drafting tape.
Lecture
Review Vocabulary From Last Class
- Elements: Value
- Principles: Emphasis, Focal Point, Contrast
- PLUS: Compositional Flow, Open and Closed Value and Scale
- Compositional Flow: Flow is about movement and direction, and leading the eye from one part of a composition to another in the direction you want it to move. Starting with your dominant element, which should be the entry point into your composition, you then provide directional cues for the eye to follow throughout your composition.
- Closed-Value: Values are limited by the boundaries of shapes and clearly isolate individual parts of the composition. This type of composition could create dramatic mood through contrasting values.
- Open-Value: Values cross shape boundaries, integrating parts with adjoining areas and unifying the composition. This type of composition could create a mysterious fog or haze using closely related values.
- Proportion: Relationship between parts of a whole or related units.
- Scale: Associations of size, related to a constant size, unit of measure, relative whole (such as a the human body, or picture plane)
LAB 1 – Project #3 Discover
- Value Range Research
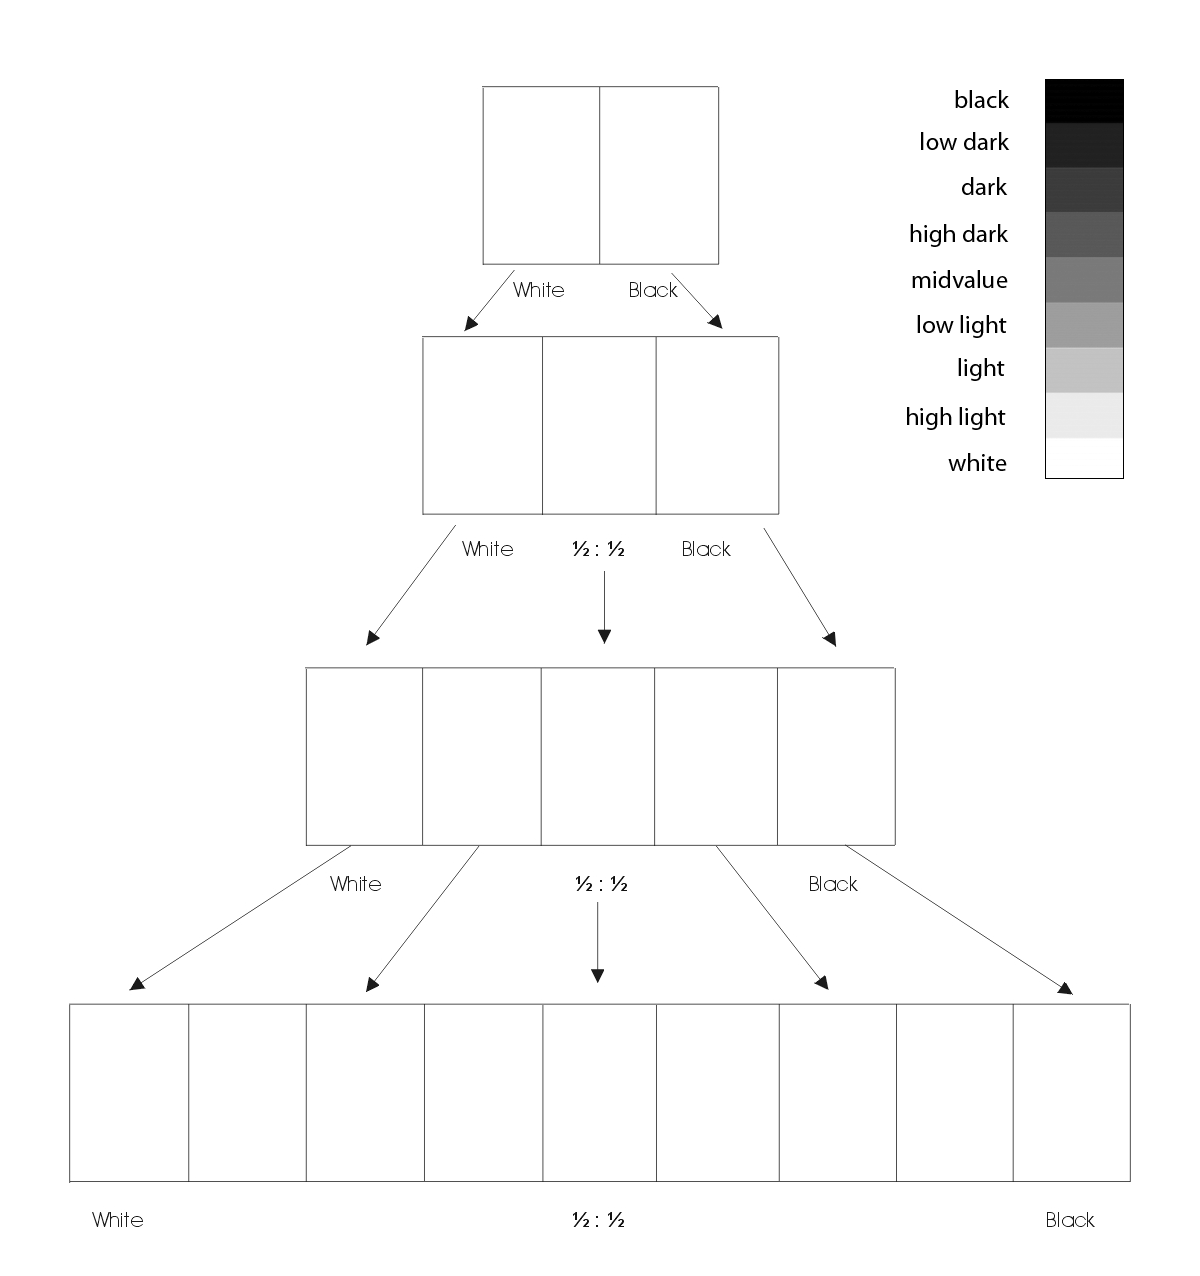
- Value Scale
LAB 2 – Project #3 Define
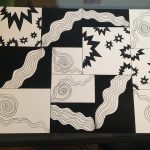
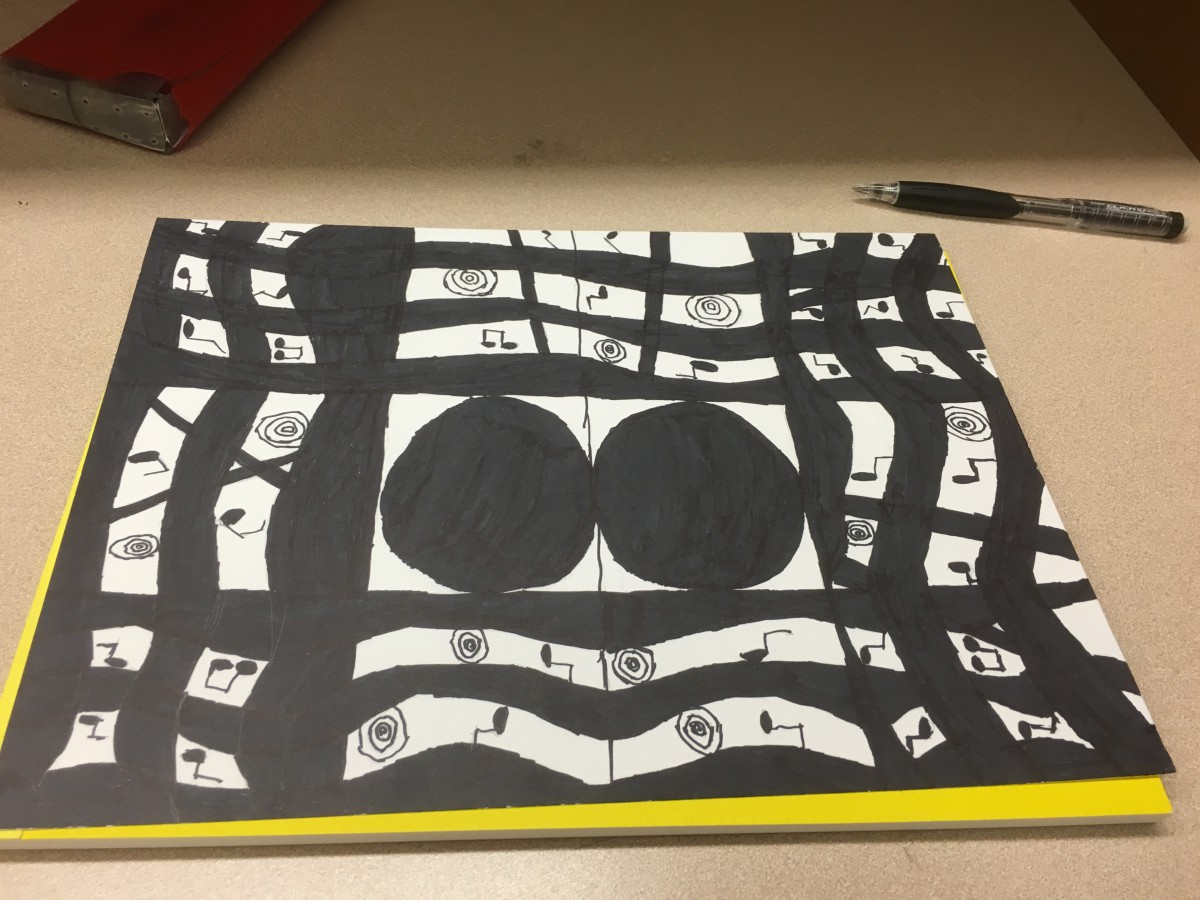
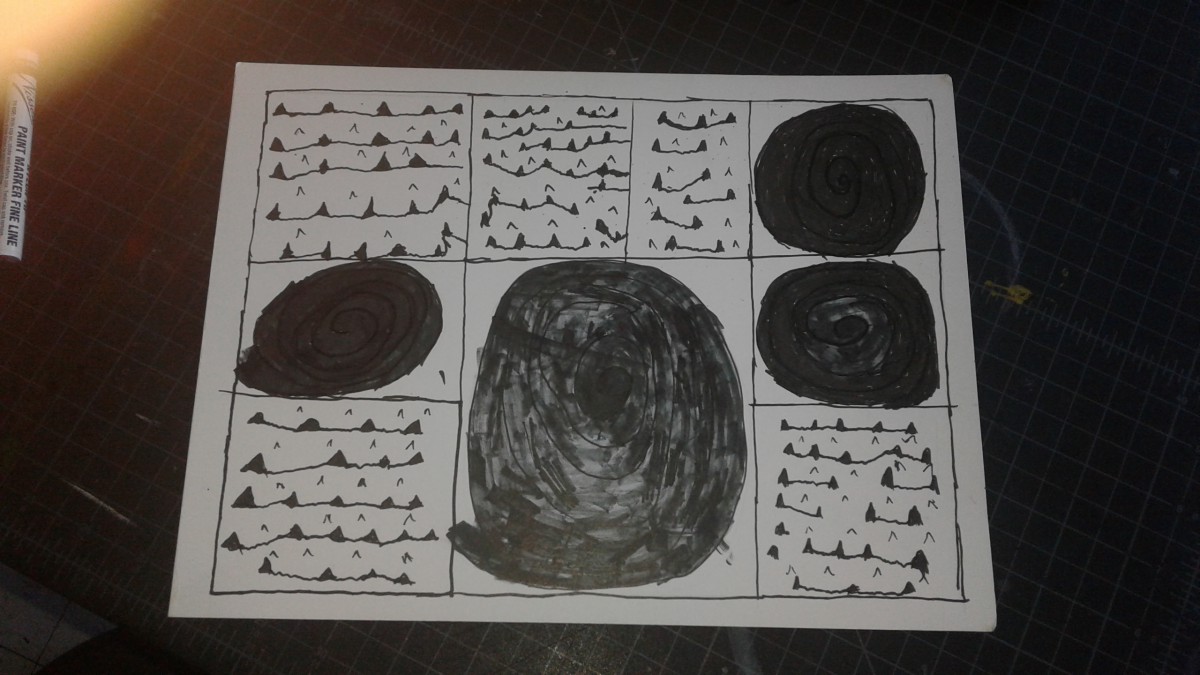
Collages
Goal: Create two 6″ collage compositions that use COMPOSITIONAL FLOW to direct the viewer to a clear FOCAL POINT through the use of CONTRAST and changes in VALUE. (past student examples)
- Using the printouts of the portraits taken last class, cut apart your portrait into a variety of squares or rectangles.
- Rearrange and experiment with your portrait pieces until your develop (2) unified, but ABSTRACT, 6″x6″ compositions as follows:
- (1) Narrow Value Range: either high-key or low-key
- (1) Broad Value Range
- In each composition:
- Create a focal point wherein one area or element is emphasized through contrast in scale and value.
- Use Movement / Compositional Flow to clearly direct the viewer’s eye to the focal point.
- Use Value steps to support transitions from one compositional element to another.
- Avoid reconfiguring your compositions using recognizable facial features (eyes, nose, mouth).
- Examine the lines and shapes that make up your portrait and create new shapes and lines that convey a certain mood.
- DO NOT GLUE THEM DOWN YET!
NEXT
- Take a photo of your finished and approved collages, just for future reference.
- Make sure each piece of your composition is properly marked on the back, indicating the TOP and numbered from left to right, top to bottom.
- Position each piece in your collage composition on a piece of paper. Use a small bit of tape on the back to adhere your pieces to the paper.
- Keep everything clean and neat.
Homework
- Complete VALUE RANGE RESEARCH:
- Post your paragraphs and 2 images (high key and low key) to the class blog (see Project #3: Phase 1 Guidelines.) Don’t forget to comment on at least 3 other students posts.
- Bring in the completed value scale exercise we started in class.
- Complete Project #3: Phase 2. Come ready to work on your paintings.
Materials Needed:
- white and black gouache paints
- sable-type watercolor brushes (do not buy brushes for acrylic or oil)
- FLAT: 1/2″ angle, #4
- ROUND: #1, #5
- two water containers (yogurt cups, soda bottles with tops cut off, soup cans)
- palette (round 10-well)
- cotton rags (old white t-shirts or scraps)

The Songs used in this project were “Another One Bites The Dust” and “Summertime”
This project involved a lot of work and dedication in order to complete it to your liking. Overall, it was a very fun and time consuming project.
so my project was inspired by the flashing 80s hit another one bites the dust and the all time classic summertime this overall took a good hour and hard work and dedication
This was my first time using Photoshop, when it came to making videos. I enjoyed being able to include music and allow my composition to come to life. I would definitely do something like this in my free time, so I can increase my understanding with timelines on Photoshop. Creating this was fun for me ,but it was also challenging. Some critique is something that I want to receive, so that I can better my creation now and even if I do something like this in the future.
https://drive.google.com/file/d/0B7IC6taZPQdUbDBxYllLQkNKWVE/view?usp=sharing
Hours Worked: 2 Hours
Hours worked on: 2 hours
I had a couple complications while trying to get this animation done. Never really used photoshop until i started the semester. Overall, i worked pretty hard on making it look as nice and clean as i could. Hope you guys enjoy my 12 seconds !

1hr
2 hours worked.
Hours taken: 2


Recent Comments