 color wheel depicting nature and natural weather that i’m interested in.
This took maybe 1 hour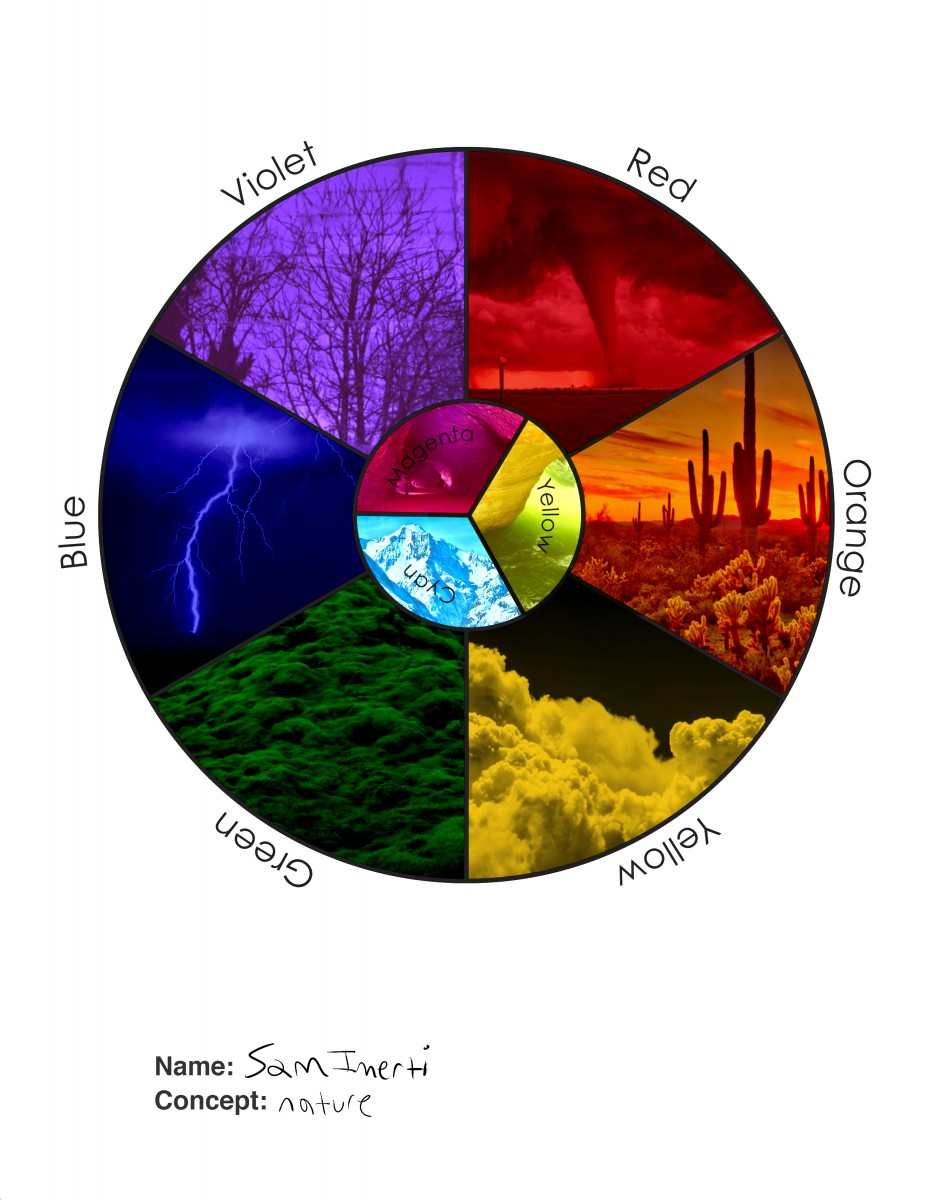

Ways of Seeing – FYLC Fall 2018
First Year Learning Community
color wheel depicting nature and natural weather that i’m interested in.
This took maybe 1 hour


Hours worked: 1 hour
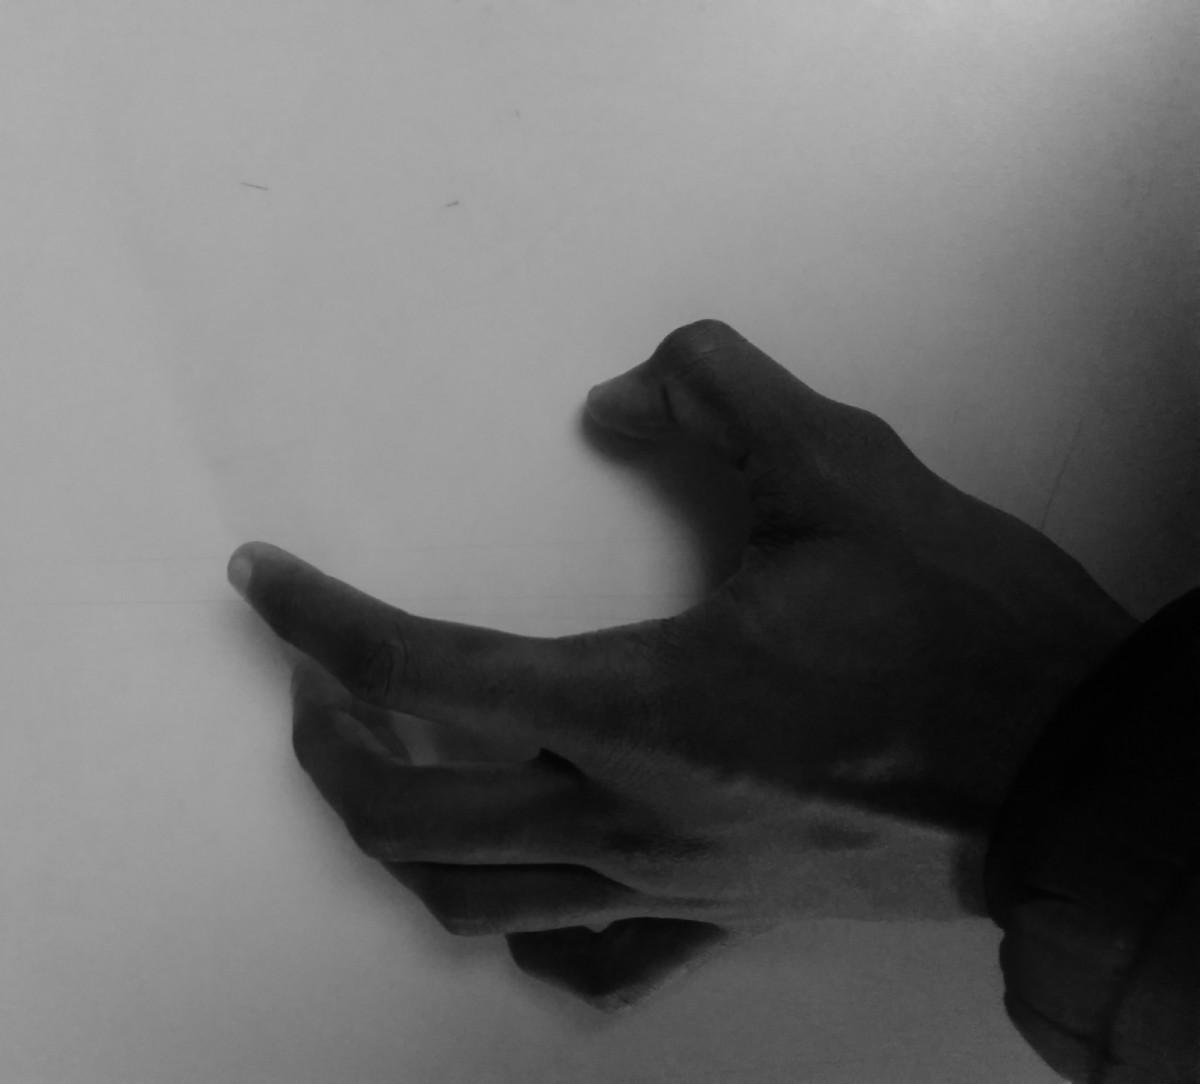
The first image represents a high-key/light value range. This is because there is mostly light in this image and less darkness or shadows in the image. This image also kind of graduates from dark to light creating the feeling of success or hope.The second image represents low-key/light value range. This is because there is little to no light in the image, instead there is mostly darkness and shadows. This image kind of expressea despair, mystery,and creepiness. Lastly, the final image represents broad a broad range image. This is because there a similar amount or equal amount of light and darkness in the image, there’s a neutral clash between light and dark. This image expresses balance.
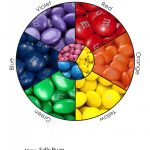
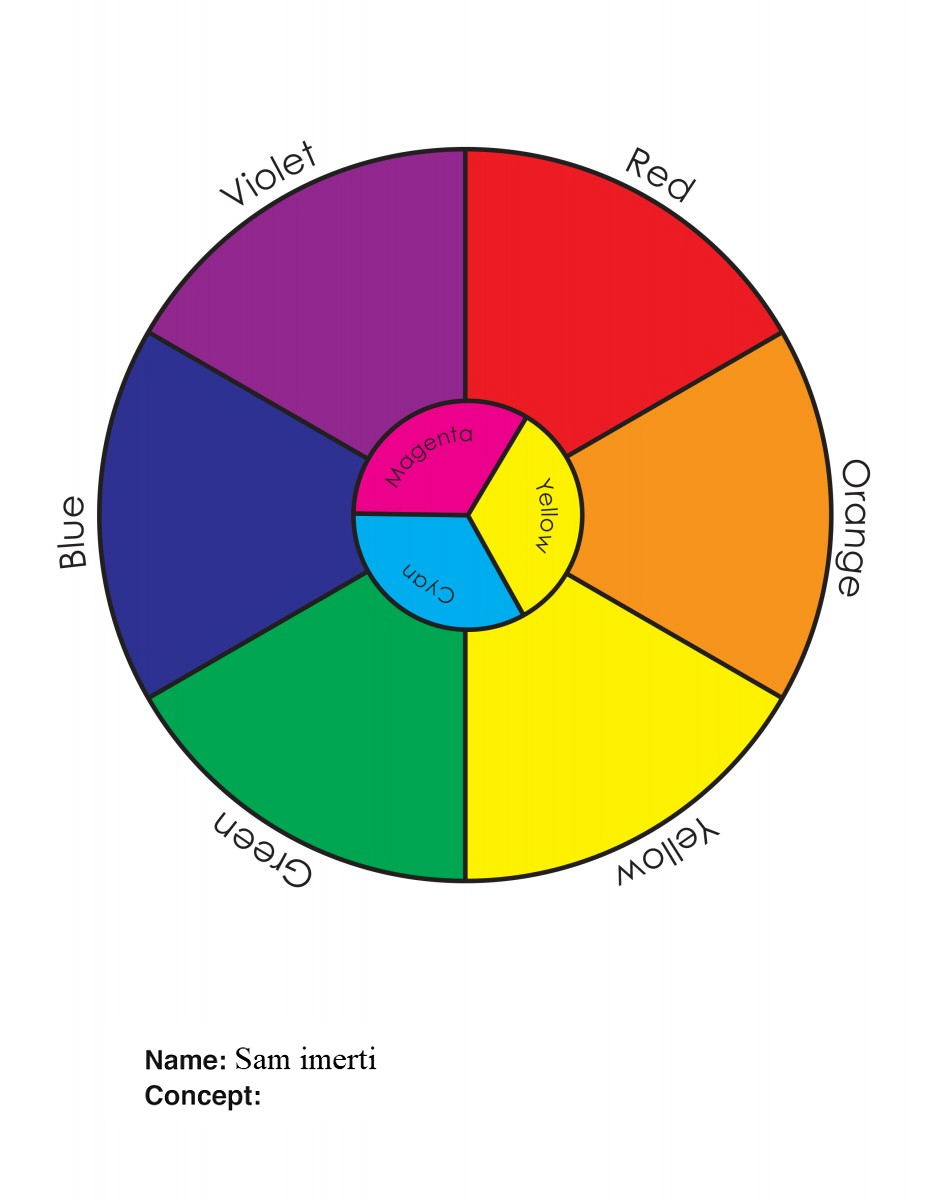
The first one is the normal one that i filled colored in. I was gonna do a candy color circle with many other candies, but i ended up choosing m&ms, one of my favorite snacks with and it has a variety of colors that works well with the color wheel.

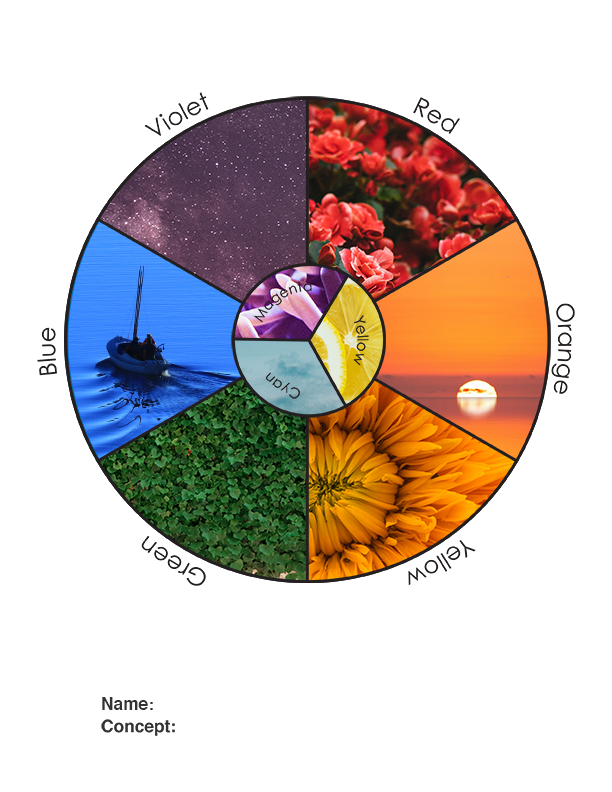
These are both my color wheels that I finished in class. The one that I created I wasn’t really sure what theme I should go with. Then I realized that all of the things that I chose had to do with nature. It was really easy to do it once I got the hang of it.

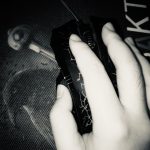


In these 3 photos, the lowkey is the darkest, it has a darker background and mainly focuses on the hand. It was taken at home with my mouse. The highkey has a lighter background and also focuses on the hand. The broad photo was taken in the class computer desks on a white keyboard as the background. Each of these creates a story of the hand working on a computer.
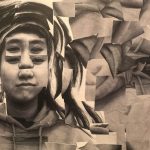
The right photo is the broad, you can see the broad range value because you can see the dark focus point from the white background. The focus point in the broad image is the nose.
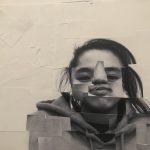
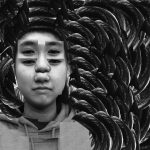
The left i tried to make a high key type of photo that shows the dark focus on the figure which is the entire left side of the photo with a lighter background. But the main focus point is the eyes.
This project was pretty fun, it was really nice to mix art and music together, into almost one medium. I think the songs that were chosen were nice, but i do kind of wish i chose my own music, maybe i would have been able to create better designs. I think my biggest struggle with this project was time, i had so many issues with photoshop, and how to set everything up, it was a little annoying at first but i’m glad i know how to animate on photoshop now. If i could go back and fix one thing it would maybe be the animation, i would have really like to have made the lighting sync up wit the staccato beats, but i didn’t have time, otherwise i’d say i’m content with the project. Maybe for the next project i’ll try to personalize it more.
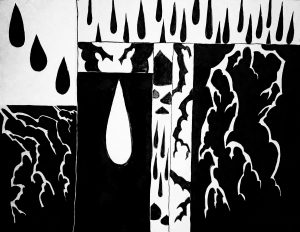
lighting strike for “Another One Bites the Dust”, and sad little rain drops for “Summer Time”
time spent on this was maybe 10 hours altogether, it was tricky.
During this project, I learned how to work photoshop to create a mashup of different pieces of drawings that I made. though I did feel like I wanted to do more, I am still happy with the outcome. I also wish that I had made my inking piece a lot better because the lines were not straight at all, that made me have to put in a black background instead of a white one. in the future, I would like to do this a lot better and with more legato and staccato pieces. I would also like to learn how to use the animations in photoshop more so that it could be more smooth the next time we do something like this.
https://openlab.citytech.cuny.edu/rosenspevackfylcf18/2018/10/29/sound-visualization-phase-1-2/
https://openlab.citytech.cuny.edu/rosenspevackfylcf18/2018/10/31/sound-visualization-phase-2-2/
https://openlab.citytech.cuny.edu/rosenspevackfylcf18/2018/10/25/sound-visualizations-phase-3-3/
The OpenLab is an open-source, digital platform designed to support teaching and learning at City Tech (New York City College of Technology), and to promote student and faculty engagement in the intellectual and social life of the college community.

