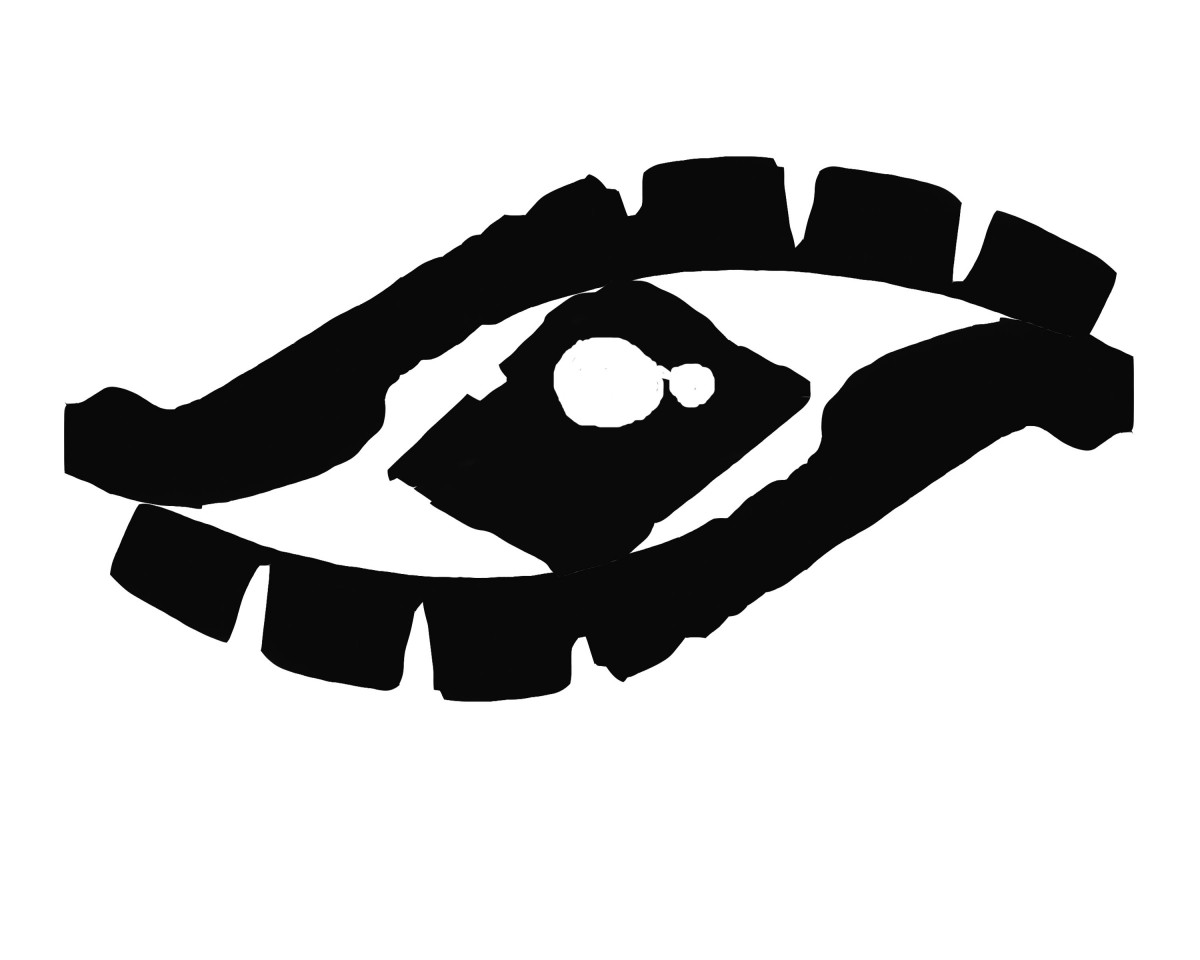
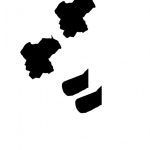
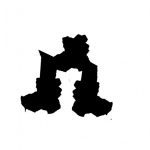
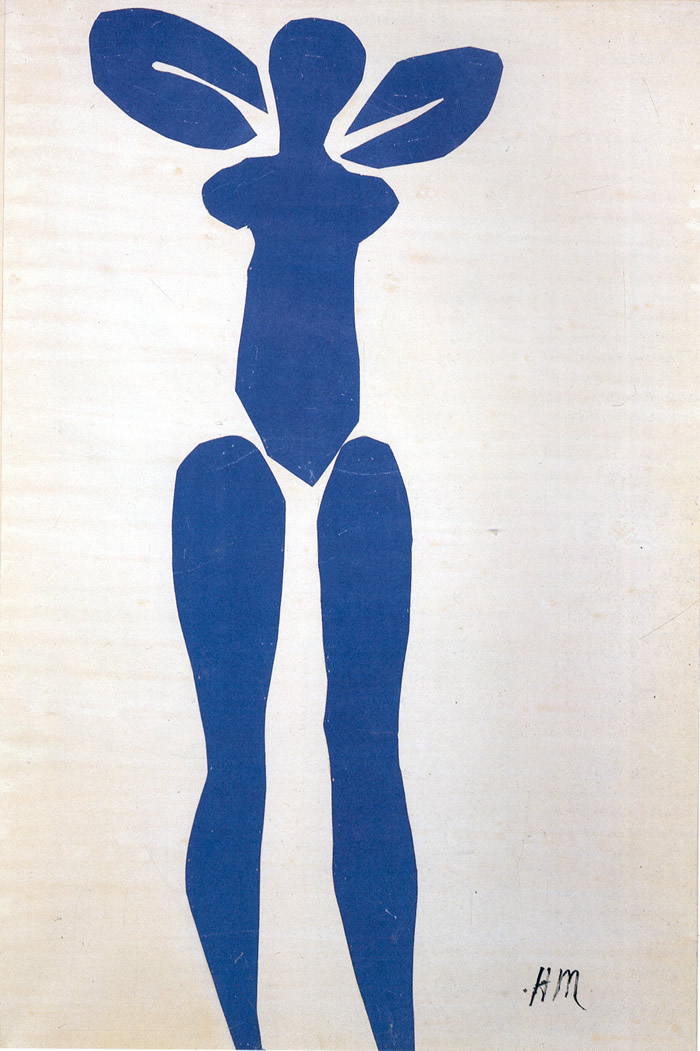
The Eye
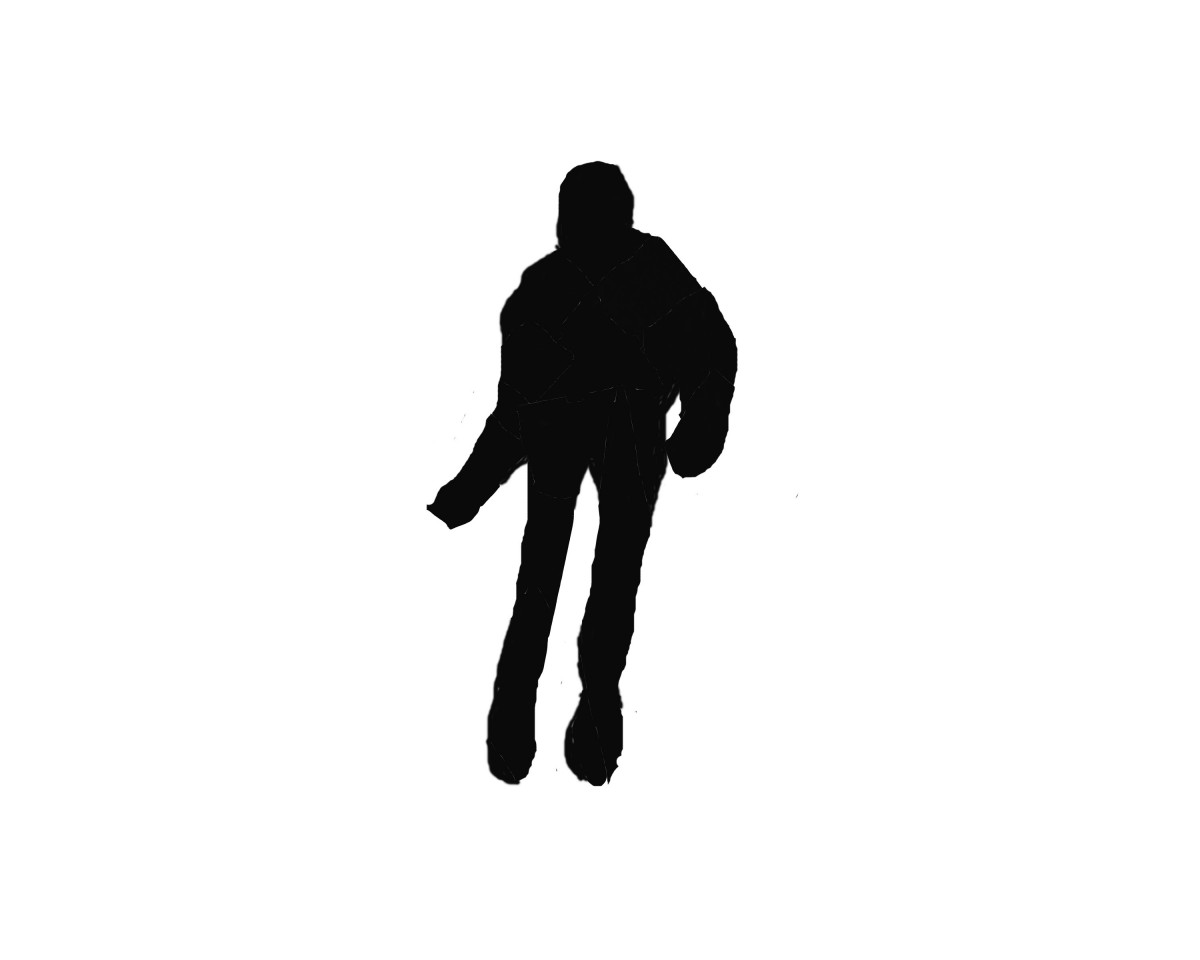
Hotline Bling

Stan Smith
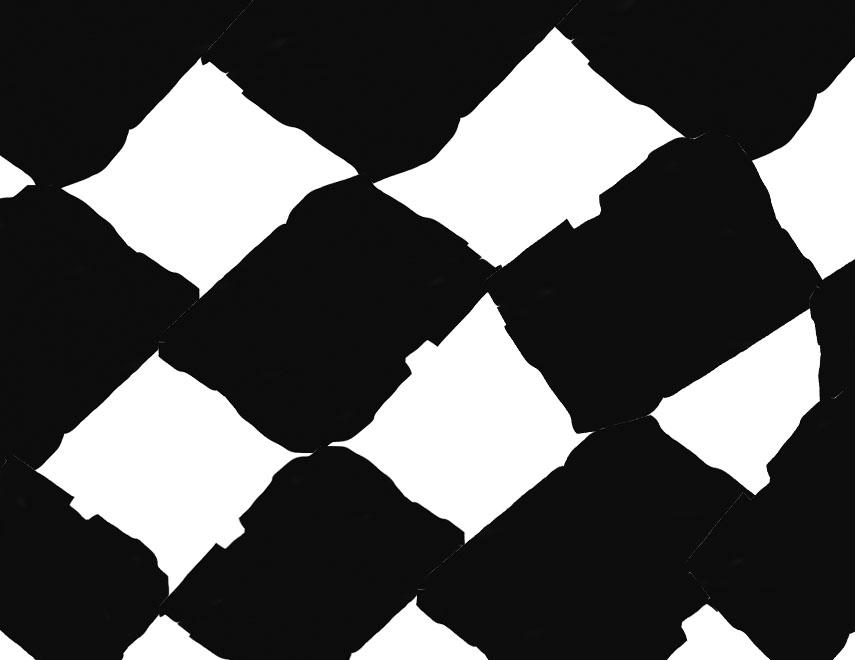
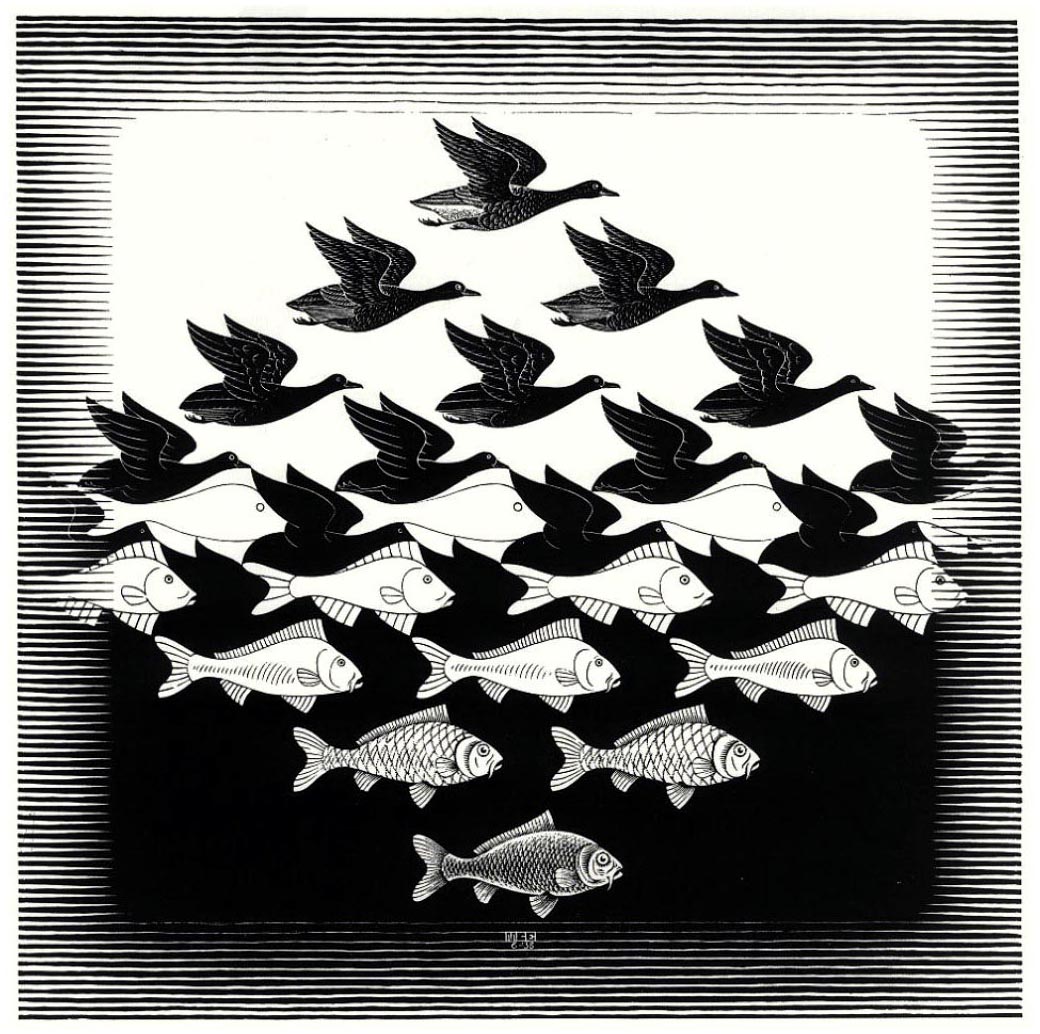
The Chessboard

?????!!!

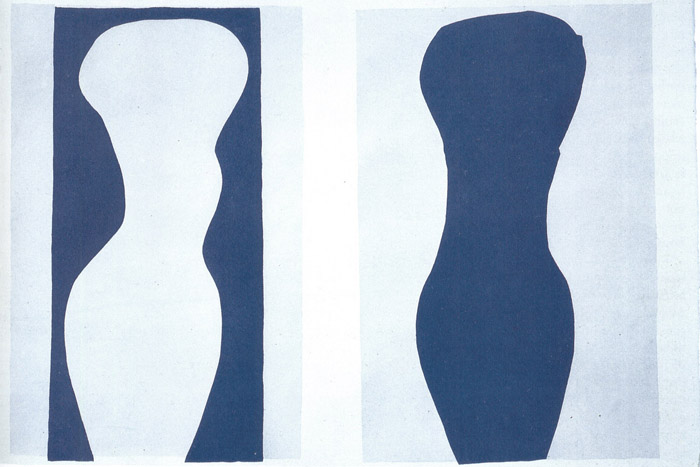
The Sky
First Year Learning Community
The Eye
Hotline Bling
Stan Smith
The Chessboard
?????!!!
The Sky
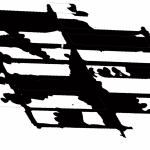
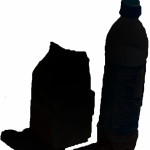
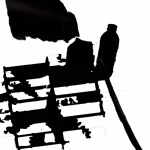
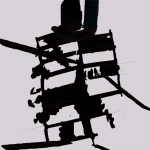
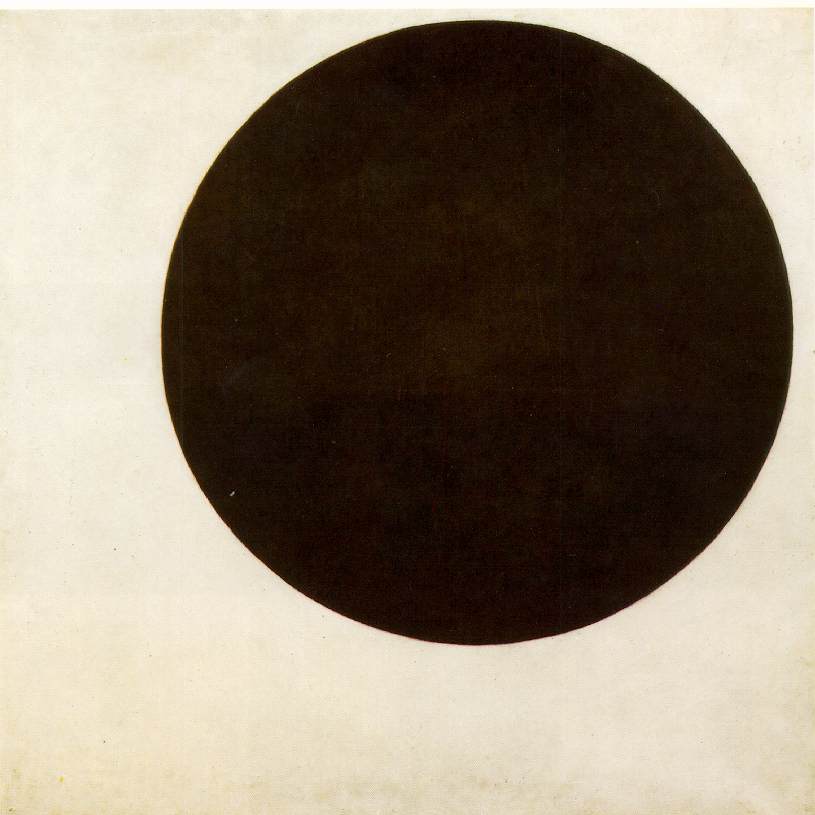
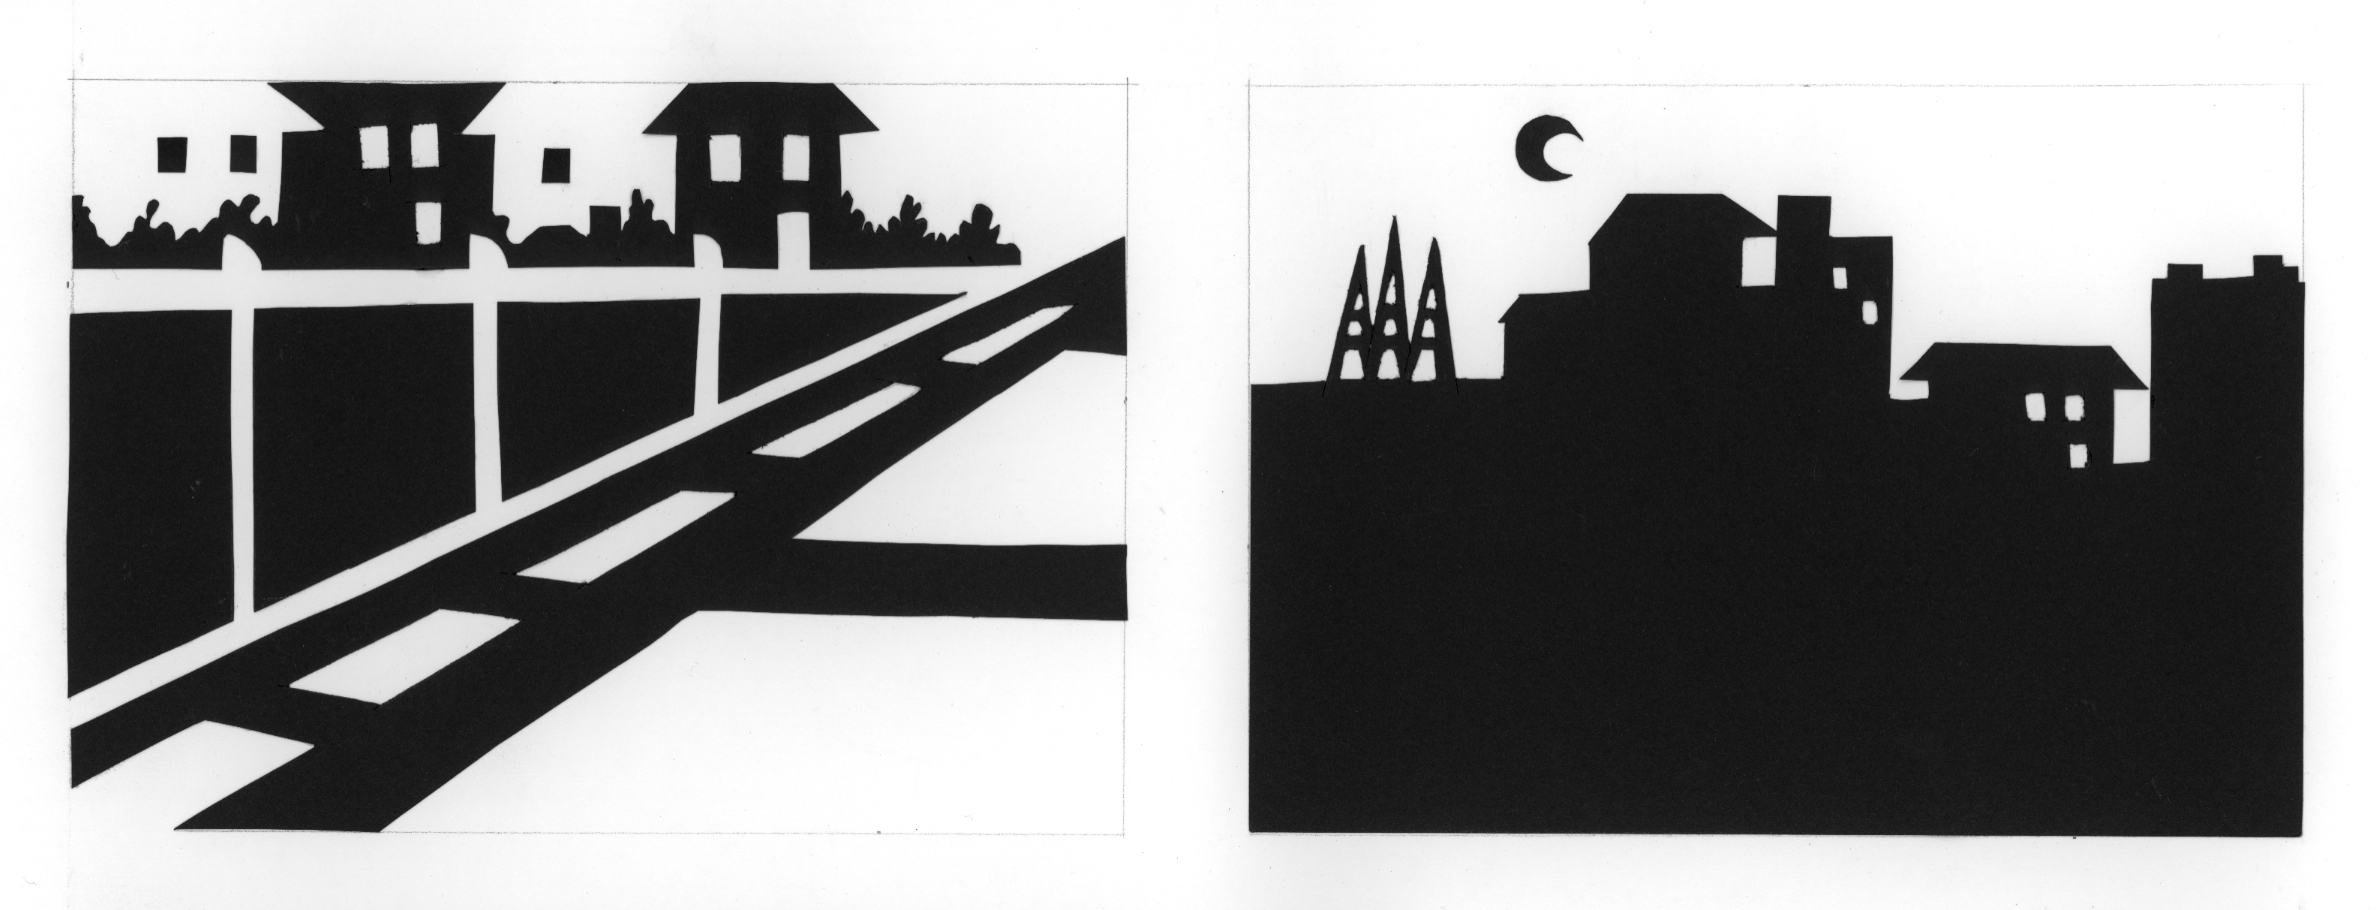
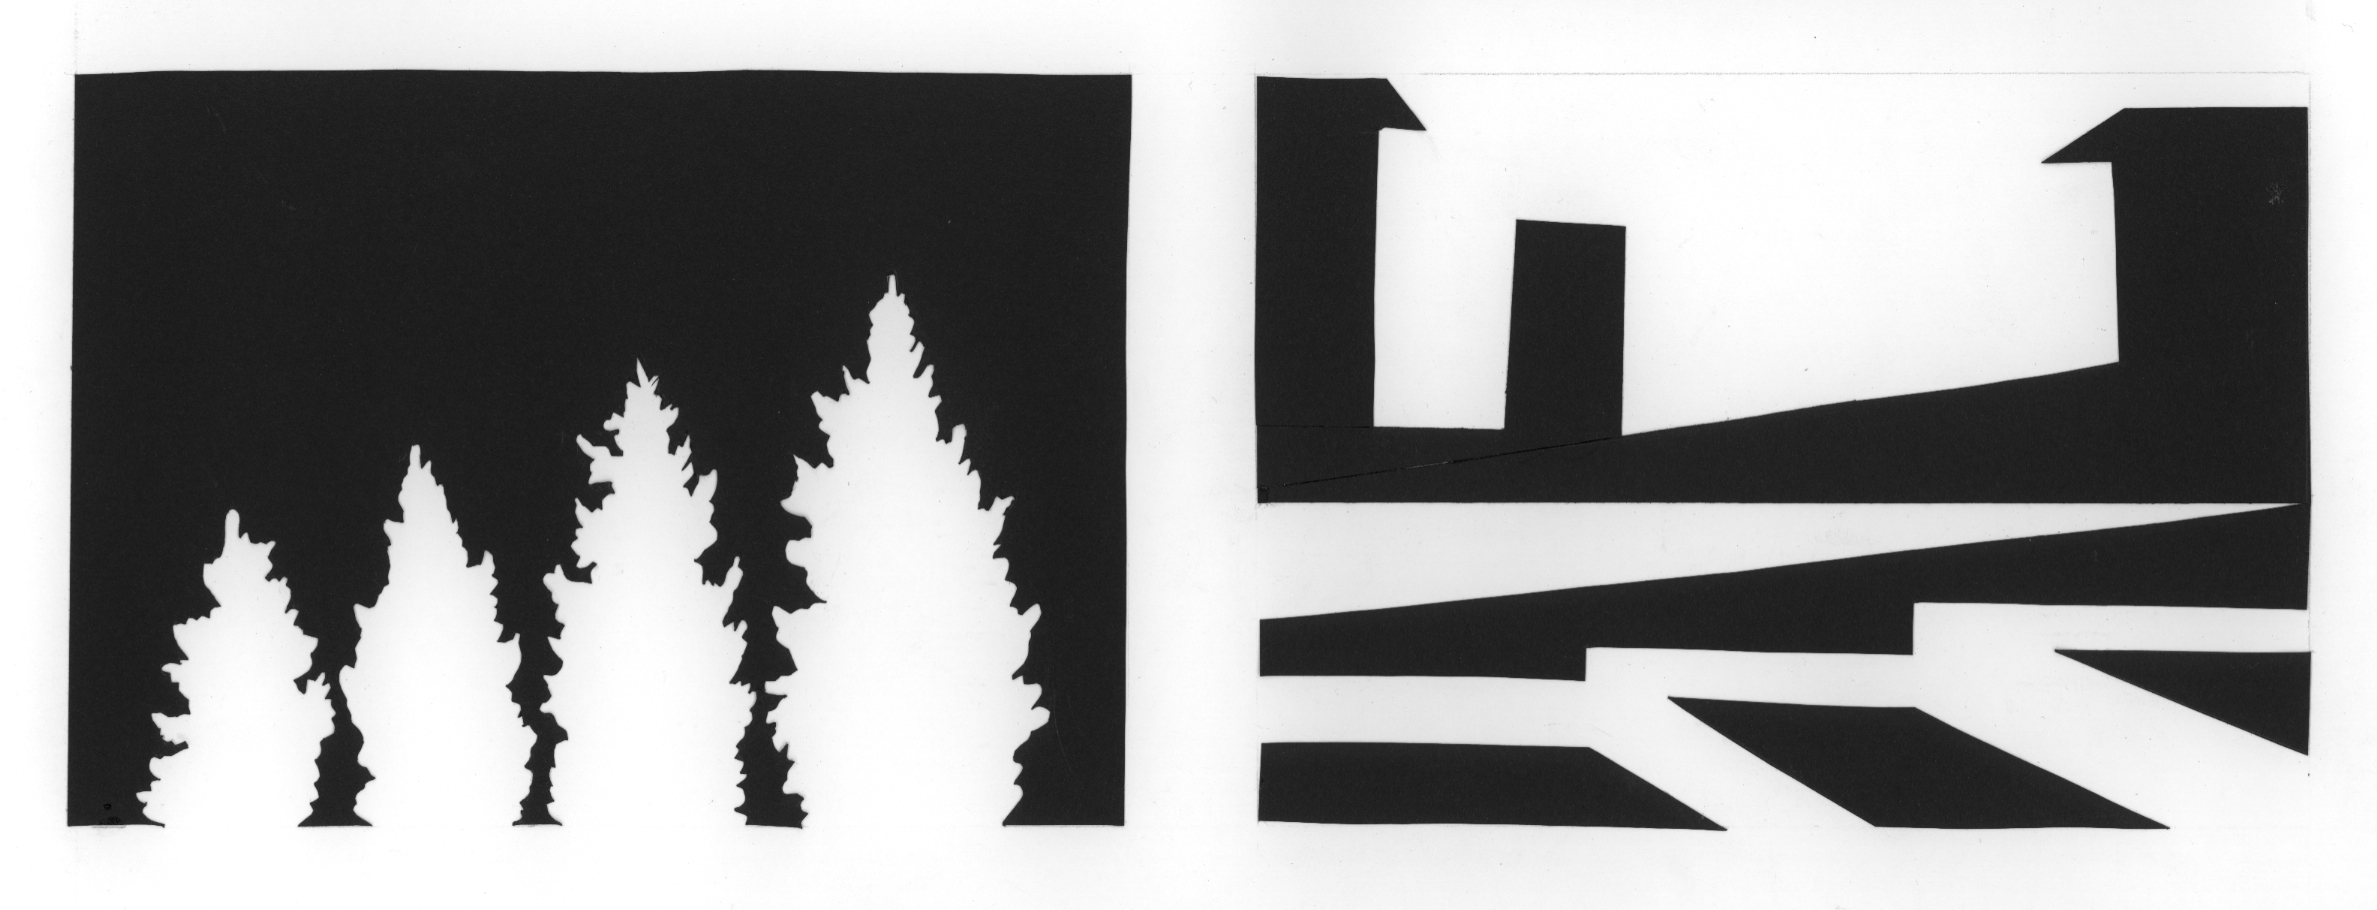
Obvious

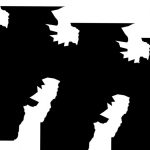

Ambiguous
Work time: 2 Hours
Ambiguous
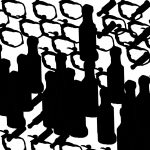

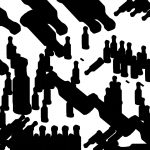
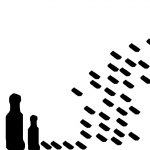
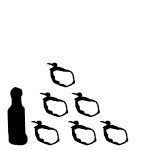

Obvious
September 14th, 2016
Due THIS CLASS:
Protecting and submitting your work
When you submit your final class work, demonstrate a dedication to your design practice and show a sense of professionalism. Protect your work from smudges, wrinkles and bends by covering it with a piece of protective tracing paper.

Yes!
NO!


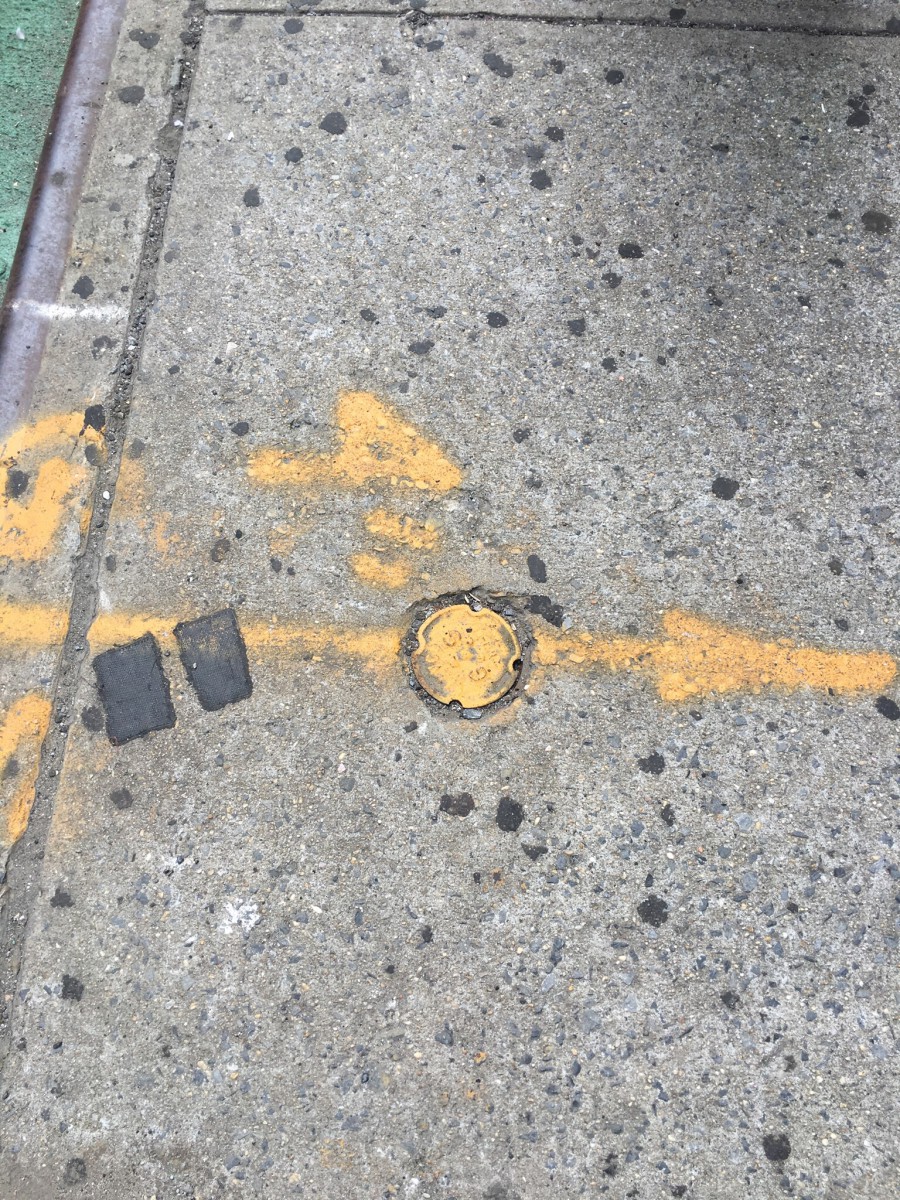
Yellow spear – found outside City Tech near/on Jay Street, Brooklyn, NY
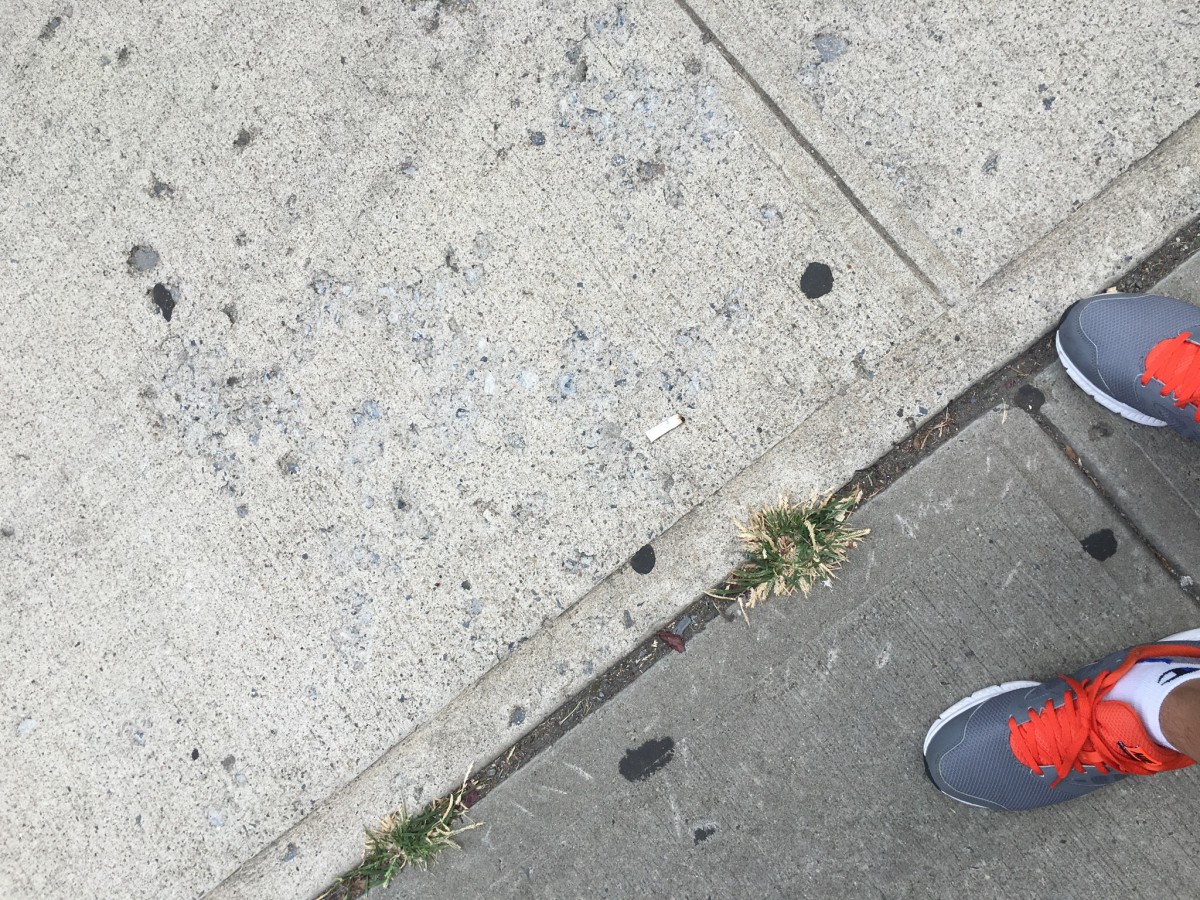
Abandoned cigarette- found outside City Tech near/on Jay Street, Brooklyn, NY

Underground entrance- found outside City Tech near/on Jay Street, Brooklyn, NY
The first image looks like a spear, with a circular decoration on it. It’s more of a geometric. I think that gas lid object came from building a gas lid then it got painted over. The second image is a abandoned cigarette. It’s geometric, and organic. This object came from someone who finished their cigarette. The third image looks like a underground lid. Down below is the sewer or maybe possibly a secret underground construction site. I think it’s geometric.
A worker smoking his/her cigarette was working to create what was underneath the gas lid, and the big rectangular yellow lid was probably some sort of entrance linked to what’s under the yellow gas lid. As time passed, these lid started to age, and they soon started to get involved with others that painted and decoration all over it as well as the nature of the world.
Working hours: 3pm-4pm
Our shared Google Map
September 12th, 2016
Due THIS CLASS:
Materials Needed (check Supply List):
Individual Meetings / Lab Time
September 7th, 2016
Due THIS CLASS:
Goal: To better understand the Project 1 Principles.
Activity: Break into groups of 3-4 students, review and present project Principles.
Your group will be given one of the following compositional concepts to present:
Research and discuss your group’s concept. Following these guidelines and outcomes:
Project #1 | Urban Artifacts Posts and Map Contributions
Materials needed for THIS CLASS (see Supply List for details):
** Note: if you are unable to afford these items due to financial aid delays, please make arrangements with a classmate to borrow or share supplies.
The Elements: basic components used as part of any composition, independent of the medium.
The Principles: basic assumptions that guide the design practice.
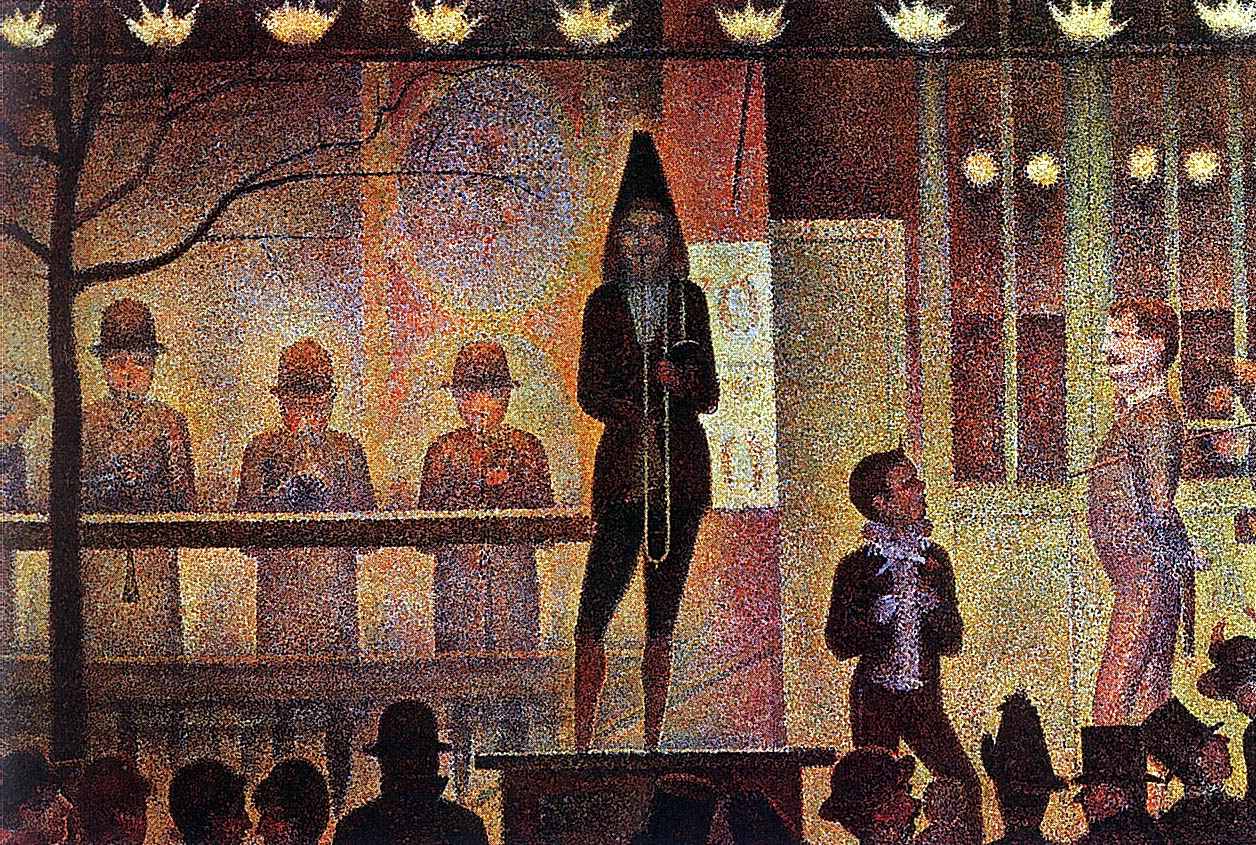
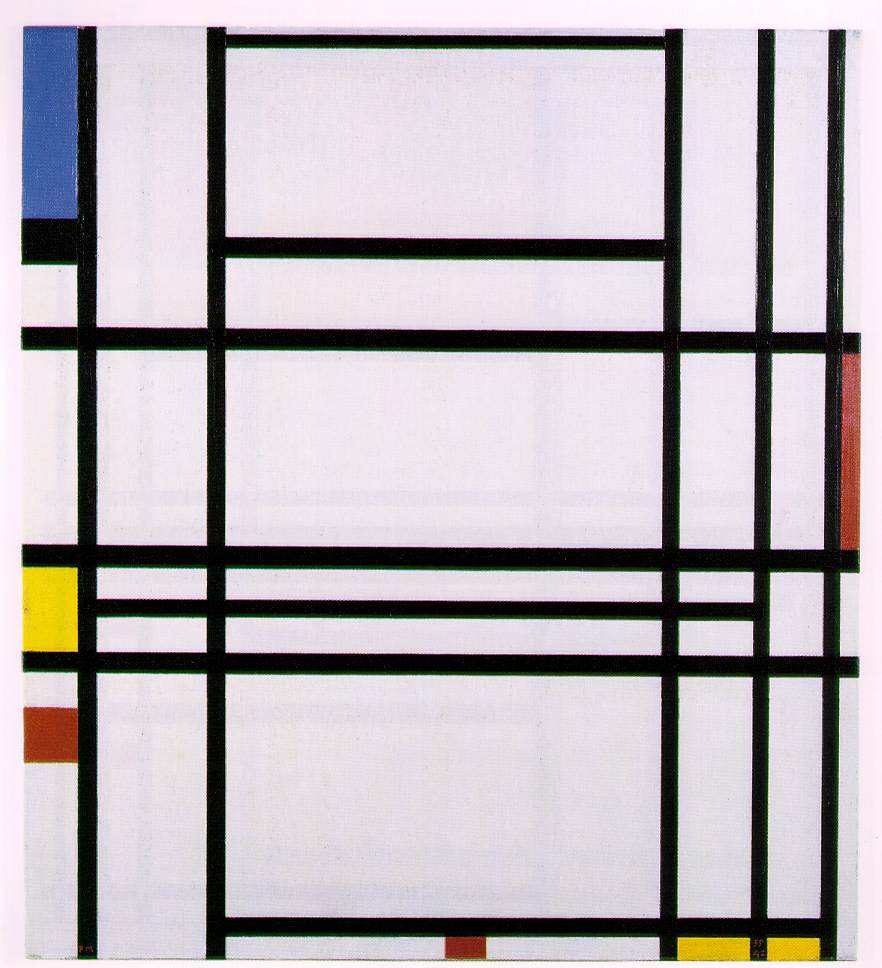
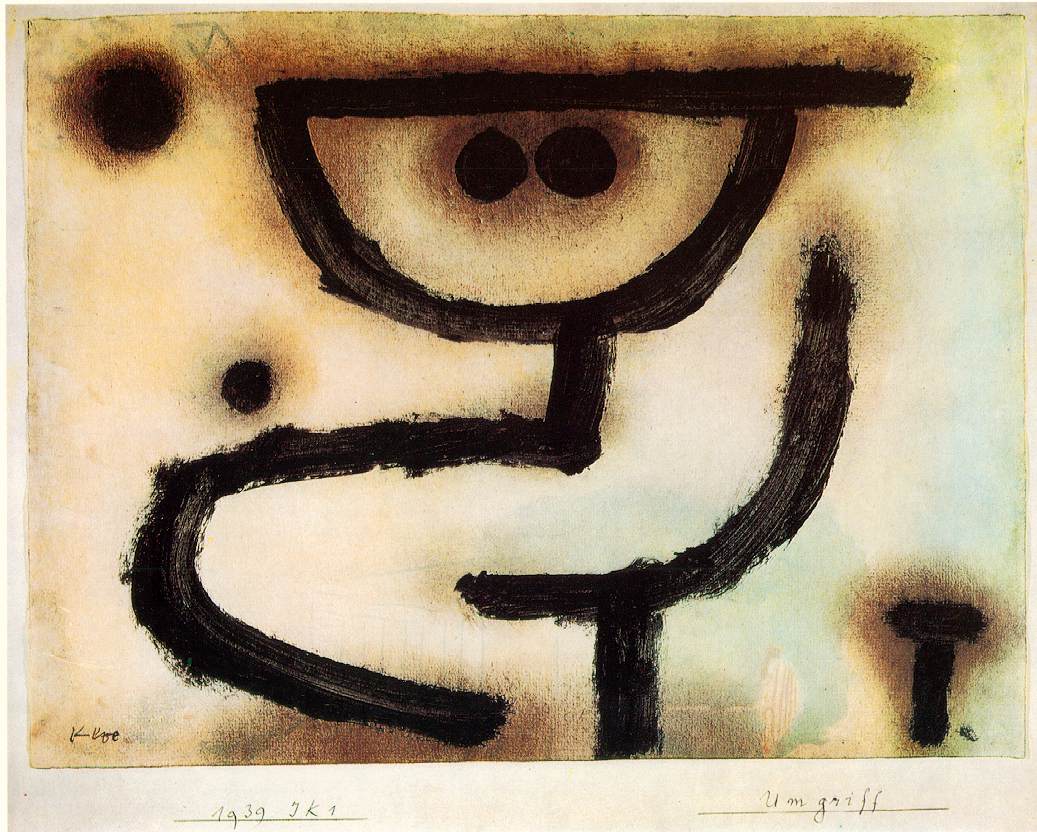
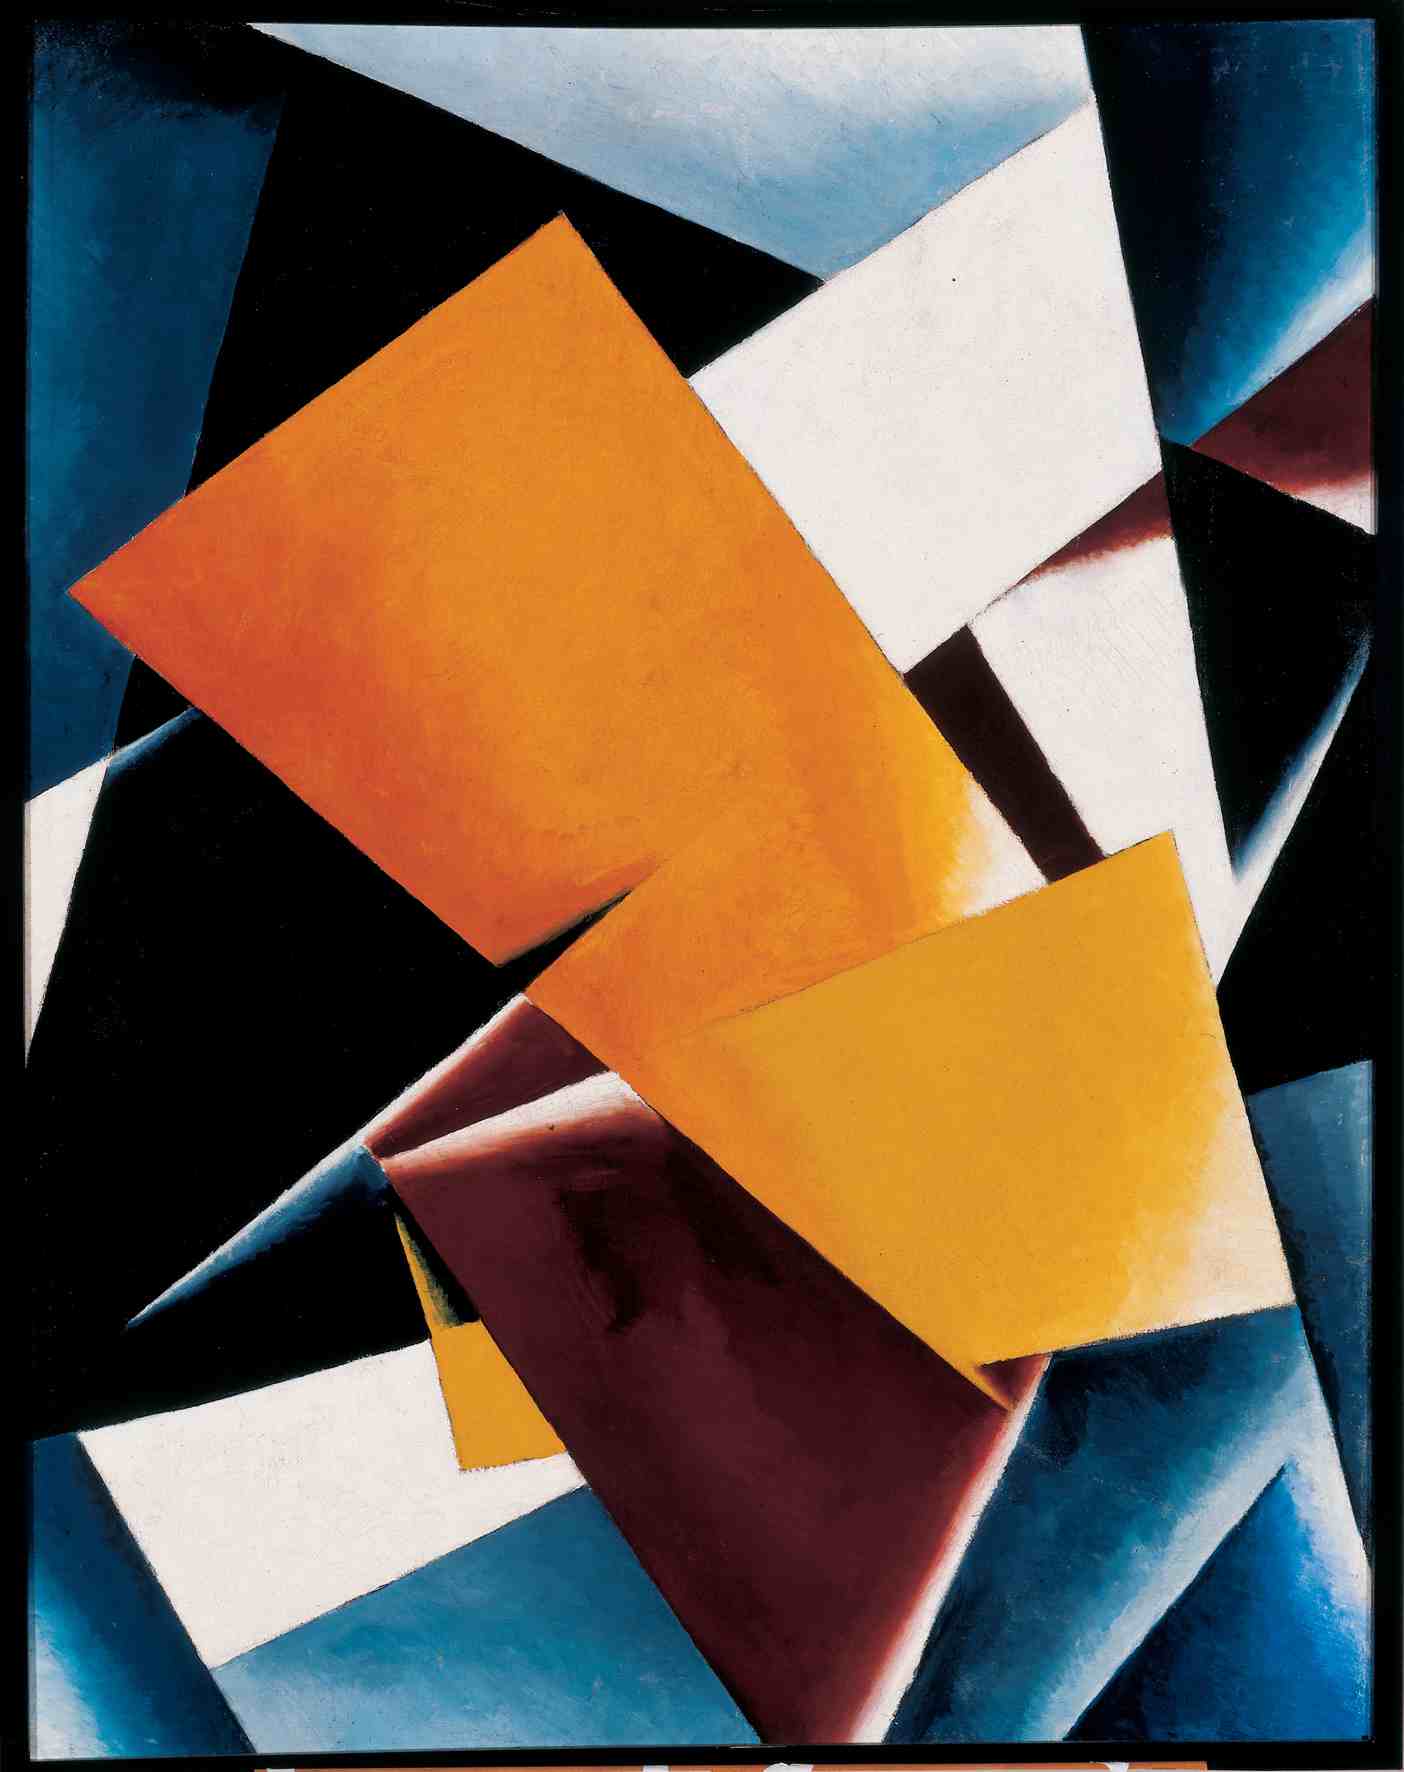
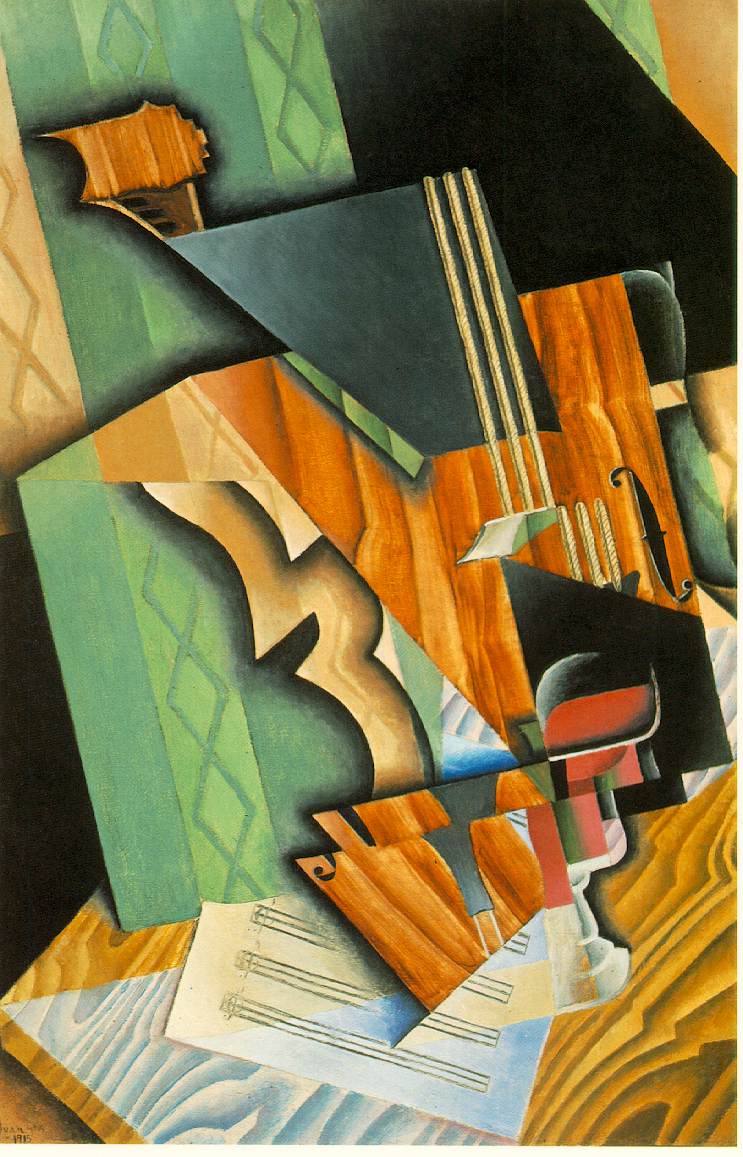
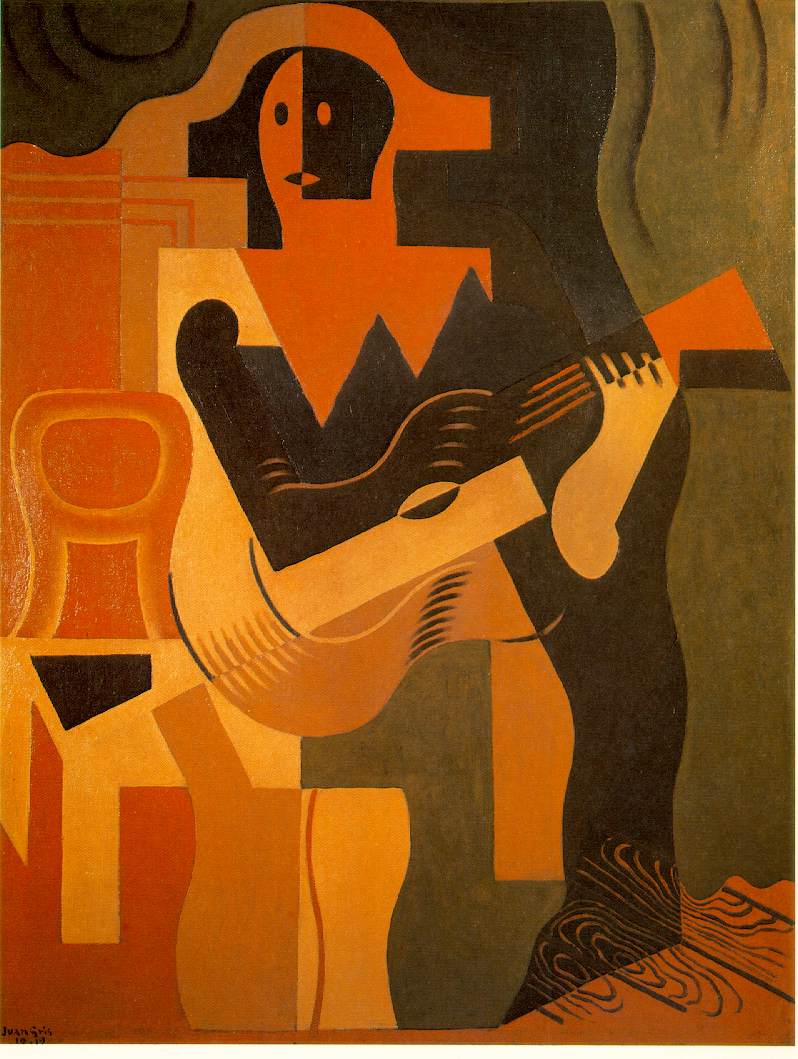
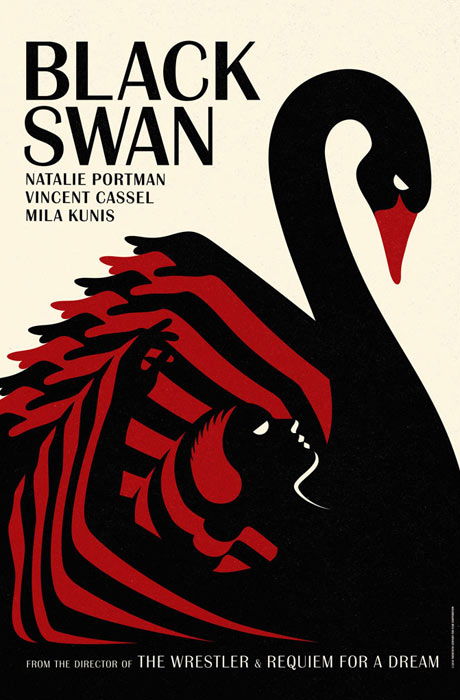
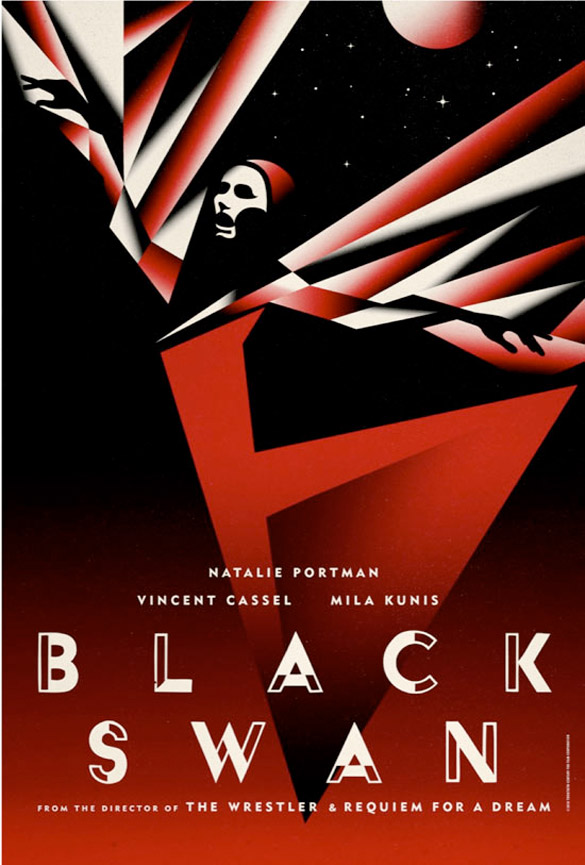
STUDENT EXAMPLES: Can you determine which image demonstrates Obvious and Ambiguous Figure/Ground? And why? Are they all successful or could some be improved? How?
Example 1 | Example 2
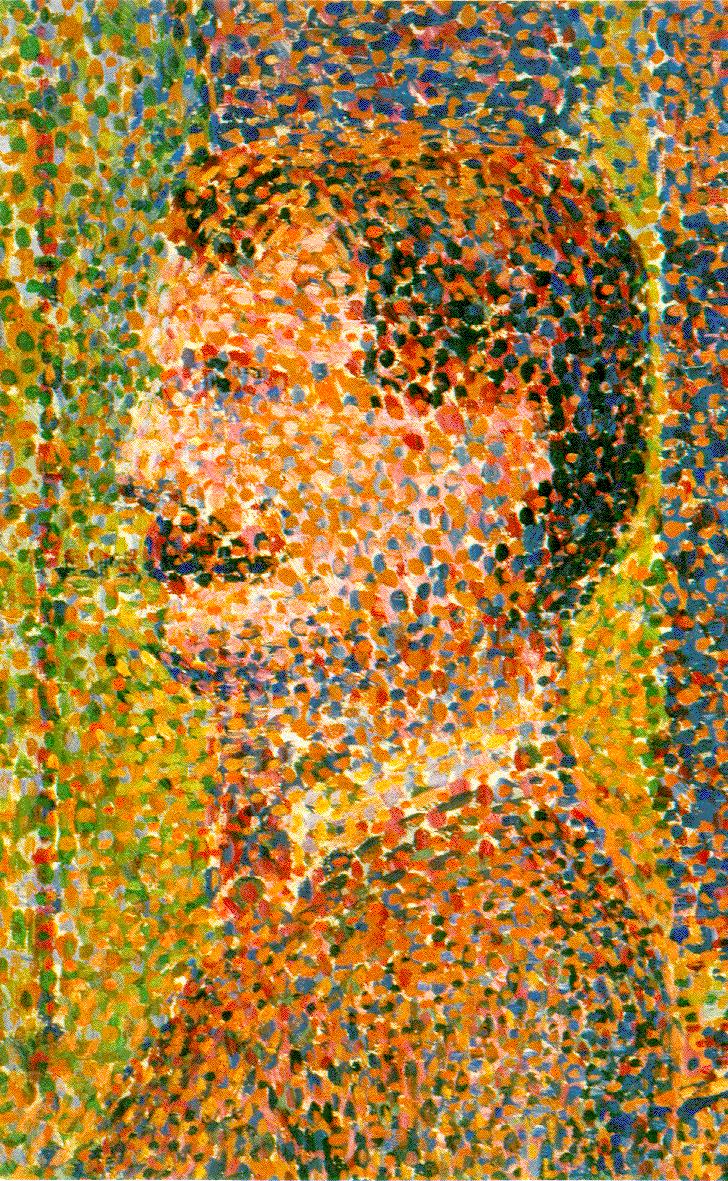
Let’s look at some professional design examples from 2015.
Phase 1: Discover
Post to the Class Blog:
Add to the shared Google Map:
Writing
Documentation and Feedback
Find a partner and introduce yourself.
Next, we will go around the room and introduce our partners to the class. (2 min. each)
PLAY WITH YOUR PROBLEMS Learning Community
Life is a series of problems to solve. Learn to embrace play: discovery, ideation and experimentation, to find imaginative solutions. This First Year Learning Community brings together Graphic Design Principles 1 and English Composition 1 to introduce Communication Design students to a creative process they can use in design, writing and life!
This design and color theory course explores graphic communication through the understanding of the elements and principles of design, as well as the design process, from idea development through final execution.
What is Design?
To design is to plan or arrange elements in order to communicate a thought, feeling, or concept. Design can also be described as the organization of information. This information can be visual, aural, informational, or tactile.
The products of design are compositions — arrangements of elements. We will focus primarily on the arrangement of visual elements in this course, but we will also consider how all our senses affect how we interact with and understand the world.
Why Learn Design?
A good designer, independent of the medium (data, sound, pixels, paint, wood) has a significant advanpage in the world, because s/he can influence what people see/feel/do.
How do you become a good designer?
First you must learn the fundamental tenets or guidelines. When building a sturdy house you need a strong foundation. When learning a new language you need to master grammar. It takes patience, attention to detail, and dedication to the craft.
Good designers love problem-solving. They love a challenge. They are inquisitive investigators with a strong internal motivation. They use all of their senses to find inspiration and solutions to design problems. Like a scientist they research, experiment, and repeat– until they arrive at the best solution to the problem they face. Their first idea is rarely the best.
A good designer follows a design process.
What is a Design Process?
A Design Process is the workflow a designer uses. Following a clear design process gives structure to design problem and helps to bring an idea from conception to final delivery. It is especially helpful when collaborating with others.
The primary design process we will follow in this class is:
Phase 1: Discover: Inspiration and Exploration
Phase 2: Define: Experimentation, Iteration and Feedback
Phase 3: Develop: Refined expression of Form, Skill, Craft and Voice
Phase 4: Deliver: Professional verbal, written, and visual presentation; critical reflection
Become a member of our OpenLab course:
The WALK:
References:
Materials needed for NEXT CLASS:
** Note: if you are unable to afford these items due to financial aid delays, please make arrangements with a classmate to borrow or share supplies next class. And contact me BEFORE the next class.
© 2024 PLAY WITH YOUR PROBLEMS – FYLC Fall 2016
Theme by Anders Noren — Up ↑
The OpenLab is an open-source, digital platform designed to support teaching and learning at City Tech (New York City College of Technology), and to promote student and faculty engagement in the intellectual and social life of the college community.


Recent Comments