Monthly Archives: September 2019

Project 1 – lost & found | step 4: deliver

These images above are the final draft of this project. Throughout  this project I learned a numerous amount of things. One being that I have to be patient and trust that the work will get better , draft after draft. If I were to redo this project I would have gotten a better tracing paper that was more I guess visible. To add on to what I would have bought, is a thin brush because it was difficult going through the tight areas in my piece. Overall I learned the difference between ambiguous and obvious figure/ground relationships. My final piece compared to my refined there is a difference in the ambiguous, One being that the coloring to totally different and I gave it more definition and personality. When looking back to my first sketch you can see that I keep the image bland and boring. In my final piece you see the change.

Yunique’s Final Inked Composition (Step 4)

This is my final inked composition of my ambiguous photo of the hole in the wall. I can say that this was hard to do, but no matter what I pushed myself through it. I incorporated many elements of black and white and for the hole in the wall I wanted to add some definition to it to make it look exhibited. One thing I wish that could’ve came out better was the ink because for some areas it appears to look lighter outside the top and side areas of the image.

This is my final inked composition of my obvious image of the reflected window. As stated earlier in my other inked composition, I took out a lot of detail that was going to be in the inked out background of the wall. For the actual image of the window I kept in the dirt and mold being shown, but I made it to as where a lot wasn’t being displayed. The original image didn’t have a lot of specs, dirt, and mold so I decided to take it out and add my own details. This came out perfectly and I don’t think I should’ve added anything else as it was going to ruin it.

Note: This project gave me a lot of clarity on obvious and ambiguous images and gave me a better understanding of it. From now on when I look at any photograph I could look at it and determine what it is whether it’s ambiguous or obvious. One thing that was challenging was the lines being displayed because for most of my sketches I had to tune out most lines and configure it into either organic or geometric shapes.

Project 1 – Lost & found: Phase 1

Obvious

This is a picture I took on the wall of the subway station. I think it’s caused by the peeling off of the wall.


This is a picture I took while walked on the road. I think it’s someone else’s graffiti on the ground.


This is a picture I took on the wall of the subway station. I think this is caused by paint.

Ambiguous

This is a picture I took on the wall of the subway station. I think this is the letter b


This is a photo I took when it was raining. Wet land and dry land constitute “Ambiguous”.


This is a picture I took on the wall of the subway station. I think it’s caused by the peeling off of the wall.

Yunique’s Refined Sketches (Step 3)

This is the refined and final sketch of my ambiguous photo of the hole in the wall. I’ve decided to change it up a bit and just really focus on the hole elements and see how I could put it on my bristol board on ink. The darker shades of black on the actual hole itself was represented in my image and I decided to incorporate it onto the refined version. The specs outside of the hole itself is peeling paint that surrounds it.

This is my refined and final sketch of my obvious image of the reflected window. Now as you can see I’ve also decided to scratch away most of the elements in my first sketch as it made it look a bit more ambiguous. I thought it was one of my best refined images due to me making it simple and not too complex. I focused more on what was being shown in the window reflection which was dirt (30%) and the background which was (70%)  . I was going to add aspects of the dirt being in the wall in the back, but I wanted to make it look more unique in my own way.

Yunique Griffith’s Sketches

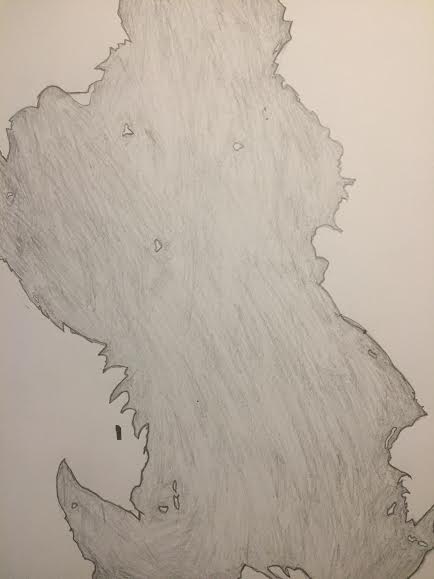
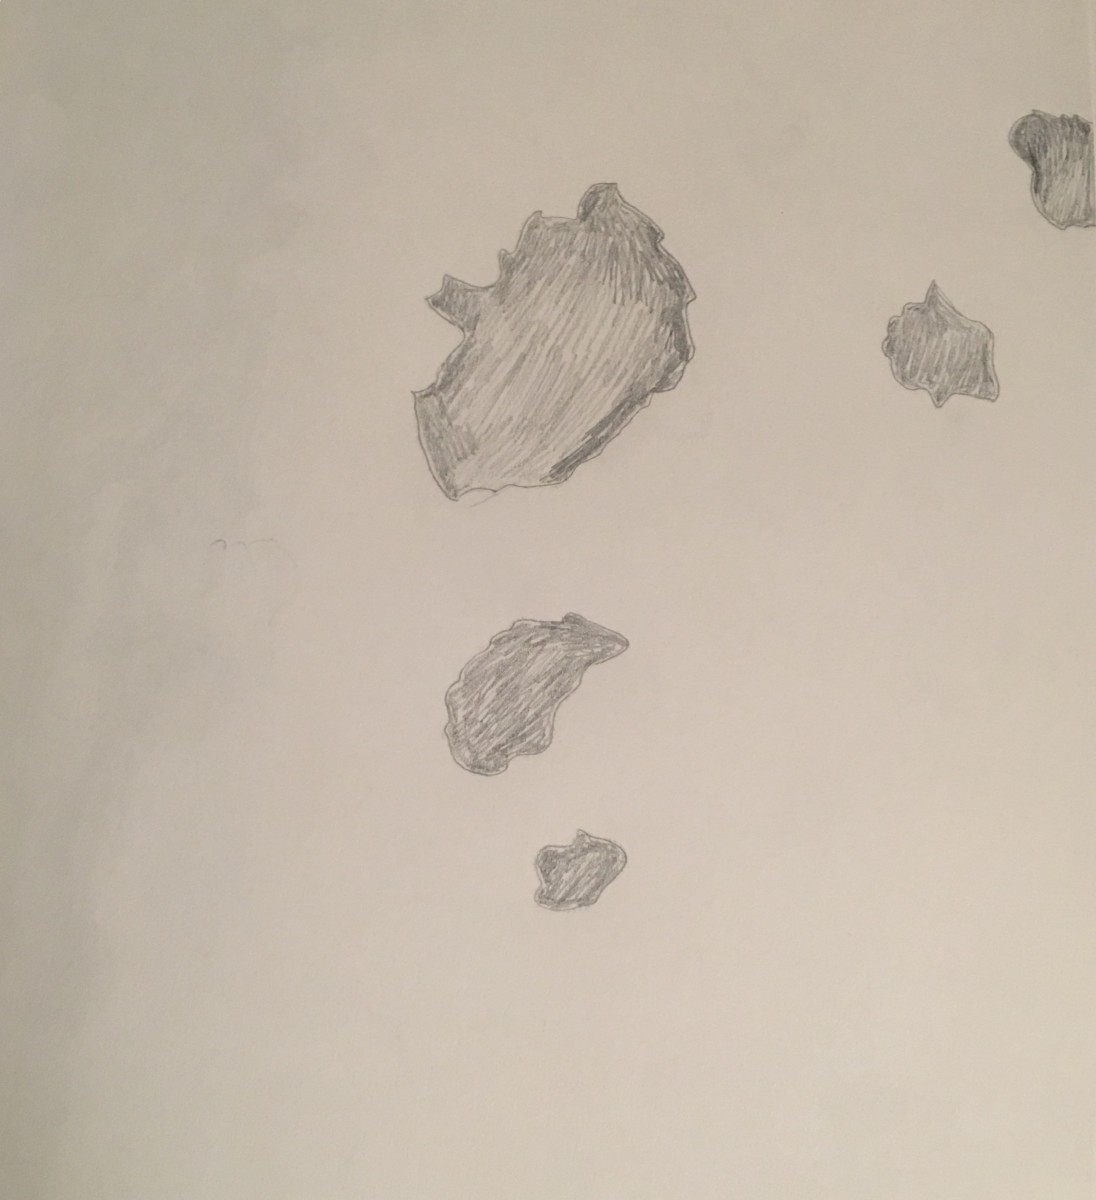
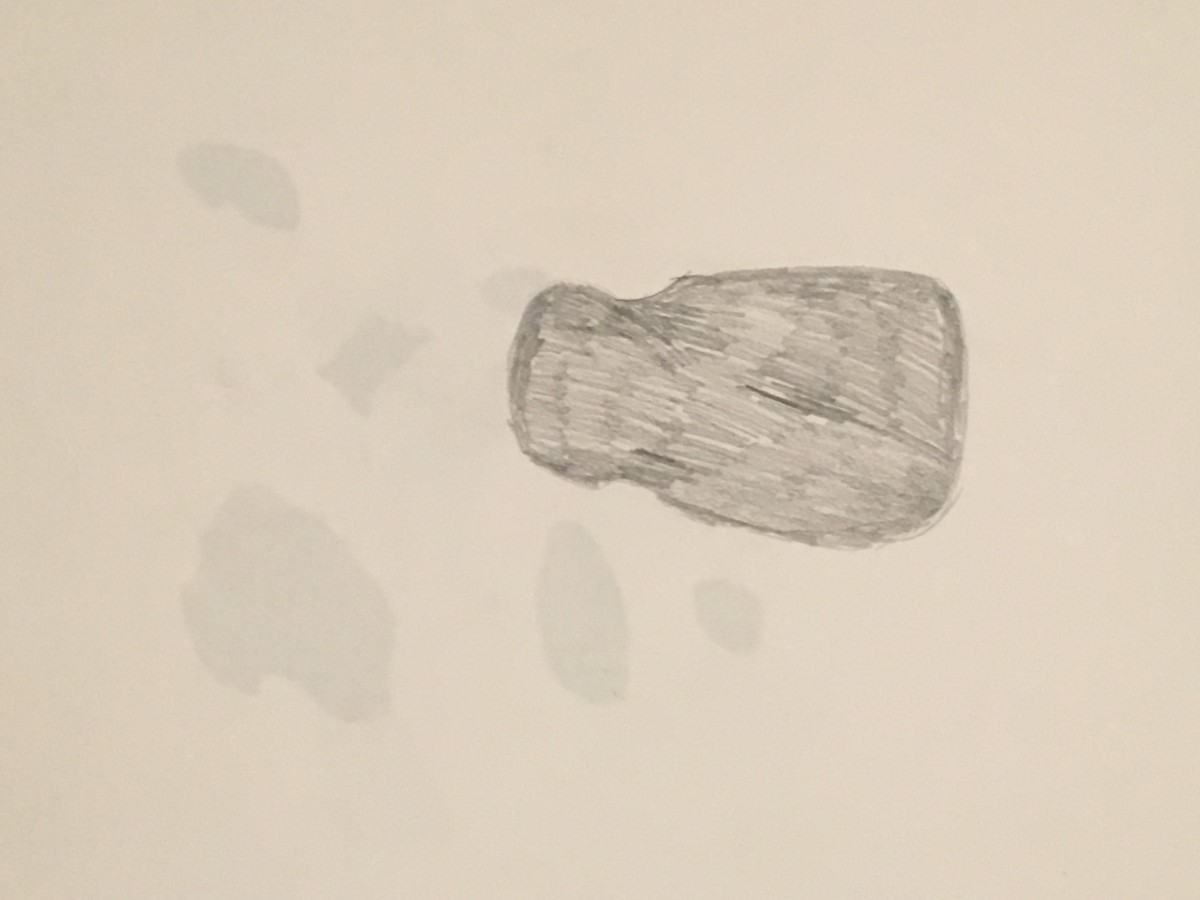
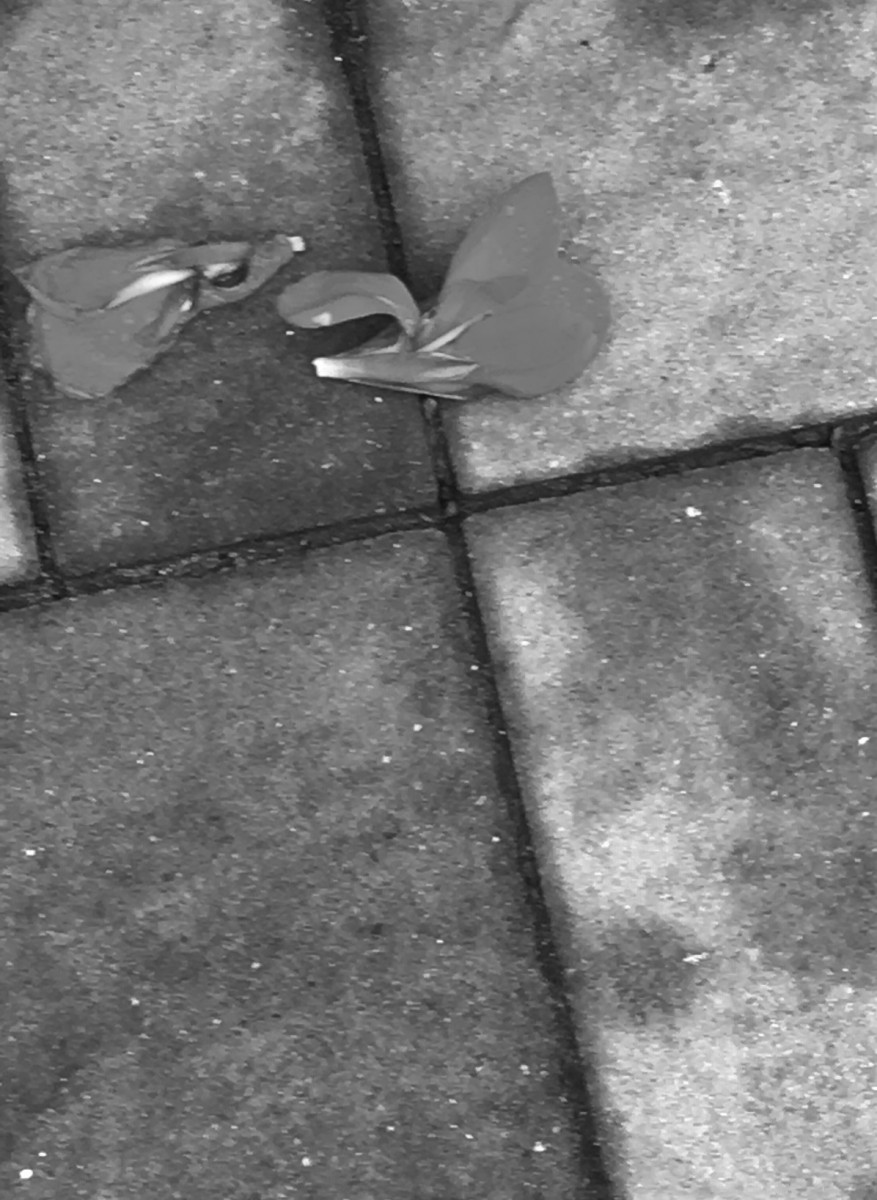
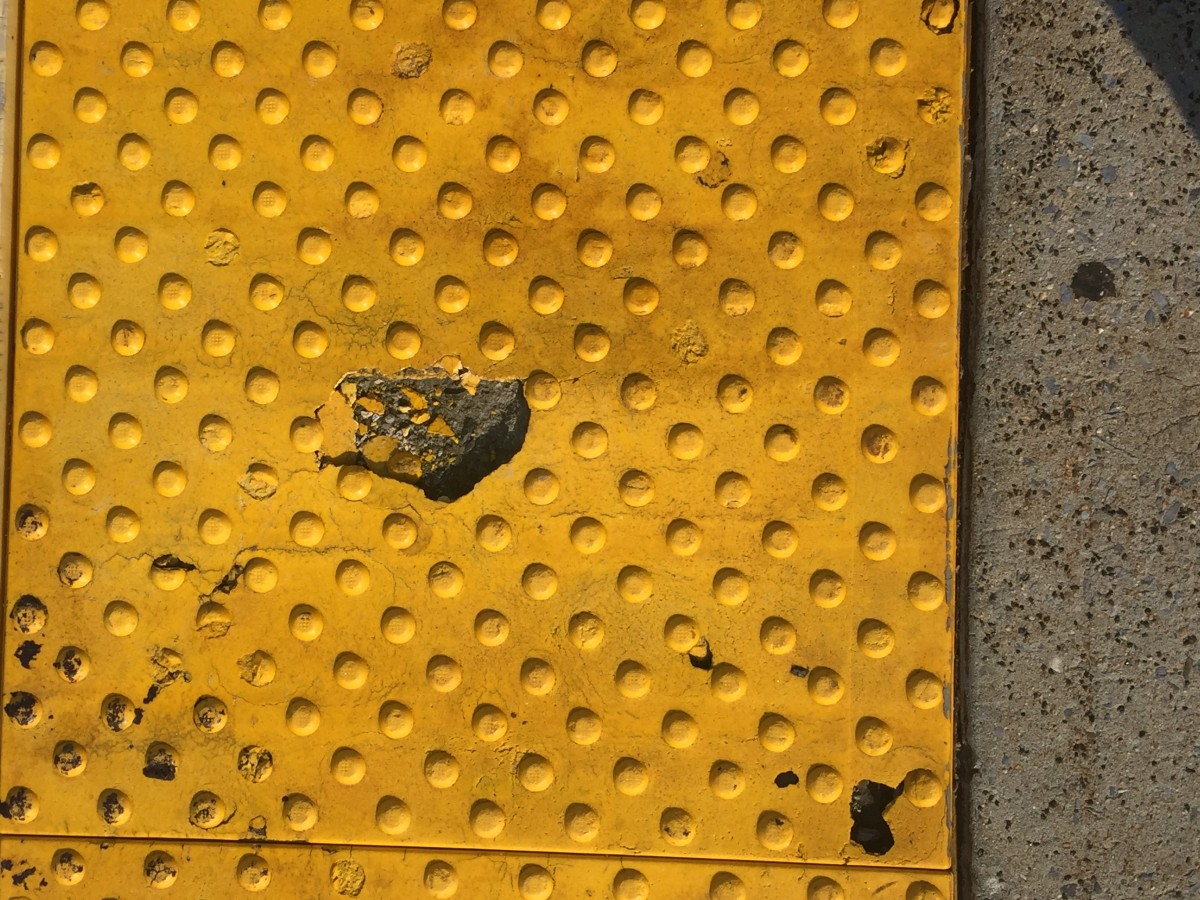
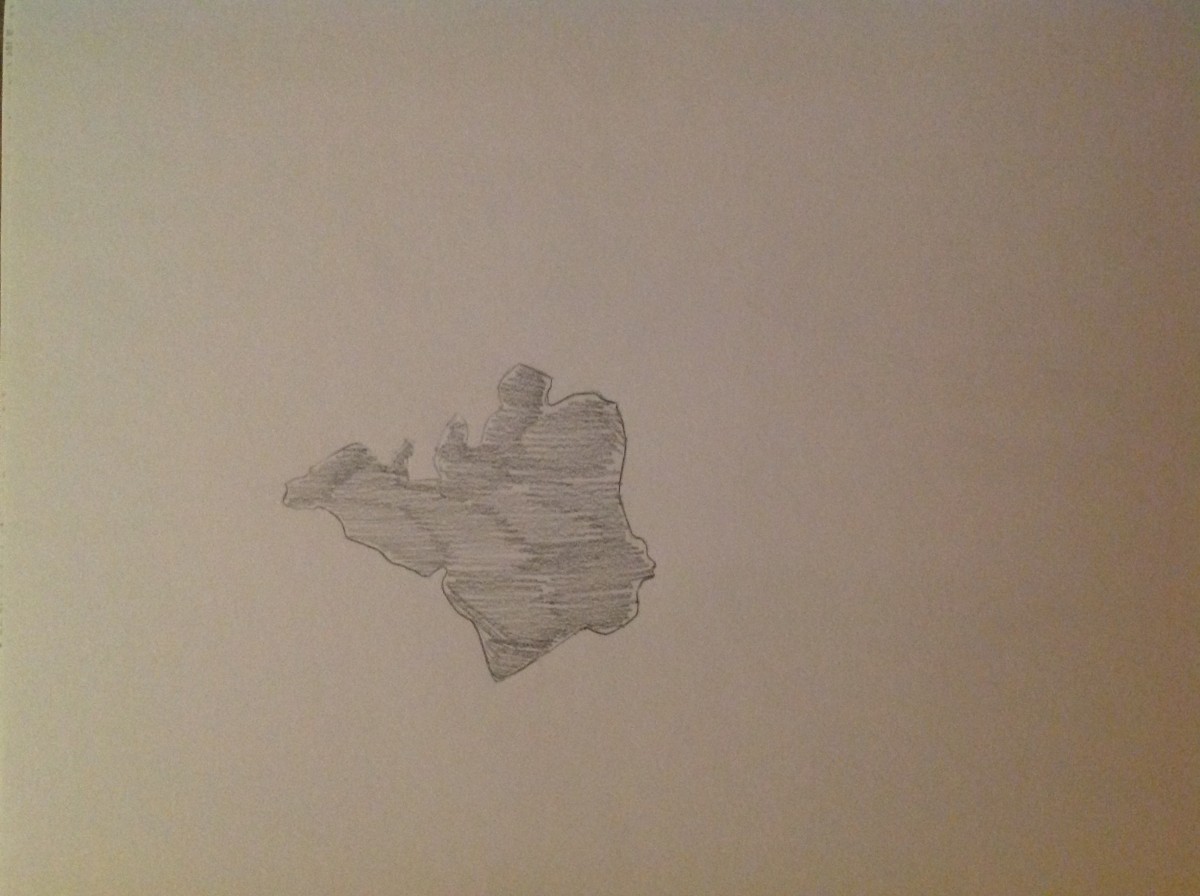
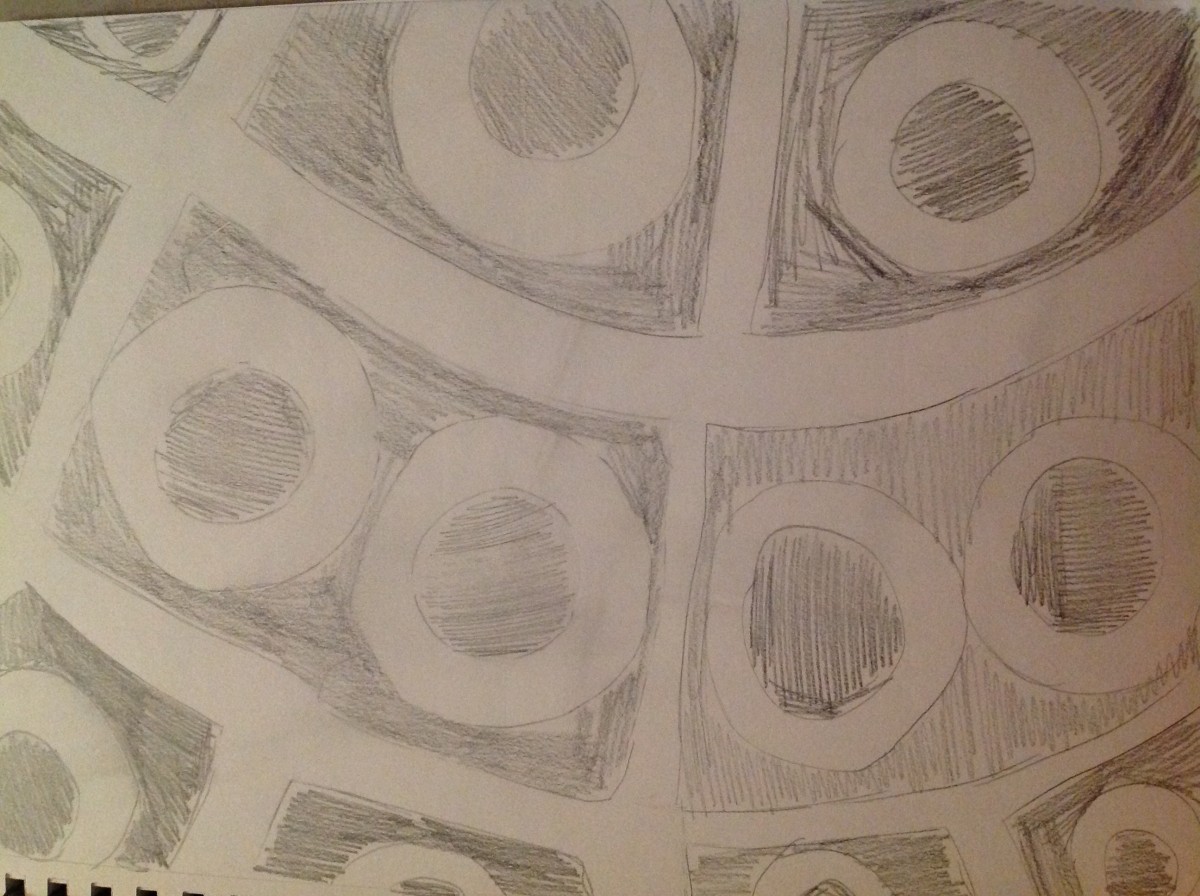
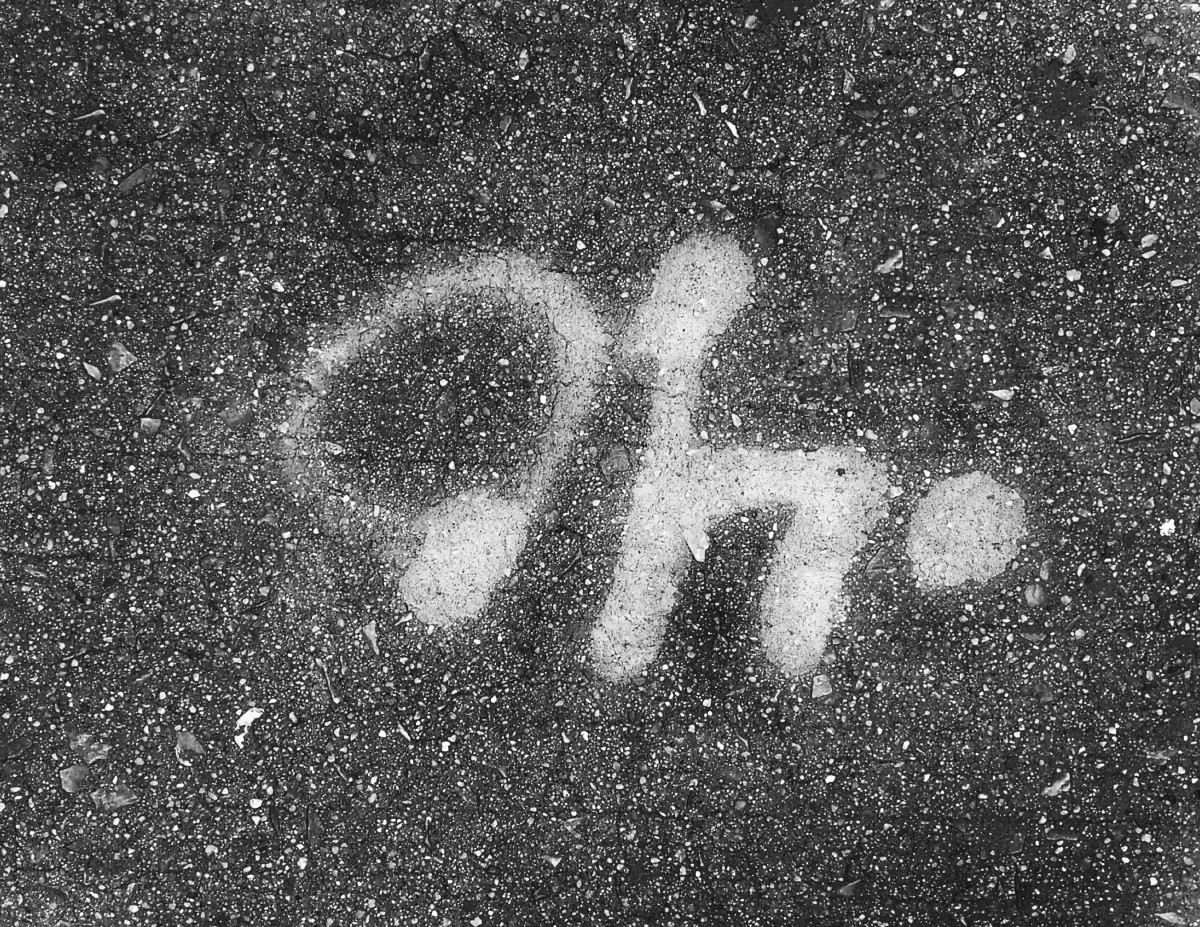
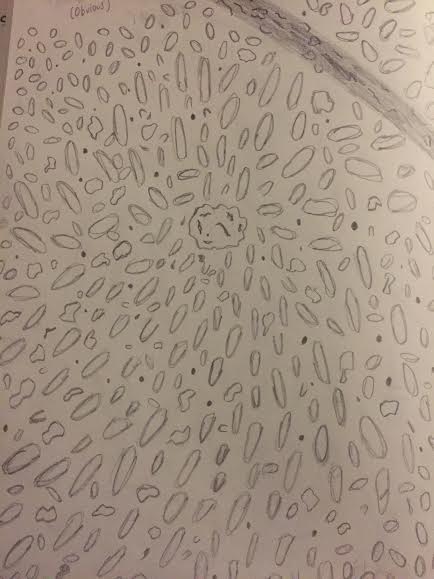
This was a rough sketch of my gum photo which was obvious. There was a lot of fine detail incorporated within my photo, but I’ve decided to simplify it and give it its own taste. The gum was 30% of my image while the rock and pebbles surrounding the gum on the ground is composed of the remaining 70%. I’ve ultimately decided to not put this in my final pieces due to the amount of fine detail I would have to incorporate in my final inked piece.

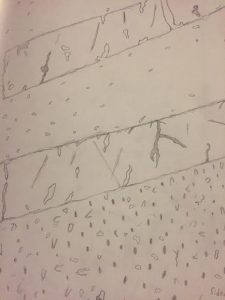
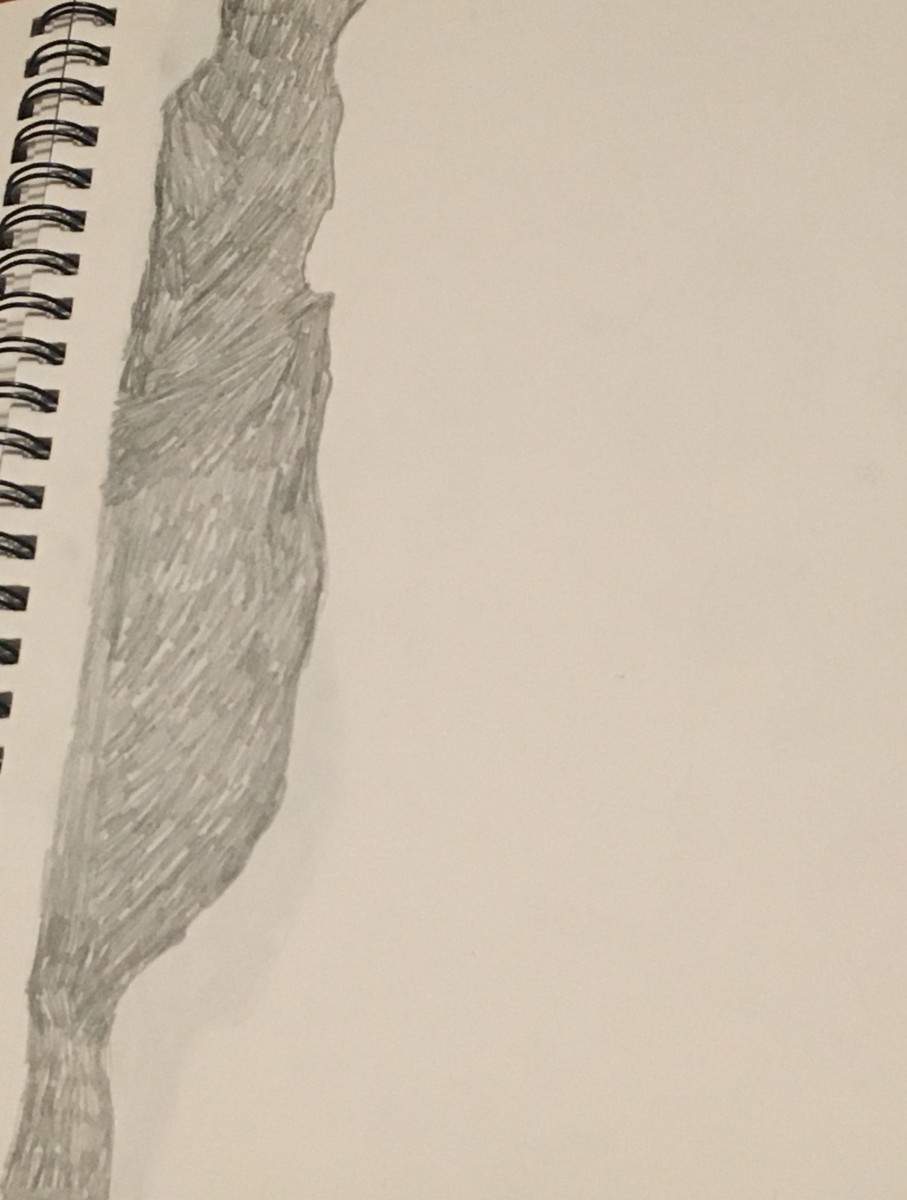
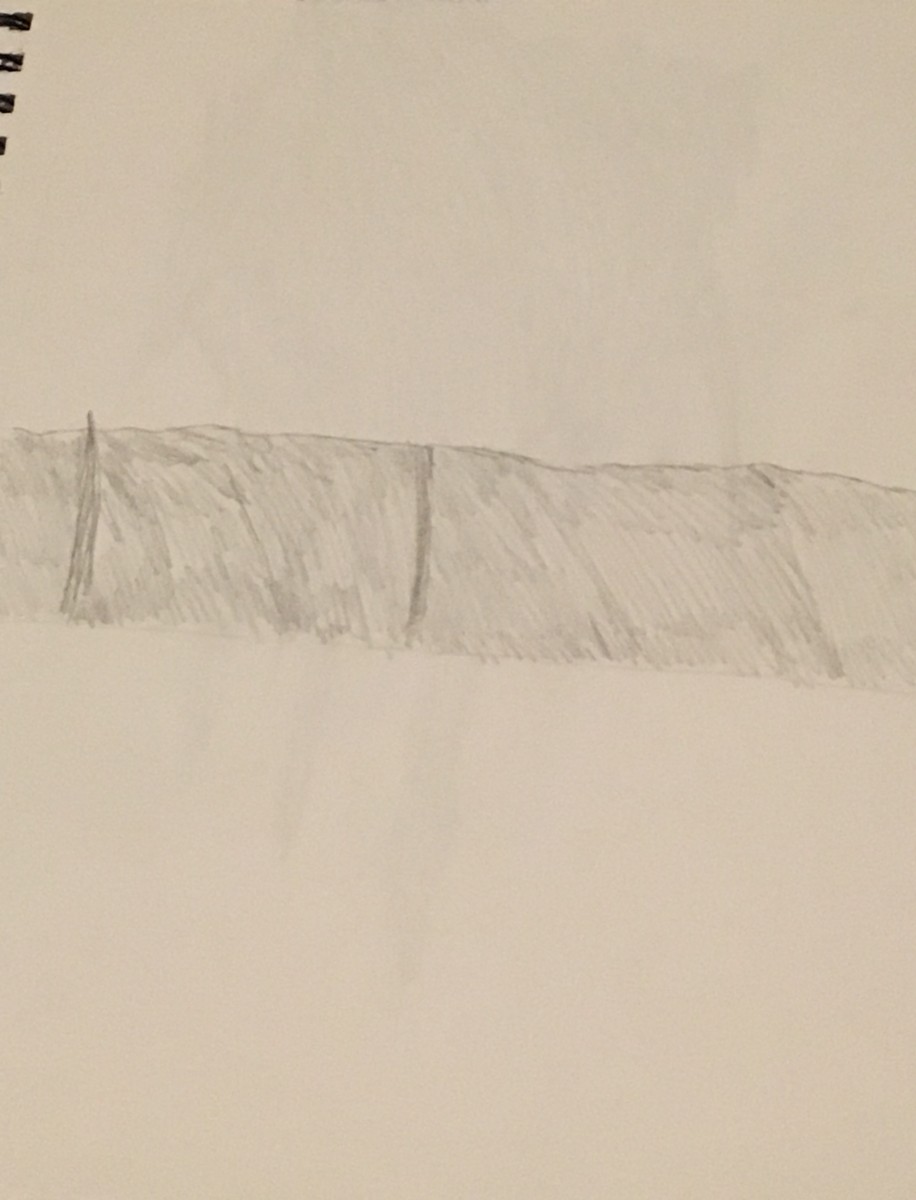
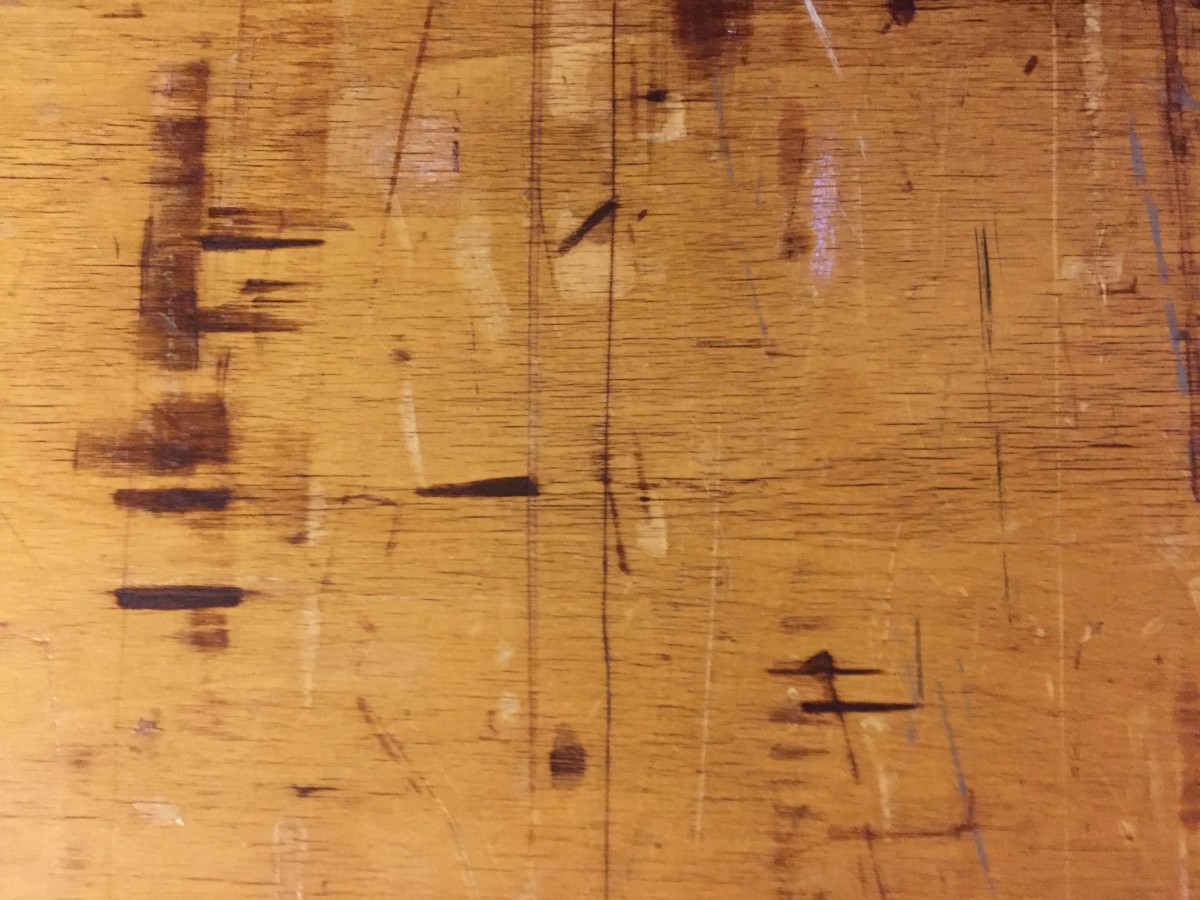
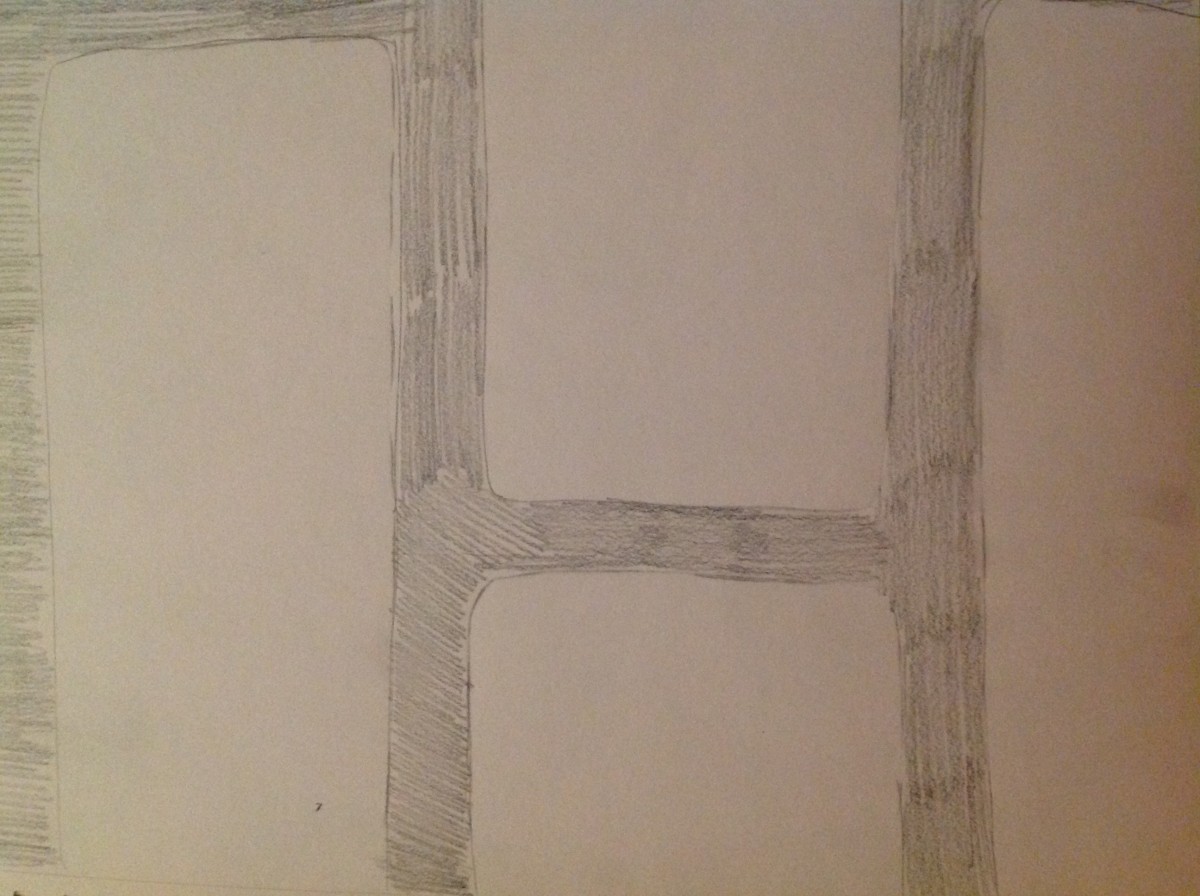
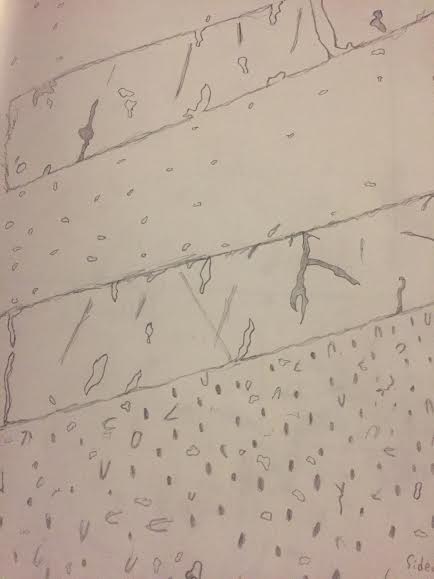
This was a rough image of an obvious image I took which is a sidewalk. This sketch turned out to be one of my favorite amongst the rest of my sketches, but I didn’t like the amount of shades incorporated within it. If this was going to be my first inked obvious image, then I would have needed to have added light and dark compositions into it.

Note: The photo of my sketch didn’t come out correctly as the ground in which holds the crosswalk is supposed to be larger. It was supposed to come out as 30×70. I kept trying to fix it, but to no avail.

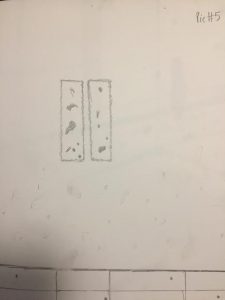
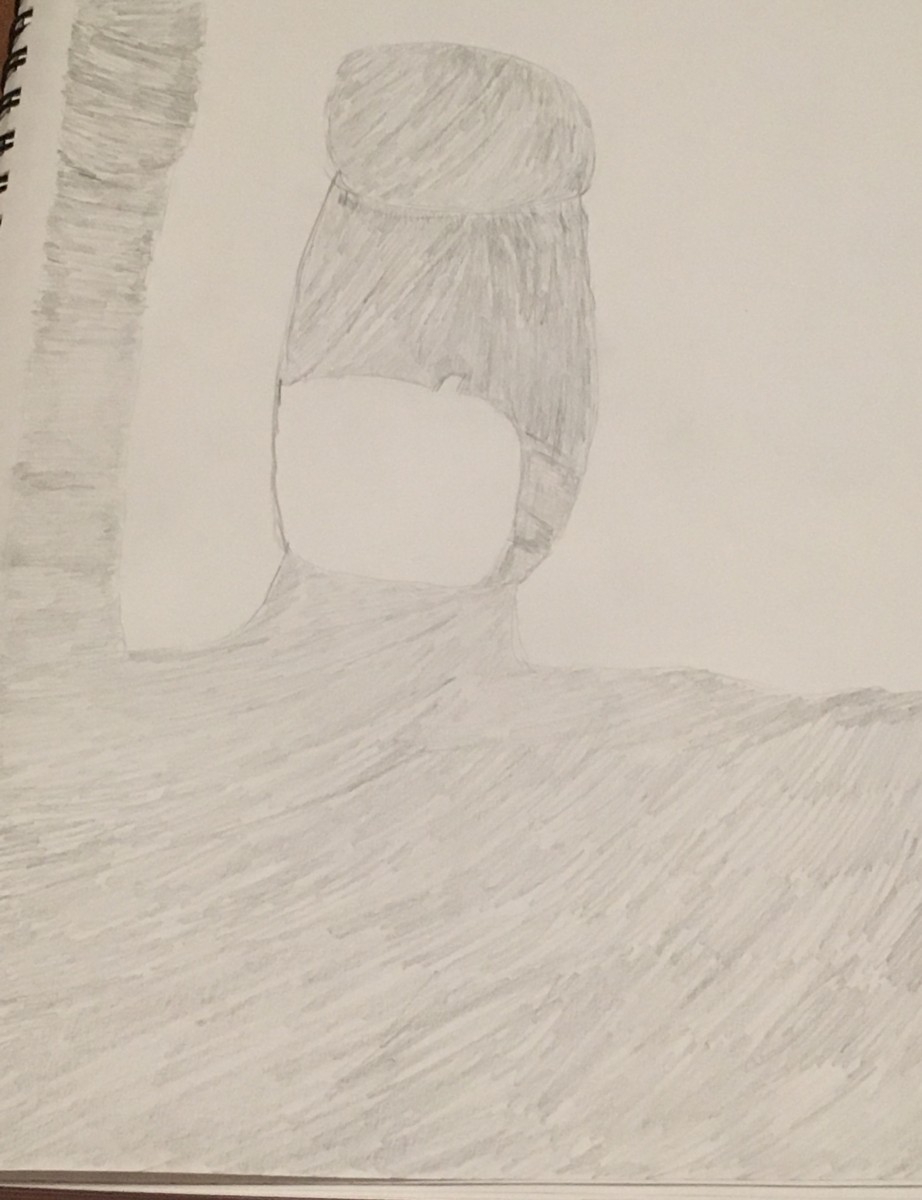
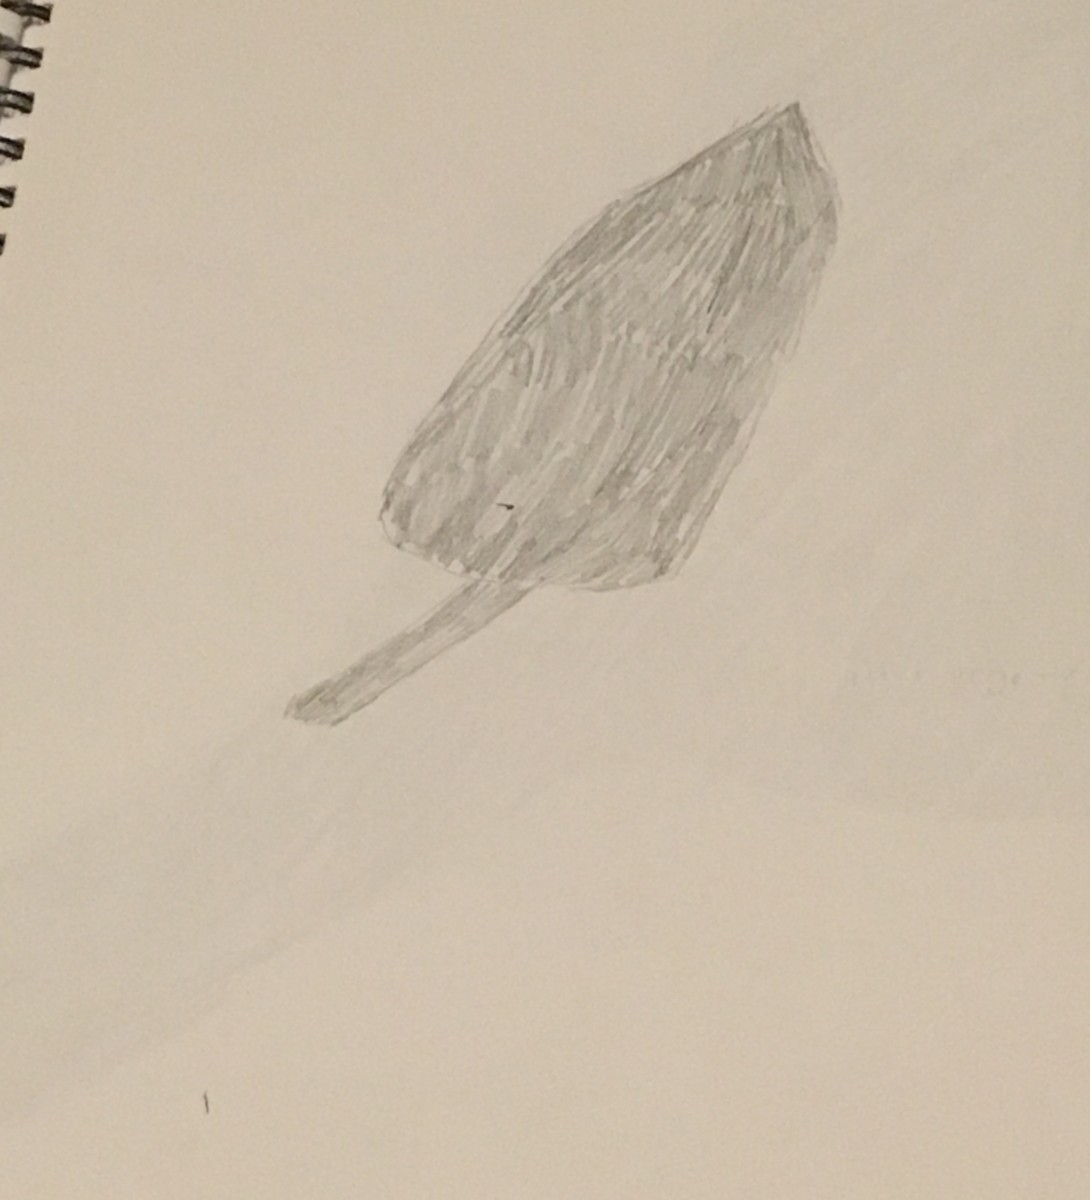
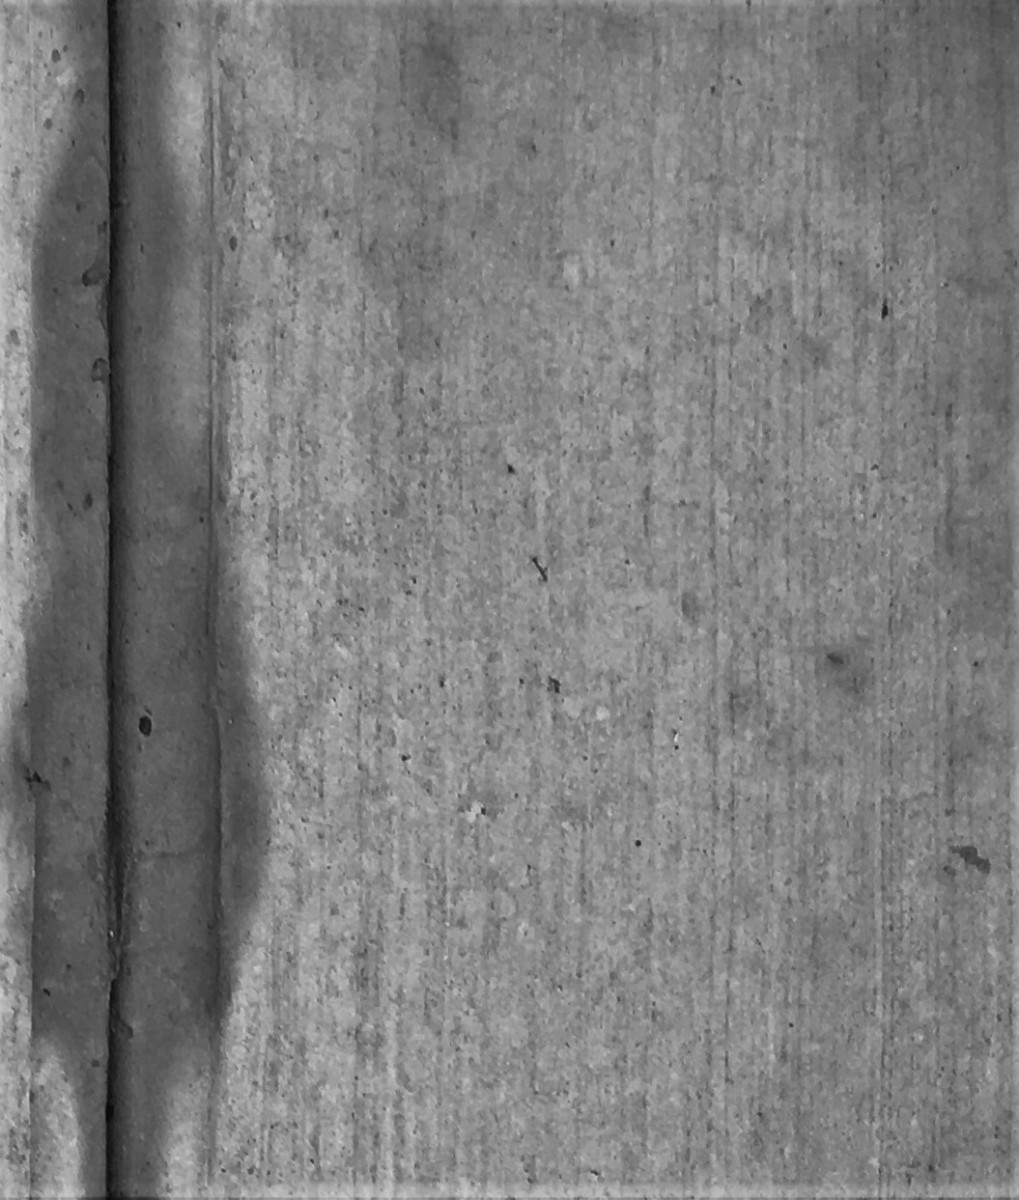
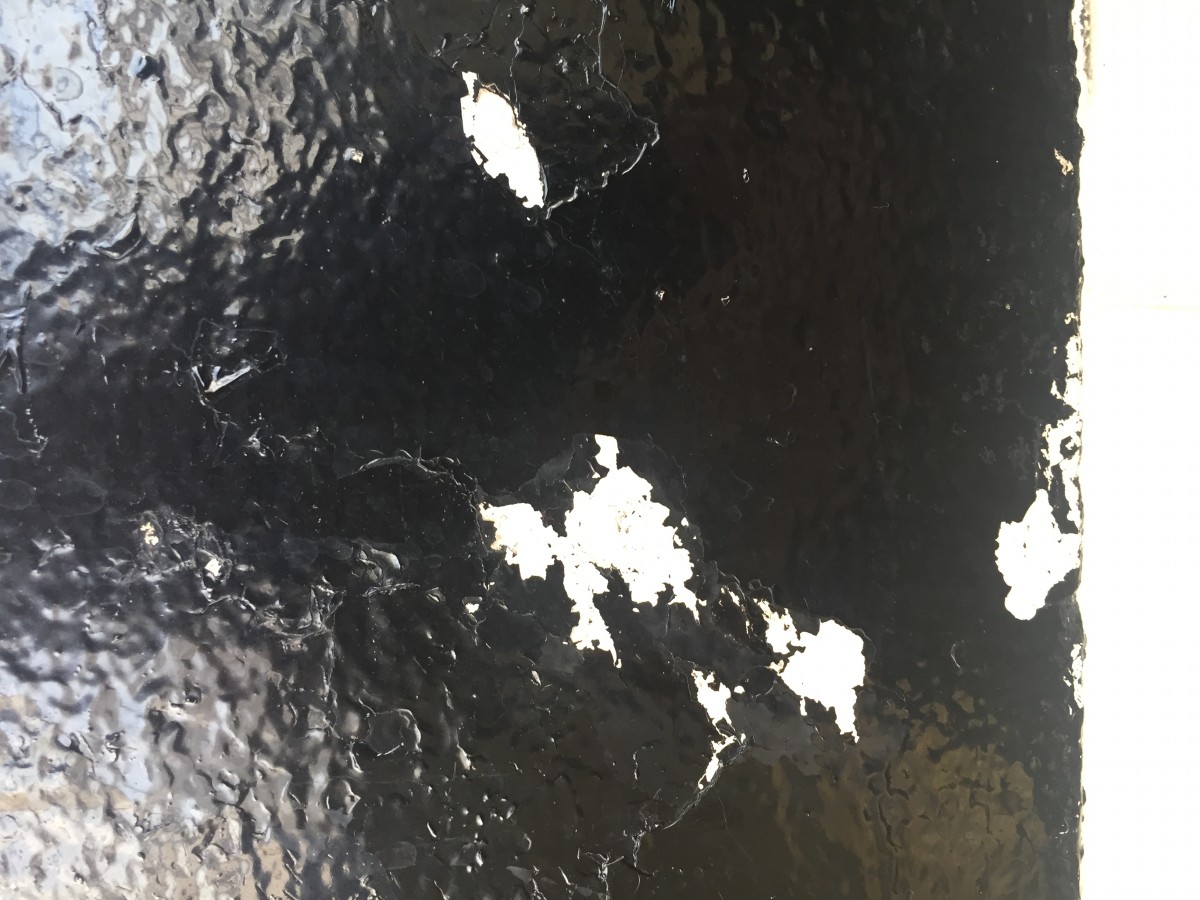
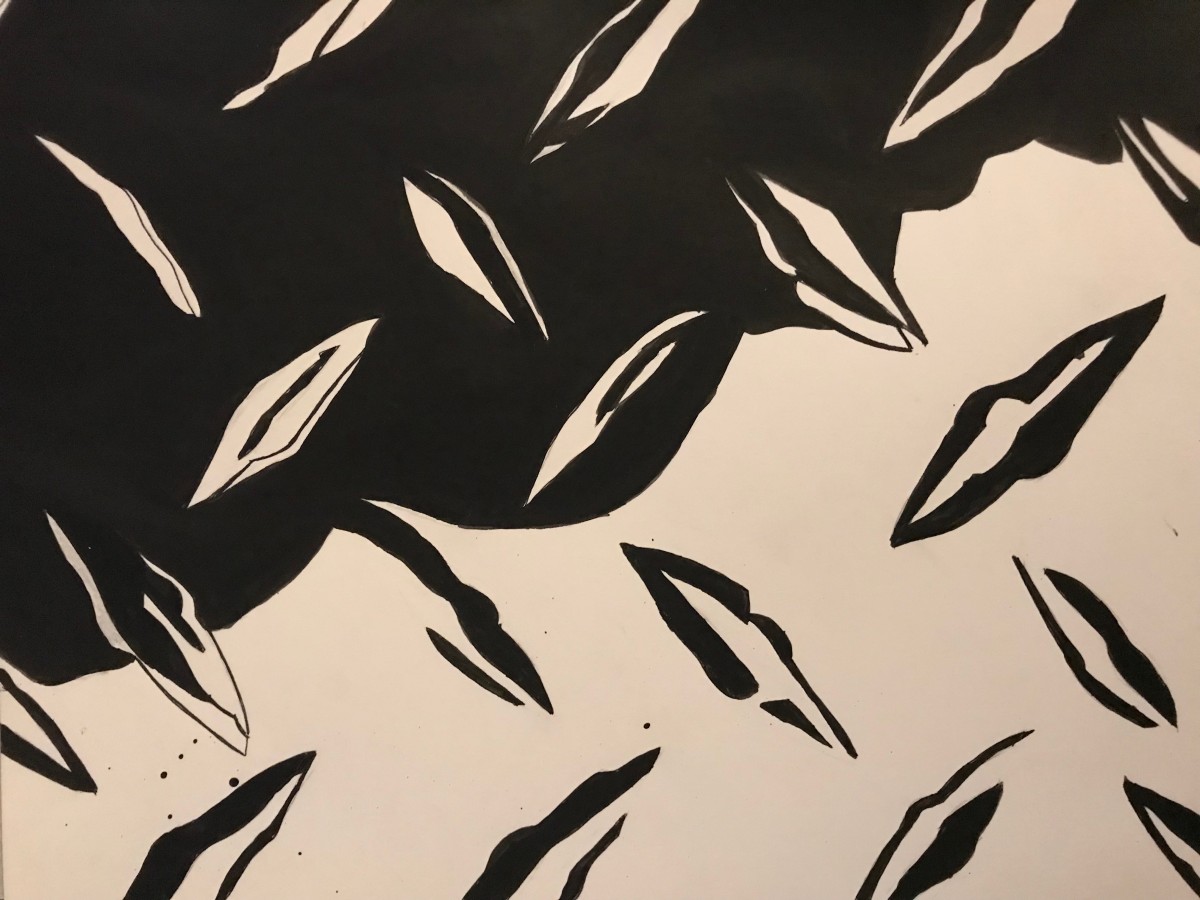
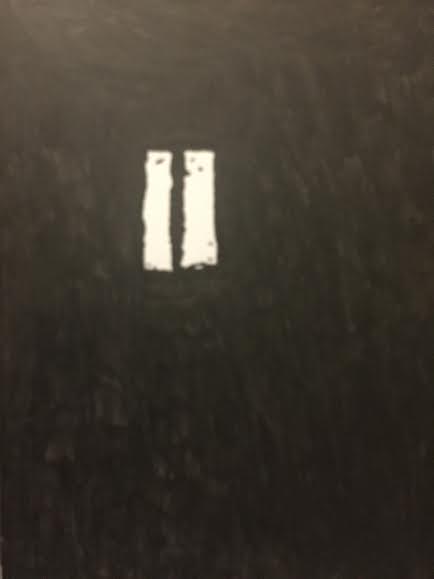
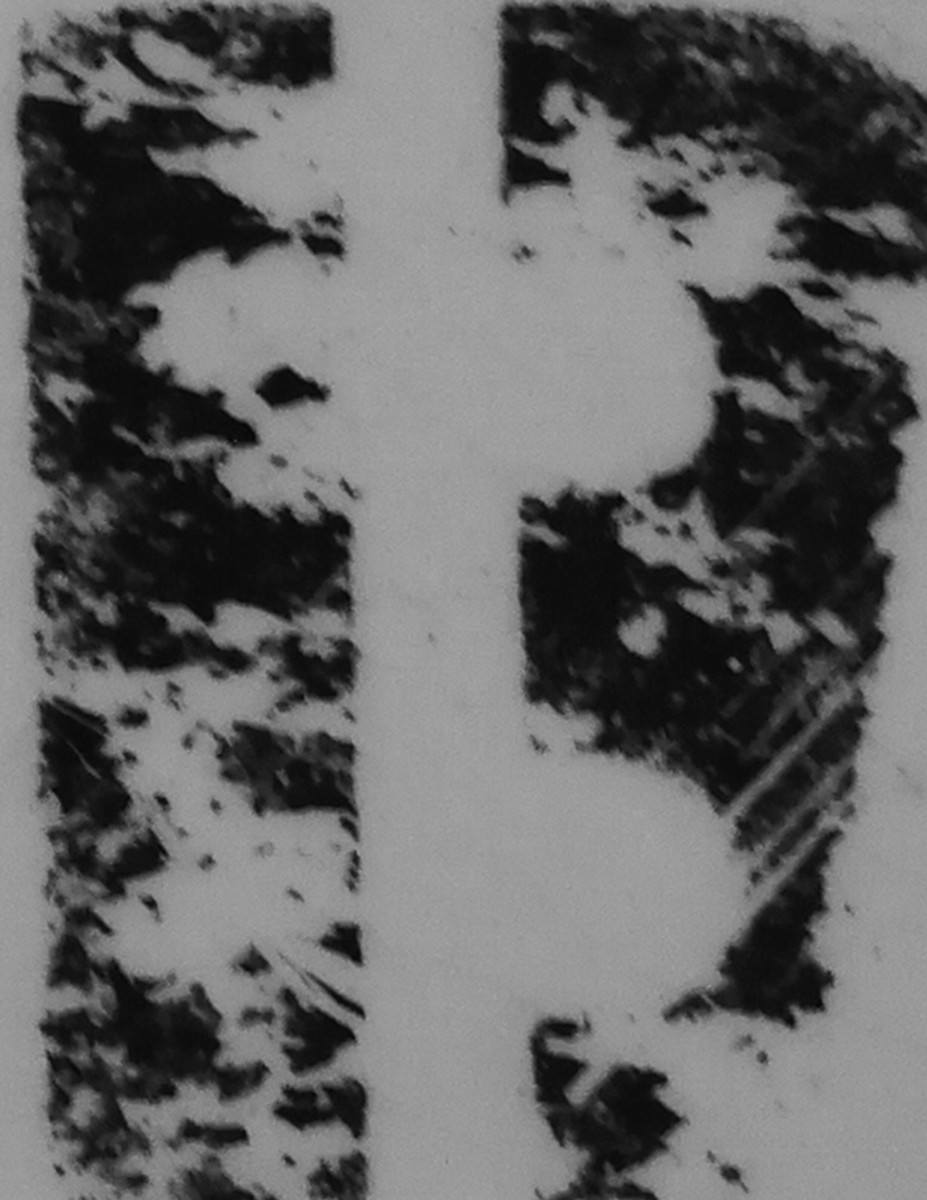
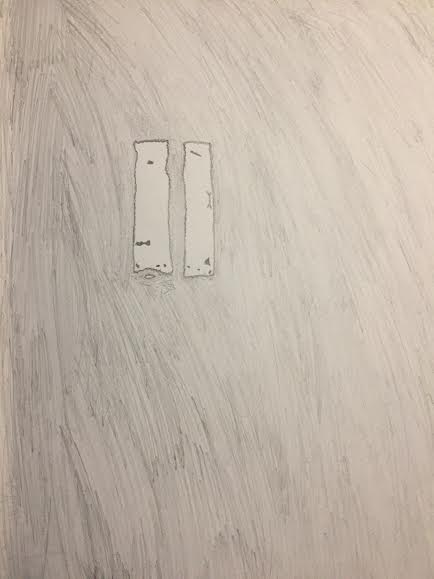
This was a sketch of my last obvious photo which is a window reflection. The window had mold and dirt stains tainted on it, but the reflection with the dirt had been darker when it was displayed. This sketch was later picked for my final composition and I tweaked a lot about it through many suggestions.\
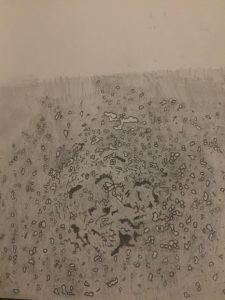
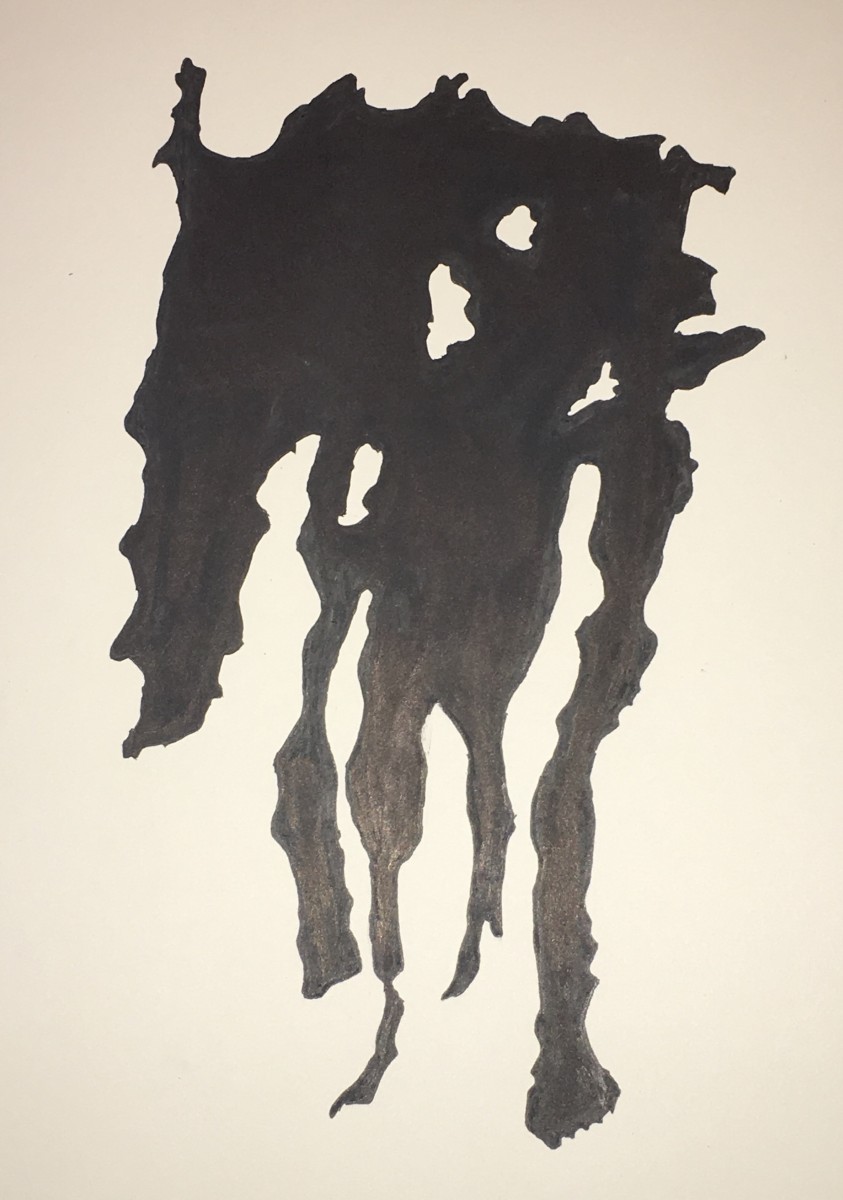
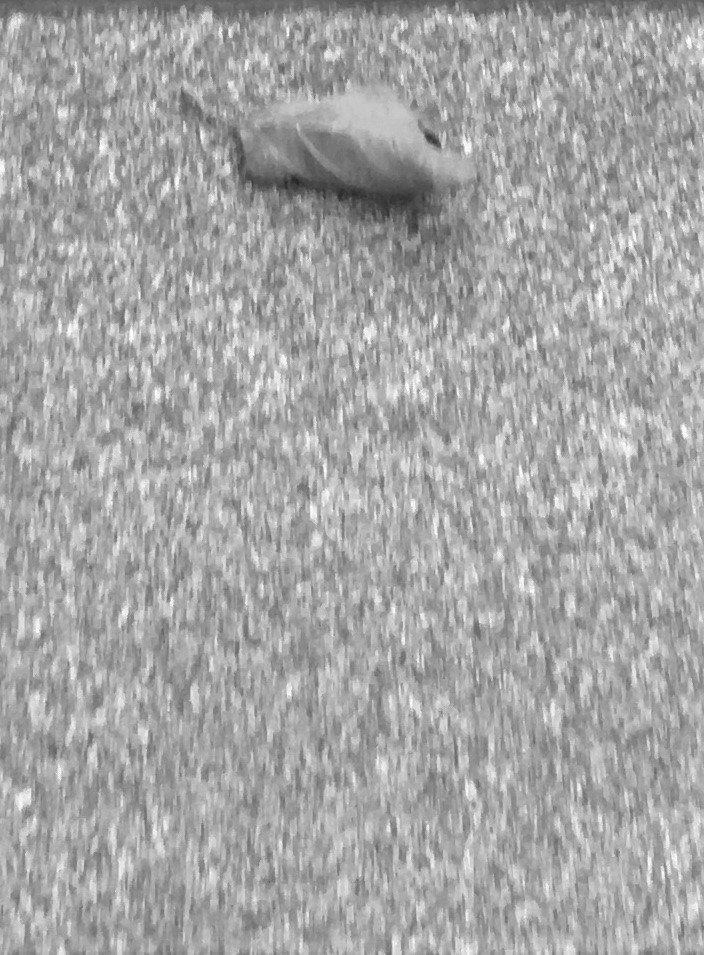
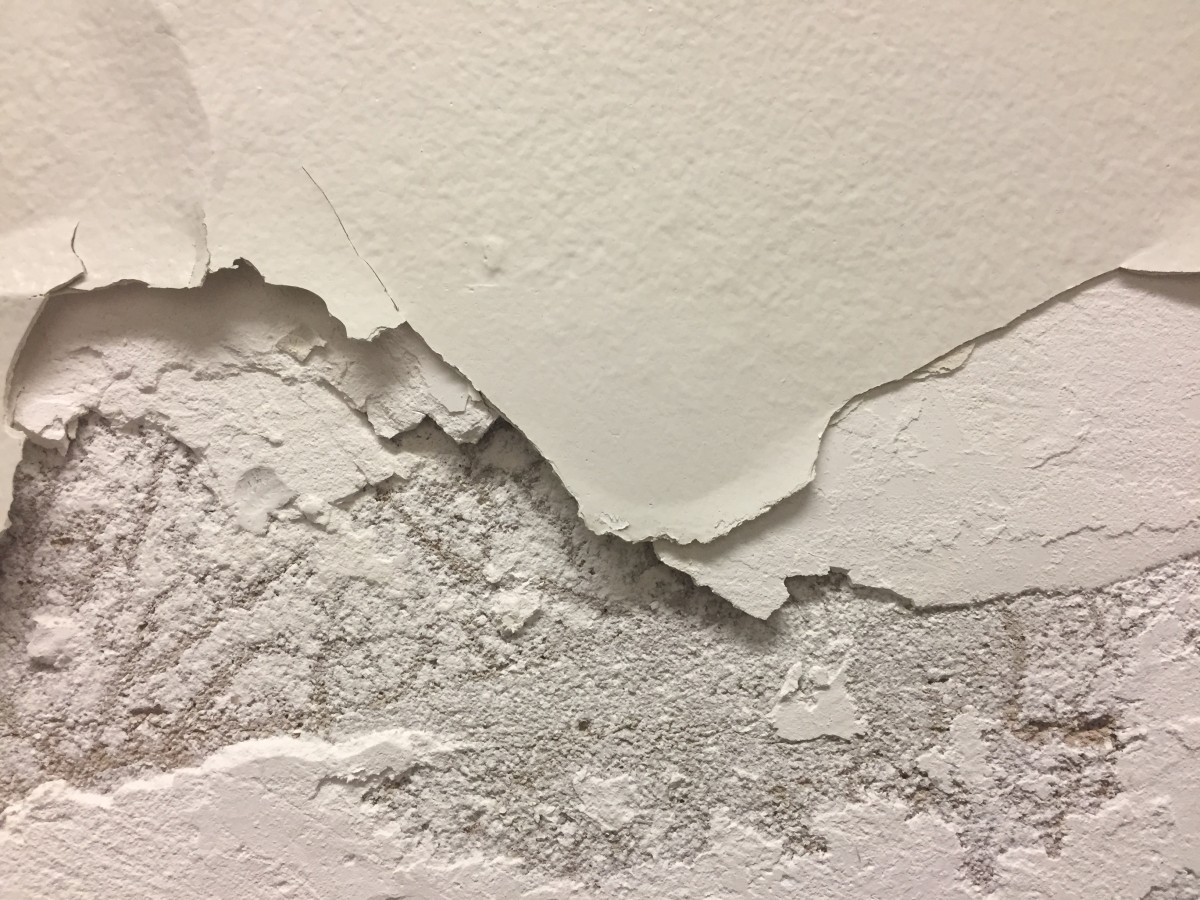
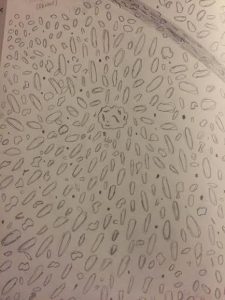
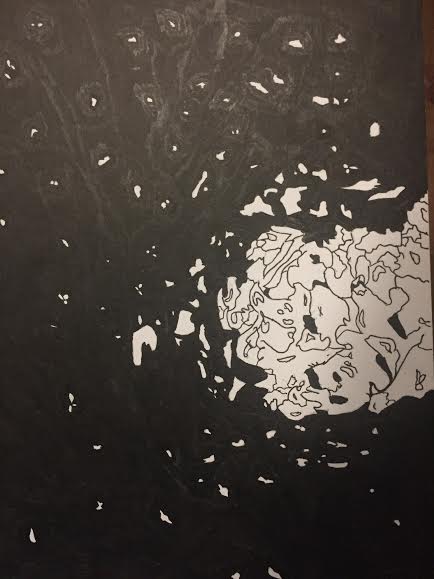
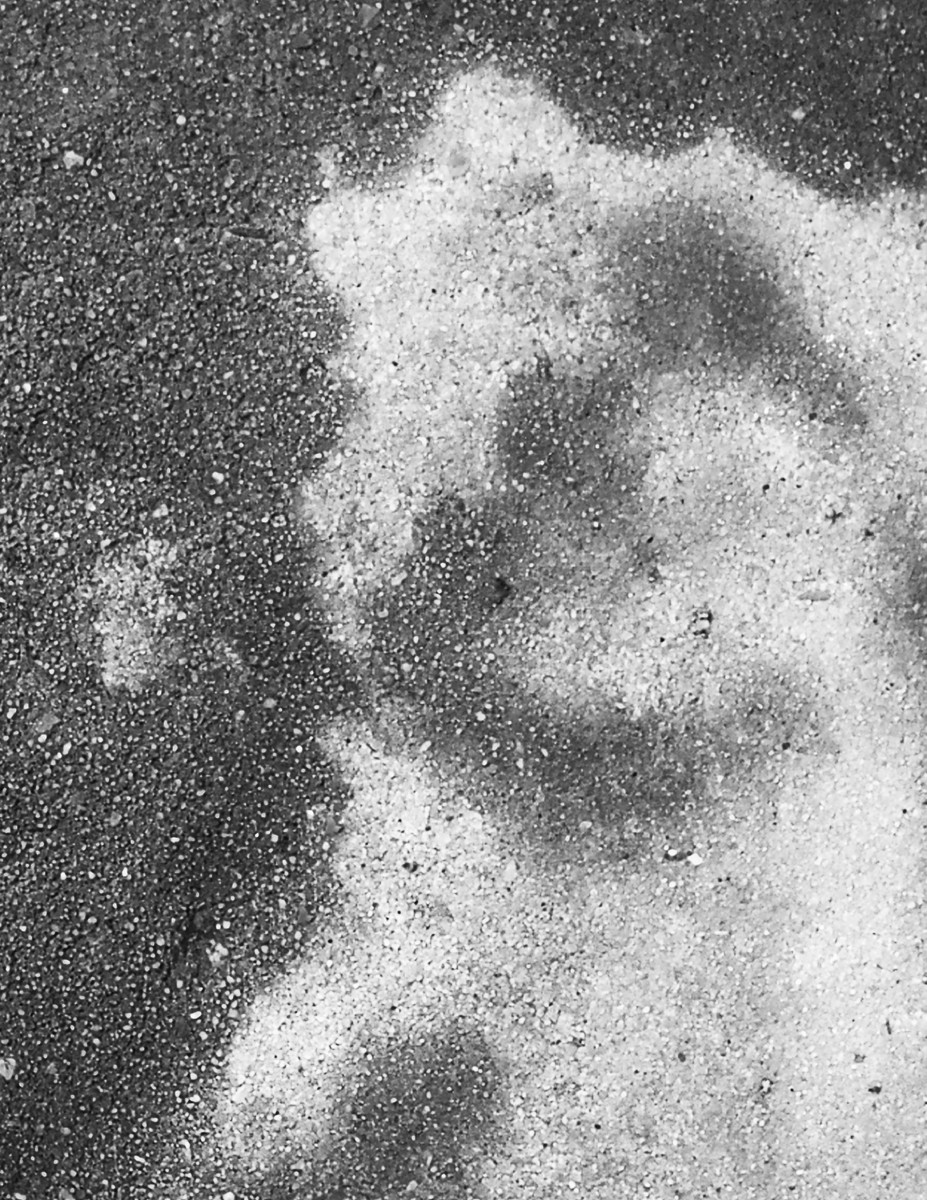
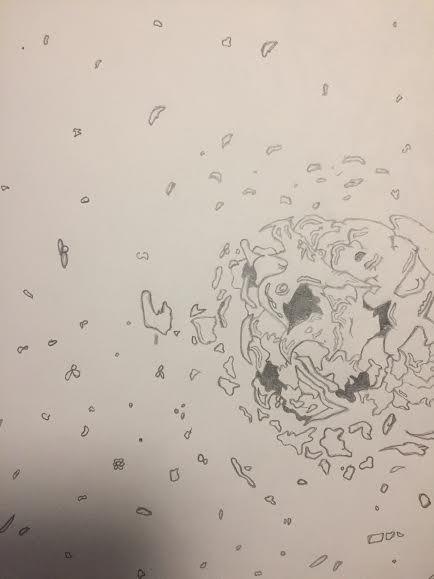
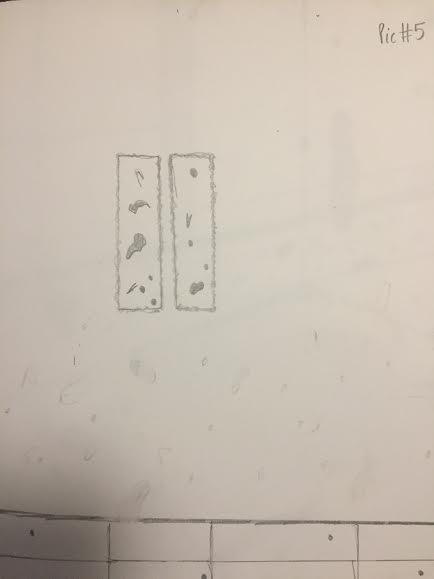
This was my first ambiguous sketch in which is supposed to be a hole with peeling paint around it. This was by far one of the hardest sketches I had to do, but decided to challenge myself by adding fine detail of the paint and the after effects of the hole. For this sketch and for this purpose only I decided to trace it along some tracing paper and incorporate onto my sketchbook. I loved the way it turned out and chose it for my final inked composition.

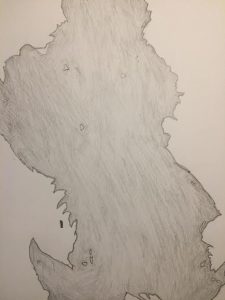
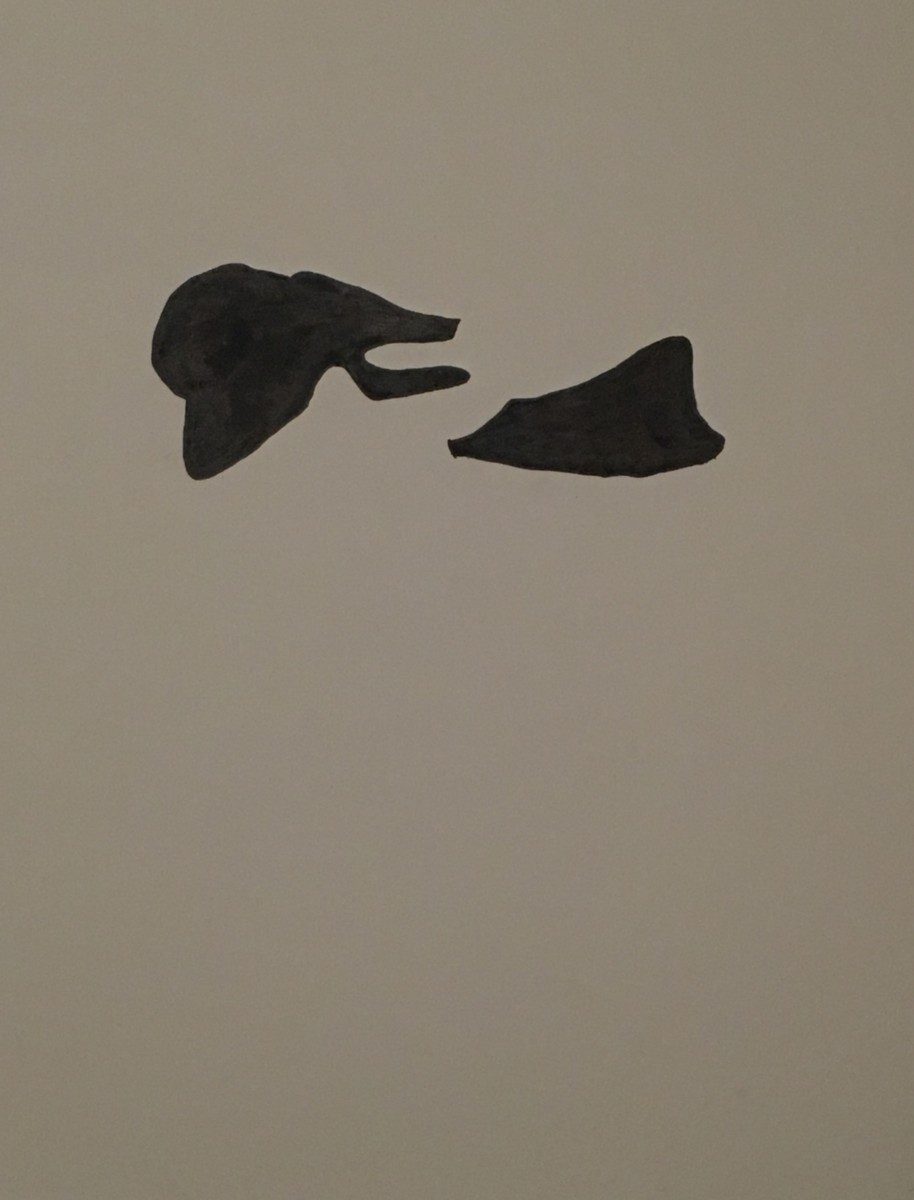
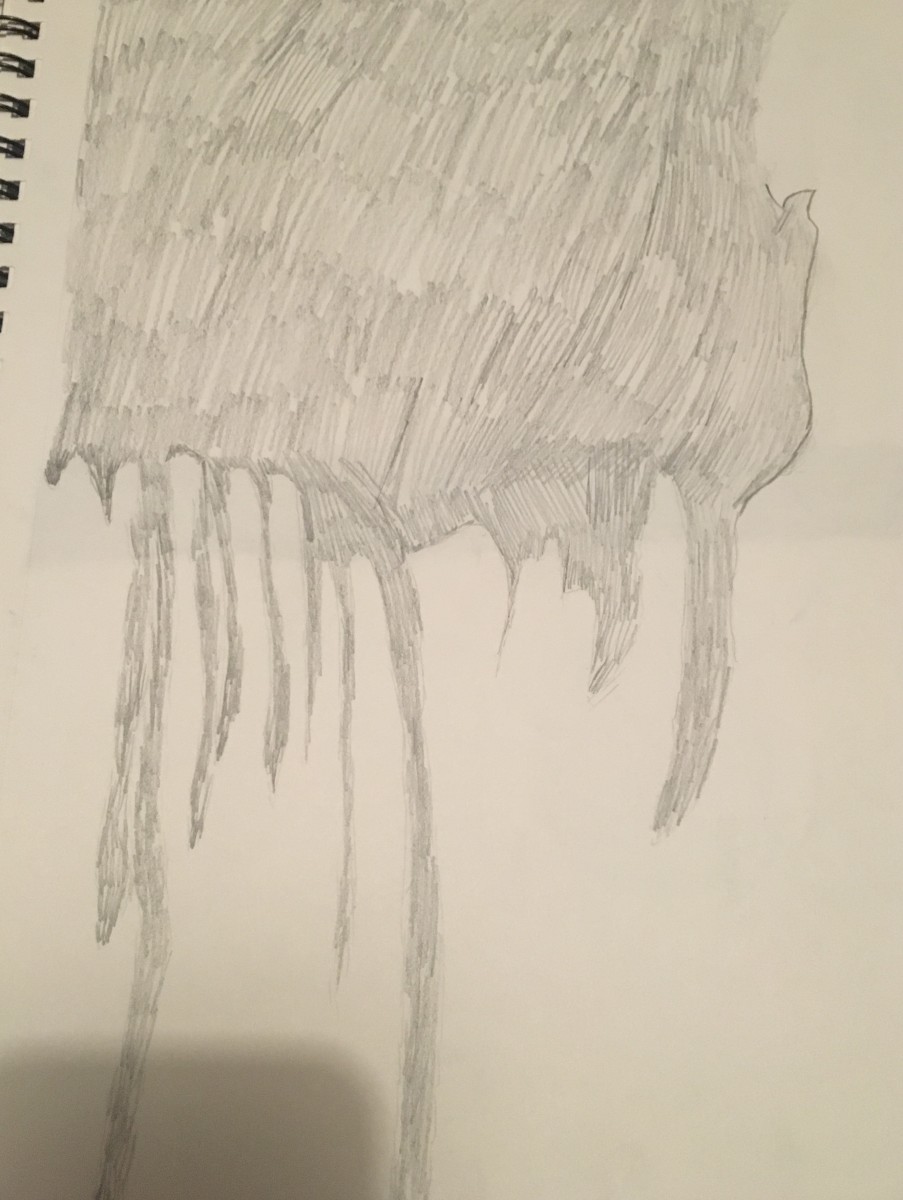
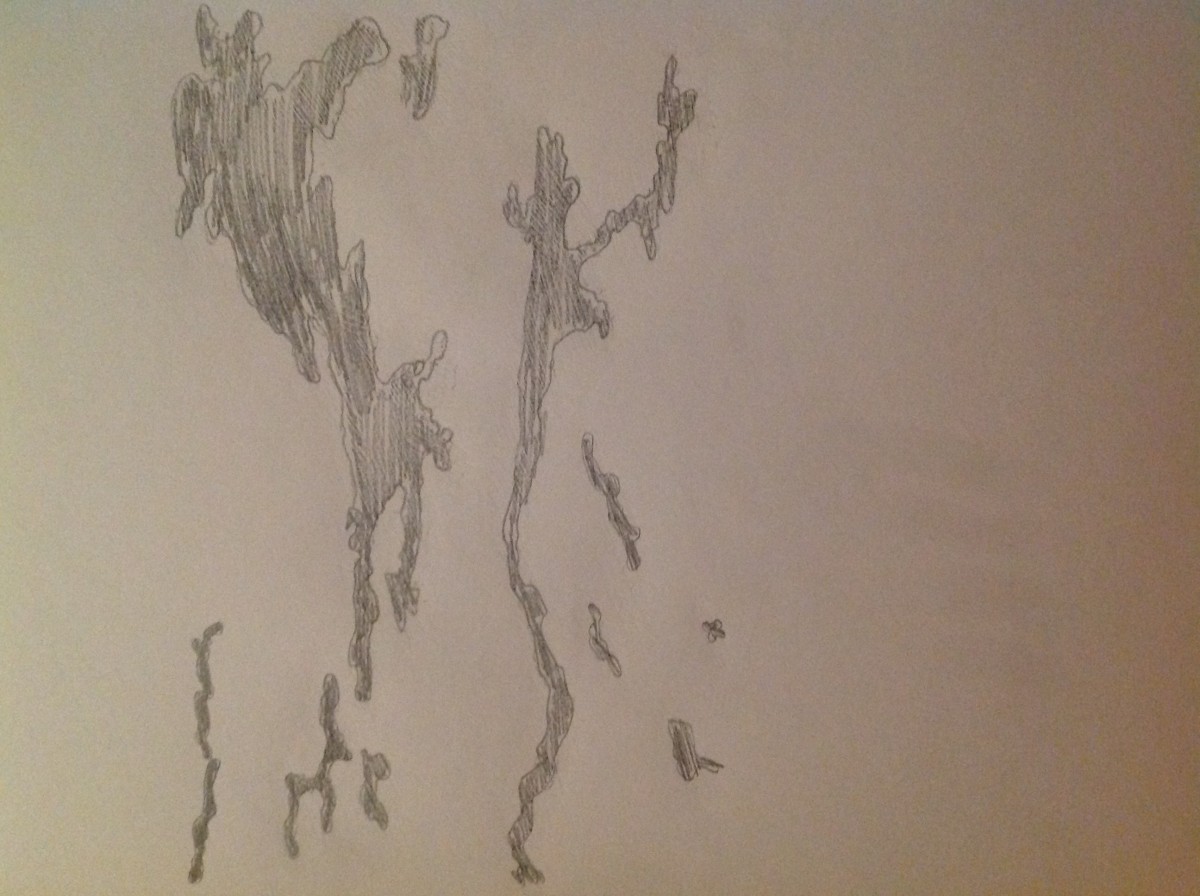
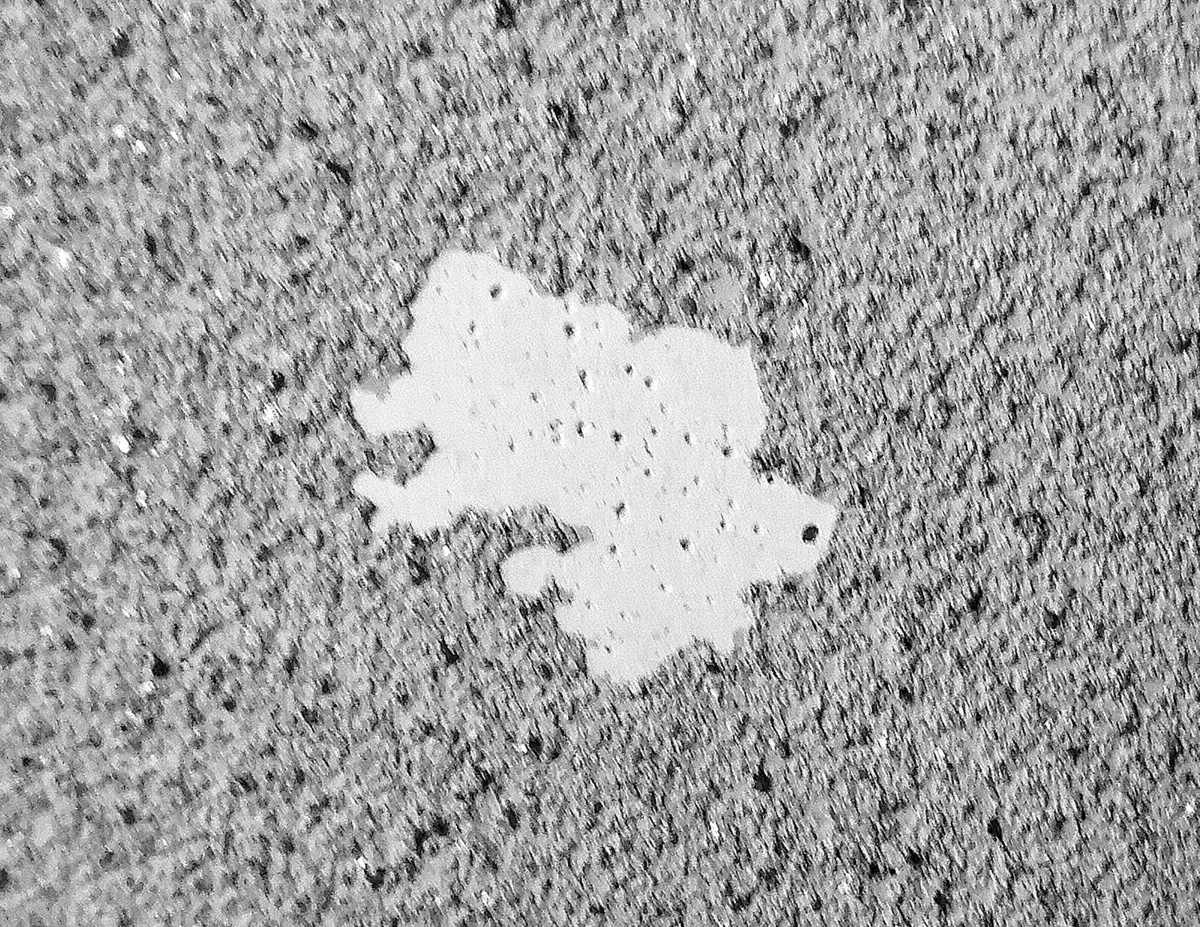
This was one of my second ambiguous sketches of a wall which has peeled paint on a white painted background. The elements incorporated within this image has minimal tearing of paint through the sketch and if you look at it closely, it kind of looks like a pig. The wide tearing of the paint is 50% and the white background in which supports it is 50%.

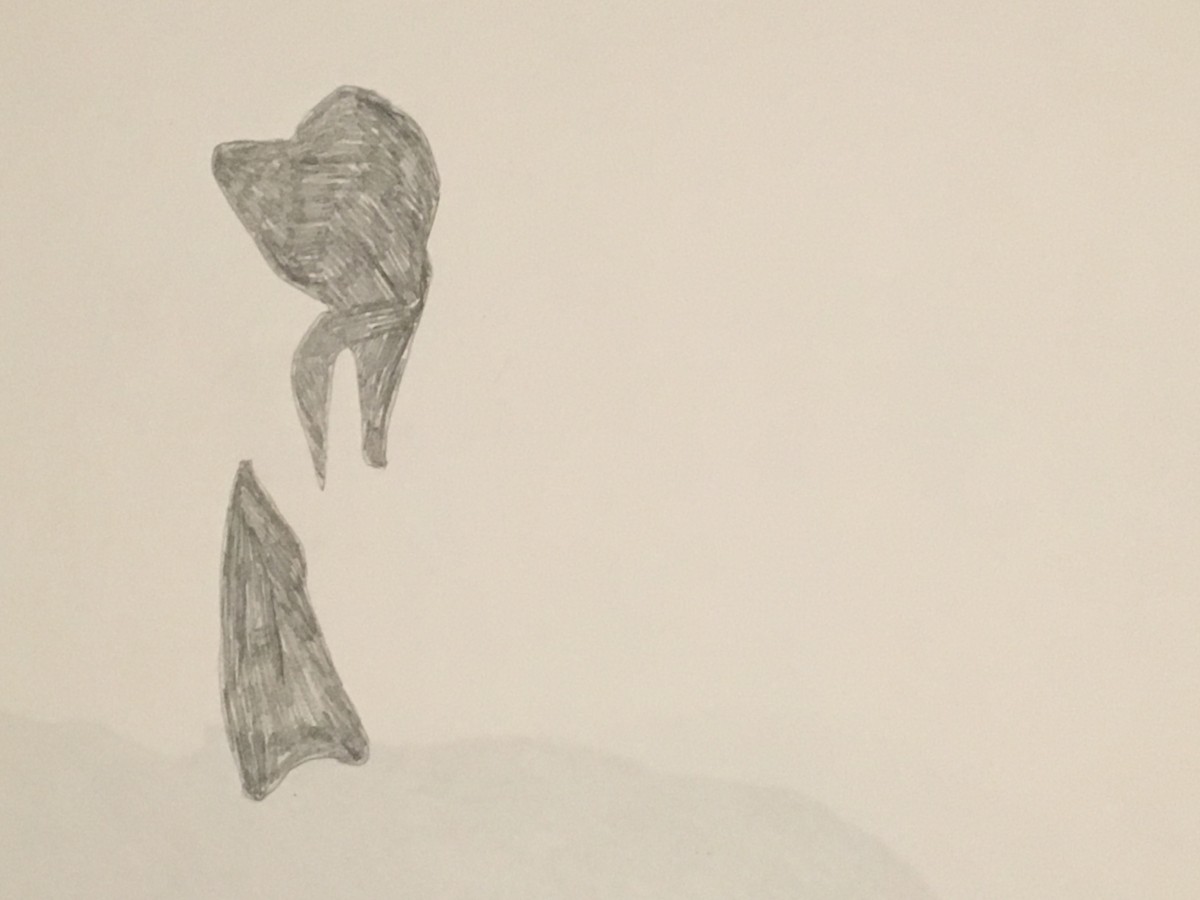
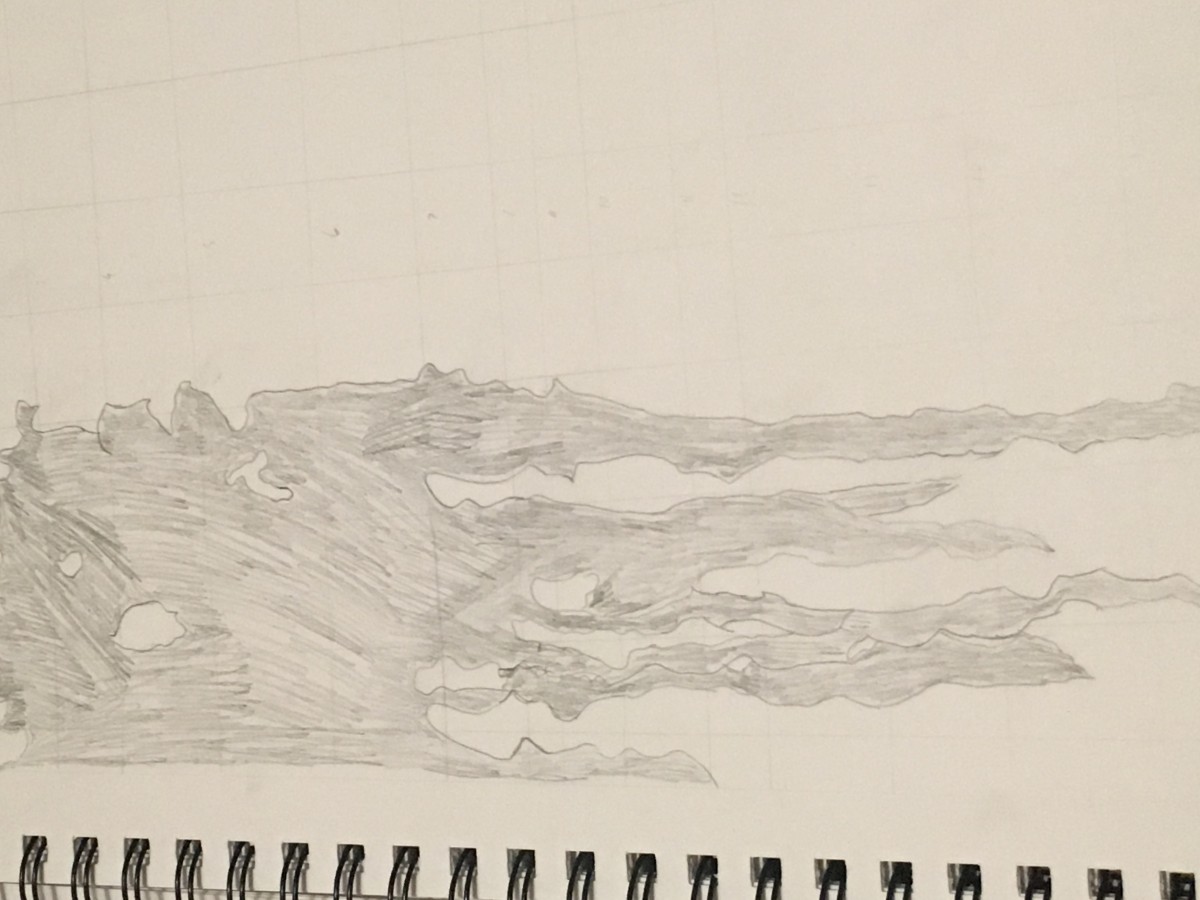
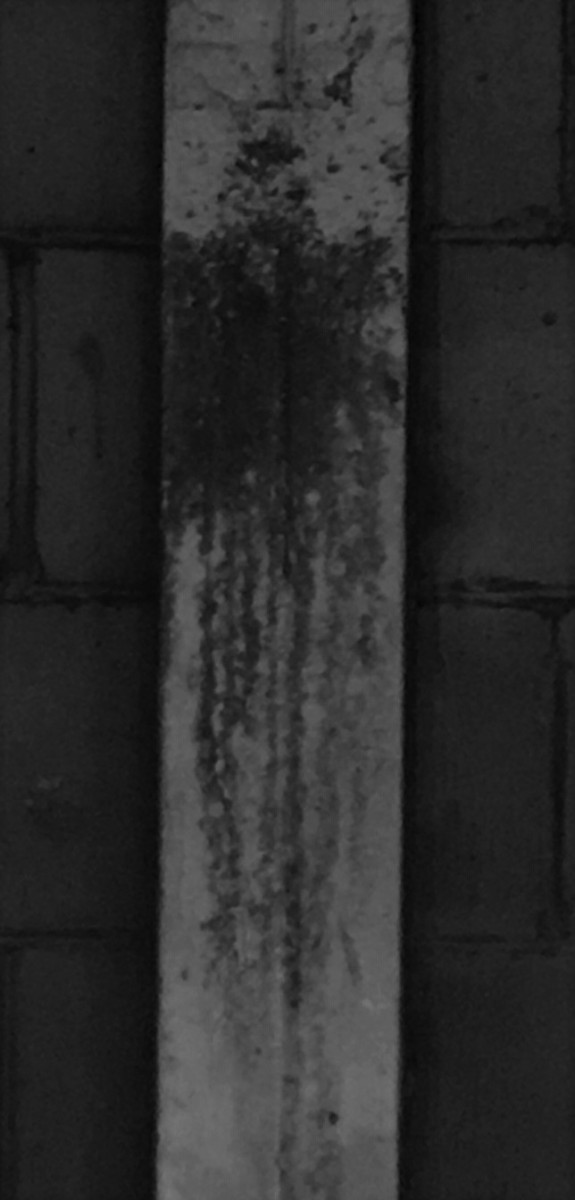
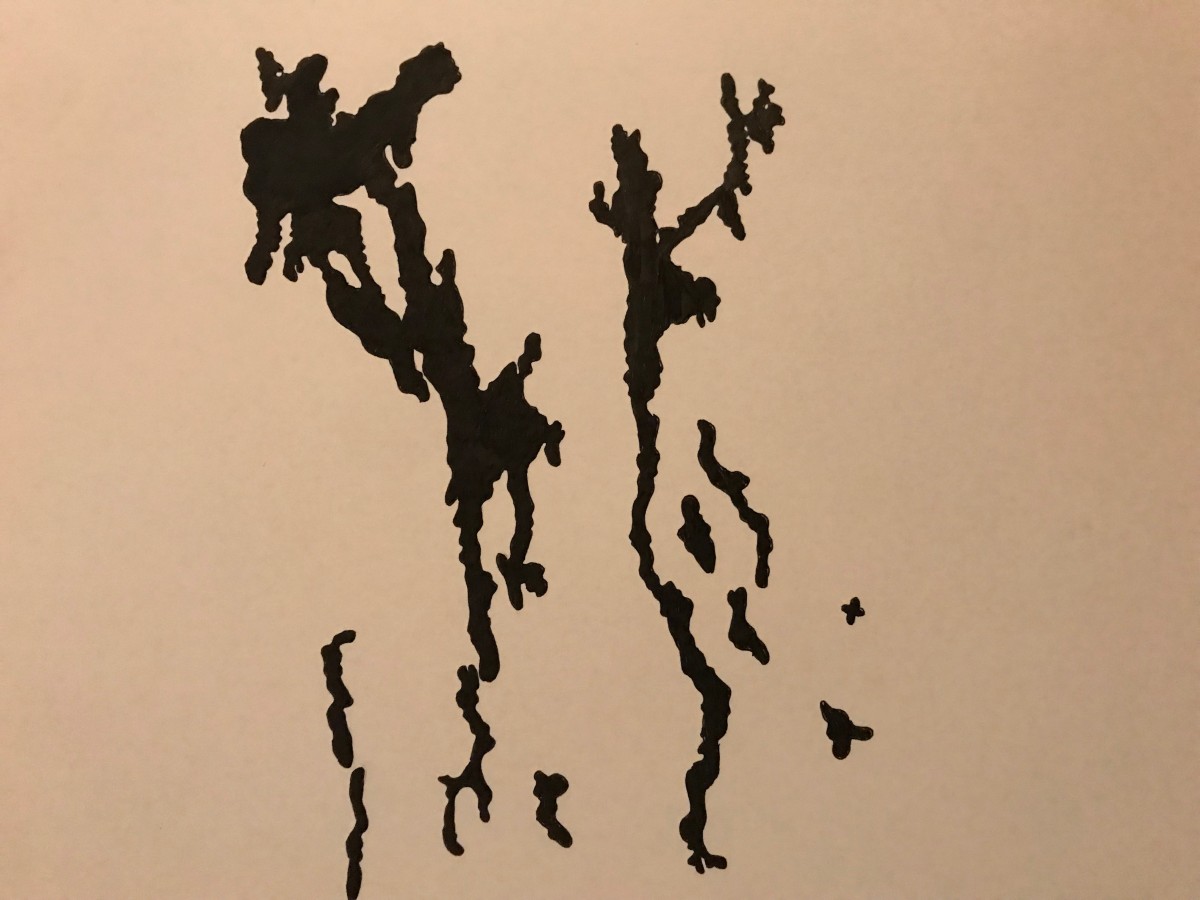
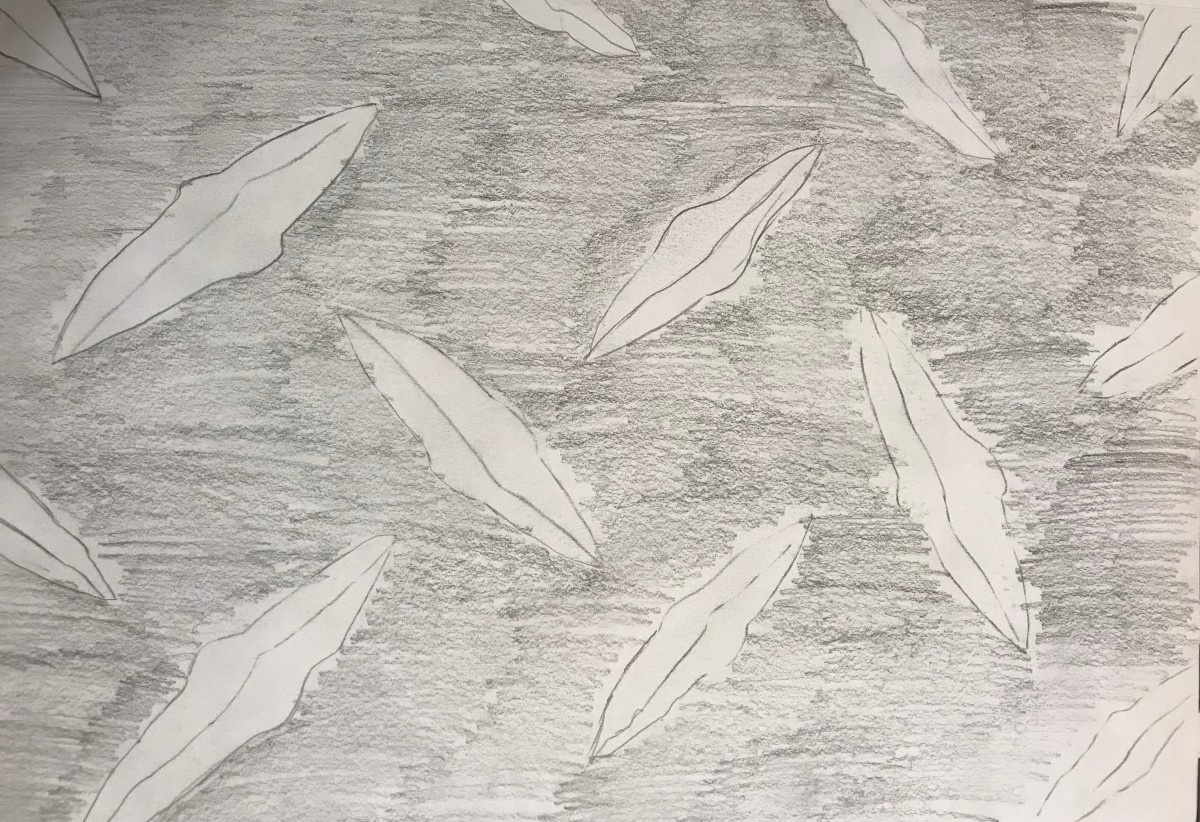
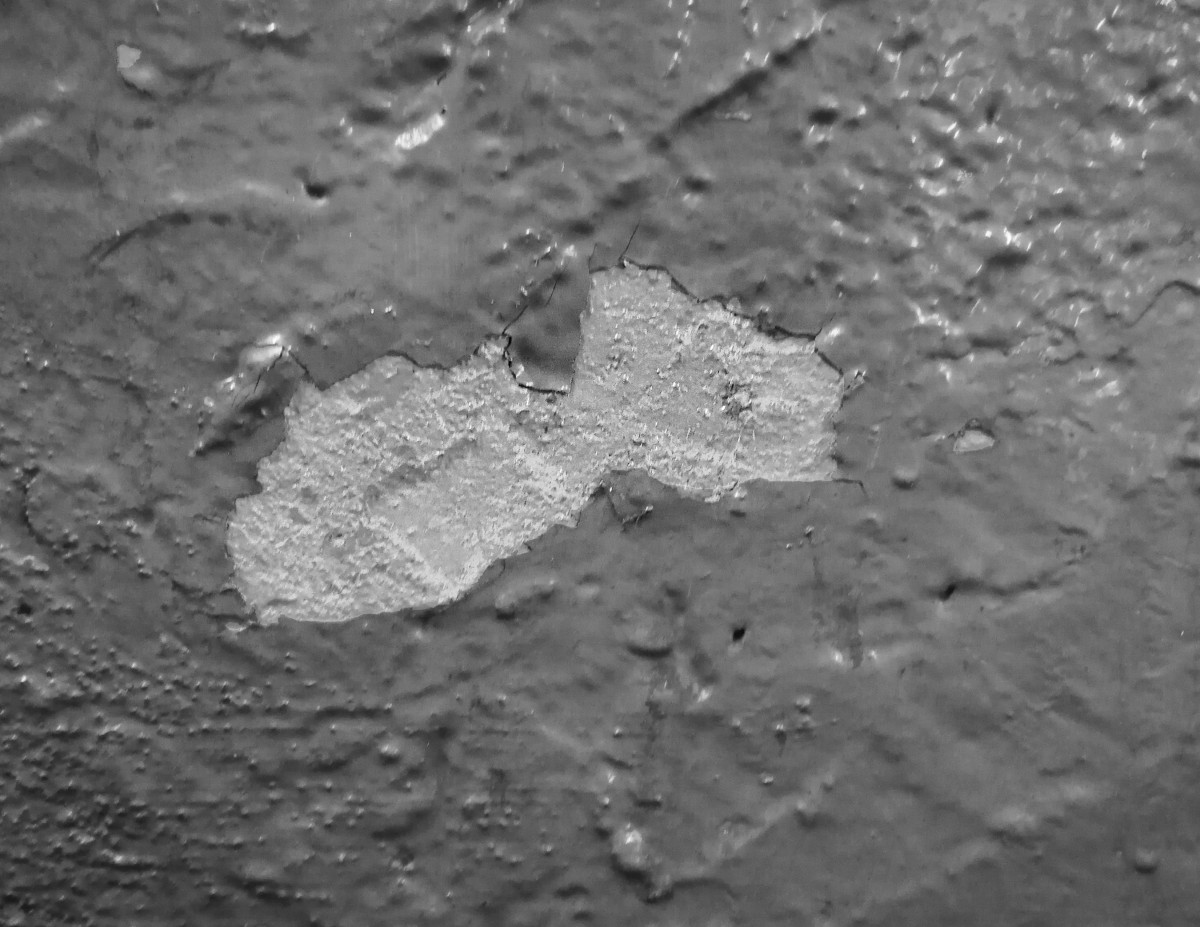
This is one of my ambiguous sketches of a tear through a wall in which has mold fighting for dominance. I decided to just sketch it out to give me some ideas on what it could possibly look like on bristol paper, but I decided to not put it as my final inked ambiguous composition.

Step 4-Deliver

These are my final images,I am not fully satisfied with the outcome mostly because of the ink.This was my first time inking an image for a project so I did not know the proper motion and precautions for inking.Now that I have some experience with using ink ,next project I will properly utilize inking pens/brushes and maybe even techniques.For my obvious (the two items in the middle) I chose that image because the organic shapes had a certain appeal , it was simplistic but unique which really made me want to use it.I had trouble at first because I chose to rush and not trace during the first step so there wasn’t much going for the image,I then went back and traced it and loved the results.For my ambiguous image I had trouble tracing it because the image was really dark and was not much contrast for me to trace,so that was the best I could do tracing wise.I did run into a problem inking,I ended up smudging ink on the Bristol board so I had to redo it .I learned how important tracing can be and how inked designs can come out really nice if done properly and with the right tools.Obv Amb

Step 2 Define (sketches)

There will be some repetition in the pictures because some of the sketches I was not satisfied, it also shows my work process, what I wanted to accentuate or even hide.At some point ,I noticed I had more obvious than ambiguous sketches even though the original photos were 3/3 ambigious&obvious. So towards the end I fixed it but it ended up being on my inking where I corrected my ambiguous.

Here are my photos to compare.
Obvious Obvious Ambigious Ambigious Obvious Ambigious
**Furthermore, on the physical pictures I actually zoomed in on the object I wanted most by folding the paper.

Ambiguous Images

Ambiguous Image 1

Ambiguous Image 1


Captured the moment that sheet-rock crumbled to gravity and mediocrity. A lamentable piece of cheaply placed sheetrock is falling apart in the lit hallways of a building.


Ambiguous Image 2

Ambiguous Image 2


It gave the impression that it was dancing inside the recipient it contained it. The bag, which was swayed by a fan as such a Tango dancer would. The spectacle was highly enjoyable.


Ambiguous Image 3

Ambiguous Image 3

Hidden from the world, ashamed of the burns and scratches it withstood for years. This door was found in one of the many forgotten hallways of the school. As it looked old, worn and tired it still managed to keep the character that would present any contemporary door. It stood sturdy, tall and impenetrable against any stranger that didn’t belong inside its room.

Obvious Images

Obvious Image 1

Obvious Image 1


This image was captured when I went up to the rooftop of my apartment building because the sunset was stunning and I needed to take a picture of it. While doing this I noticed this graffiti. Since performing graffiti art in the building is prohibited, I wasn’t expecting any graffiti up there, but I was able to find this hidden gem in one of the rooftop kitchen breathers.


Obvious Image 2

Obvious Image 2


While waiting on the F train in J street. My commute home takes me one hour from college. I happened to notice this wall and took a picture of it.


Obvious Image 3

Obvious Image 3


Another MTA station picture. This was on my way home after work, waiting on the 7th train, which is above ground level. Here I happened to look down on a sunny day, the sun was hitting a hole located on the station floor, casting a shadow that made the hole look so much deeper than what it actually was.