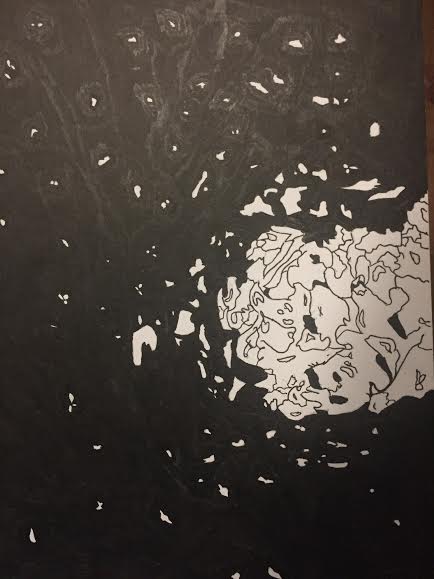
This is my final inked composition of my ambiguous photo of the hole in the wall. I can say that this was hard to do, but no matter what I pushed myself through it. I incorporated many elements of black and white and for the hole in the wall I wanted to add some definition to it to make it look exhibited. One thing I wish that could’ve came out better was the ink because for some areas it appears to look lighter outside the top and side areas of the image. 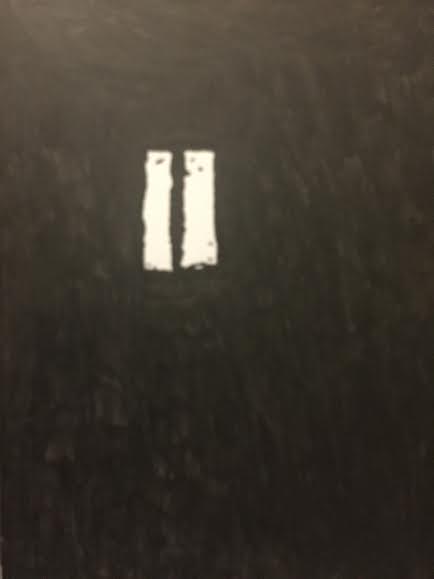
This is my final inked composition of my obvious image of the reflected window. As stated earlier in my other inked composition, I took out a lot of detail that was going to be in the inked out background of the wall. For the actual image of the window I kept in the dirt and mold being shown, but I made it to as where a lot wasn’t being displayed. The original image didn’t have a lot of specs, dirt, and mold so I decided to take it out and add my own details. This came out perfectly and I don’t think I should’ve added anything else as it was going to ruin it.
Note: This project gave me a lot of clarity on obvious and ambiguous images and gave me a better understanding of it. From now on when I look at any photograph I could look at it and determine what it is whether it’s ambiguous or obvious. One thing that was challenging was the lines being displayed because for most of my sketches I had to tune out most lines and configure it into either organic or geometric shapes.


I like the silhouette of the first image and the obvious image has a clear separation between foreground and background.Impressive inking skills on the first(ambiguous)image too!