- Date: 12/ 9 /22
To-Do Before Class
Topic:
Activities
Working class time on Movie Poster
Demo: integrating textures and stencils
Professor Diana Schoenbrun | COMD 3313 | SP22
Demo: integrating textures and stencils
1 panel comic with quote
Critique:
Finish editorial critique
Movie Poster samples slideshow
Final Project:
Group Critique and in-class work time
Due December 16th
PART 1
At the end of the semester, you will need to send files of your work. This will be due on December 16th. (You will not receive your grades unless you send your work.) The department asks to see student work so you will need to send the following.
PART 2
Create a pdf of the sketchbook assignments after the midterms. See below.
label the pdf
Firstname_lastname_sketchbook.pdf
Week 11 (scroll down)
Place this pdf inside your folder with your name.
Zip the folder Firstname_lastname_Illustration1
Send me the files via wetransfer, via drop box, or google drive.

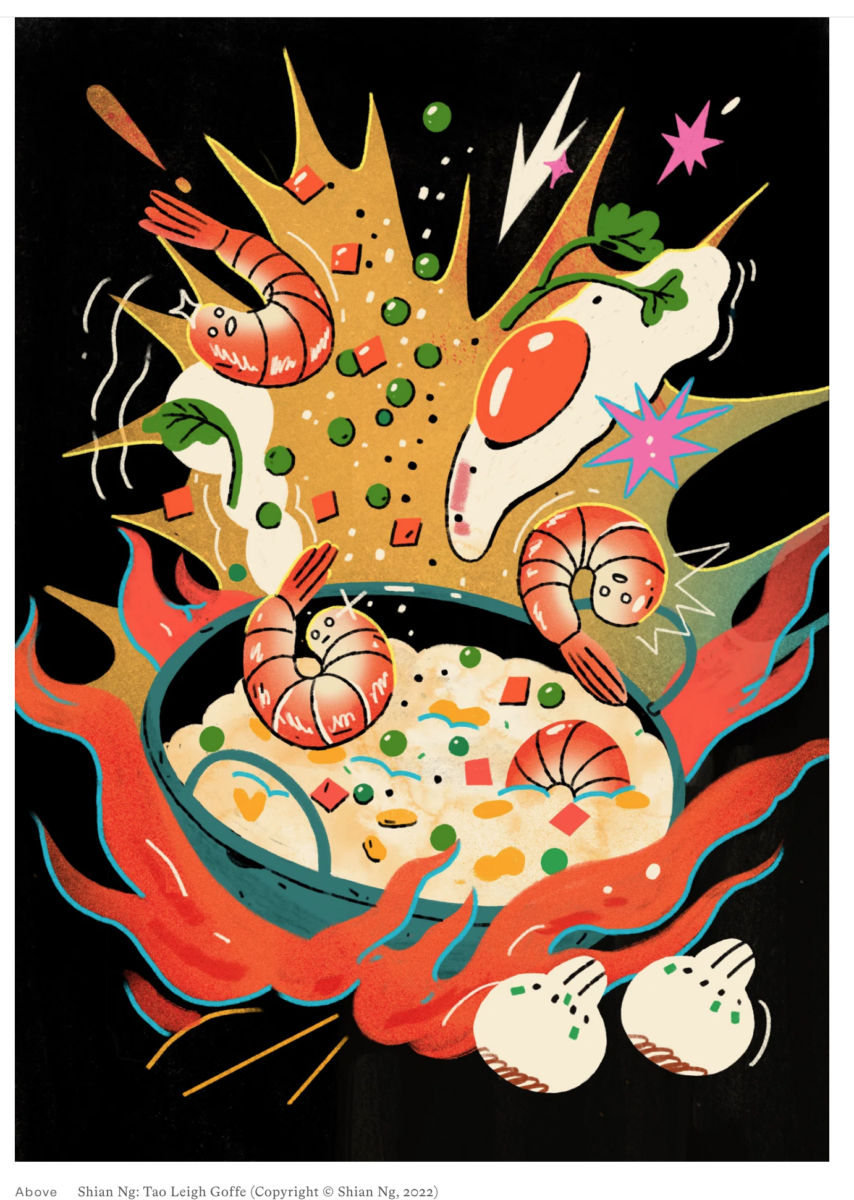
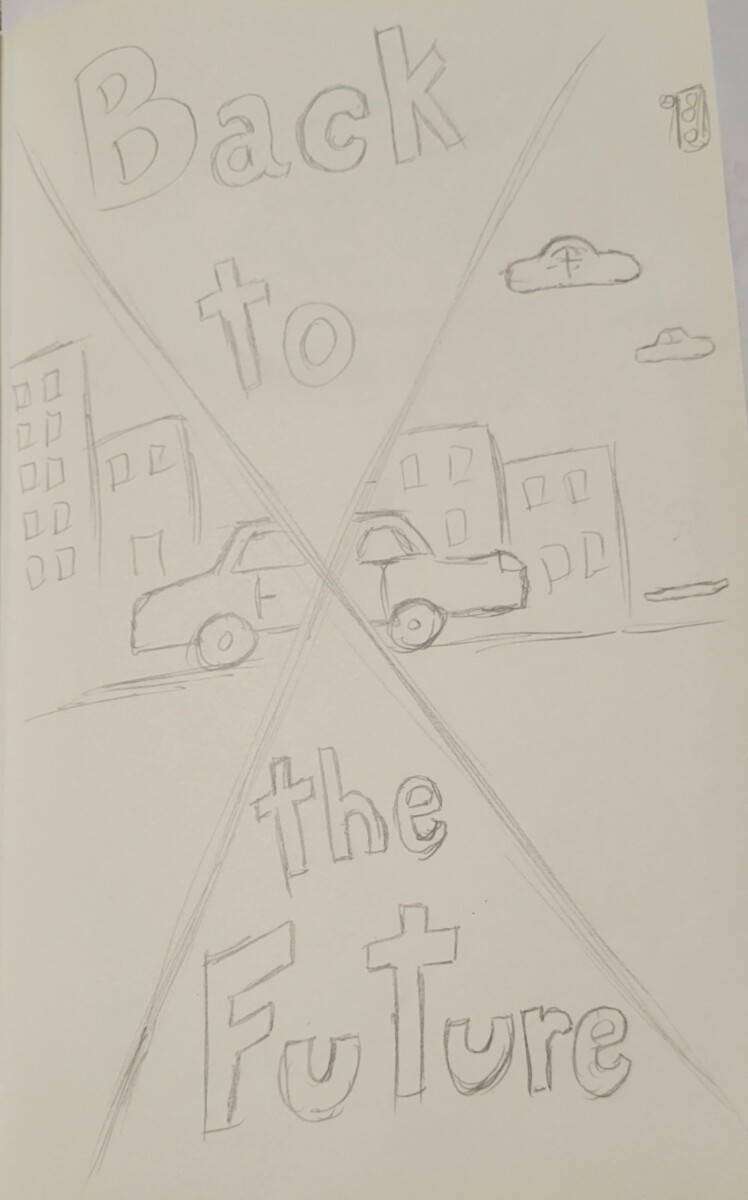
MOVIE POSTER DESIGN
Poster Design/ Movie Poster Design
and introduction to Final Project
thumbnails and concept sketches due for Final Project:Part 1
Assignment 2, Editorial Illustration Assignment 2, part 5
Sketchbook/Reading Exercise Week 10 : Listening and Drawing
CLASS
Field Trip
Society of Illustrators
Writing assignment during the field trip. Email small photos of the art chosen.
We will have another Professor observing our class next week.
The illustrator John Hendrix draws and records in his sketchbook when he goes to his Sunday church services.
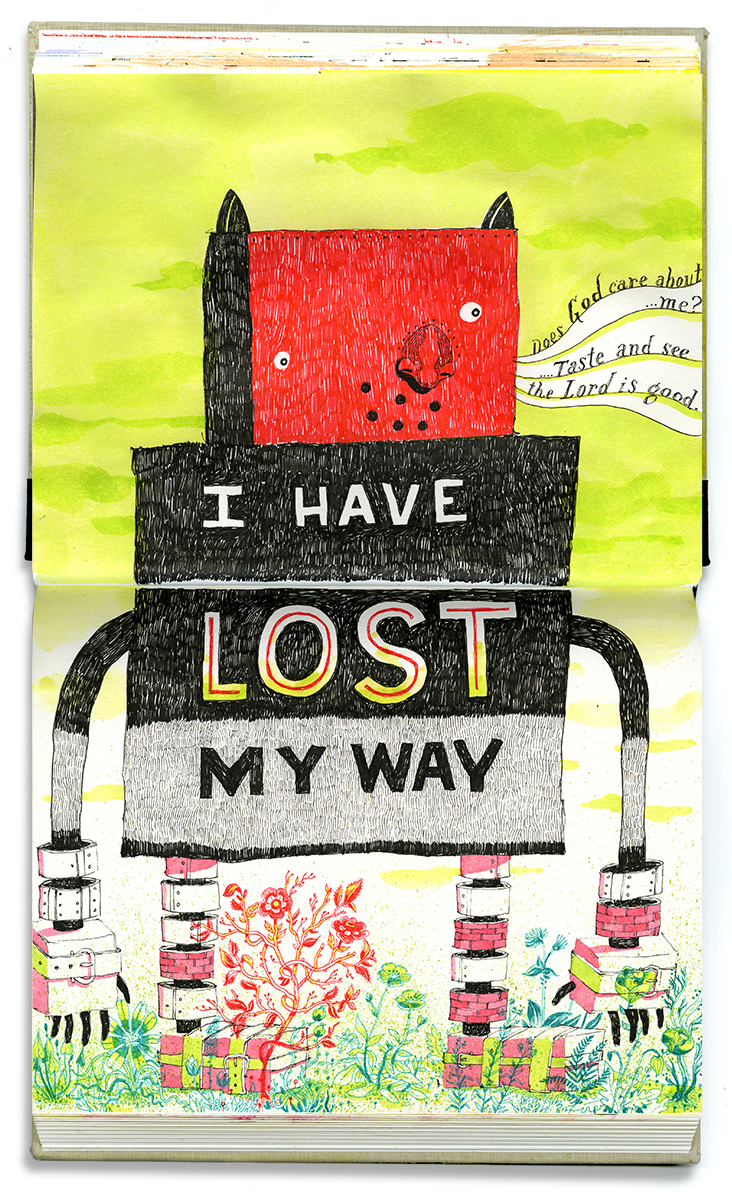
Go to a place that you enjoy and feel comfortable sketching at. Listen to the conversations, music, noise, any sounds. Write down words and phrases. Based on your observations and inspiration create a spread or fill 2 sketchbook pages.
Possible places could be a restaurant, coffee shop, the park, a museum, the subway, the library, a friend’s house, your place of worship, etc.
Have fun with this!
Assignment 2 Part 4
Sketchbook Week 9
Guest Speaker Christina Chung 3:30pm
Next Week
Society of illustrators Field Trip 2:30pm
Reminder: Your composition can be vertical, horizontal square, round, etc.
After reviewing your sketches and color studies with me make any necessary changes and create your final editorial illustration.
I will review online and we will do a critique the following week in class on 11/18.
Please post on Openlab the following by 11/11
It is Halloween! It is Halloween!
Halloween is almost here. Do you like monsters? Ghouls, goblins, or ghosts?
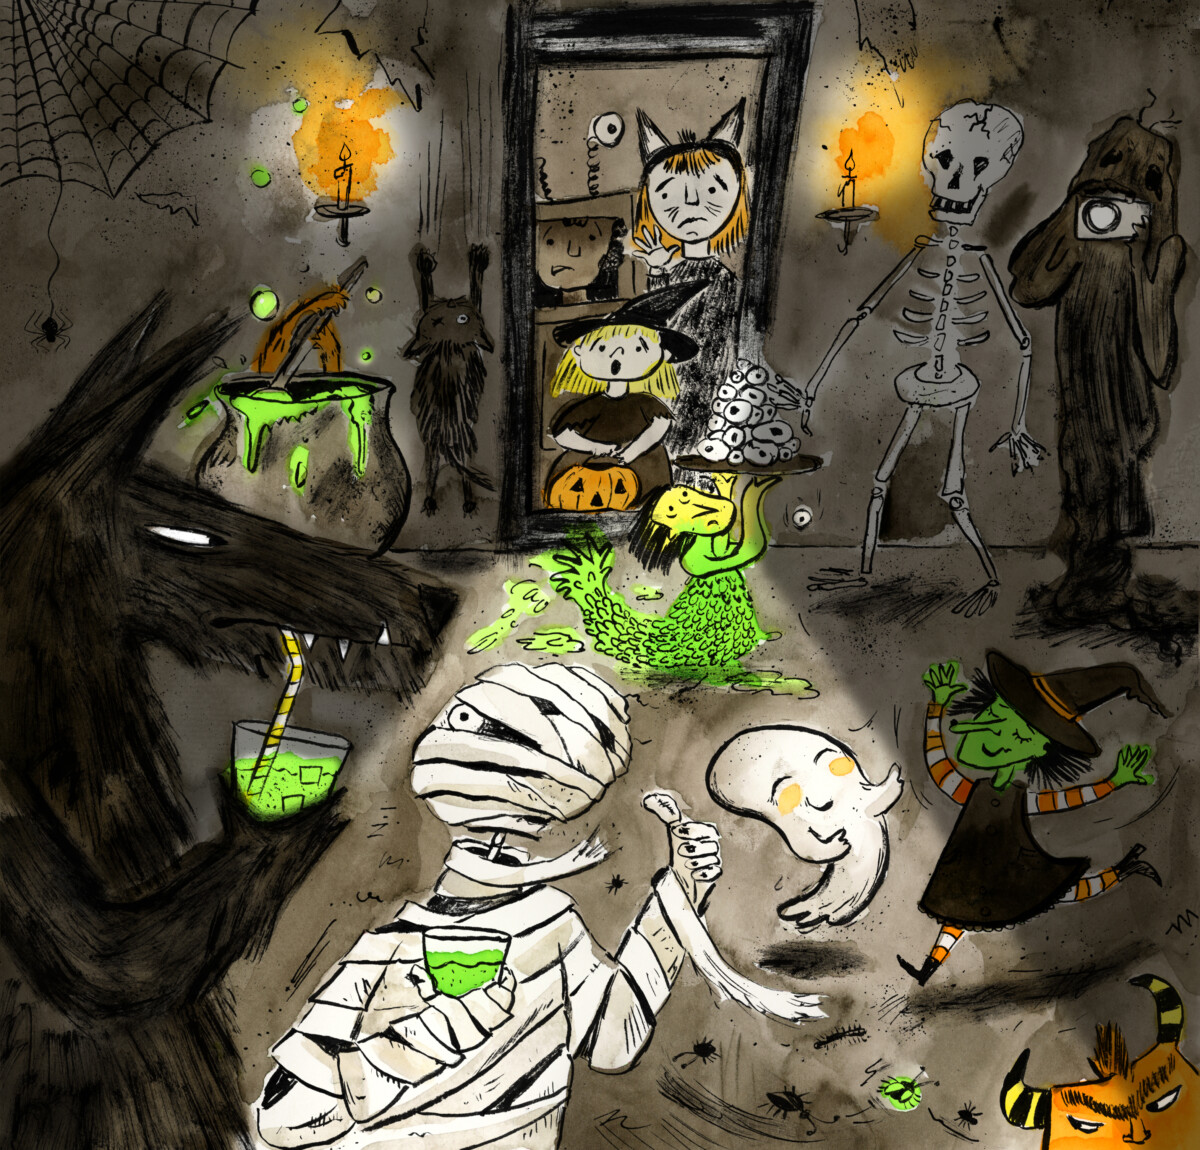
Based on our warm-up exercise you will be filling 3 pages in your sketchbook with Fall and Halloween-themed drawings. Here are some ideas. Try some color, collage, or ink!
(Make sure to watch The Nightmare Before Christmas sometime soon if you haven’t seen it yet. The character designs are very quirky and fun. It’s a stop-motion masterpiece by the artist Tim Burton. This was filmed in 1993. )
Assignment 2, part 3
Sketchbook Week 8
Reading Week 8
Reminders:
Guest speaker Nov 4th
Field Trip November 11th
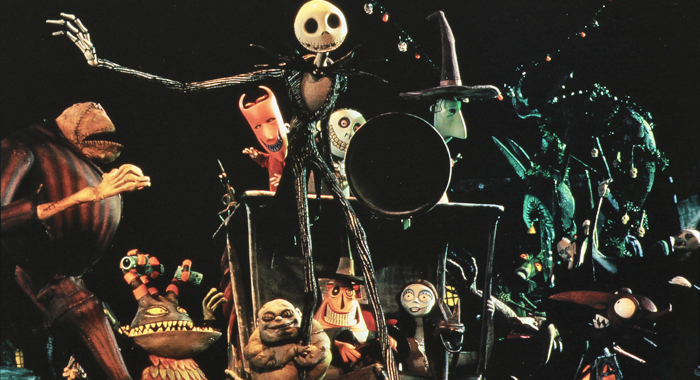
From the Nightmare Before Christmas
Lecture
Demo:
Digital inking: color
Editorial Continued
Review Assignments and Expectations for Next Week’s Class
Reminder: Your composition can be vertical, horizontal square, round, etc.
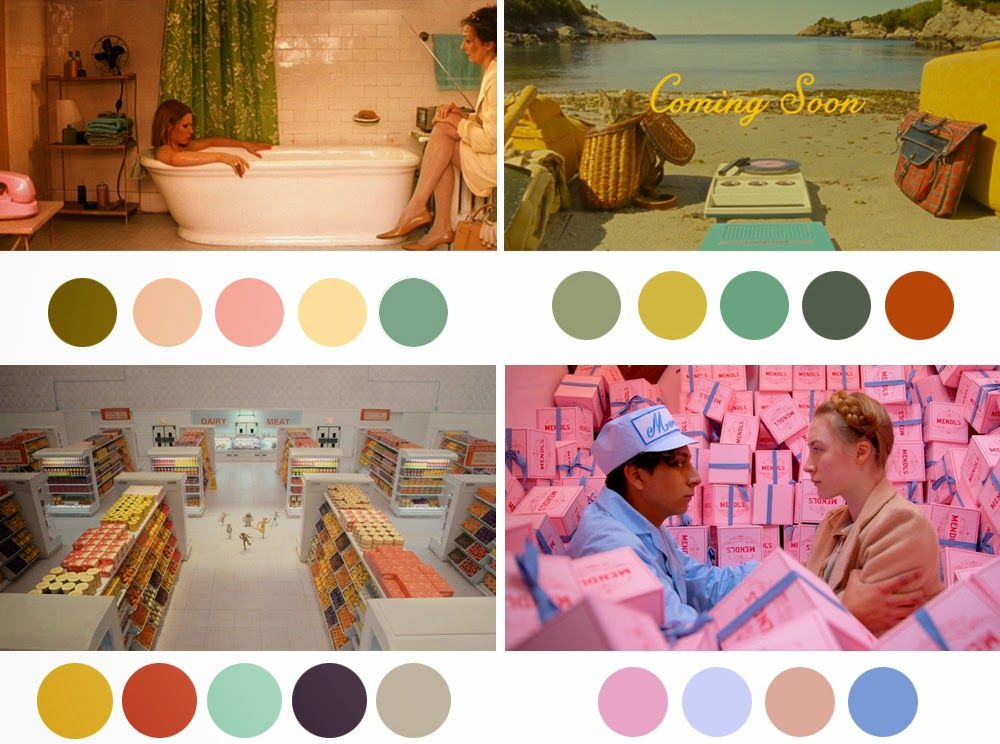
Wes Andersen Color palette samples
Editorial: Assignment 2, Part 2
Midterm Presentation/template
Reminders:
Guest speaker Nov 4th
Field Trip November 11th
Lecture
Demo:
Digital inking: portraits
Review Assignments and Expectations for Next Week’s Class
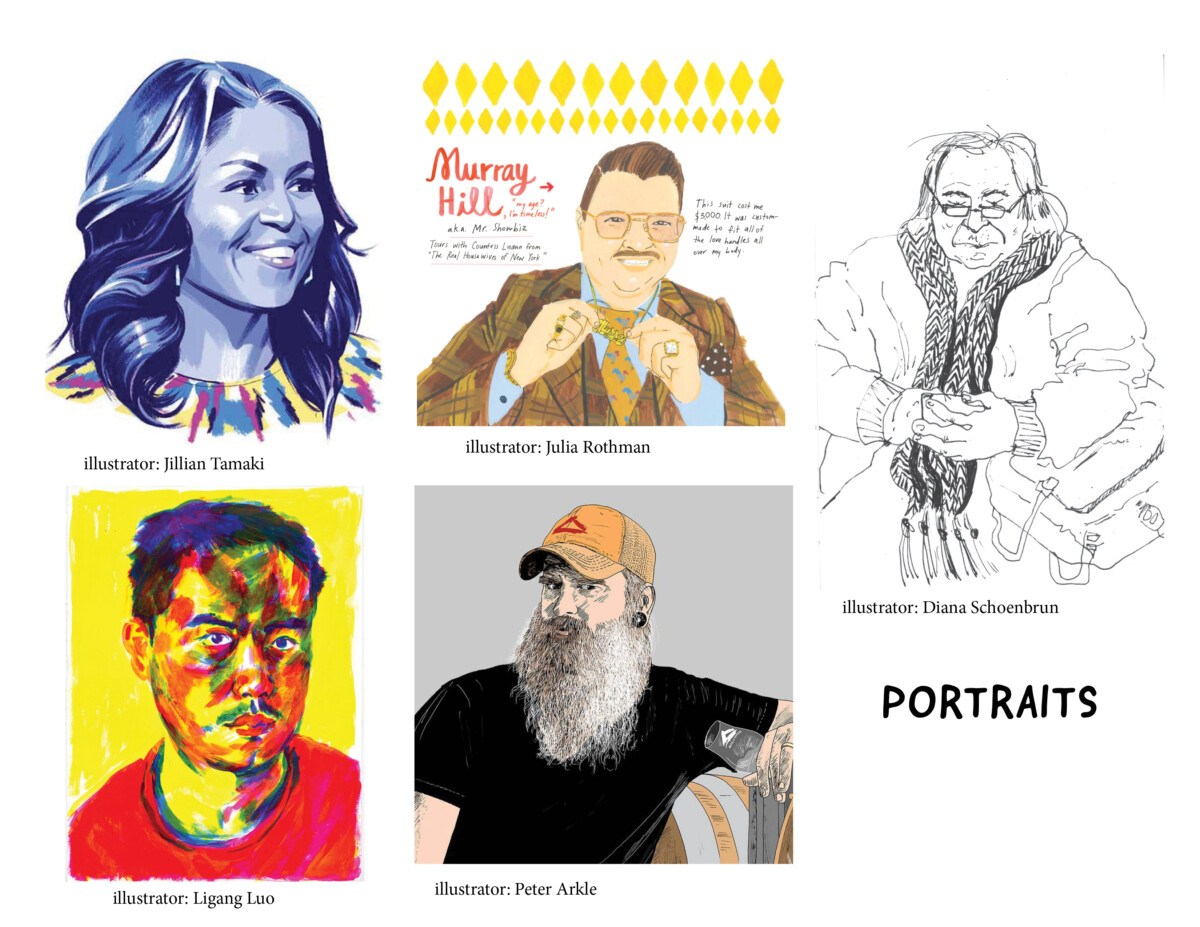
Portraits
Before photography, painting and drawing is how we captured a person’s image.
Your assignment is to draw three portraits. You can draw a person in any view, front view, 3/4, profile, etc. You can focus on just their head or from the waist up.
Who should you draw?
Ask a friend to sit for you, draw a family member, a person on the subway, a park, a train, etc. Try not to worry about getting the portrait perfect or exact. You may want to capture a likeness but you want to create it in your own way. Feel free to exaggerate proportions. Show their emotion. Do not only draw people staring at their phones. If you need to finish it after their sitting session that is fine too. You may want to go back and add details.
Use at least half a sketchbook page for each drawing. Experiment with materials. I suggest spending at least 20 min per portrait. Use some color in at least one portrait.
Overall Project Description:
Create an Editorial Illustration for an article in a magazine printed or online.
You will be choosing the article.


Work will be judged on the clarity and cleverness of the overall concept, thoughtful utilization of composition, the use of value, and of course the skillfulness of overall technique.
The final illustration may be traditional or digital.
Note the faster turnaround time for this assignment! Illustrations meant for publication in Magazines and Newspapers, digital or traditional, have very quick deadlines.
So does this project. Work efficiently.
GRADING BREAKDOWN:
50 % project grade Submit a PDF PROCESS BOOK guiding us through the project from inception to conclusion.
50 % project grade Submit a publication ready 300 DPI JPEG of Final ART
Editorial Illustration Assignment 2 (just reread)
Critique:
Share your article with the class
Case study editorial Illustrators Ana Juan and Edel Rodriguez
Demo
Victo Ngai
traditional line to digital
Lab
Editorial: Assignment 2, Part 2
Midterm Presentation/template
No sketchbook this week
STEP 1 BEGIN IN CLASS
REMEMBER:
REMEMBER:
STEP 2
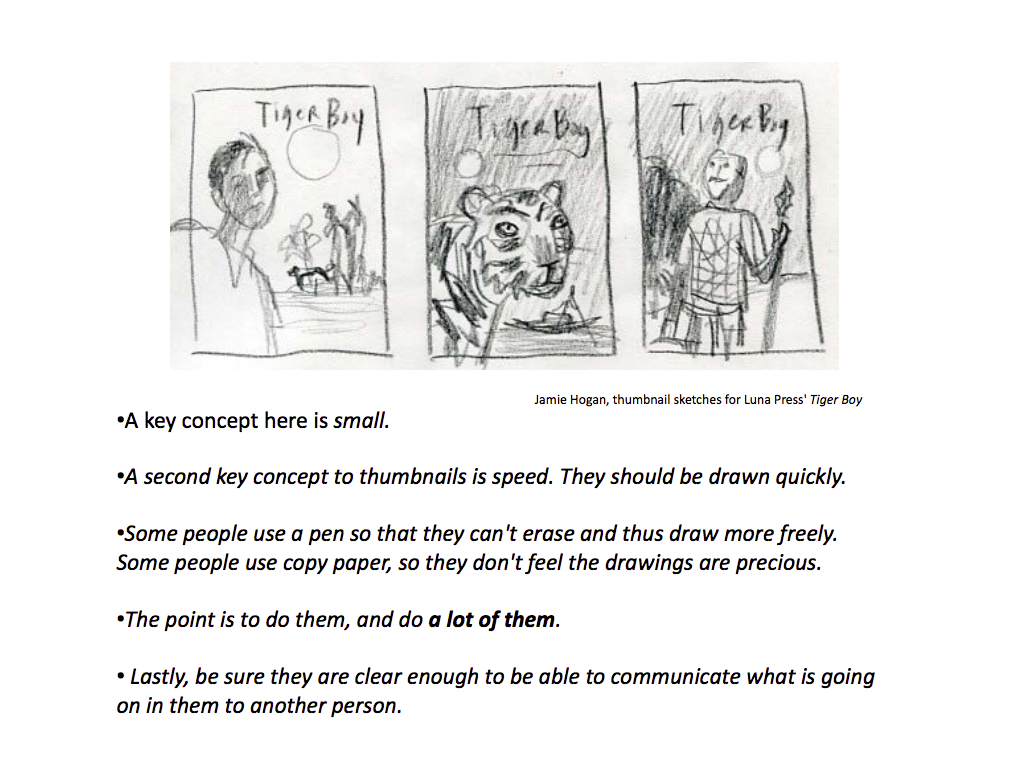
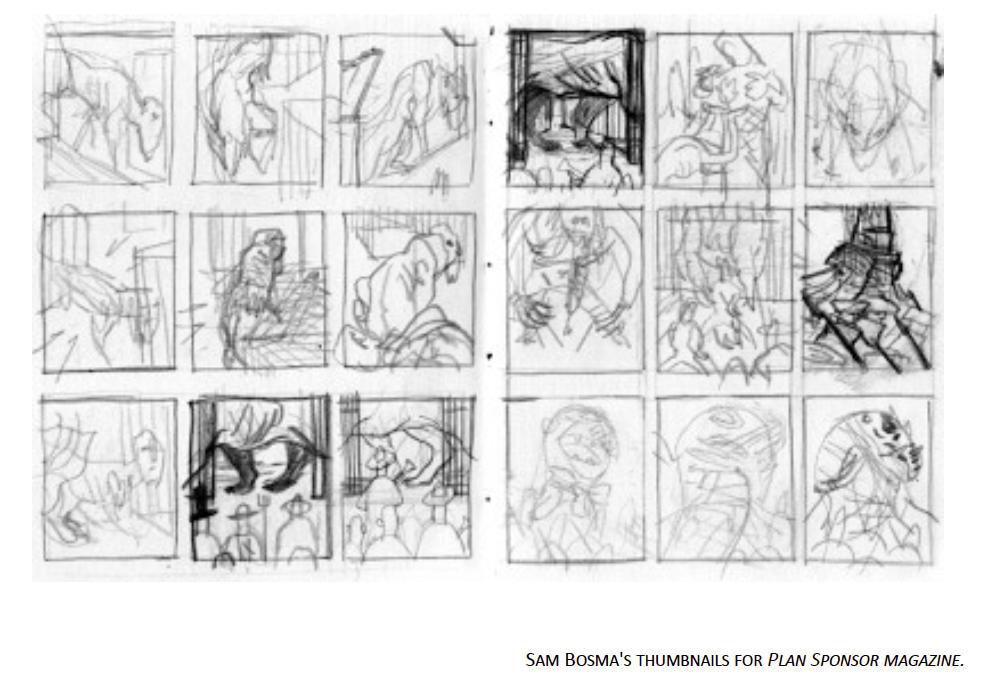
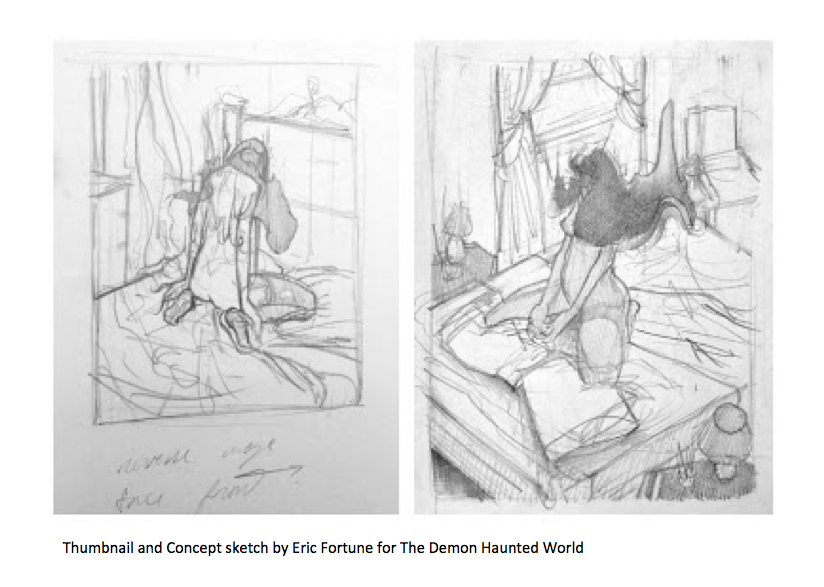
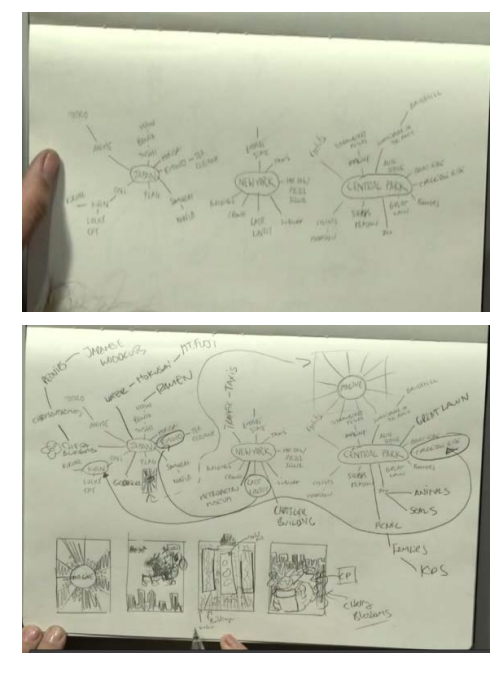
Concept Sketches
EXAMPLES:
Compare the approved thumbnail sketch with the corresponding concept sketch. Consider where changes were made.
Post your
Food drawings
Document three things you eat in a week. This could be a snack or meal. Use 1 page per food/meal/snack in your sketchbook. You do not need to fill the whole page . Label the food and feel free to write any important notes about how you feel about what you ate. Was the food eaten at a restaurant, home, school, or outside? Was the meal shared with a friend? Use color in at least 2 of the three drawings. Use any materials you prefer. Draw the food in a more traditional/realistic way or feel free to be imaginative with your food drawings!
illustrator: Wendy McNaughton

Overall Project Description:
Create an Editorial Illustration for an article in a magazine, printed or online.
In Part 1 of the assignment, you’ll find an article for source material for your editorial illustration. You’ll generate ideas through brainstorming, and you’ll find new ones through research. Make sure you have an article that you are passionate about. You’ll need to do some reading! (If you are feeling stuck you can bring two articles in. It might also be good to have a back-up.) We can discuss which one makes more sense. I also suggest using an article this is not older than three months. It’s best to stay current. The more recent the better.
Newspapers:
The New York Times, The Wall Street Journal, The Guardian, The Washington Post, the Chicago Tribune, The Los Angeles Times, etc.
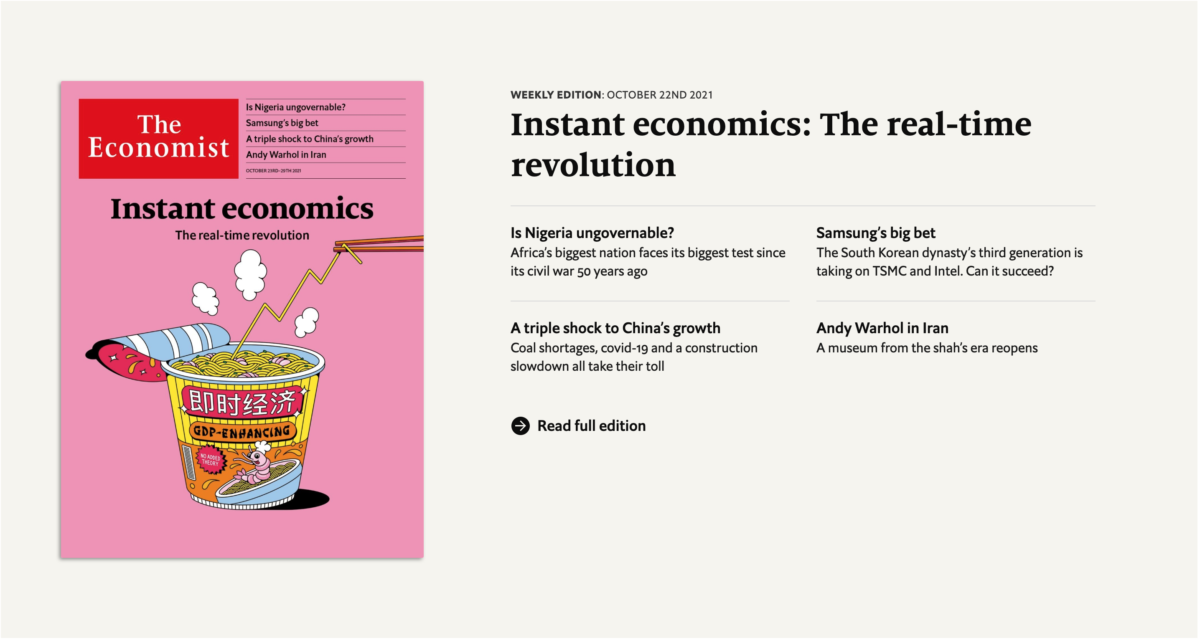
Magazines: Feel free to use others. I’m open to magazines of specific interests; skateboarding, cooking, pets, video games, etc.
https://www.theatlantic.com/magazine/backissues/
https://www.plansponsor.com/magazine-issue/
https://www.newyorker.com/magazine
https://www.wired.com/magazine/
https://www.science.org/toc/science/current
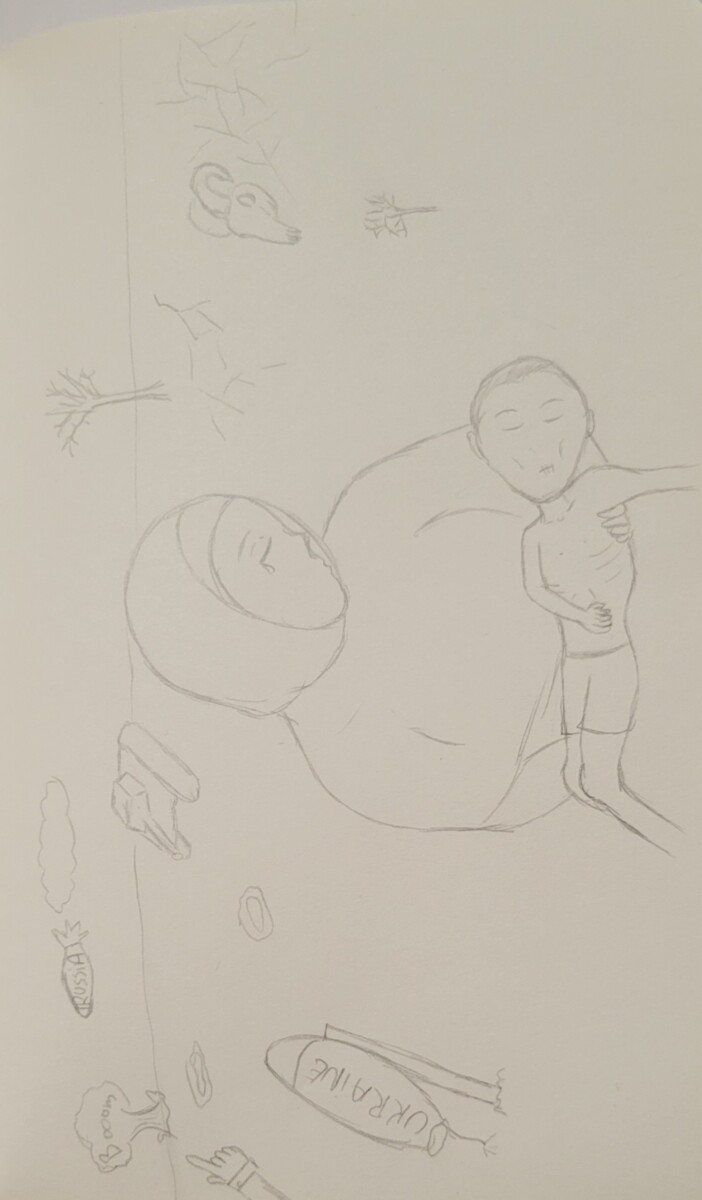
Research: Find an article from a legitimate news source, online or printed, about a topic that you are passionate about or find particularly interesting, as source material for your editorial illustration. Carefully read and analyze the article.
Brainstorm: Using the Word Web method we’ve used for earlier assignments, write down all of the key words you can think of related to the article. Be sure to include the actions – what is happening, not just who, what, or where.
Write: A short blog post on open lab in response to the article.
Who does this article matter? Highlight particular areas of interest to you. Share the article (a link or scan in the first page of the article) as well as your brainstorm and any images you may consider using in the future as reference material.
Discuss: Prepare a brief presentation of your chosen article and brainstorm ideas.
Exquisite Corpse collaboration
Design Concepts in Illustration
From sketch to final-Inking your spots
Take one of your spot drawings, perhaps the simplest one, and practice different methods of drawing in ink. Based on our in-class inking practice I want you to try at least 5 styles for one spot. See samples from the class below.
Try different approaches. Here are some examples or ideas you can try.

SIZE:
I suggest working larger and scaling down later.
I recommend working no smaller than 2 x 2inches. And No larger than 5×5 inches.
You will be trying out different inking materials to see which style you like. Next week in class we will take a look at the different approaches and you will then complete all the spot illustrations in this style.
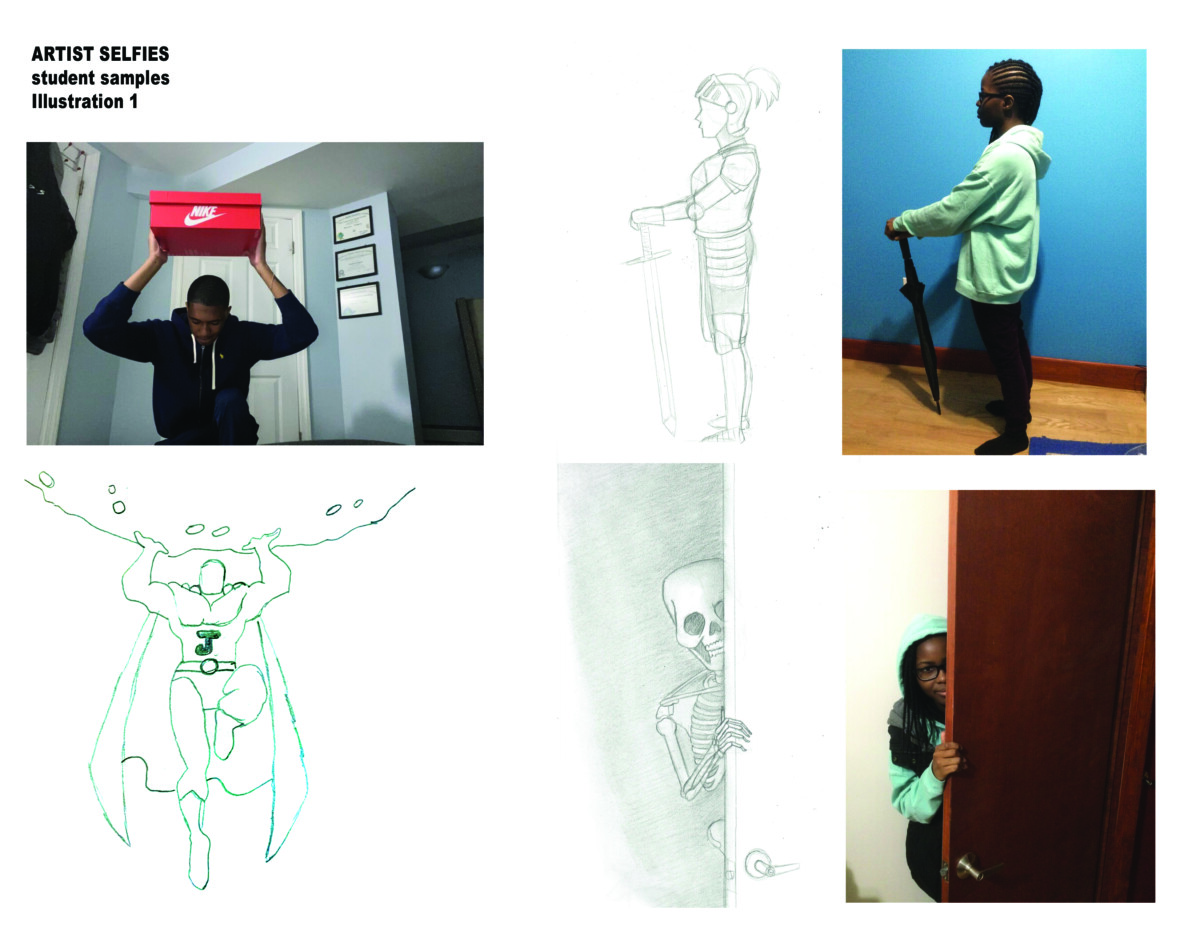
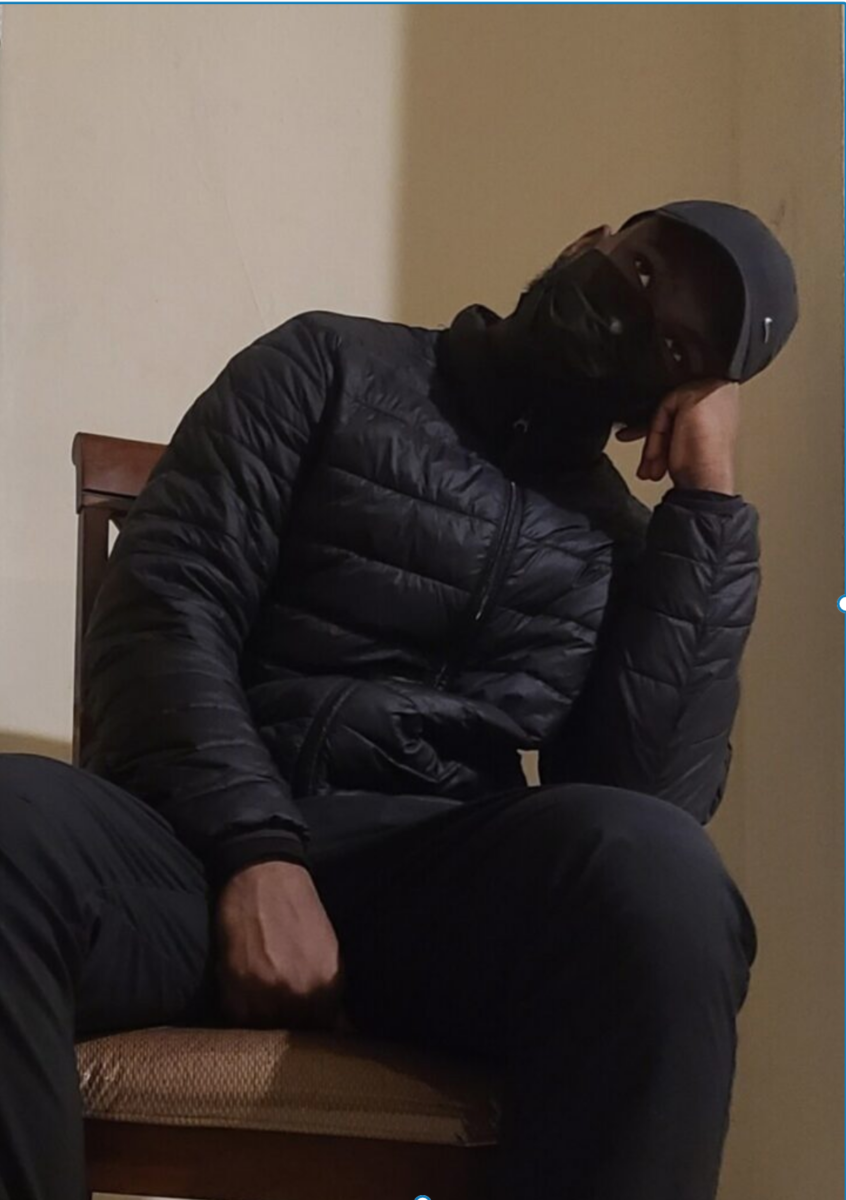
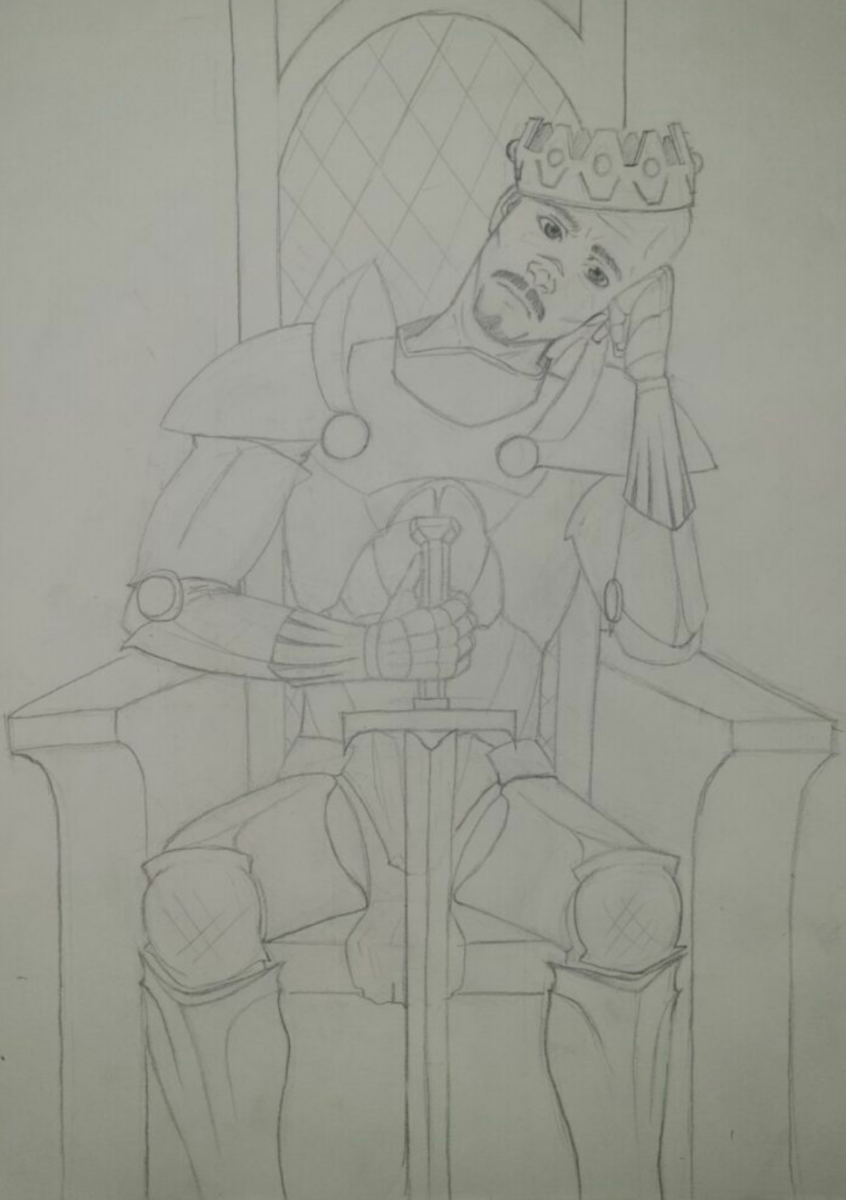
Please check out Art Director LAUREN PANEPINTO’s blog post on MuddyColors.com, Artist Selfies, everybodys doing it.
“ Starting to shoot reference very often brings a huge leap forward in the work of young artists, yet it’s also the piece of advice I hear the most excuses about. I hear “My friends don’t like to pose.” “I’m not a good photographer.” “I don’t have money to hire a model.” “I don’t have good props.” “I don’t have a good camera.” and I say the best artists in the world use themselves for reference all the time. With rulers standing in for swords, with any kind of camera or webcam, and without even cleaning their studios, if these guys are shooting themselves, you can too. You, yourself, are the most reliable model. You know what you want, you are always available, and you work cheap.”
This short excerpt from Lauren Panepinto’s blog post demonstrates the importance of working from reference. After reading this article, shoot digitally and use a prop to stand in for any objects.
Do not overthink this.
This is PRACTICE to learn how to shoot and work from reference.
Make sure to get some help. Shoot many photos and then pick 3 Photos. Then fill 3 pages in your sketchbook with drawings based on these photos / digital collages.
SHARE BOTH THE REFERENCE AND THE SKETCHES WHEN DONE.
Here are some previous student sketchbook samples.
Post when complete:
GO TO: CLASS SITE
DASHBOARD > POSTS > ADD NEW >
Write your post. Add a Descriptive title.
Choose CATEGORY (bottom right side): Sketchbook
PUBLISH
Please add your introduction by [DATE AND TIME]. It should be between [200-250 words].
Tag sketchbook and week 4 on Openlab
Inking Techniques
ILLUSTRATION PRACTICES: PROCESS & WORKFLOW
ILLUSTRATION PROCESS
Illustration Process and Workflow
Conversation between Soojin Buzelli and Jon Han
BREAK
Review thumbnail drawings and concepts for Assignment 1, Part 1
Lab time to work
WELCOME TO INTRO TO ILLUSTRATION
Everyone introduces themselves!
Professor’s presentation: Who am I?
and
Lecture: What is Illustration?
Break
Introduce Assignment 1: Spot Illustration
Activity: Group brainstorming and word web
Assignment 1, part 1
1. Brainstorm and research:
Start with writing, make a list and create word webs for each concept. Doodle and sketch as needed.
2. Concept:
Come up with at least 2 solid ideas to present, you can present more if you like. Write out each concept in a sentence. We will critique in class and help decide which direction to go in.
3. Sketch:
Have at least three thumbnail sketches for each concept. 6 small sketches in total. Sketch in your sketchbook or on paper. You’ll have the option to do digital later.
5. Post homework to Openlab.
Post word webs, concepts, and sketches to Openlab. Post all jpgs and writing to Openlab in STUDENT POSTS>WORK IN PROGRESS>Assignment 1, part 1
Make sure to always have your sketches or files with you in class even if posted to Openlab.


© 2025 COMD3313, Illustration1, FA2022
Theme by Anders Noren — Up ↑
The OpenLab is an open-source, digital platform designed to support teaching and learning at City Tech (New York City College of Technology), and to promote student and faculty engagement in the intellectual and social life of the college community.


Recent Comments