Writing a Post
The following screencast covers how to create and edit posts and pages. You can also find step-by-step instructions on how to create a post below.
Creating your post
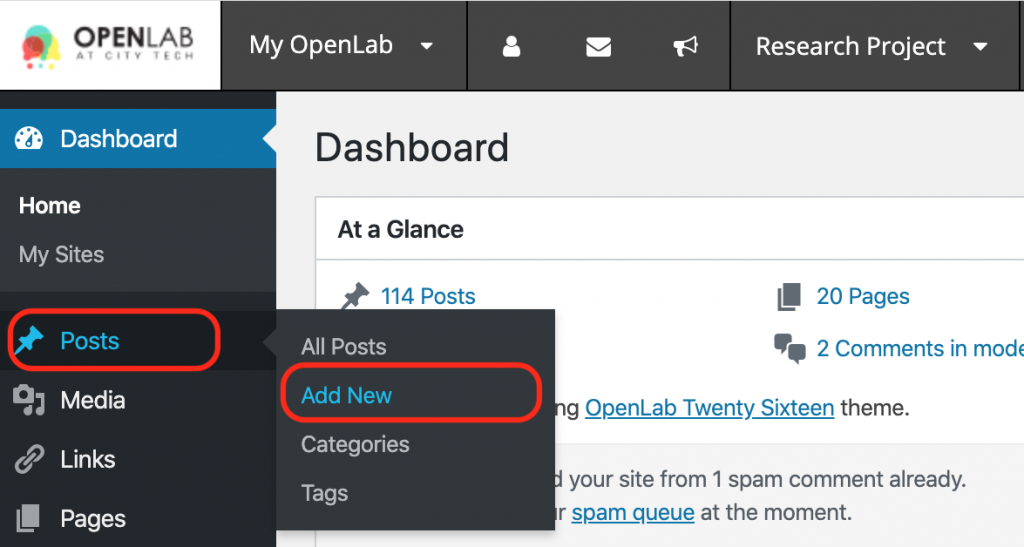
1. From your site’s Dashboard, click on Posts > Add New in the left hand menu.
2. Add a title to your post. You will notice that the title is automatically formatted in a title heading style.
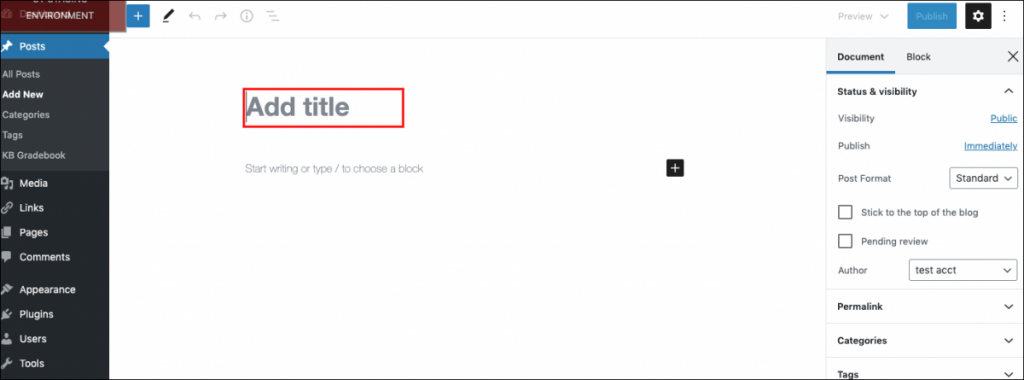
3. Add content to your post by adding blocks. The default block type is a paragraph block, which you can start using just by typing where it says “Start writing or type / to choose a block” or by pasting in text from Microsoft Word or another program. When you start writing, a block toolbar with formatting options will appear. If you want to format your text, highlight the text that you want to change and click the appropriate button from the formatting toolbar.
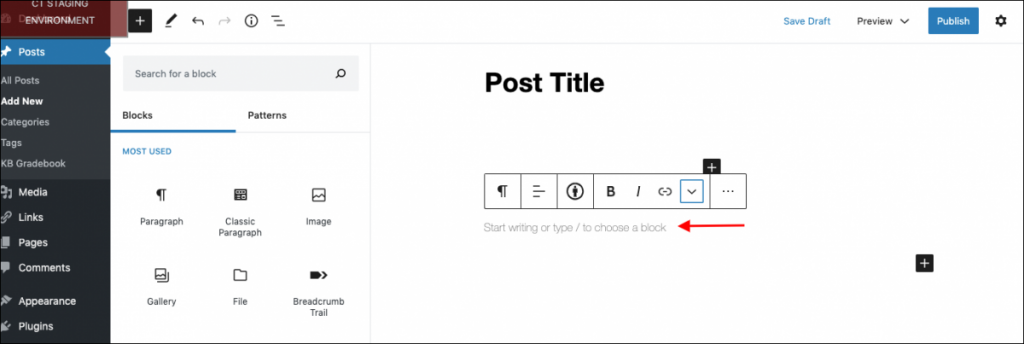
4. To add another type of block, you can search for other block types by typing a forward slash followed by the block name, for example: “/image” or “/heading”. Then, choose the type of block you want to use. Please note that this only works if you have no other text in the block.
5. You can also add a block by clicking on the Add block button — the black ‘+’ button on the right side of any empty block or the black ‘+’ button in the upper left corner of the editor. Once the block library appears, select the type of content you would like to add, such as a heading, an image, or a video.

6. You can include images and documents in your post by choosing the Image or File icons in the block editor library box. You can also find more detailed instructions for adding images and other media, and embedding video.
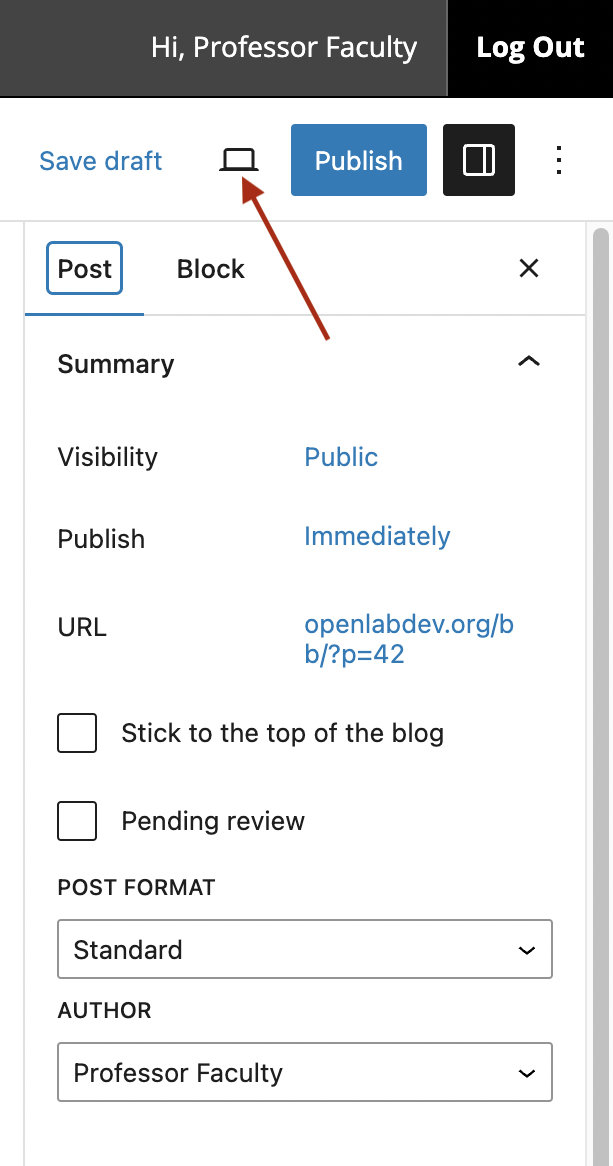
7. If you would like to see how your post will appear on the site before you publish it, click the preview icon that looks like a laptop.
Publishing your post
There are a few options once you’re finished writing your post:
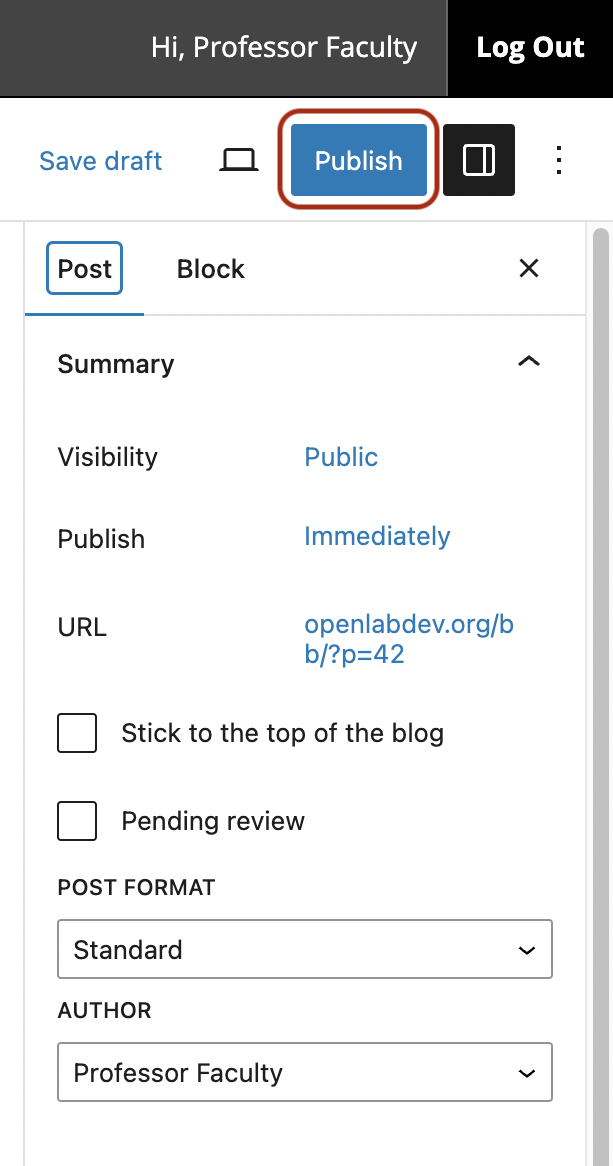
1. Publish your post: If you’re ready for your post to be published on the site’s homepage, click Publish. And you’re done! You can now view your post on the site.
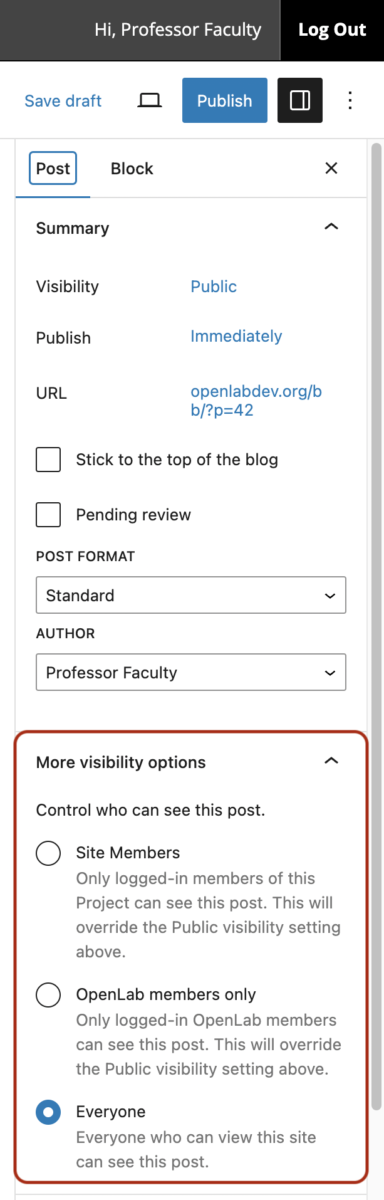
2. Choose additional privacy settings: There are a few different privacy options for your post, depending on whether the site you’re working on is public, private, or visible to OpenLab members only.
If the site is public, you have three additional privacy options in the ‘More visibility options’ section:
- Everyone: This is the default setting, which matches the setting of the open site.
- Site Members: Only logged-in members of the site can see the post.
- OpenLab members only: Only logged-in members of the OpenLab can see the post.
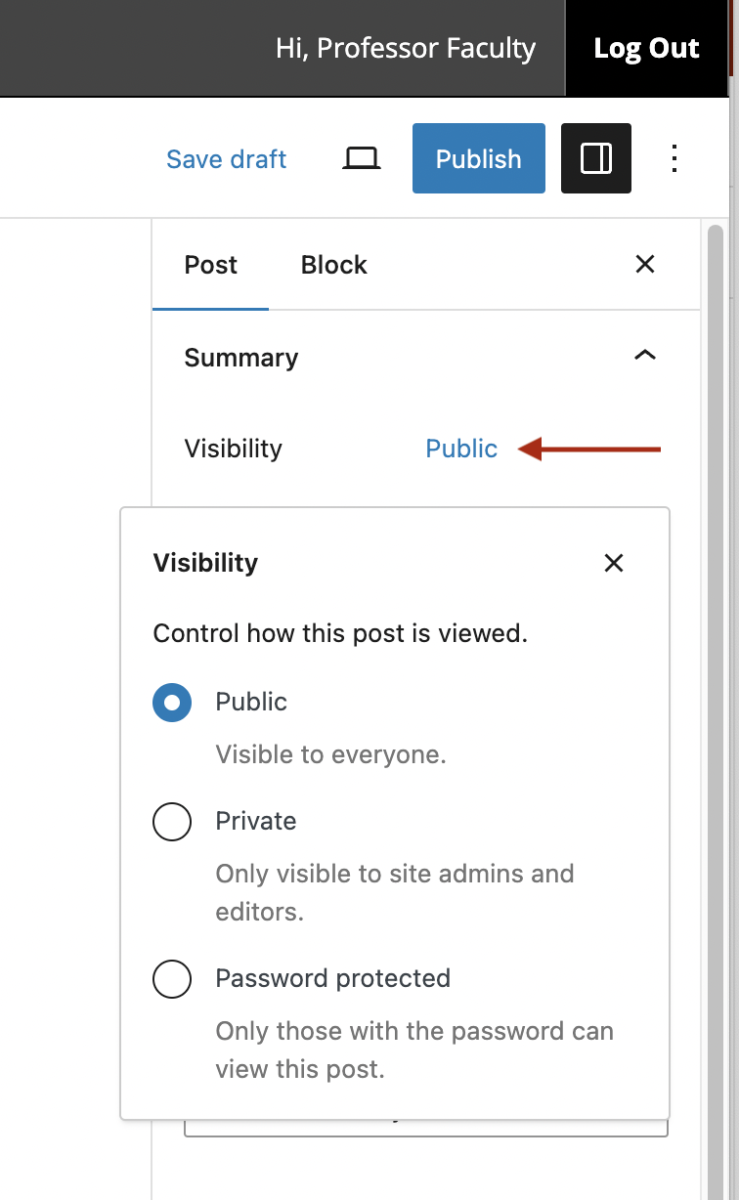
If your site is public, it’s best to use the privacy options described above. In addition, all sites, regardless of privacy settings, have three options that appear in the ‘Visibility’ section:
- Public is the default. Anyone who can view the site can see your post. For example, if the site is private, only members of the site can see your post. If the site is public, anyone can see your post.
- Password Protected makes it available only to people who enter a password that you set for the post.
- Private makes it accessible only to site administrators.
To choose either password protected or private, click the Public link next to Visibility, and the three options described above will appear. Students should check with their professors before making a post password protected or private.
3. Save your post as a draft: You can also click Save Draft to save your post and continue working on it later without making it visible on the site.
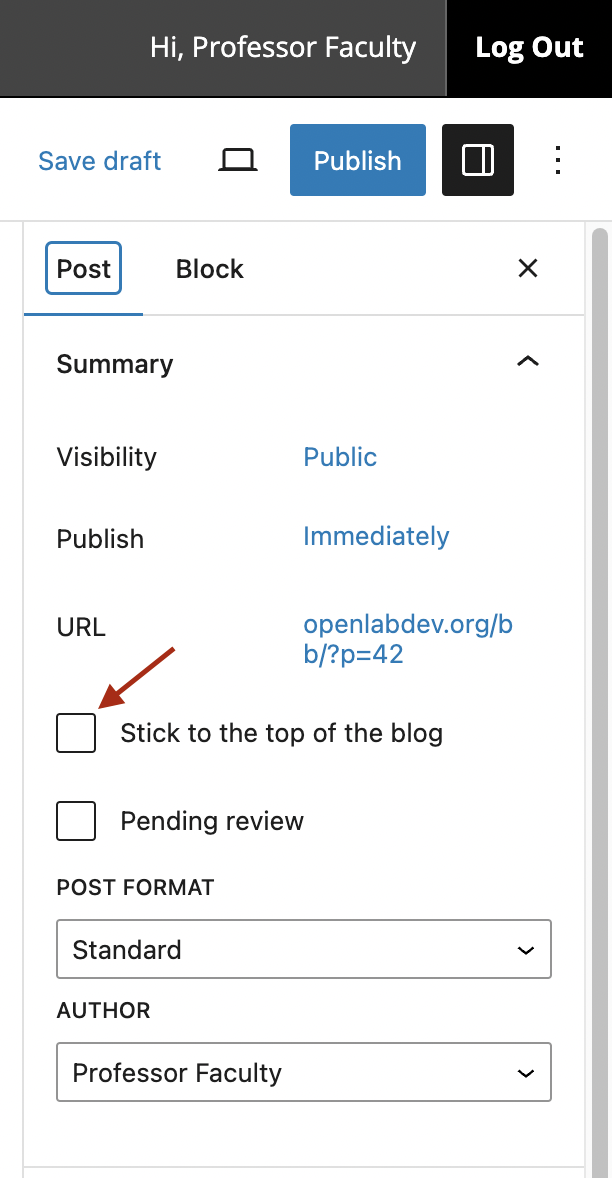
4. “Stick” your post to the top of this site: This will allow your post to remain at the top of the site even after you add new posts. If you’re a student working on a course site, check with your professor before choosing this option. To make a post sticky, check the box, “Stick to the top of the blog.” Once you publish your post, it will be stuck to the top of the page.
Looking for Classic Editor help? You can find it here: Writing a post (Classic)


