Writing a post (Classic)
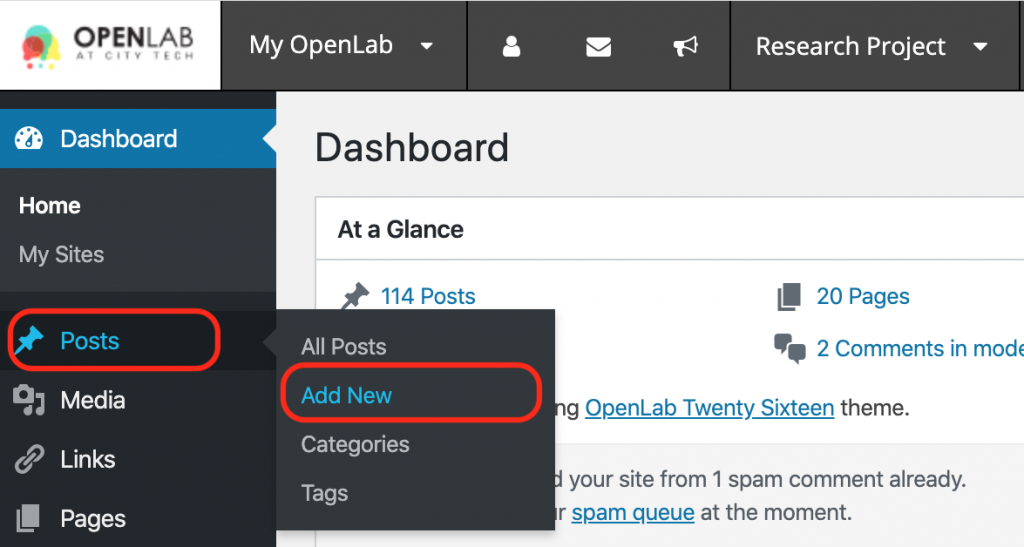
1. From your site’s Dashboard, click on Posts > Add New in the left hand menu.
2. Add a title and content to your post. You will notice that many of the formatting buttons such as bold or text alignment look similar to those in common word processing and email programs. You can type in the content box shown below, or paste text from another document.
3. You can include images and documents in your post using the Add Media button just above the visual editor box. You can also find more detailed instructions for adding images and other media, and embedding video.
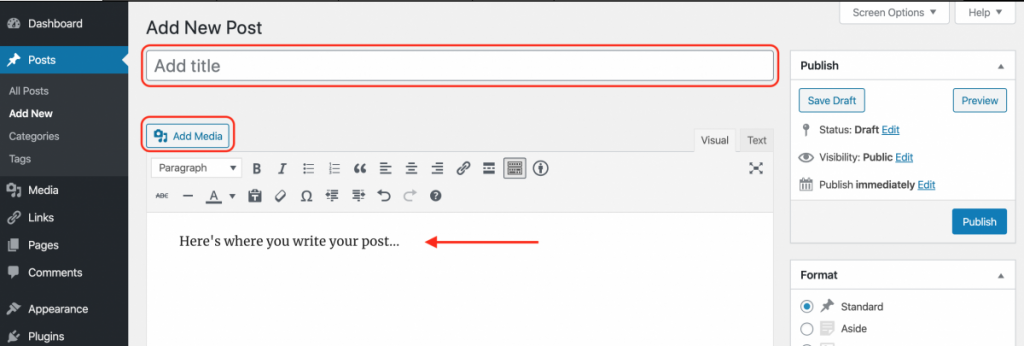
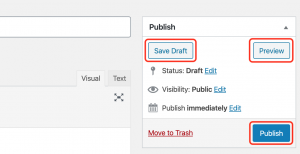
4. To the right of the visual editor is the Publish box. When you’re ready for your post to be published on the site’s home page, click Publish. You’re done! You can now view your post on the site.
5. If you would like to see how your post will appear on the site before you publish it, click the Preview button. You can also click Save Draft to save your post and continue working on it later without making it visible on the site.
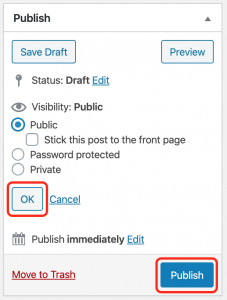
6. If you’d like, you can “stick” a post to the top of a site so it remains at the top even after you add new posts. In the Publish box, click the Edit link next to Visibility: Public (see below). Check the box, “Stick this post to the front page” and click OK to save.
7. You can also change the privacy settings for a single post in the Visibility section. There are three options:
- Public is the default. Anyone who can view the site can see your post.
- Password Protected makes it available only to users who enter a password of your choosing.
- Private makes it accessible only to site administrators.
Click OK to save when you are done. Students should check with their professors before making a post password protected or private.