
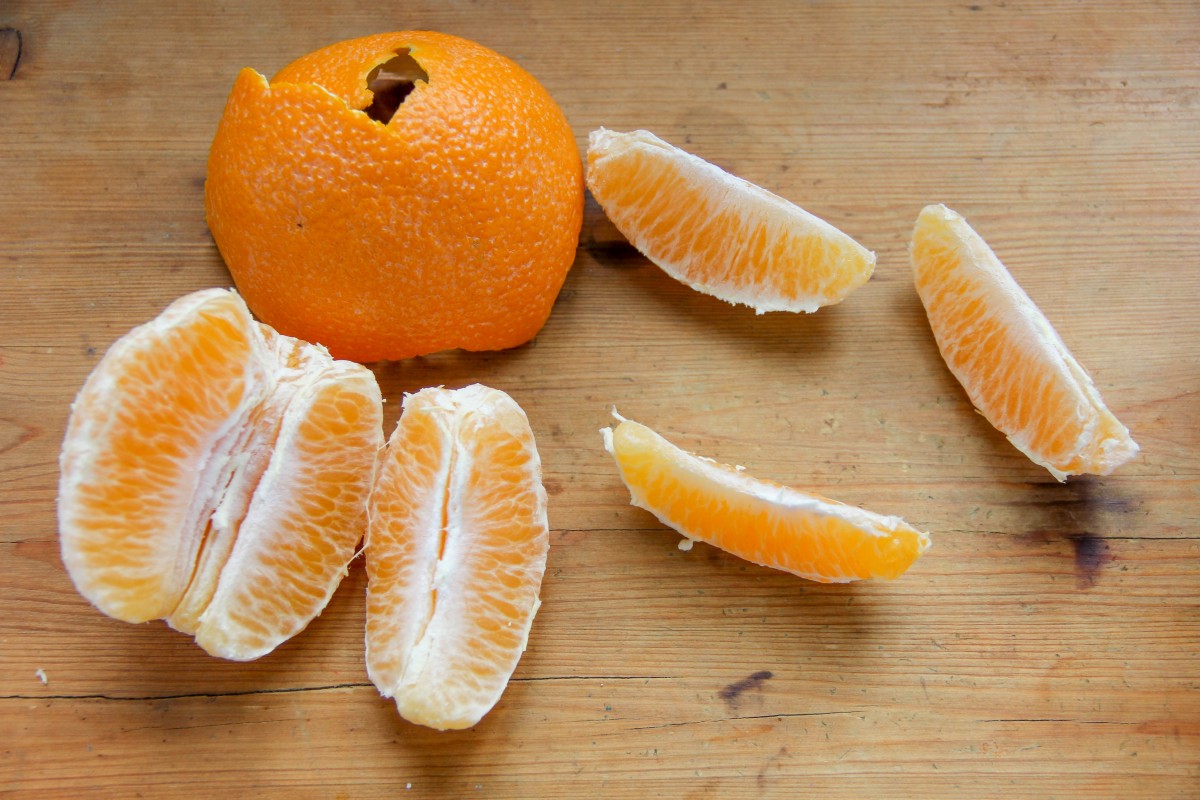
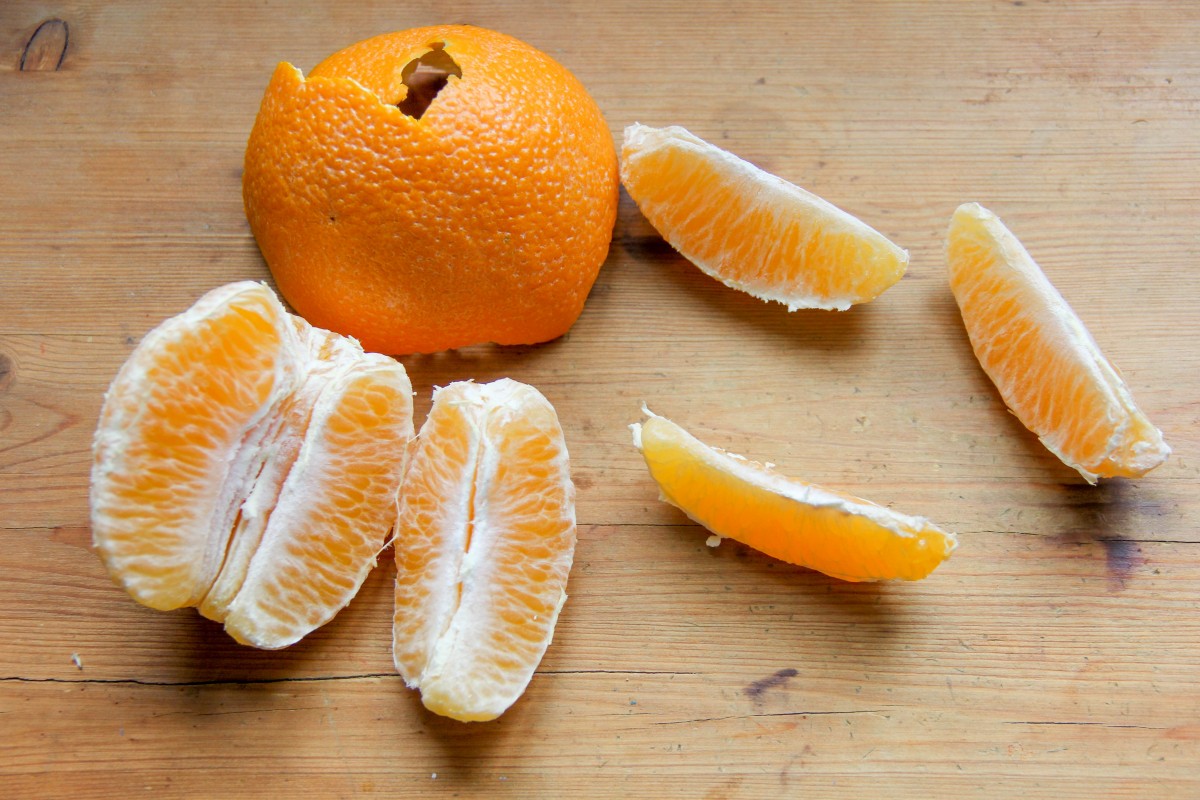
before after
To all we will start with a review of the Lightroom workflow covered on March 20th.
https://openlab.citytech.cuny.edu/comd1340d164s20/week-12-digital-darkroom-global-corrections/
Then look at local corrections:
https://openlab.citytech.cuny.edu/comd1340d164s20/2020/05/08/week-12-local-corrections/
And lastly, try several of Lightroom’s methods for converting images to B/W:
https://openlab.citytech.cuny.edu/comd1340d164s20/2020/05/08/week-12-black-and-white/
Next week, May 15th is an optional class. It is not required. Due to the pandemic, our class lost two sessions and this will be an optional make up. We will review the semester in preparation for the quiz on May 22. We will look at and give feedback on each student’s final project.
Final projects are due May 22.
The second group of 30 photos are due May 15th whether or not you choose to attend the class that day. This is so I have time to offer feedback on your images before you present on May 22.
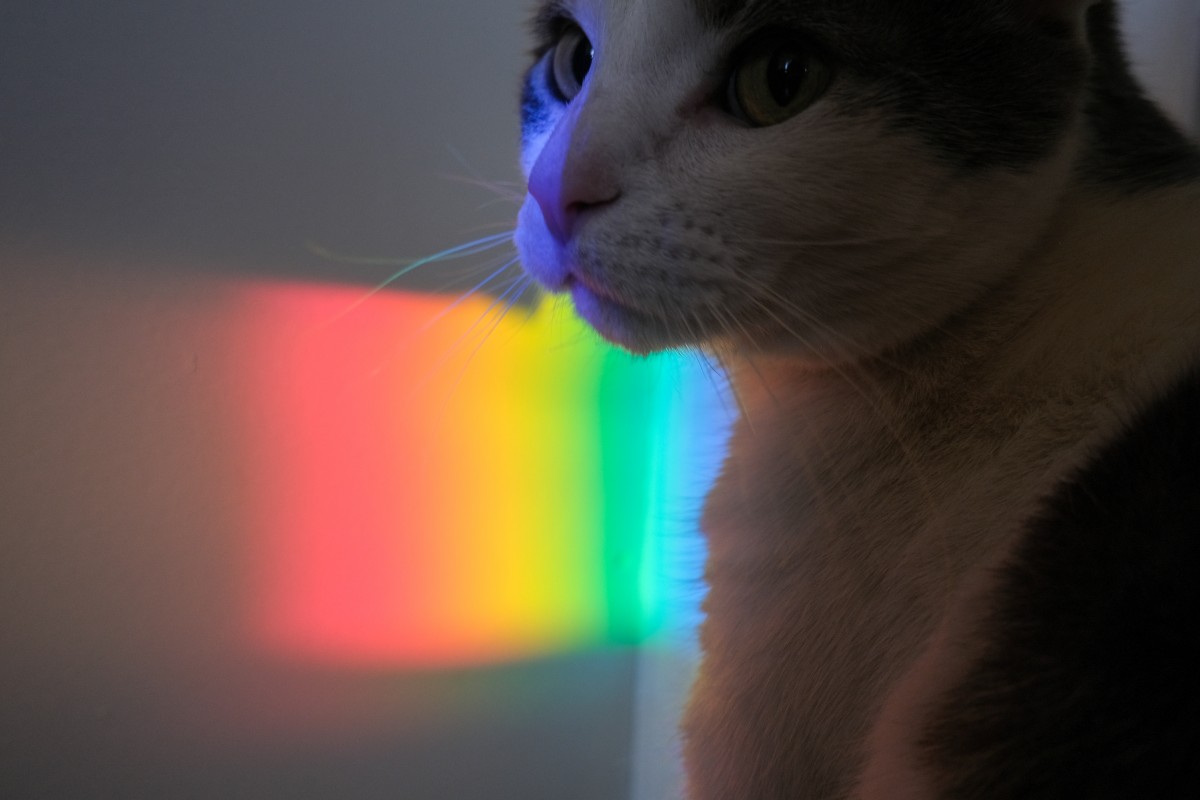
Black and white can be a great choice for an image particularly if your image is high contrast.
Best practice is to always shoot in color. Do not shoot with the black and white setting of your camera or cameraphone.
There are three ways to convert your images to black and white in Lightroom and Lightroom Mobile:
1. Presets
2. Profiles
3. B&W mix
Select one of your photos that has a good range of different colors in it. Create two different versions that look really different using any method. Put them in a post with the category Week 12 – Black and White.
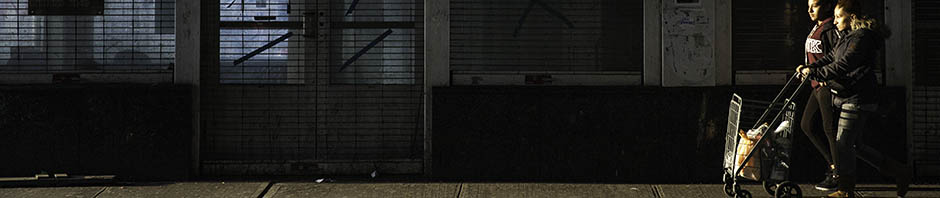
After you make global corrections, sometimes you will want to make corrections on part of your image. Generally, the brightest part of the image commands the most attention. Sometimes that is not where you want your viewer to look first so shifting the exposure of parts of your image can create the image you want.
Here is a terrific photo shot by Bryan Rodriguez. The expression of the card player is perfect and you can feel him making a decision about what to play.

Photo by Bryan Rodriguez
Looking at the histogram, we can see that there is no true black. In this case, the scene is dark and to best use the full tonal range, there should be a true black. I moved the blacks slider to the left until the data hit the left side of the histogram. I also used the shadows slider to add detail to the dark areas and brightened the whites.
Using the adjustment brush, I darkened the cards. Creating a second adjustment, I lightened the face of the card player a little more. The goal was to bring more attention to the person’s face and less to the overly bright cards.
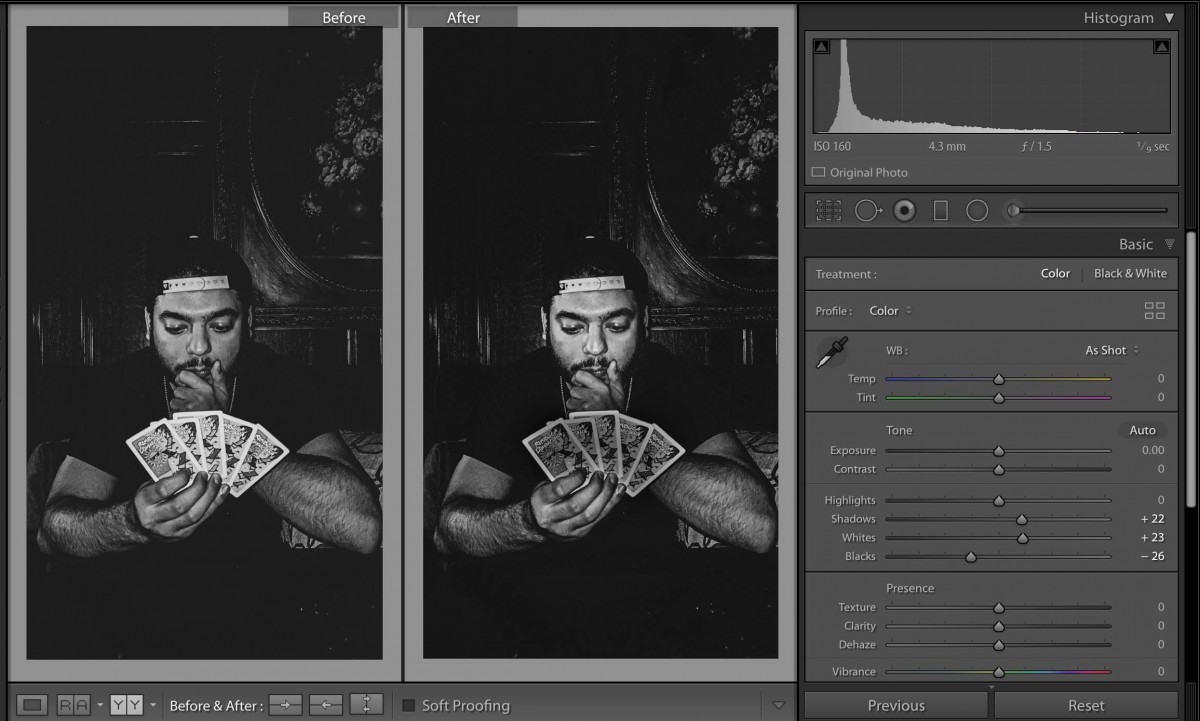
Photo by Bryan Rodriguez
Find one of your photos that you think will benefit from a local correction. Save a before version. Start with the global corrections. Then use the adjustment brush to change the values in specific areas of your photo.
If you are using Lightroom Mobile, use selective edits. Once you tap selective edits, notice the + sign in the top left of the screen. from here access the three local adjustment tools. Use the brush for this exercise. Note that the top control is for the size of the brush, the next one for its feathering, and the third for flow.
Selective Edits is a premium feature. You should have access to it if you have an account or if you have signed up for free access to Adobe software. Check your email for instructions on this.
Create a post with the before and after versions of your photo with the category Week 12 – Local Corrections.
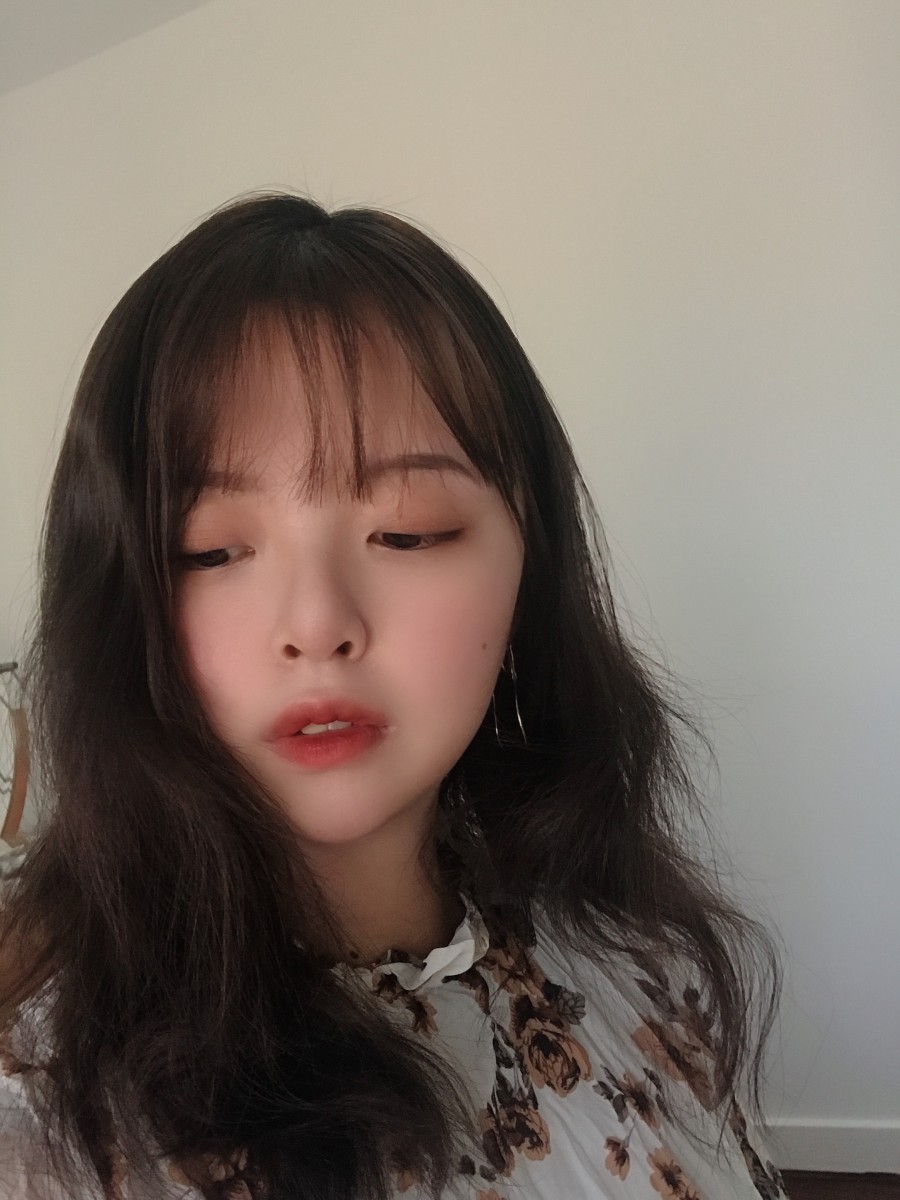
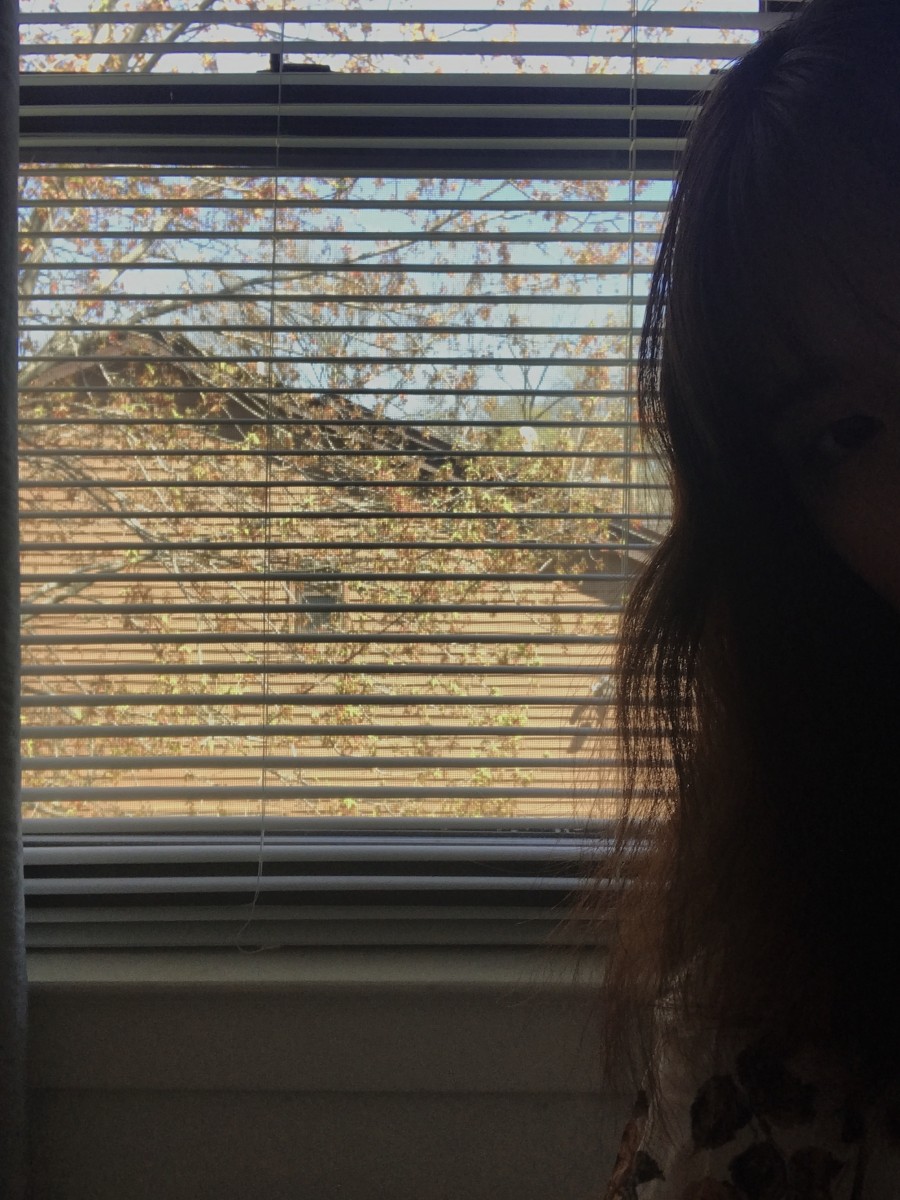
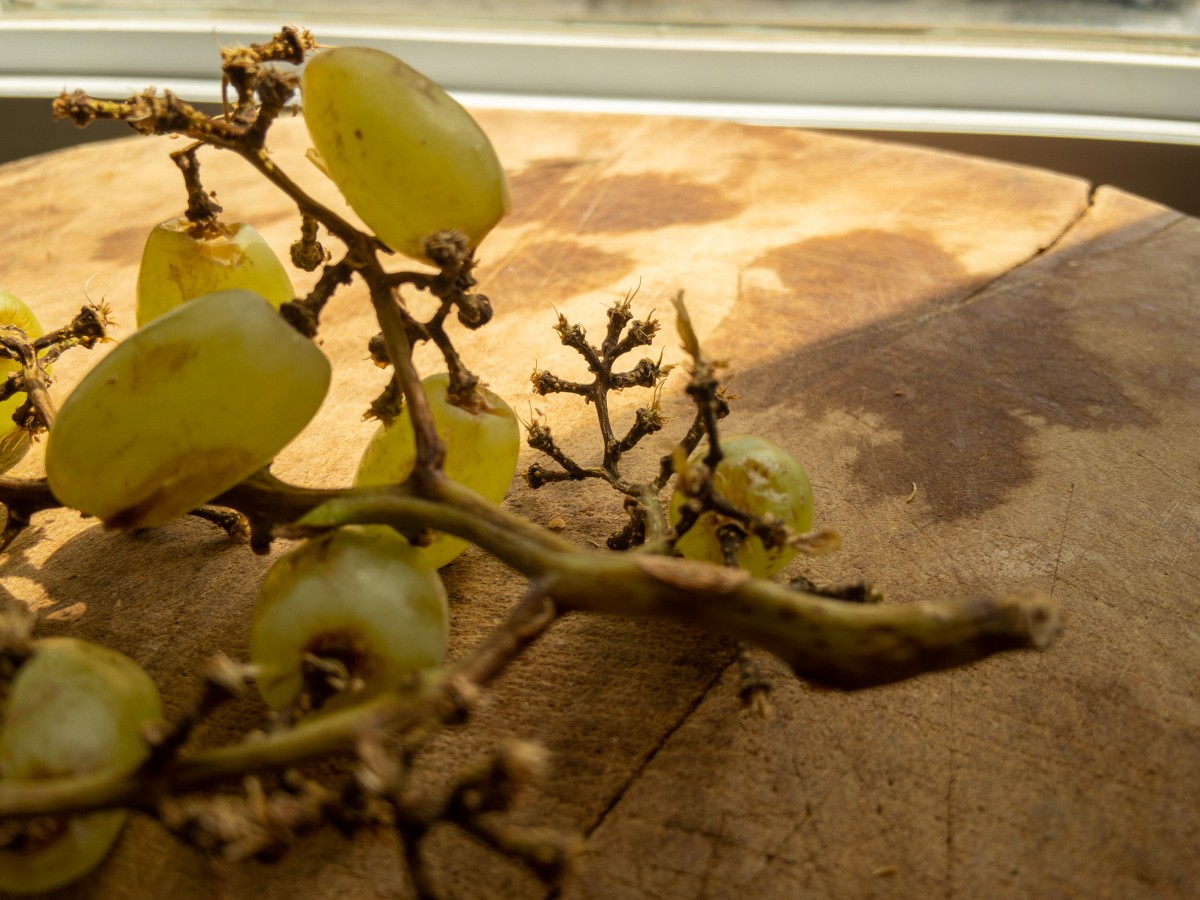
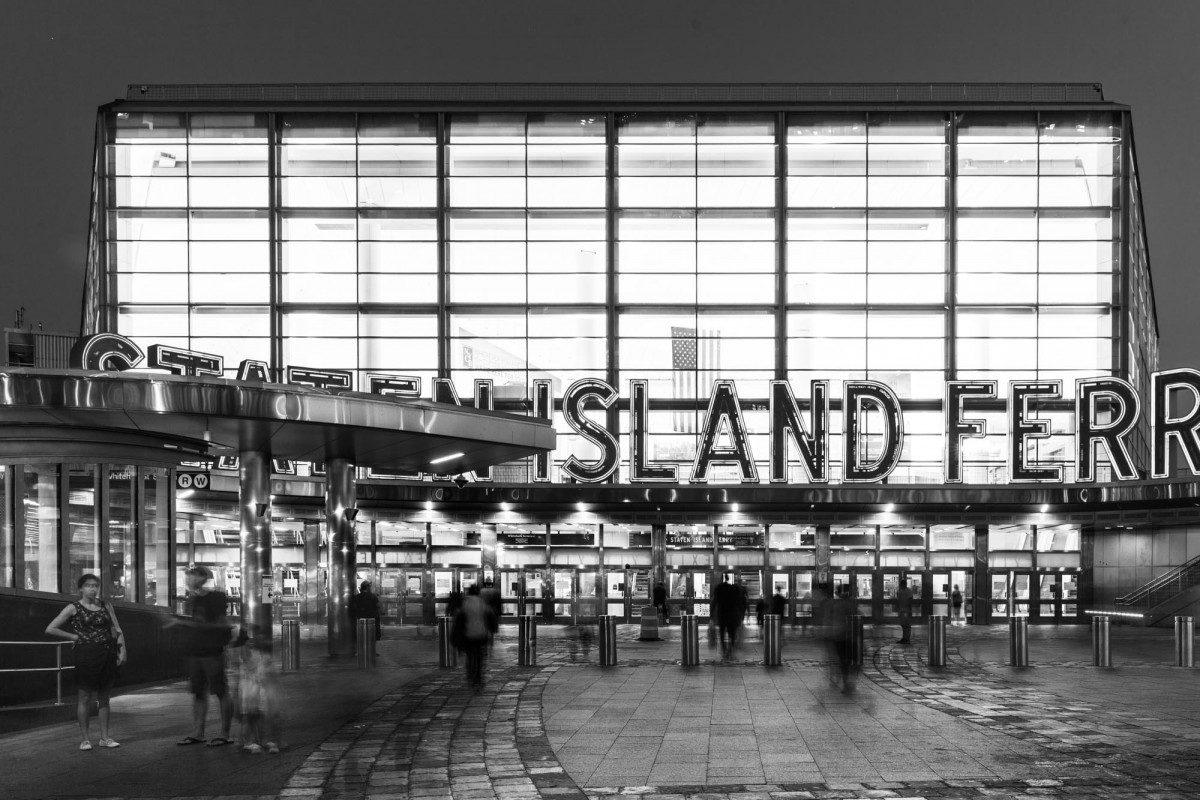
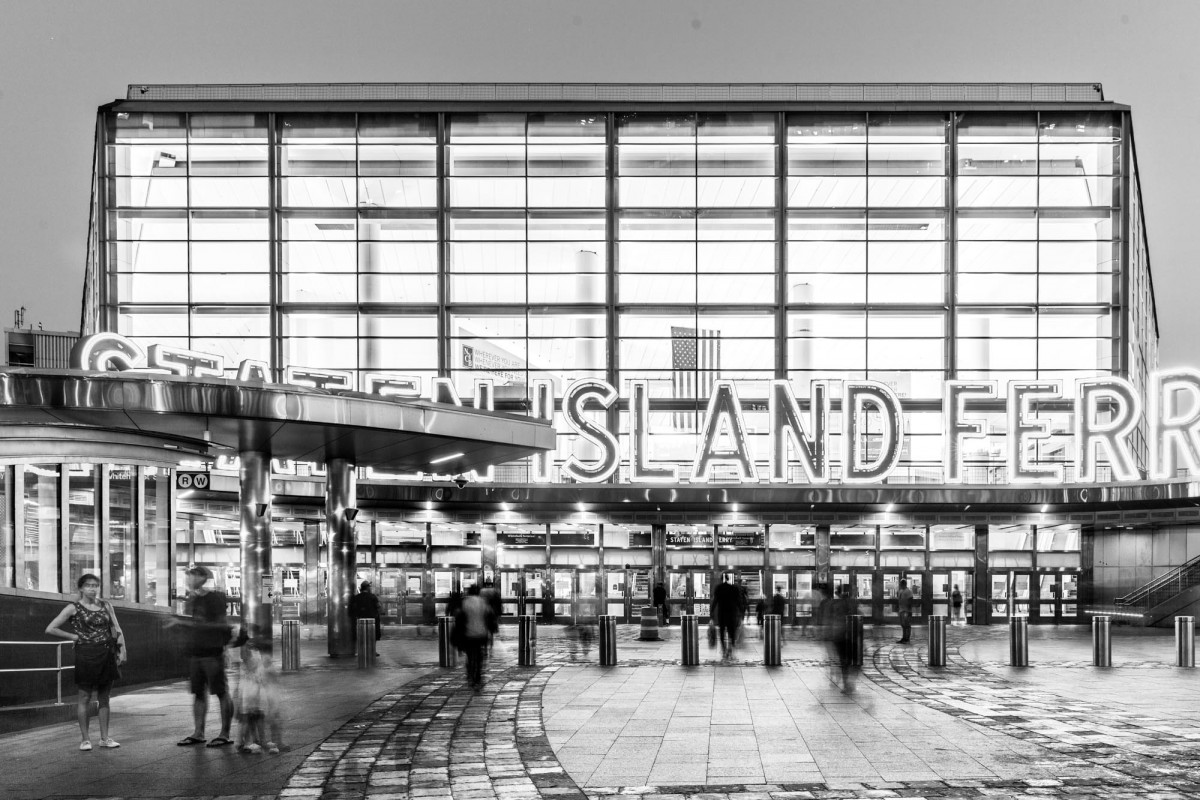
Different side of window light
Original pictures: Left (with fill); Right (without fill)
In Lightroom: Left (with fill); Right (without fill)
Exposure: +0.65
Shadows: +100
Blacks: -60
With and without fill
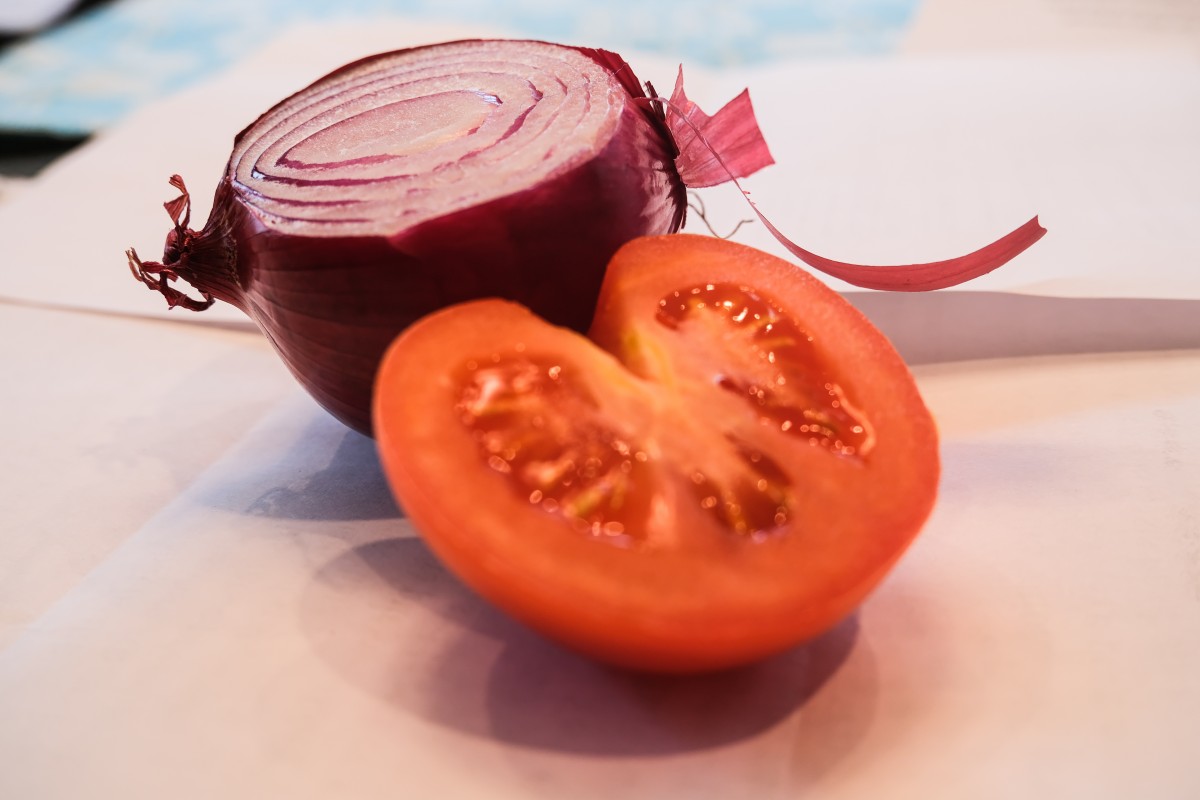
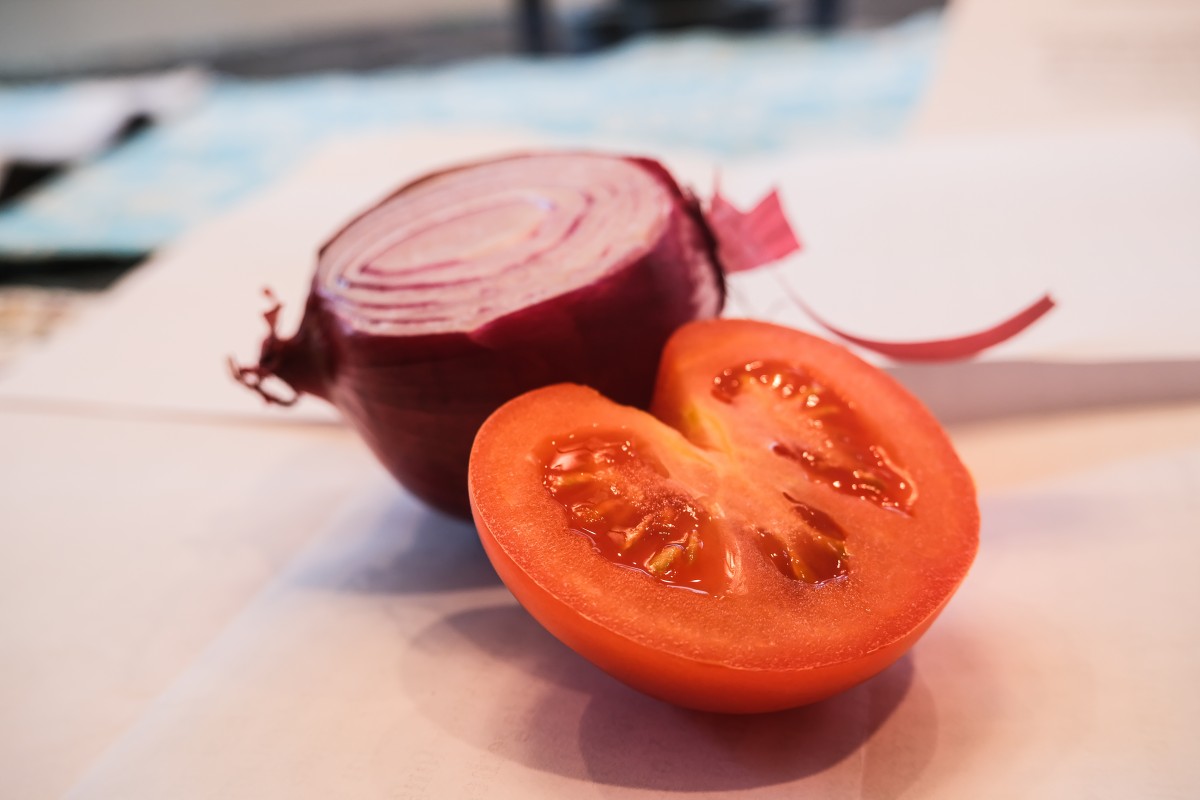
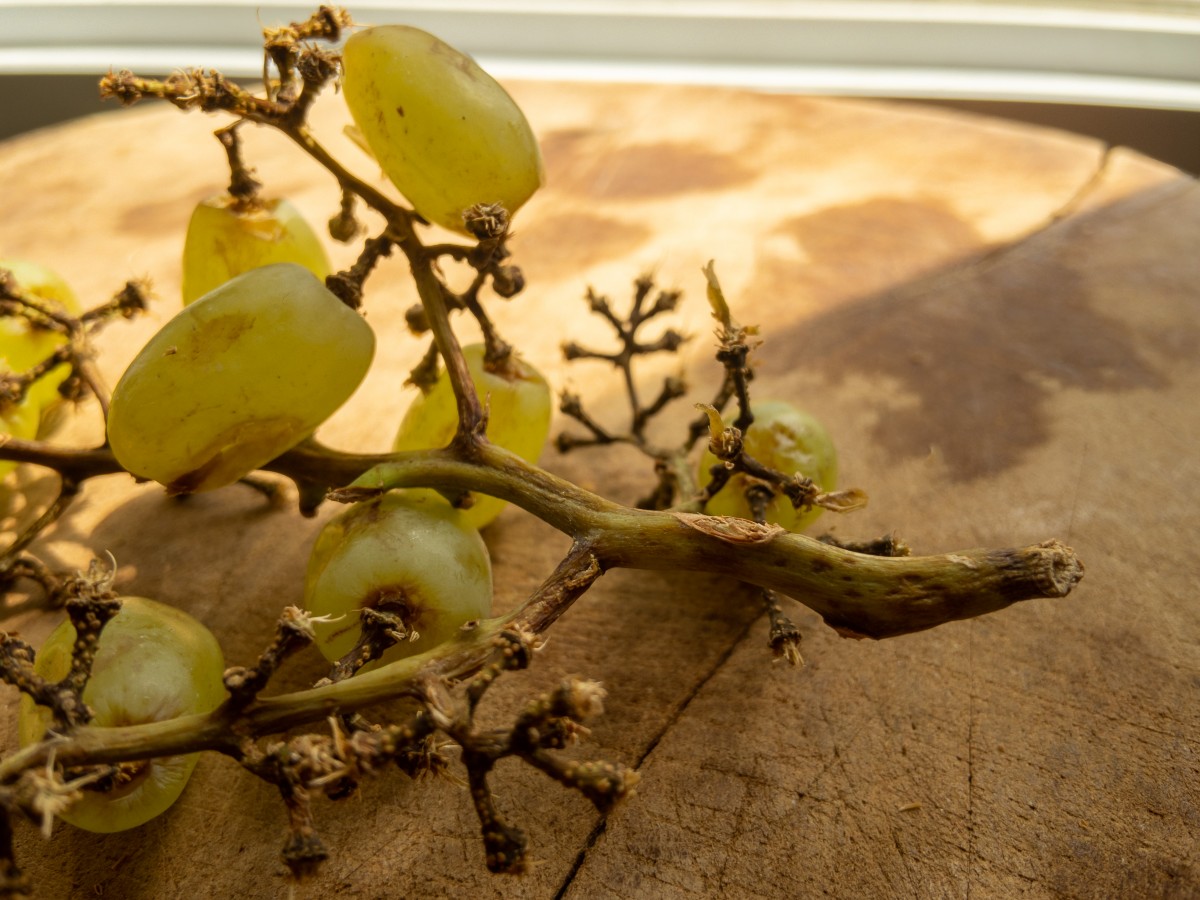
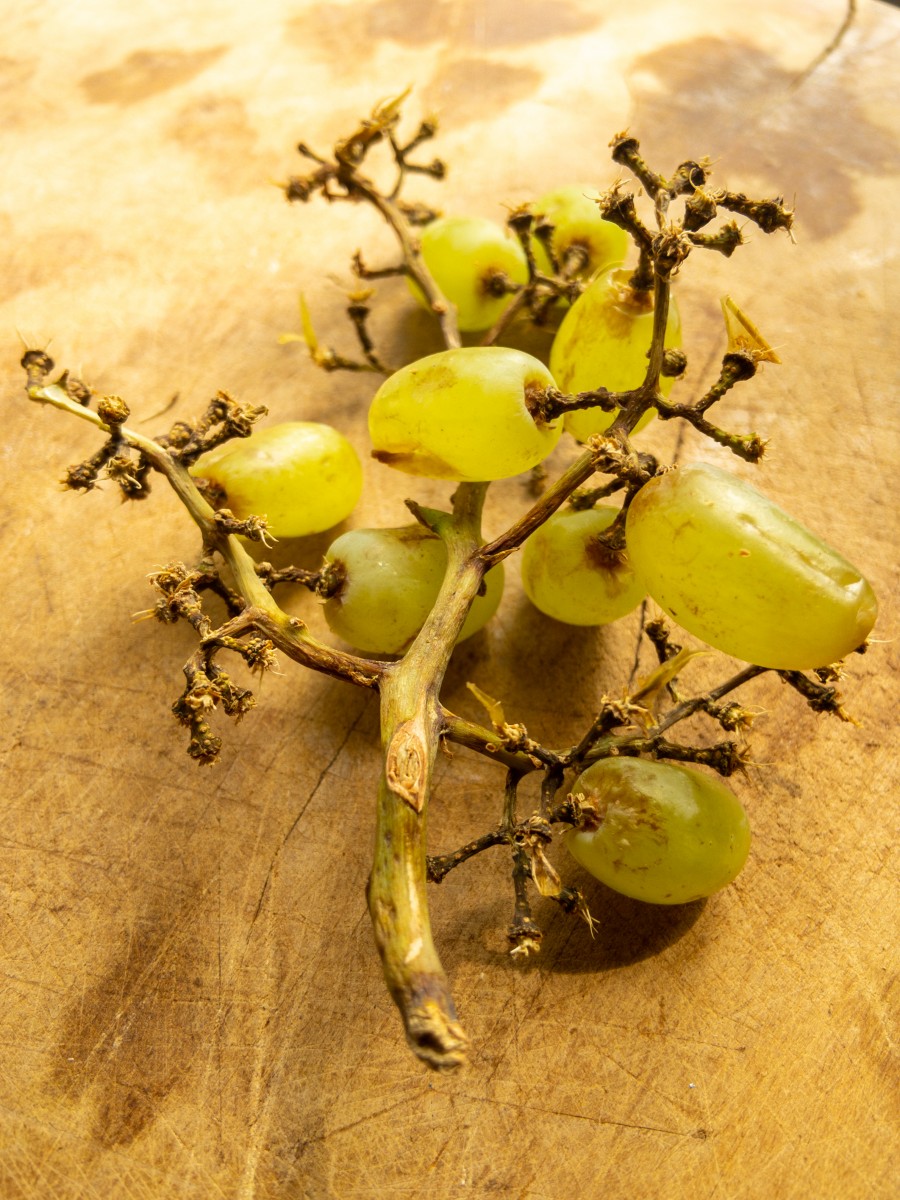
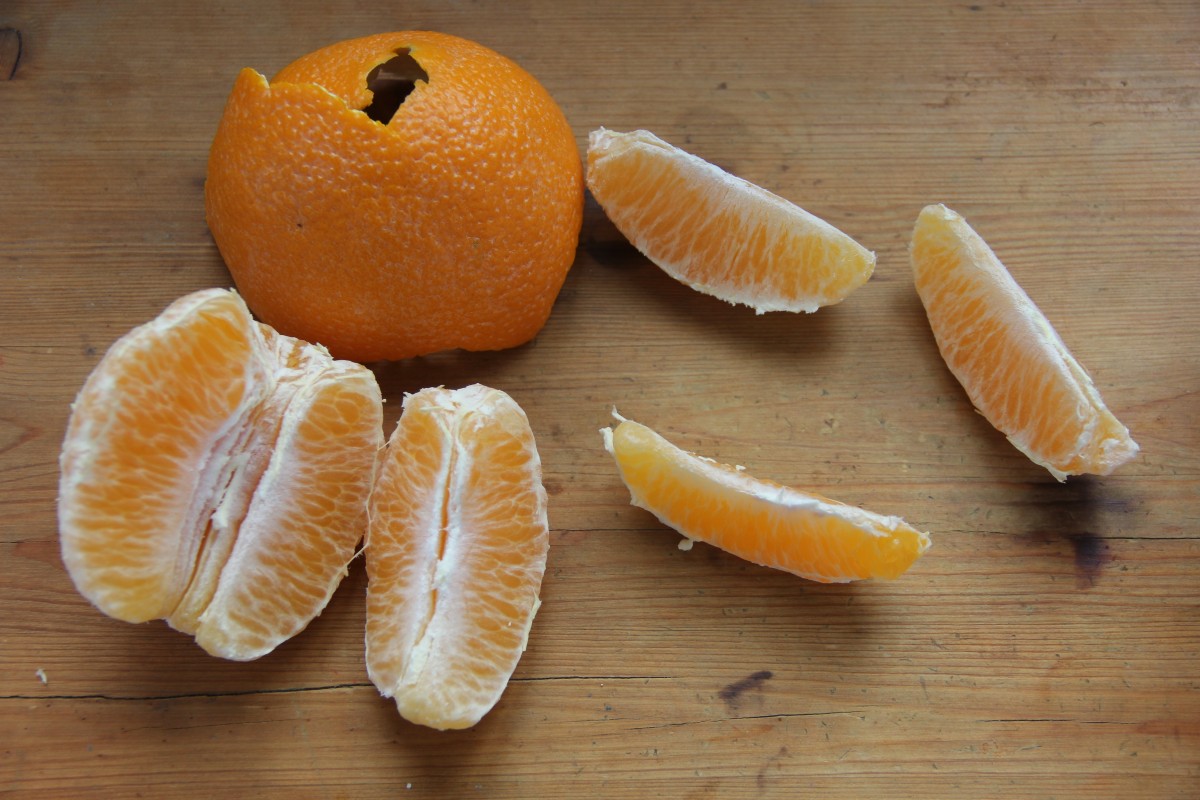
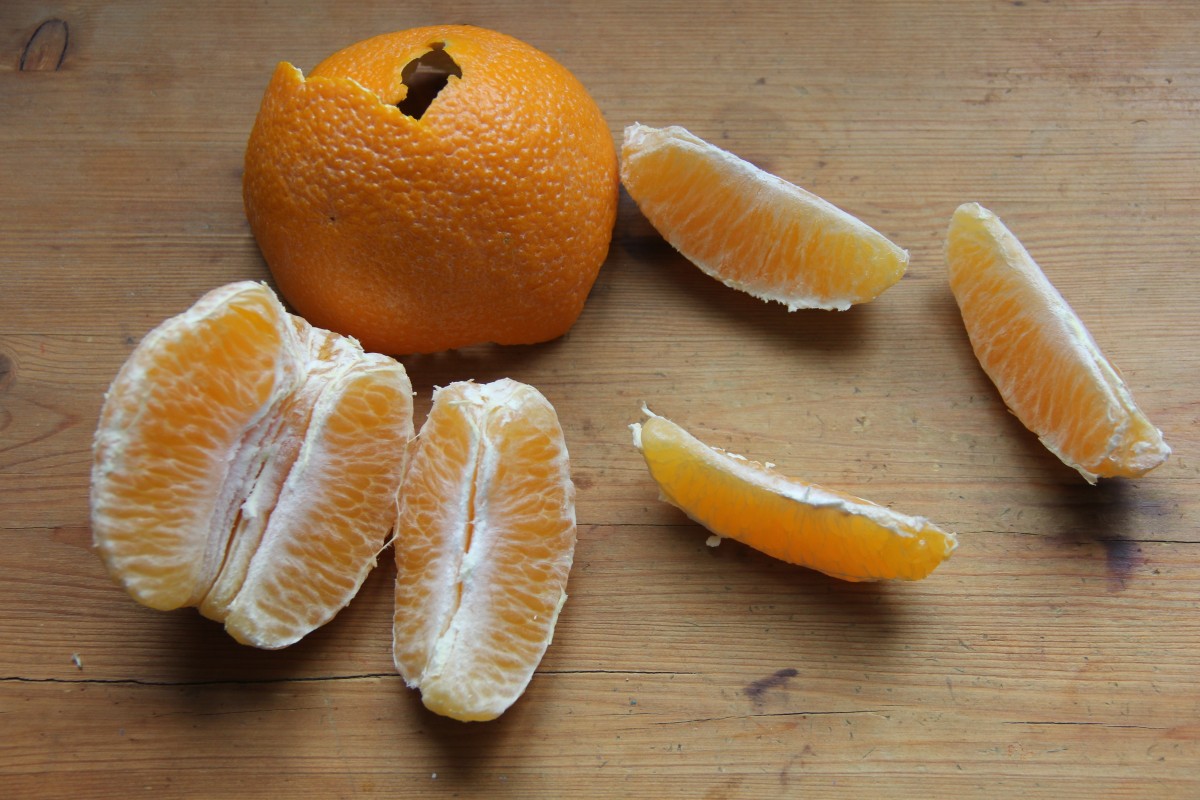
Depth of field
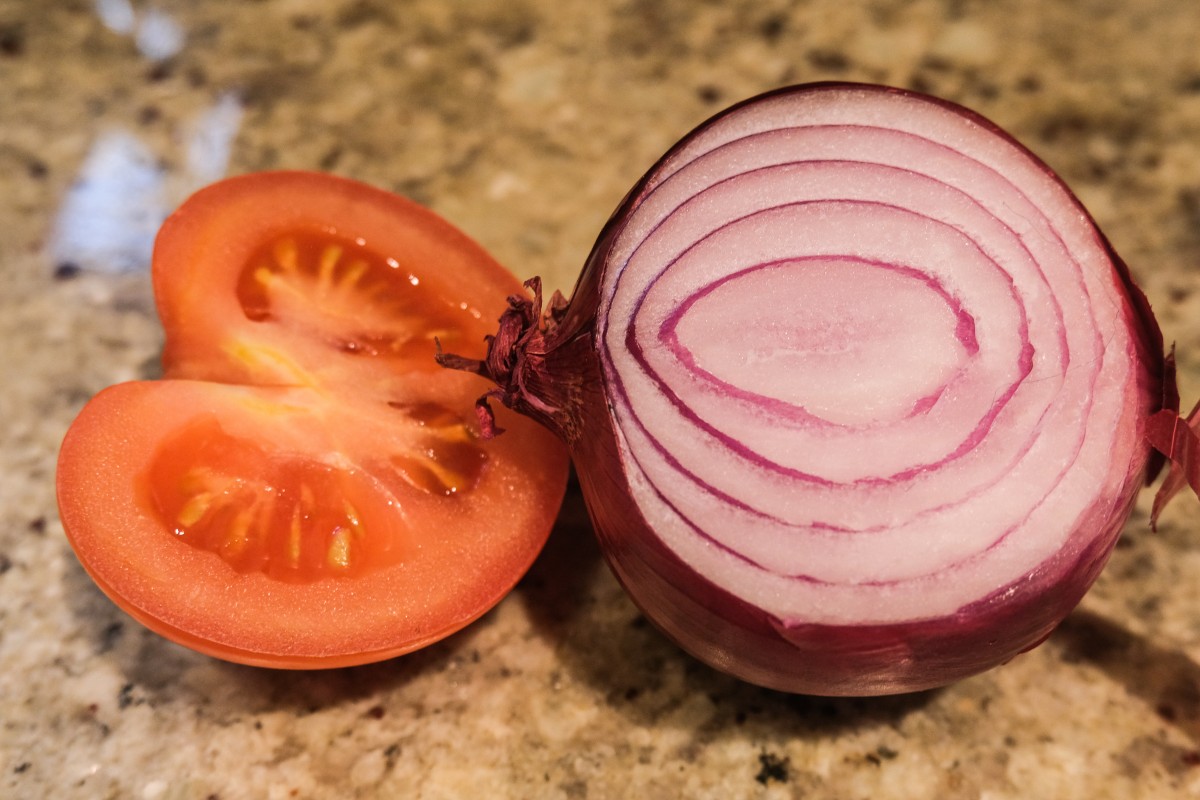
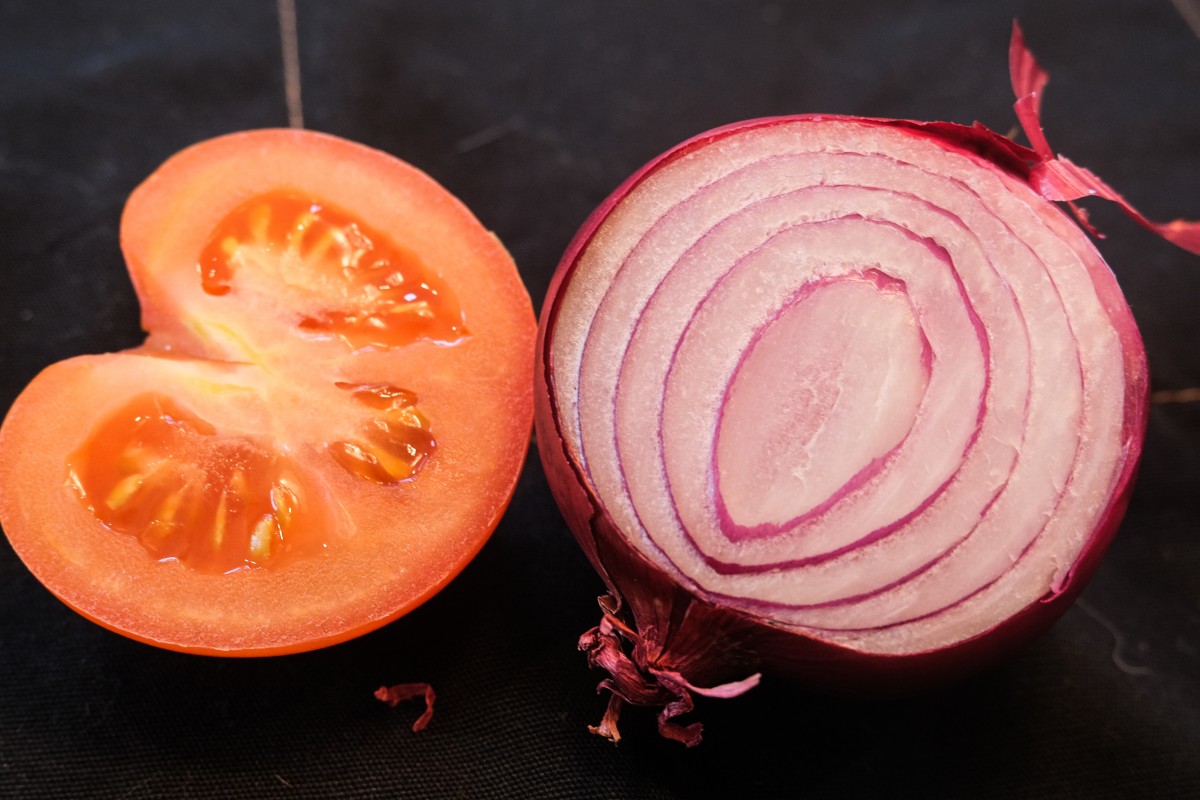
background matter
The OpenLab is an open-source, digital platform designed to support teaching and learning at City Tech (New York City College of Technology), and to promote student and faculty engagement in the intellectual and social life of the college community.