Global corrections are corrections that you make to the whole file.
The histogram is your guide to exposure decisions. But there are no iron clad rules.
In this photo of the pier in Coney Island, when we look at the histogram, it looks very underexposed. But we also know that it is an evening scene and that there is nothing in the photo that should be bright white.
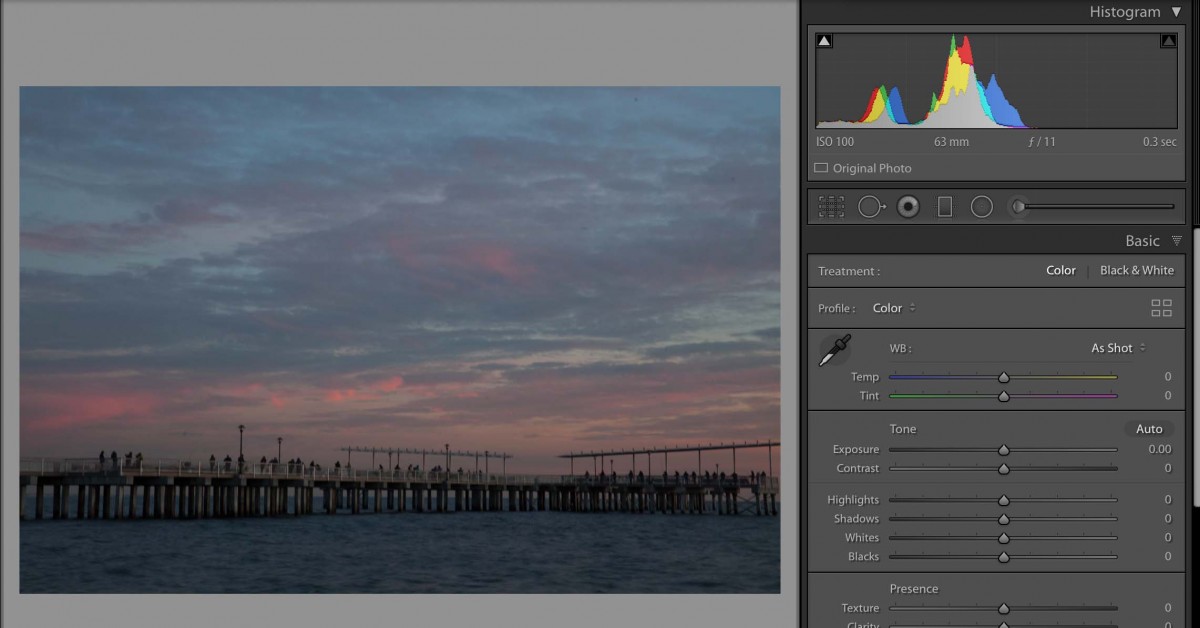
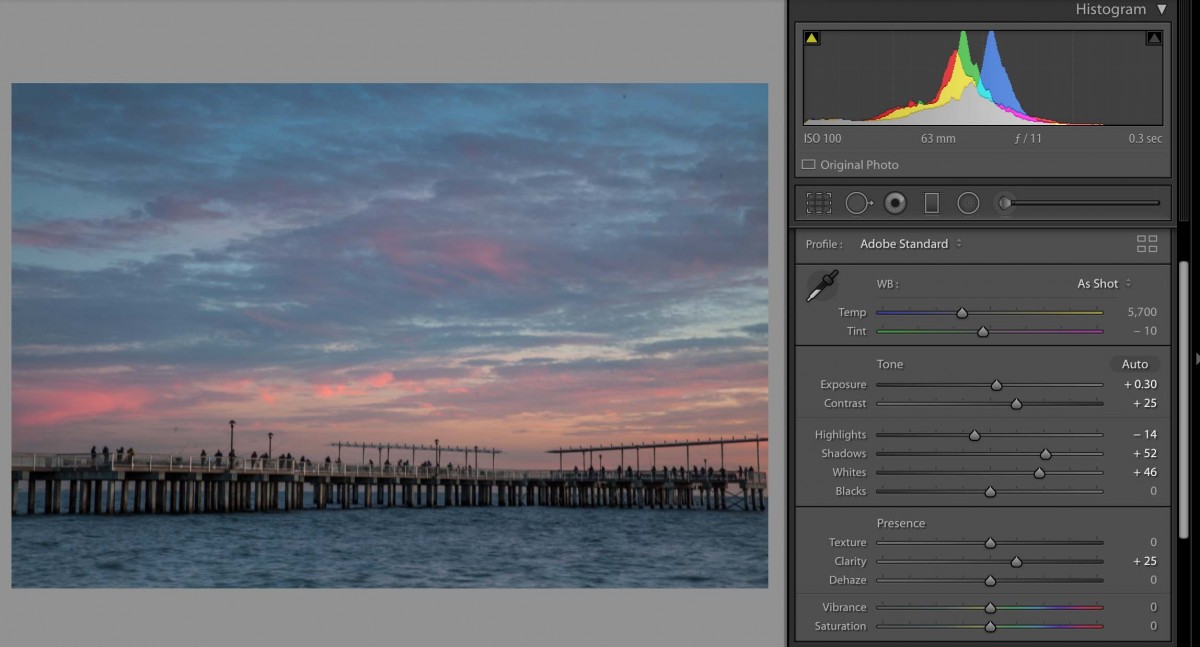
The only correction that you can’t see here is a local correction. I used the gradient tool to darken the sky and to brighten the water.
A few tips for Lightroom Mobile:
1. To access the histogram, tap on the image with two fingers. If you can’t really see the histogram background, brighten the display.
2. To see the image before your corrections, press on the image.
Following the workflow here:
https://openlab.citytech.cuny.edu/comd1340d164s20/digital-darkroom/
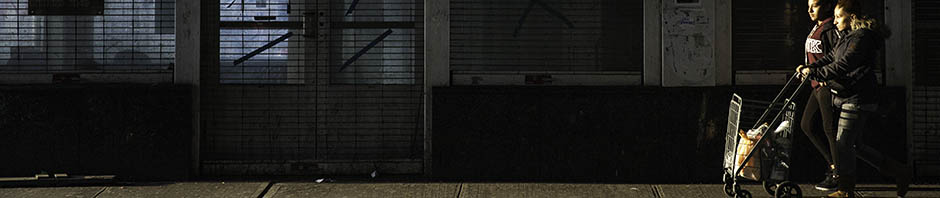
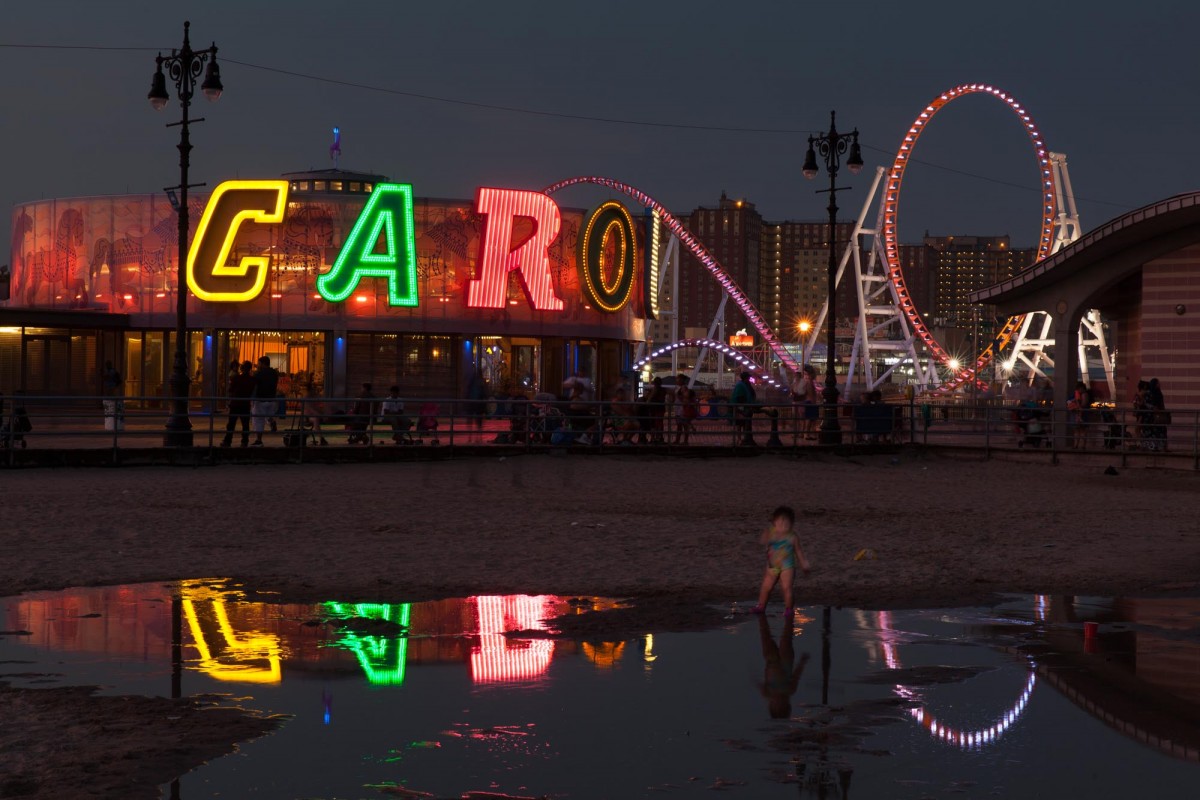
correct these two images:

Put the corrected images in a post with a description of your process. What was the most important correction to make and why? If you are working in a desktop version you could add a screen shot. If you are working with the mobile version you could use a couple of screen shots or just write down the adjustments you made. Label the post with the category Week 12 – Review Global Corrections.

