Select one of the portraits you took for class today or last week and re-touch it in Lightroom. Create a post with category Week 10 – Retouching a Portrait with the before and after versions.
Start with the global corrections. Those are the corrections that you will do to the whole file.
1. If you are going to crop it, do that first.
2. In the Basic panel, adjust the exposure. Use the histogram to adjust the exposure.Make sure that the histogram data touches both the left and right sides.
3. Adjust the white balance. Unlike exposure, there is no objective measure for this. My photo had a yellow cast. I moved the WB slider towards the blue side.
Move on to the local corrections with the spot removal tool and the adjustment brush.
4. Use the spot removal tool to get rid of blemishes.
5. Use the adjustment brush over the eye area with a setting of +50 clarity.
5. Use adjustment brush to brighten the whites of the eyes. And possibly with separate selections, darken the pupils and brighten the iris area of the eye.
6. Use the adjustment brush set to soften skin.
7. If the teeth are showing use the adjustment brush set to whiten teeth on them.
8. Select the lips and add a little saturation.
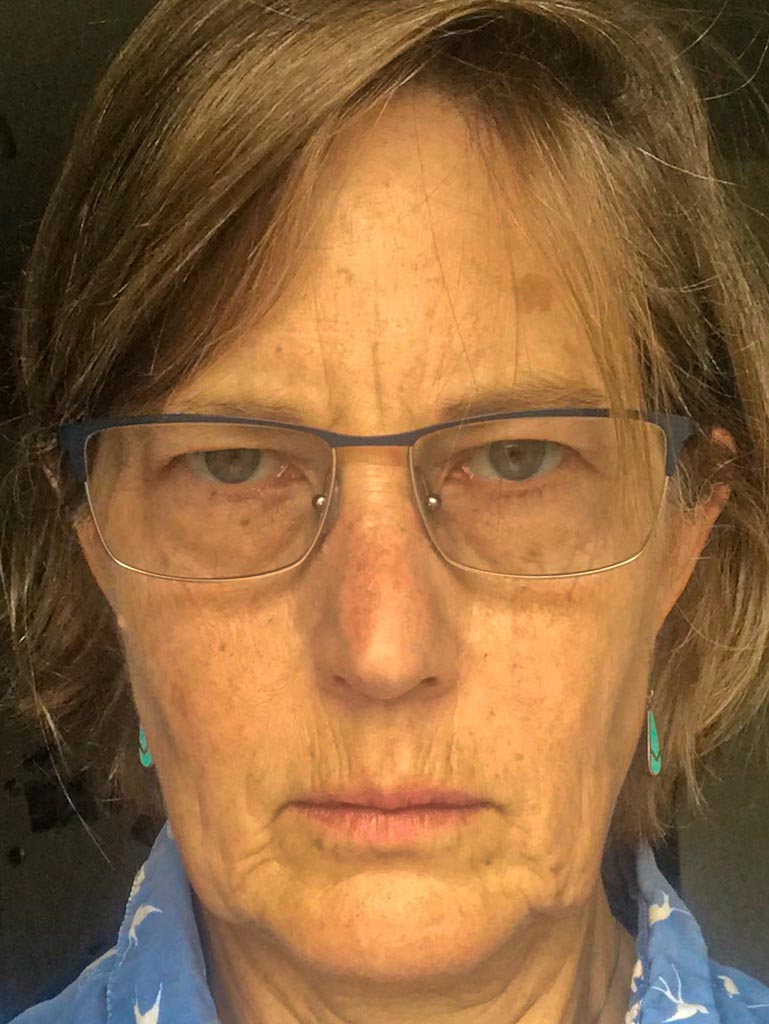
Photo, cropped and Straightened with auto settings in Lightroom Mobile

With Lightroom adjustments.

