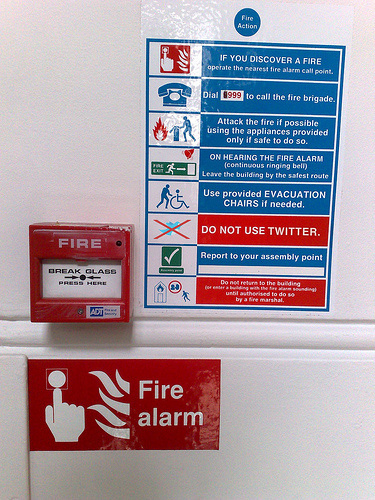
(Image by petesimon via Creative Commons)
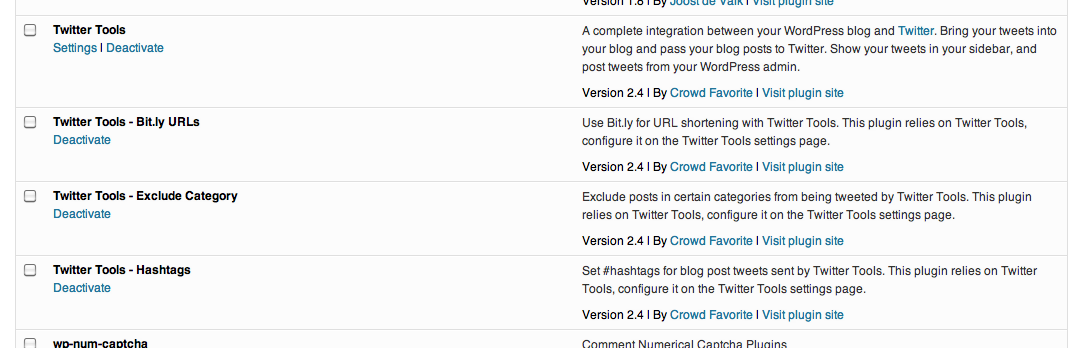
Twitter Tools is a way of integrating Twitter and your OpenLab site (or any WordPress site), so that your posts can be tweeted automatically as soon as you publish them. It also gives you a great deal of flexibility: you can set it to exclude certain categories, and our present installation comes with url shortening and a hashtag creator (if you don’t know what those are or why you’d need them, you’ll want first to brush up on ‘What’s Twitter?’ The rest of this tutorial presumes you’re already familiar with Twitter, just to save space and time).
And as you can see from the title, this is part 2 of our Twitter Tools tutorial, which deals with options and set-up. If you haven’t already, check out part 1 here.
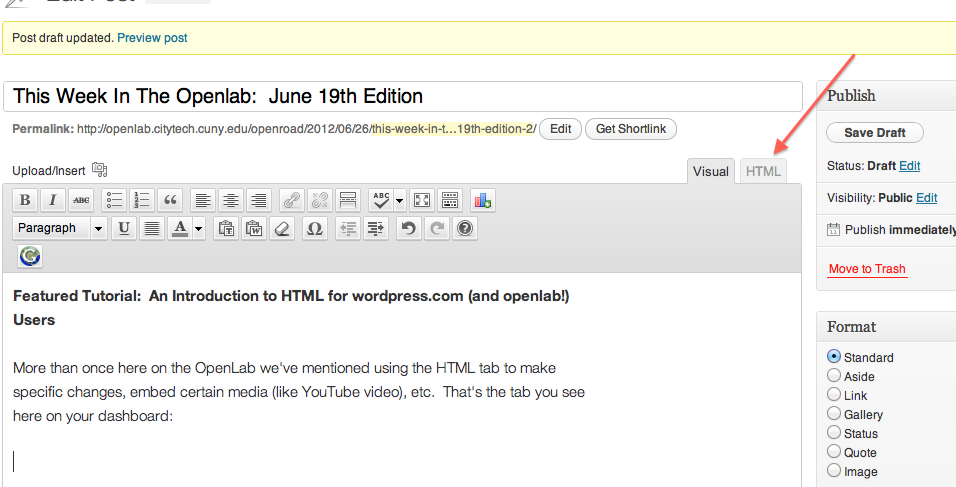
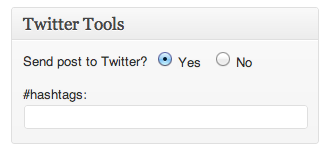
Most of this tutorial will concentrate on the glories of the Twitter Tools Options Page, which is found in the left hand column of your dashboard under SETTINGS>TWITTER TOOLS. But first let’s make sure there’s no confusion: you can also find TWEET under POSTS in the left hand column of your dashboard. This allows for direct tweeting, unrelated to a post, and what it gives you is this:
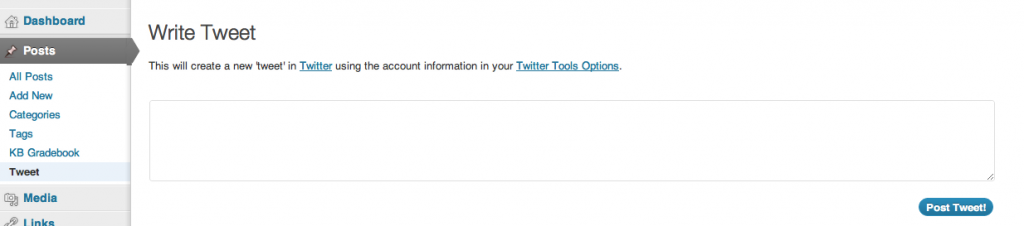
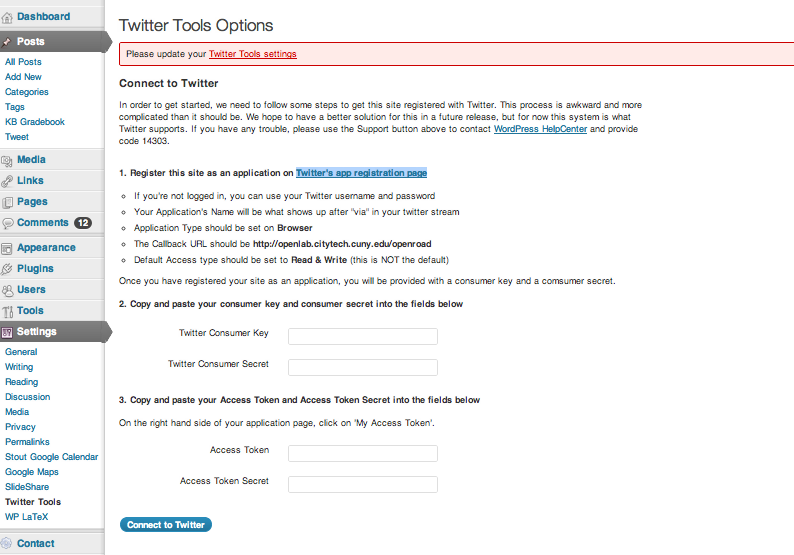
That is NOT where you can set your Twitter Tools options, however. As we said, you can find the Twitter Tools options page under SETTINGS>TWITTER TOOLS. Once there, you’ll see that the Twitter Tools Options page has three major sections, which we’ll deal with in turn.
NOTE: We’re only going to say this once, but we’ll put in bold because it is very important: Be sure to save at every step of the way with Twitter Tools Options. You’ll note that almost every option has its own “save settings” button, and a section-specific save button needs to be clicked to save a change to that section.
That said, this is the first section…
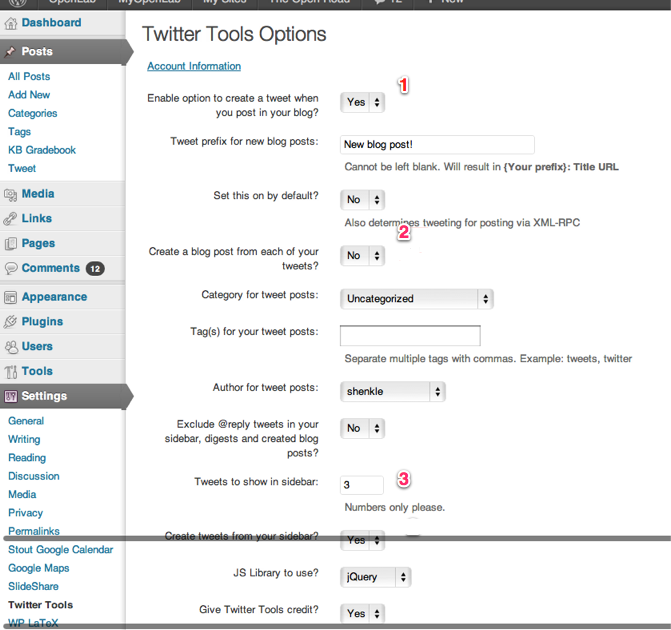
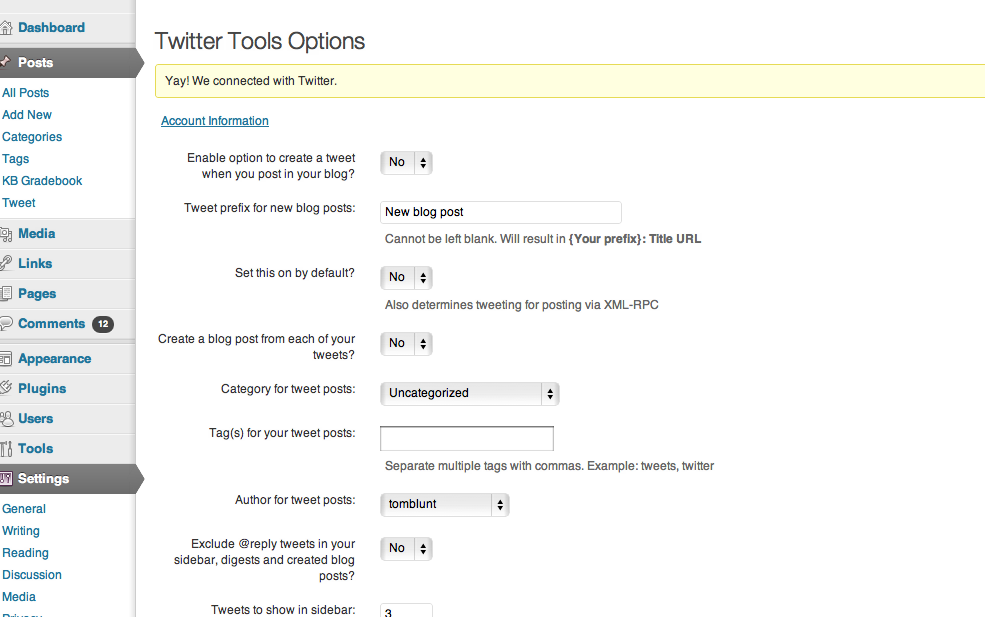
Most of these are pretty self-explanatory, and involve automatic tweeting options for any post that you create. But let’s note three important things:
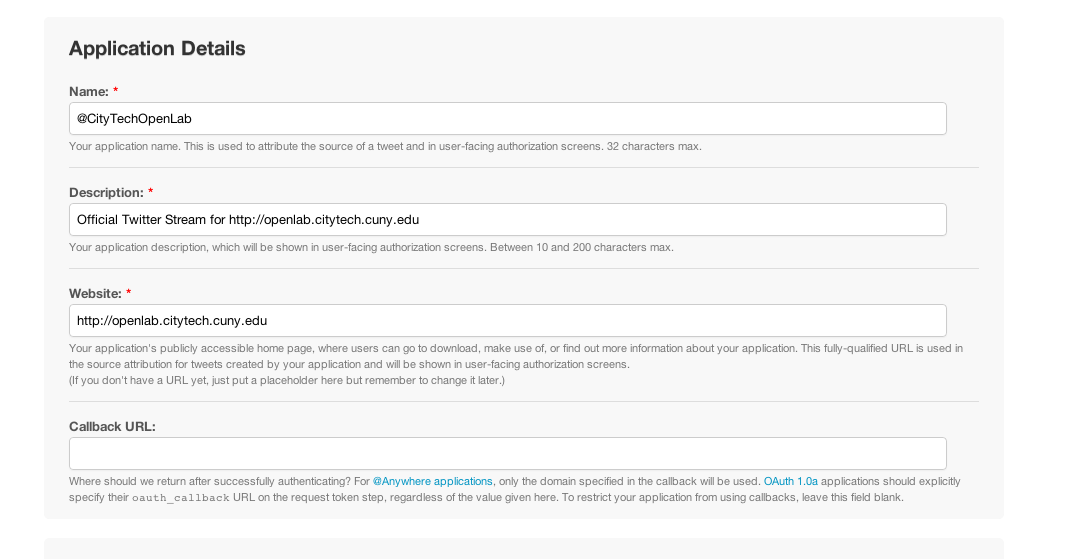
1) If you choose yes on the first option, you’re setting things up so that a Twitter Tools box appears way way way down on the lower right of your ADD NEW POST or EDIT POST page. This will be set to “yes” when you open the page, and hitting publish will send the tweet automatically. But you can change it to “no” for a single post. Switch the above setting to “no” to have the box disappear across your site. You can also here add a post-specific hashtag.
2) Twitter Tools sends any blog post as a link to your Twitter Account, but it also can go the other direction, turning any tweet into a blog post. If you’re a heavy Twitter user, this can be an invaluable option.
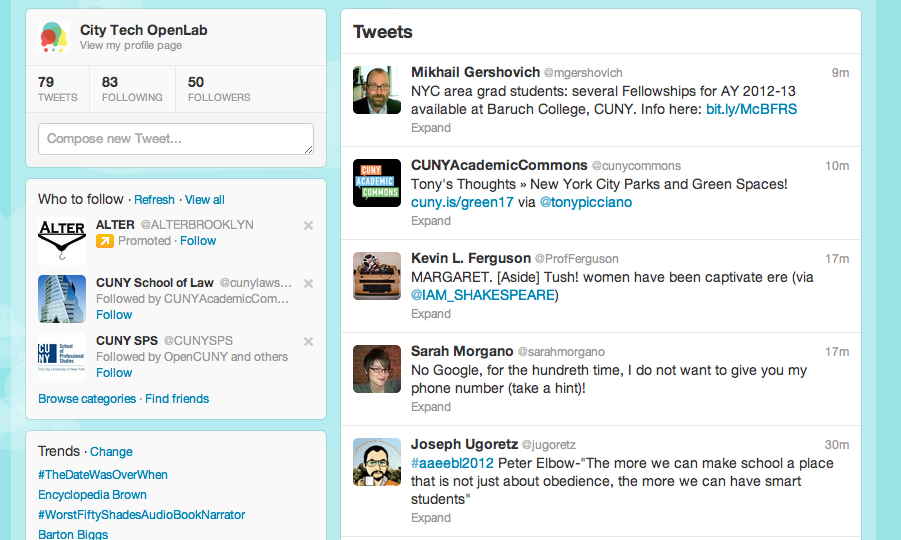
3) “Tweets to show in sidebar” refers to a Twitter Tools widget (found under APPEARANCE>WIDGETS) which can be dragged into any sidebar to show your latest Twitter activity. You can see an example on the home page of this website. Remember, as with most widgets, this isn’t on by default: setting a number here only changes the setting, but the widget still needs to dragged in the widgets area.
(If you want to know more about XML-RPC, you can do that here, but if you don’t know, this probably won’t clarify much! Most of our users only need to know that leaving it on will allow the default tweet prefix (you can change that phrase to whatever you like) to appear whenever you create a new post. And there’s no number next to it because it’s outside the use of most of our members, but if you want to know more about which of the two JavaScript (js) library options might be best for you, here’s at least one comparison.)
That finishes up the first section of the Twitter Tools Options Page, here’s a screen shot of what we’re calling the second:
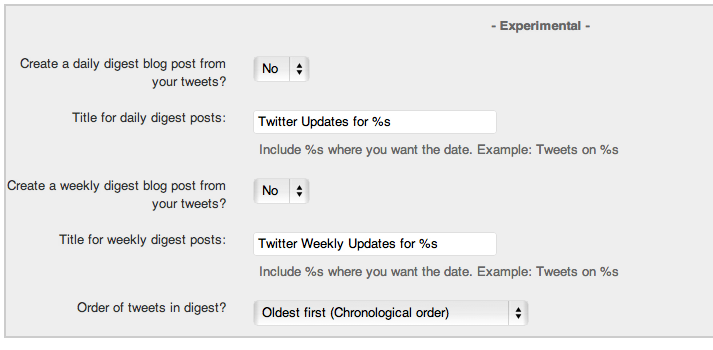
Most of these are self-explanatory as well, dealing with setting up a daily or weekly digest blog post from your tweets. As we’ve suggested, the idea behind Twitter Tools is to limit the gap between your Twitter Account and your OpenLab site Here’s a way to not have a bunch of 140 character posts on your site, but still be sure to have your Twitter activity appear at regular intervals. The main thing we want to say here is there’s a reason why these are marked “experimental.” These features are under development and may very well act erratically.
The third and final section of the Twitter Tools Options page has four features: update Tweets/Reset Checking and Digests, bit.ly, exclude categories, and hashtags:
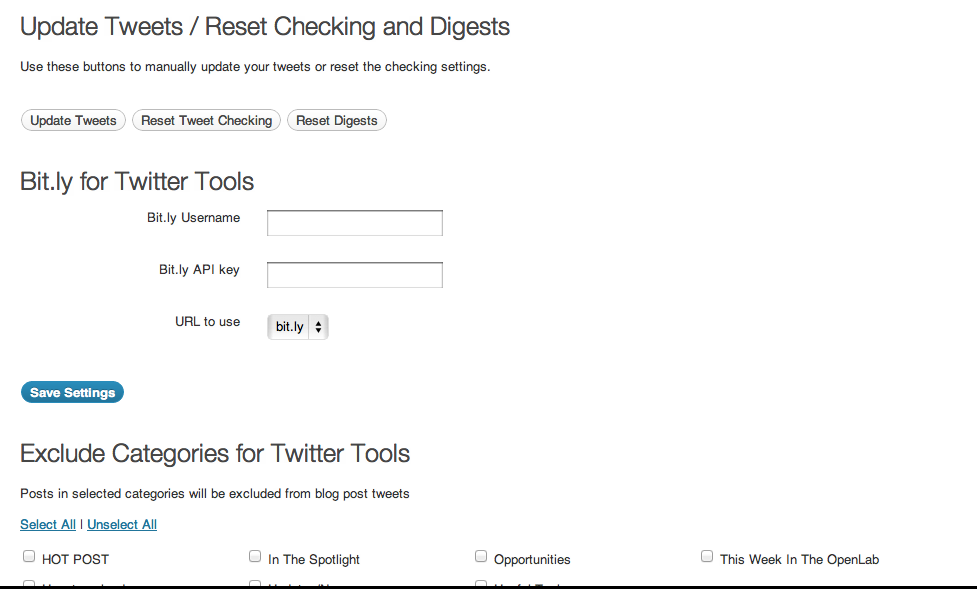
The first of these is simply a way to manually make sure that all tweets are heading in all directions: if something with Twitter is “technically wrong” for a while, or there is a problem or pause in your site for some reason, you can click here to have everything re-synced.
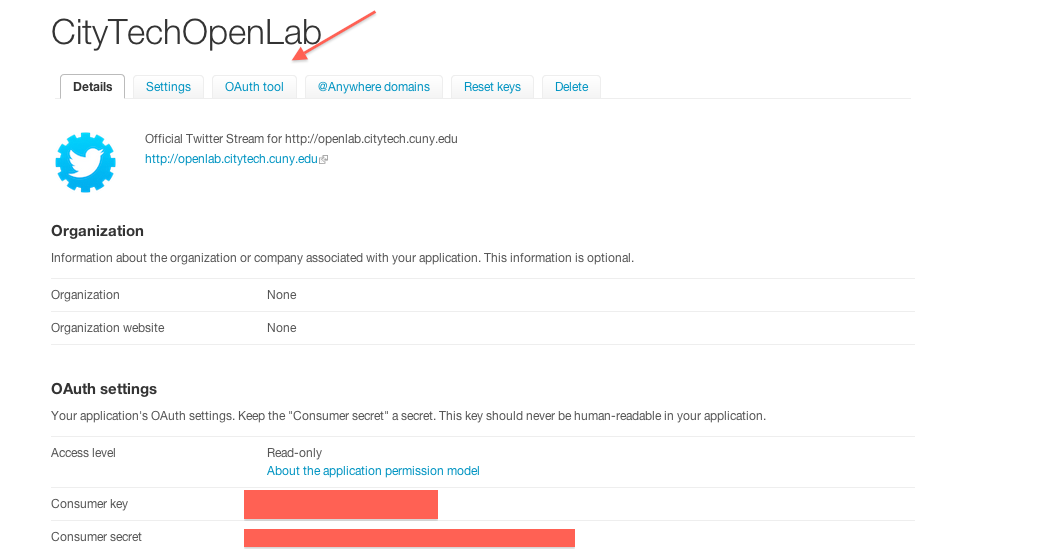
Bit.ly, of course, is a url shortener, and if you use Twitter a lot you know how valuable it is (and if you don’t use a url shortener, you should). There are other url shorteners out there, but only the bit.ly option for Twitter Tools. To make this work you need two things, a username (which means you need a bit.ly account) and an API Key, which you can find in your bit.ly account here. Remember, you’ll need to be logged in–once you are, you’ll see an uncensored version of this:
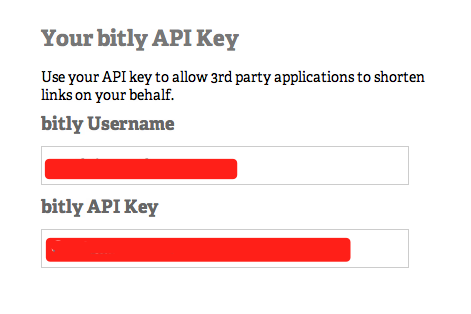
Just copy those onto our Twitter Tools Options page, and you’re done!
The next Twitter Tools option is Exclude Categories which, like the Bitly option, is so valuable we can’t be sure why it’s at the bottom of the page. But it’s also pretty self-explanitory: because everything is set to be automatically synced between your twitter account and your OpenLab site, this is an easy way to exclude any category. It seems particularly useful for, say, updates that are useful for your site users/members/students, but that might not have a wider audience.
Our very last option allows you to create a default hashtag for all posts. Remember, that’s ALL posts, so you would want to be rather general. To add post-specific hashtags, see the very top of this post!
And that’s it! As always, contact us with any questions…