

Twitter Tools is a way of integrating Twitter and your OpenLab site (or any WordPress site), so that your posts can be tweeted automatically as soon as you publish them. It also gives you a great deal of flexibility: you can set it to exclude certain categories, and our present installation comes with url shortening and a hashtag creator (if you don’t know what those are or why you’d need them, you’ll want first to brush up on ‘What’s Twitter?’ The rest of this tutorial presumes you’re already familiar with Twitter, just to save space and time).
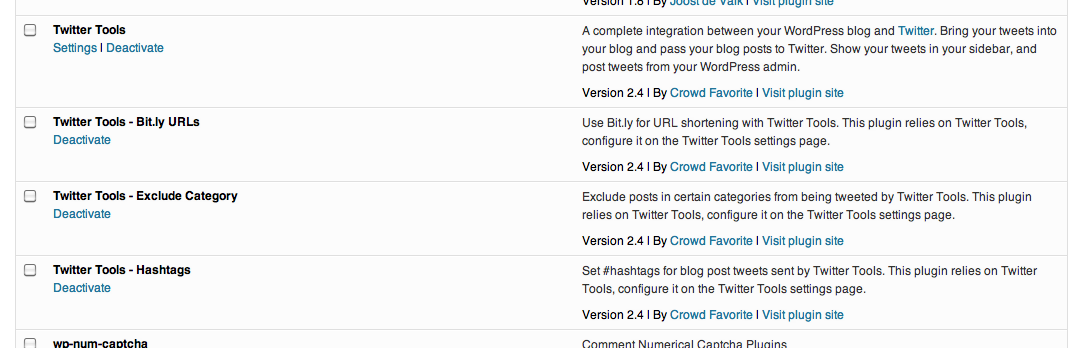
To use Twitter Tools, first, you’ll want to visit the plugins page on your OpenLab site and activate all of the Twitter Tools plug-ins (you can choose not to activate them all, but we’re recommending it for now).
Once you do that, go to SETTINGS>TWITTER TOOLS, and you’ll come to the Twitter Tools Options page:
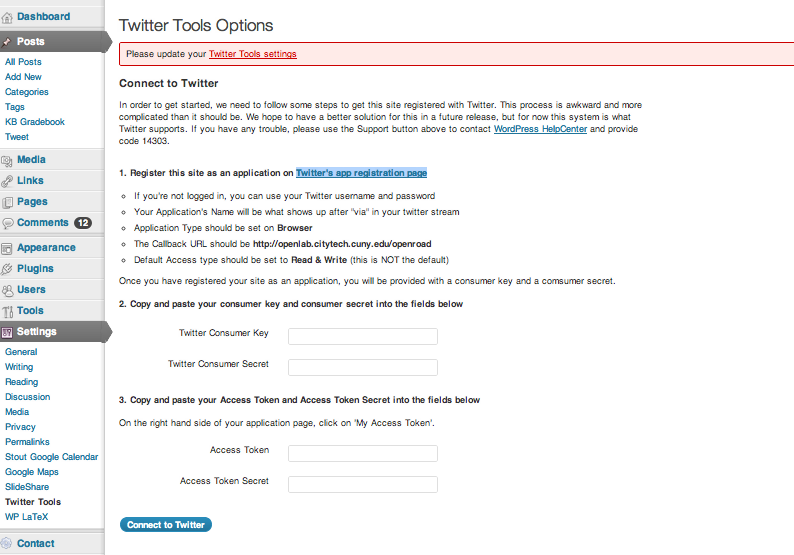
Now, as you can see, even the plug-in developers think these next couple steps are a bit complicated. Bear with it, though–you only need to do this once!
When you first click on Twitter Tools, you’ll be asked to connect your site to your Twitter account. Click ‘register this site as an application on Twitter’s app registration page,’ which will take you to a page on Twitter that looks like this:
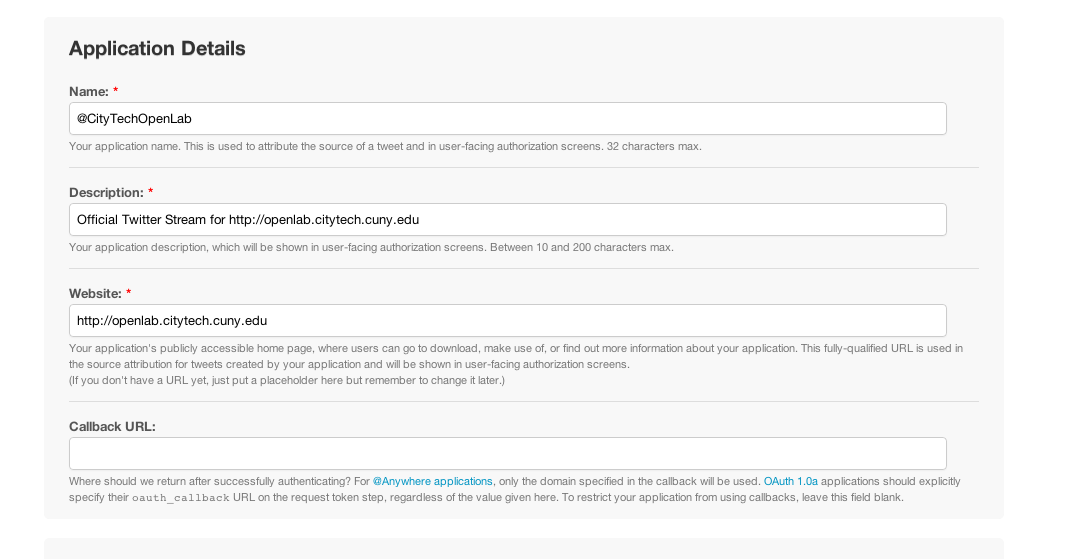
These fields aren’t very self-explanatory for the uninitiated, but basically you want your Twitter user name in the first box, a description like the one I’ve written in the second (the official Twitter stream for (your site)) and the site URL (not openlab, as here, but your specific OpenLab site URL). Then you’ll need to agree to the terms and conditions, fill in a captcha and…you’ll see a page like this:

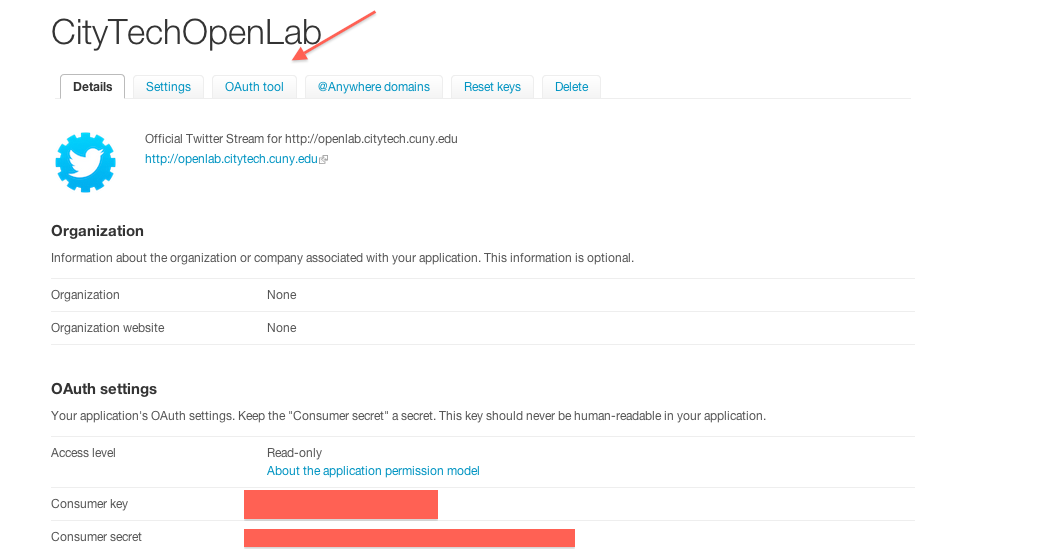
First, go to the SETTINGS tab and change Read-Only (which is the default) to “Read, Write and Access direct messages”.
Then you’ll want to note the blocked out bits in the screenshot above. We’ve blocked them out because you need to keep these things private, but you want to copy that Consumer Key and Consumer Secret from the Twitter page pictured above and paste them into the appropriate fields back on your OpenLab site Twitter Tools Setting page (which, at this point, still says ‘Connect to Twitter’ at the top—it’s the third screenshot from the top of this post).
Once you’ve done that, go back to the Twitter page, scroll down, and click ‘Create Access Token.’

Once you do that, after a few moments an Acces Token and Access Token Secret will appear under the OAuth Tool tab, which the arrow points to here:
Copy what you find there (again, blocked out in the screenshot above) and go back to your OpenLab site Twitter Tools setup page. Paste the keys into the Access Key and Access Key Secret fields on your Twitter Tools setup page. Again, keep that secret secret!
If all goes well, you’ll click ‘connect to Twitter’ and you’ll see ‘Yay! We connected with Twitter.’
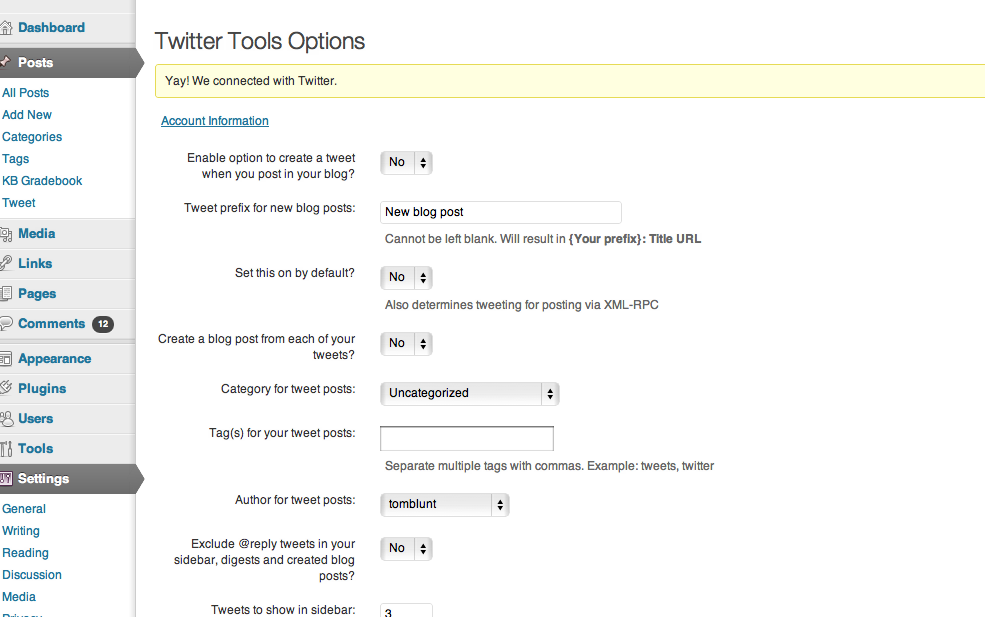
The page you’ll find yourself on has Twitter Tools options which you’ll want to familiarize yourself with, though soon we’ll have a follow up tutorial that’ll give a bit more detail on how to use these options.
This is all a bit confusing, but hopefully this process makes a bit of sense–there’s another description of the same process here that might help as well. And as always, contact us with any questions!

