Monthly Archives: October 2019

Learning Log #6 High & Low Key Lighting for Still Life

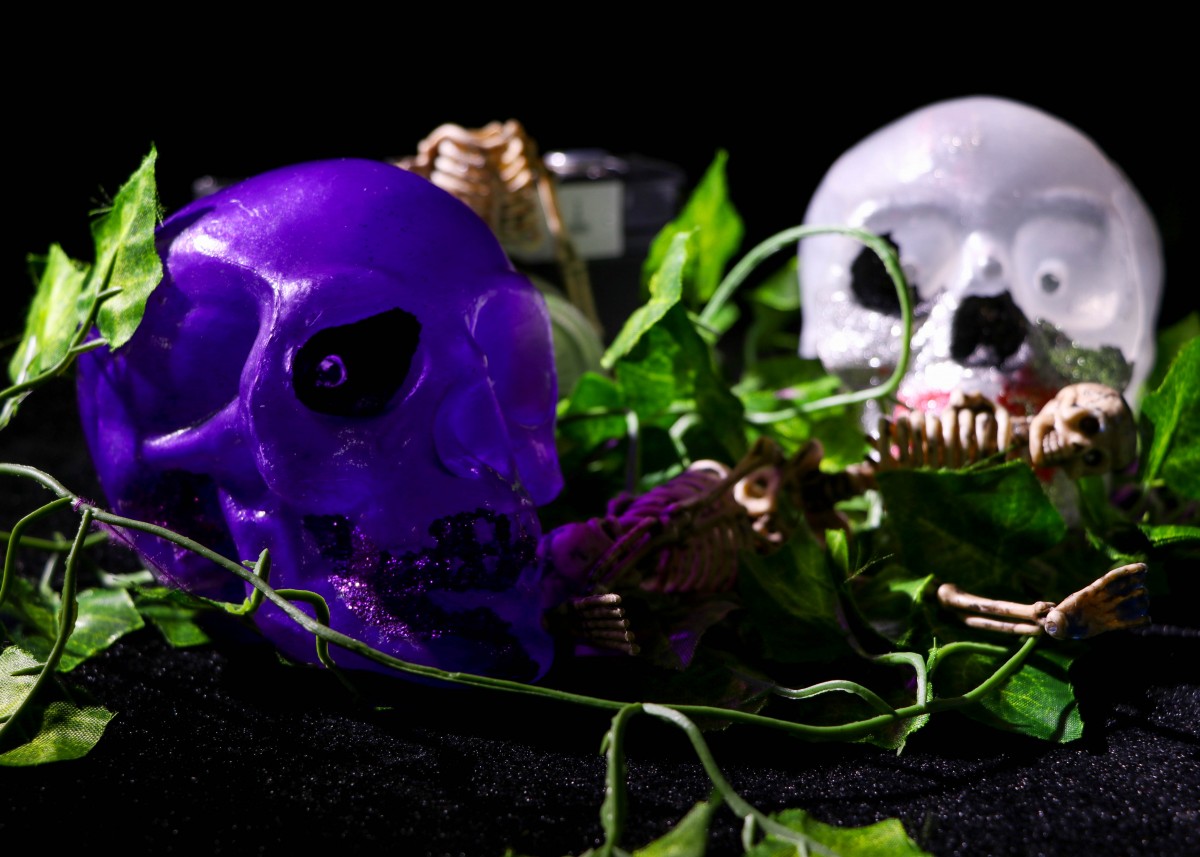
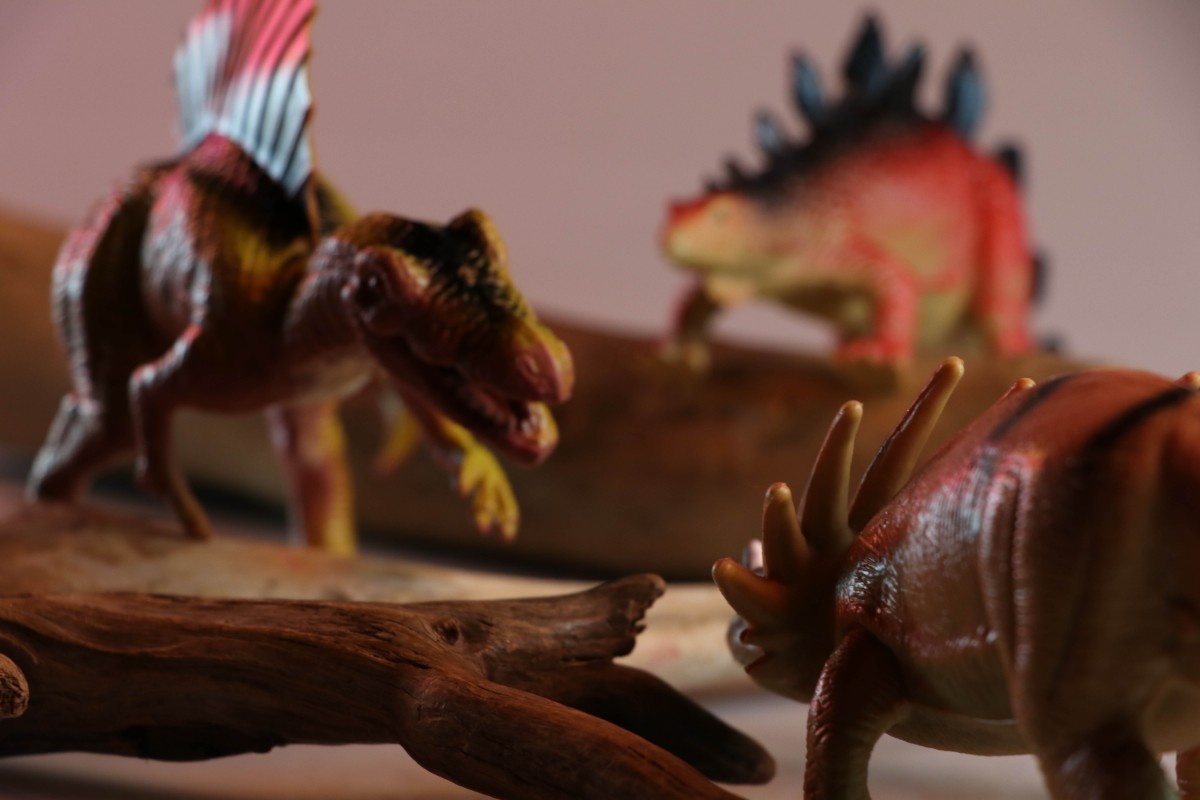
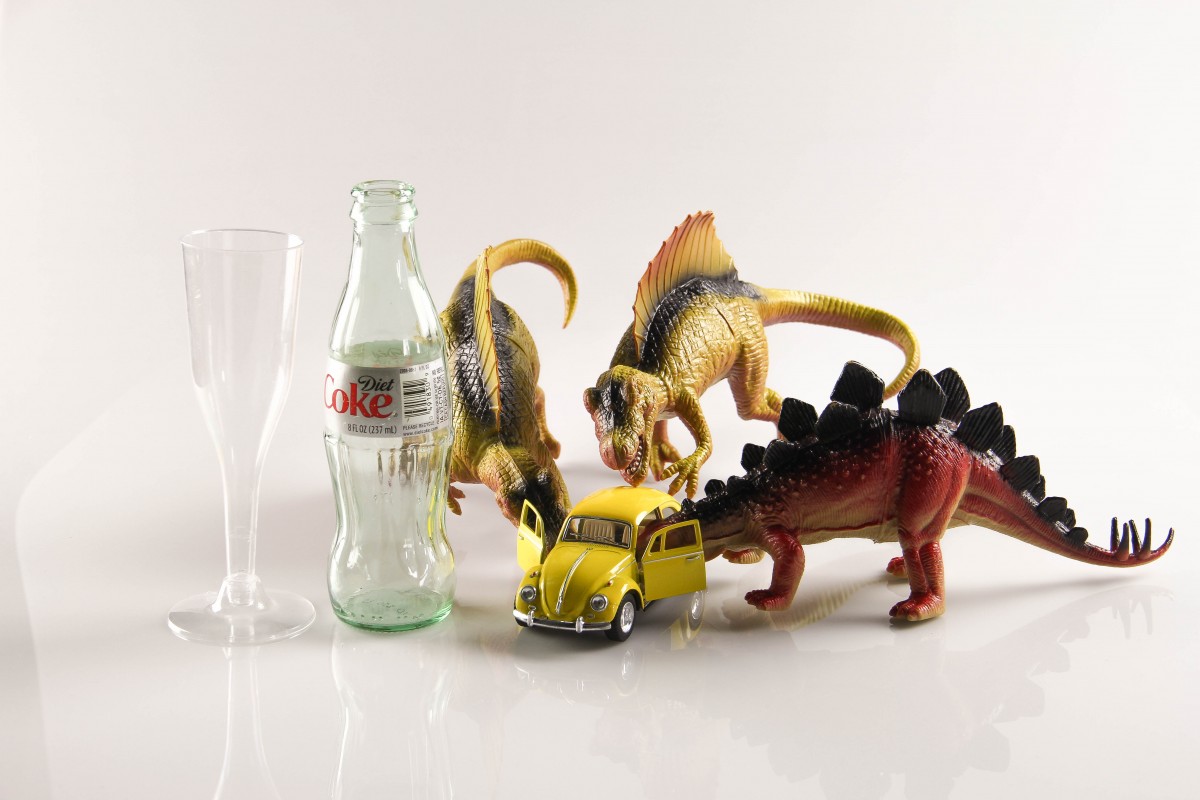
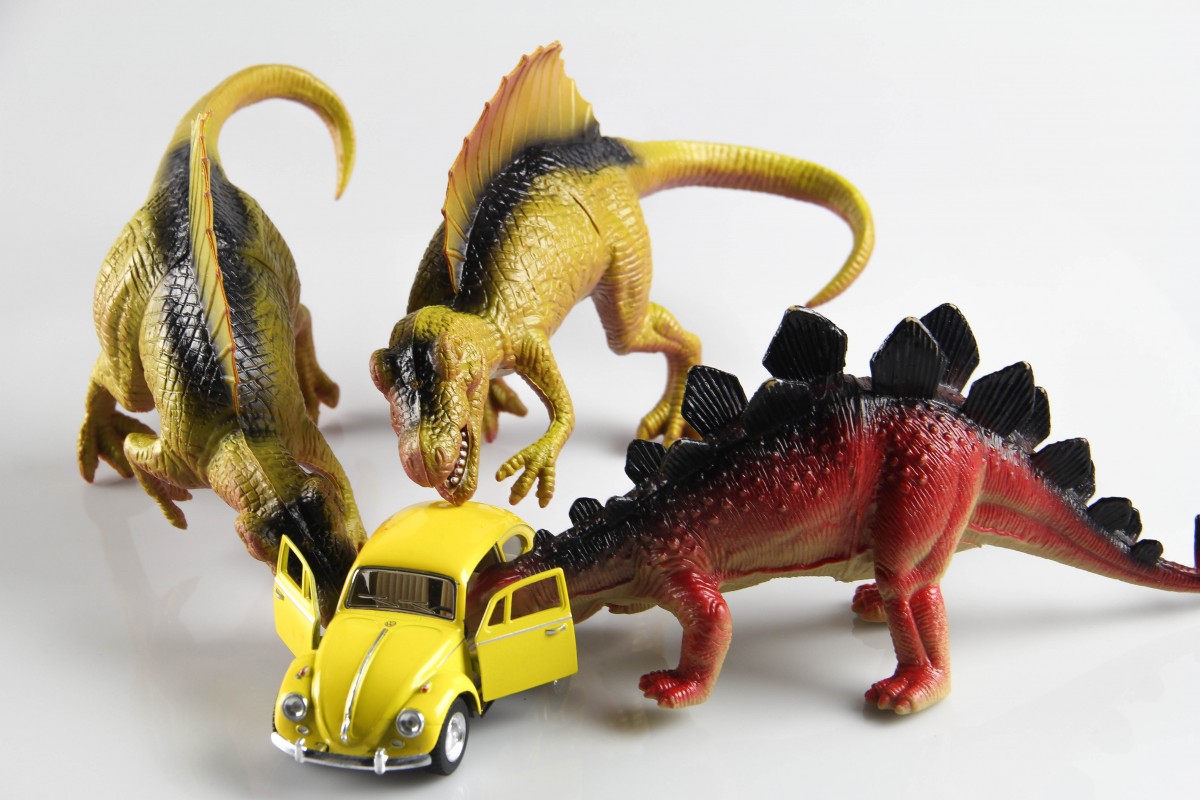
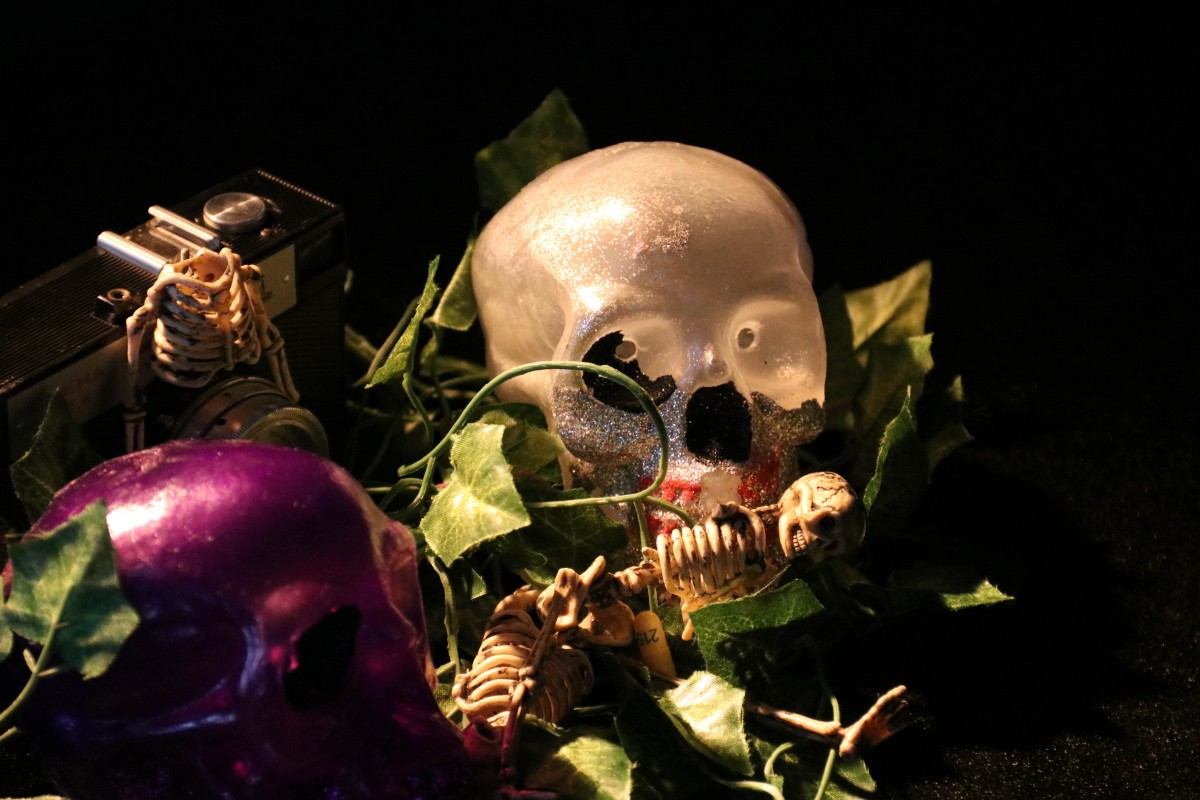
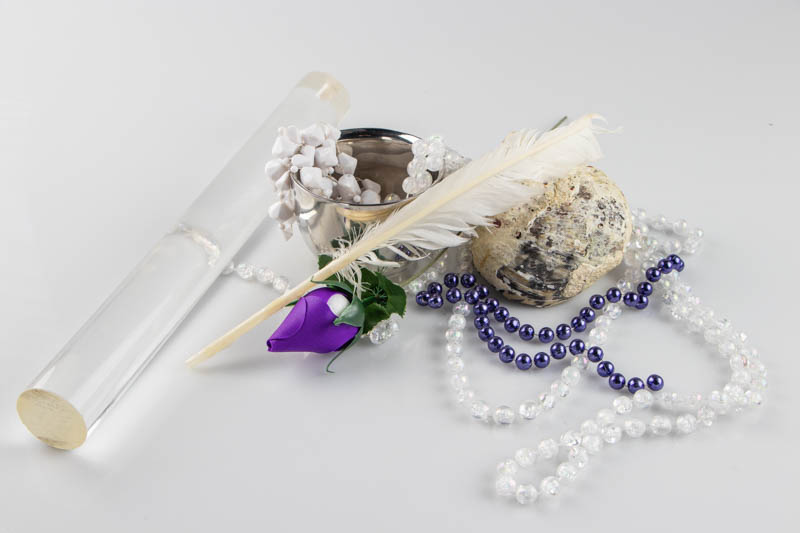
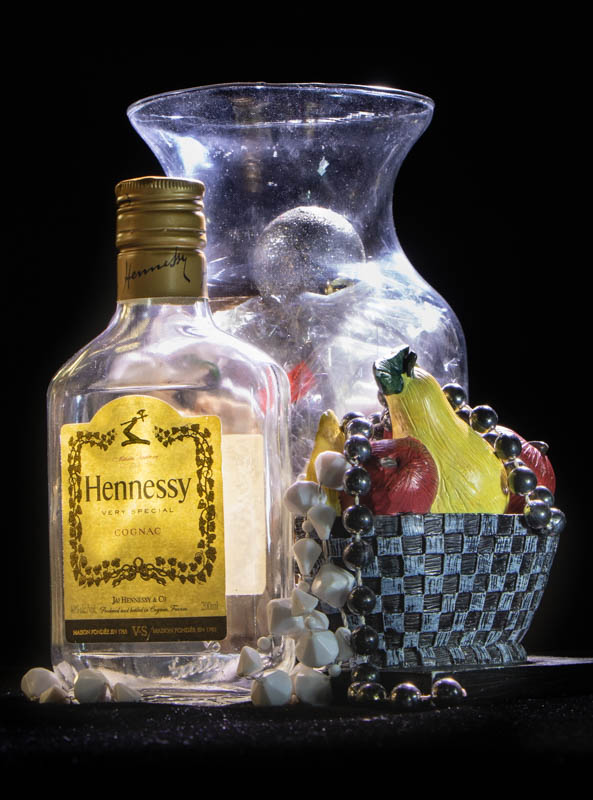
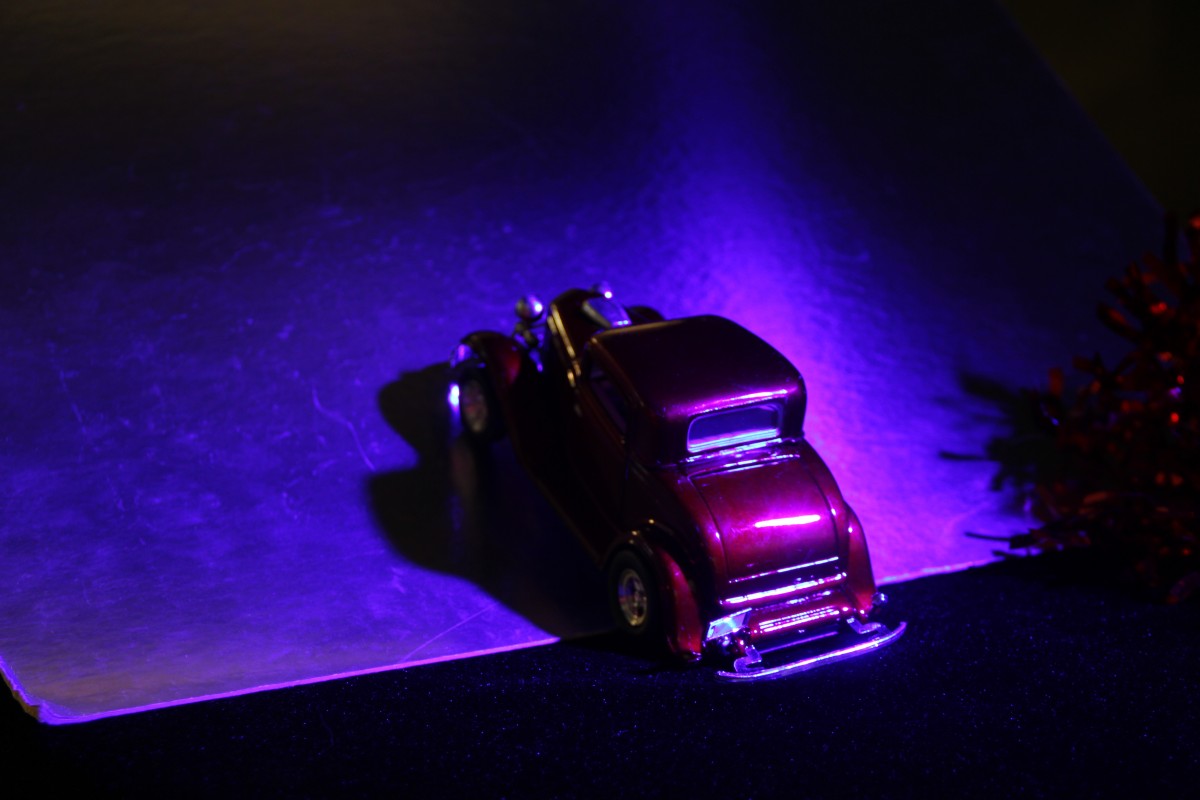
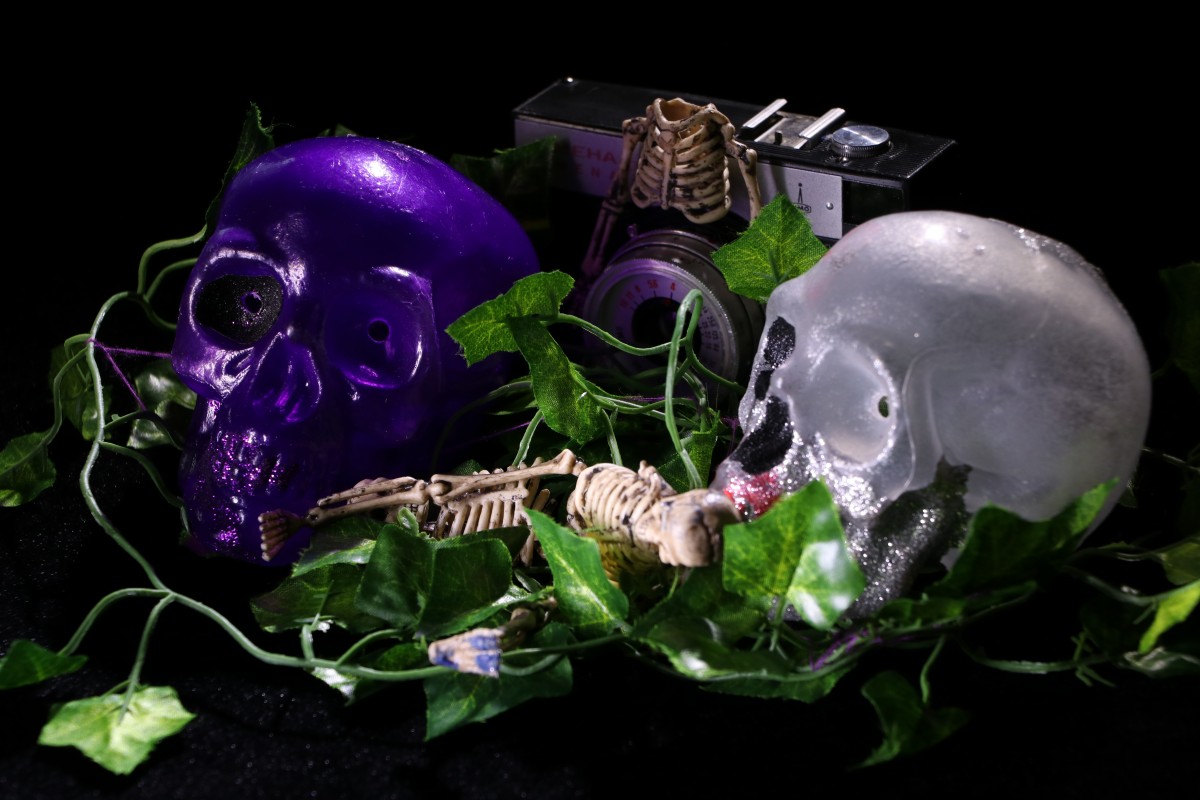
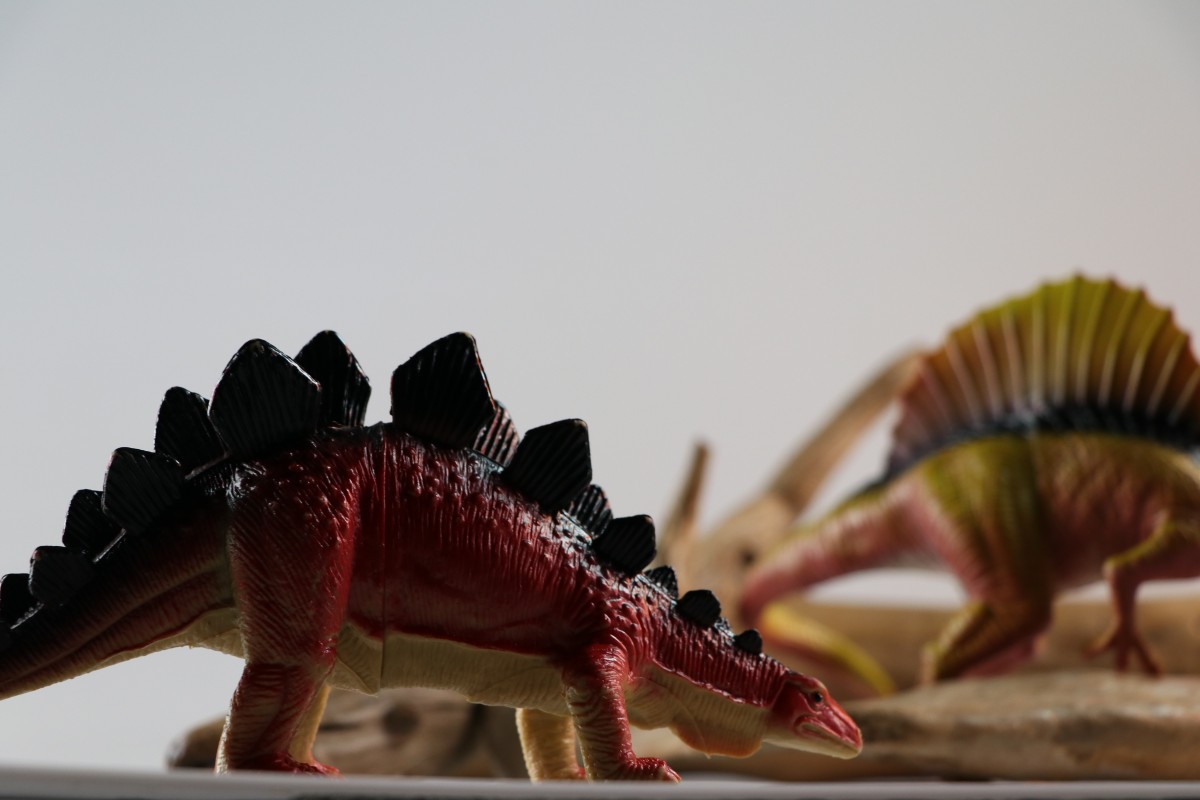
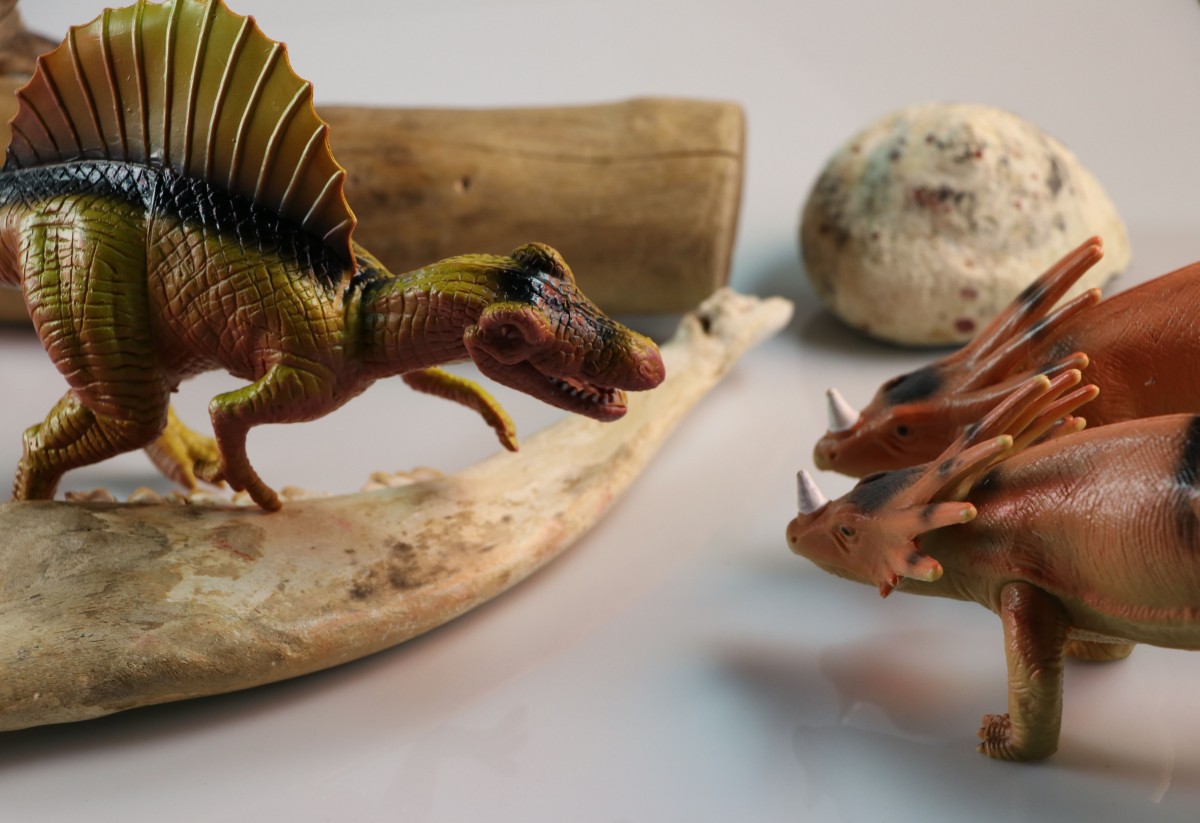
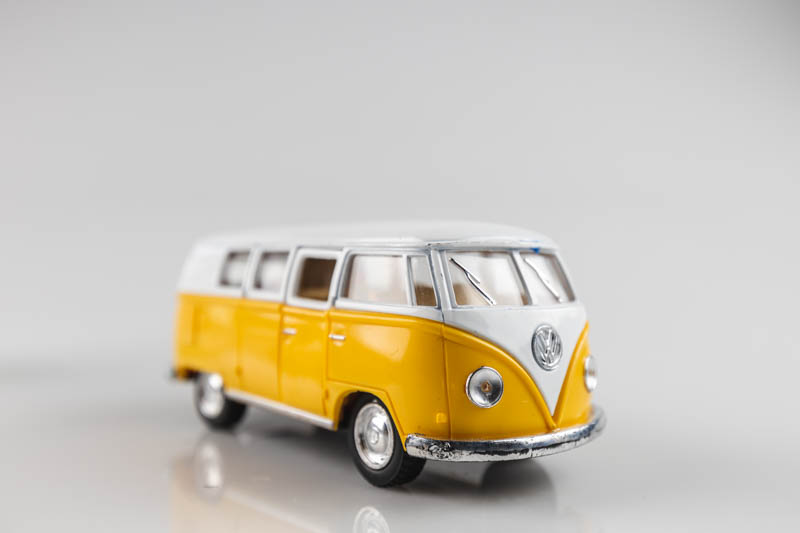
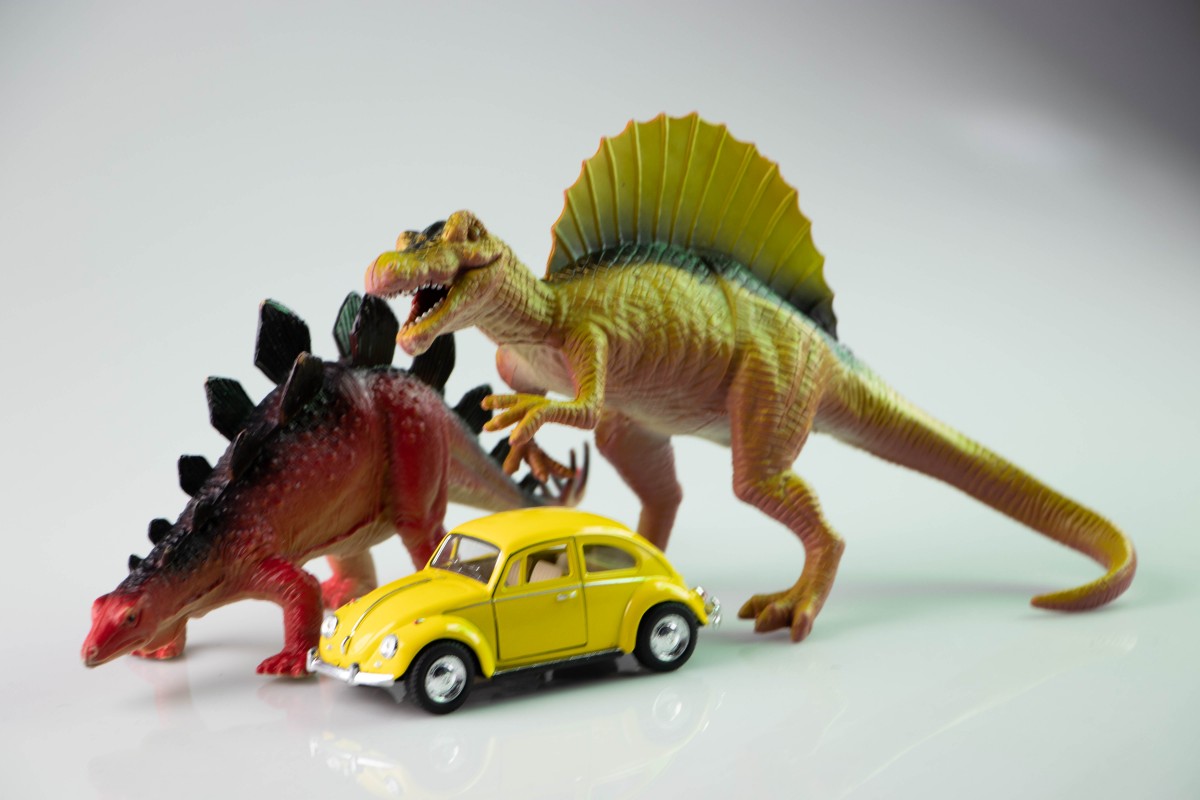
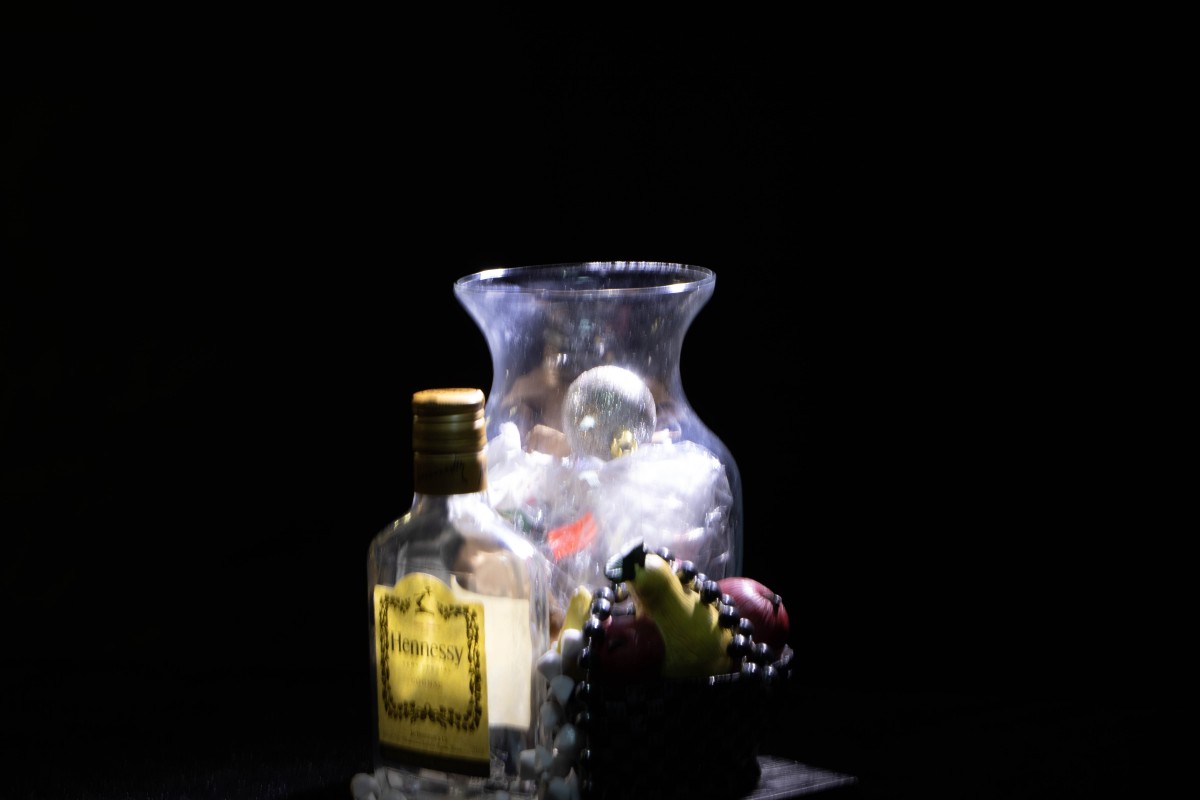
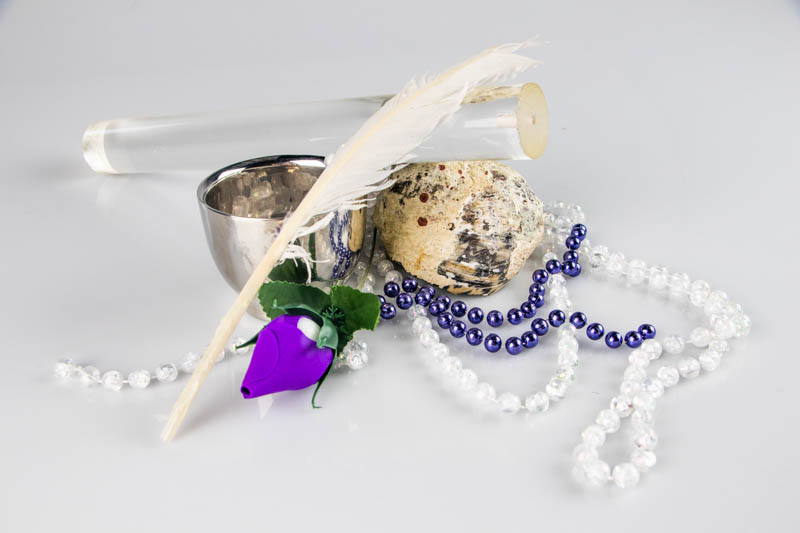
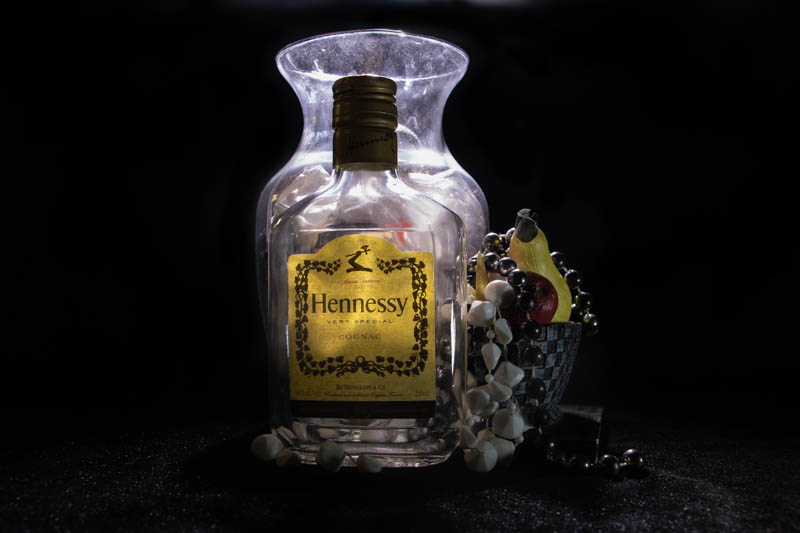
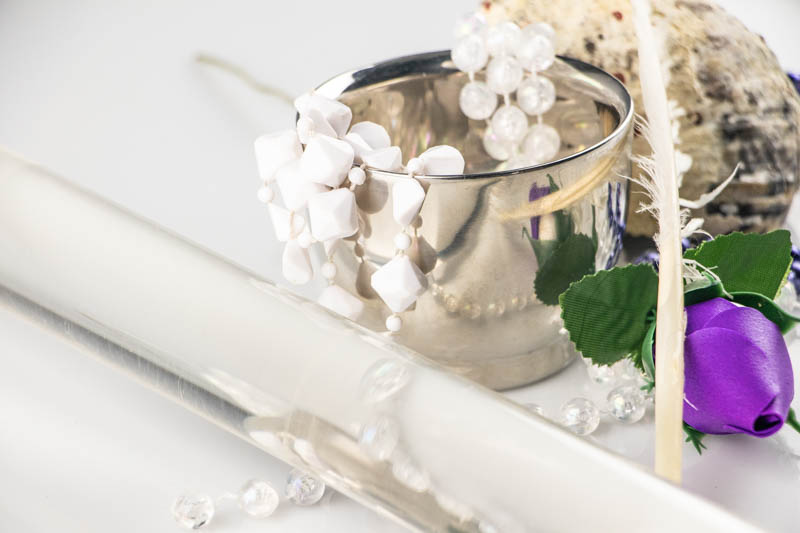
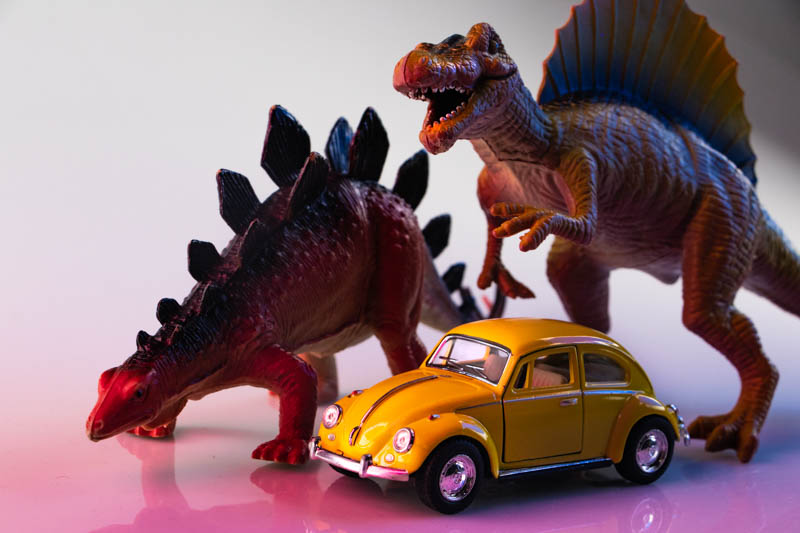
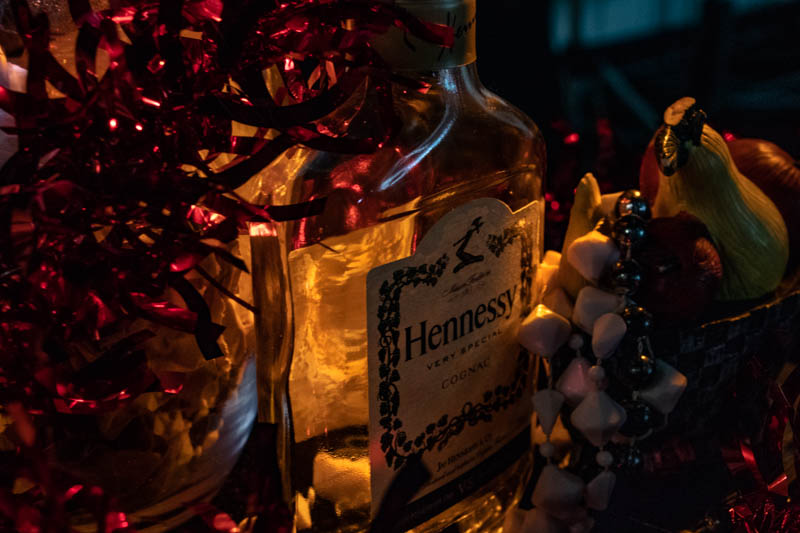
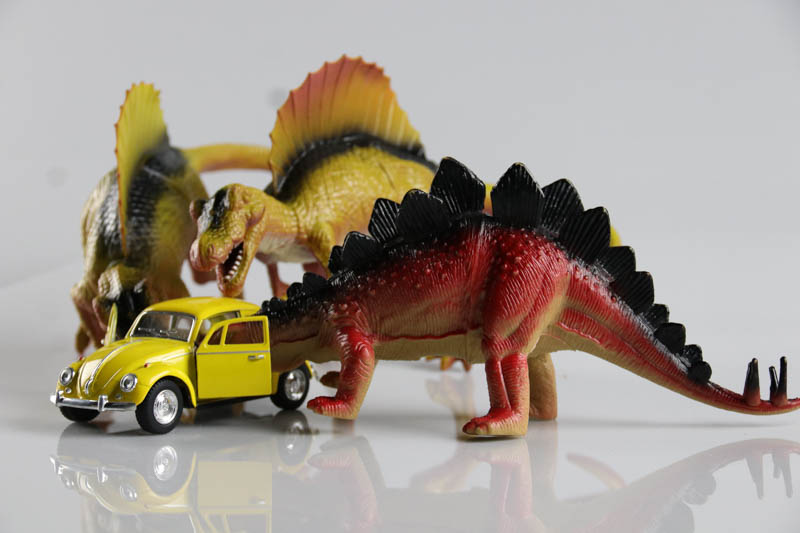
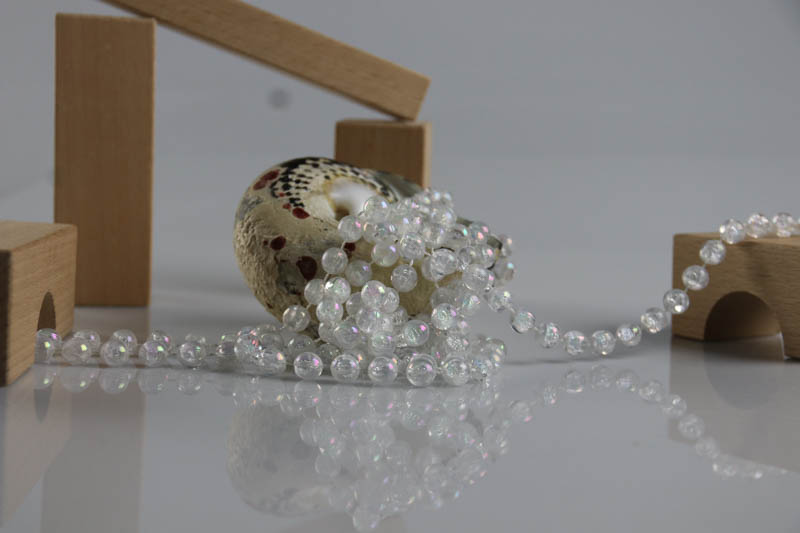
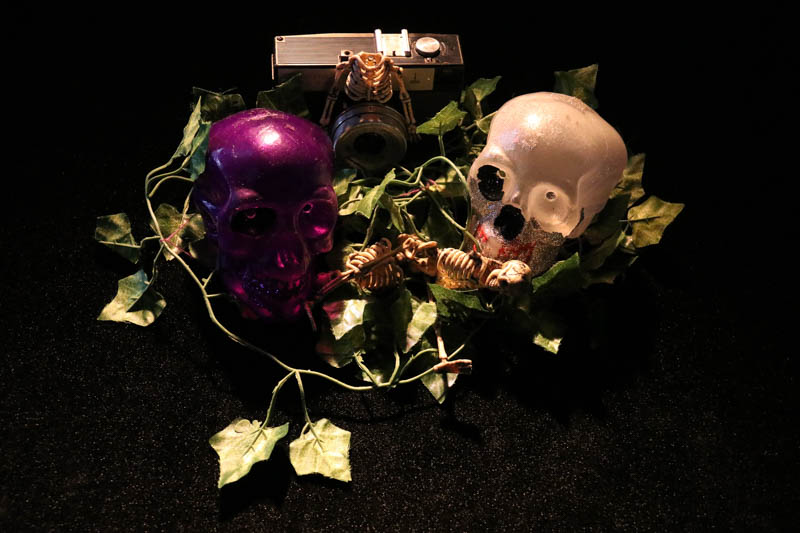
These are my 3 best images for high & low key lighting assignment. I really like how all of my high key images came out. We used artificial lighting to create highlights and shadows. With the help of the white table and continuous light, there was a very nice light with a lot of intensity that bounced off the table, which created a reflection and highlights on the props being photographed. I moved the continuous light around. I positioned myself directly in front up close to the props.  The first image was photographed to fill the frame, focusing more on the red dinosaur and car. The second image was photographed in my point of view, focusing on the shell and beads. With the low key image, I used a diffused orange gel to create a dark mood to match the skull vibe. Highlights and shadows were created with a dimmed light setting. I stood away and over the props to create an wider view. Now looking at the image I should have zoomed in a bit more to get less of the table. Overall I liked learning new ways to play with lighting in images.

LL#6- High & Low Key Lighting for Still Life

Challenges I faced for the first photo were figuring where to place the light and how to adjust my cameras settings. In some positions, the objects would come out too dark and be barely visible. In other positions, it would look very light and the image would come out a bit flat. For the second photo, I arranged the objects so there was one in the foreground, middle ground, and background. The lighting wasn’t hard to deal with, but did get darker with the gels.

Learning Log #6 – High & Low Key Lighting for Still Life


In todays class we learned about High Key and Low Key lighting. In my still life In image 1 I decided to go with a “theme” sort of kind of. The theme was more of Jurassic Park with a vintage feel to it. The light felt a bit too heavy in my opinion but the more I looked at it, I noticed that the lighting was good. In image 2, I decided to remove the two glasses and zoom in more on the Jurassic Park scene that was occurring at the moment. With this one I was trying to use the High Key lighting and merge both Low and Key light in the same setting to see if there were going to be any contrast or balance between the two because there were some dark parts. Lastly, Image 3 used the Low Key Lighting and with this one it turned out to be less focused on the skulls head and just focused more on the vines instead. So with that one I needed to focus more on focusing more on the prop itself instead of everything else surrounding it. Overall, I felt like I did a somewhat good job with the Low and High Lighting in my opinion I feel like i need to work more on focusing on the objects more and perhaps finding a great great light source.


Learning Log #6- High & Low KeyLighting For Still Life

I think these are my best two. the first image is the high key lighting using the lightbox to adjust the light to the items to way i thought it was a good spot but it not what i wanted but now i know where i did those mistakes. on the low key i thought i was a bit easier for me in the way that i has to use the tripod for the time and keeping the camera steady due to the  aperture.

Learning Log #6

The 1st photo, my classmate helped me with the lighting, he used a red and blue plastic wrap and cover up the main light, which it a purple look. The theme of this photo suppose to be dark and I used a ramp to make it look like the car driving up a hill. The 2nd photo was to be a dinosaur with a hat. The car in the background make it look like it’s creeping up.

Learning Log #6

My best 3 photos that I took for this assignment were these photos because I really like how I did the 1st photo with the low key light. I tried to make the setup look like a horror kind of theme because of halloween coming up this week and I wanted that theme to be represented. The other 2 photos that I took were with the high key setup and for this we used the soft box lights to make it brighter than the 1st photo. We had to change the camera settings for these 2 shots for it to look bright. Our theme for this shot was a kind of jurassic park theme and I wanted to showcase that. I learned a lot doing this assignment because I got to experiment and learn what low key and high key light was as well as learn how to create different moods within the photos.


Learning Log 6

These pictures are from the intro to lighting lesson. There were different techniques applied to a light source to alter how the intensity, quality, direction and color of the image was produced. Moving the lamp, using gel and adjusting the composition in the camera view were some of the ways that the light had a varying result for every image. In these pictures the lamp was moved to change the way that the light was being directed


Learning Log #6 High & Low Key Lighting for Still Life

I learned on how to use bright light for High Key and use bright light against dark background for Low Key. I decided to do a still life painting, but in photography style. For the High Key photograph, I use low setting on the camera and only use the light to create a blown out image without a strong shadow. The Low Key, I use 800 ISO to make the items a little bright and use the spot light behind the table to create a sport light look from the top.

Learning Log #6 High & Low Key Lighting for Still Life


I always take some photographs under the natural light in my daily life, and taking photographs under the artificial light was very fun and educational. It’s fun to see how the ingredients of light can really make a difference. For me, it was easier to take some interesting photos at the low key lighting. The high key photograph was not really successful because I can still see a lot of shadows, but it was overall educational.