Monthly Archives: October 2019

Learning log #6: High & Low Key Lighting for Still Life


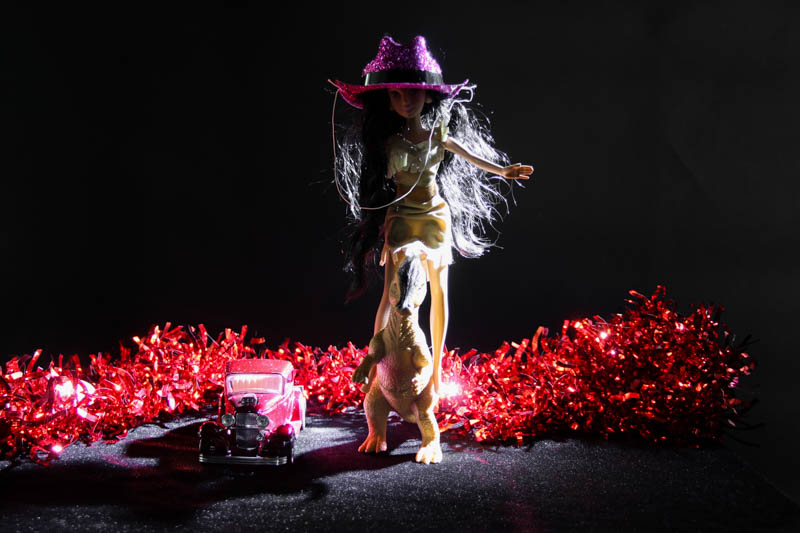
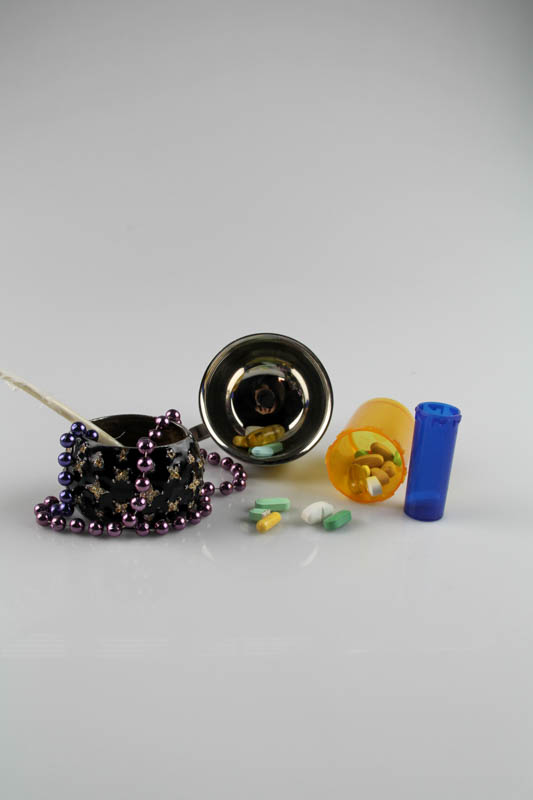
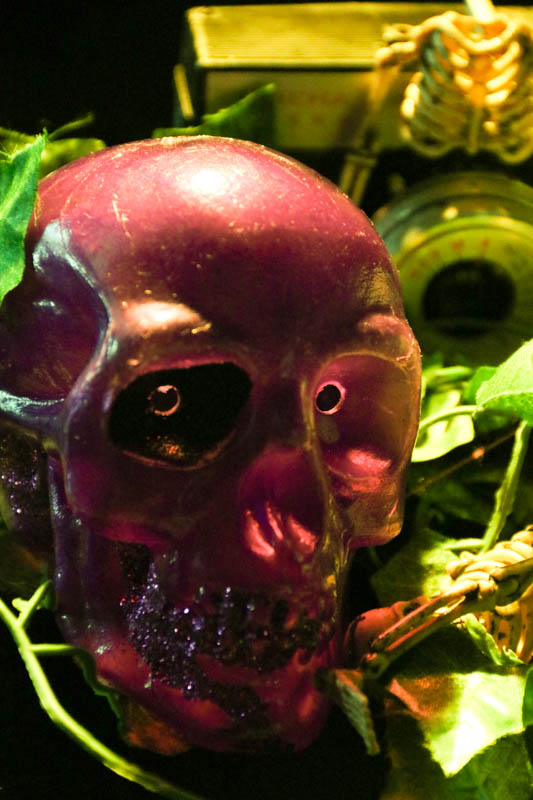
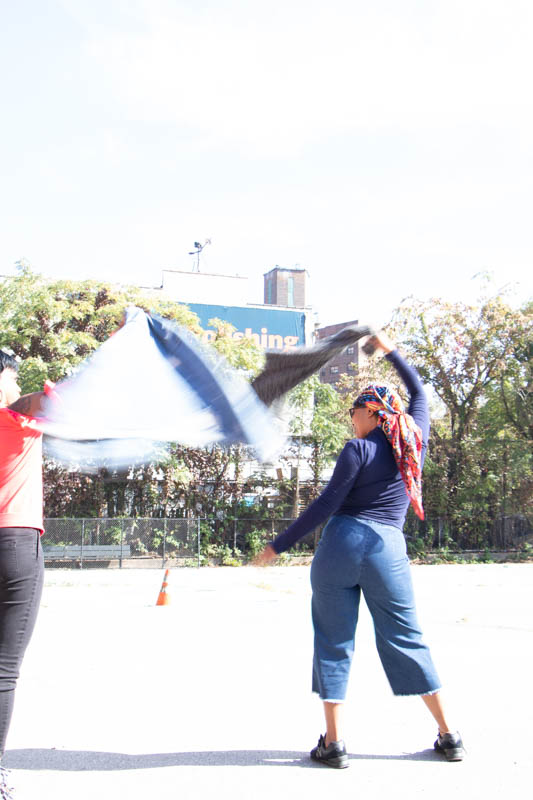
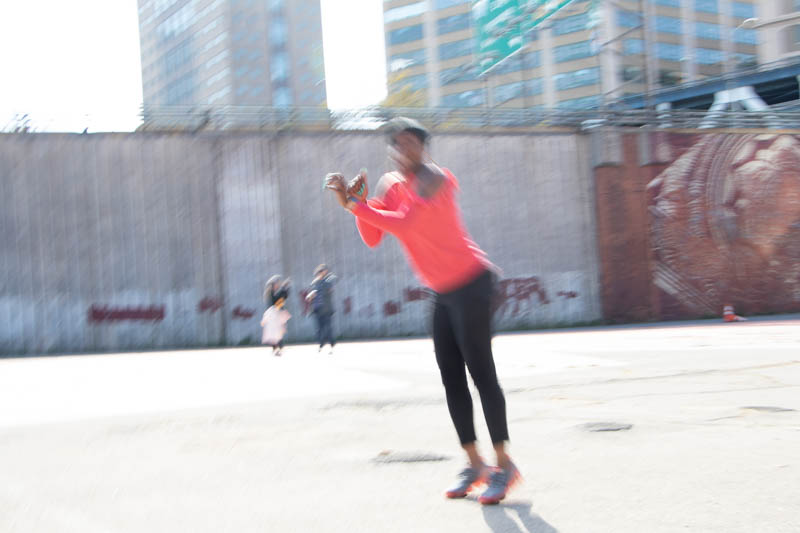
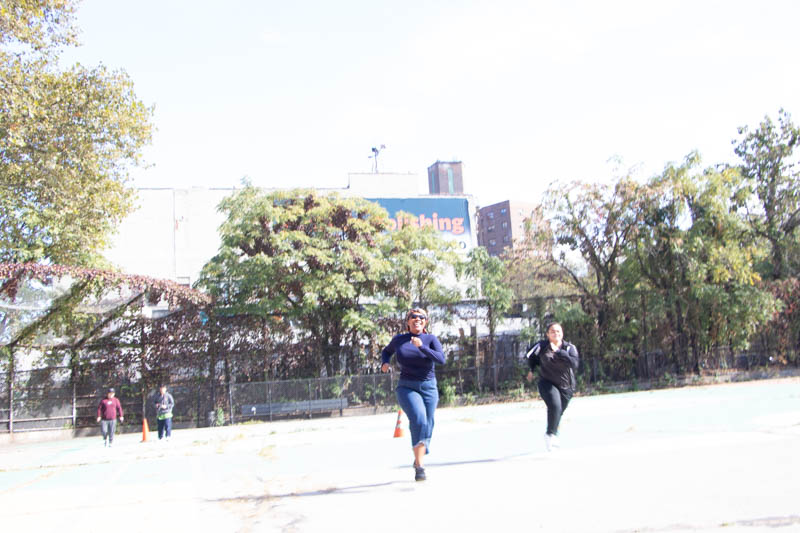
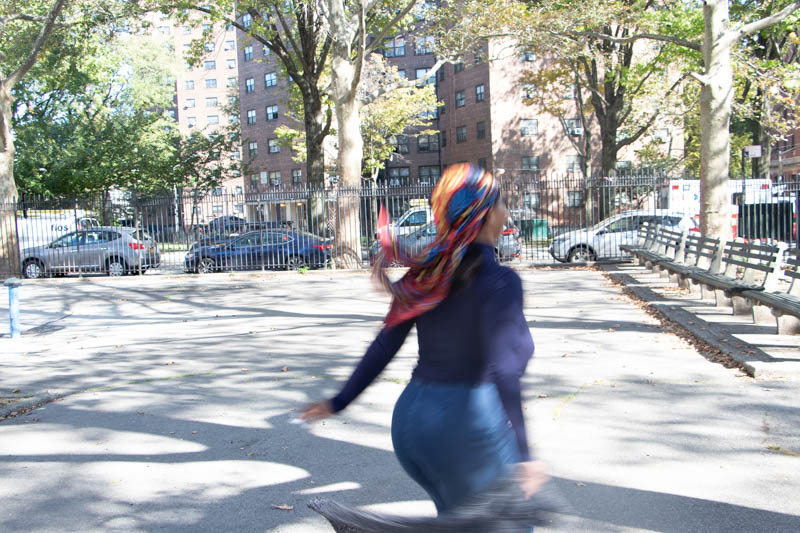
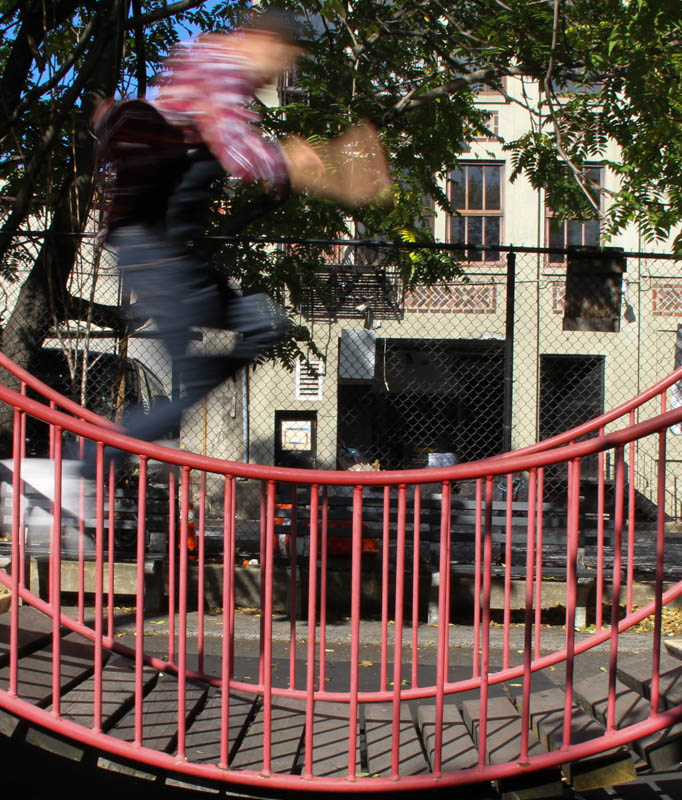
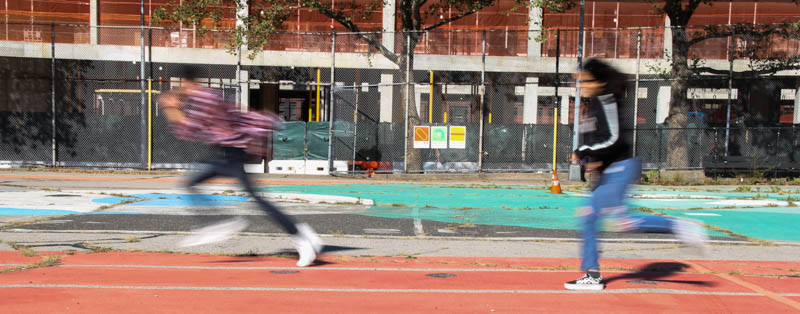
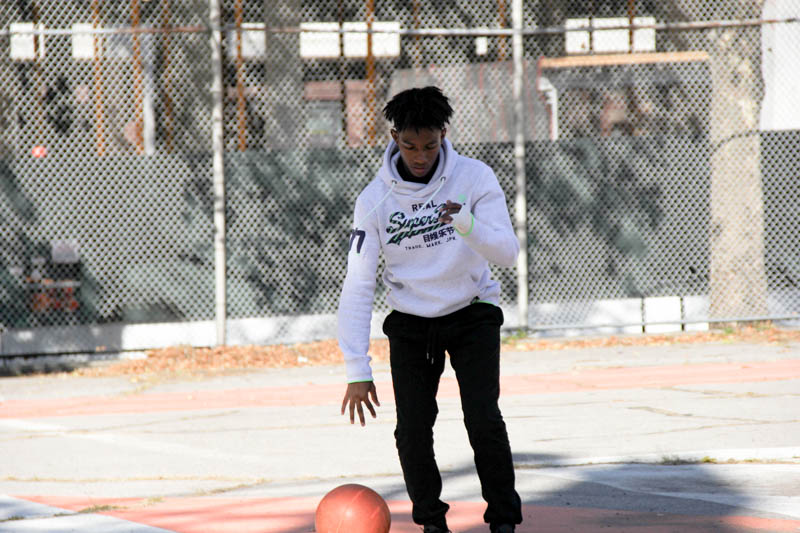
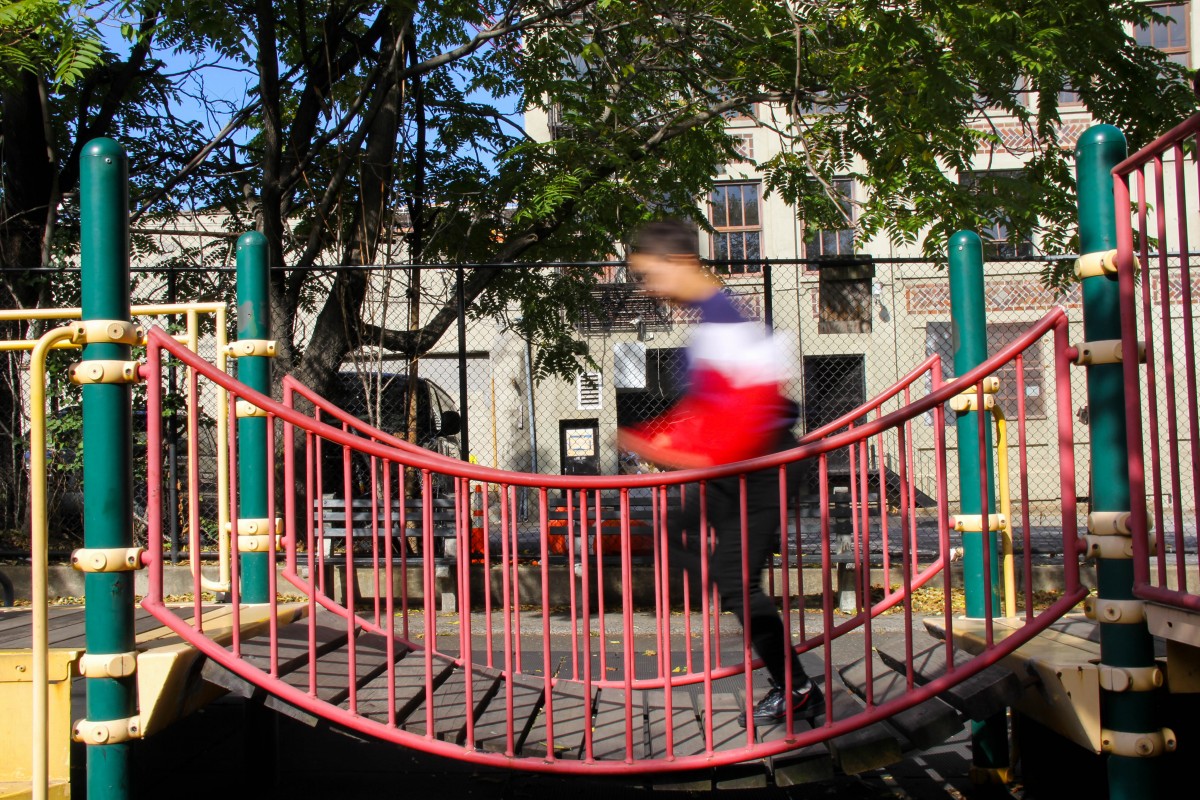
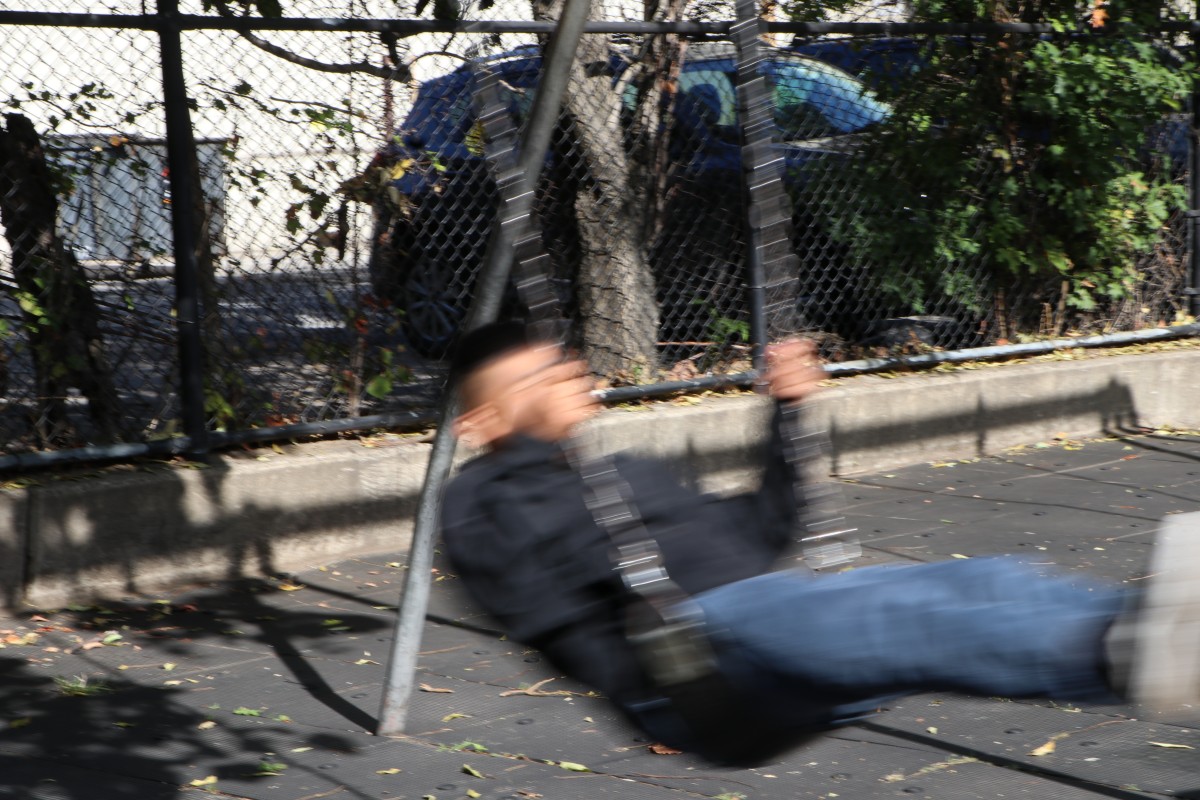
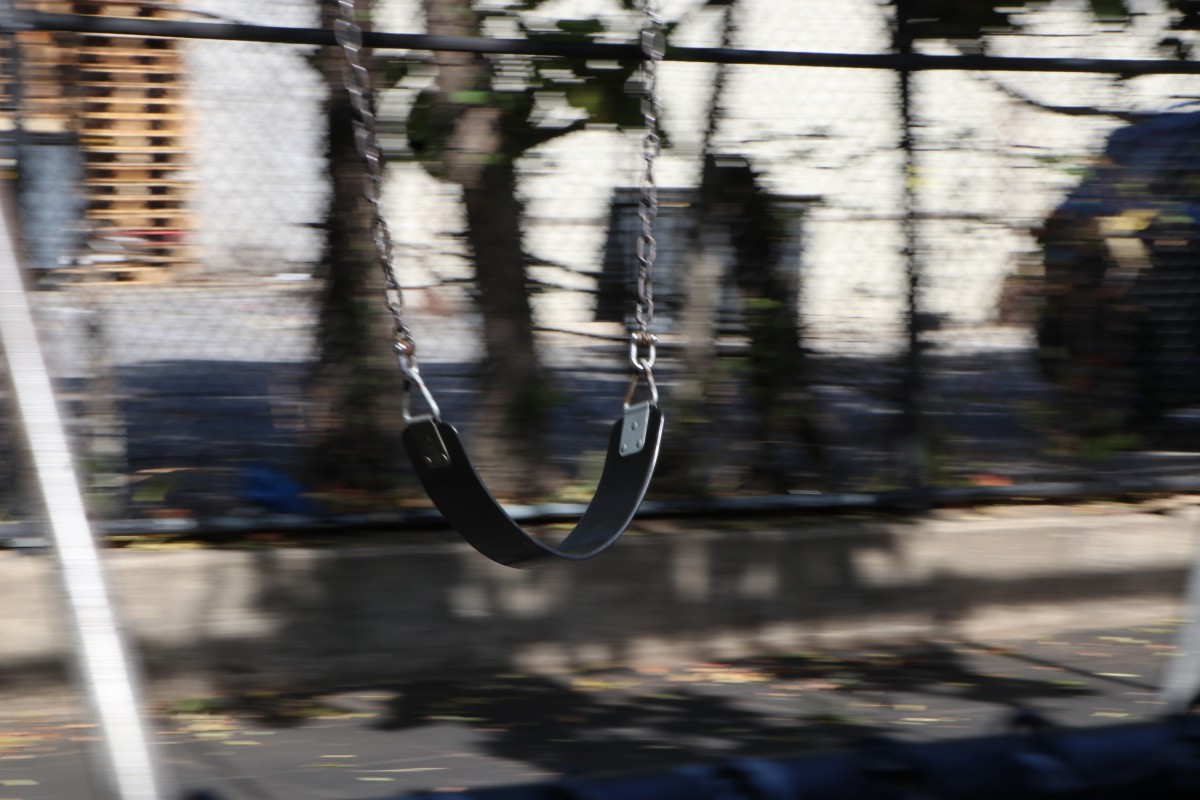
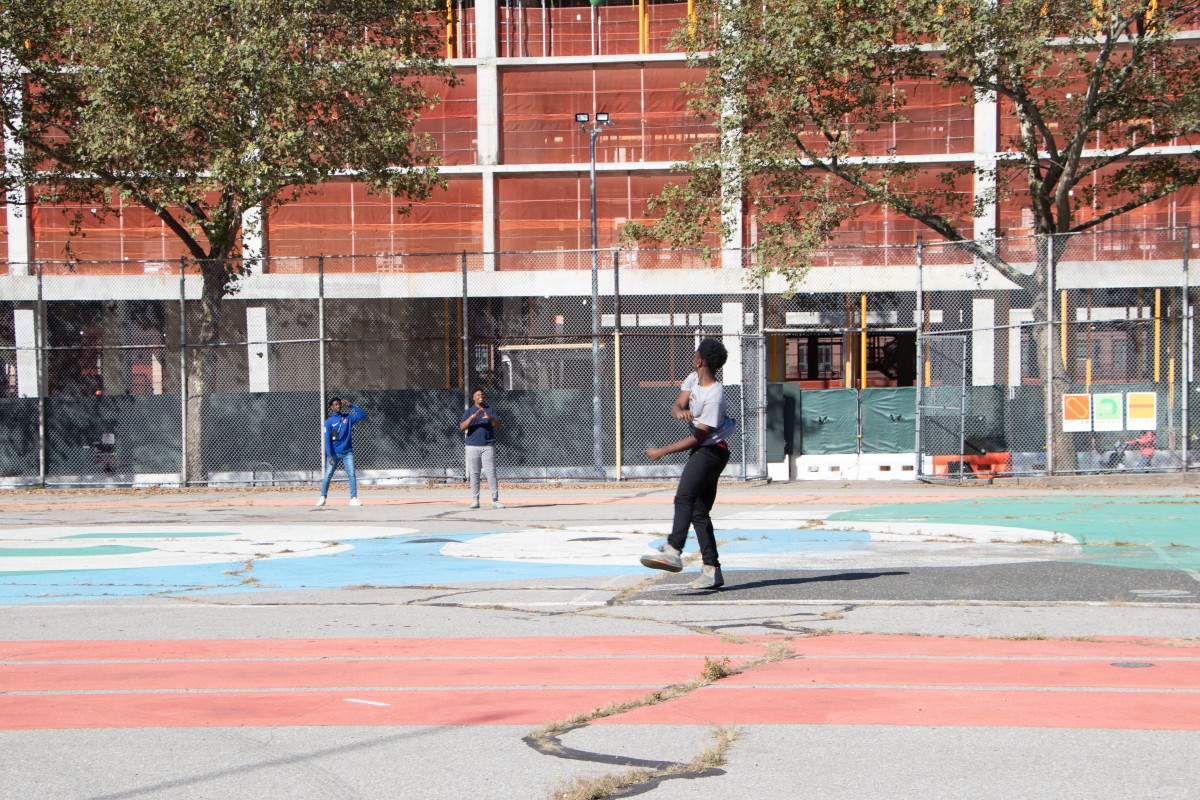
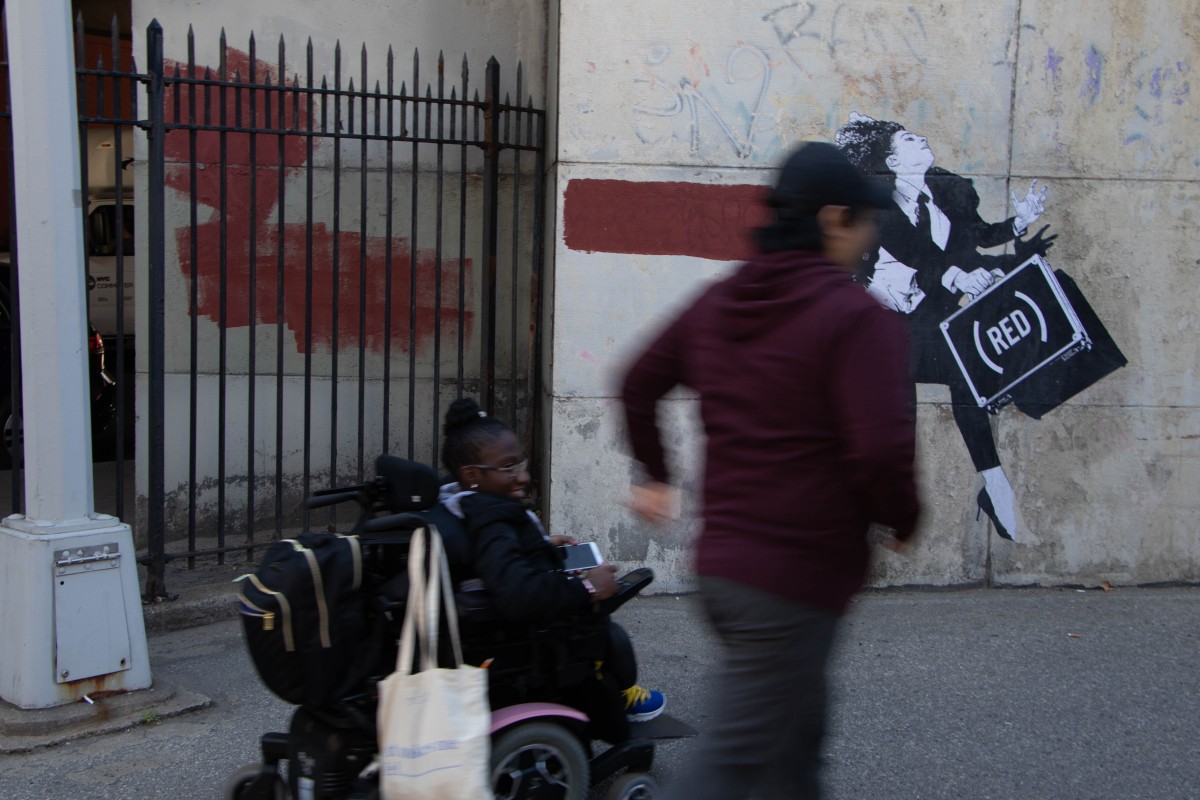
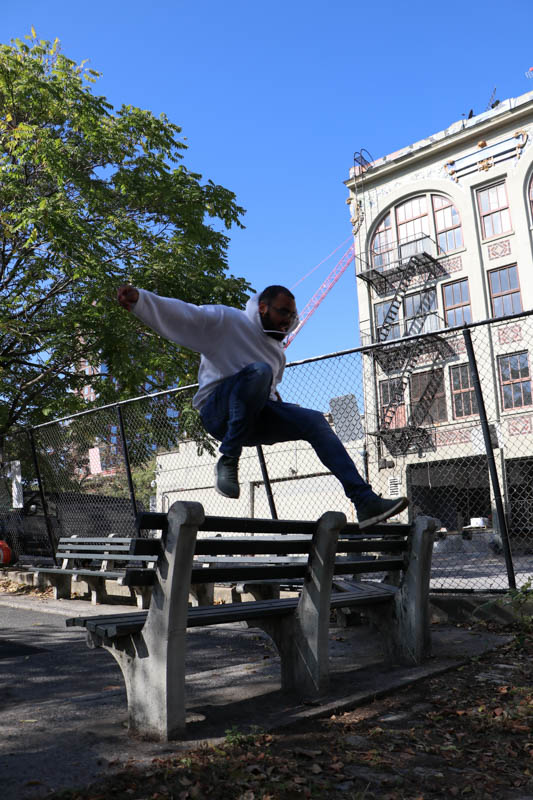
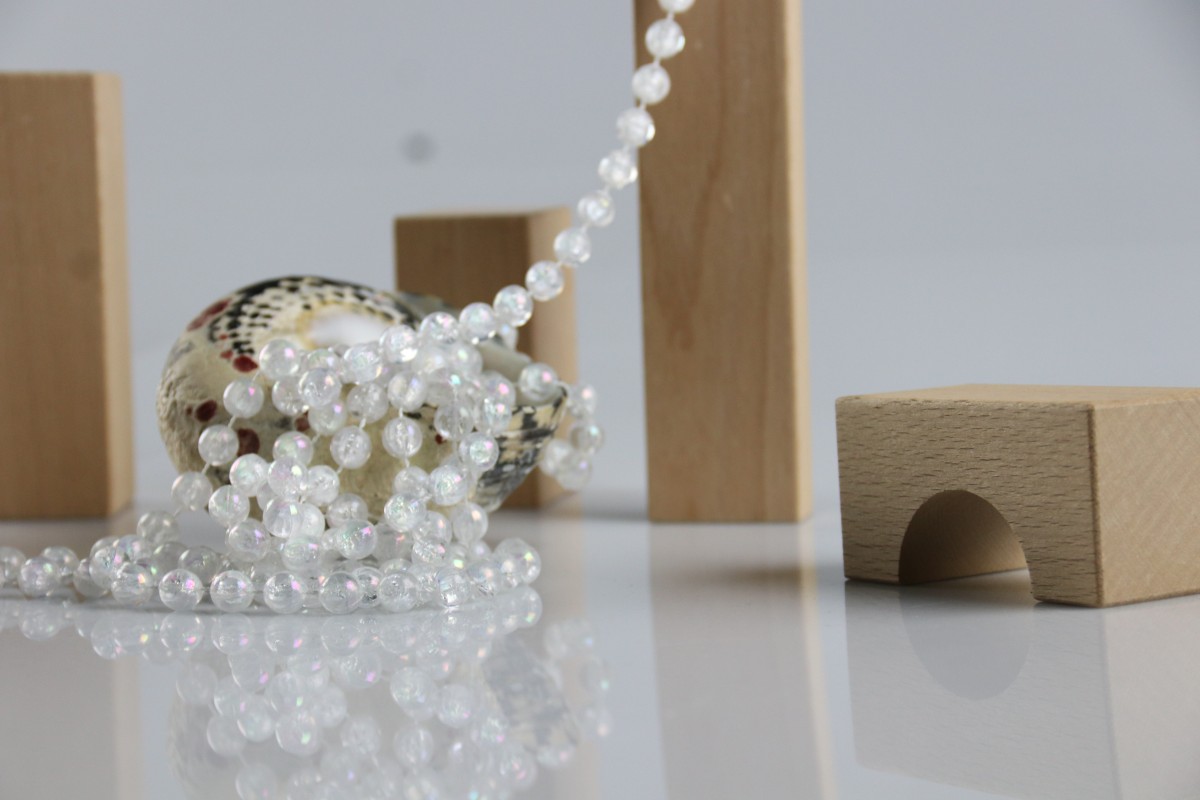
What I have learned from doing this assignment was that it is vitally important to have your camera focused and your lighting set correctly for wether your working in high or low key lighting. If one of these elements are not done right, the images would come out differently from what you originally expected to be. What settings I used for this assignment are using both a high angle and eye level shot, well lit lighting, and I made sure no one blocked the light or gave any shadows that might ruin the shot. I had to ensure that all elements were perfect to get the most perfect shots.

Learning Log #6 – High & Low Key Lighting for Still Life

For this still life class I was challenged by the light bouncing off the objects that I chose. In the first photo I chose two figurines of a dinosaur and a doll along with a car for scale. In the second photo I scattered some pills and beads together. In the dark photo I had to lower my shutter speed to 1 second to let more light in and kept my iso as low as i could to avoid grain. In the second photo my shutter speed was higher and it was easier to focus because there was more light to see what i was actually doing.

Learning Log #6 High & Low Key Still Life.


Still life photos are some of my favorite, Instead of focusing the entire diorama, I focused on specific part of the still life by position myself and zooming in, I think this way the story or the moments can captured. The Low key photos feels very constrained as all the negative space is “filled in”, however on the other hand, there is a sense of openness to the high key photos as there is no edge that frames the photo.

Learning log #5

These are my best photos for motion. I had to keep playing with the shutter speed to achieve these different photos. the first image shows semi motion blur. The second one shows freezing motion with minimal blur. The last one frozen subject with blur background.

Learnin Log #5- Action/Motion Portraits

These are my 3 best photos for motion. The first photo I went for frozen motion. Using the Rule of thirds composition, and a  large shutter speed, I caught Peter in the air as he jumped over the cone. The second photo is a semi motion, I had to lower the shutter speed to caught Marion’s body, scarf an sweater motions. I focused more on her an worked really hard not to create a blurry background. I really like the movement a caught from her scarf. The last photo was the hardest because it was really hard to catch cars at the location so I took advantage of the walk back. I used the panning technique an focused on the car while using a larger aperture to capture the car in motion and with doing that created a blurry background. I enjoyed these but they were not easy. You have to move as fast as the object to catch the motion an you have to still pay attention to composition, while focusing on your subject a lot to factor in for the shot!

Learning Log #5


I learned that for my movement photos i had to keep it at the lowest ISO on the camera which was 100 and for my frozen motion photos I had to have higher exposure. I was going to use just my partners for my images but then a group of high schoolers came in and i wanted to use one them bouncing a ball and i wanted to use that for my frozen image to keep it interesting.

LL#5 – Action/Motion Portraits


In the first shot, I asked my subject to run through the ramp. In doing so, the blur of her legs are behind the still rail, which I found pretty interesting. In the second shot, my subject kicked up and to help catch the moment, I snapped the camera when her leg was at the top of her swing. Her speed is slowest at that point, making it easier to capture. Coincidentally her leg was at the same angle of a tree’s branch that was behind her, which I found to make the photo better.

Learning Log #5 — Action/Motion

These are examples of frozen motion and semi motion photographs. In the first photo to the top, my subject is in motion and the background is frozen, a blur like effect from the camera being present is what depicts something/someone is moving in the image. This photograph worked best as an example of frozen motion. In the second photo on the bottom, the image shows my subject is still but the background is blurred as if to suggest there was motion going on and this is signified by the blurring so this was used as an example of Semi-motion.

Learning Log #5 – Action/ Motion Portraits

In todays class we learned about the THREE different types of movement in photography. Our main focus was frozen motion and semi motion. In the first photograph, I managed to capture the kids playing in the park and I would consider this to be a frozen motion because everything is relatively still including the ball they threw in the sky, so I wanted to capture that moment. I also wanted to point that the lighting and space in the photo goes hand to hand and makes the image pop more. Where as, in the second photo it was a semi motion I decided to take a picture with the mural in the background for a reason and I wanted to make both my classmates one still and the other one running with the mural. I believe both of the two shots worked very well with the lesson today.

Learning Log #5- action/motion Portraits

two images that i think really work as to the assignment. the first image was the semi blur in which i use the panning and mainly followed the seat swing along it path causing the blurry  background. on the second image i set the setting 1/600 and on a continually shots to capture the moment cause it happen so quick. but before this shot it was a on a single shot causing me to miss the right moment but i got it and the second try.