Author Archives: Marione Auguste

Learning Log #12 – PSA

In today’s lesson we learned how to create a PSA (public service announcement). My PSA was sexual assault with males, not a lot of people are educated on this but men can be sexually assaulted/ molested as well. Many people believe that is it a one sided thing when in reality both male and females. I chose this topic because it’s an issue that needed to be addressed and an issue that needs to be taken care of. The behind the scenes was very easy to manage for once. One set of difficulties I came across was lighting, nothing major I just needed to bring in more light to my photos. I was able to make those minor touch ups in Adobe LightRoom and Adobe Photoshop. Overall, I believe that this image was very successful and I hope the message is being spread all over.

Learning Log #11 Magazine Cover Shoot

In today’s lesson we learned how to make a magazine cover using all of the tools and things we learned in the beginning of the semester. I enjoyed this lesson as always because we got to be creative and different with what we learned throughout the semester. I chose Uptown Magazine as my inspiration predominately because it’s a black owned magazine cover. Originally I had chose Essence Magazine but the “Uptown” logo’s color scheme was very vibrant and a warm color tone. What I struggled with today was very minor things such as positioning the photo, putting my two models together so they can fit the frame and last but not least LIGHTING! I expected the light source to be a little bit brighter and the background a little bit softer. Overall, I enjoyed this lesson today and I would love to edit more and see how far this magazine cover will go.

Final Project Idea

Hey! So I decided to to go with RAPUNZEL! I choose to do her because I have long blonde hair, so why not be the star of my project. I have to figure out how i’m going to set everything up but I plan on doing the basic things for the project such as, capturing specific details and make sure that my outfit isn’t fully the same exact thing but primarily similar. I also chose this because even though it isn’t exactly a nursery rhyme, it is in fact a Disney movie.

Learning Log #10 Product Photography

In today’s lesson, we learned how to take pictures of products in different forms of light sources. I enjoyed this lesson because it showed me how to use the different light sources and make my product pop or even tell whether my photos are over exposed or under exposed. I also understood that different light sources means different use of the ISO and the F stops. What I mainly enjoyed was the fact that I can I was able to make my product look like an actual advertisement that I can hand in to a company or whatever. Everything has to have it downside, my downside was primarily matching the light sources with the background colors and the lighting. What I managed to do was change the lighting on the camera such as the aperture, F stop, and the ISO. Overall, I enjoyed this lesson for the day and I will continue working on figuring out the light sources.

Learning Log #9

In today’s class we learned how to play with painting lights in the dark. I enjoyed this lesson so much because you can do so much in the dark, depending if you have the right exposures and settings on the camera. Challenges I faced was timing mostly, it was a bit hard for me to time the photo well enough for it to come out great. Another challenge I faced as well was lighting, that was another huge part because most of the photos I took they were either over-exposed or way too dark. What I did to try to improve my photos were editing and making sure my settings were good enough to fit the color paints in the background. This lesson was a very interesting and abstract lesson and i would love to do it again.


Learning Log #8 – Portrait Lighting 2

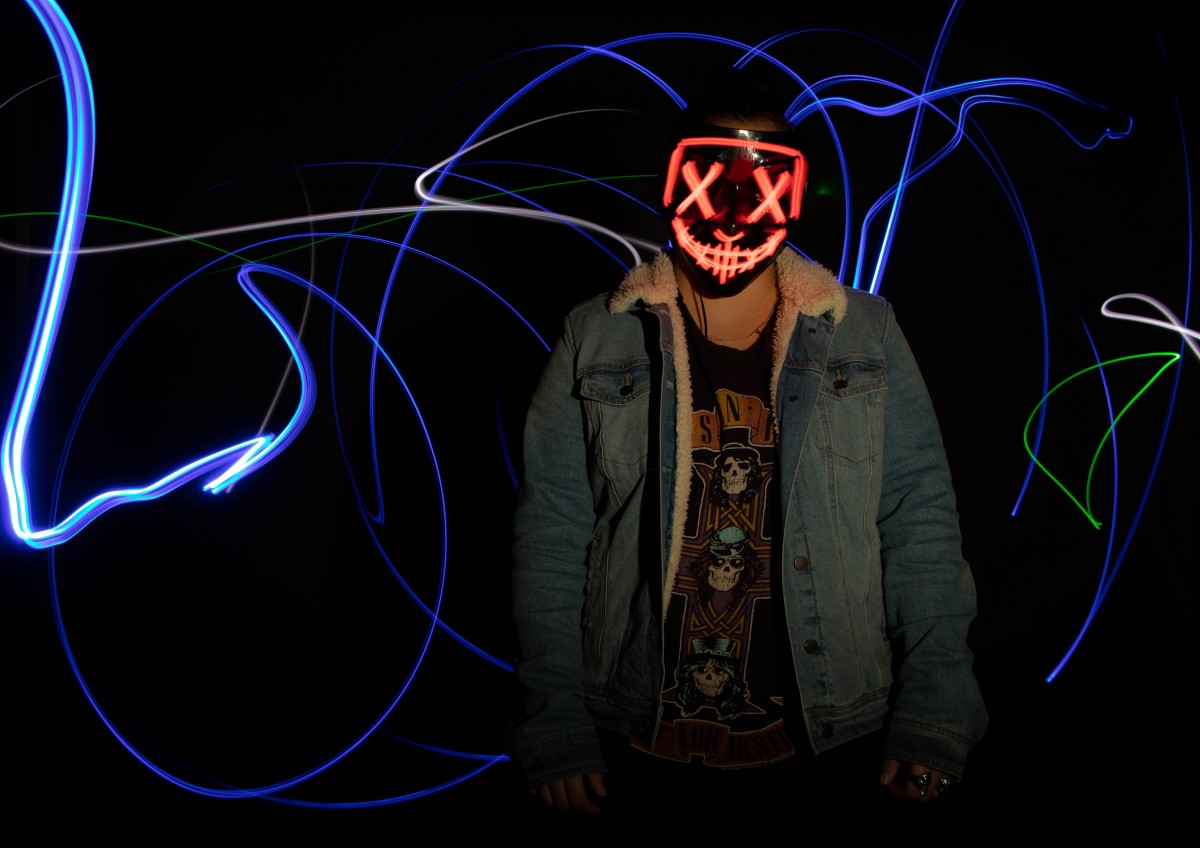
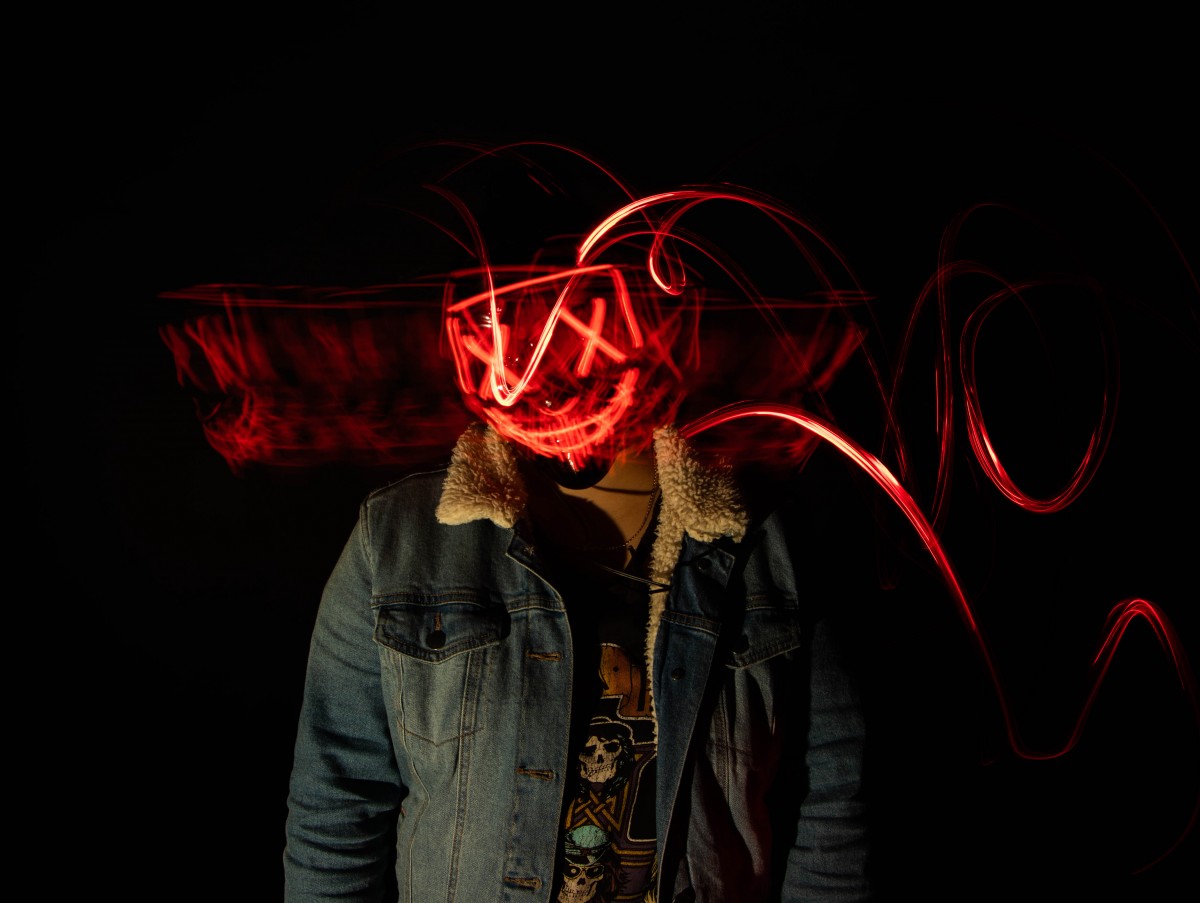
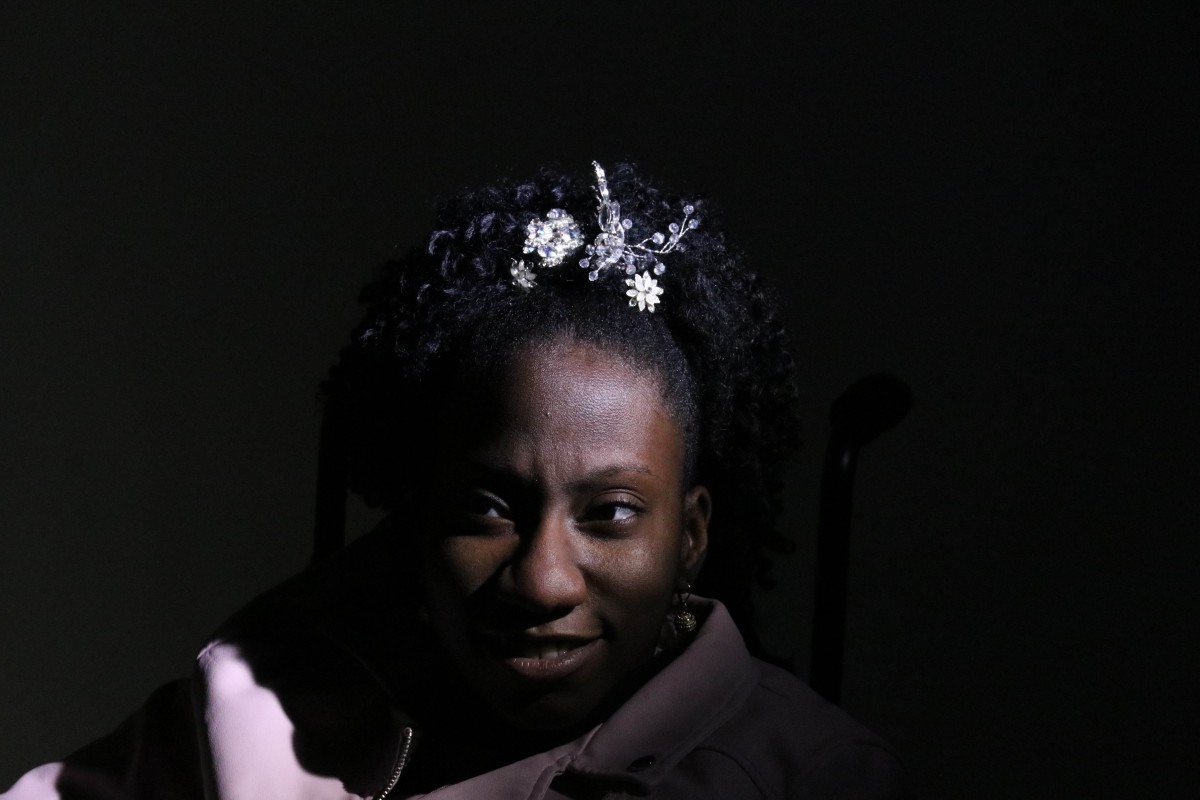
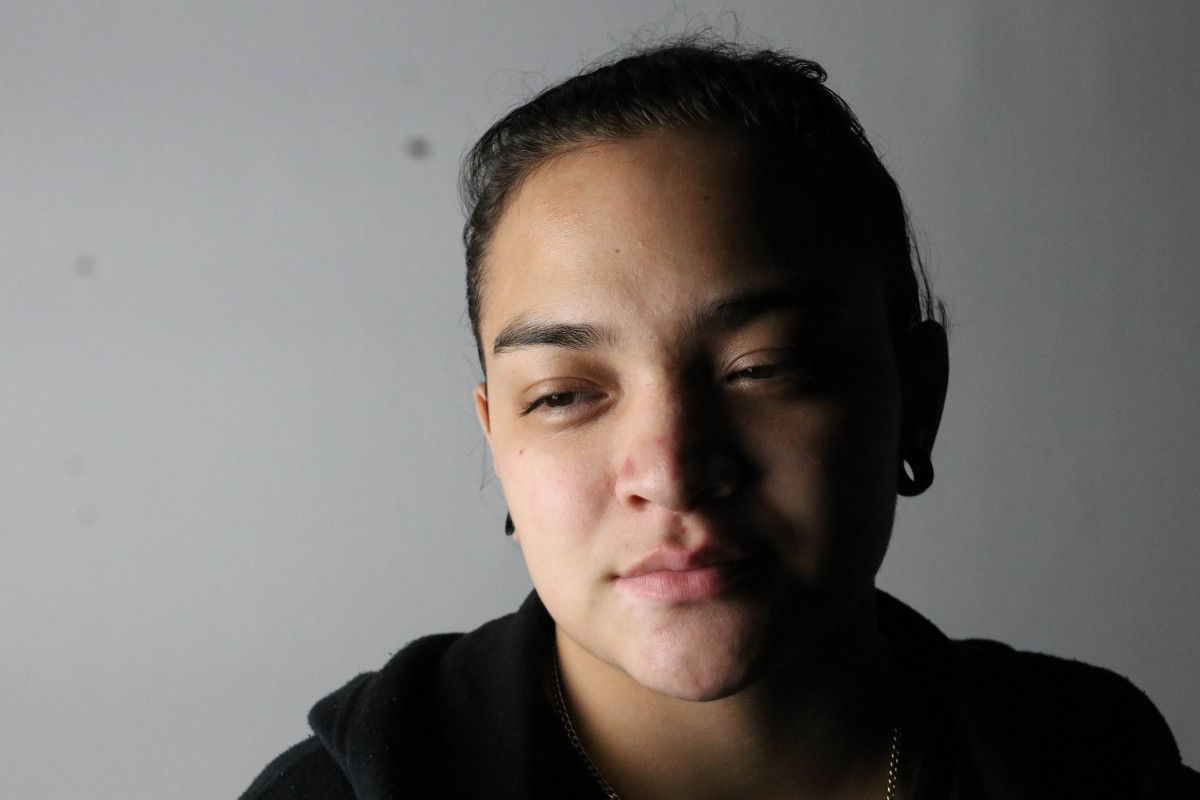
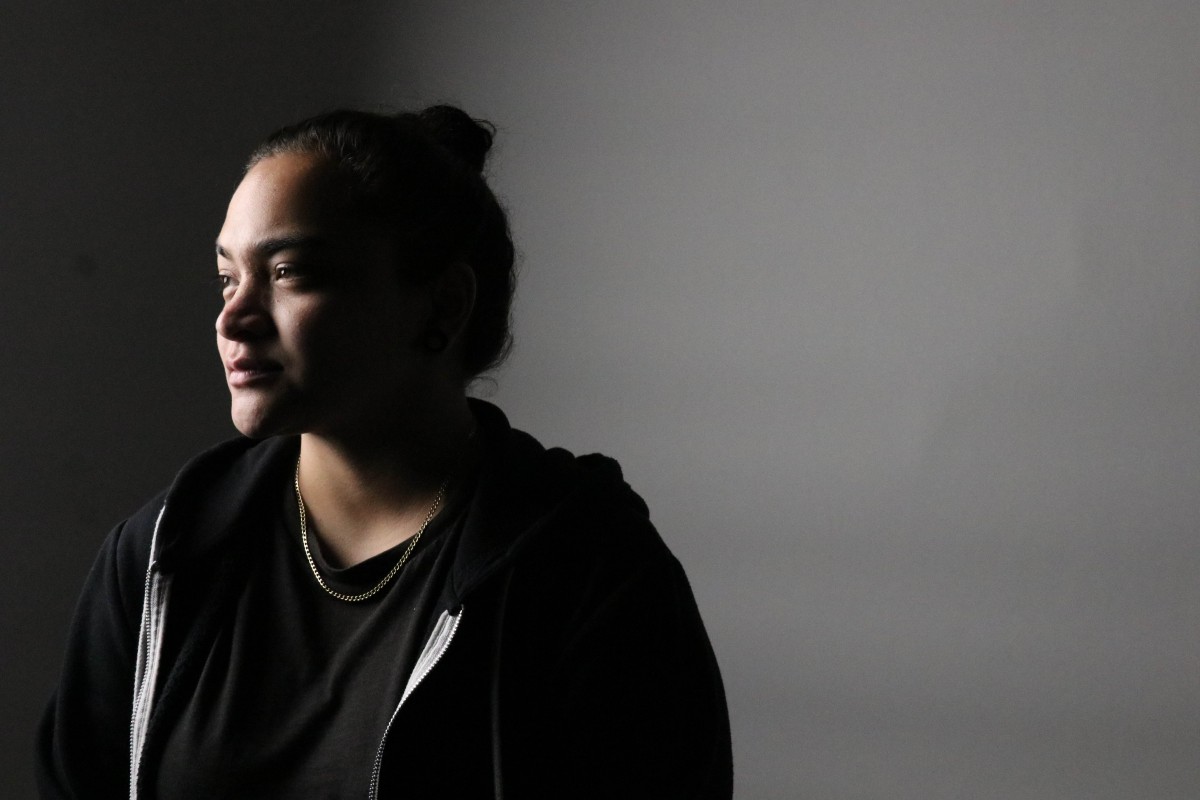
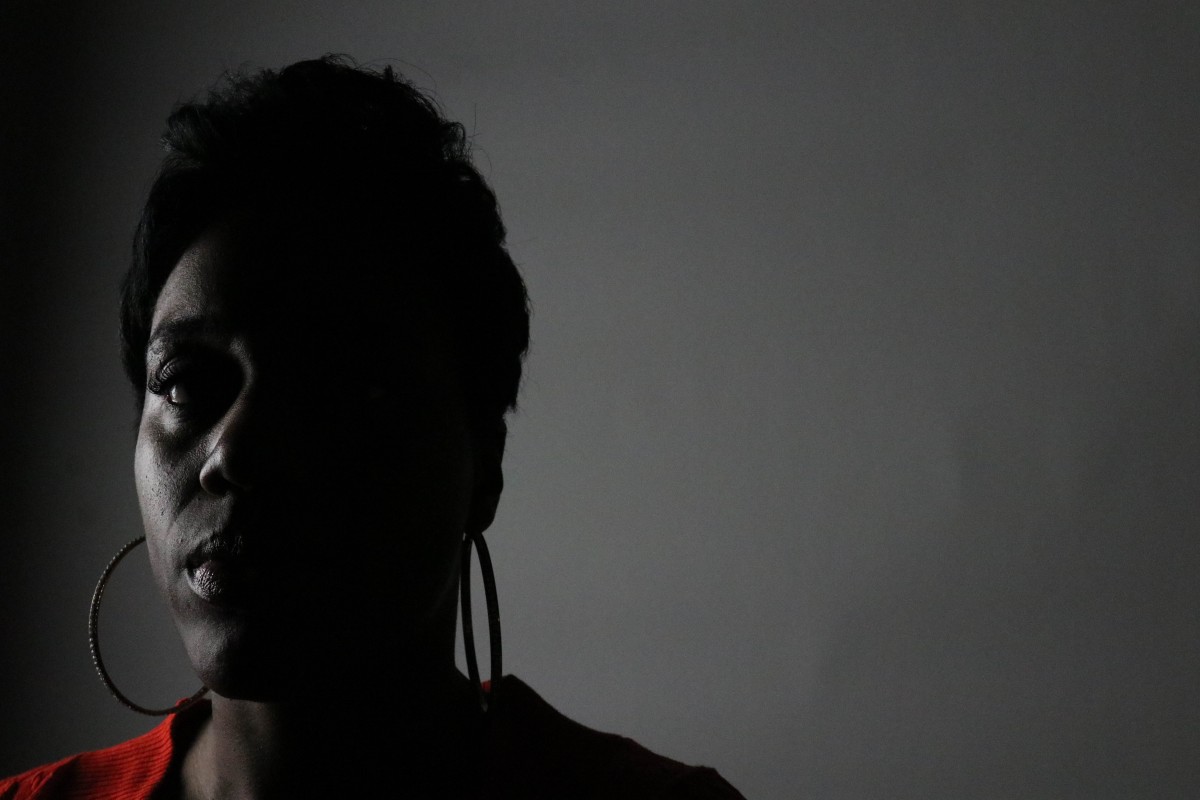
In today’s lesson, we continued to learn more about the different types of lightings. We learned about Key lighting, Fill lighting, and Back lighting. But our main focus today was butterfly/ clamshell lighting, edge lighting, 3 point with hair lighting and 3 point with background lighting. I enjoyed all of the different types of lighting we learned today, but my two favorites were butterfly/clamshell and edge lighting – butterfly was very bright and vibrant, whereas, edge lighting gave you more of a mysterious look to it. It took me a while to understand the types of lightings and i’m still learning but I was able to learn some things about the different types of lighting and see how it plays out.

Butterfly/Clamshell Lighting
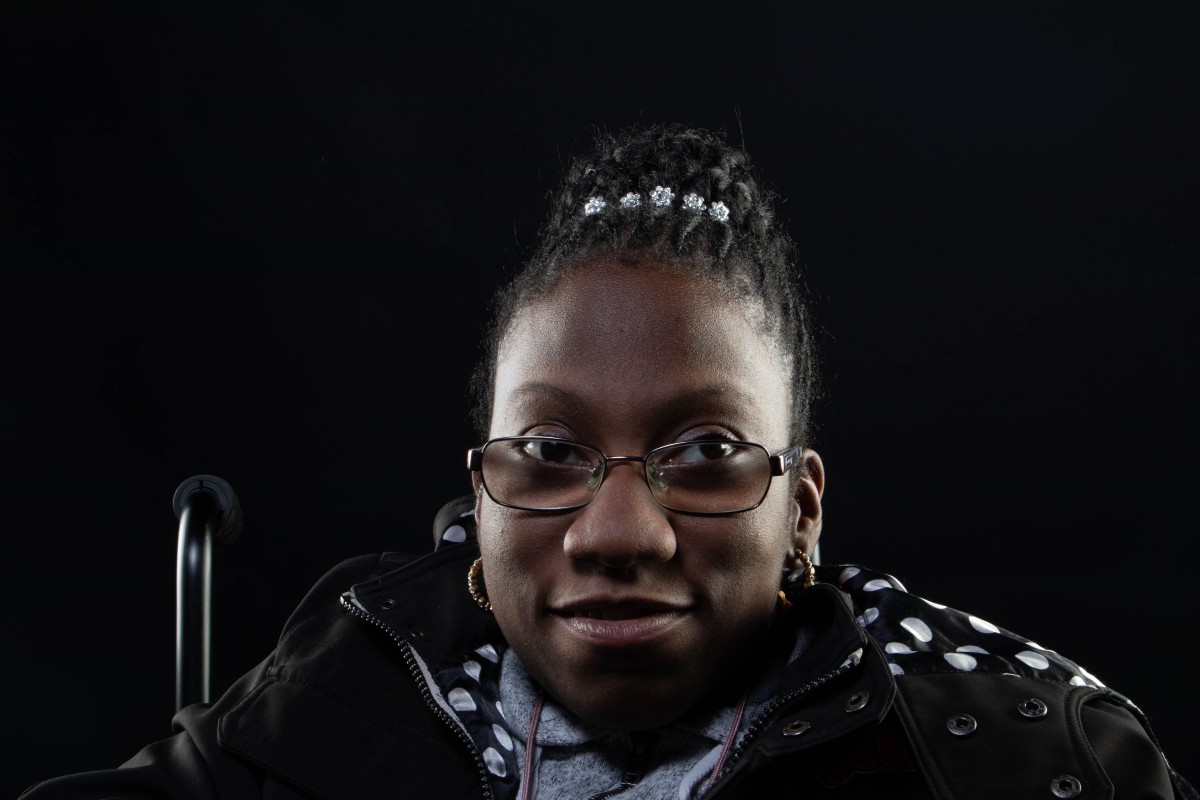
Edge Lighting

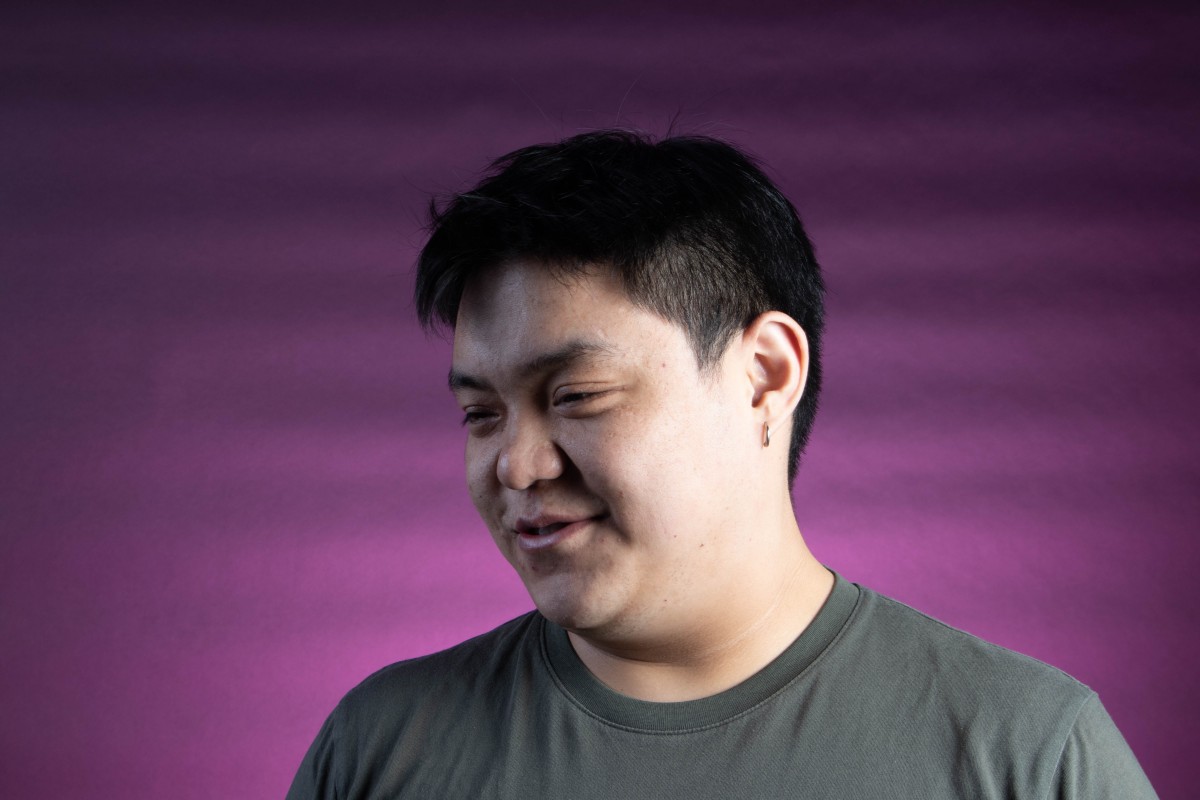
3 Point with Hair Lighting

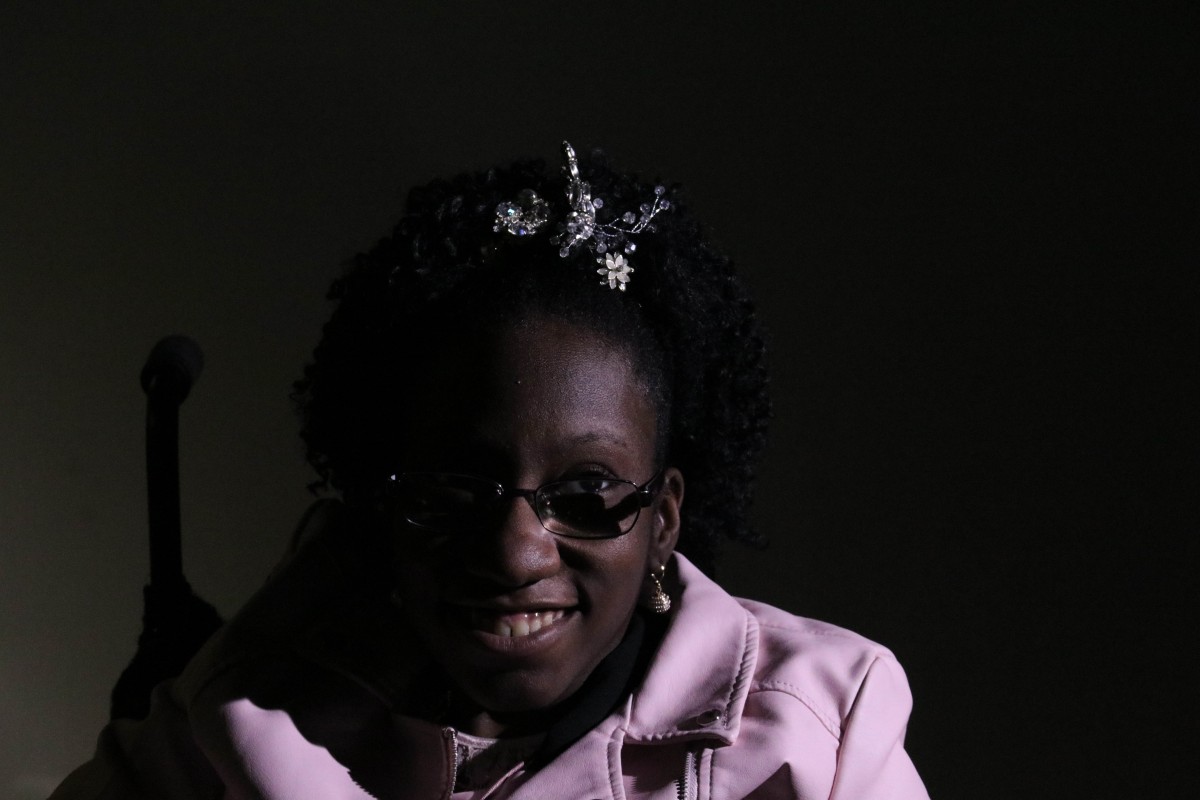
3 Point with Background Lighting

Learning Log #7 – Portrait Lighting 1


Broad Lighting


Rembrandt Lighting


Short Lighting


Loop Lighting


Split Lighting


Today’s lesson was about the SEVEN different types of Portrait Lighting. Which are; Loop, Split, Short, Rembrandt, and Broad Lighting. This was very fun and pleasing to the eye, It made me engage more and learn the different perspectives when lightning is involved. Every perspective of light have the shots a different feel to it. I admired split lighting and loop lighting reasons because of the emotions. Split lighting made me feel scared and made me feel a bit guilty in a way. Whereas, loop lighting gives me the feeling of hope. But overall, this lesson gave me an understanding of different types of lighting perspectives.

Learning Log #6 – High & Low Key Lighting for Still Life


In todays class we learned about High Key and Low Key lighting. In my still life In image 1 I decided to go with a “theme” sort of kind of. The theme was more of Jurassic Park with a vintage feel to it. The light felt a bit too heavy in my opinion but the more I looked at it, I noticed that the lighting was good. In image 2, I decided to remove the two glasses and zoom in more on the Jurassic Park scene that was occurring at the moment. With this one I was trying to use the High Key lighting and merge both Low and Key light in the same setting to see if there were going to be any contrast or balance between the two because there were some dark parts. Lastly, Image 3 used the Low Key Lighting and with this one it turned out to be less focused on the skulls head and just focused more on the vines instead. So with that one I needed to focus more on focusing more on the prop itself instead of everything else surrounding it. Overall, I felt like I did a somewhat good job with the Low and High Lighting in my opinion I feel like i need to work more on focusing on the objects more and perhaps finding a great great light source.


Learning Log #5 – Action/ Motion Portraits

In todays class we learned about the THREE different types of movement in photography. Our main focus was frozen motion and semi motion. In the first photograph, I managed to capture the kids playing in the park and I would consider this to be a frozen motion because everything is relatively still including the ball they threw in the sky, so I wanted to capture that moment. I also wanted to point that the lighting and space in the photo goes hand to hand and makes the image pop more. Where as, in the second photo it was a semi motion I decided to take a picture with the mural in the background for a reason and I wanted to make both my classmates one still and the other one running with the mural. I believe both of the two shots worked very well with the lesson today.