Author Archives: Keon Johnson

Learning Log 12 PSA

For my PSA i chose to do it on smoking and the negative effects it can have on to the consumer.  It was simple to take pictures of something i could make a PSA about and add in actual statistics. The assignment made me realize how simple but effective creating a PSA is and got me interested in what a well made PSA could do for its target audience.

Extra credit exhibition visit 3 paragraphs

I think Fred W. Mcdarrah did a good job with his pictures for his exhibition. The black and white photos were good and he was able to get the details of the scene he was at. Fred W. Mcdarrah is good at his techniques with photography and the pictures he took for his exhibition basically shows that.

When i looked through the exhibition i just remembered some of the photography techniques. Specifically the techniques i learned in photography 2. For example, the techniques i was reminded of were “Rule of Thirds” and i remembered some of the general composition rules when i saw photos that were taken in those respective ways.

Last thing ill say is that, the pictures were taken with just pure skill to say it simply. That’s mainly why i say Fred W. Mcdarrah is a good photographer and he seemingly just froze the moment; That is how detailed the photos in his exhibition looked. I don’t like taking the train but my experience was ok.
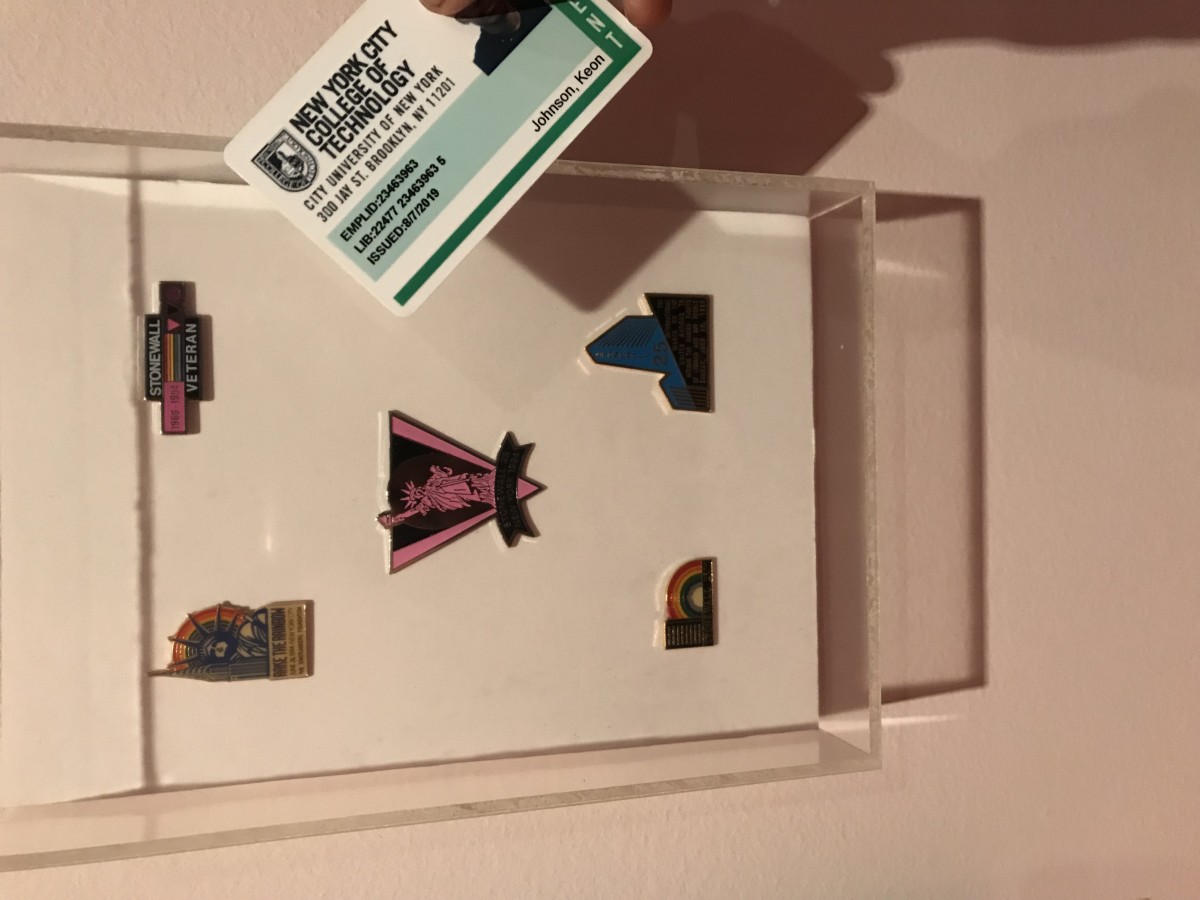
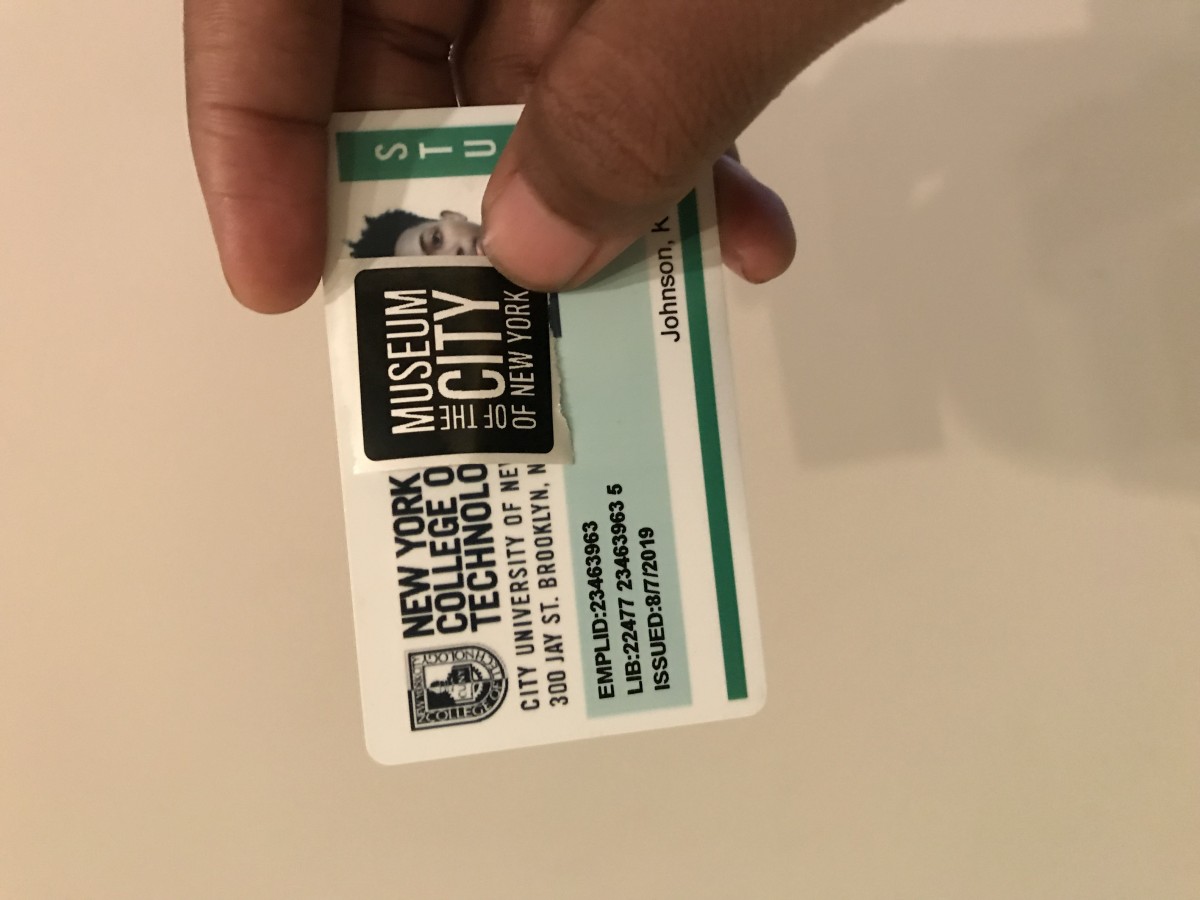
prove i went

ticket proof

Final Project Fairy Tale/Nursery Rhyme

For my final project, I will base the pictures I take off of the nursery rhyme “A sailor went to sea”. I’ll have someone take pictures of me at different places where there is mostly water as my “sea” setting. So I will just go by the water. Only thing is that I will need a majority of the pictures to be by the places where a body of water is present, so a bridge or river for the effect. Besides that, the pictures will focus on me while I’m looking for something in the water or just in the distance like a sailor would do.

Learning Log #10

Taking pictures of something I premeditatedly picked was a way better feeling to me. The two stations that these shots were taken at got some pretty good results. The first picture on the left looks like there is a bit of a blue tint going on and it works. Coke should be cold, so the background having that dark blue look gives off a cold feeling. If I had to advertise Coke, that would be my best shot. I only regret that the logo isn’t facing the lens properly there.

Learning Log #9 — Light Painting

Light painting in this lesson had a lot of helpful and visibly noticeable effects added into the shots. This lighting helped add a sort of playful look to the pictures, mostly due to the colors and the lights movements. The most curious part of this to me, was how the movement was being captured even though it wasn’t happening when the flash would go off. The light made every picture lively, and that illumination from the glow had pierced through the dark and onto the subject. That is what was making everything in the shot work really well.

Light Painting shot 1

Light Painting shot 2

Light Painting shot 3


Learning Log #8 — Portrait Lighting 2

This weeks lesson was a continuation of portraits from last week and the types of lighting compositions were Butterfly/Clamshell. edge lighting, 4 point with hair light, 3 point with background light. In this set of pictures, the light was a major factor in adding detail to the subject. The background lighting was the most interesting because of adding color

background

4 point lighting

Clam lighting

Edge lighting


Learning Log #7 Portrait lighting 1

This week the new technique was involving photograph portraits with continuous lights or speedlights and modifiers. The modifiers were gel lights that added color. The light sources were either soft light then a direct light lamp. The direct light lamp gave a really strong light but it worked better for more light effects to be evident on a persons face, compared to the soft light. The gel adding color was an interesting effect but the overall most effective results came from the direct light lamp because it produced stronger shadows for the portrait that were then perfect matches for either a split, loop, rembrandt broad or short portrait shot. These shots are examples of those shotting styles in order:


Learning Log 6

These pictures are from the intro to lighting lesson. There were different techniques applied to a light source to alter how the intensity, quality, direction and color of the image was produced. Moving the lamp, using gel and adjusting the composition in the camera view were some of the ways that the light had a varying result for every image. In these pictures the lamp was moved to change the way that the light was being directed


Learning Log #5 — Action/Motion

These are examples of frozen motion and semi motion photographs. In the first photo to the top, my subject is in motion and the background is frozen, a blur like effect from the camera being present is what depicts something/someone is moving in the image. This photograph worked best as an example of frozen motion. In the second photo on the bottom, the image shows my subject is still but the background is blurred as if to suggest there was motion going on and this is signified by the blurring so this was used as an example of Semi-motion.