Critique Etiquette
- Respect the presenter. Give them your full attention.
- Ask questions about your colleague’s photography. This is not the time to ask questions about your personal concerns.
- Start with the positive when you comment on your colleague’s works. Use the terms below that we have learned this semester.
- Be generous. Offer your thoughts. Your opinion and judgements are important. Do not leave the work of giving feedback to the others in the class.
- Conversely, please do not speak over your classmates.
Vocabulary
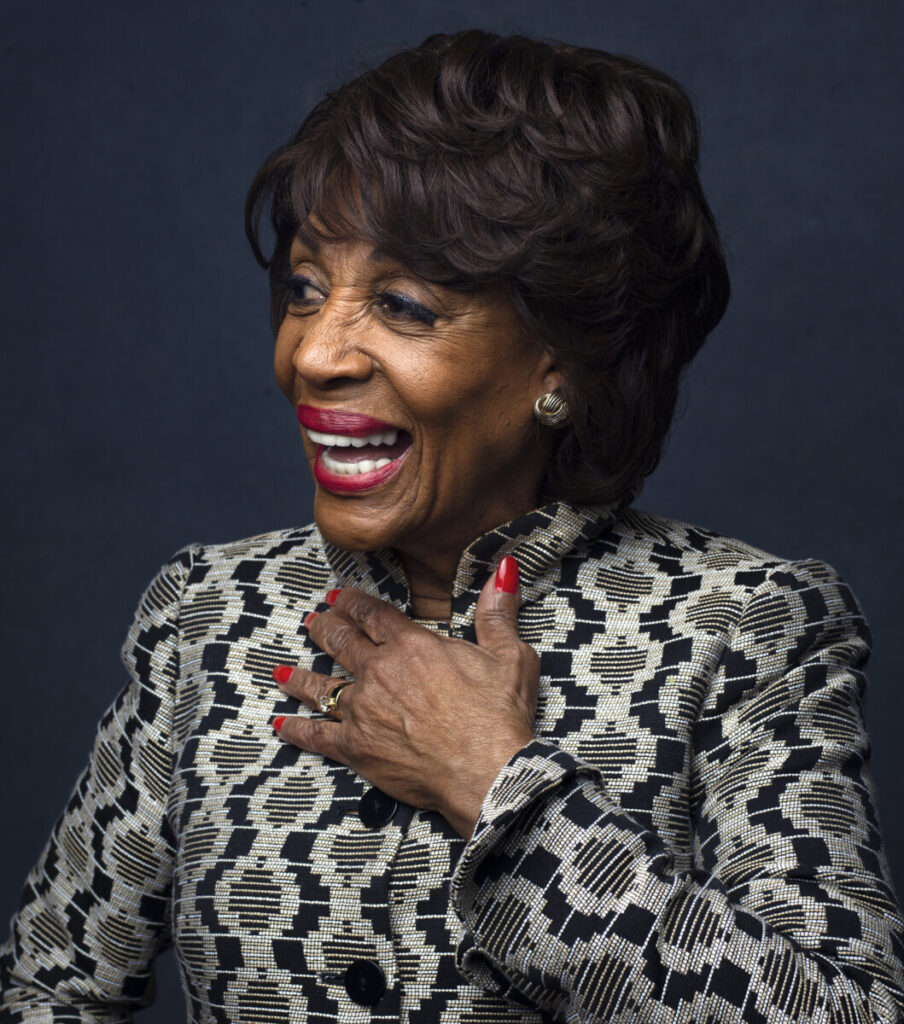
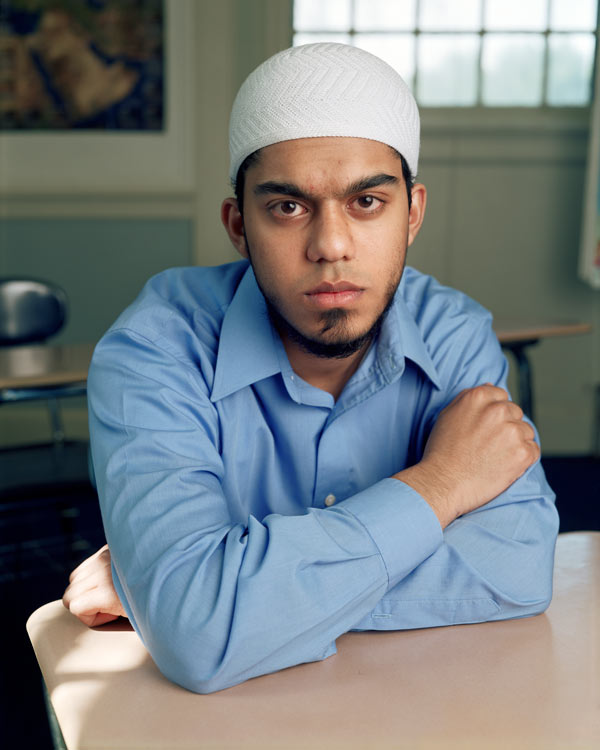
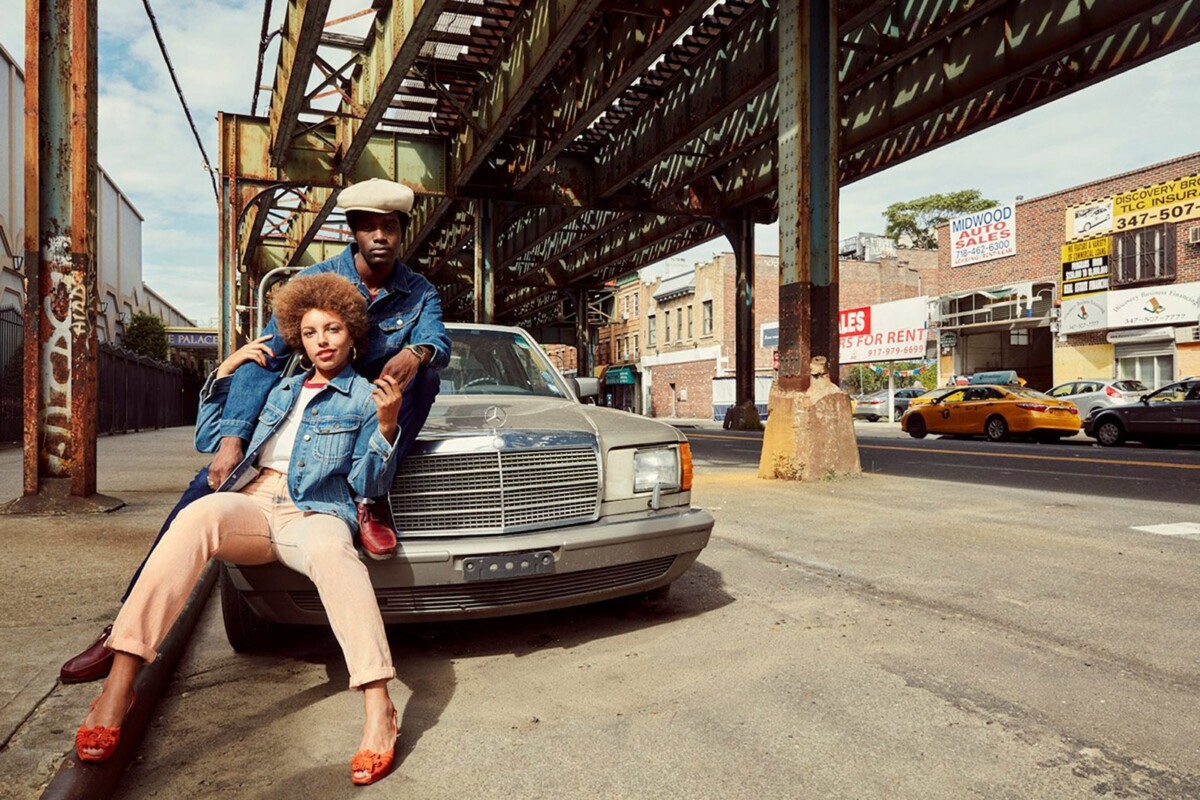
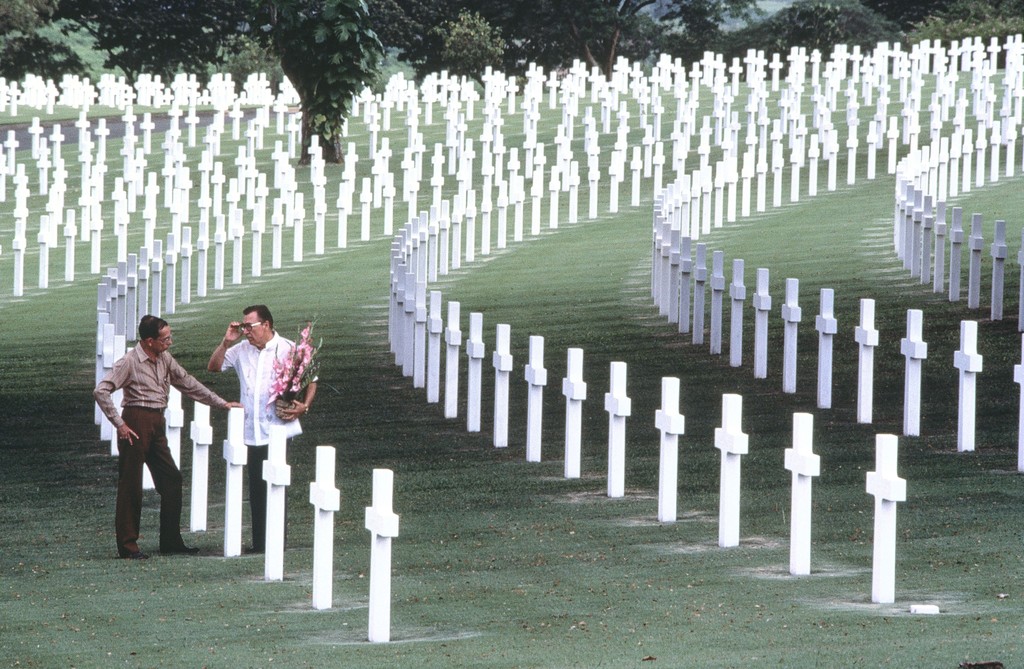
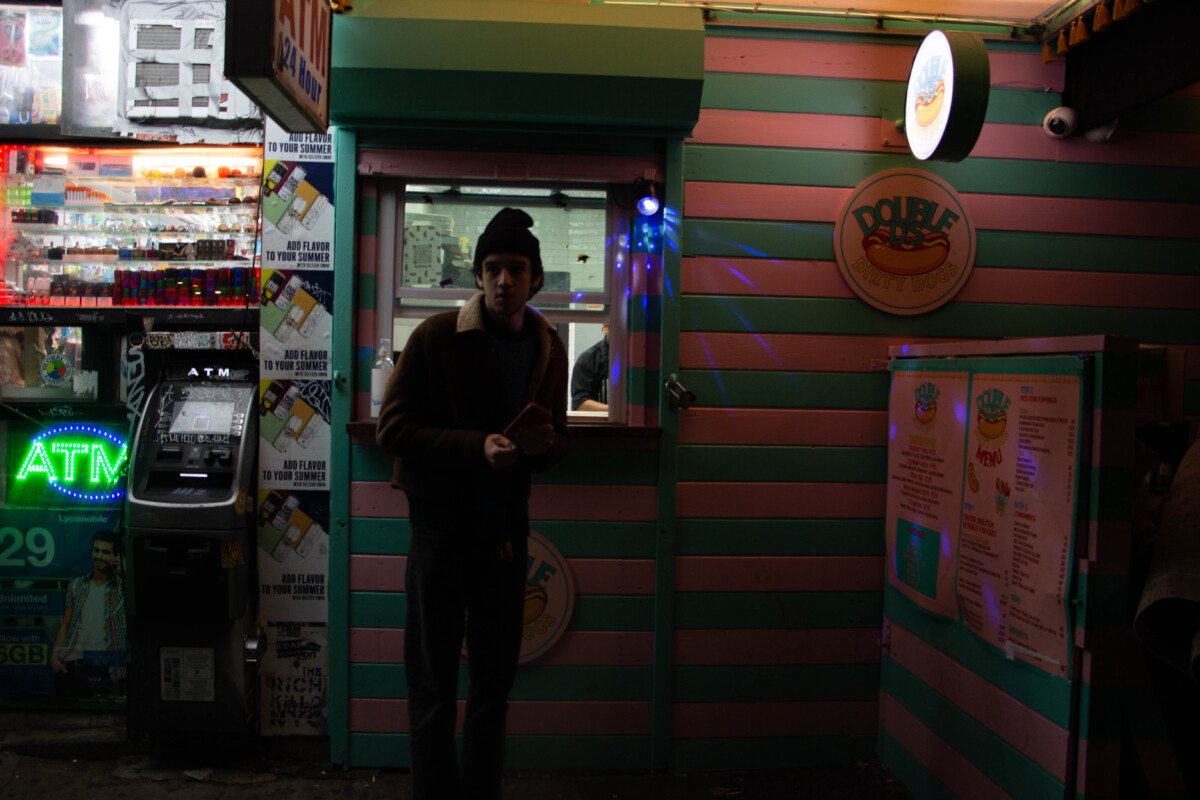
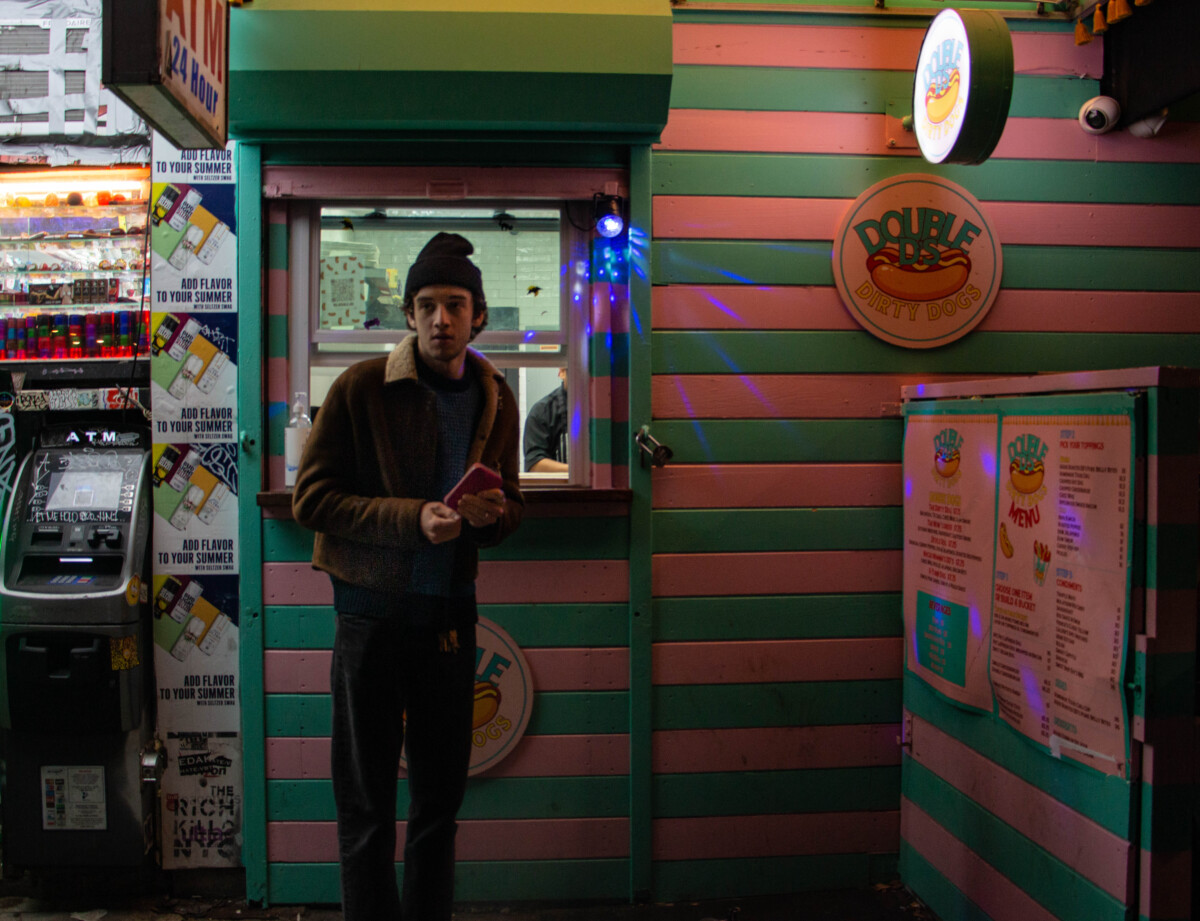
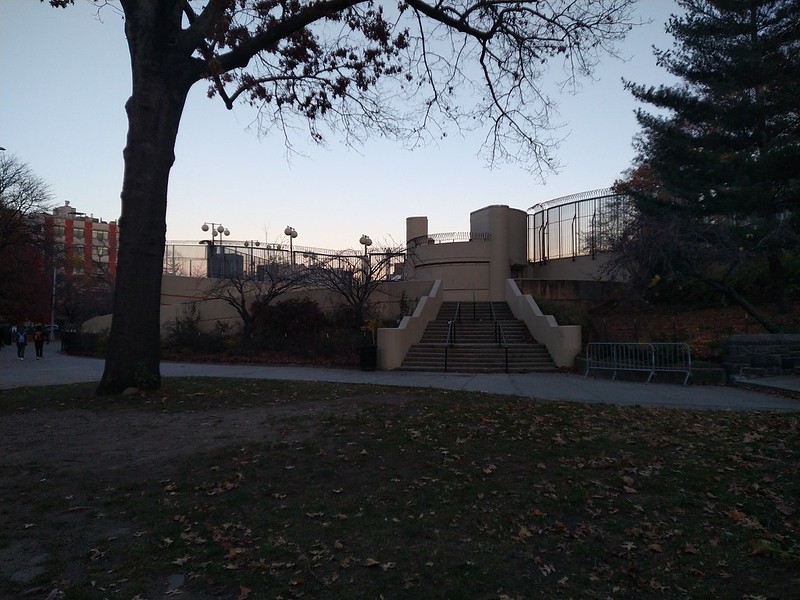
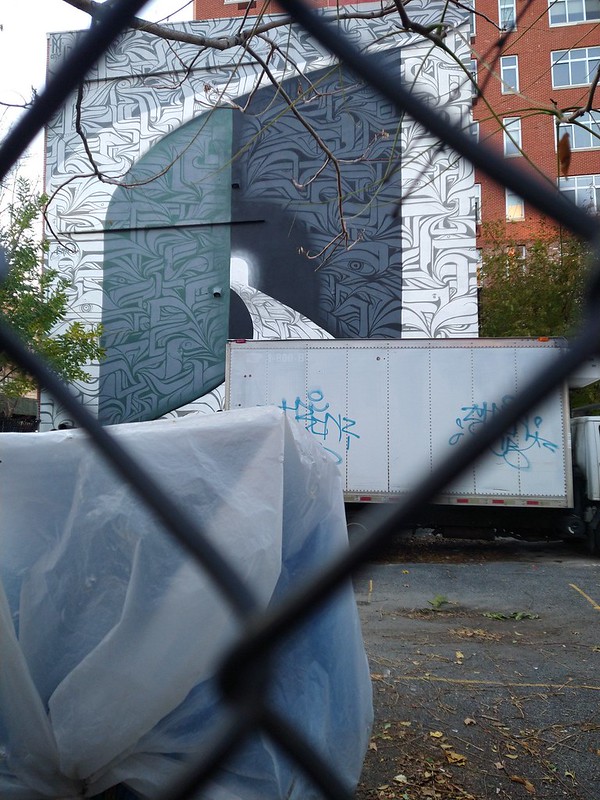
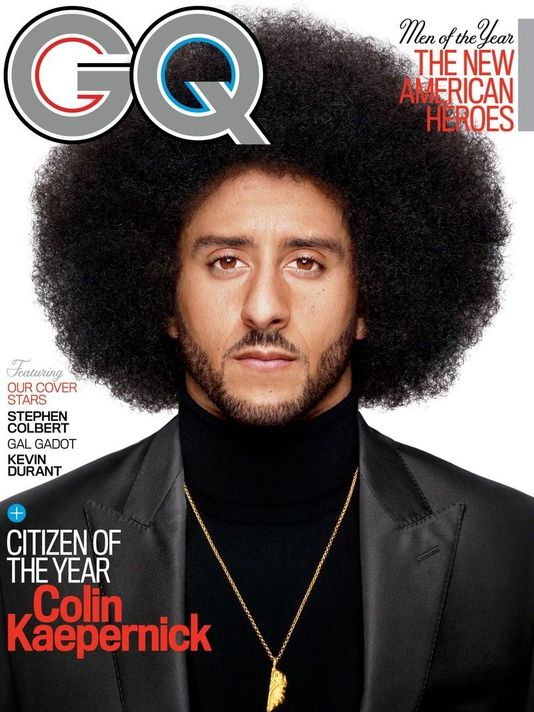
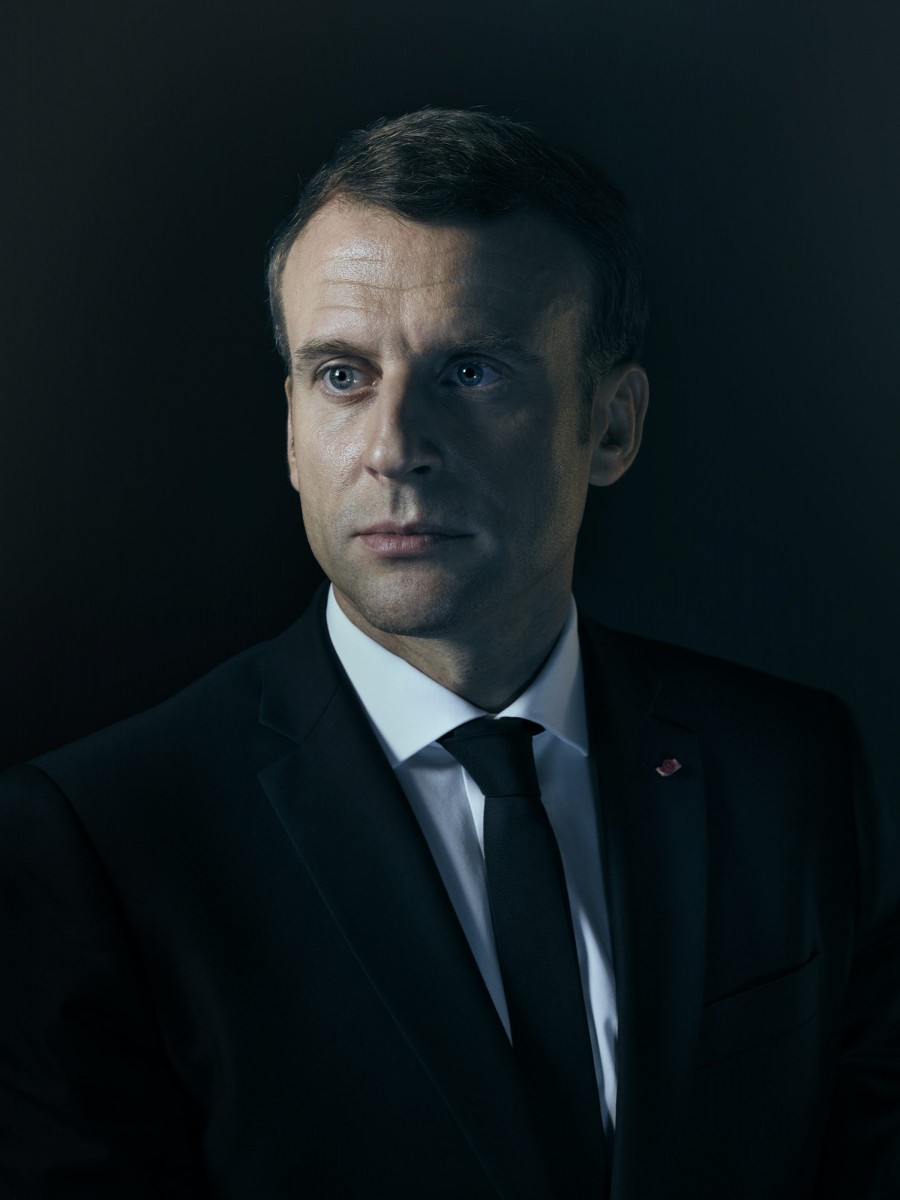
Framing: How the frame brings together the elements inside the rectangle juxtaposing them, creating relationships between them
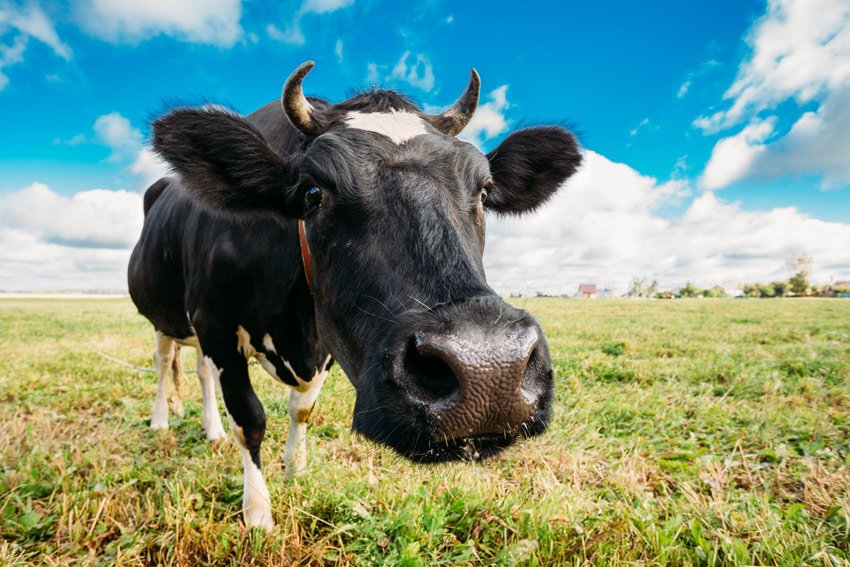
Types of shots: how much information is in the frame
- a long shot
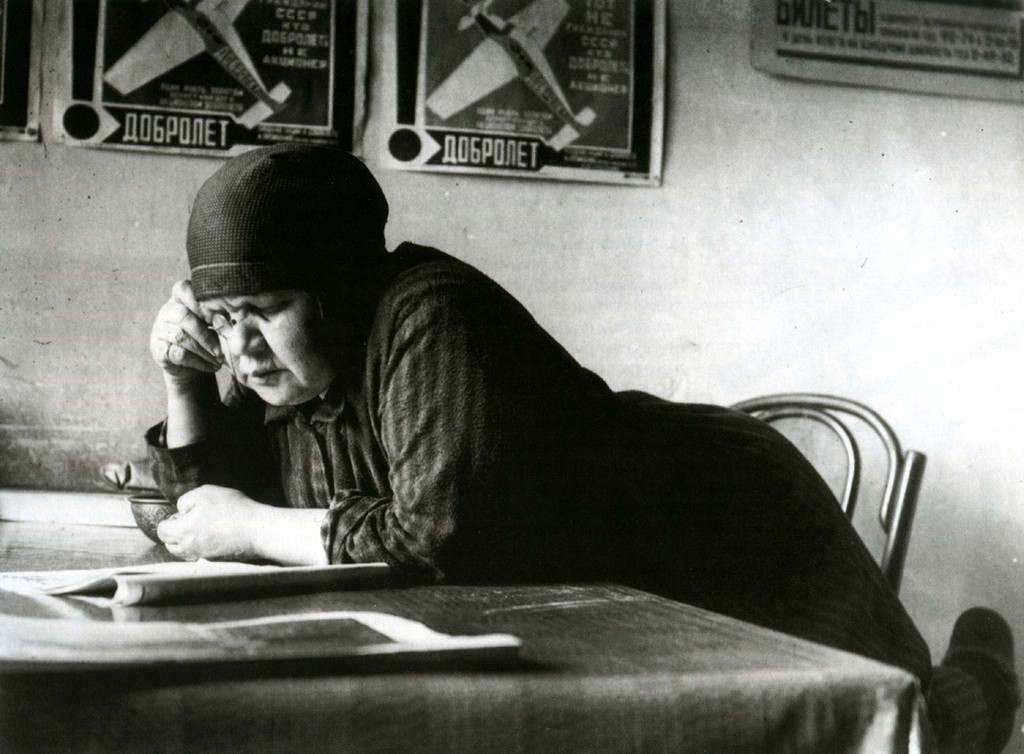
- a medium shot
- a close up
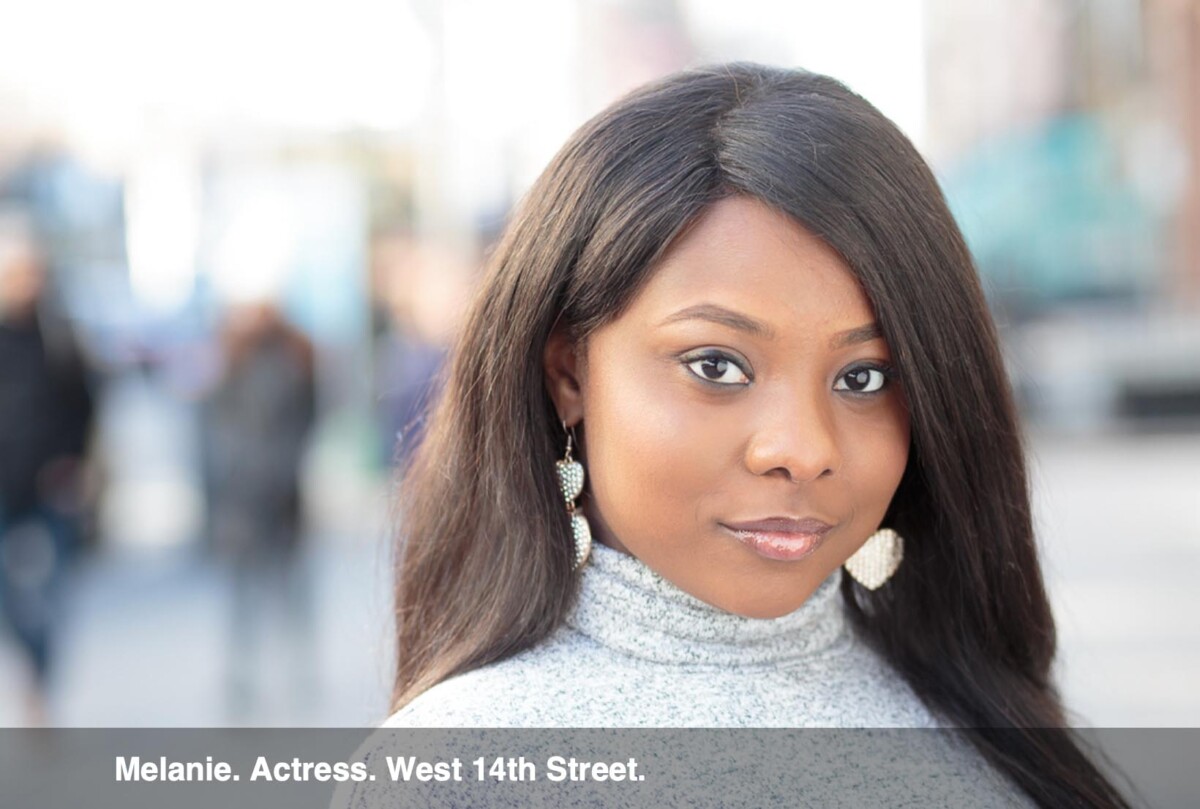
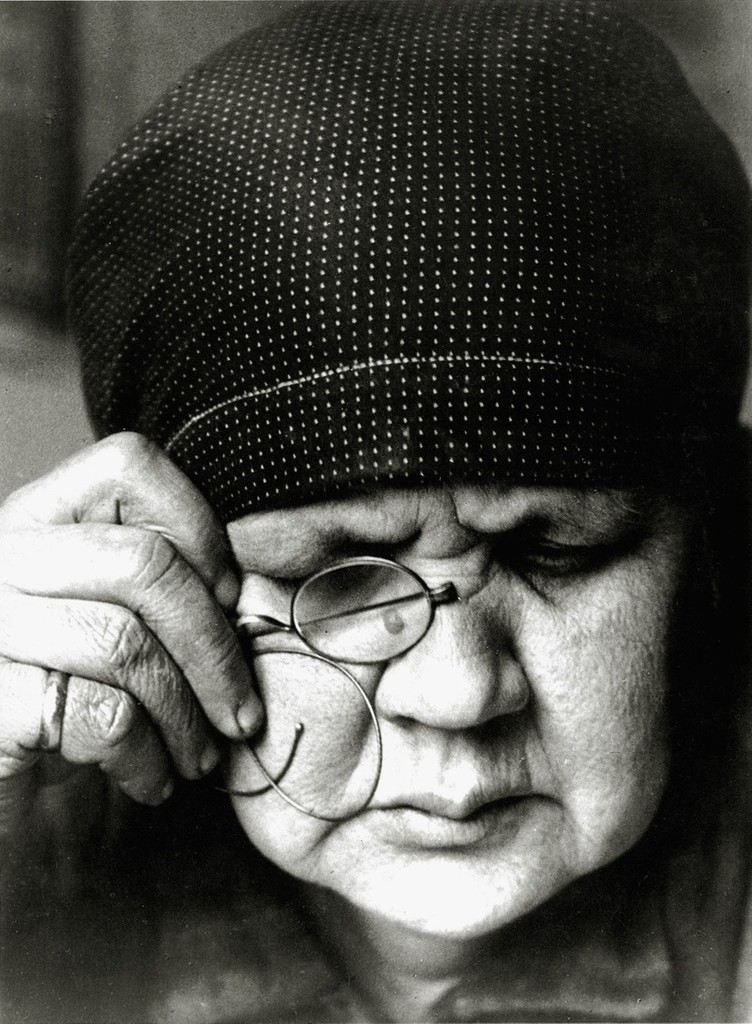
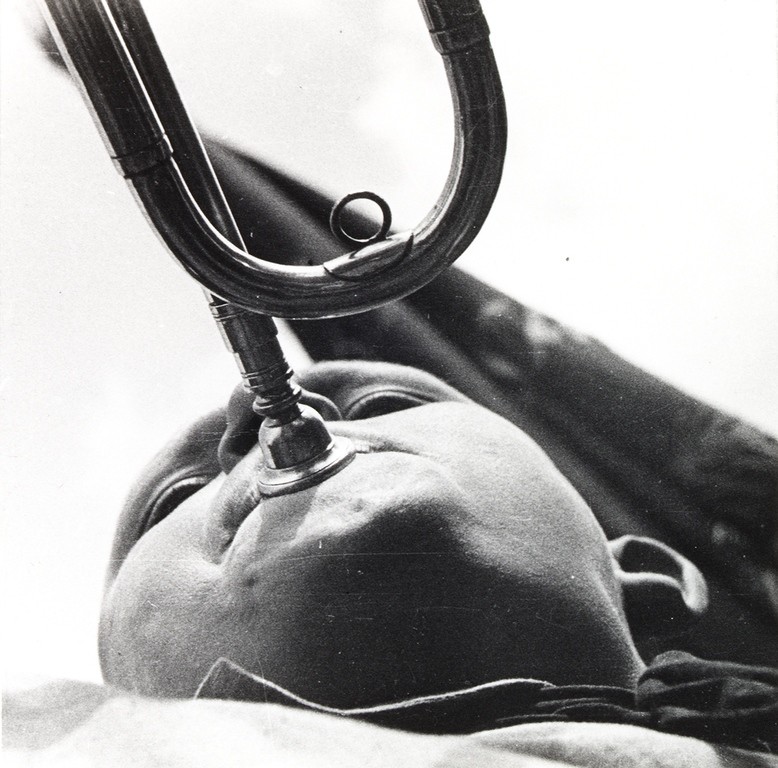
- an extreme close up.
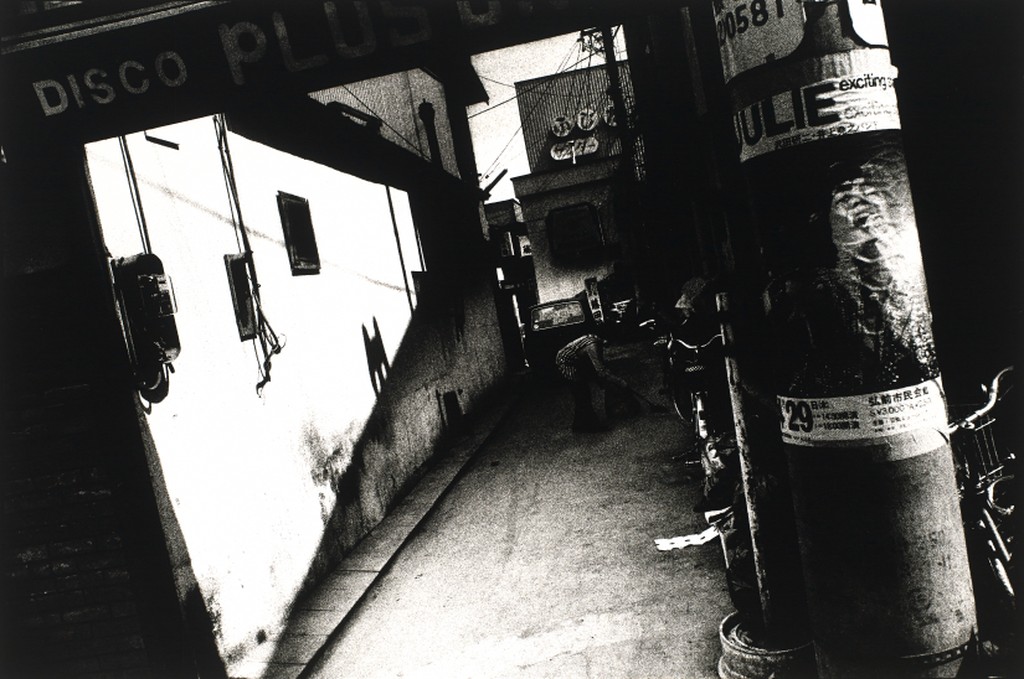
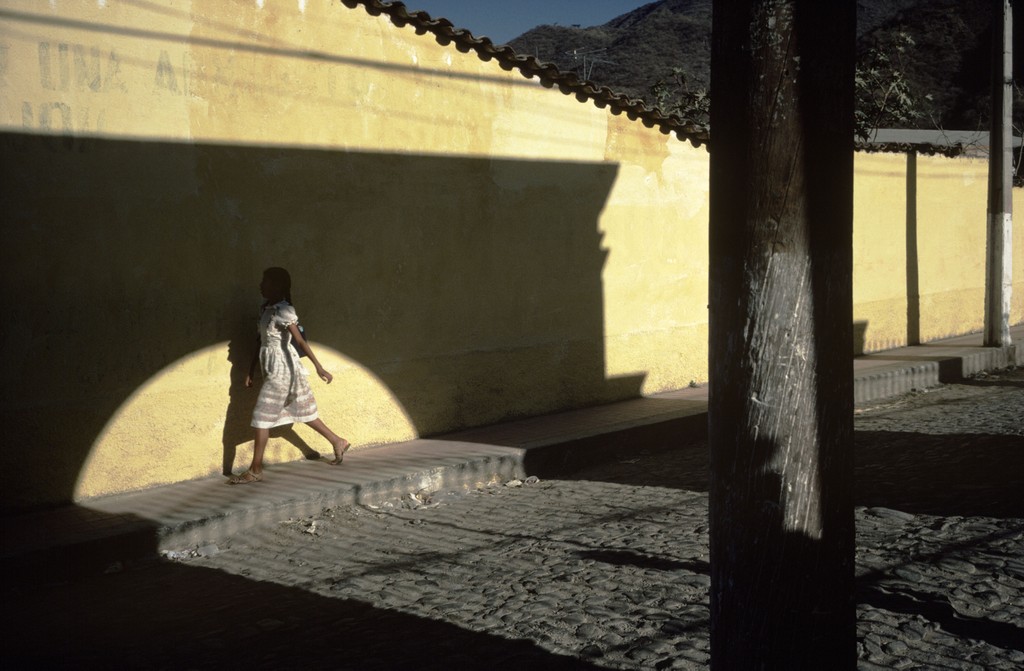
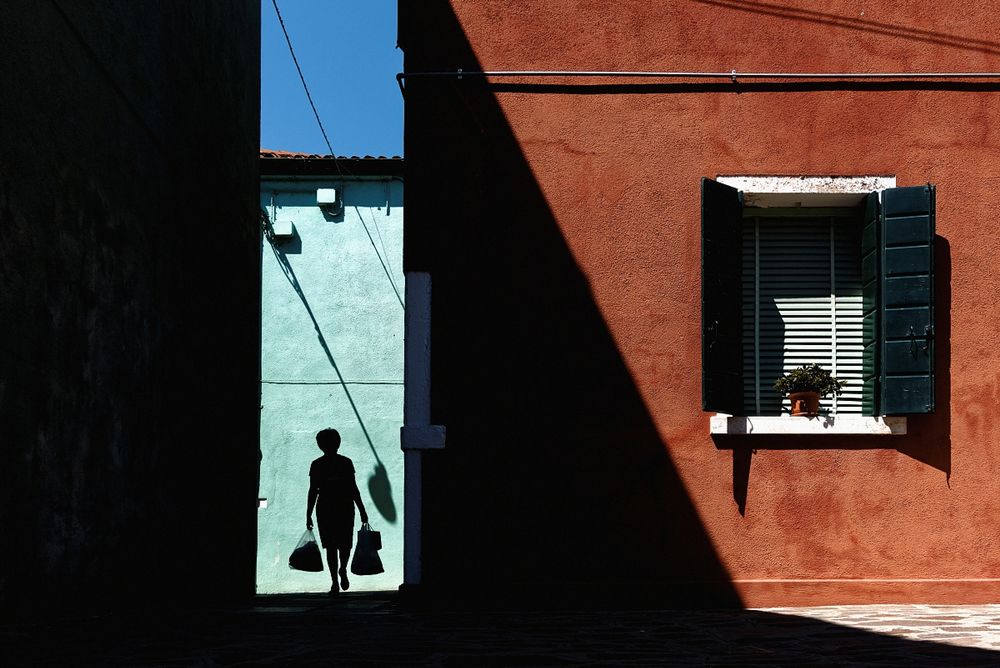
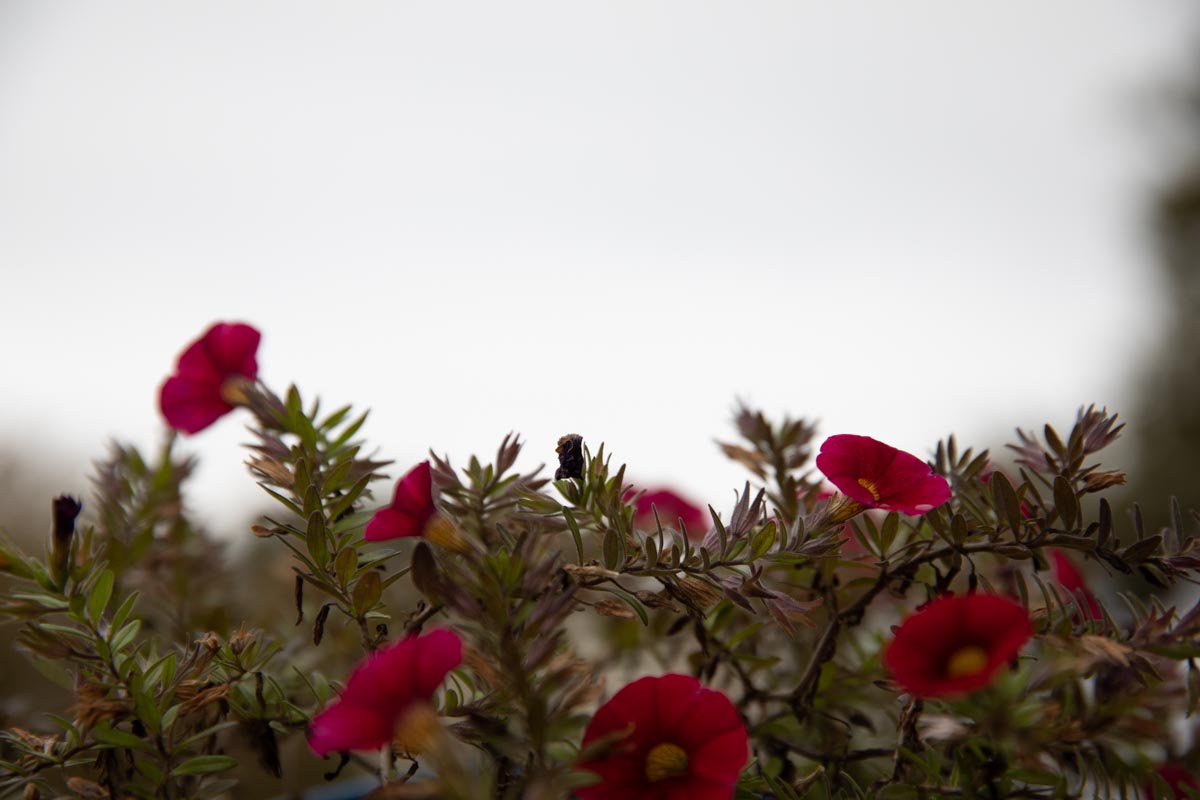
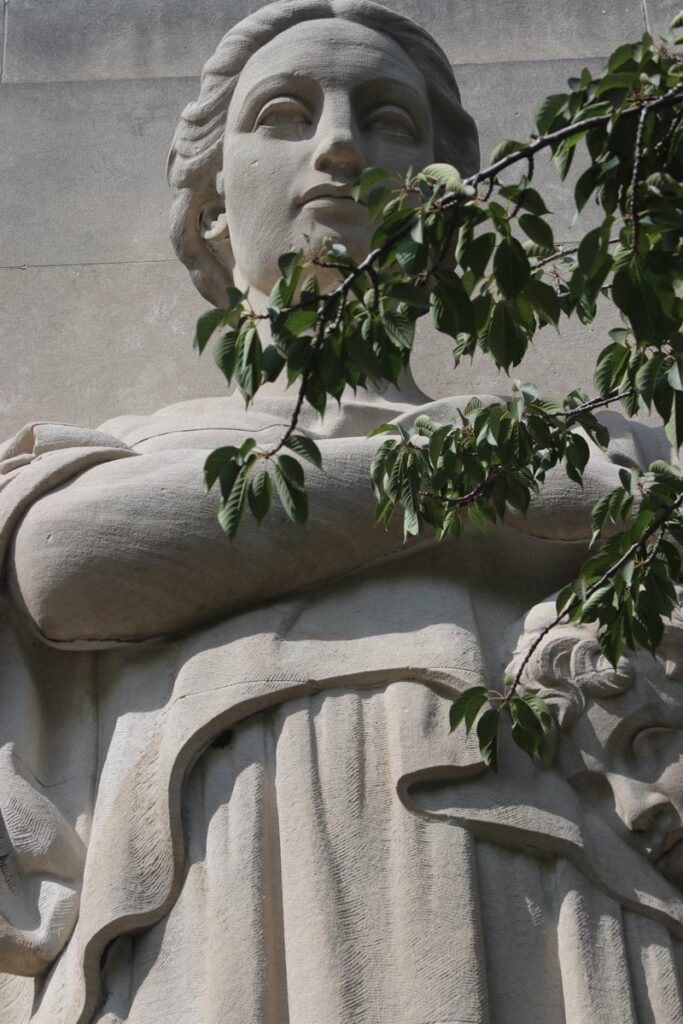
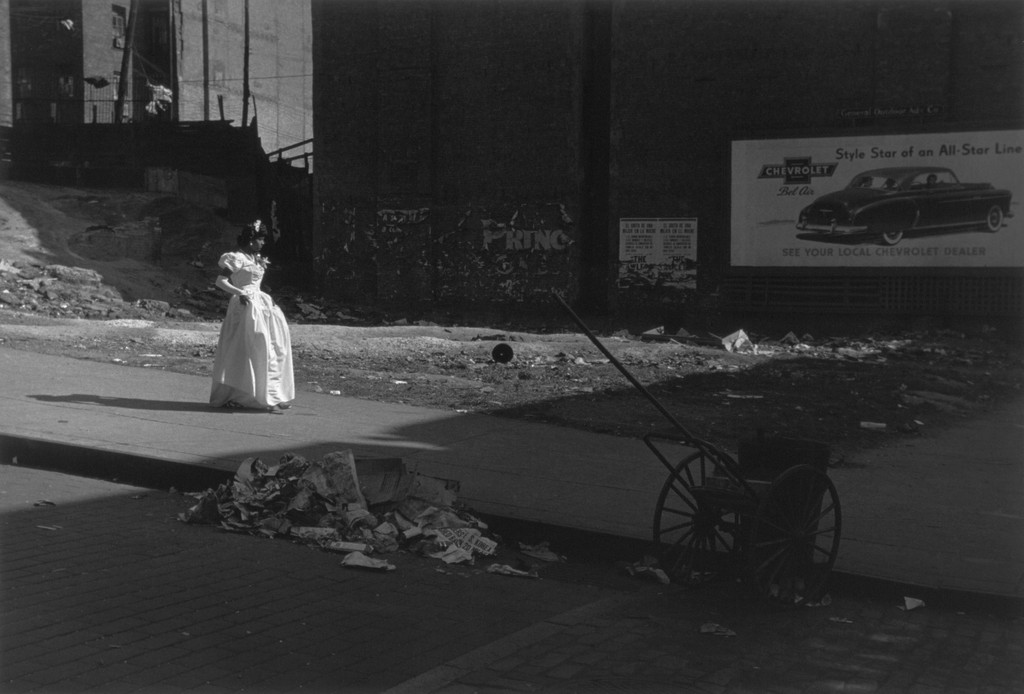
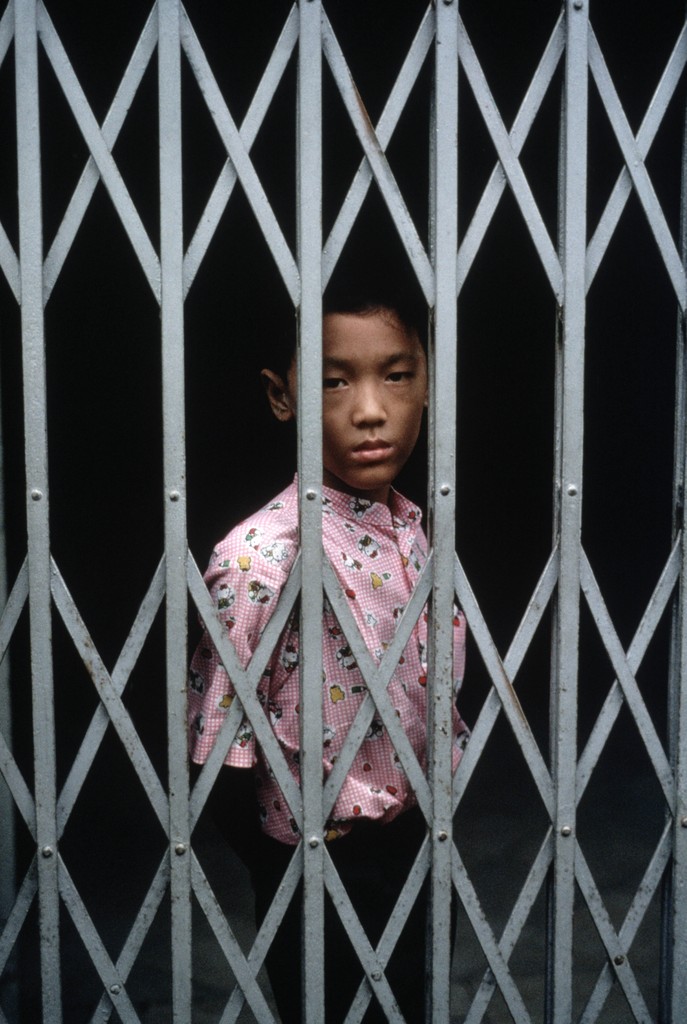
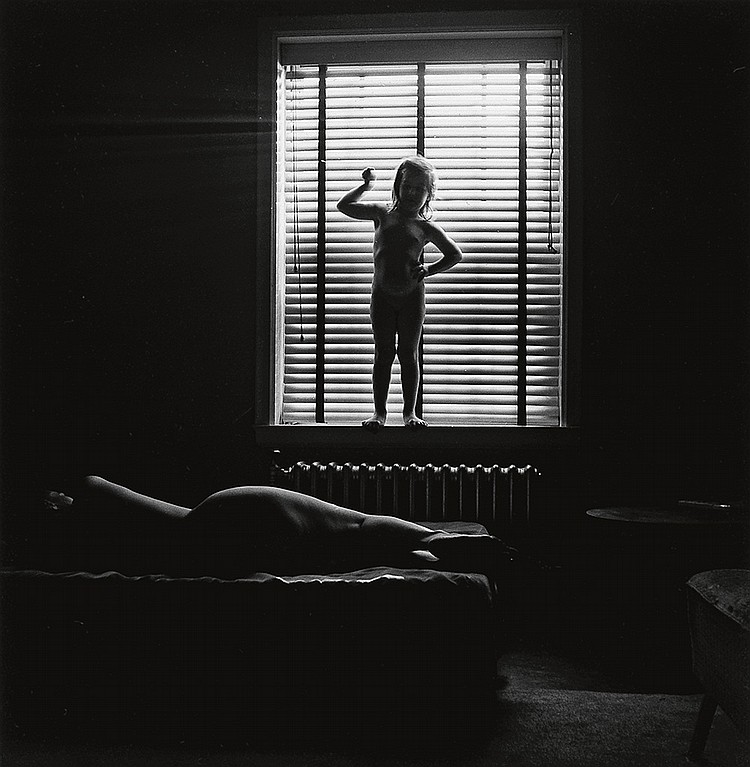
Frame within a frame – use elements in the frame to enclose the main subject and draw attention to it. A frame within a frame can be a window or door or it can be items in the foreground such as branches.
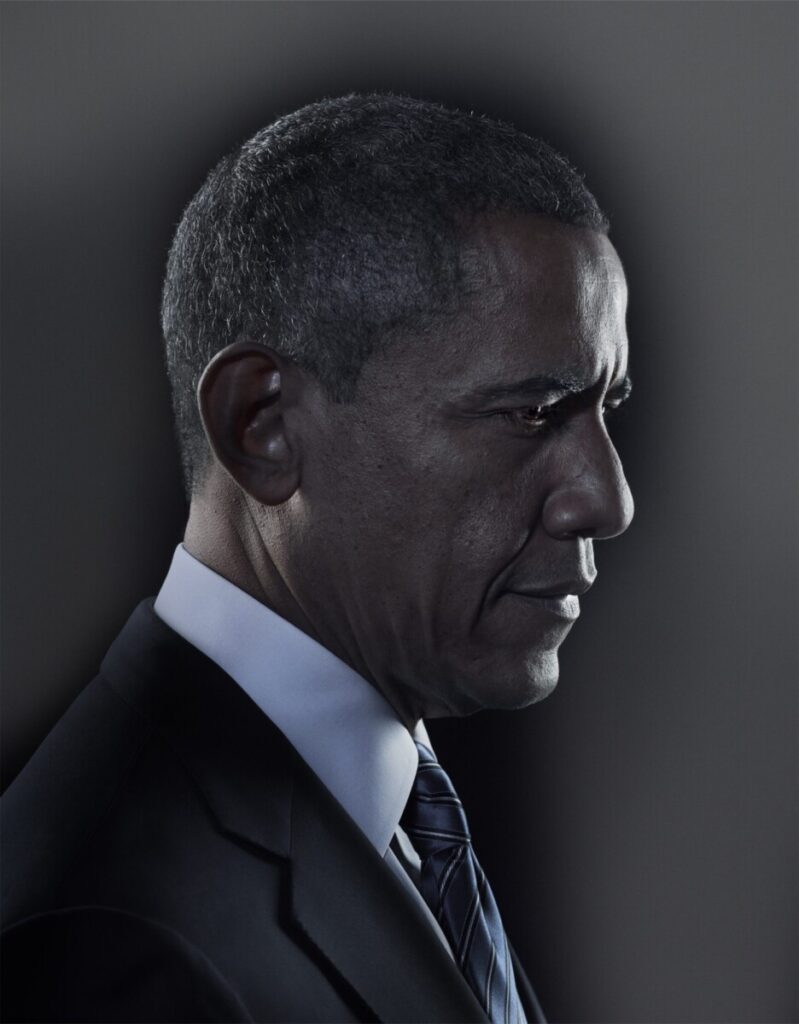
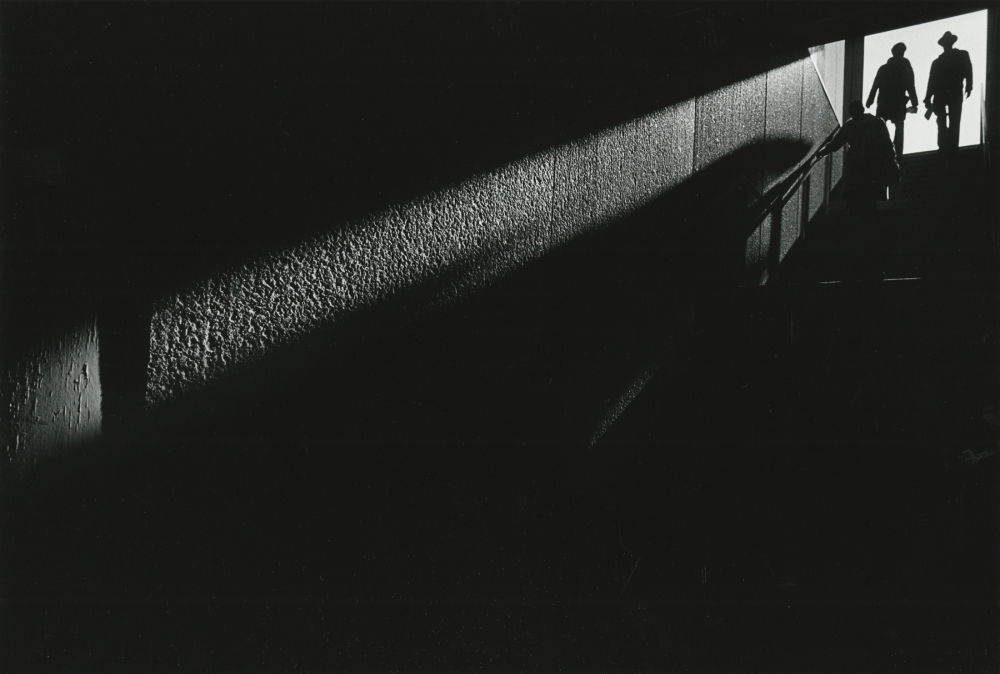
Angle of View: describes the camera position in relationship to the subject. The angle of view may be:
- a worm’s-eye view
- a low-angle
- eye-level
- a high-angle
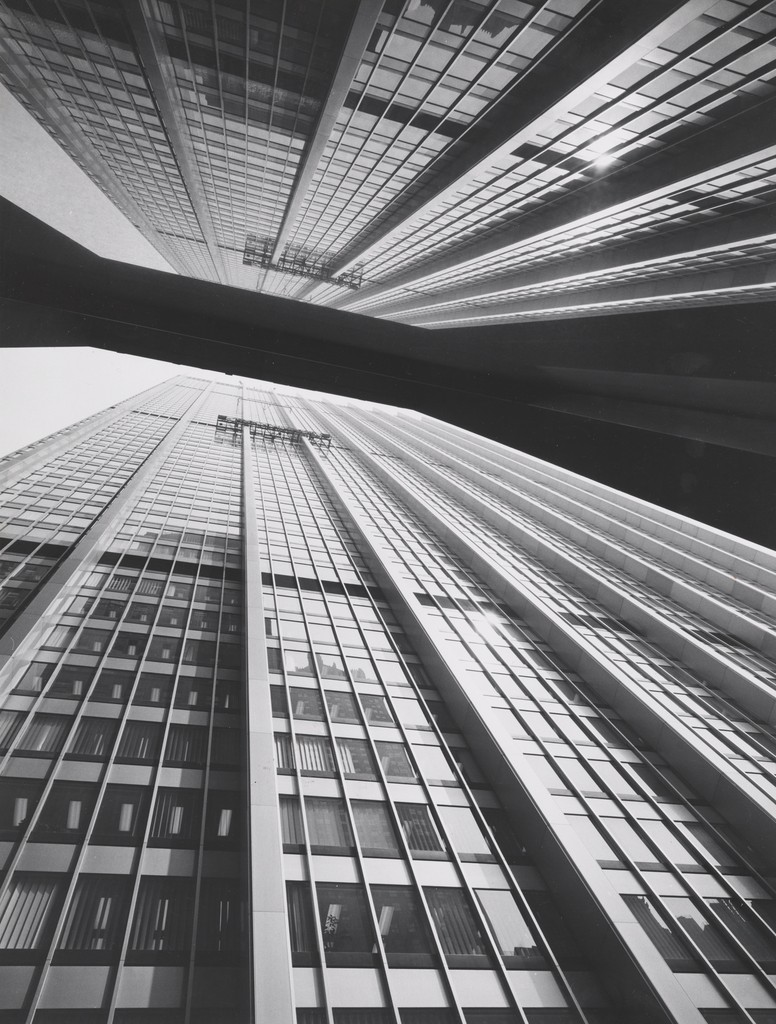
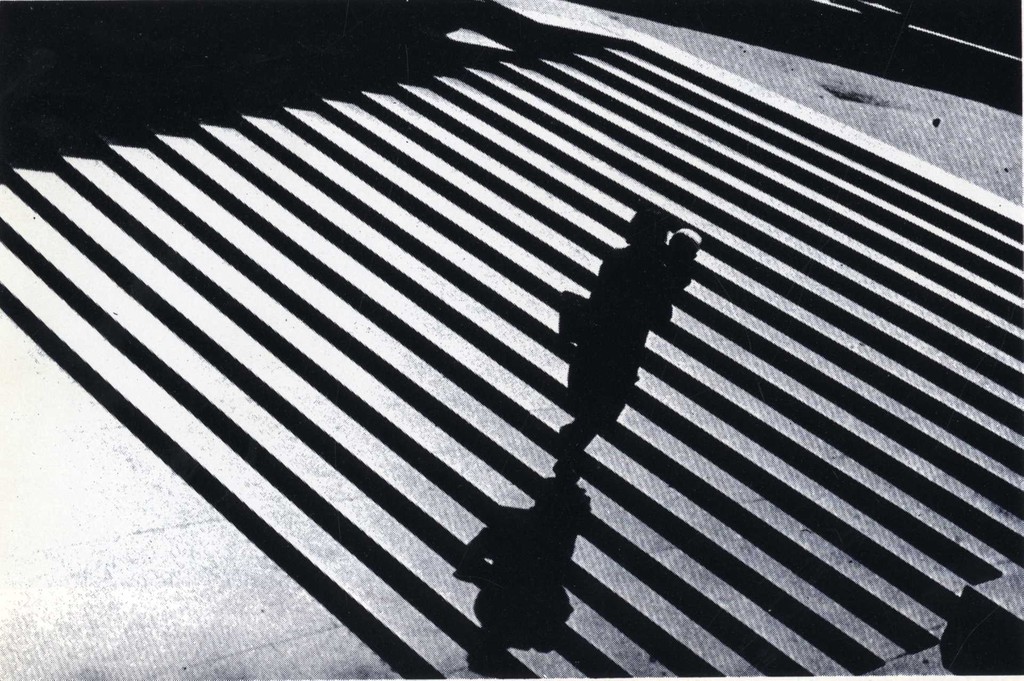
- a bird’s-eye or aerial or overhead view
- an oblique angle.
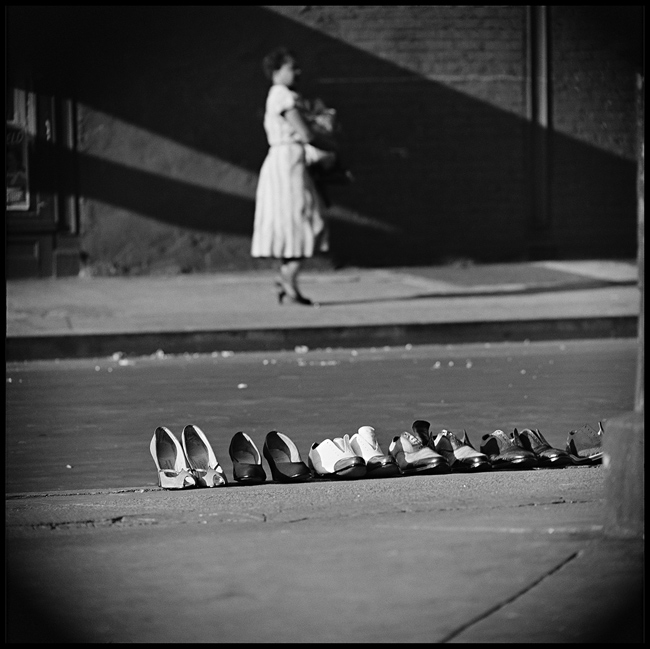
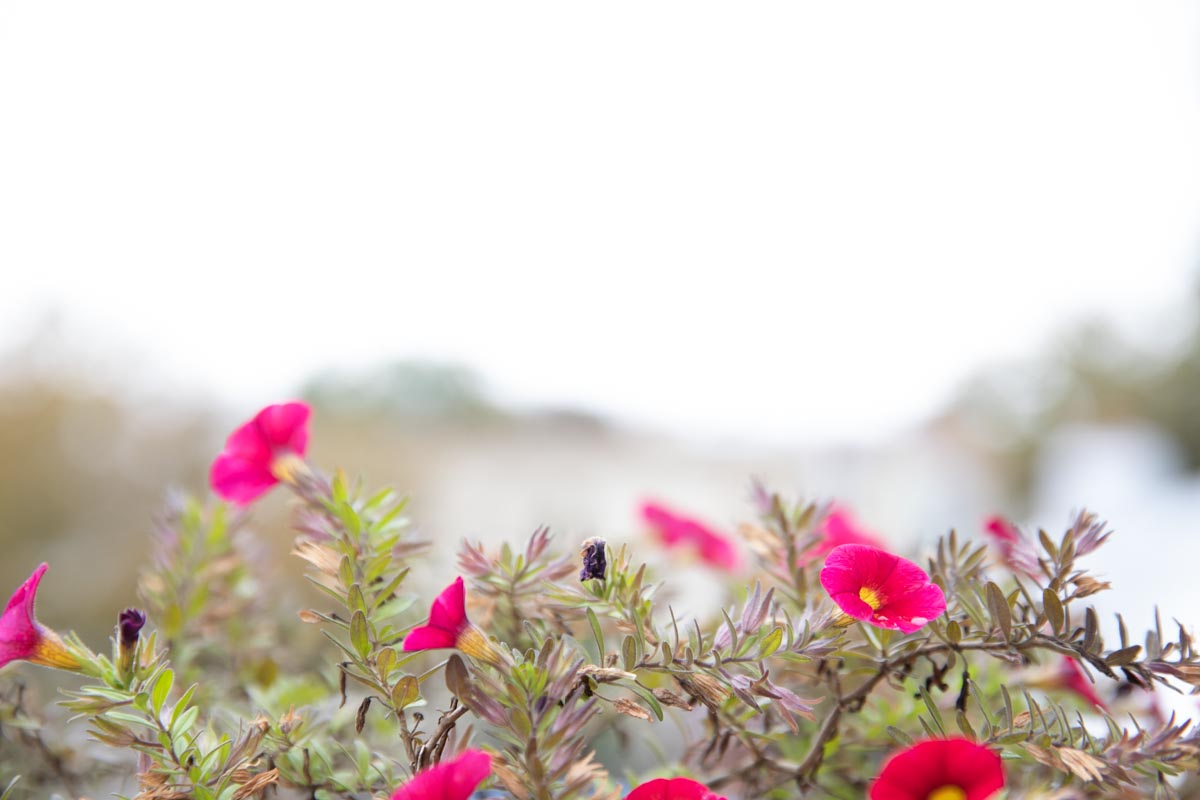
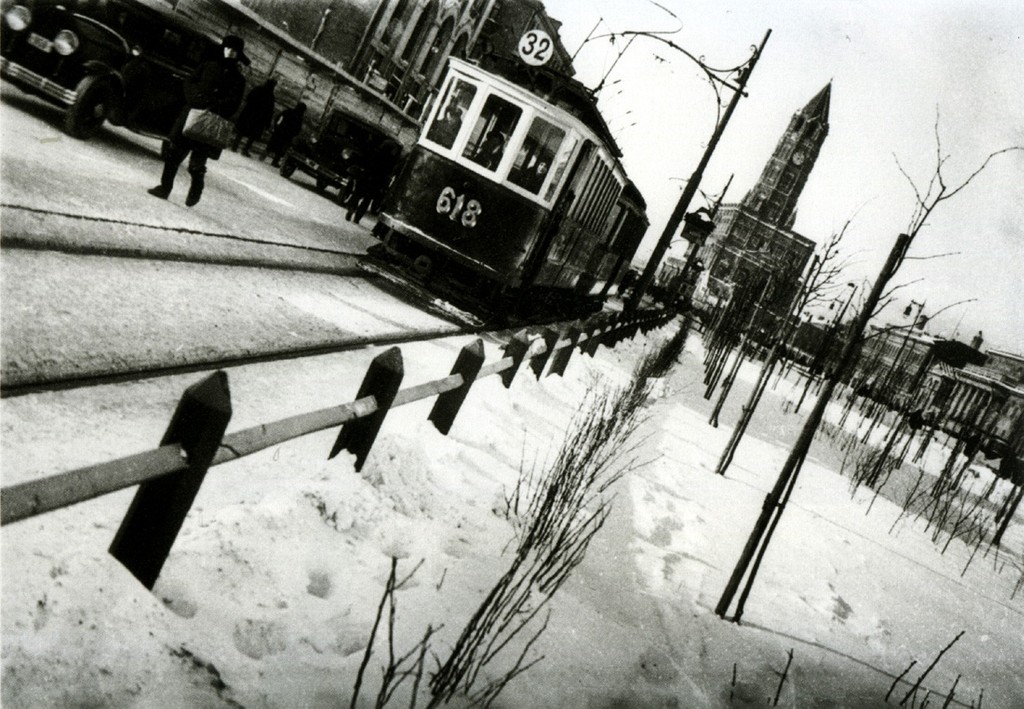
Rule of Thirds – Instead of placing the main subject in the center of the frame, divide the frame into thirds horizontally and vertically and place the main subject at one of these intersections.
Fill the Frame – (get closer) – do not leave empty areas that do not add to the composition and plan to crop in later.
Diagonals – Sloping lines
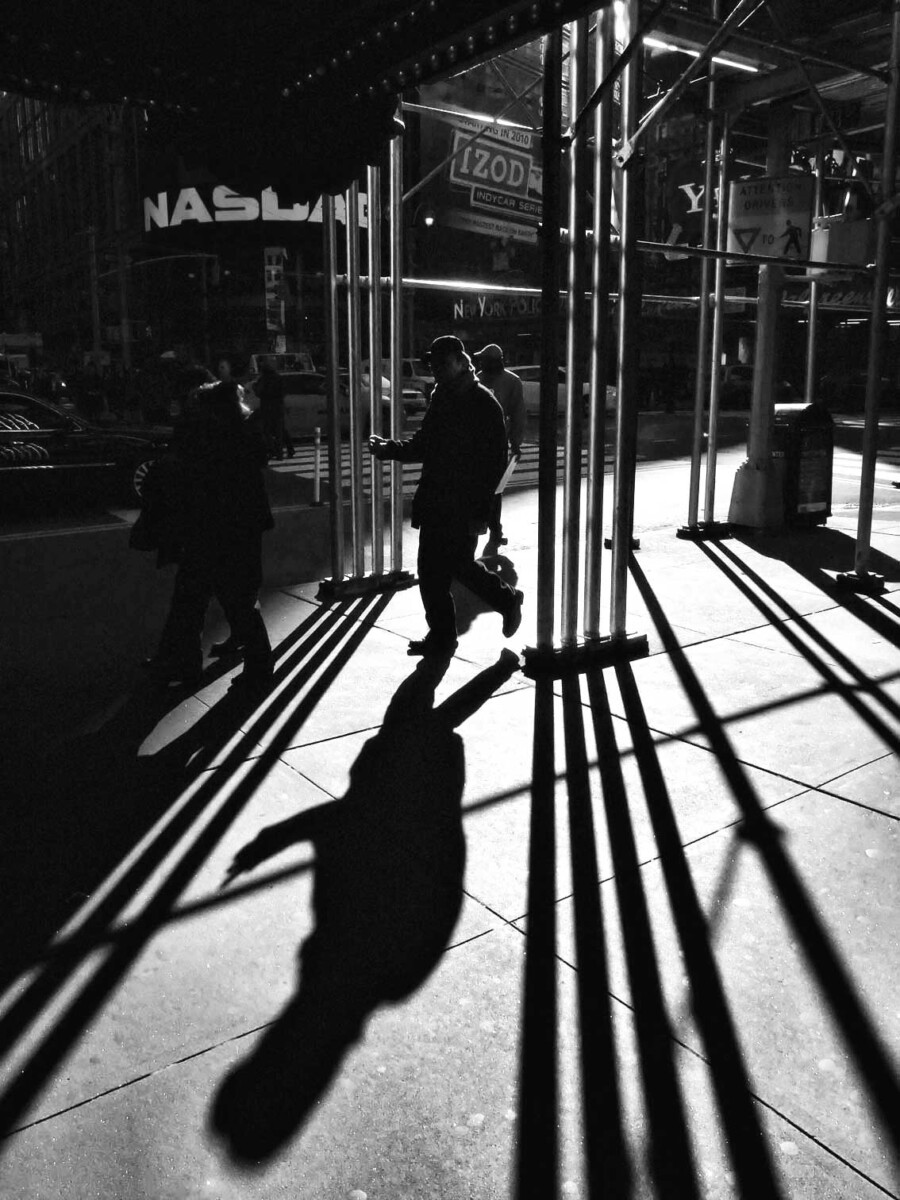
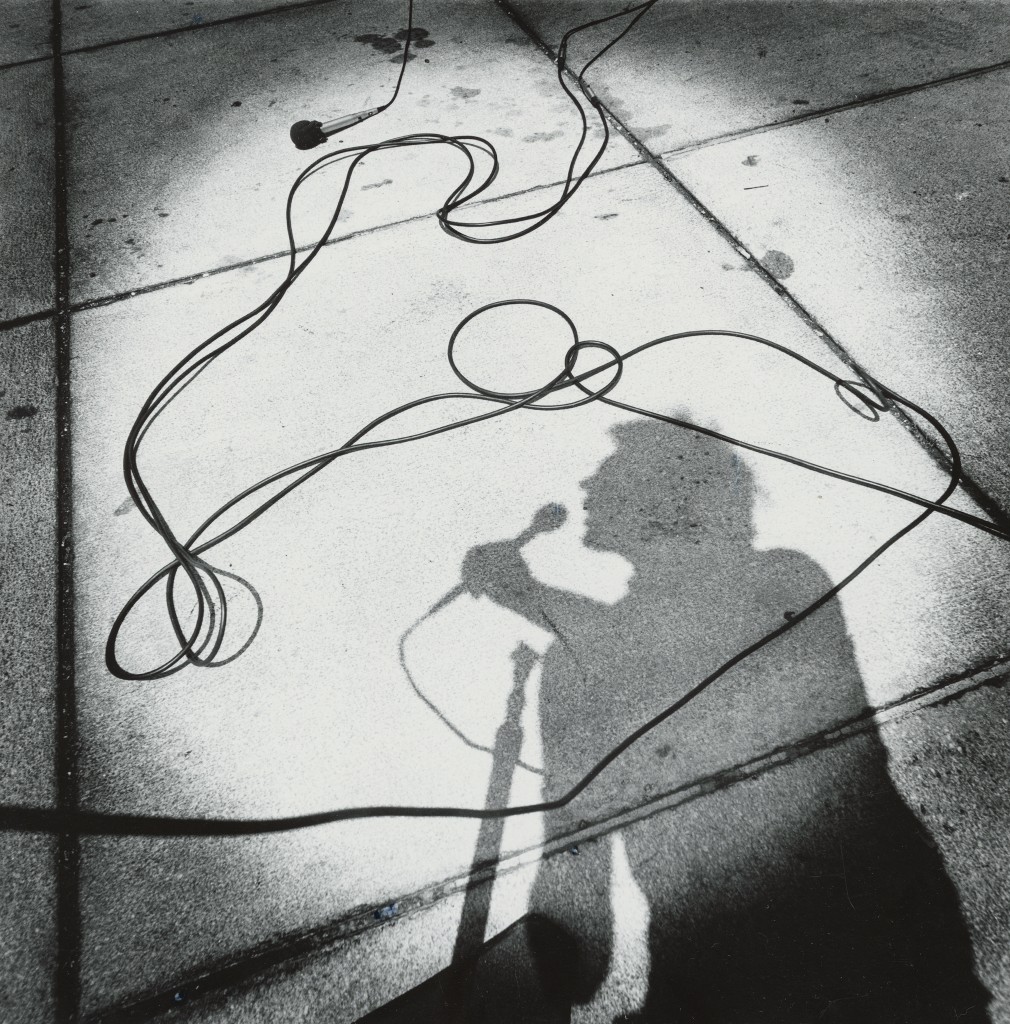
Leading Lines – lines in the photograph that lead the eye to the main subject
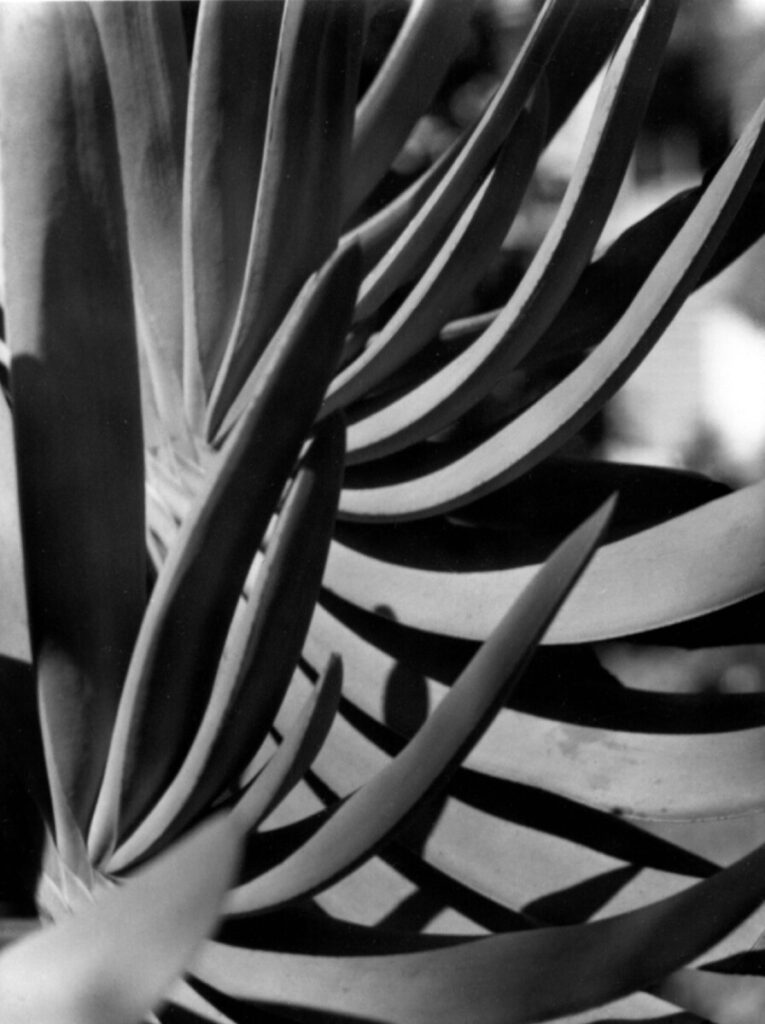
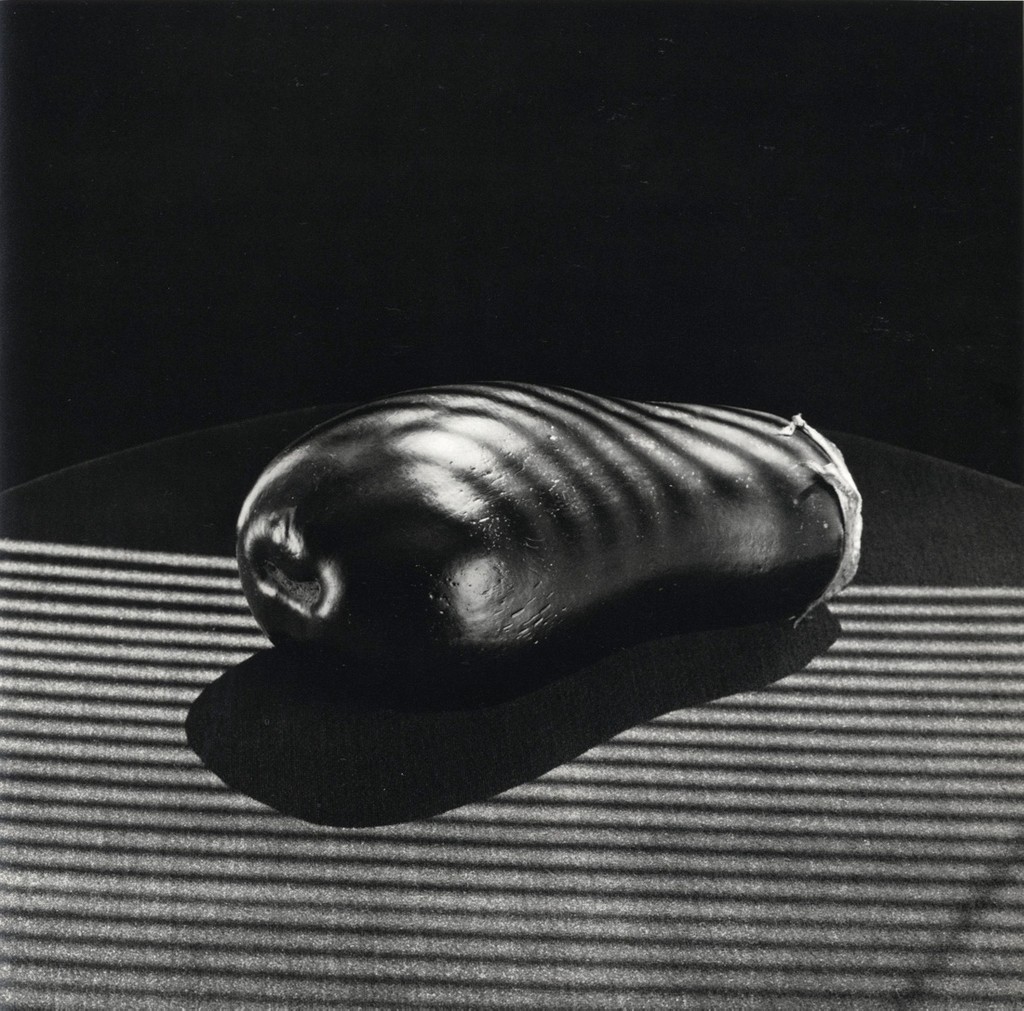
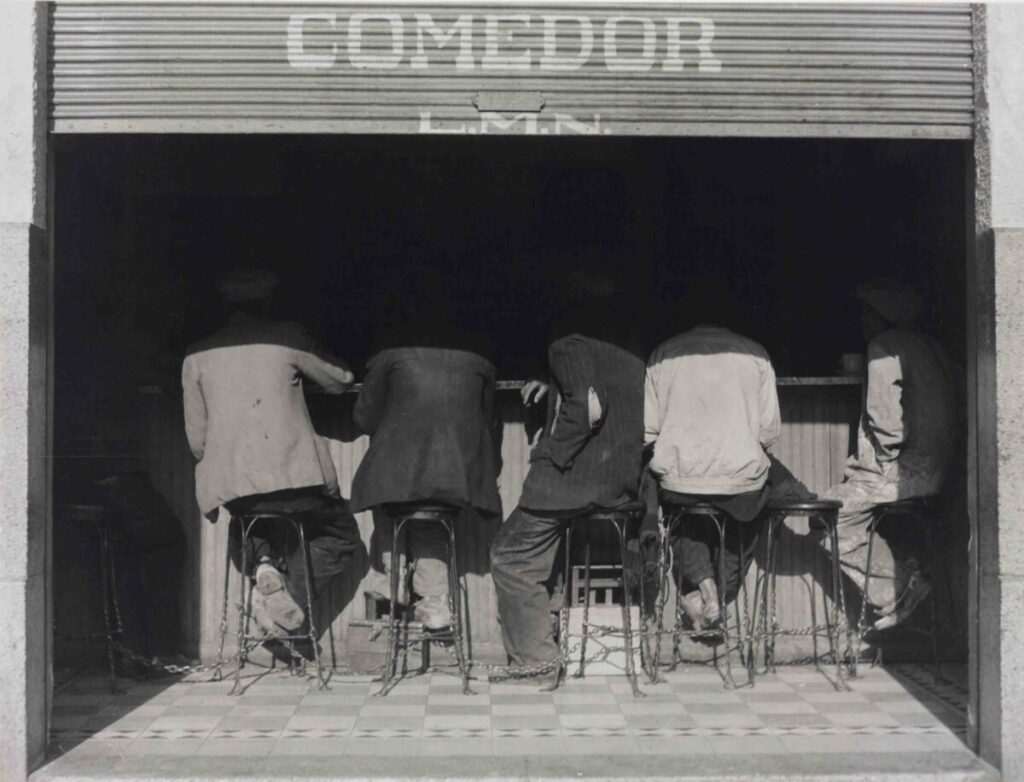
Patterns – repeated elements. Break the pattern for visual interest
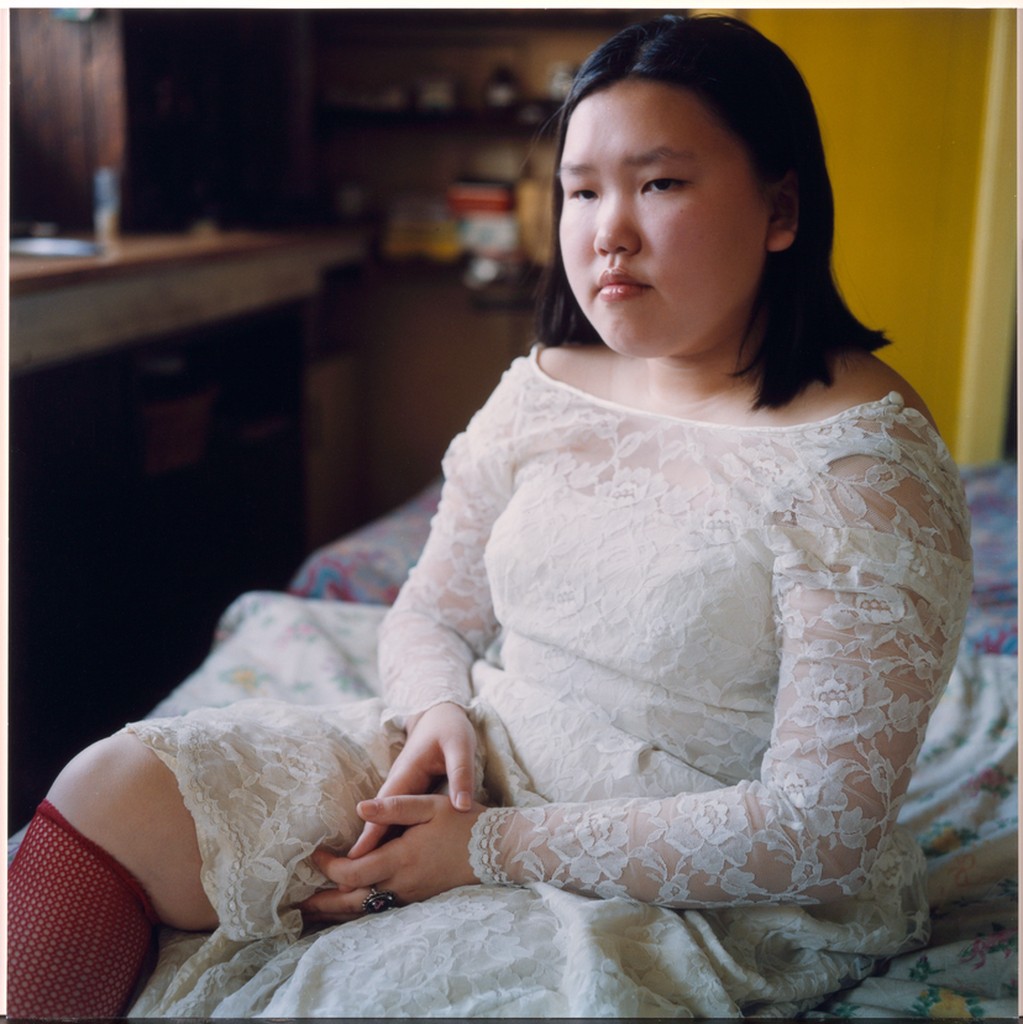
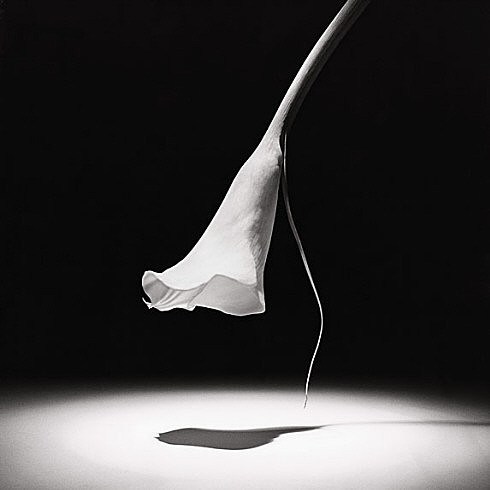
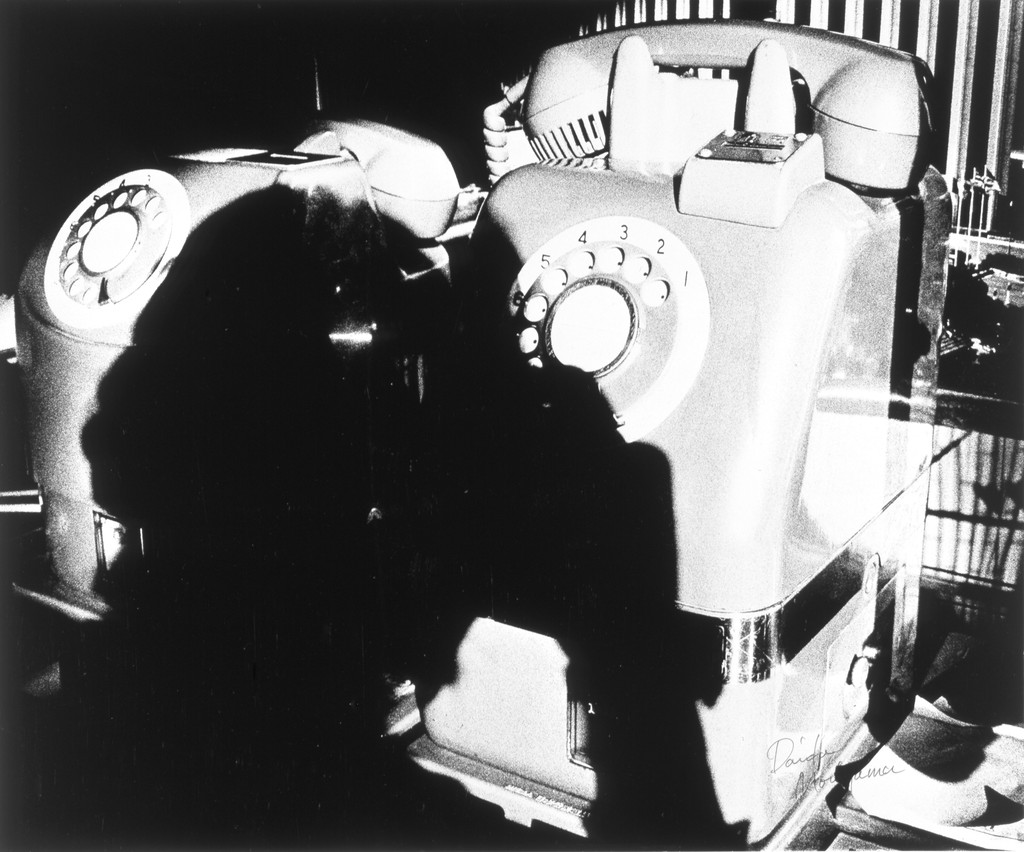
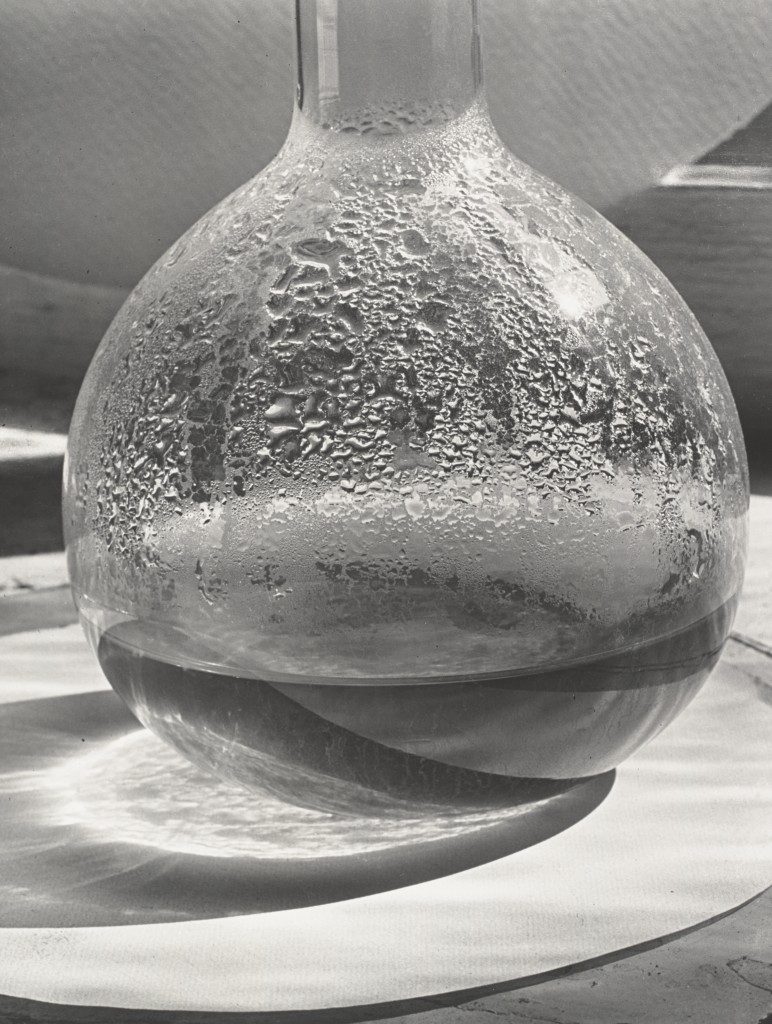
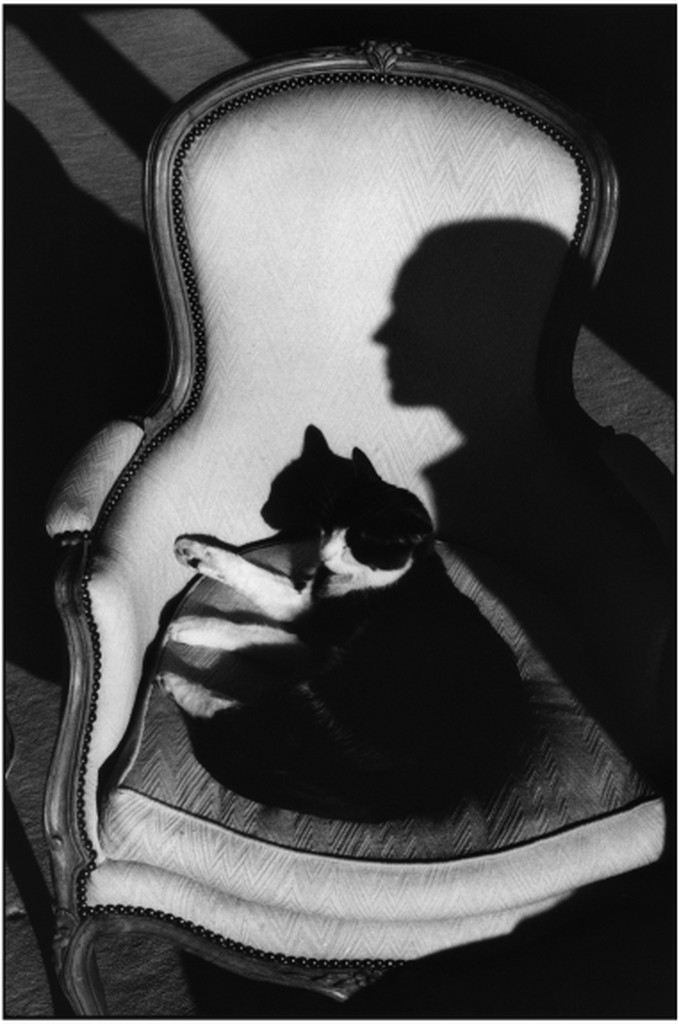
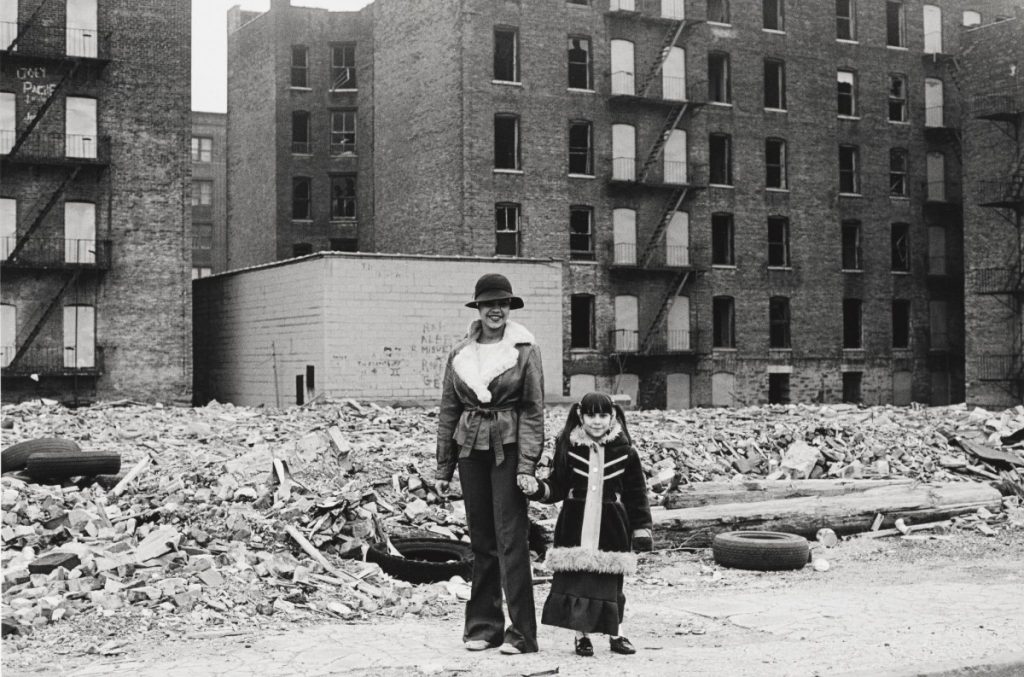
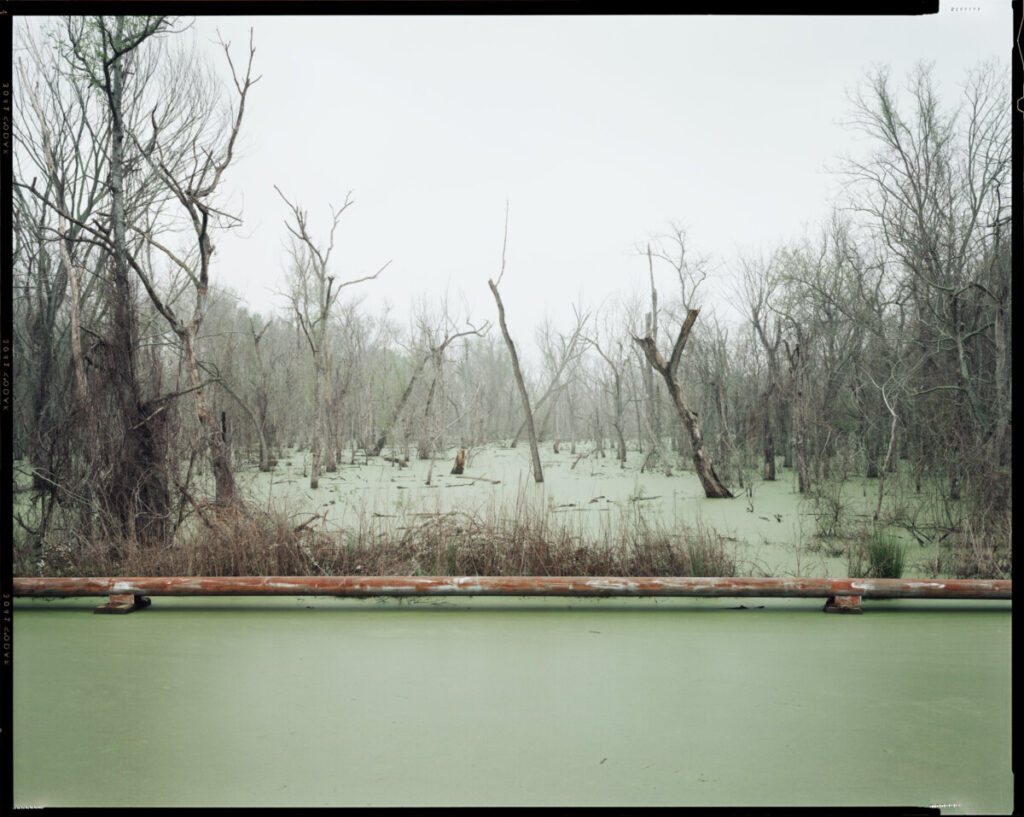
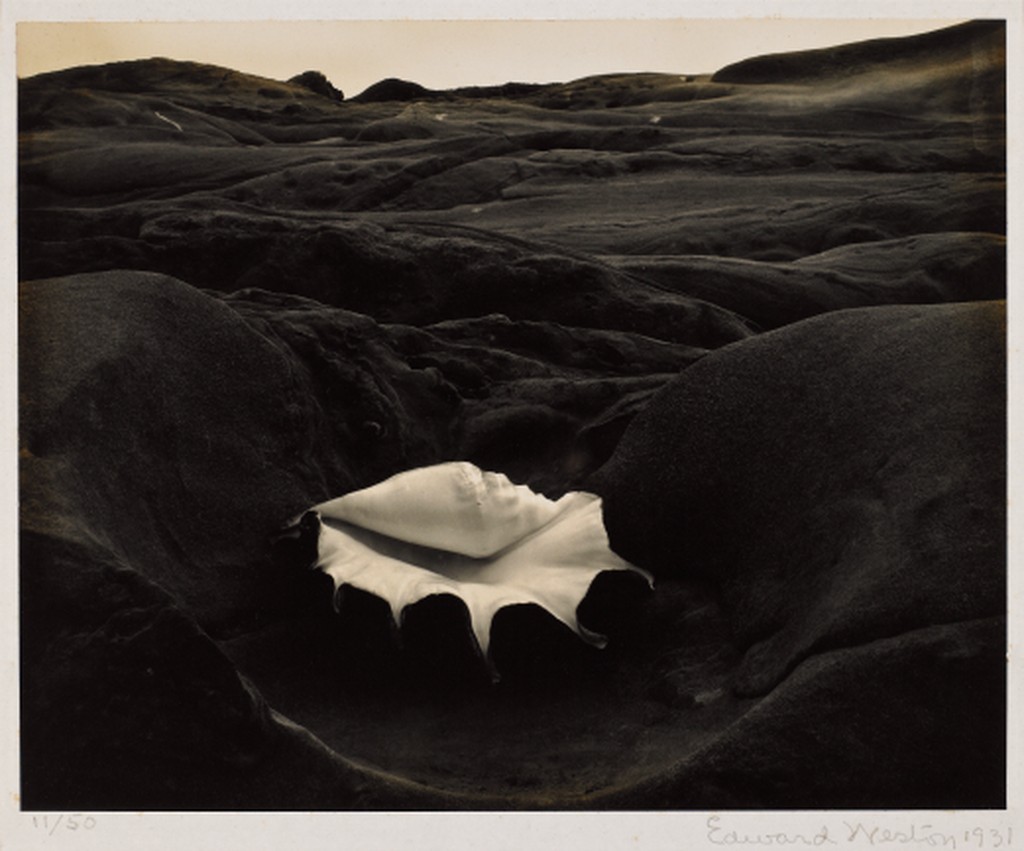
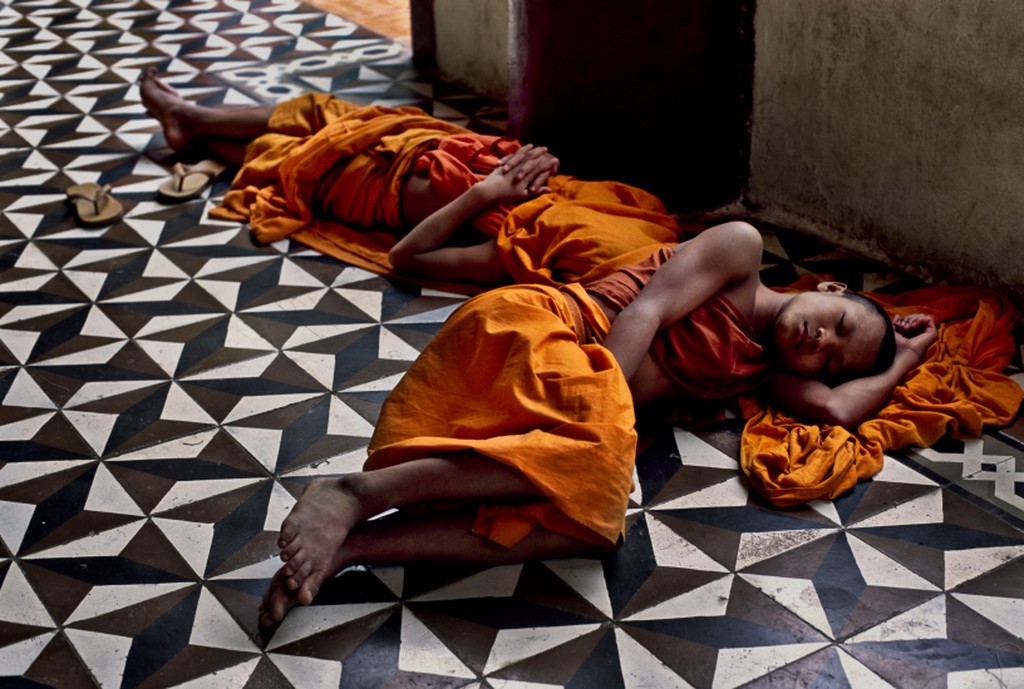
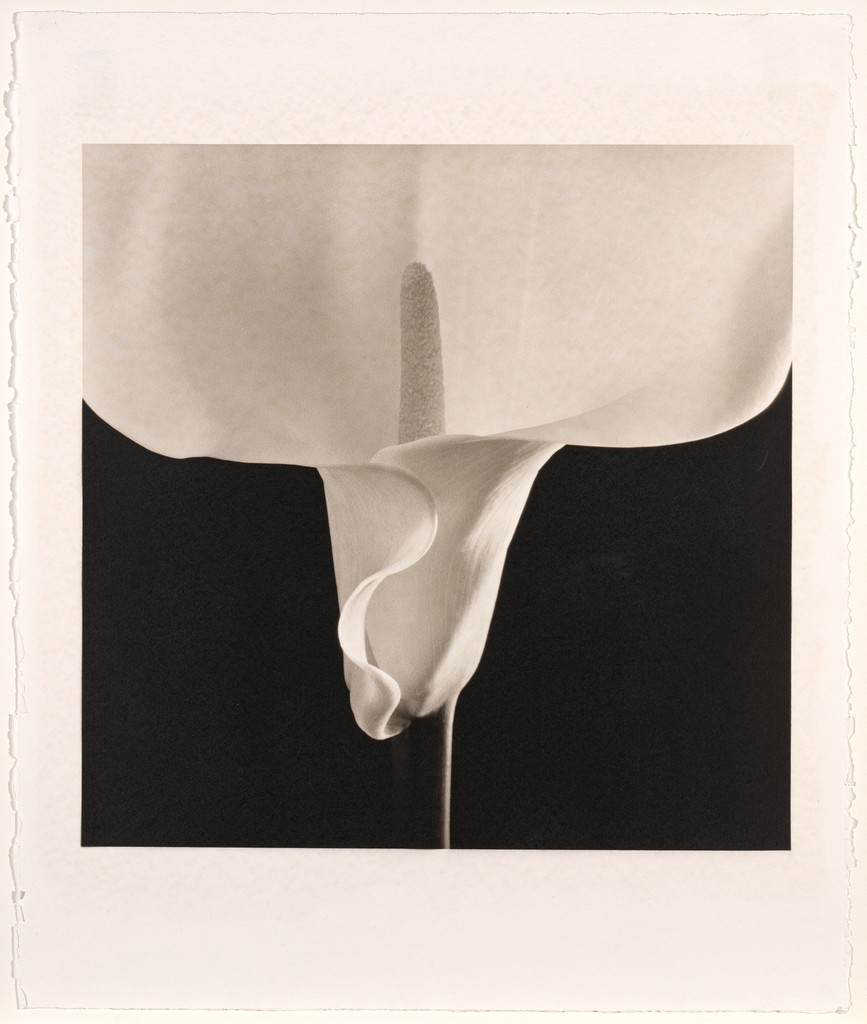
Figure to Ground -the relationship between the subject and the background sometimes described as negative and positive space.
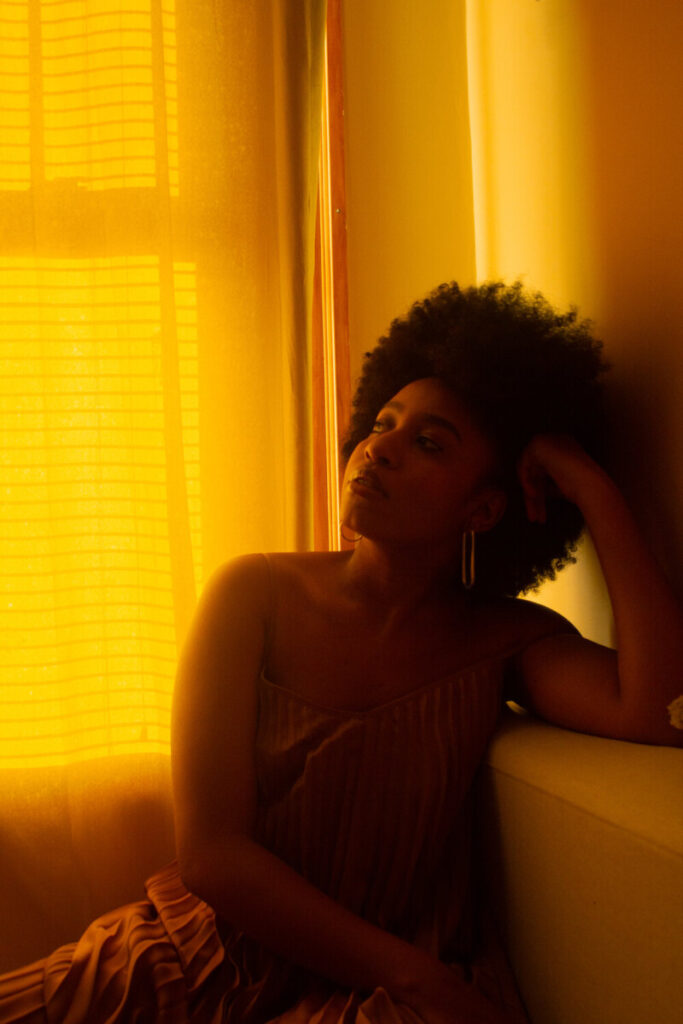
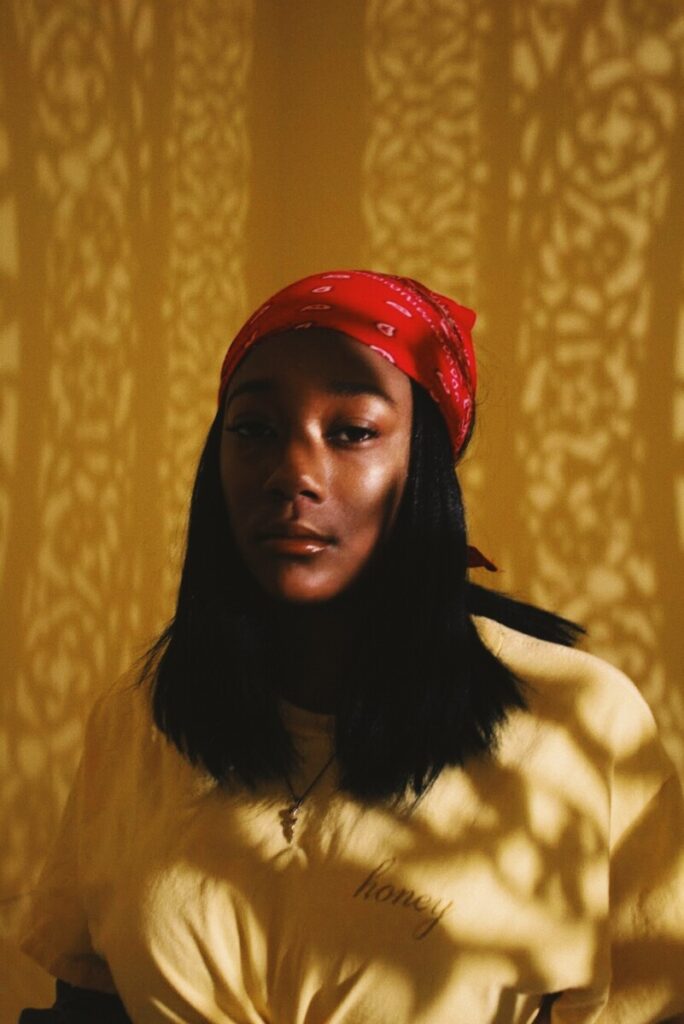
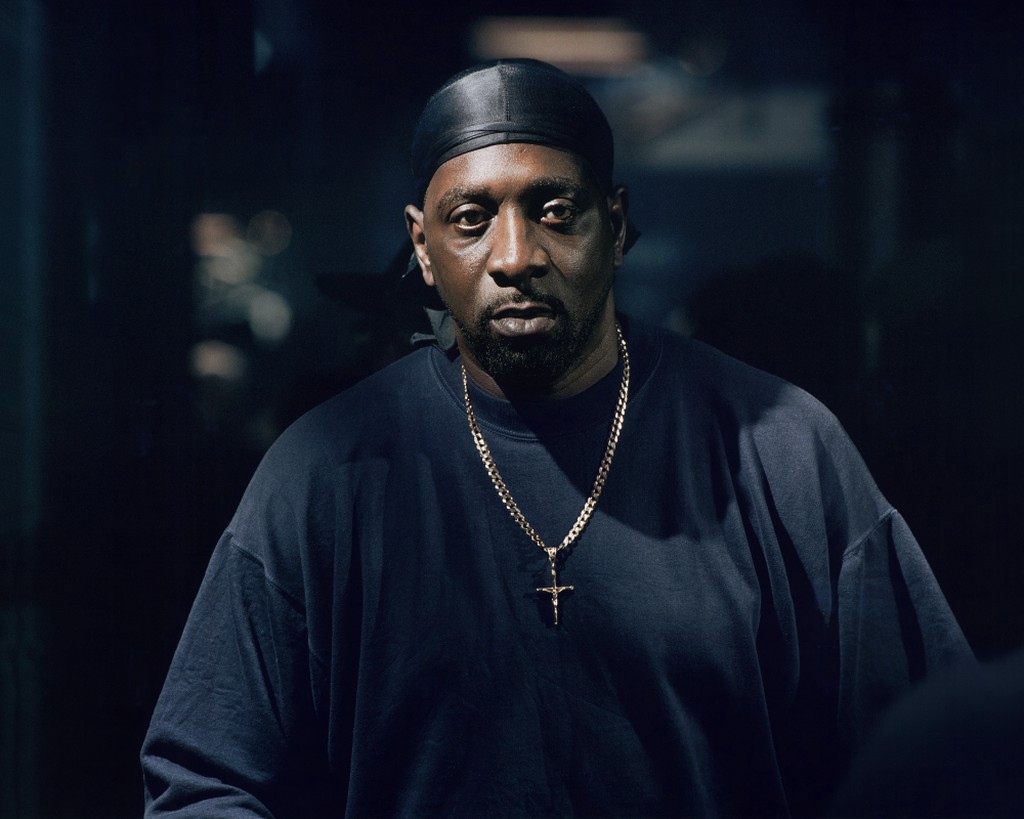
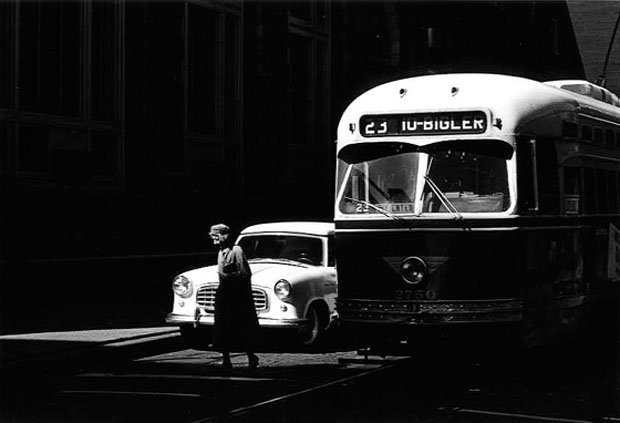
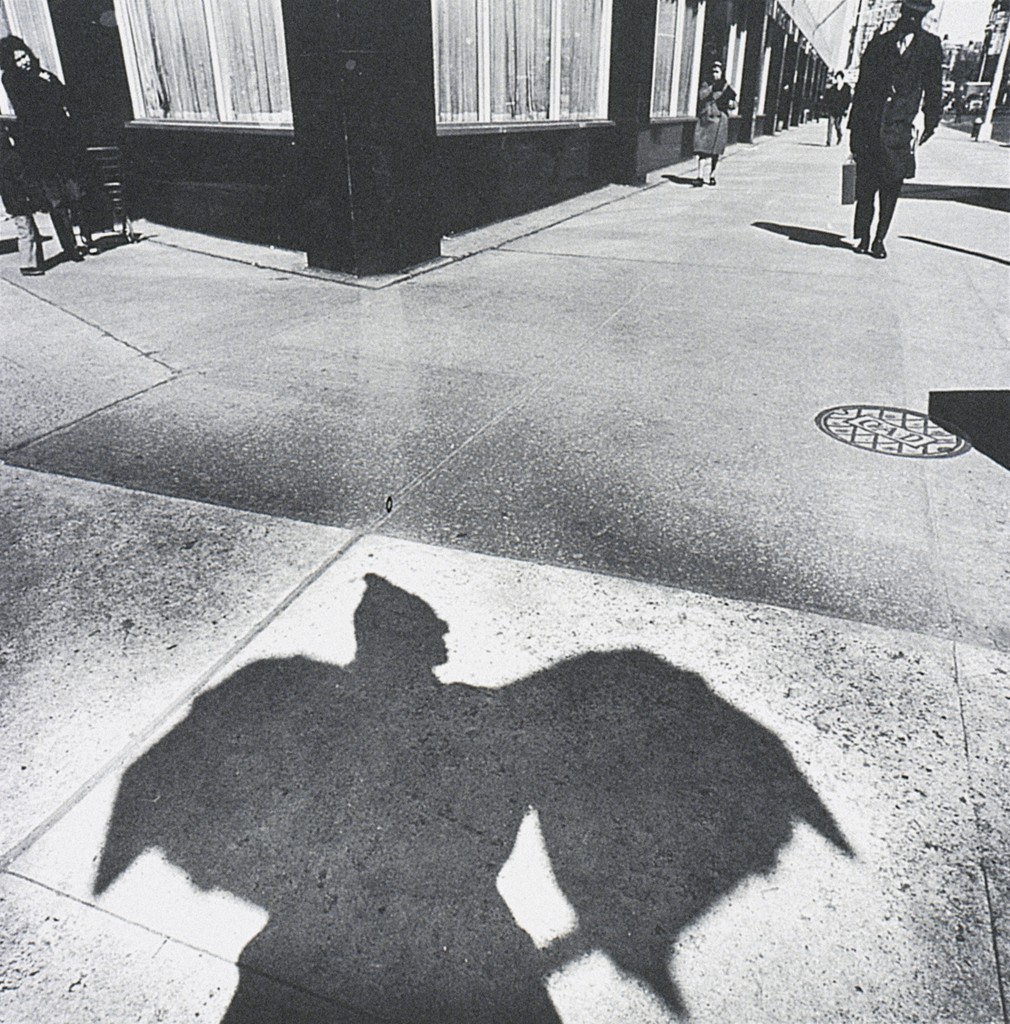
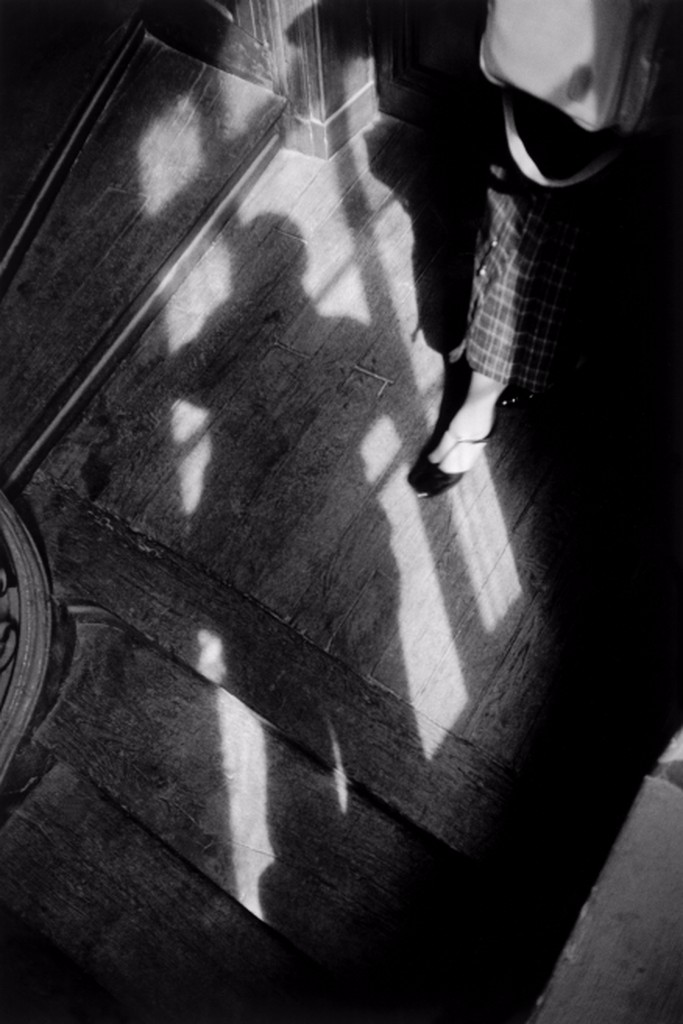
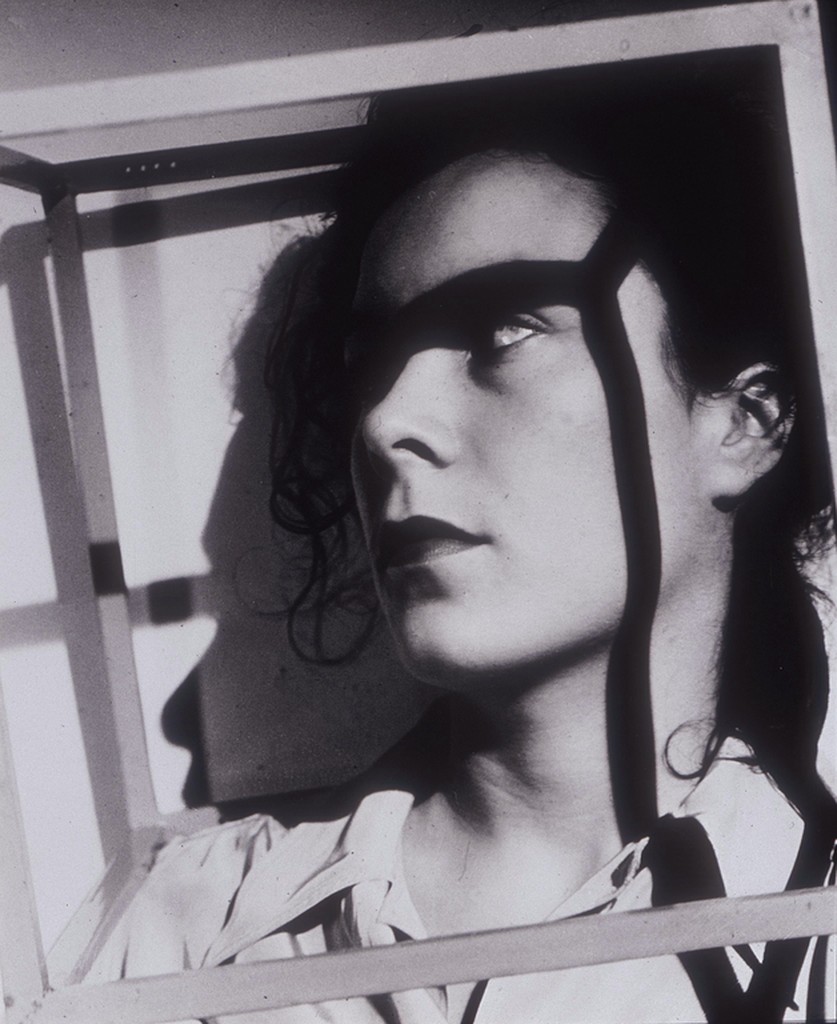
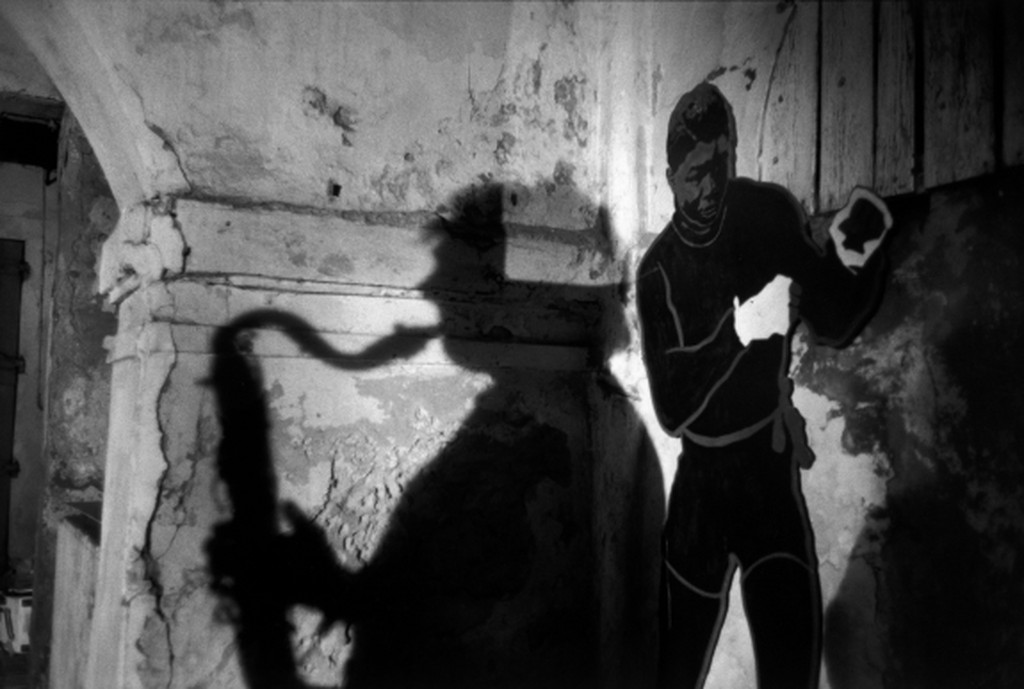
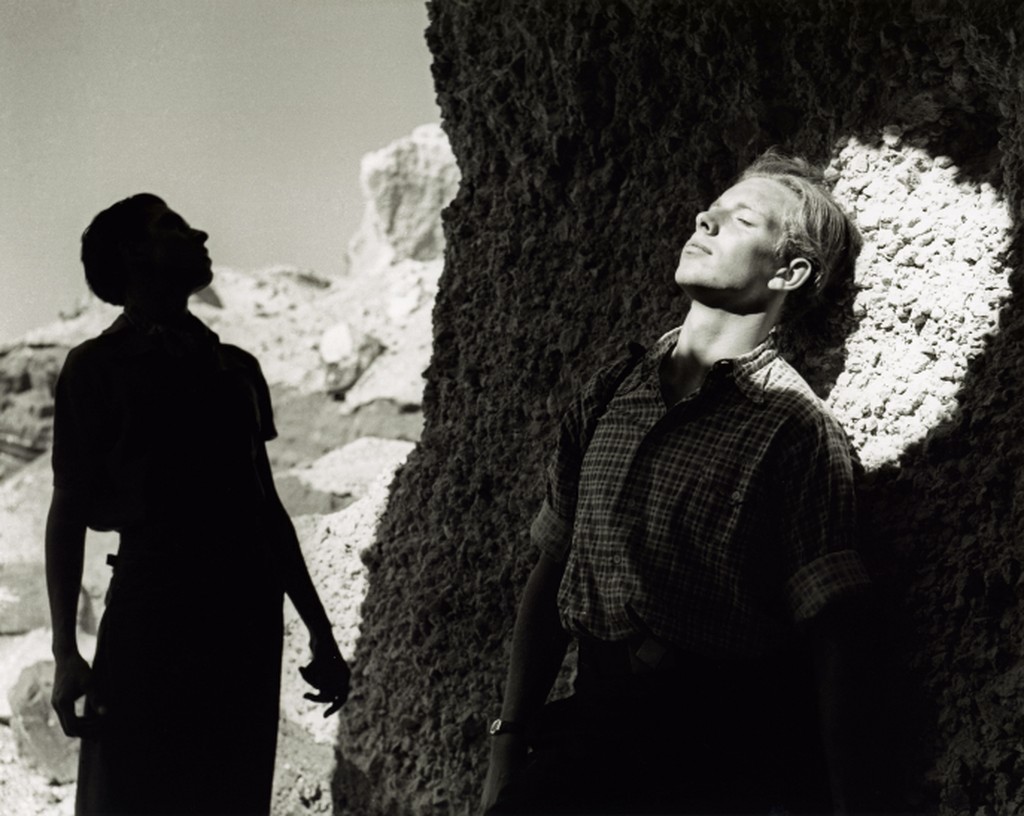
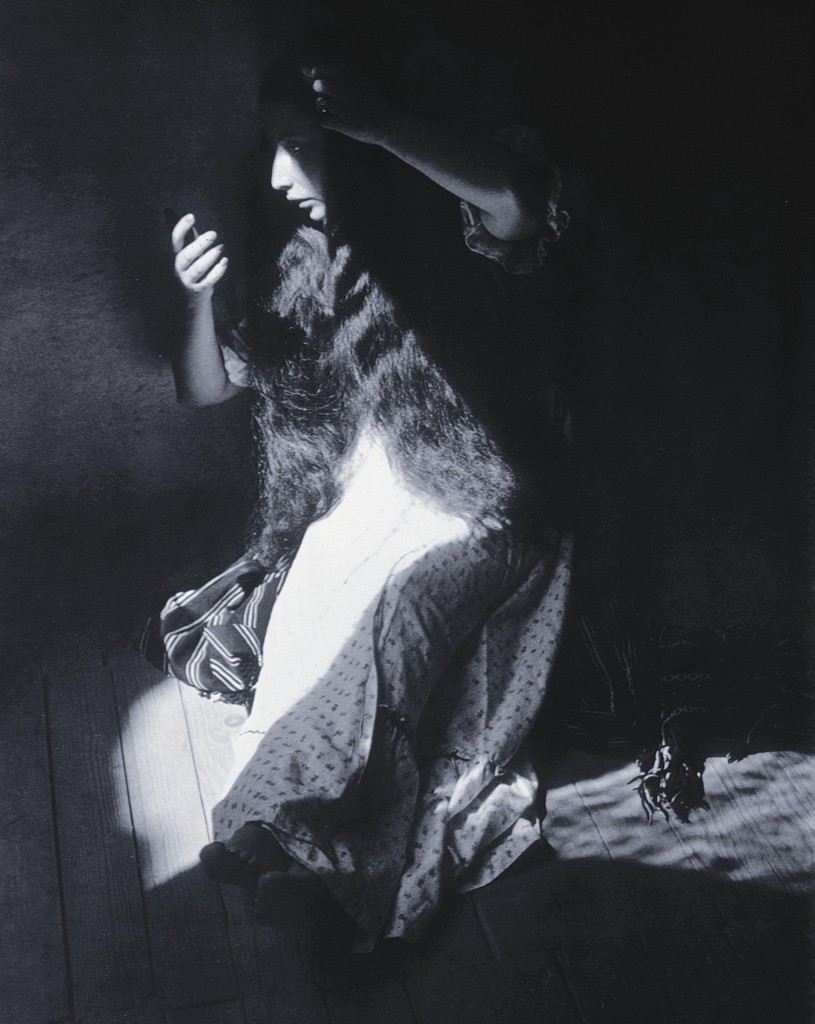
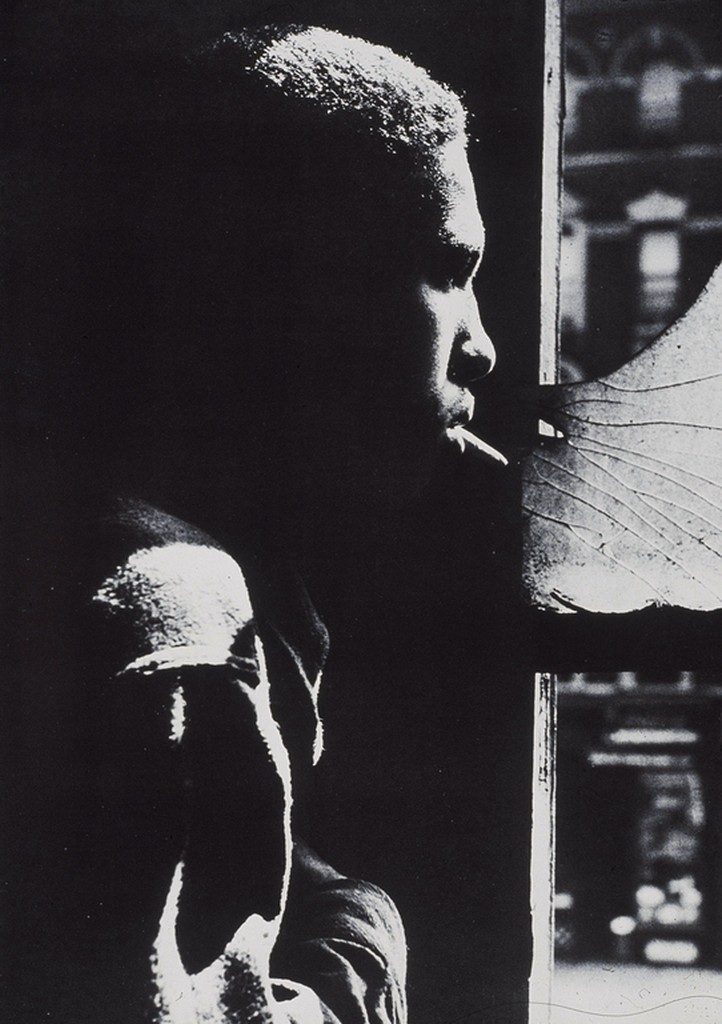
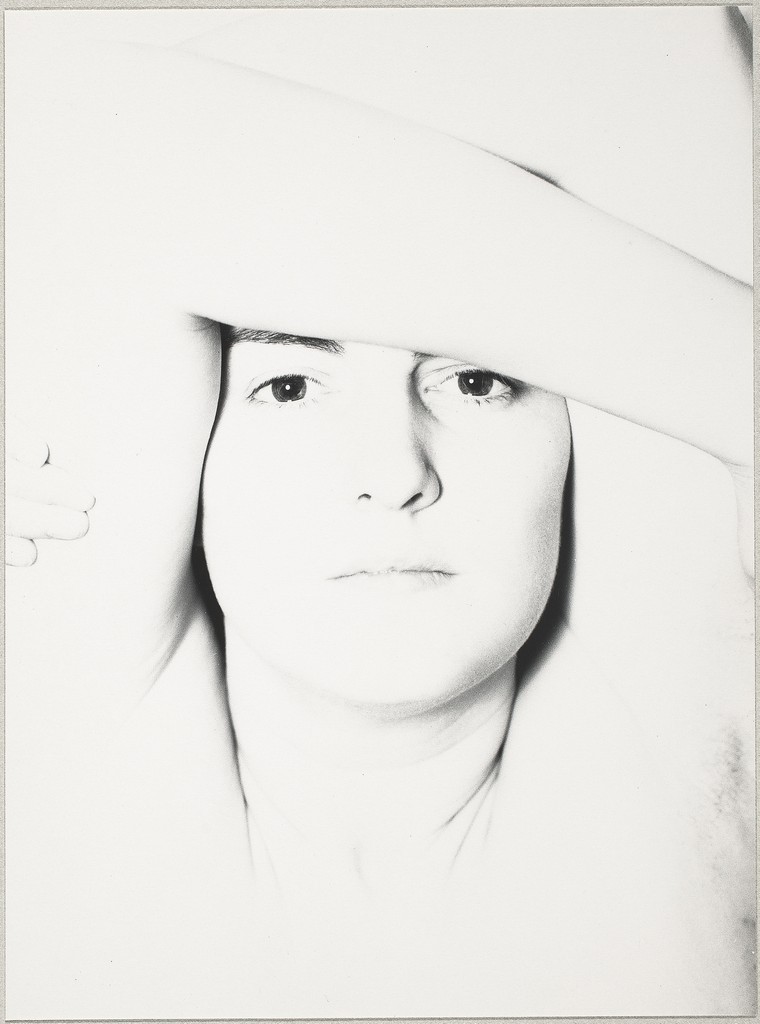
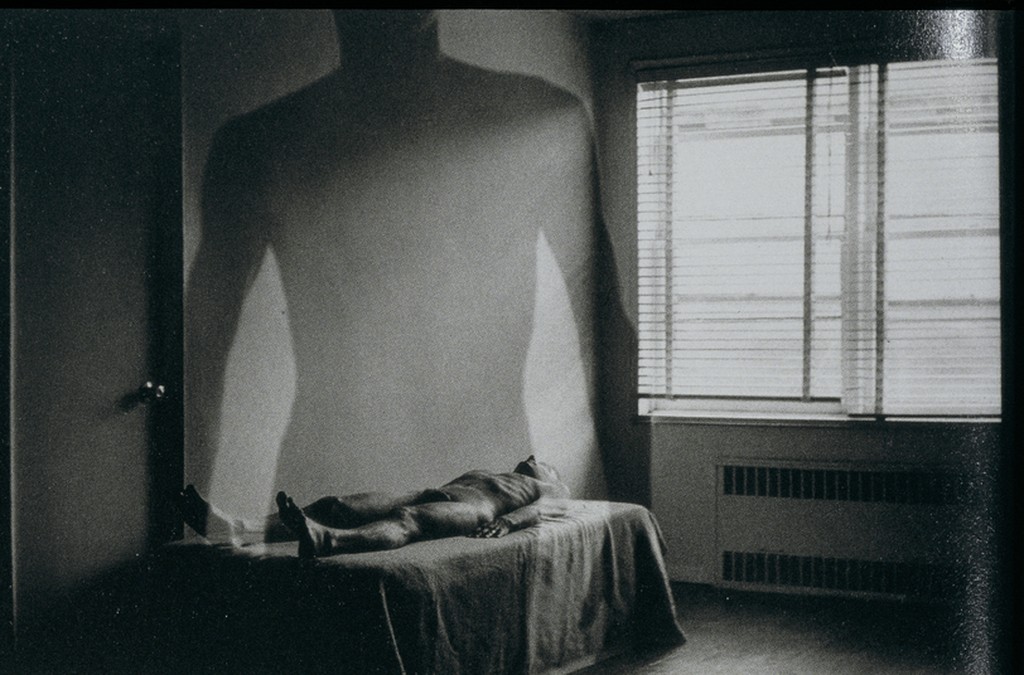
Diffused light – light that comes from many directions and creates soft shadows
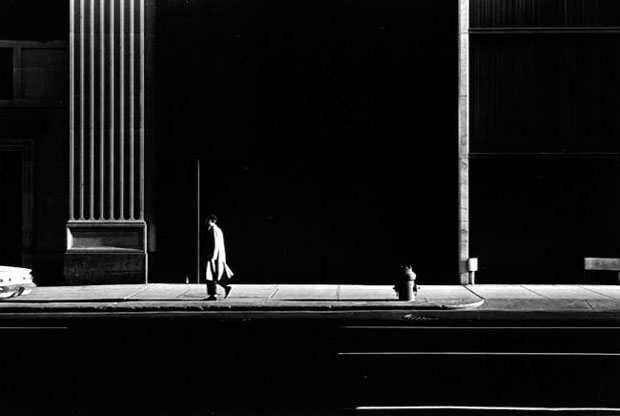
Direct light– light that come from one direction and creates hard shadows
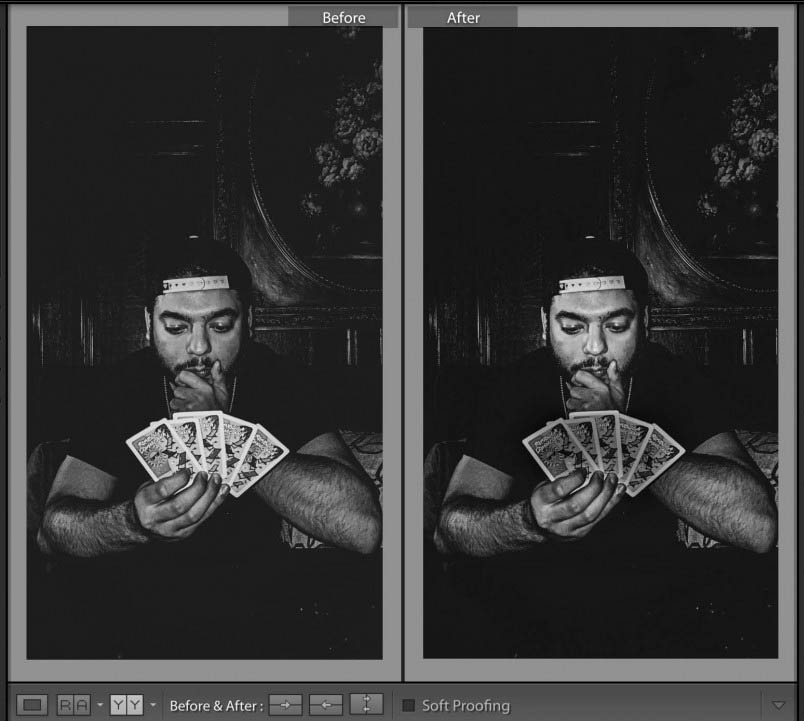
Contrast: The measure of difference between bright areas (highlights) and dark areas (shadows) in a photo
High contrast : Large difference between highlights and shadows. Mostly lights and darks without many mid tones
Low contrast : Little difference between lights and darks. Mostly mid tones.
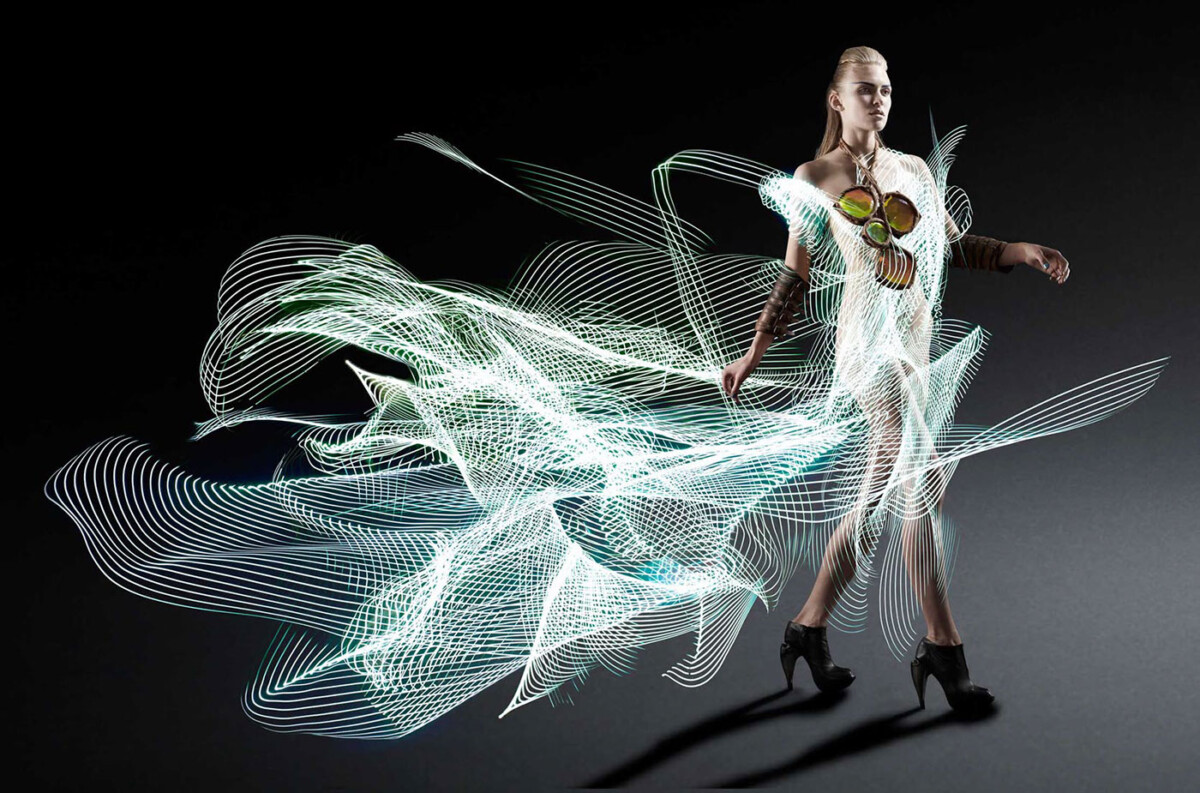
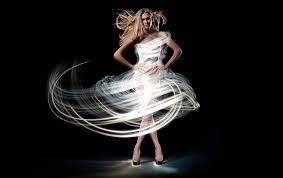
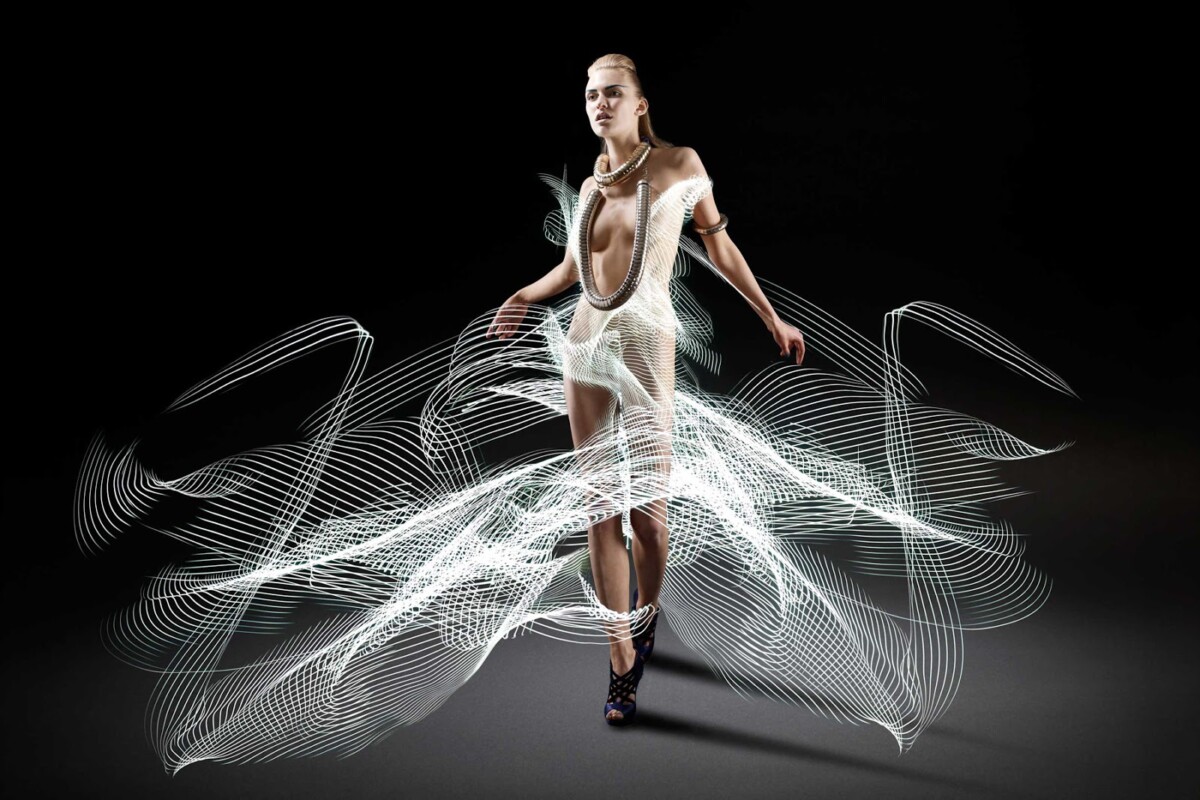
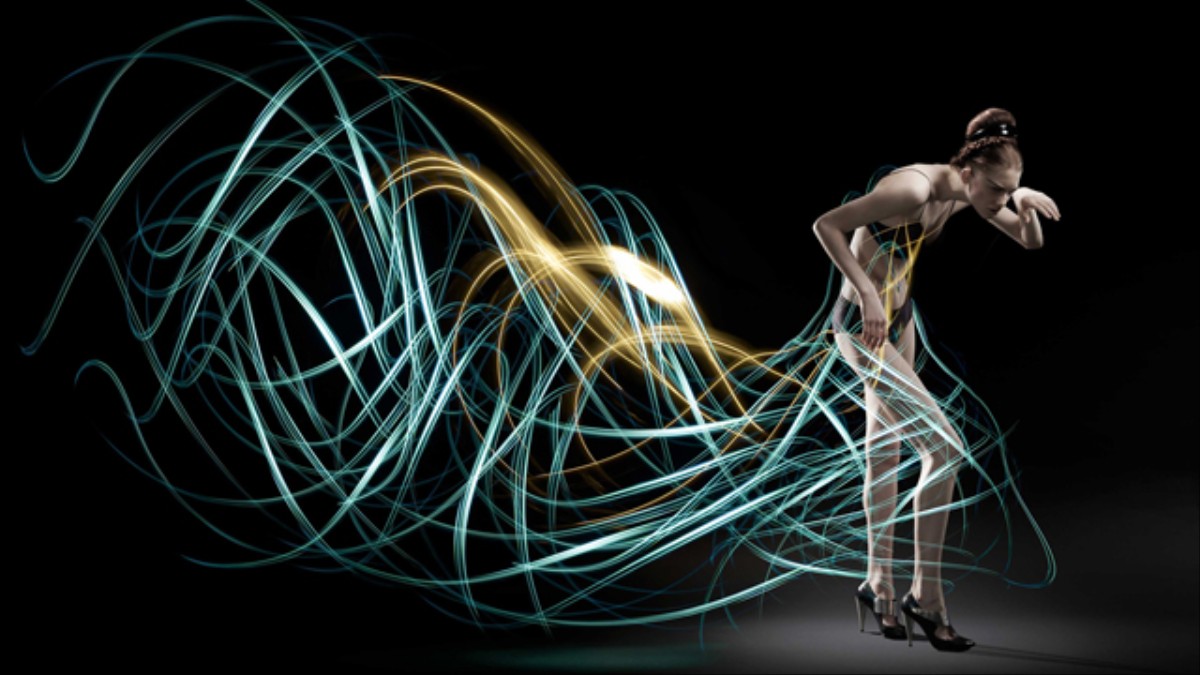
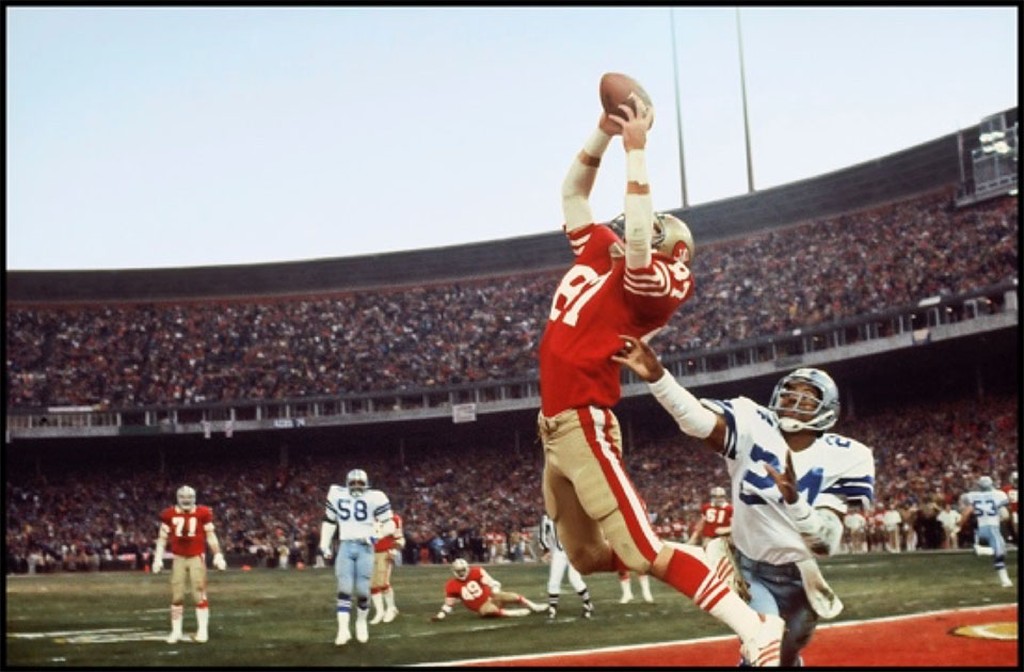
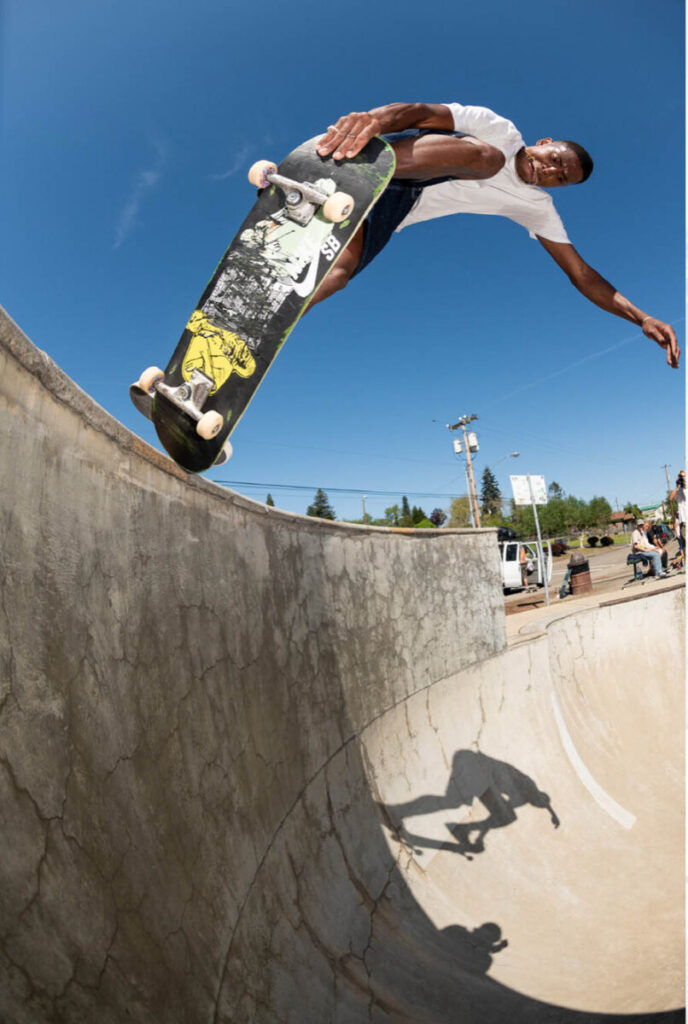
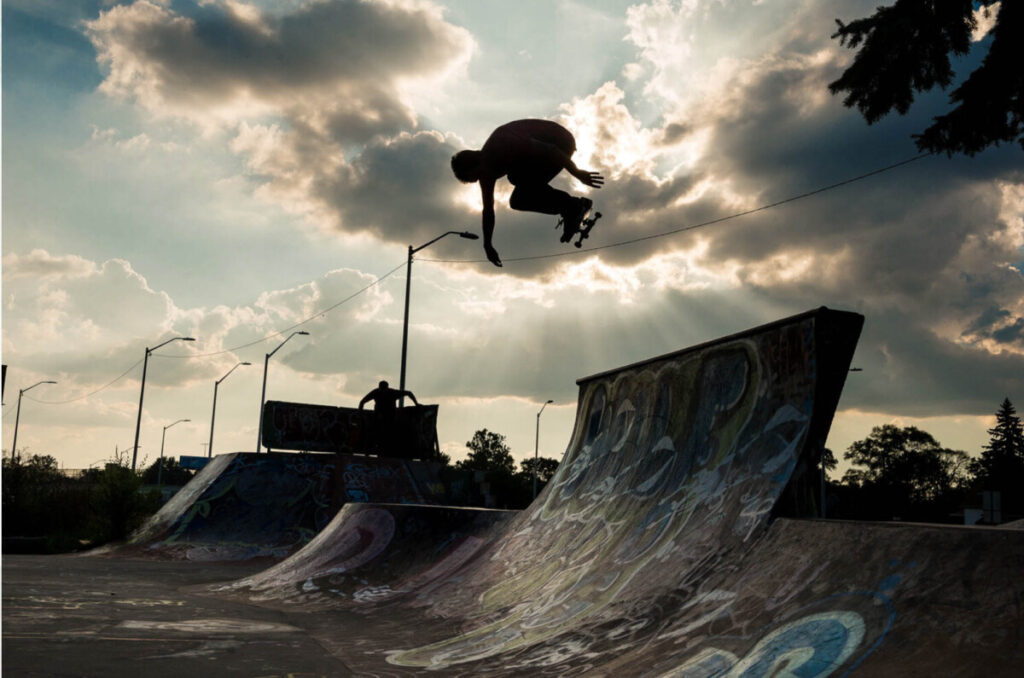
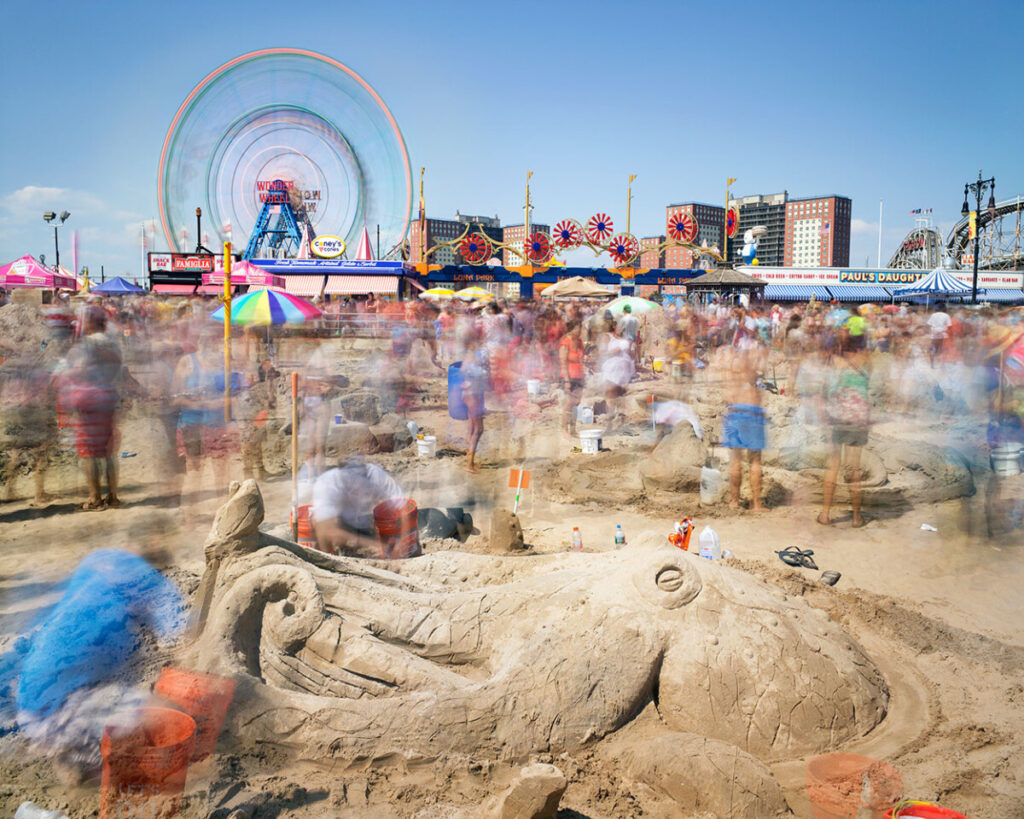
Frozen Motion-Motion is stopped and captured in the frame with a fast shutter speed.
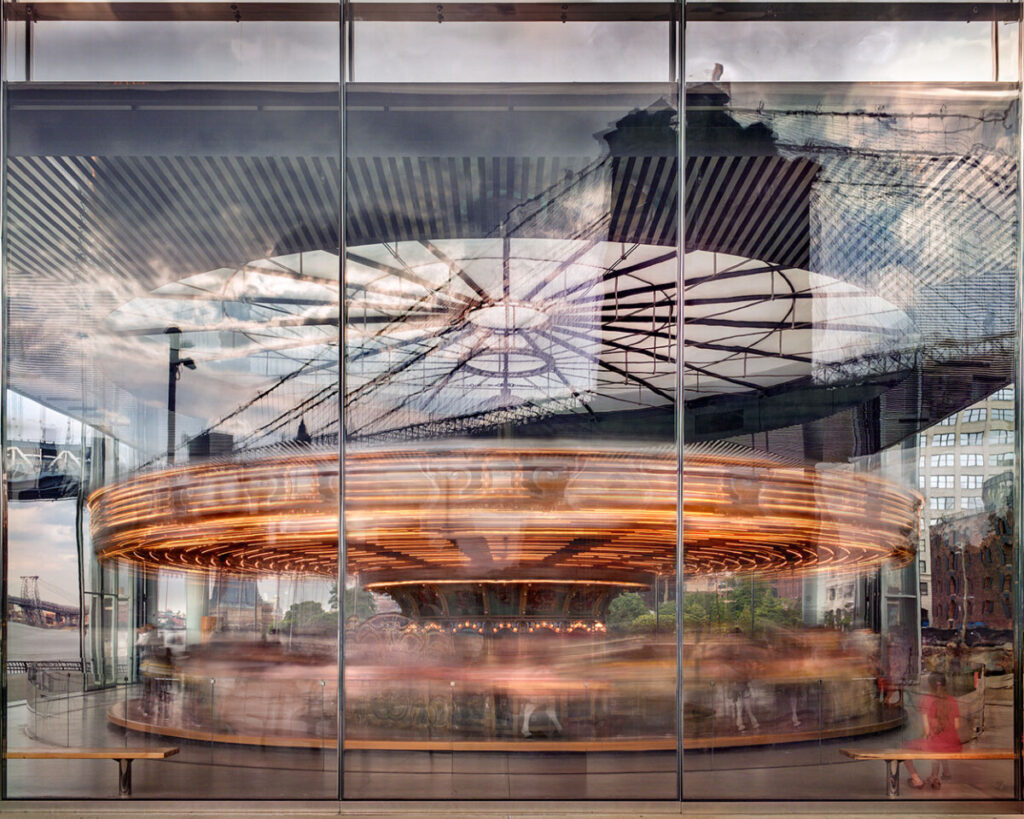
Blurred motion-moving elements blur with a longer shutter speed.
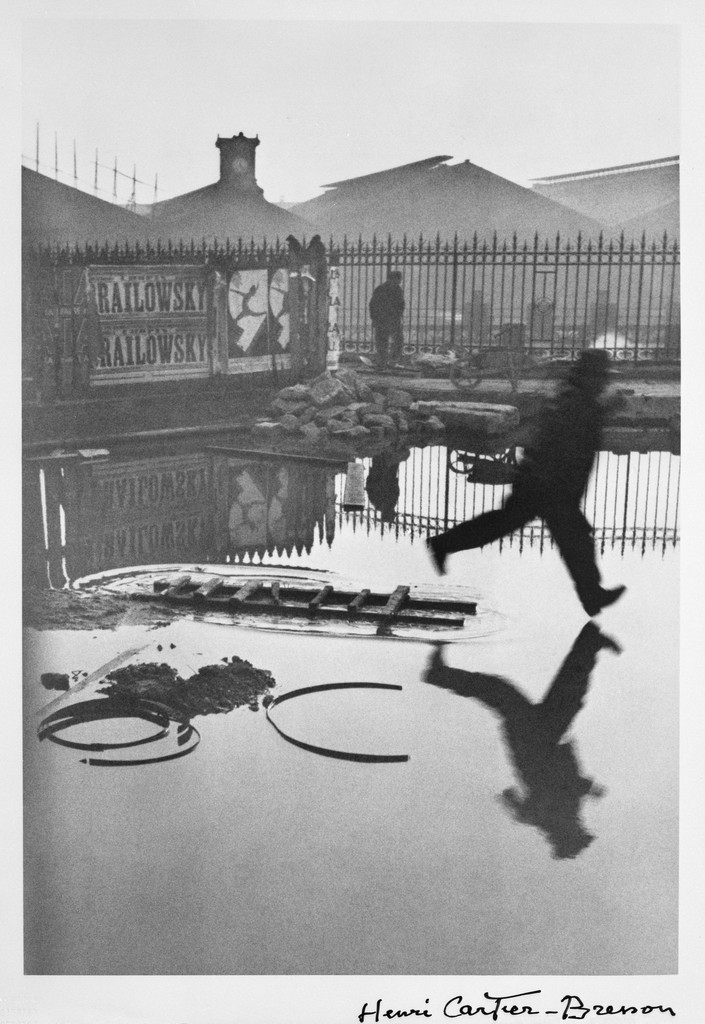
The Decisive Moment: A term coined by Cartier Bresson- “the simultaneous recognition, in a fraction of a second, of the significance of an event as well as the precise organization of forms which gives that event its proper expression.”
Enter your best photo taken in the class to date.
Read the criteria of the judges and select the image you think best fits what they are looking for.
You will need to include a title, a brief description which could include the class and assignment or not and location.
Forward the submission email for 1 pt credit.
Homework
HW 6: Reflections


Recent Comments