Global corrections adjust the entire file. In the Lightroom, it includes the controls under Light, Color and Effects. In Lightroom classic, this includes everything in the basic panel: White balance, Tone and Presence.
Local corrections
After you make global corrections, sometimes you will want to make corrections to part of your image. Generally, the brightest part of the image commands the most attention. Sometimes that is not where you want your viewer to look first so shifting the exposure of parts of your image can create the image you want.
The two main tools for local adjustments are the adjustment brush and the graduated filter.
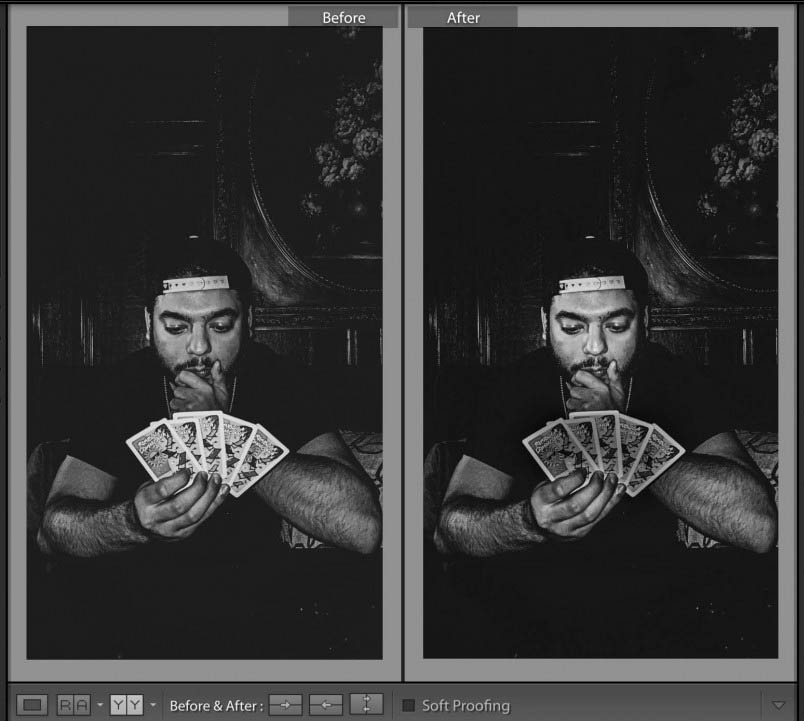
The important thing in this photo by Bryan Rodriguez is the face of the card player. However the cards are brighter and demanded too much attention. Using the adjustment brush, I darkened the cards. Creating a second adjustment, I lightened the face of the card player a little more. The goal was to bring more attention to the person’s face and less to the overly bright cards.
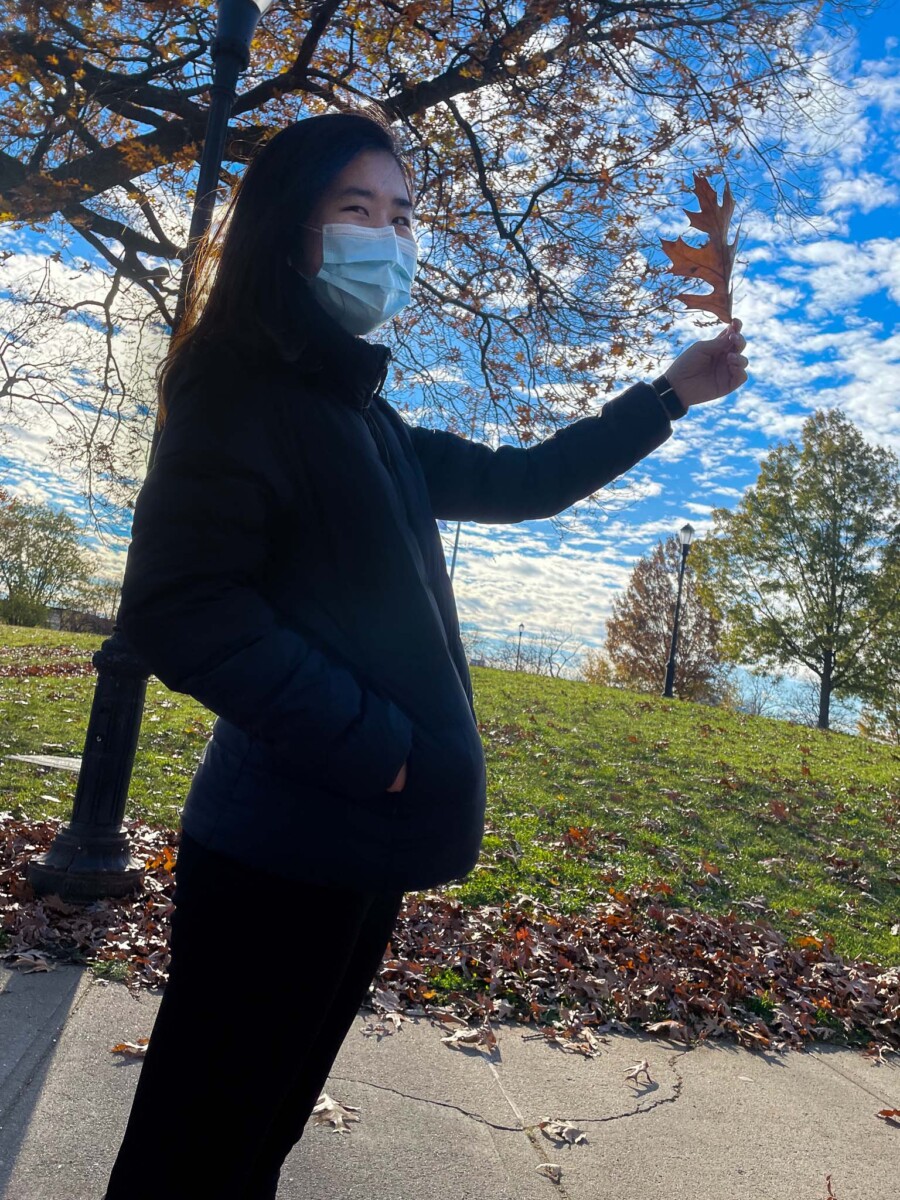
Here is another example of a local correction to a photograph taken by Melisa Wu Lin.
1 album of the 10 best photos of the 90 total, adjusted in Lightroom
a 3-5 min presentation of the final project – projected from the album on Flickr.
Presentation Guidelines
Start by introducing yourself and your project. Then outline the big picture with a few sentences sentence such as, ” I photographed variations on the theme of windows. Most of the photos were taken in downtown Brooklyn.
If you are showing 10 images, you have about 30 seconds to describe each photo. Tell us what your intention was, what interested you about the photo we are looking at, and give us information we may need to know to understand the photo. Tell us what makes it visually interesting ie the use of shallow depth of field or some other feature.
How do you get to Carnegie Hall? Practice.
Do not tell us about what you did to the photo in Lightroom.
Select one of the photos that you will include in your final project that needs some local as well as globl corrections.
First make the global corrections.
Then identify what is the most important thing in your photo. Consider how to best direct our attention there.
Then using the adjustment brush and or the graduated filter, make the needed local corrections.
Put a before and after version of your file with local corrections into a gallery block in a post on OpenLab. Include a list of the global and then local corrections that you made to the file.
Spread the legs out and make sure the tripod is stable. Use the height from the legs before using the neck of the tripod. Put one leg forward and the two legs on your side.
Put the plate on the camera and make sure that the lens arrow is pointing towards the lens. Insert the plate into the locking mechanism and make sure that the camera is secure.
Use the camera timer and DO NOT TOUCH the camera or the tripod during the exposure.
Considerations for painting with light:
1. Use a tripod
2. Use Manual as the shooting mode.
3. Set the ISO to 100
4. Set the aperture to f/11 as a starting point to get a wide range of depth of field.
5. Set the shutter speed to 2″ as a starting point.
6. Use manual focus. Make sure the subject is in focus. To do this shine a light on the subject and use auto focus. Then flip the lens back to MF. Remember that if the distance of the subject to the camera changes, you need to refocus!
Mixing Strobe Lights or Flash with Painting with Light
The aperture controls the exposure of whatever is lit by the strobe lights.
The shutter speed controls the illumination of the background.
Lab
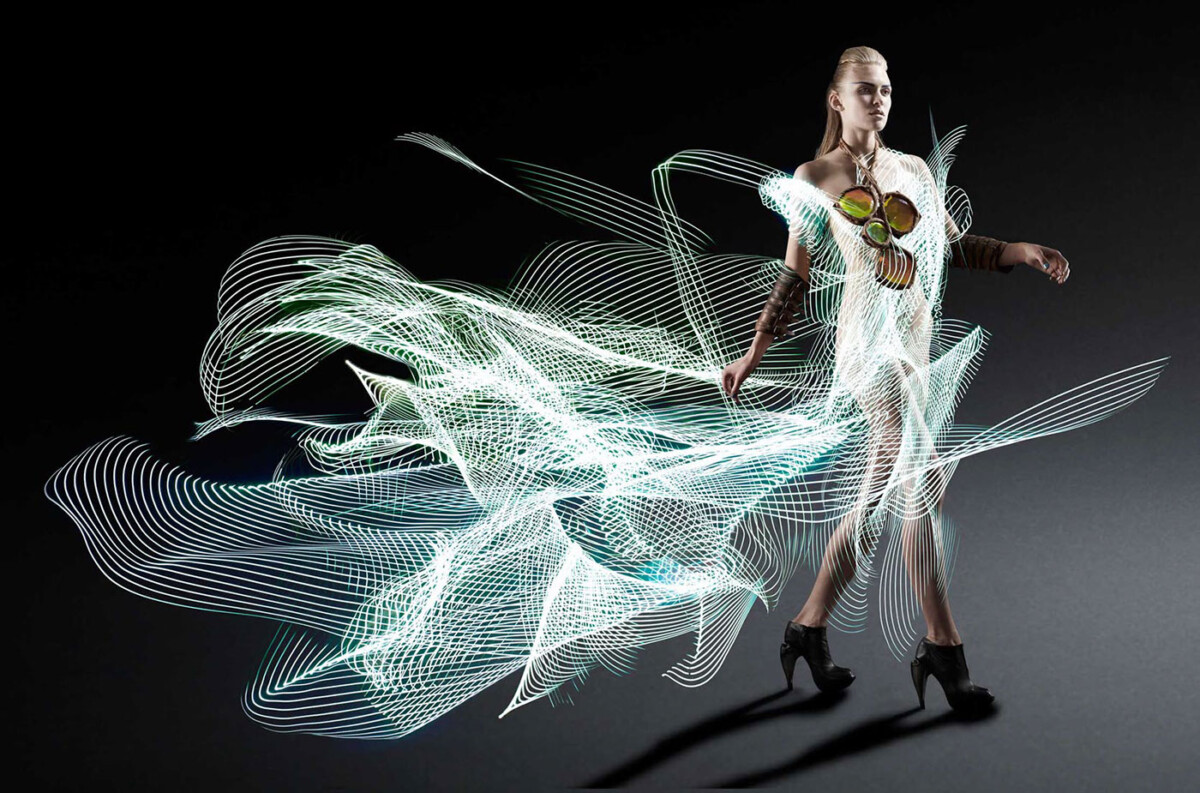
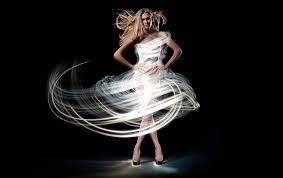
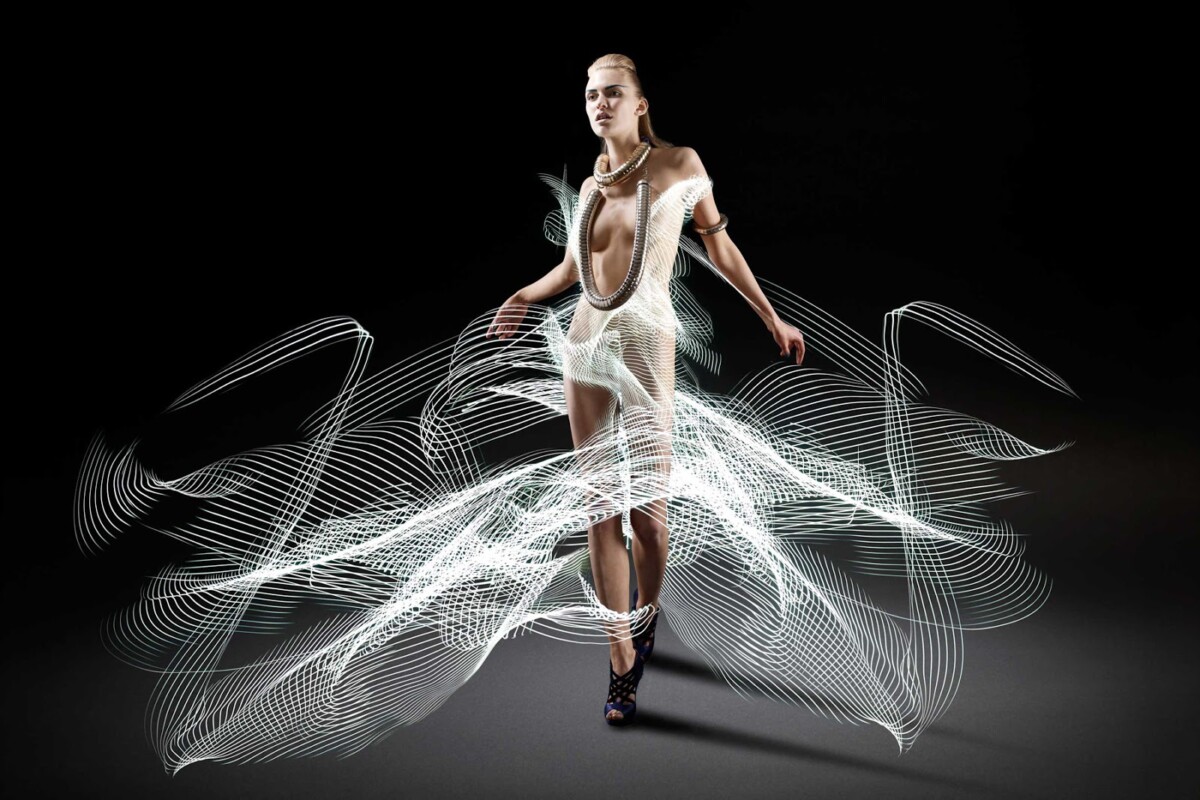
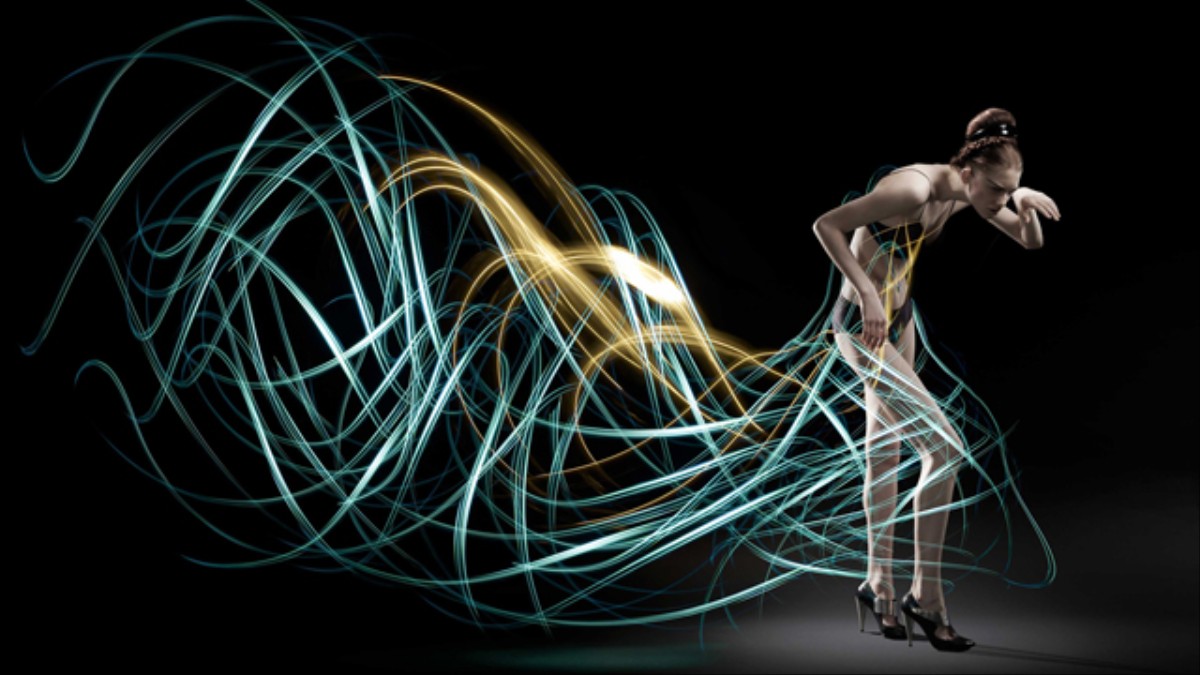
Working with a light or lights, draw an image over time in the frame. Experiment with thin and thick lines, abstraction, words, and images.
Using a speedlite, add a person to your shot. the more the subject and the light painting interact, the more successful your photos will be.
Upload a minimum of 20 images to Flickr. Send your best two to the class group.
Quiz Review
There will be three technical questions. Possible topics: light quality and direction, still life lighting rules, roles of the main and fill lights, difference between a reflected and an incident light meter, portrait lighting styles, wide angle distortion, three-point lighting.
There will be a compare and contrast of two photos which will be graded on correct use of vocabulary including portrait lighting styles: Rembrandt, split, butterfly, broad and short light and rule of thirds, diagonal lines, leading lines, pattern, symmetry, figure to ground, contrast of light and dark, a frame within a frame, depth of field, angle of view.


Recent Comments