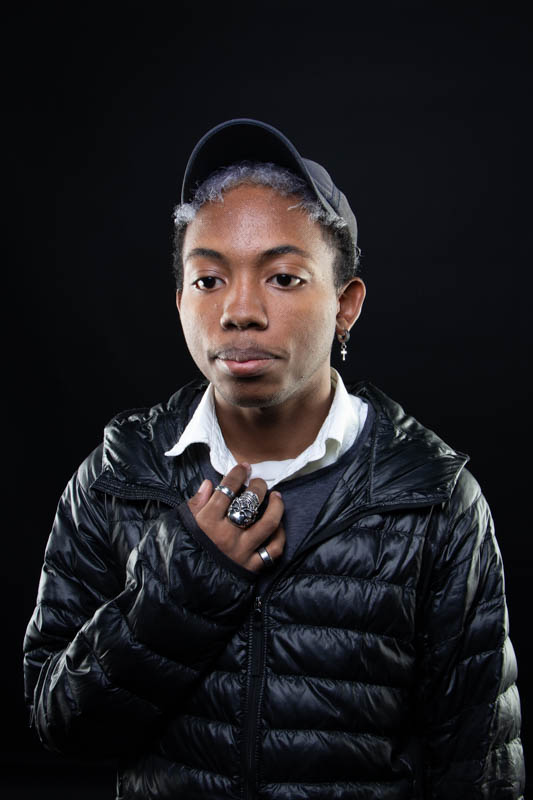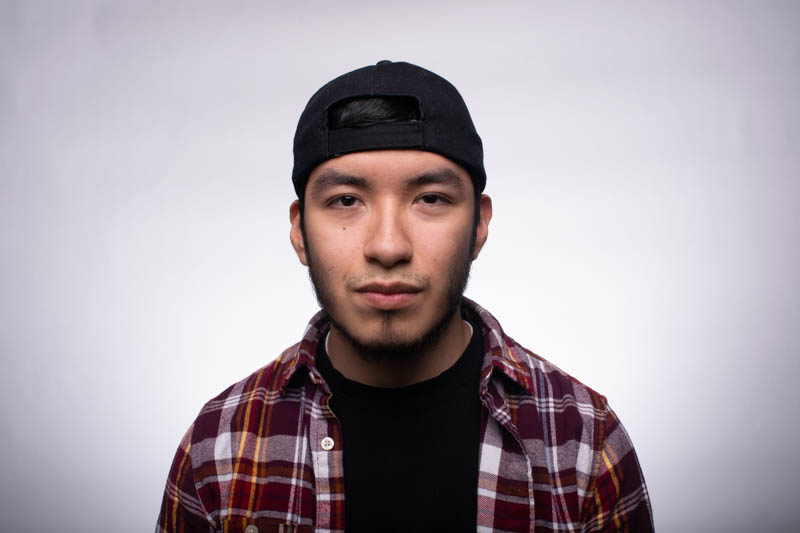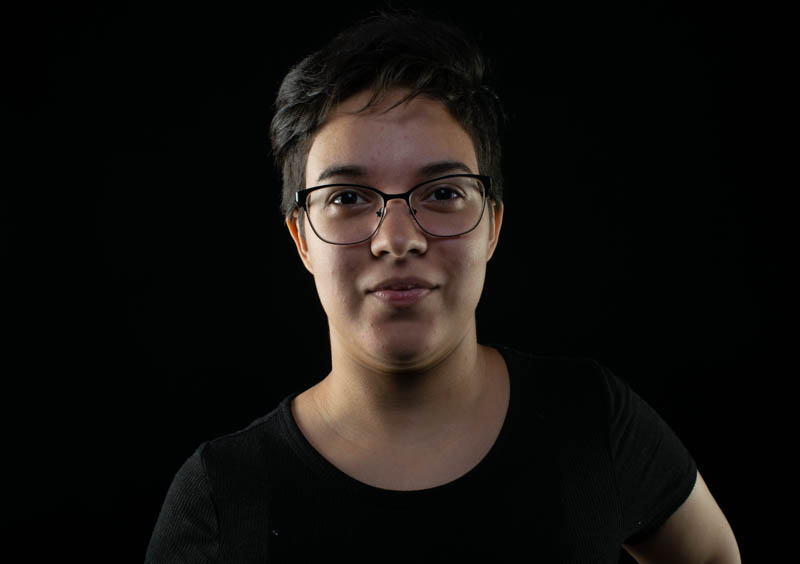

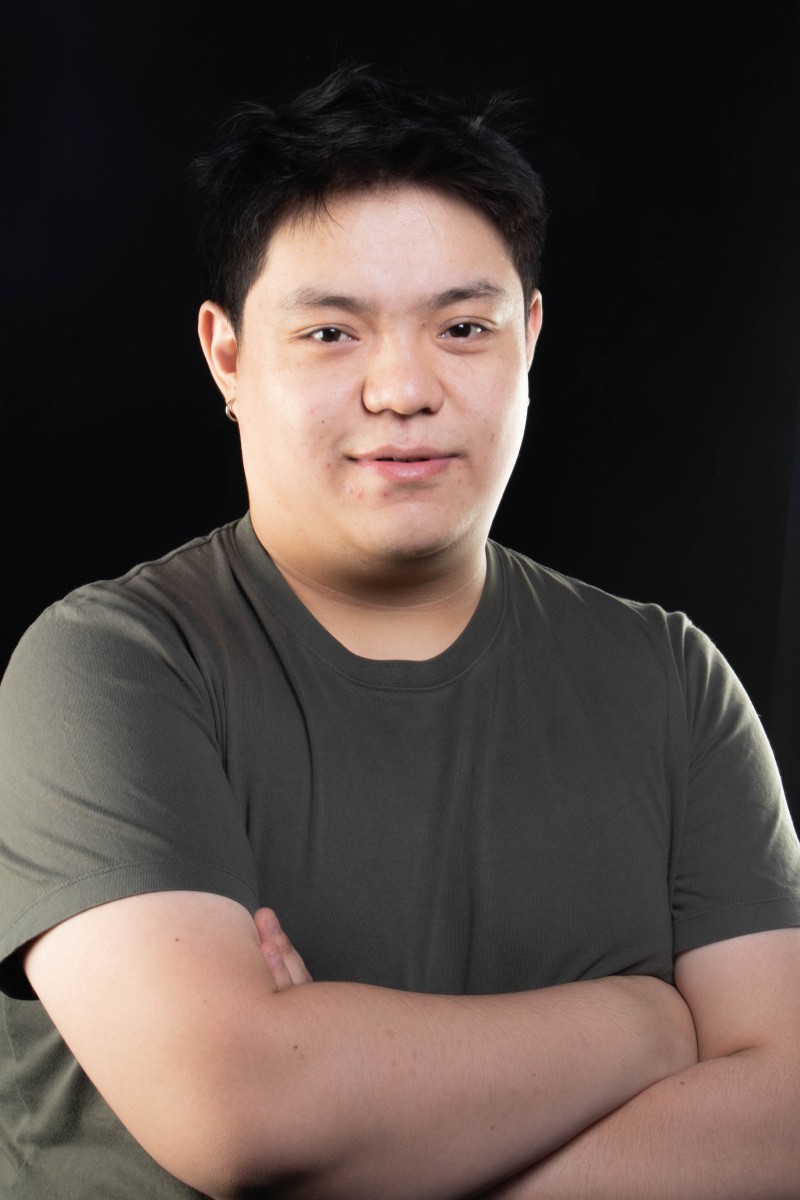
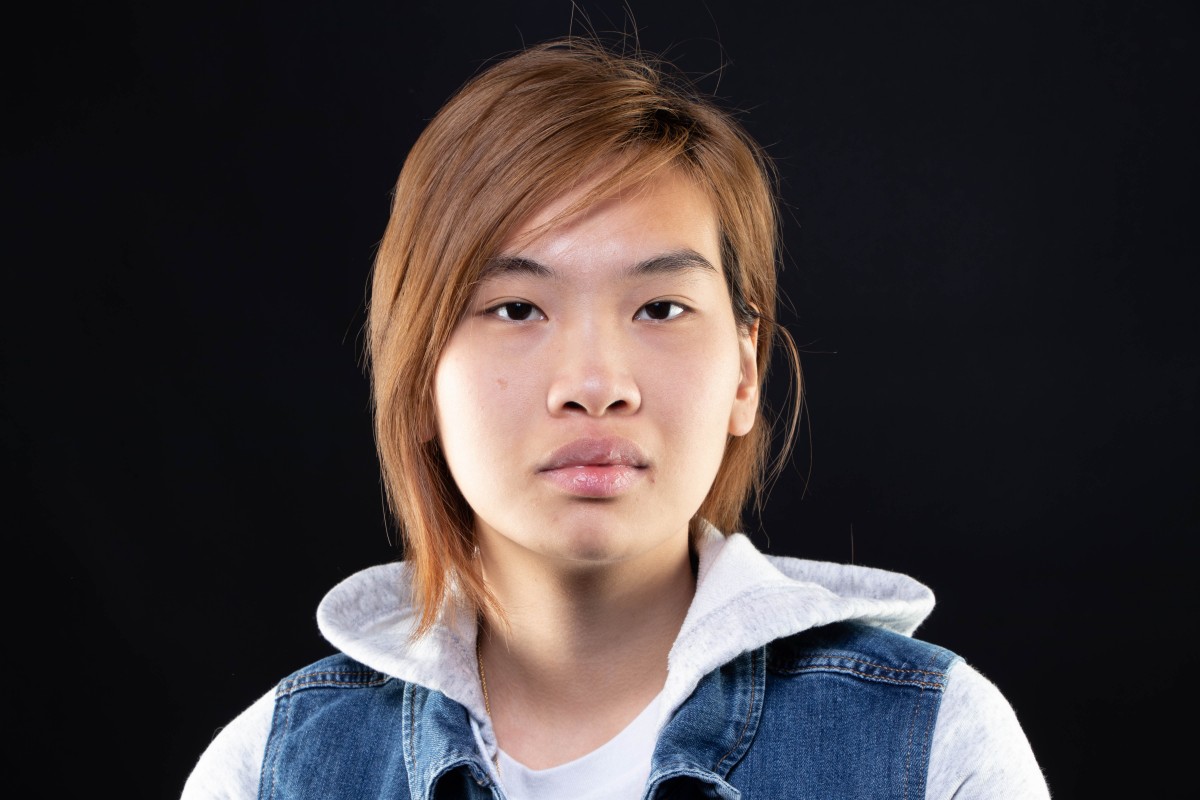
Clamshell Light

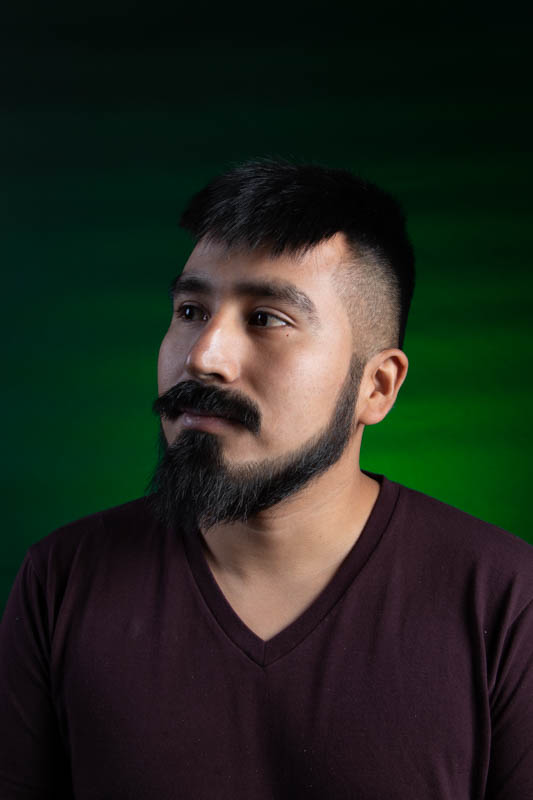
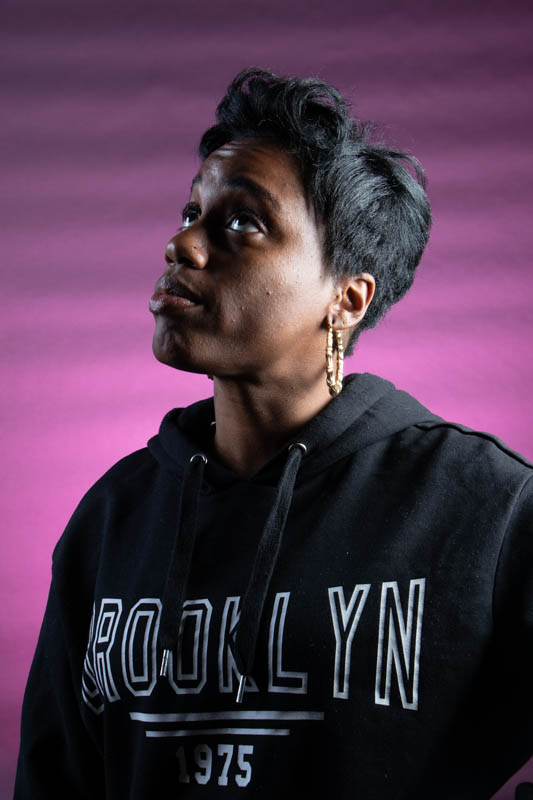
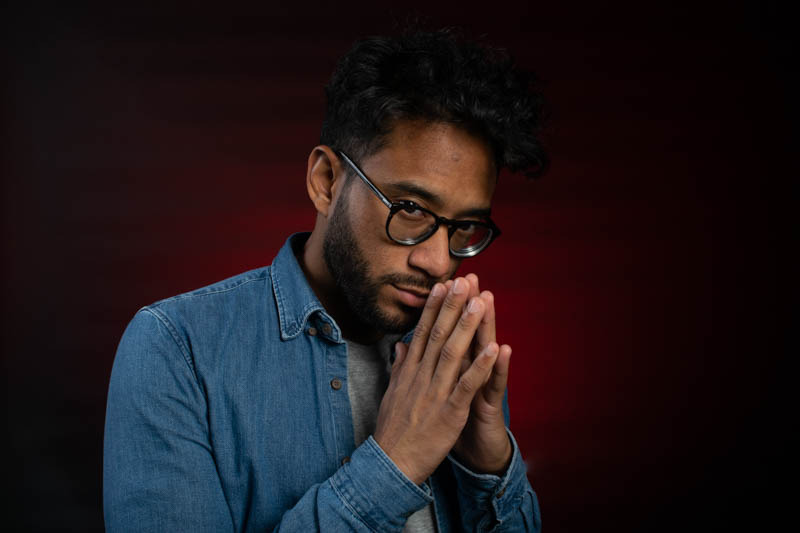
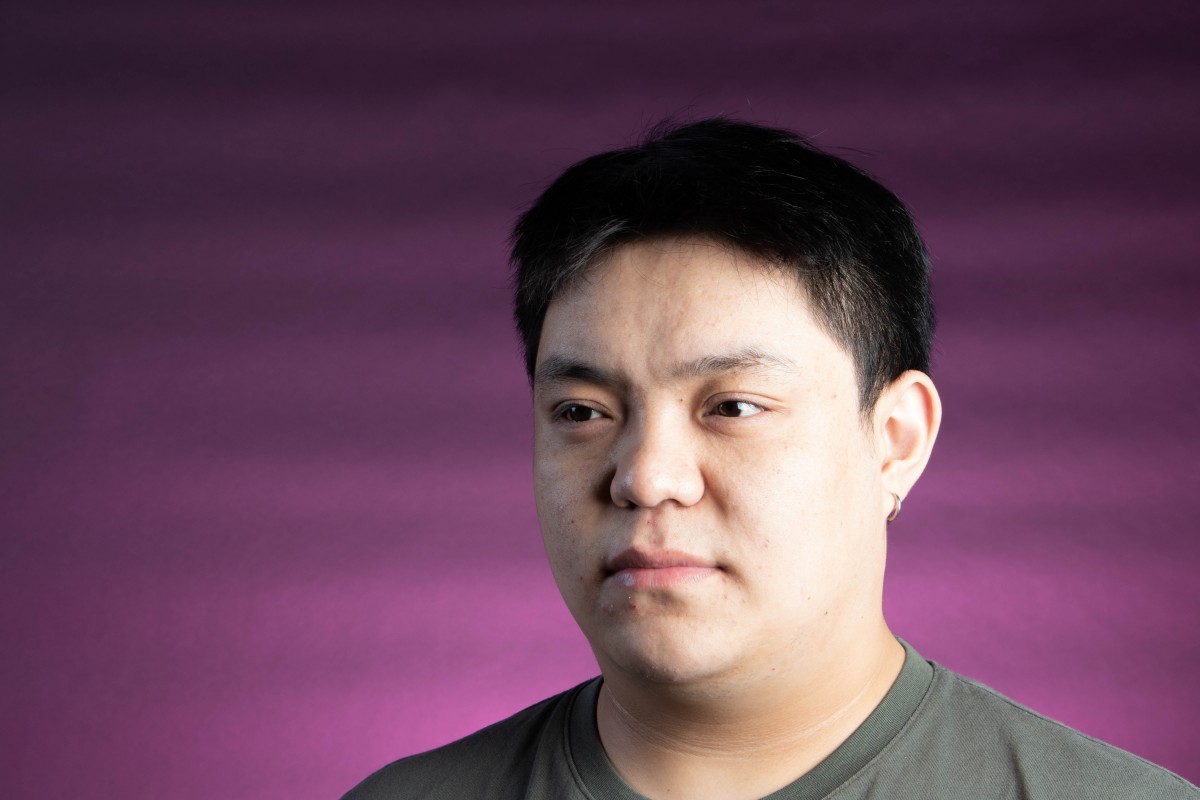
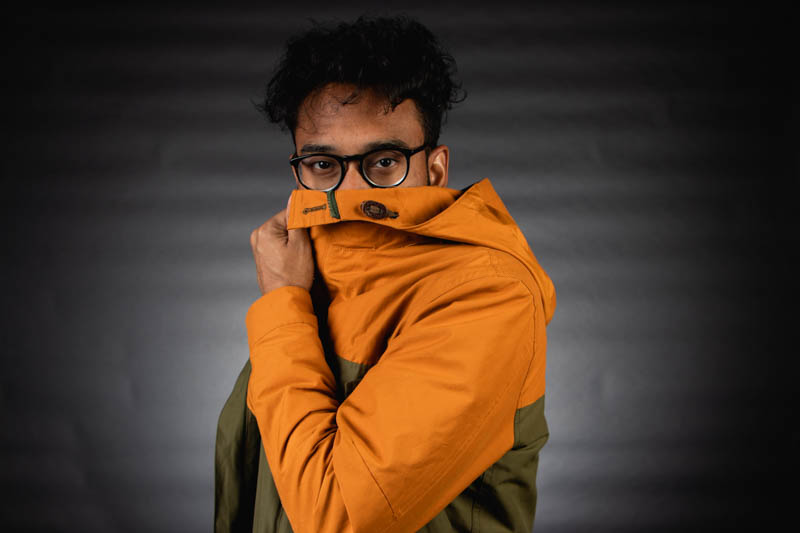
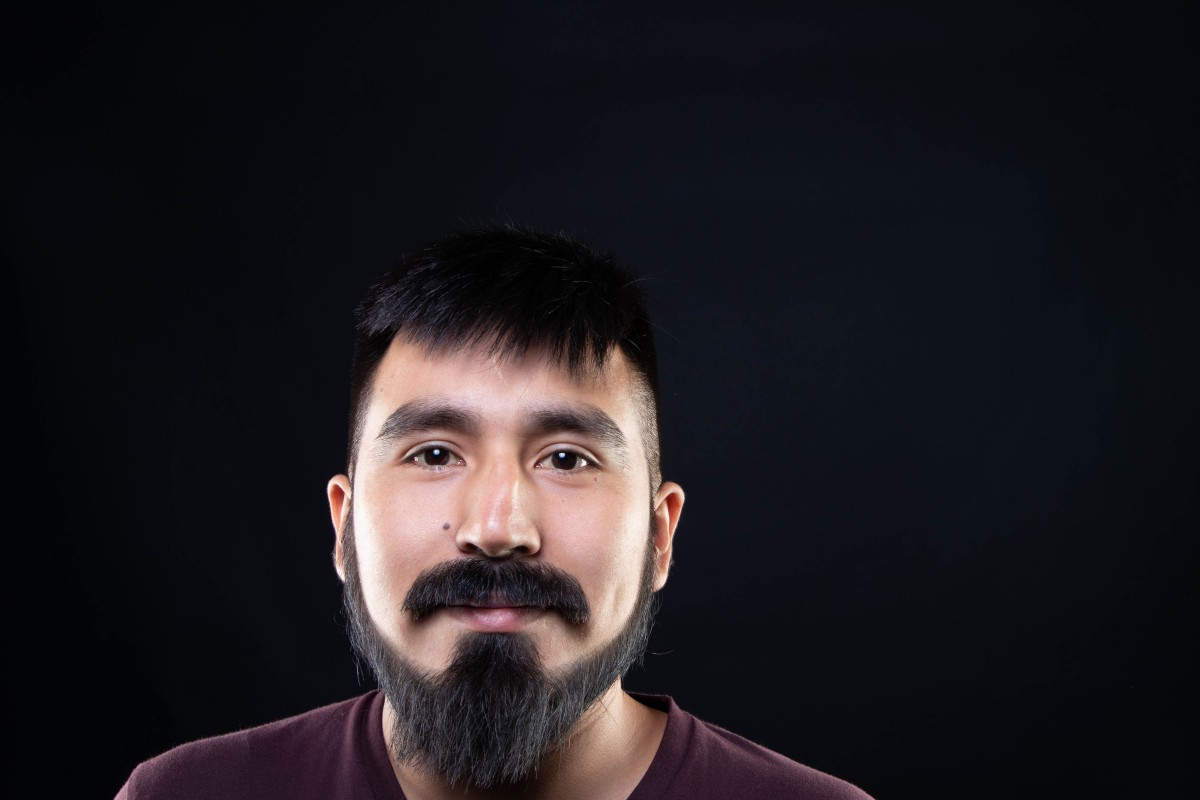
Edge Lighting
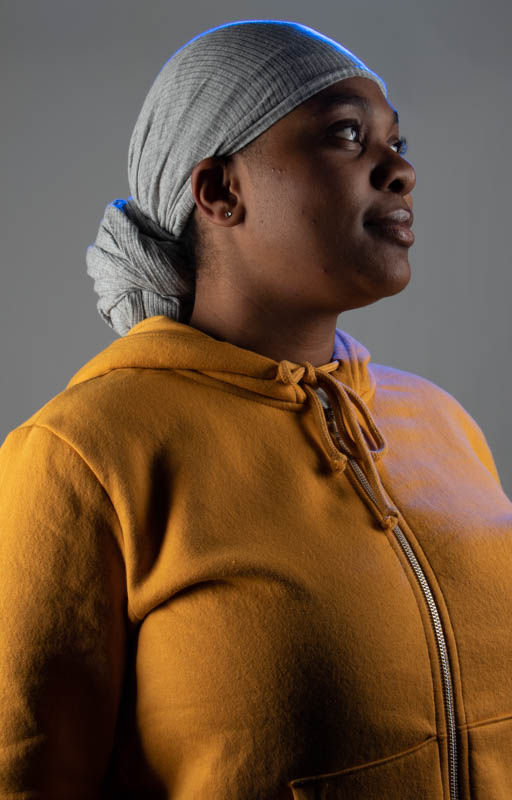
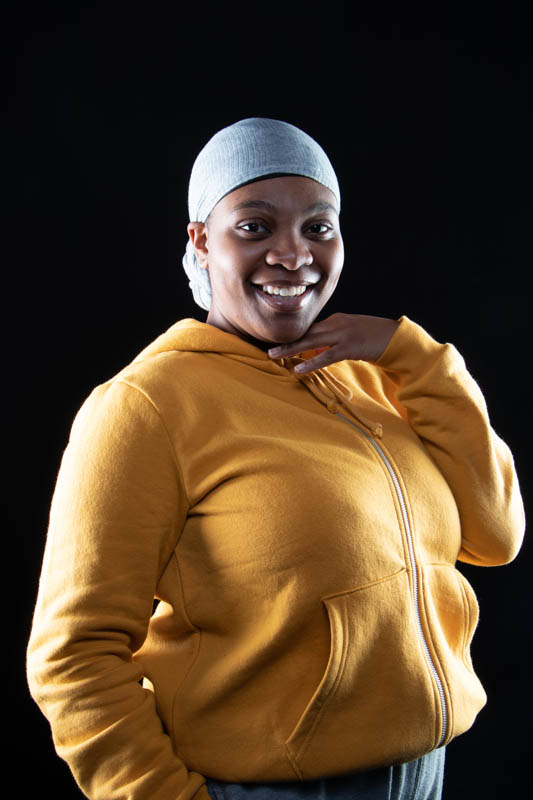
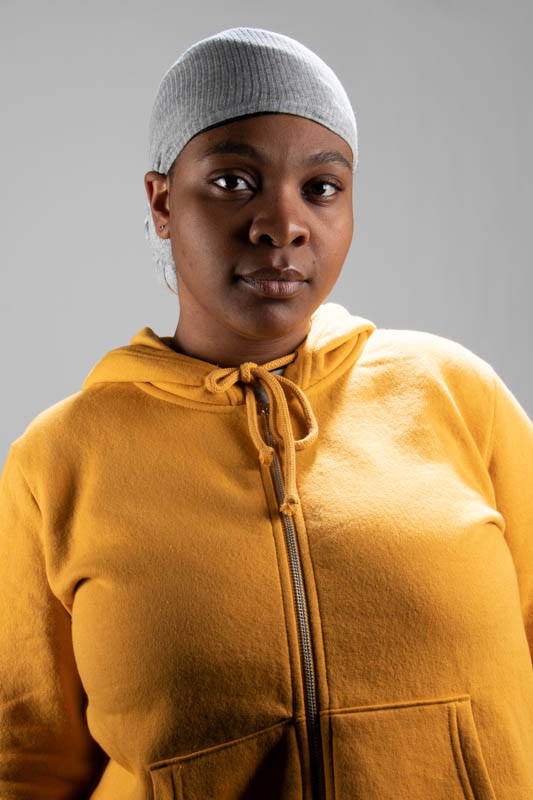
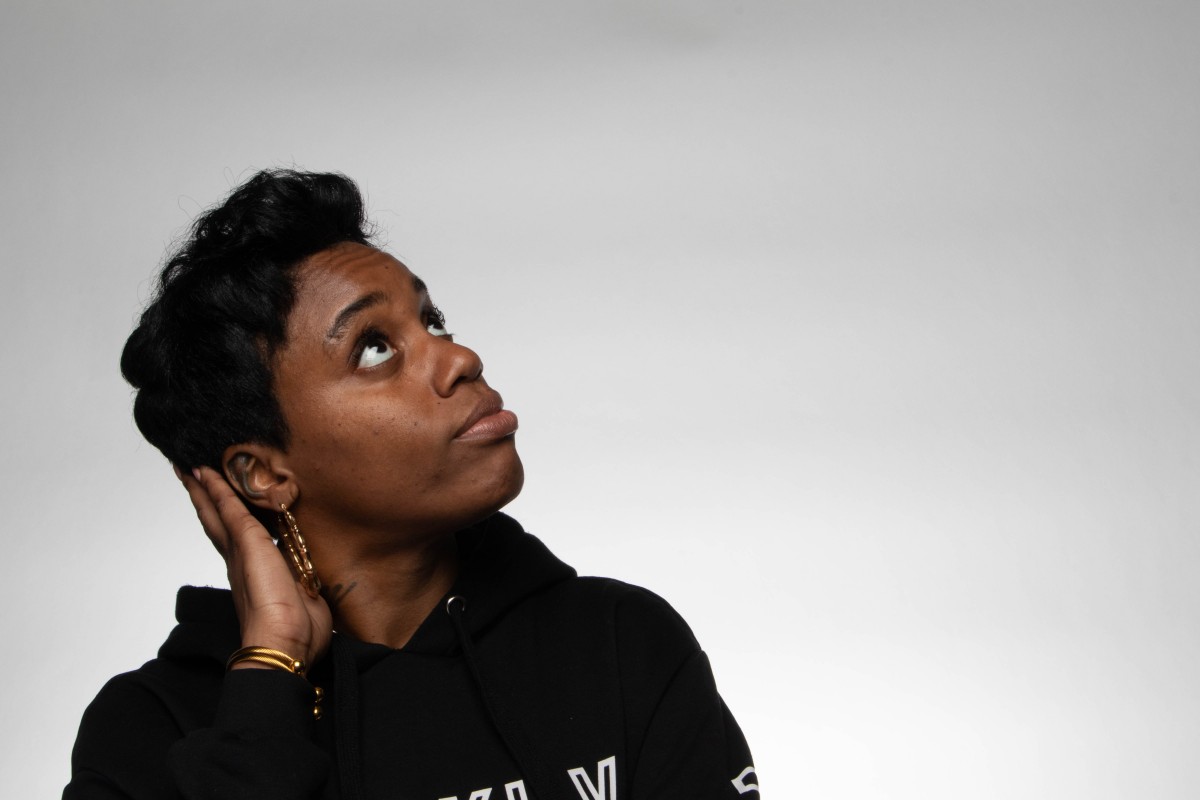
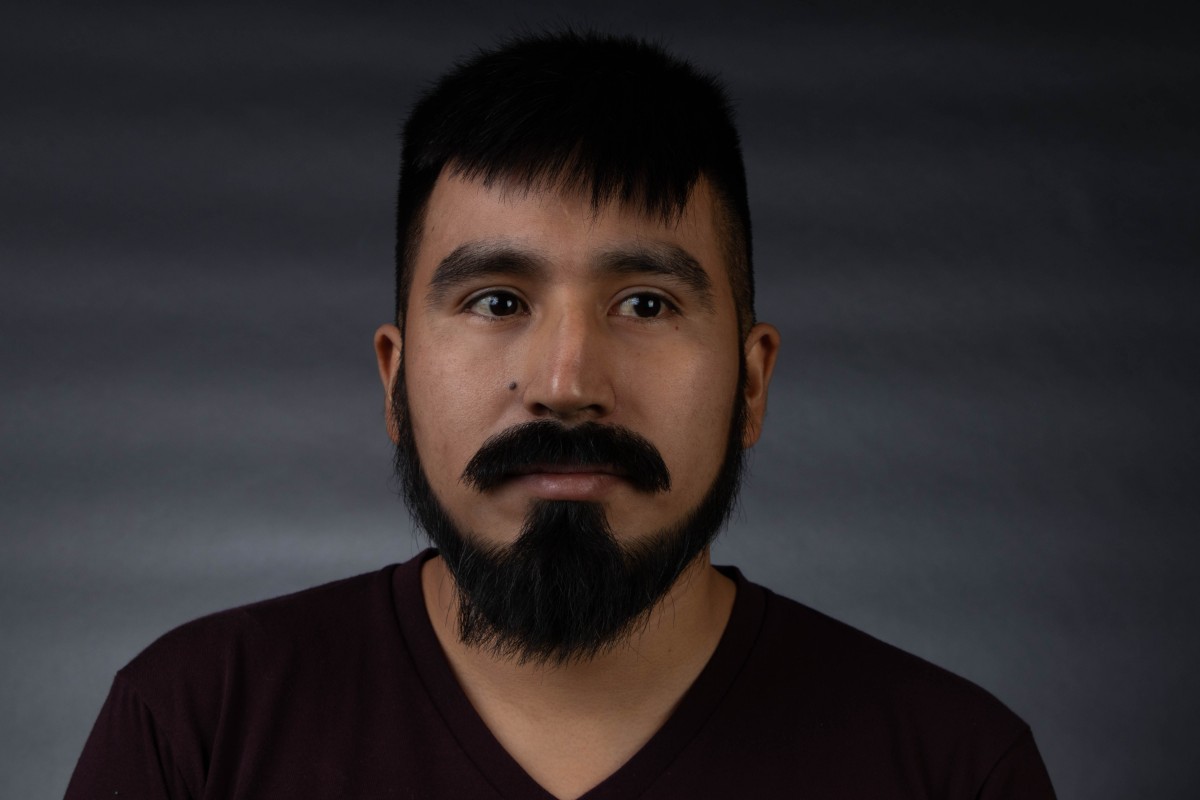
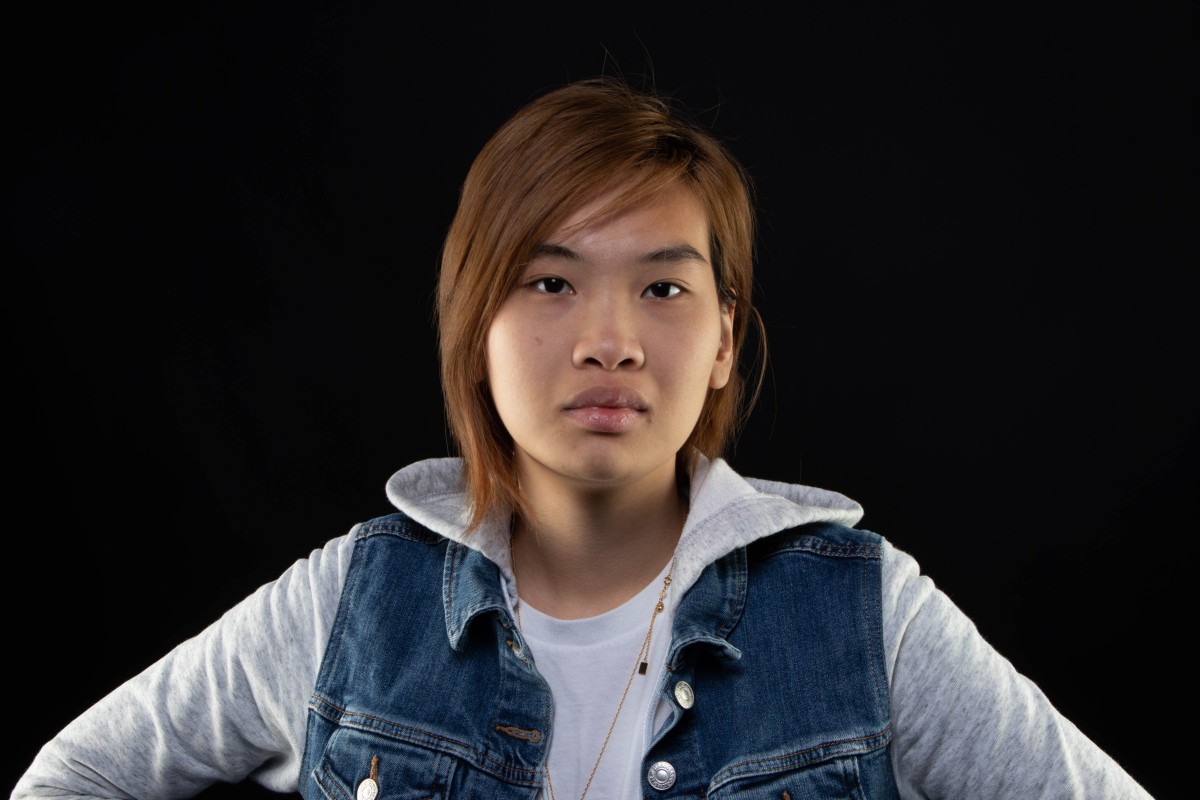
3 Point with Hair light

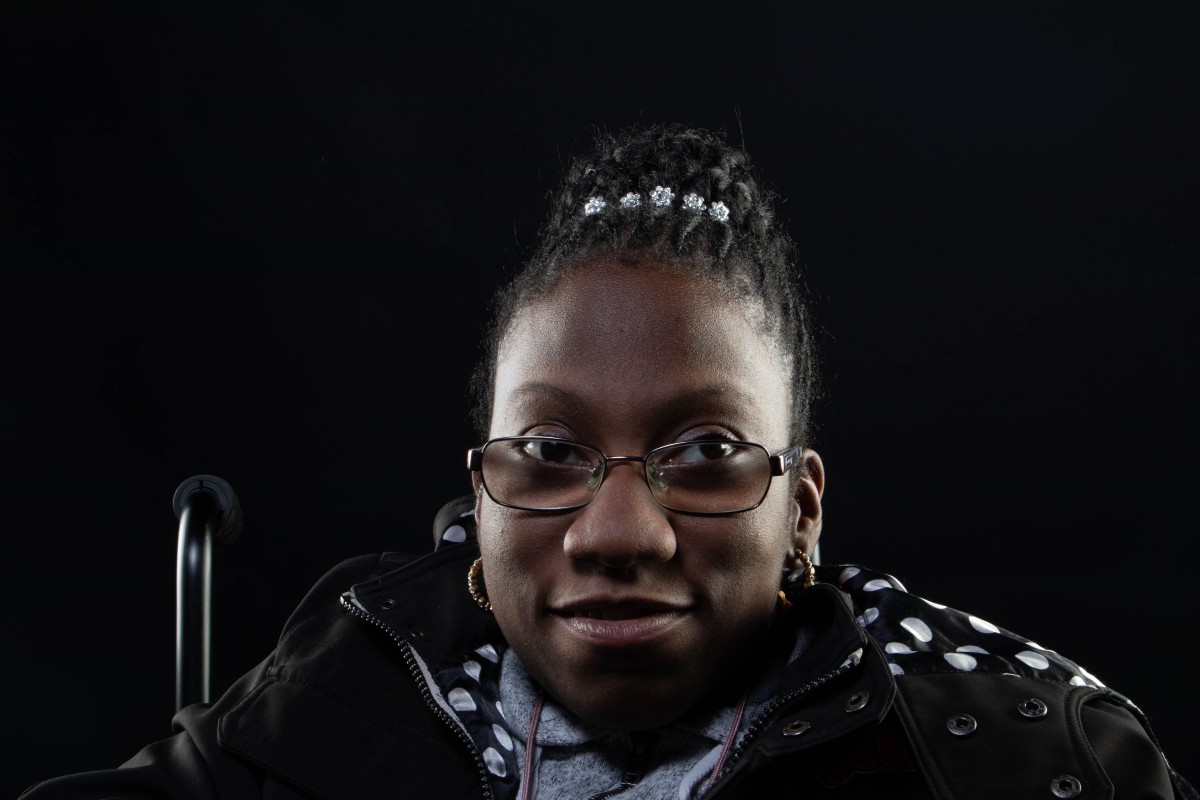
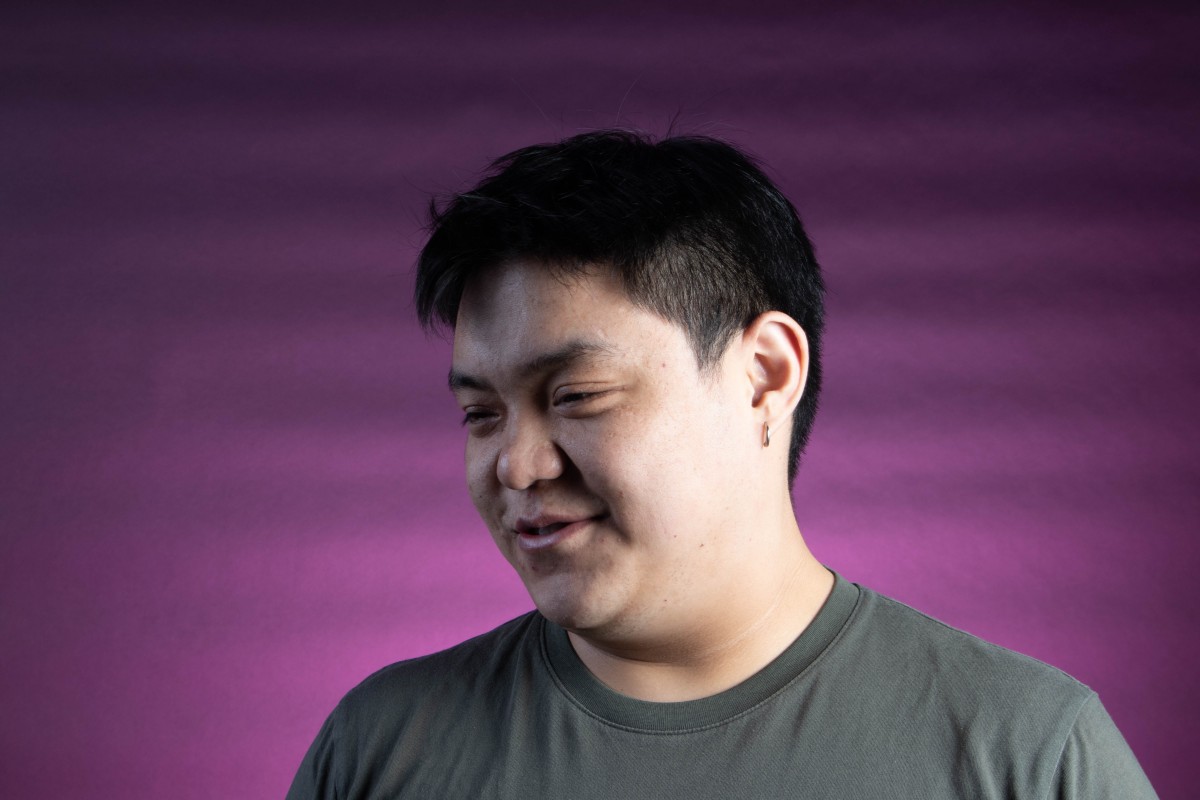
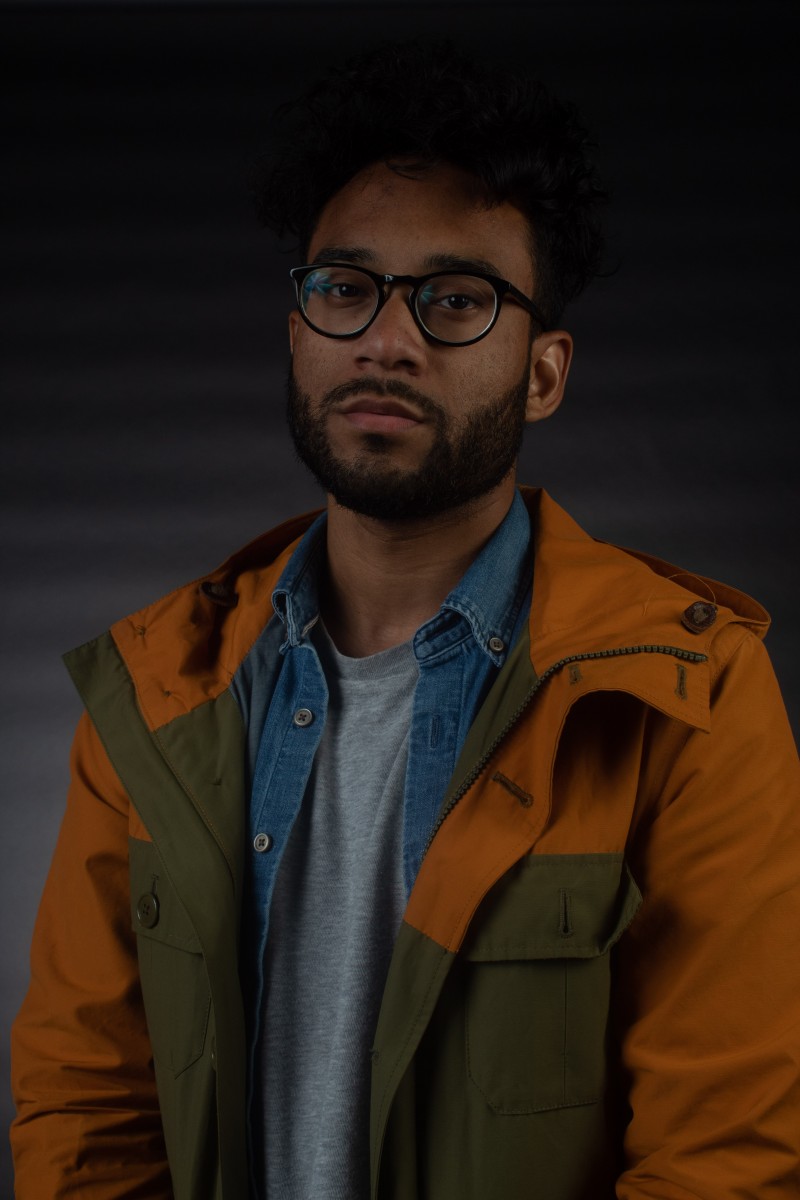
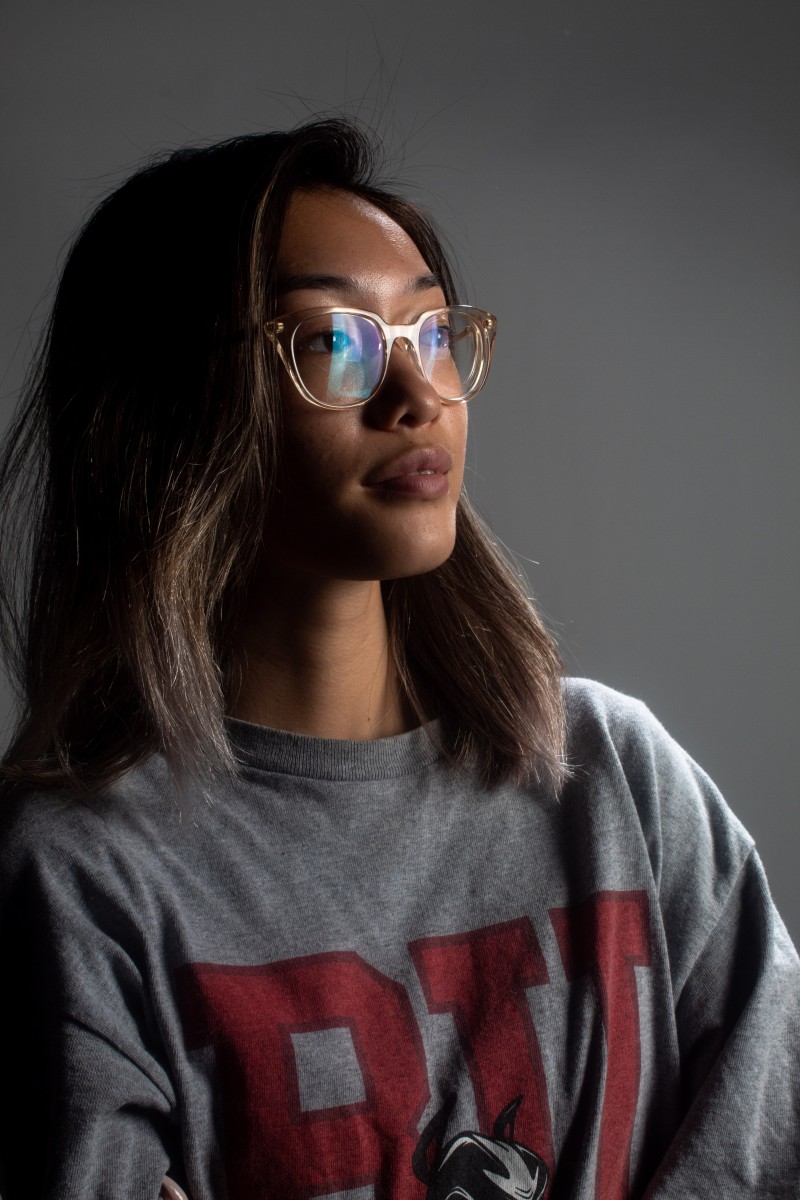
3 Point with background light
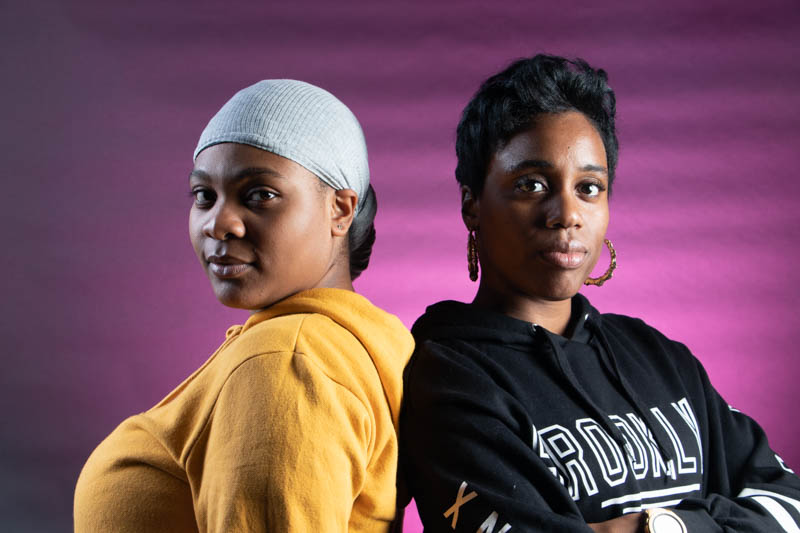
Here are my 4 Portrait lightings from today class. To achieve these images we moved around to different locations to catch a different light at each station. For the clamshell lighting we used a reflector to shine light under his face that would create highlights. I had to stand directly behind the fill light to achieve this photo. Edge lighting I placed Peter in my point of view, and stood behind the fill light which we also diffused a bit with the help of paper. The lights were placed on the side if him but towards the back of Peter. 3 point lighting Marion stood under the hair light an we used a gel to create color on top of her. With Peter for the background light he stood in front of the backlight which create a highlight of lights behind him. The played around with the butterfly light using the feather technique taught today also. Overall I really like the way my photos came out, and I learned a-lot.


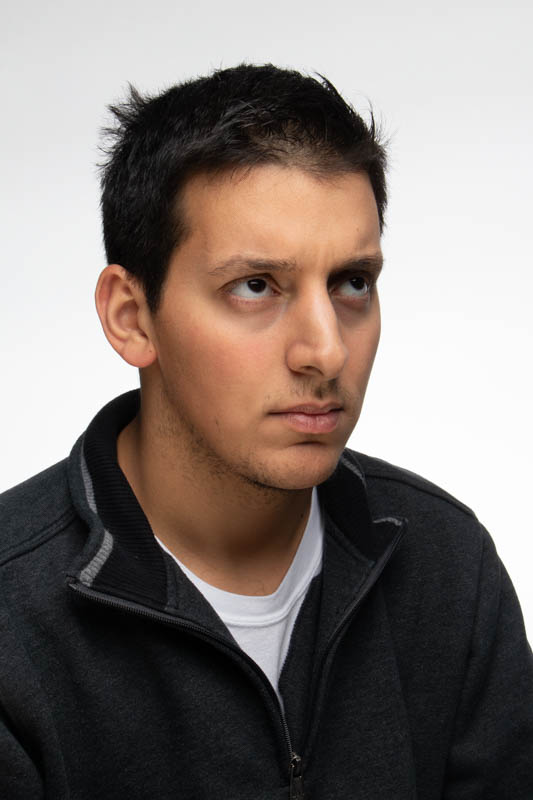
 short lighting
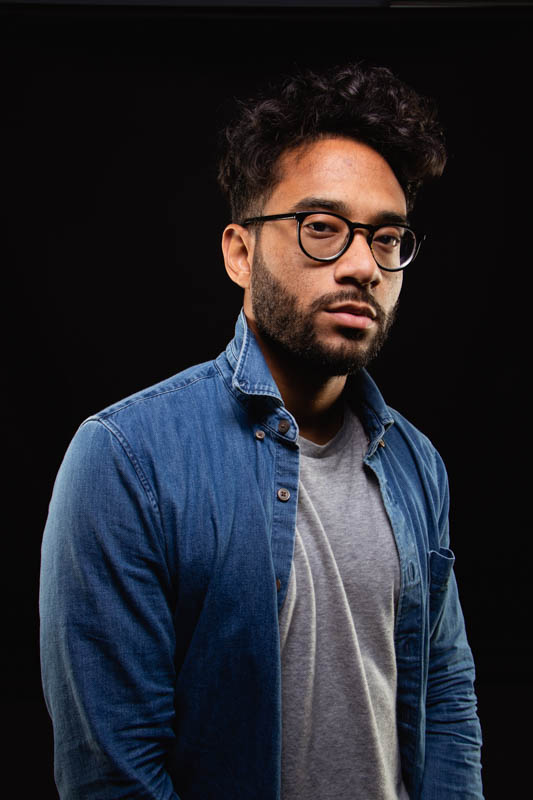
 Butterfly lighting
 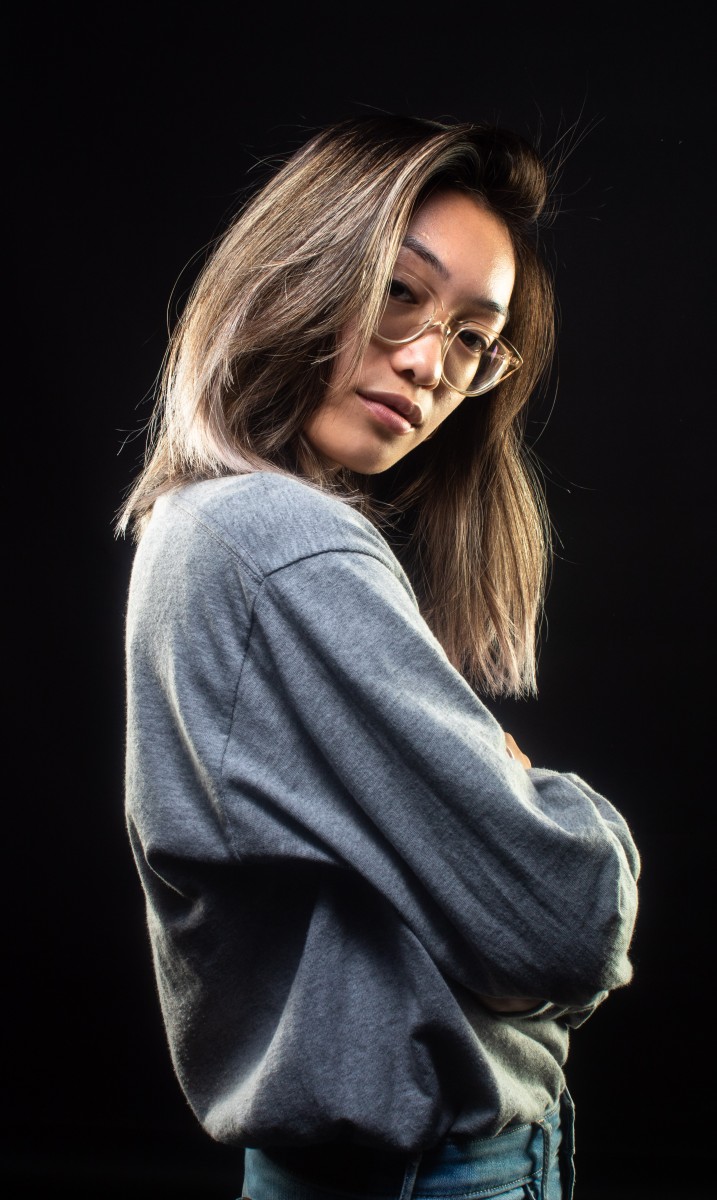 Edge Lighting