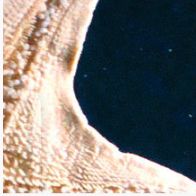
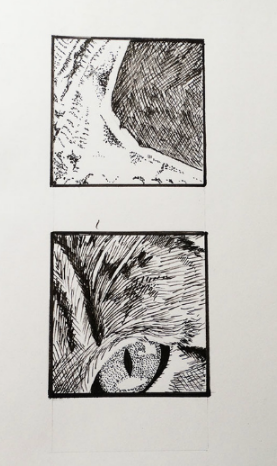
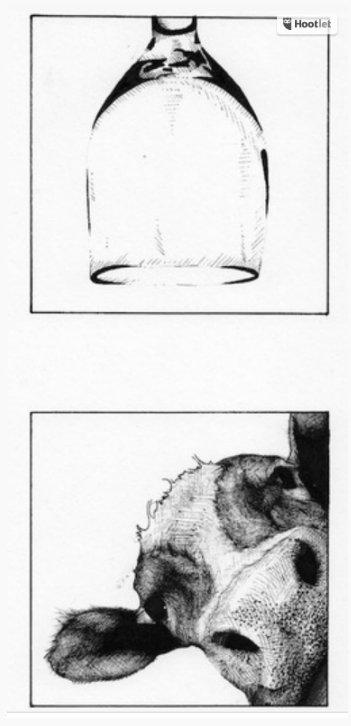
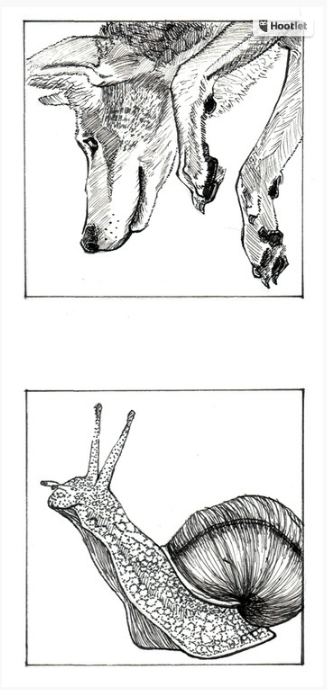
This week in your sketchbook, we will practice rendering texture and line in ink.
Begin by finding photo references for two objects.
Choose objects that are very different from one another. They do not need to relate, thematically.
Looking at your references, ink the surfaces and details as realistically as you can with various pens. Try all the tools you have! Rendering different textures is a good way to explore different ways of inking and becoming familiar with your pens.
You must have a minimum of five different textures total for the two objects.
Detailed Directions:
PART 1 – Use Pencil to sketch.
- Find a photo reference for two objects of varying texture, such as a wood-grain surface, basket, mammal, reptile, grass, flower, tree, metal surface, etc. The objects must have very dissimilar surface textures.
- Draw two 3×3 Squares in your sketchbook. (Hint: you can also sketch FIRST and draw the box later to crop the drawing in a way you find interesting.)
- Position and scale your sketches to create interesting positive and negative shapes with the 3-inch square.
- Using pencil and paper, sketch from the reference, focusing on its contours. Draw the majority or entirety of the object.
PART 2 – INK
- Before you begin to ink, preplan the strokes. Mentally organize the shapes that are to be a pattern, texture, or local color/value. You need to decide whether the stroke has a specific function, such as defining a form or creating a surface like fur or scales. No strokes should be random.
- Ink the two 3-inch x 3-inch squares.
Post when complete:
GO TO: CLASS SITE
DASHBOARD > POSTS > ADD NEW >
Write your post. Add a Descriptive title.
Choose CATEGORY (bottom right side): Sketchbook > Week 8 Sketches
PUBLISH
Please add your introduction by [DATE AND TIME]. It should be between [250-300 words].
Before next class, read the comments and get to know your classmates!
For extra credit, reply to one of your classmates’ comments. Do you have something in common? Did you learn something? Be kind.


Leave a Reply