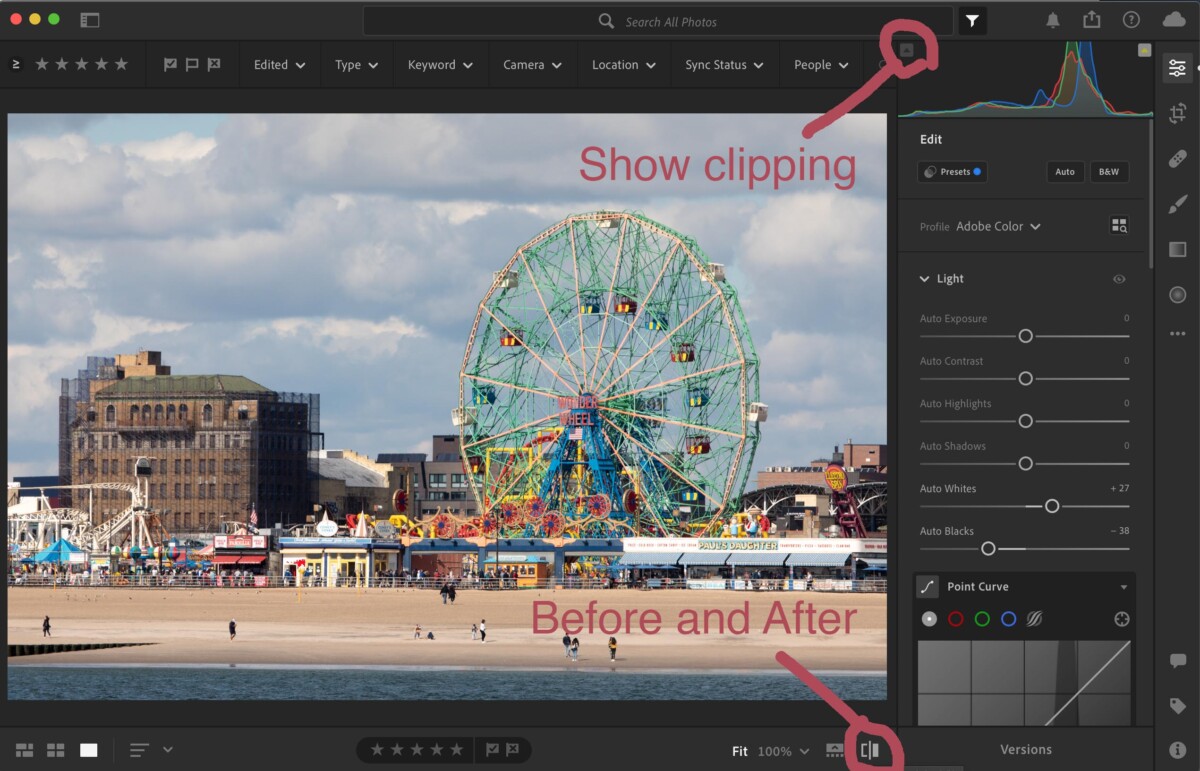
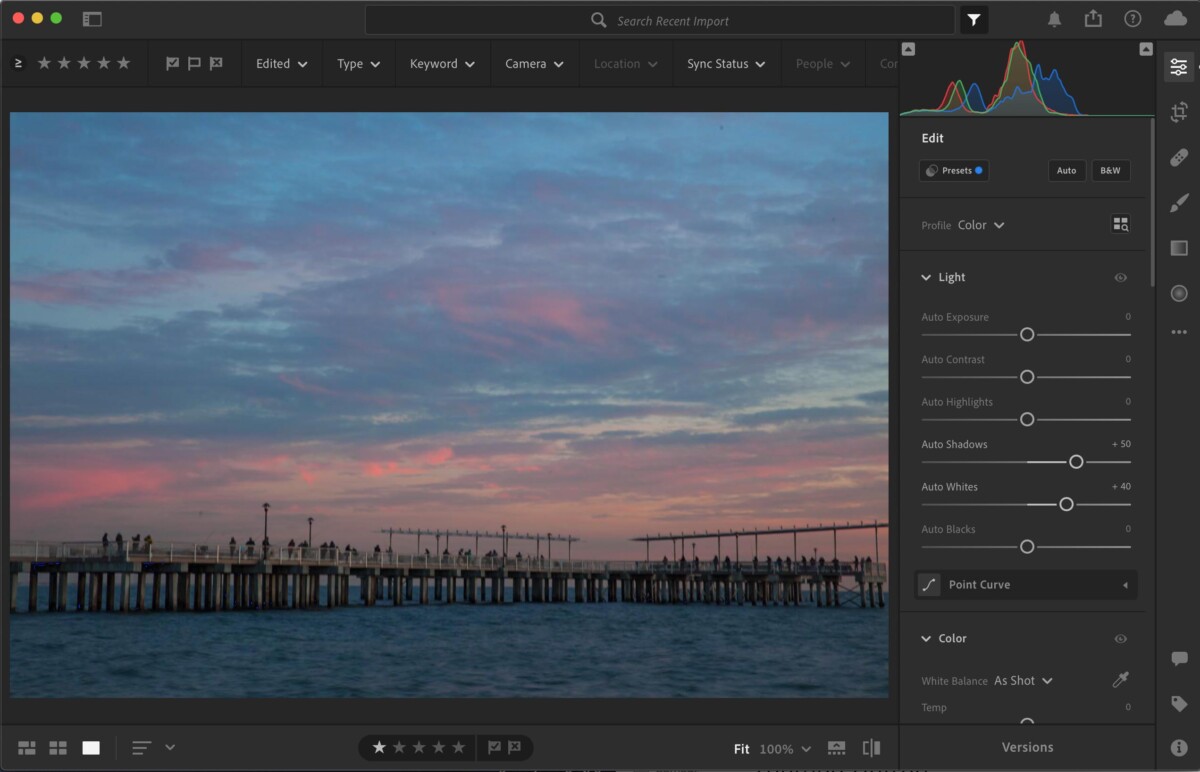
Review Global Corrections
Global corrections adjust the entire file. In the Lightroom, it includes the controls under Light, Color and Effects. In Lightroom classic, this includes everything in the basic panel: White balance, Tone and Presence.


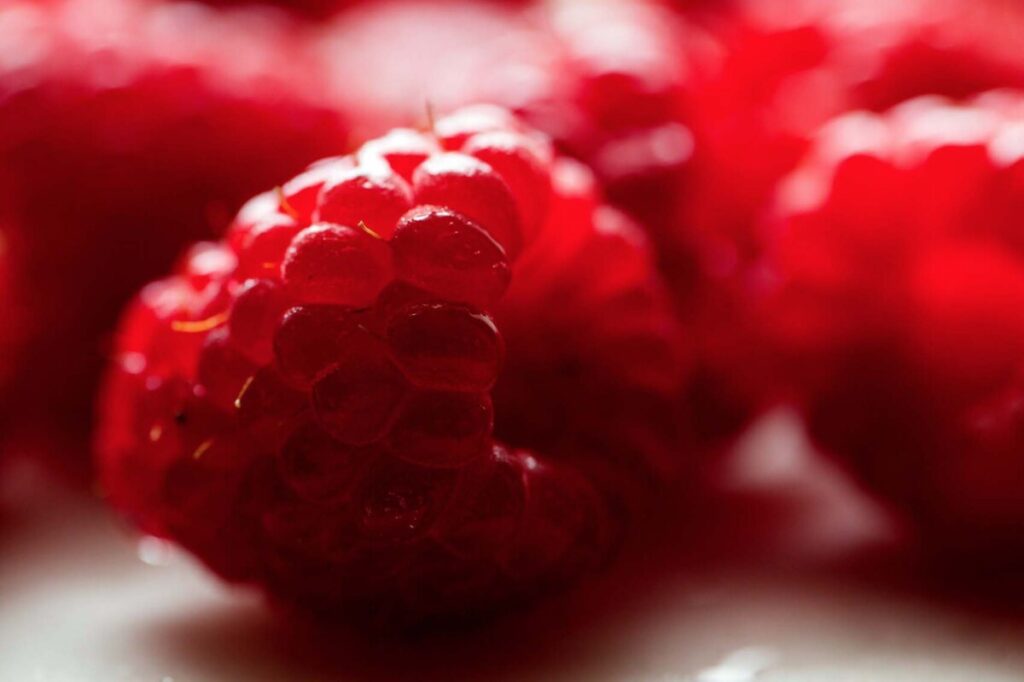
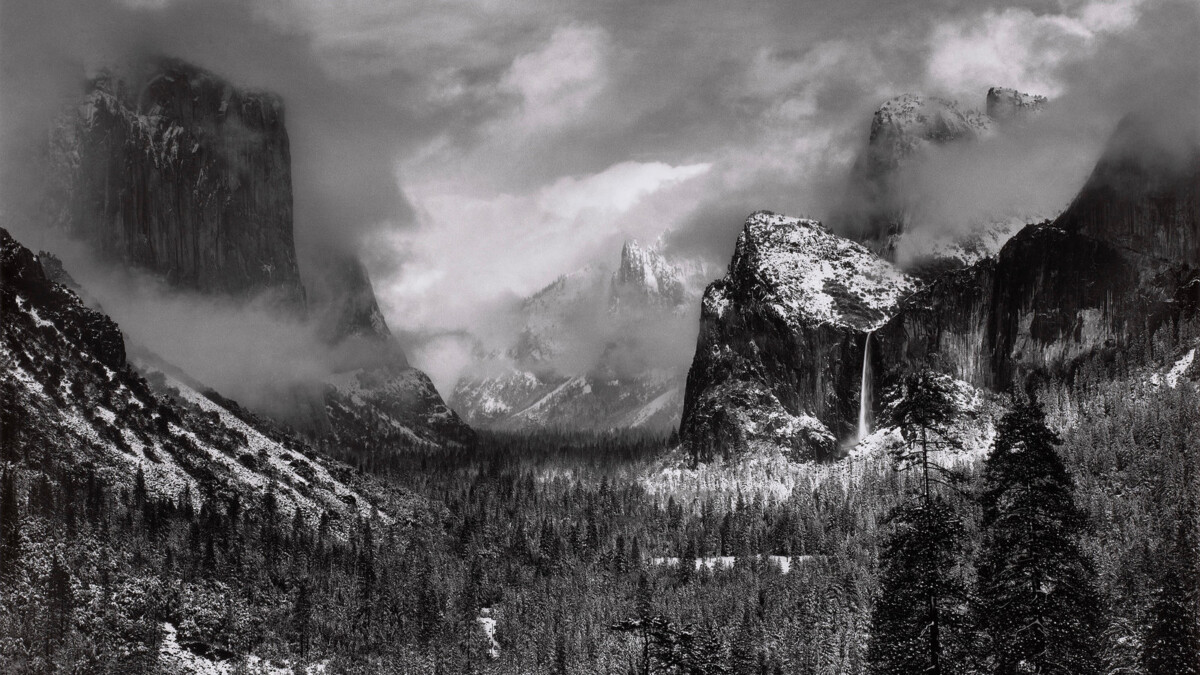
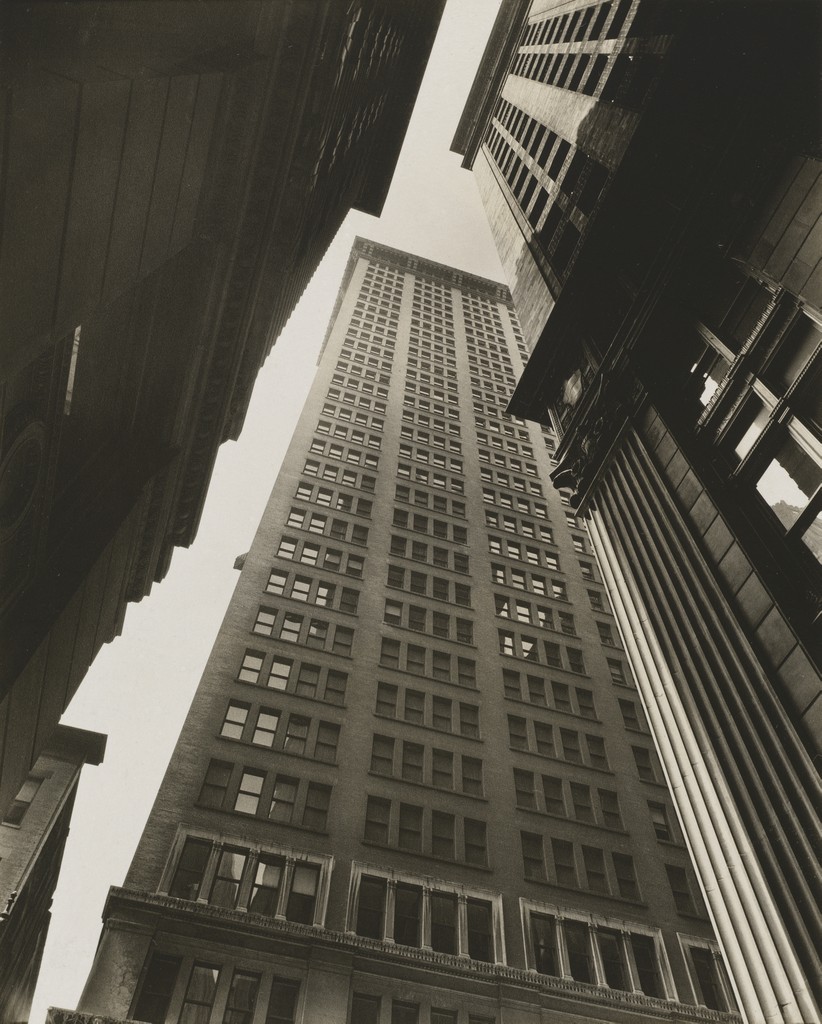
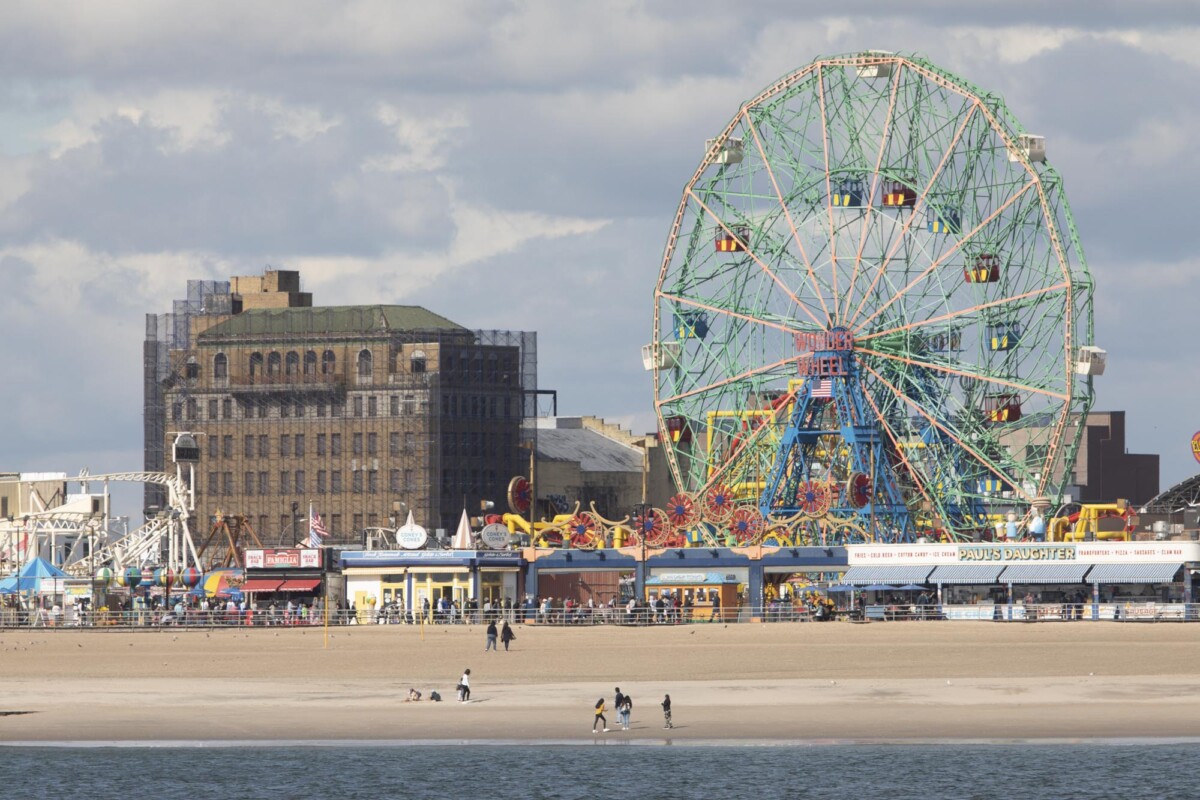
Download and color correct both files. Put the corrected versions in an album on Flickr.
Local corrections
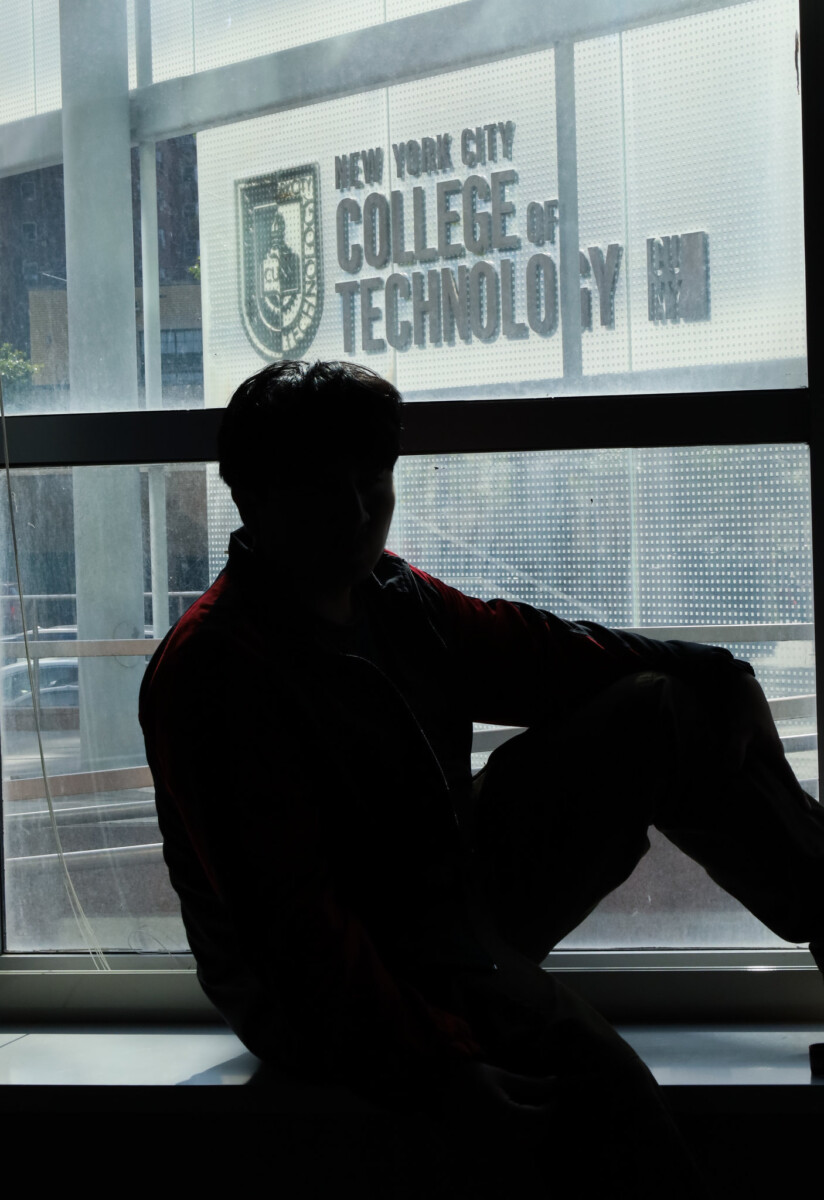
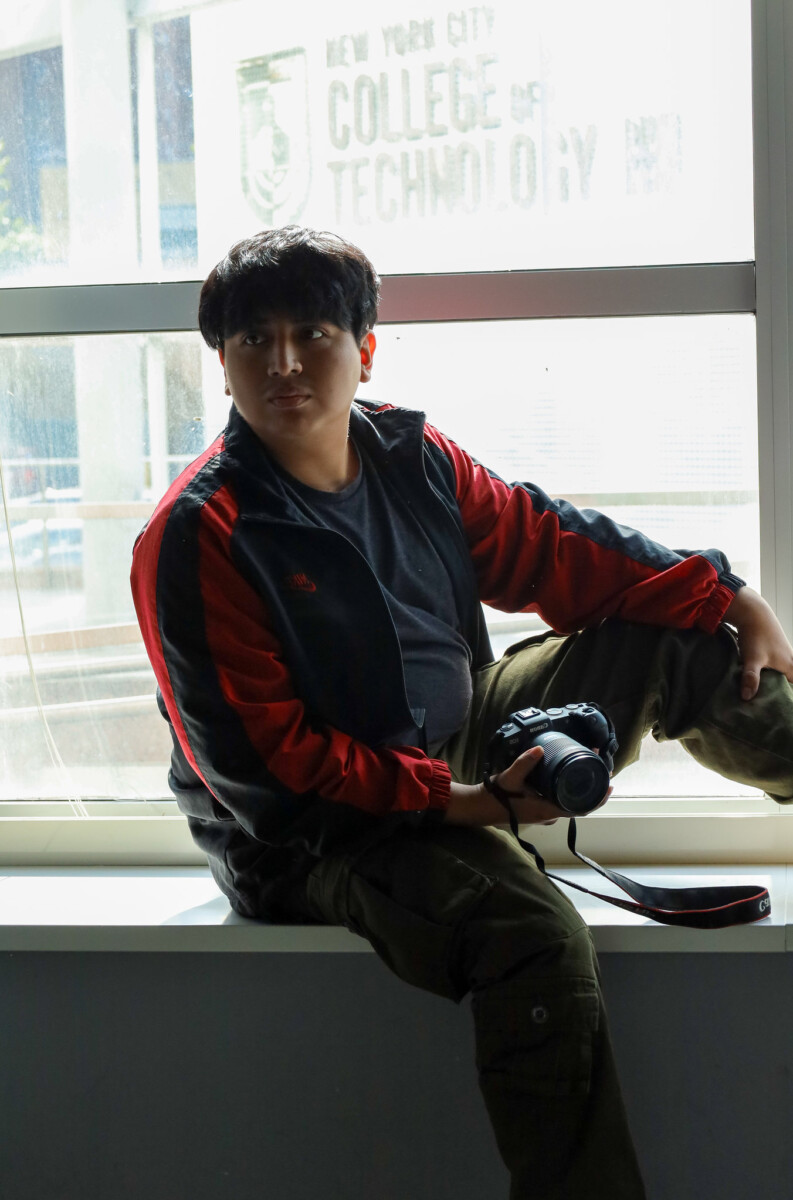
After you make global corrections, sometimes you will want to make corrections to part of your image. Generally, the brightest part of the image commands the most attention. Sometimes that is not where you want your viewer to look first so shifting the exposure of parts of your image can create the image you want.
Masking
Lightroom allows you to select part of the scene and mask it so you can work on only that part of the image. It can select
- the subject
- the sky
- the background
- specific people
- with the object tool for things with hard edges
- with the brush
- with a gradient
Example 1
This is an image I shot at the Dance Bloc Festival of The Dynamite Experience.


Image one is the file as shot.
Image two uses a subject mask.
Image three uses a second mask created with the brush to reduce the brightness of the crouching figure.
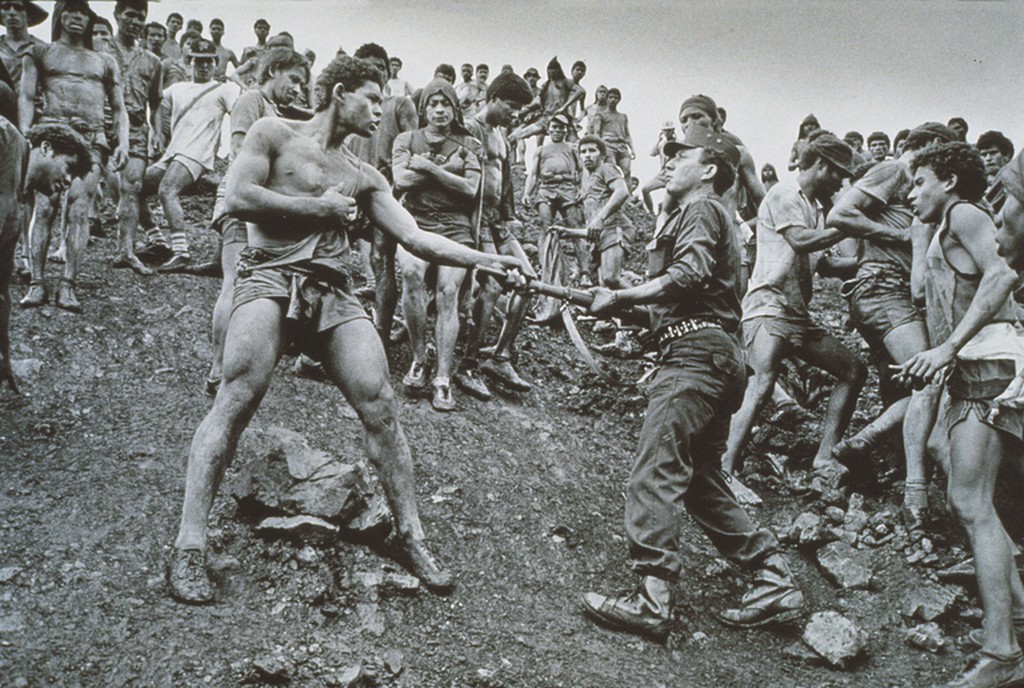
Example 2
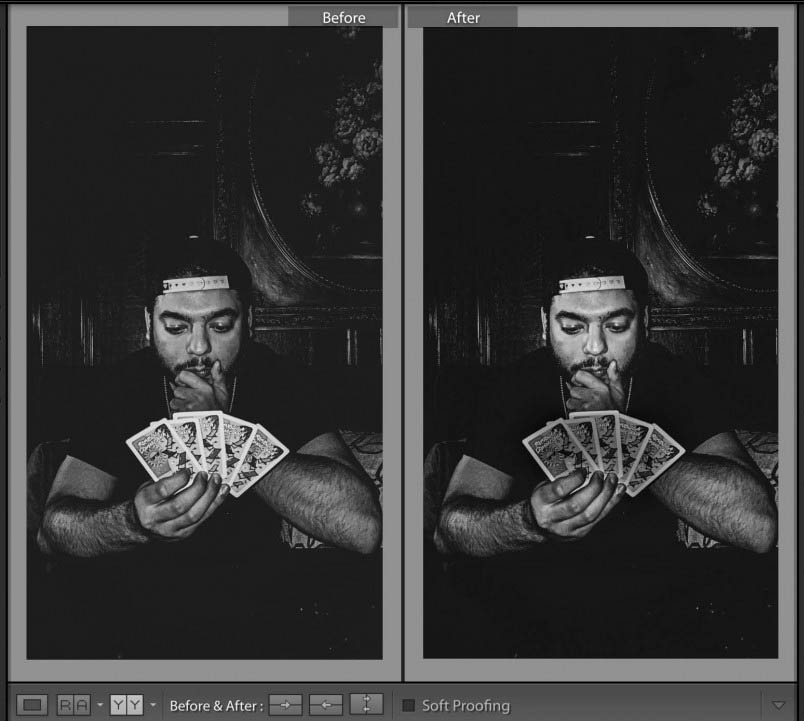
The important thing in this photo by Bryan Rodriguez is the face of the card player. However the cards are brighter and demanded too much attention. Using the adjustment brush, I darkened the cards. Creating a second adjustment, I lightened the face of the card player a little more. The goal was to bring more attention to the person’s face and less to the overly bright cards.
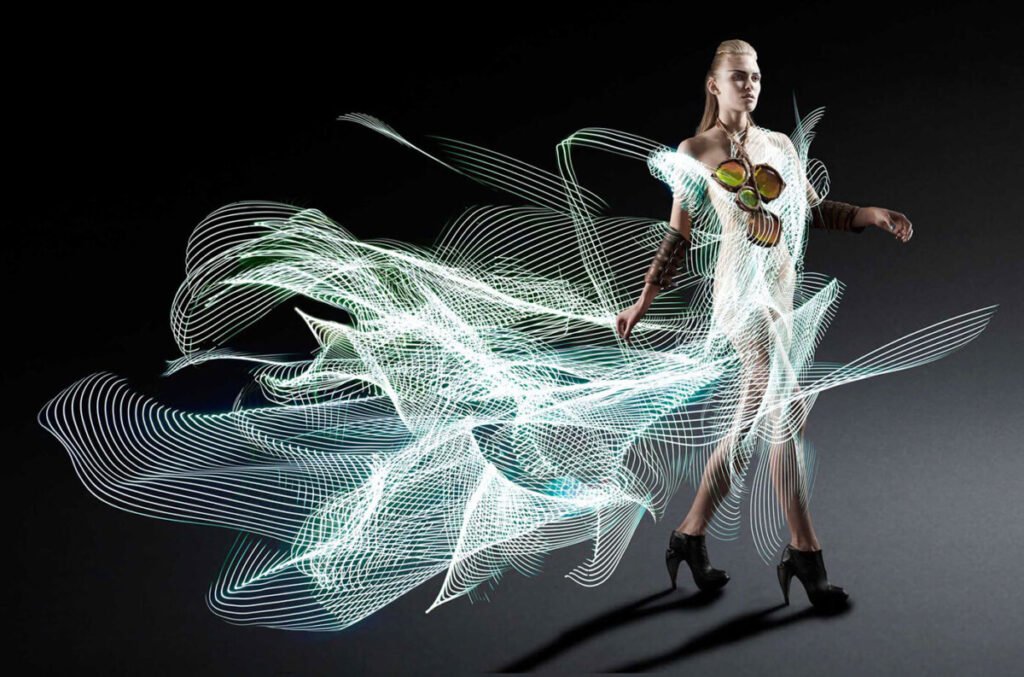
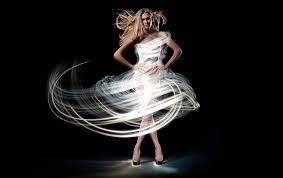
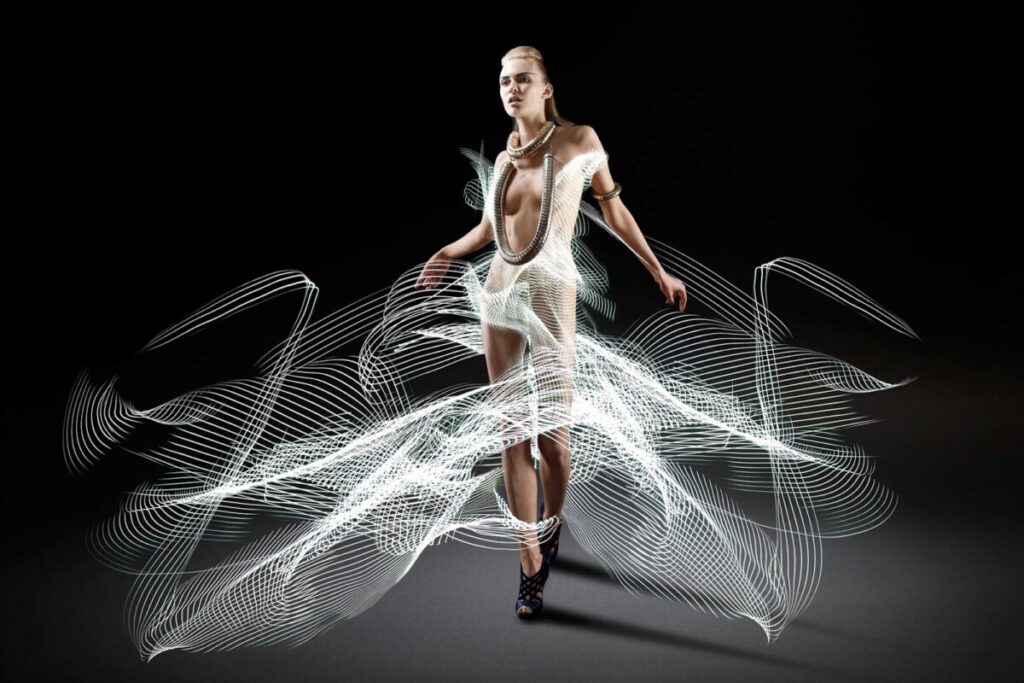
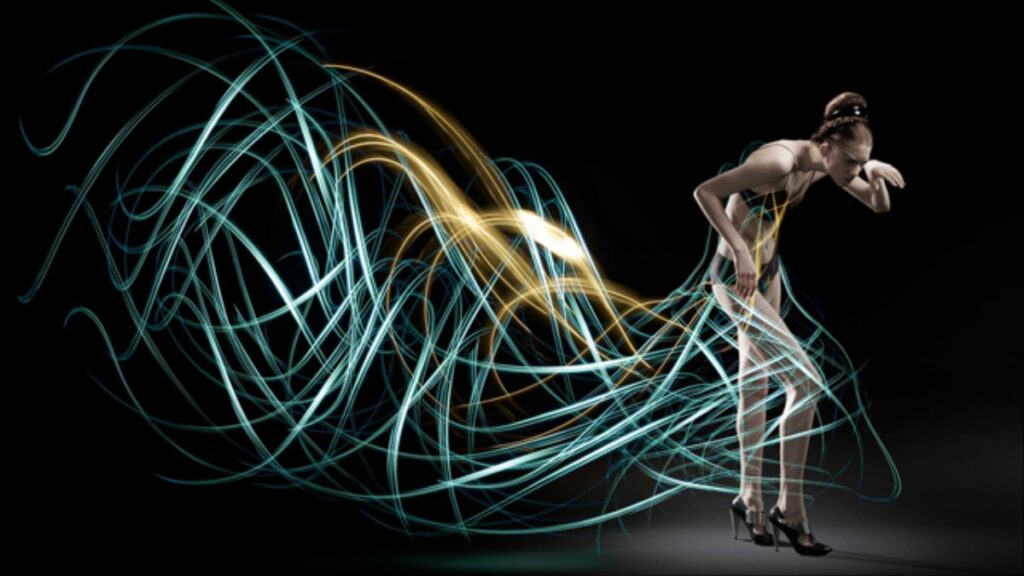
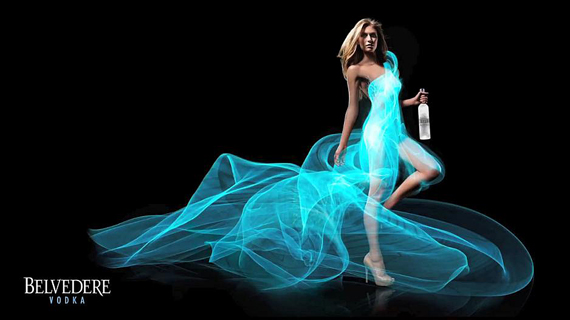
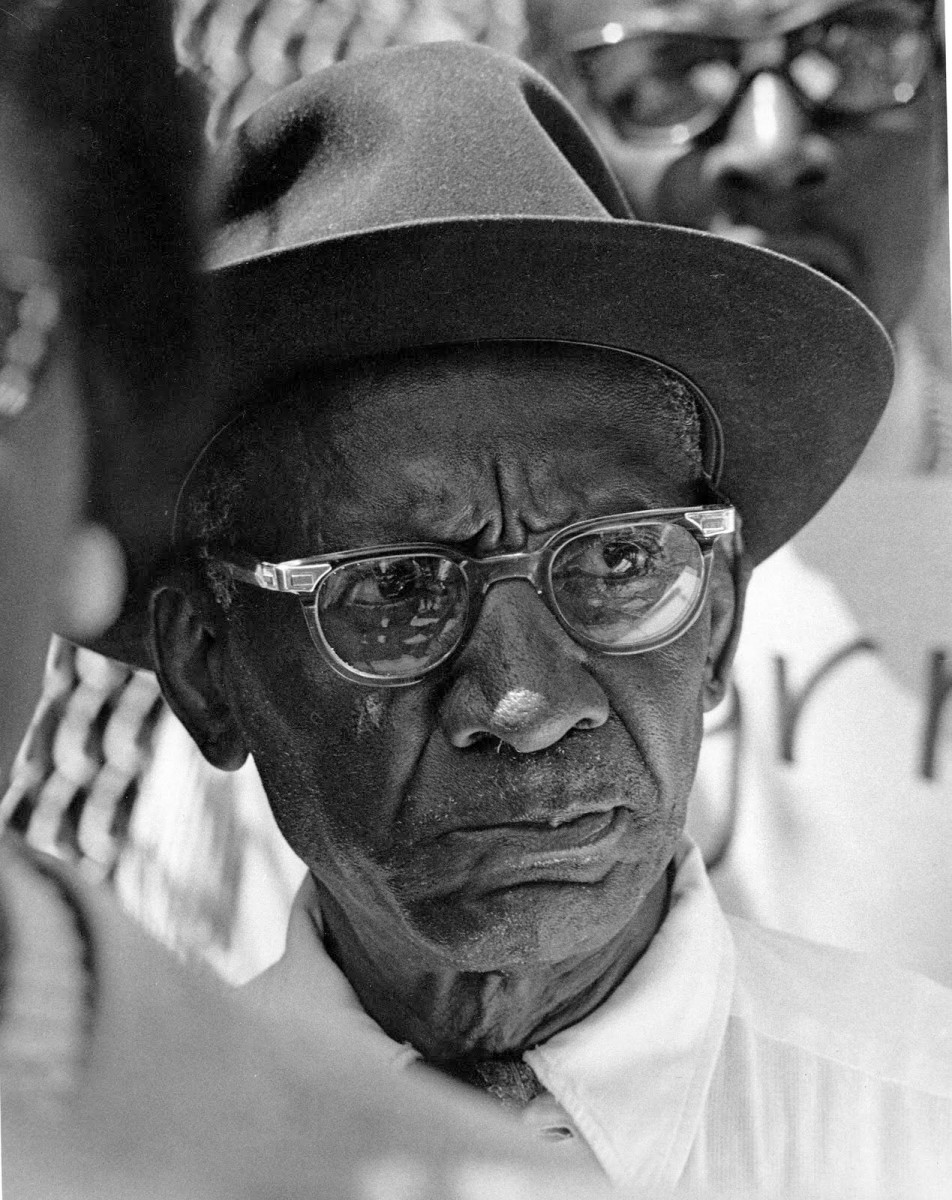
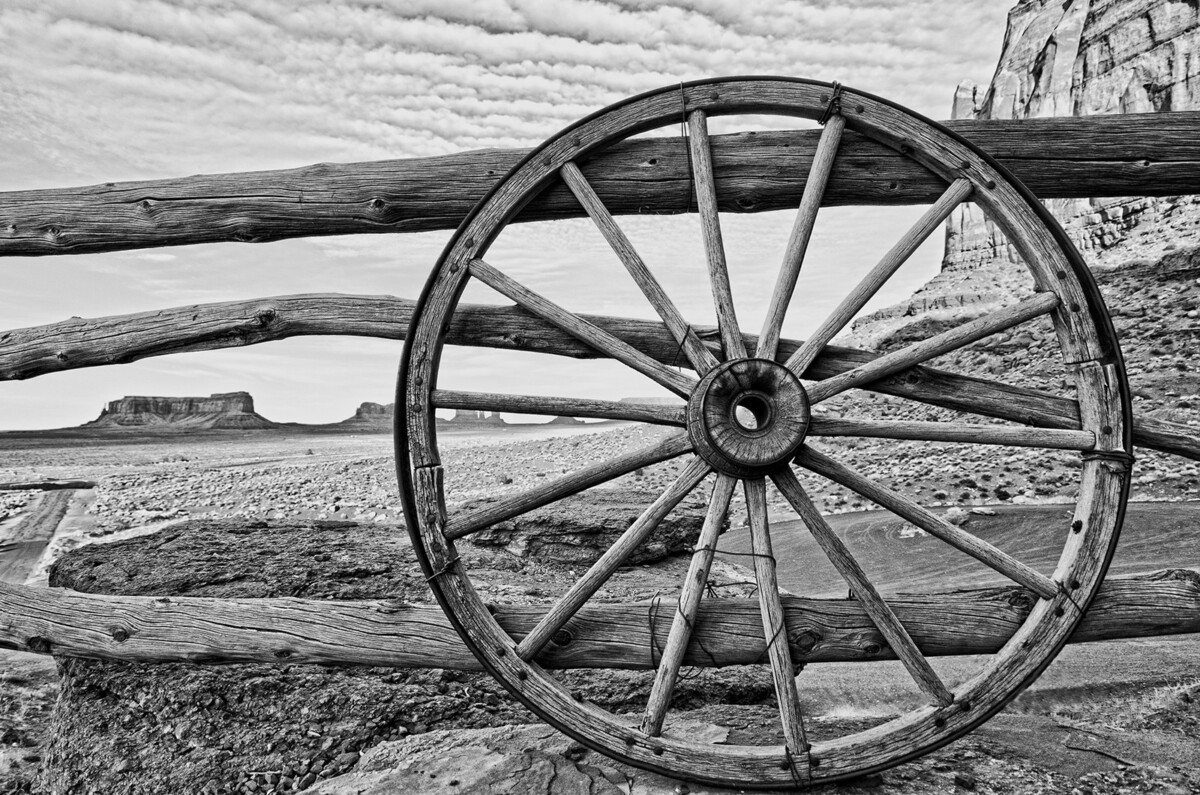
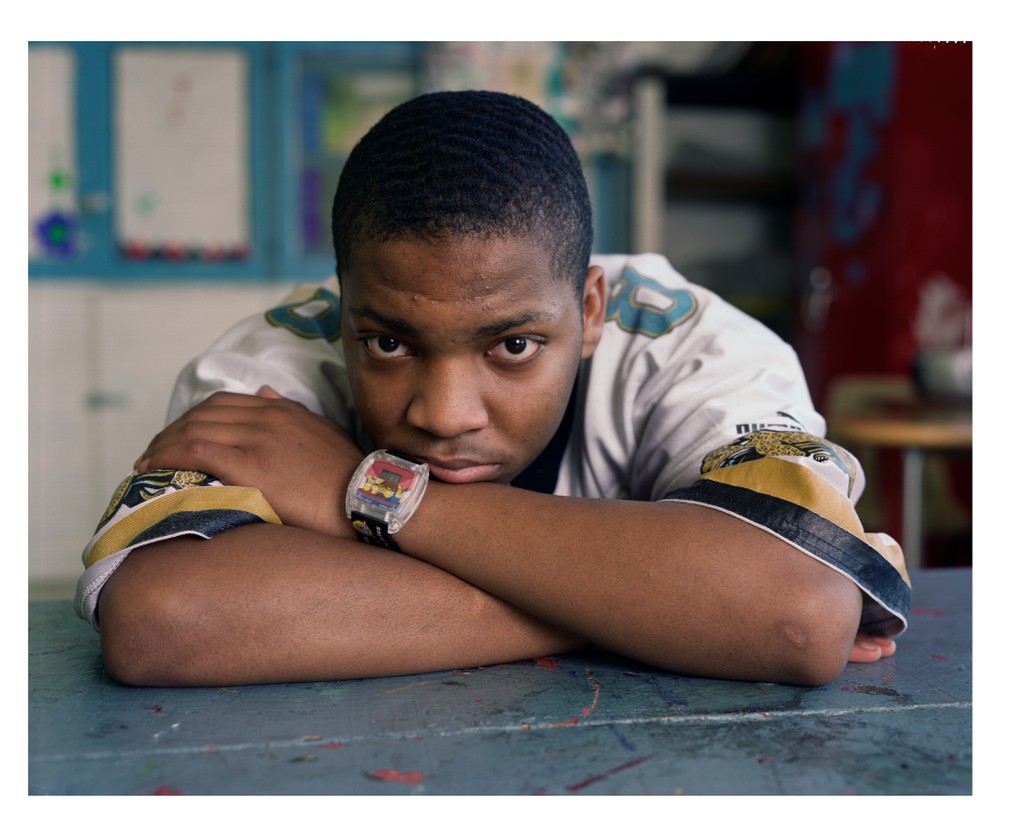
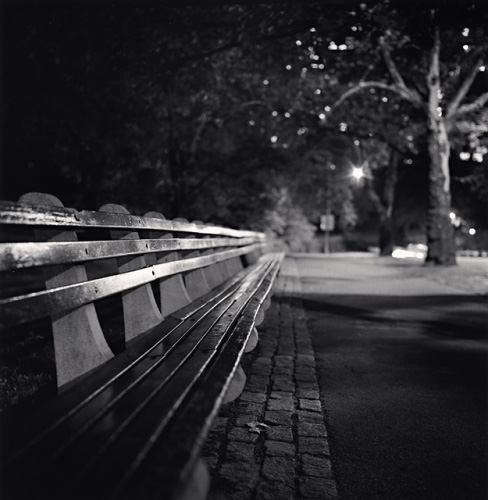
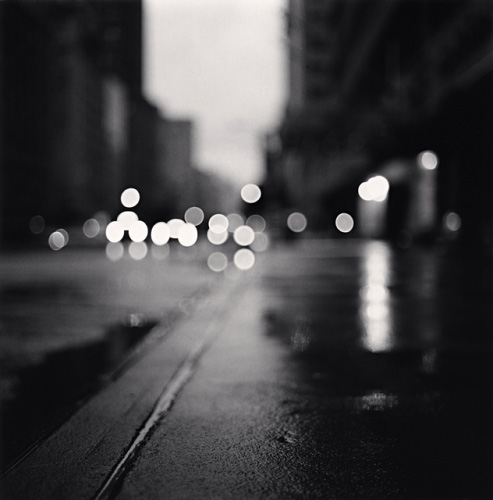
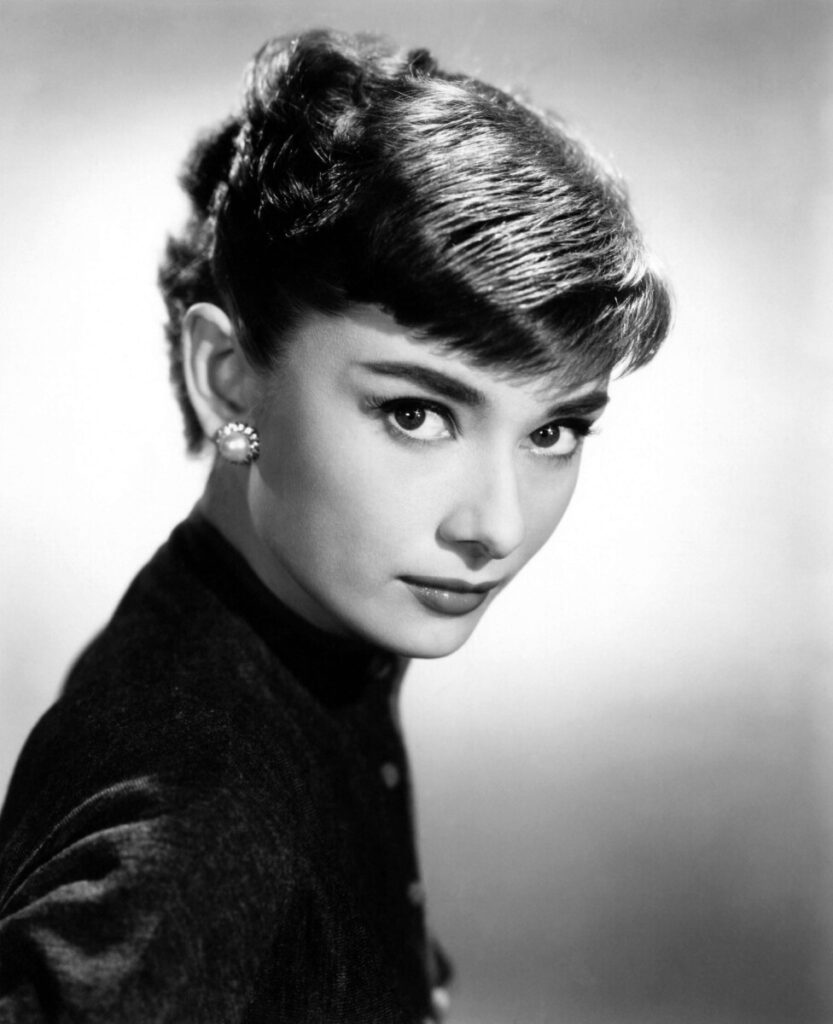
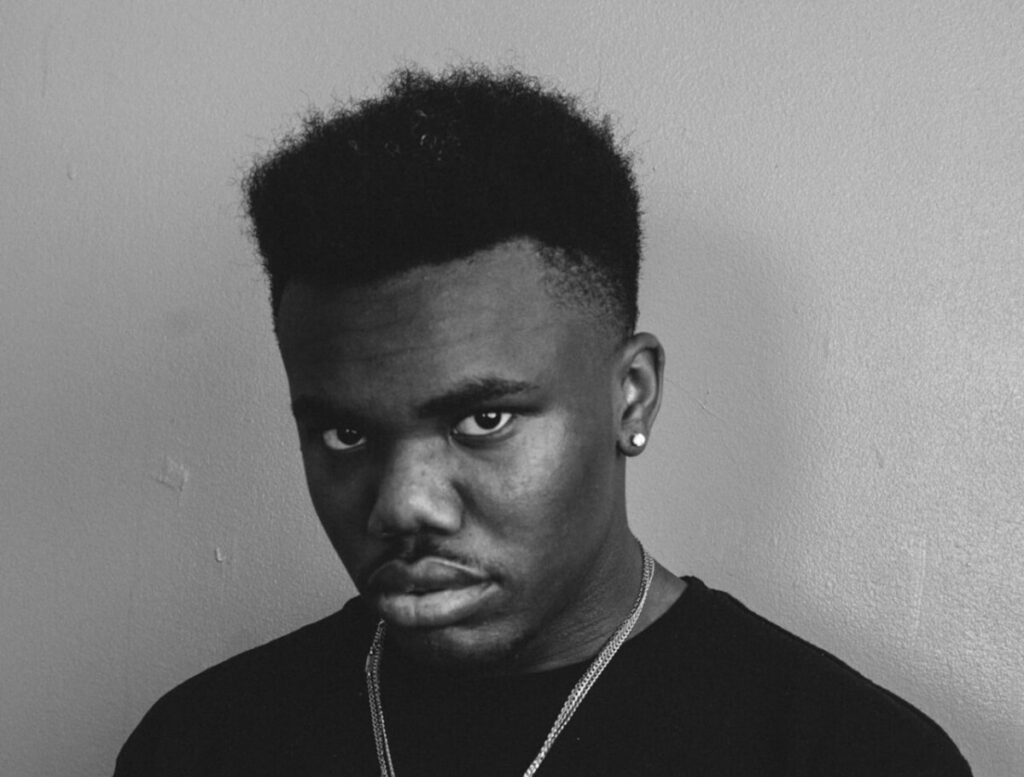
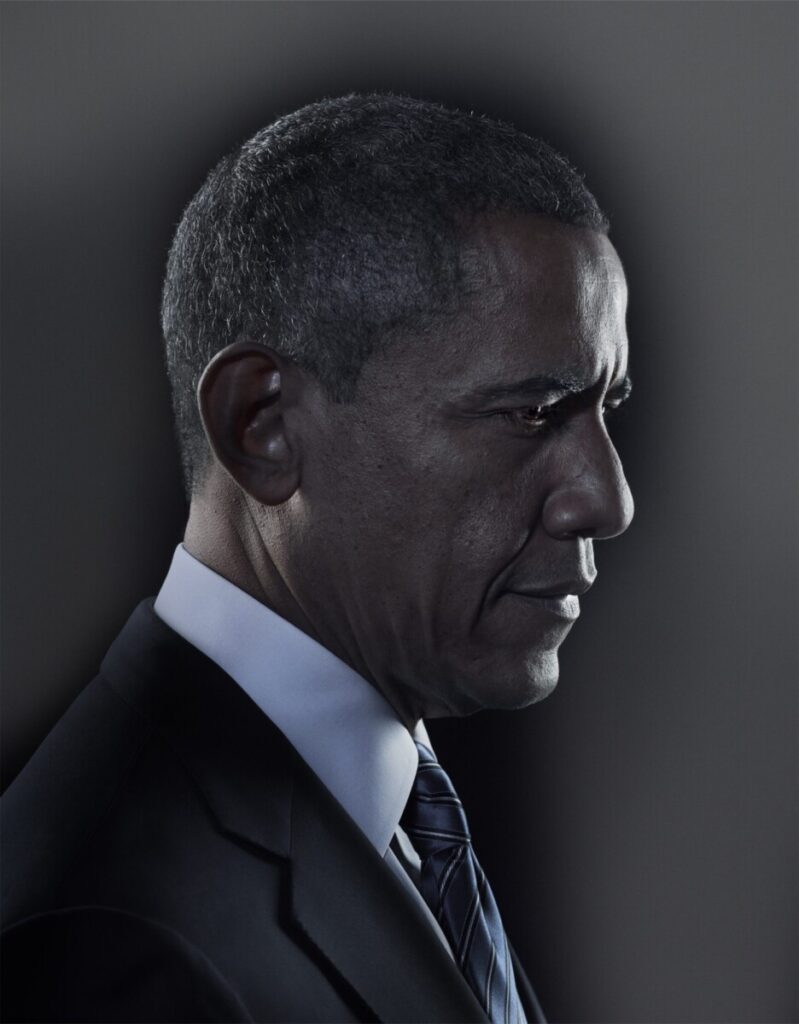
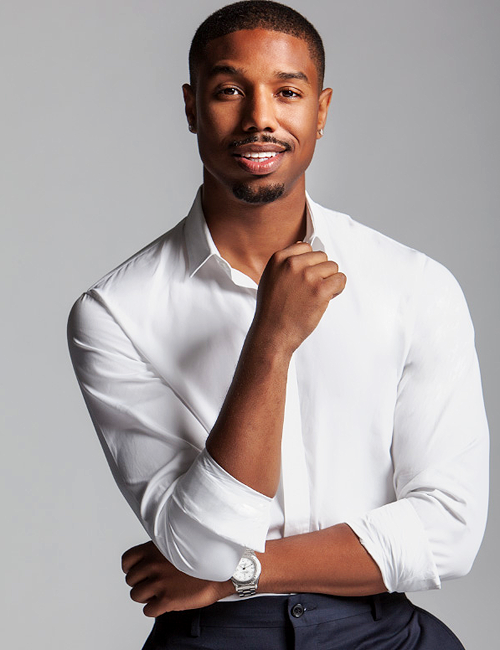
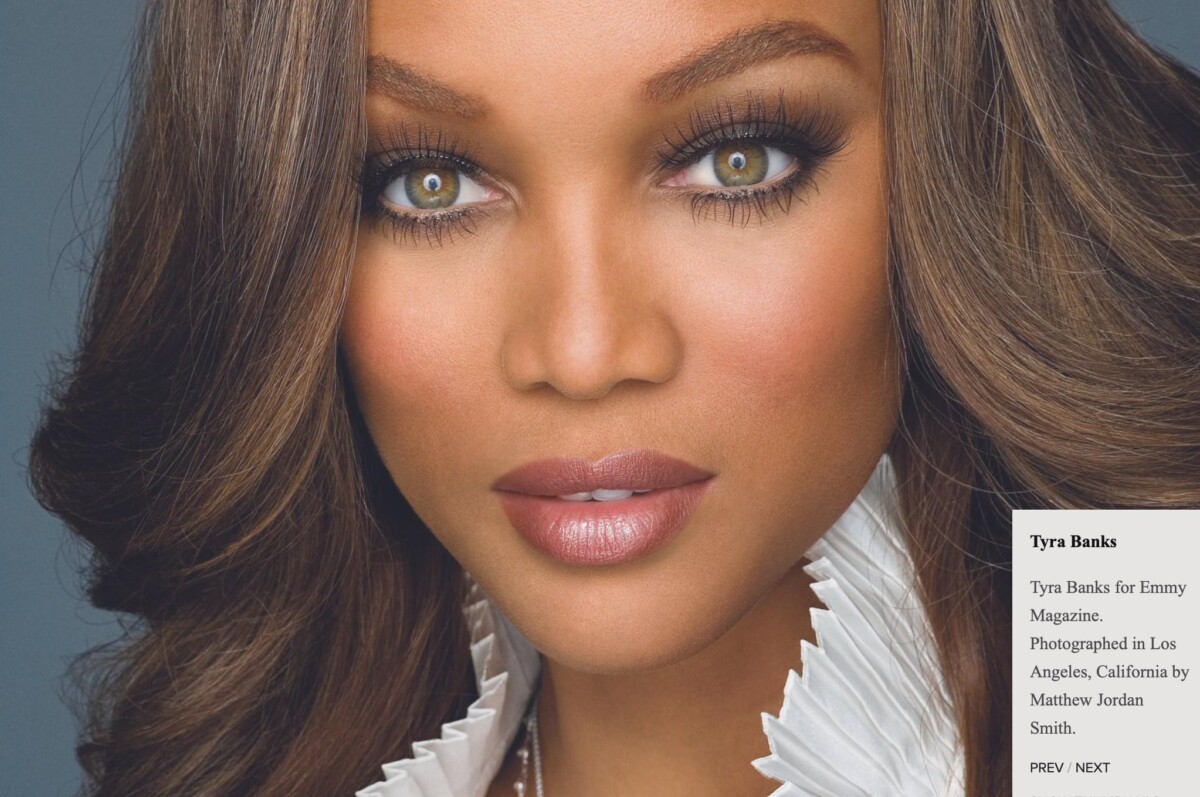
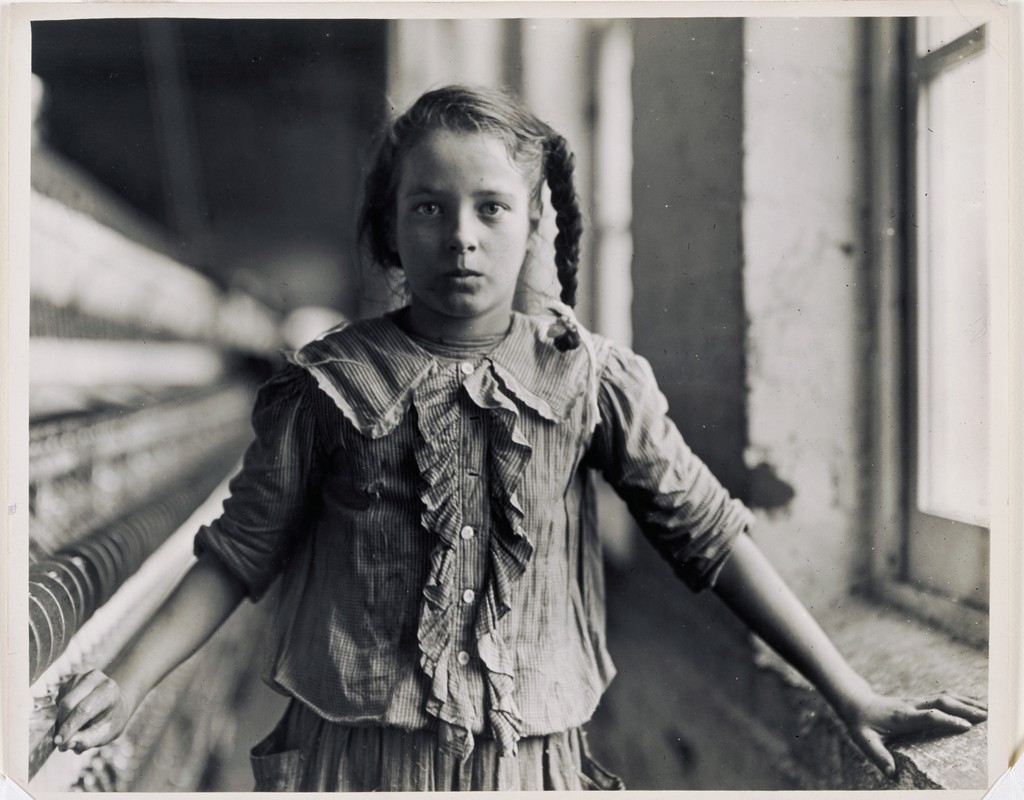
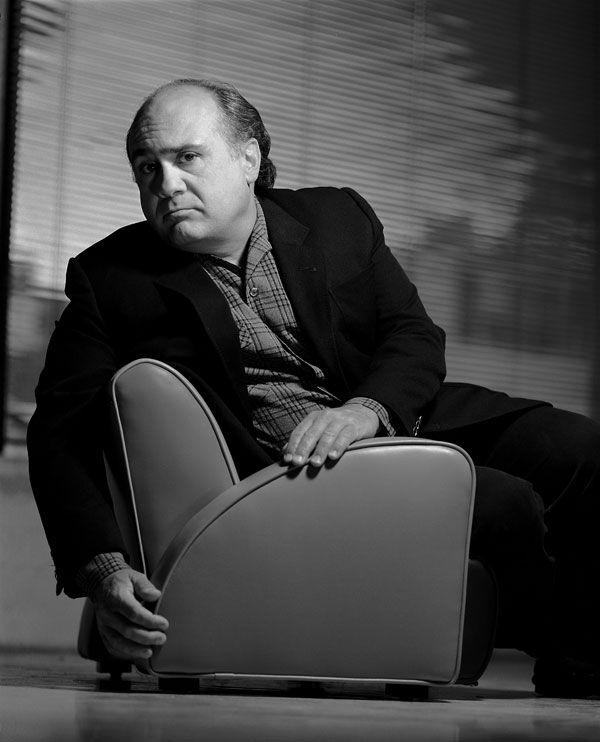
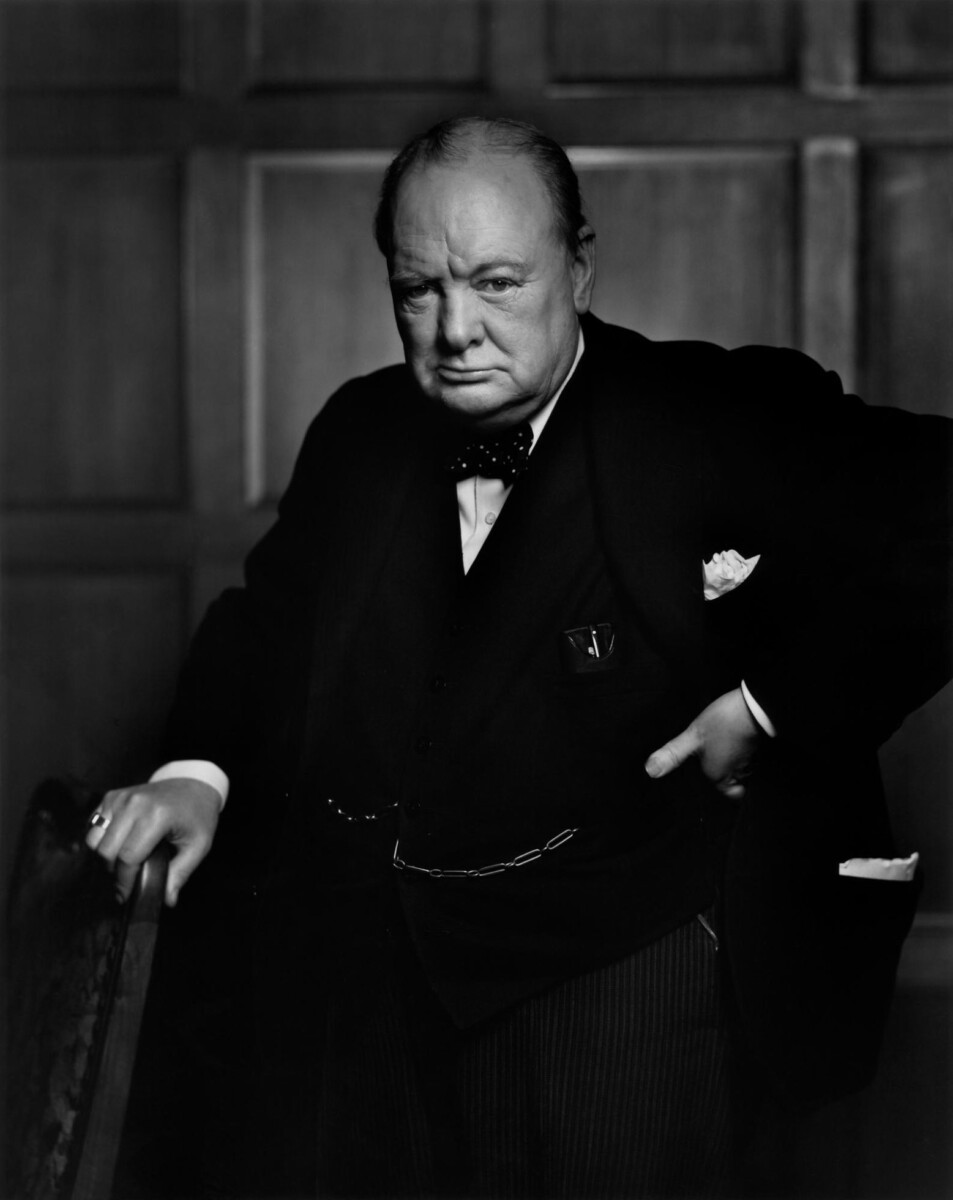
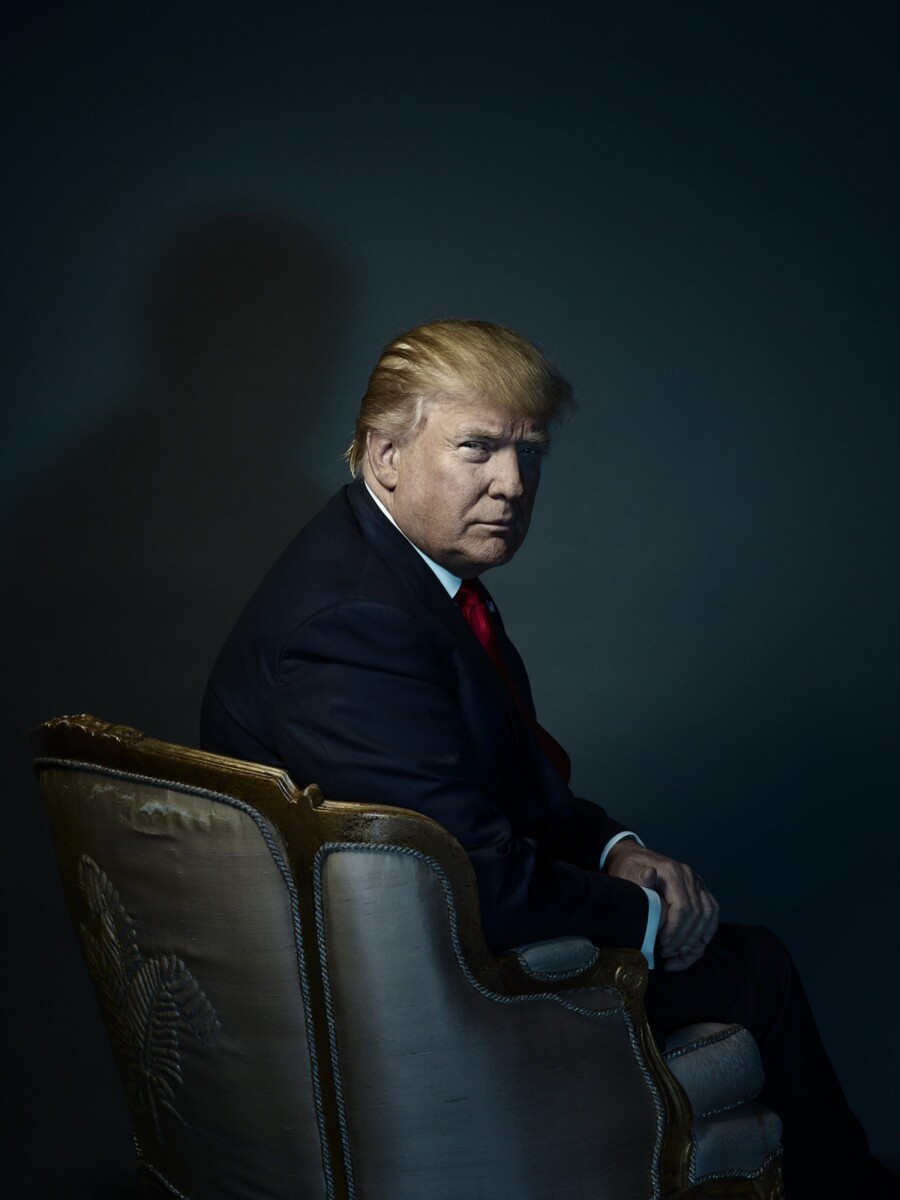
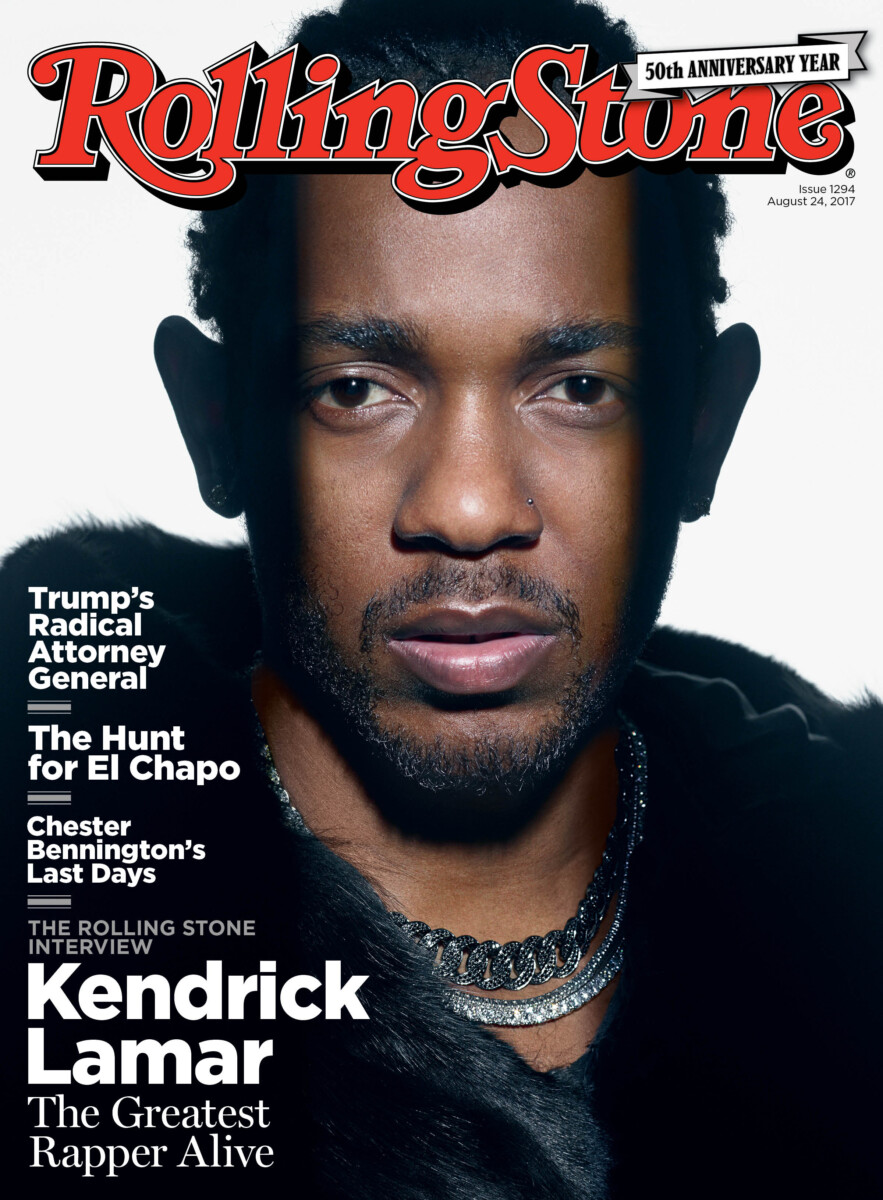
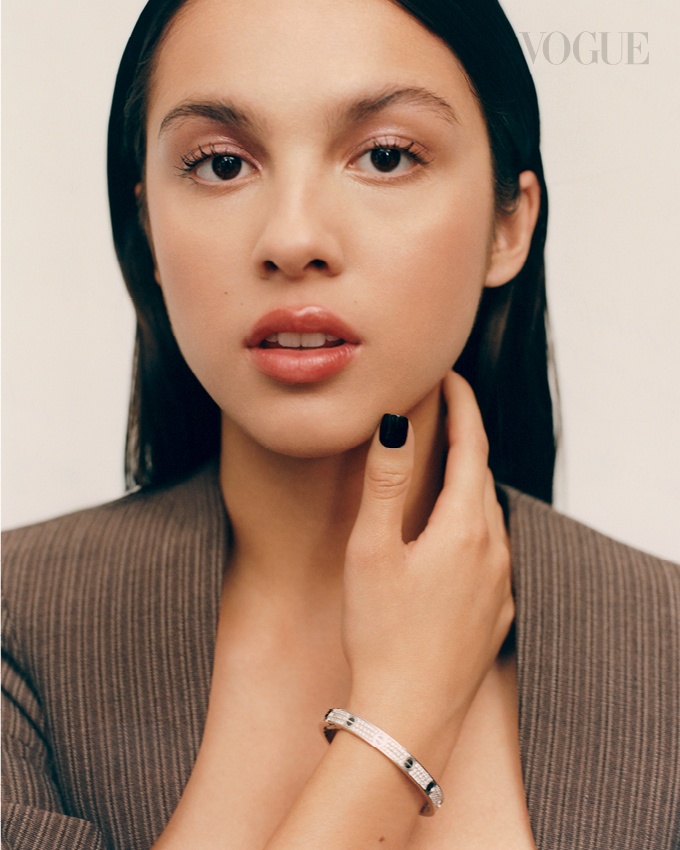
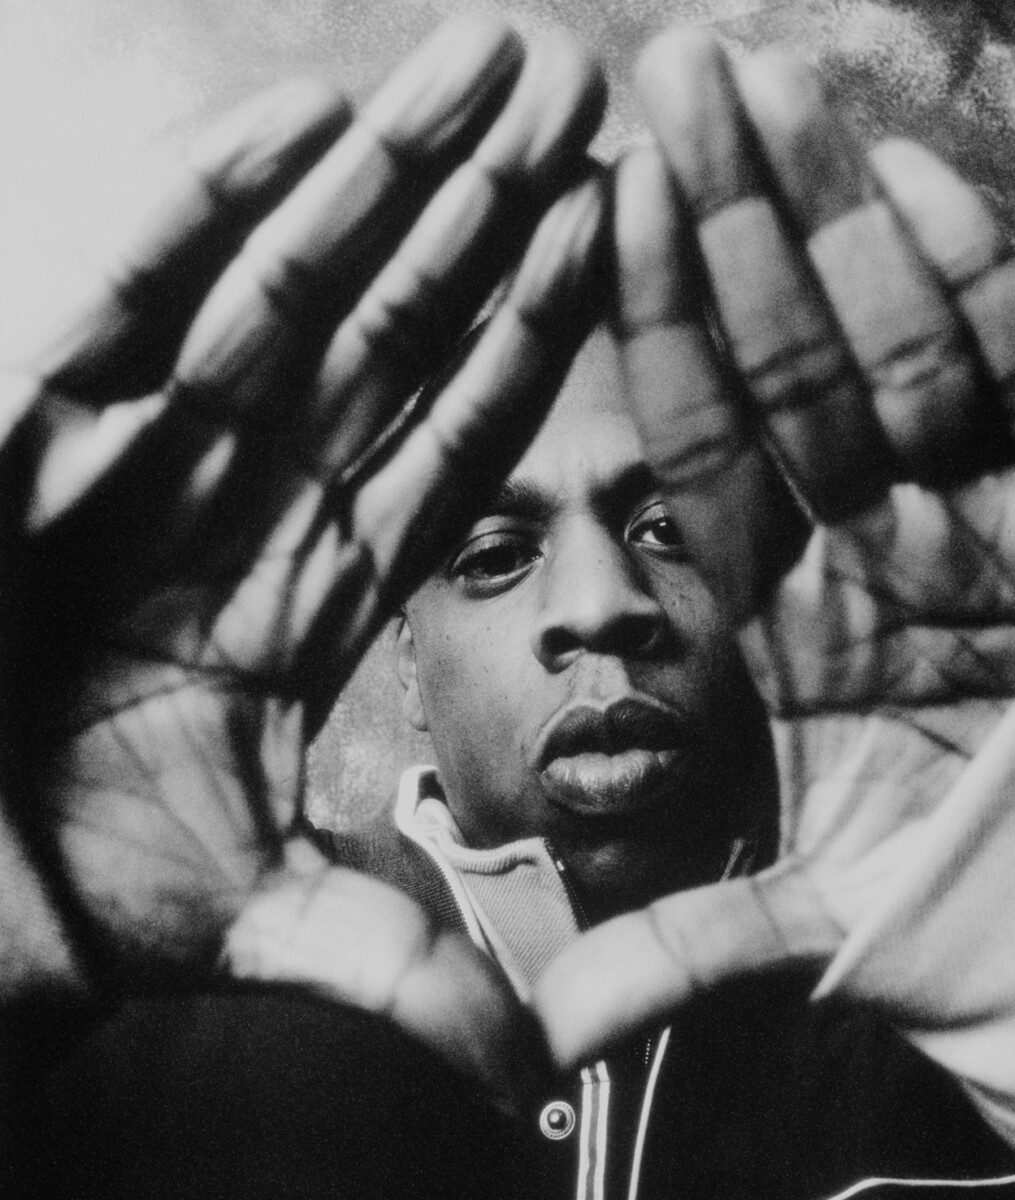
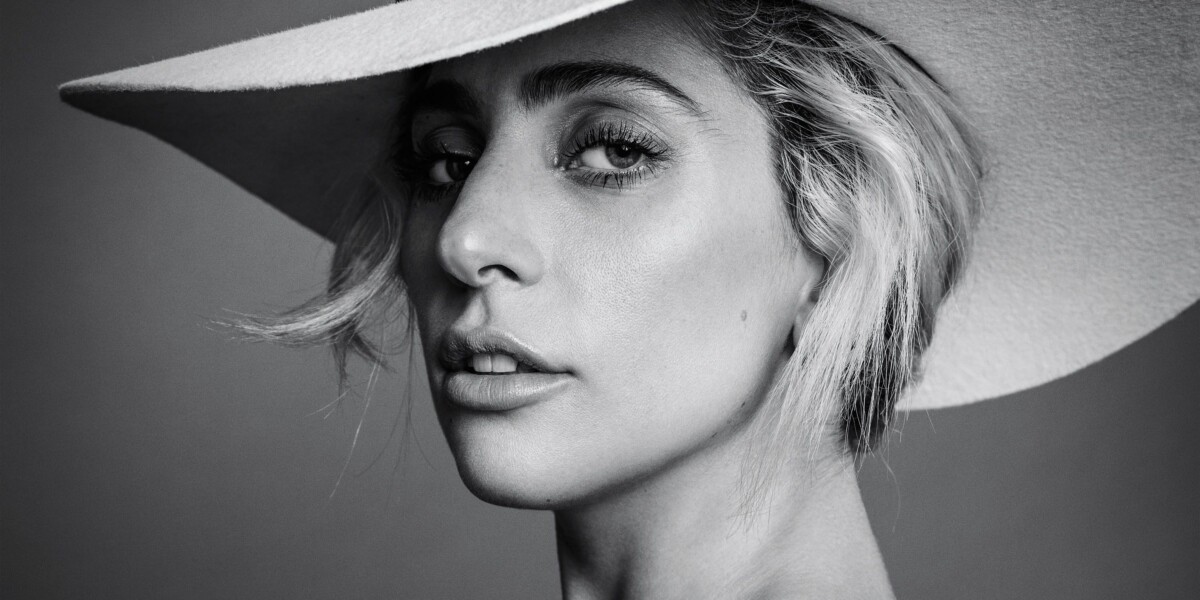
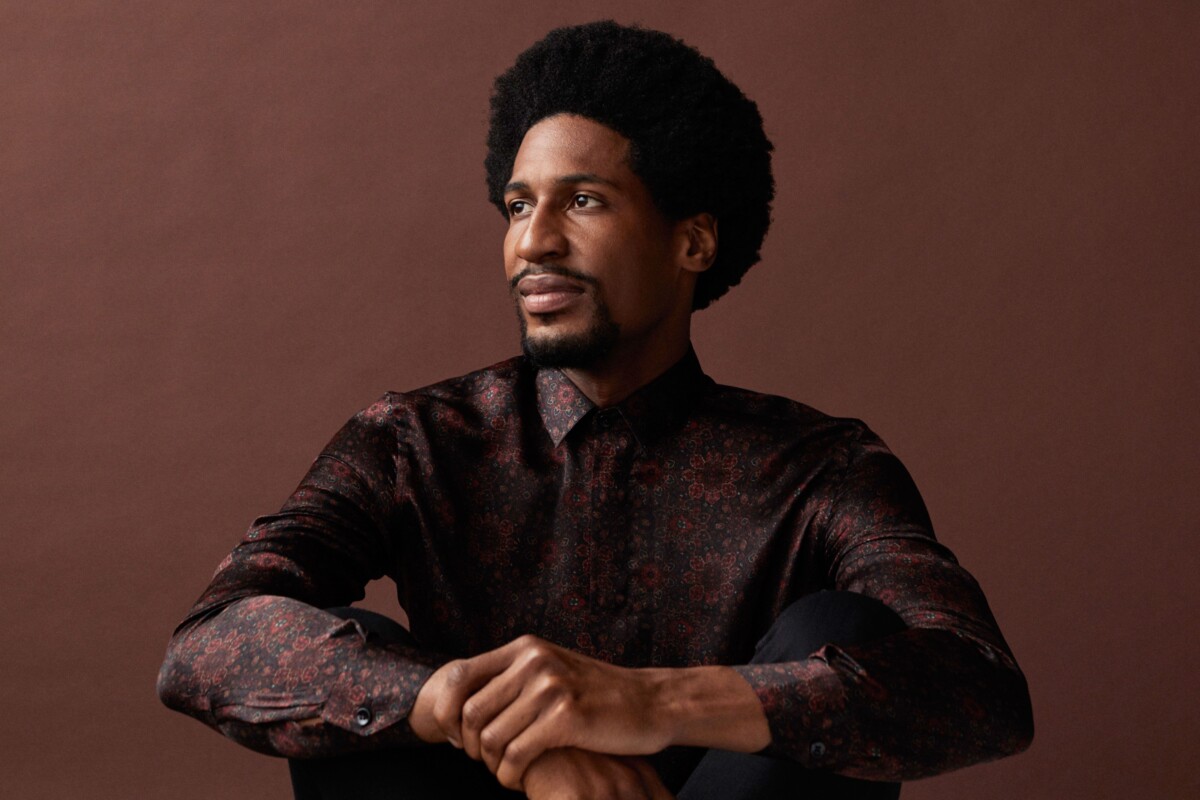
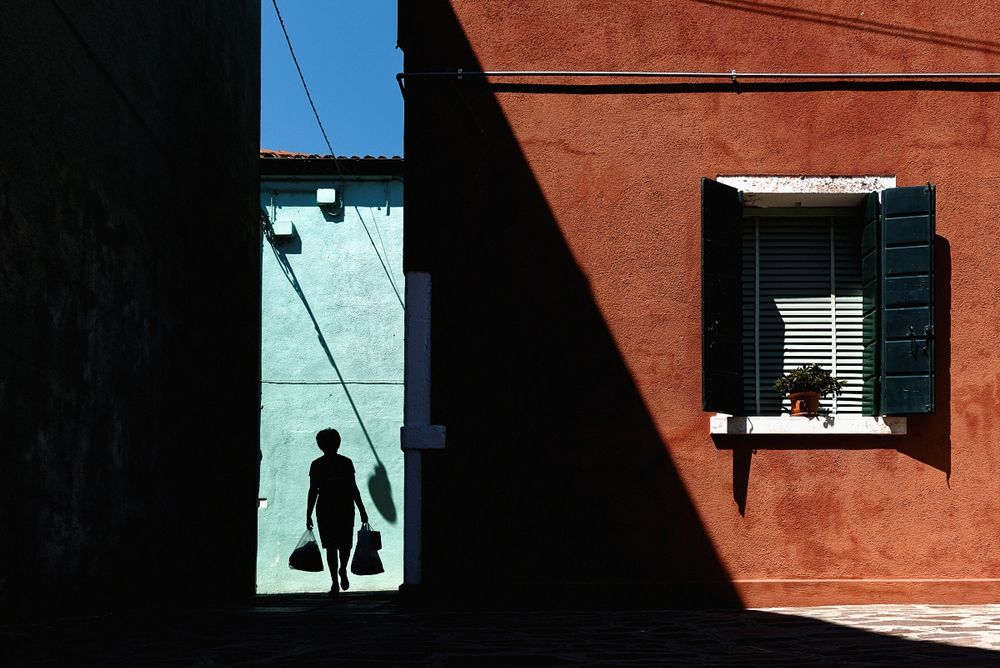
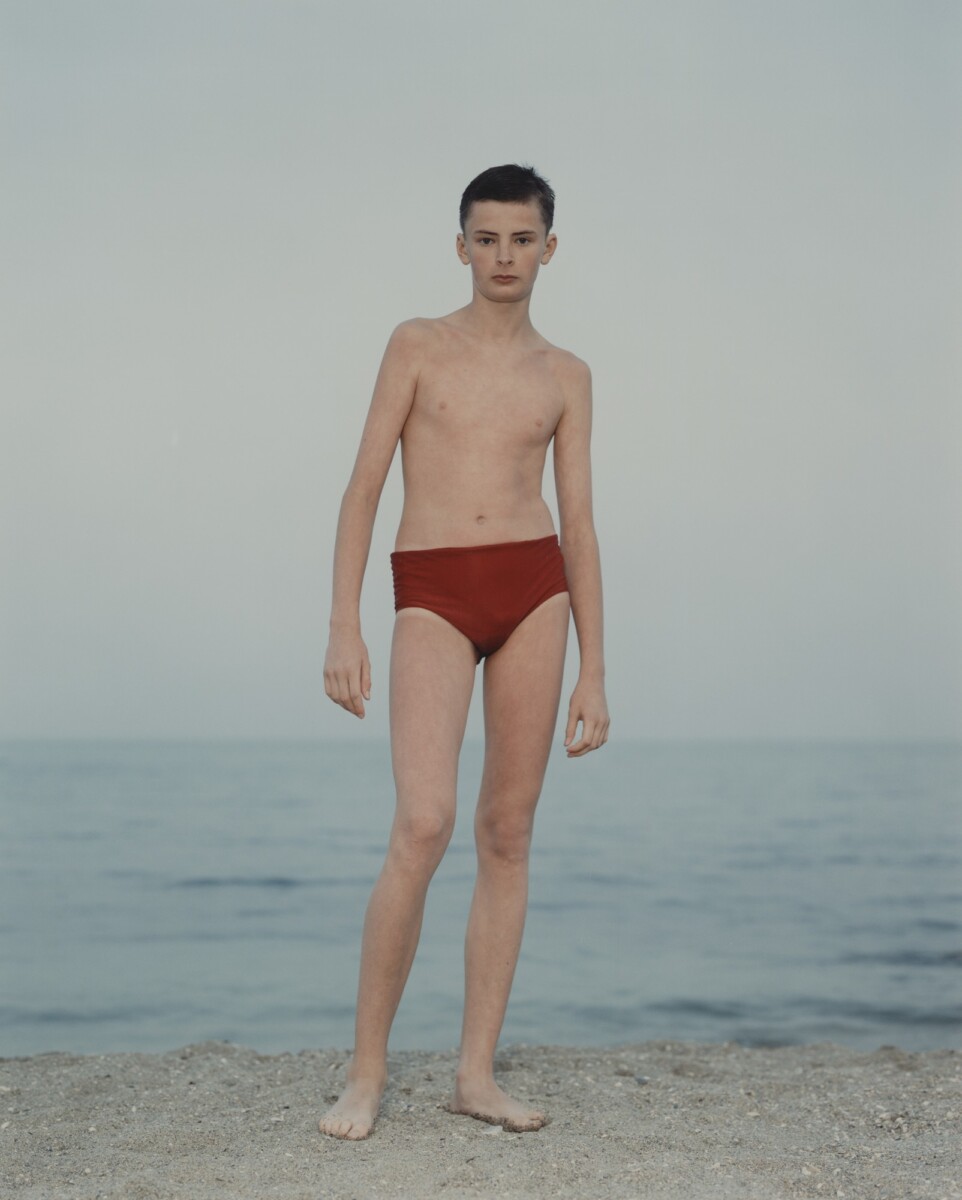
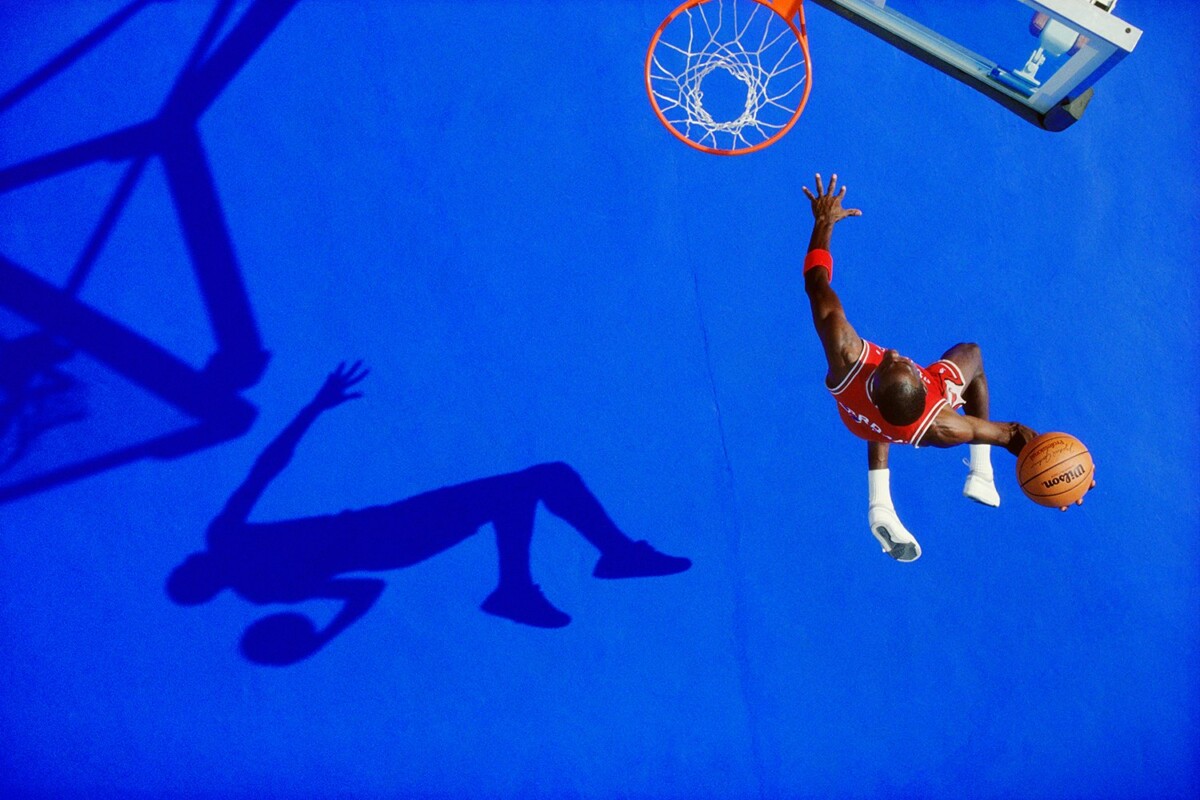
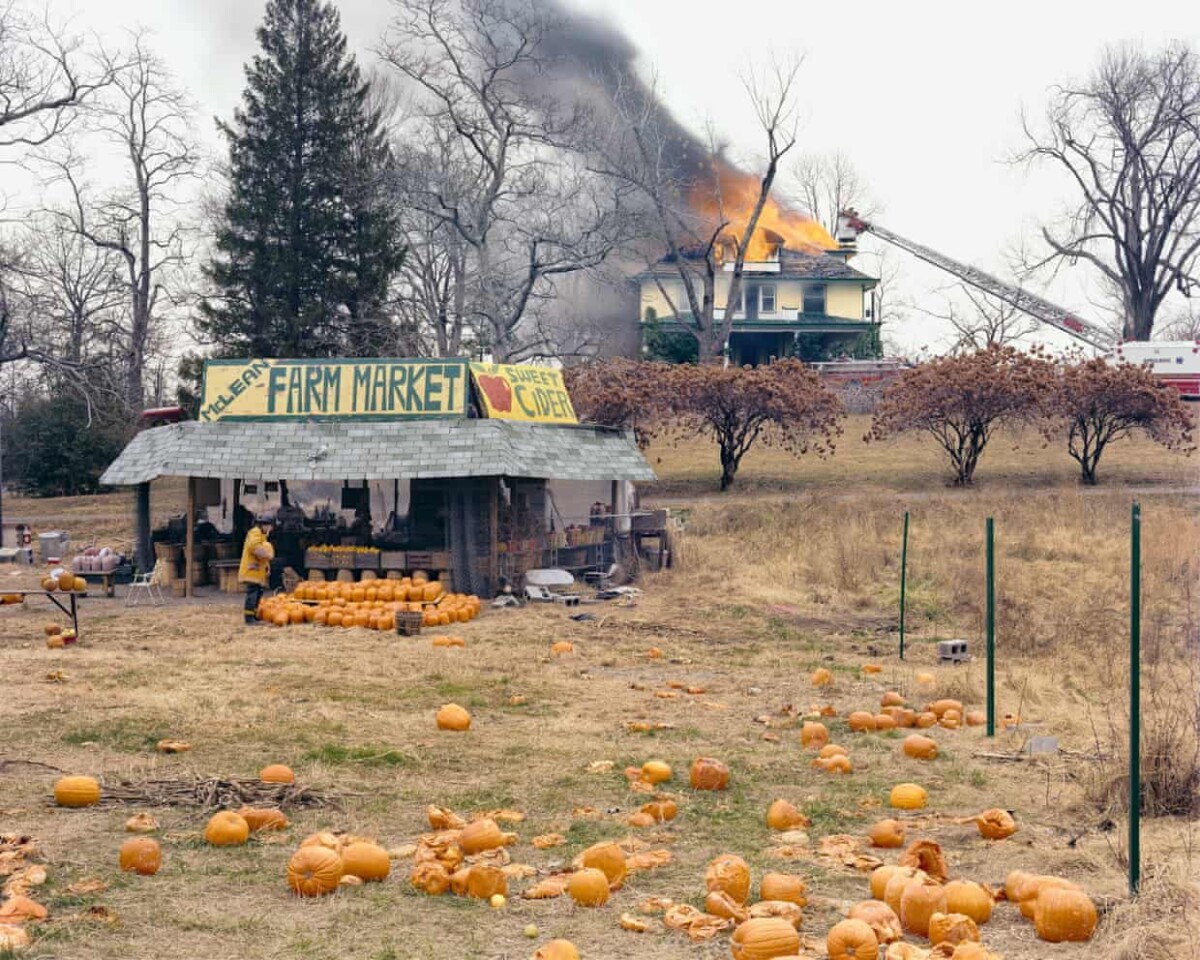
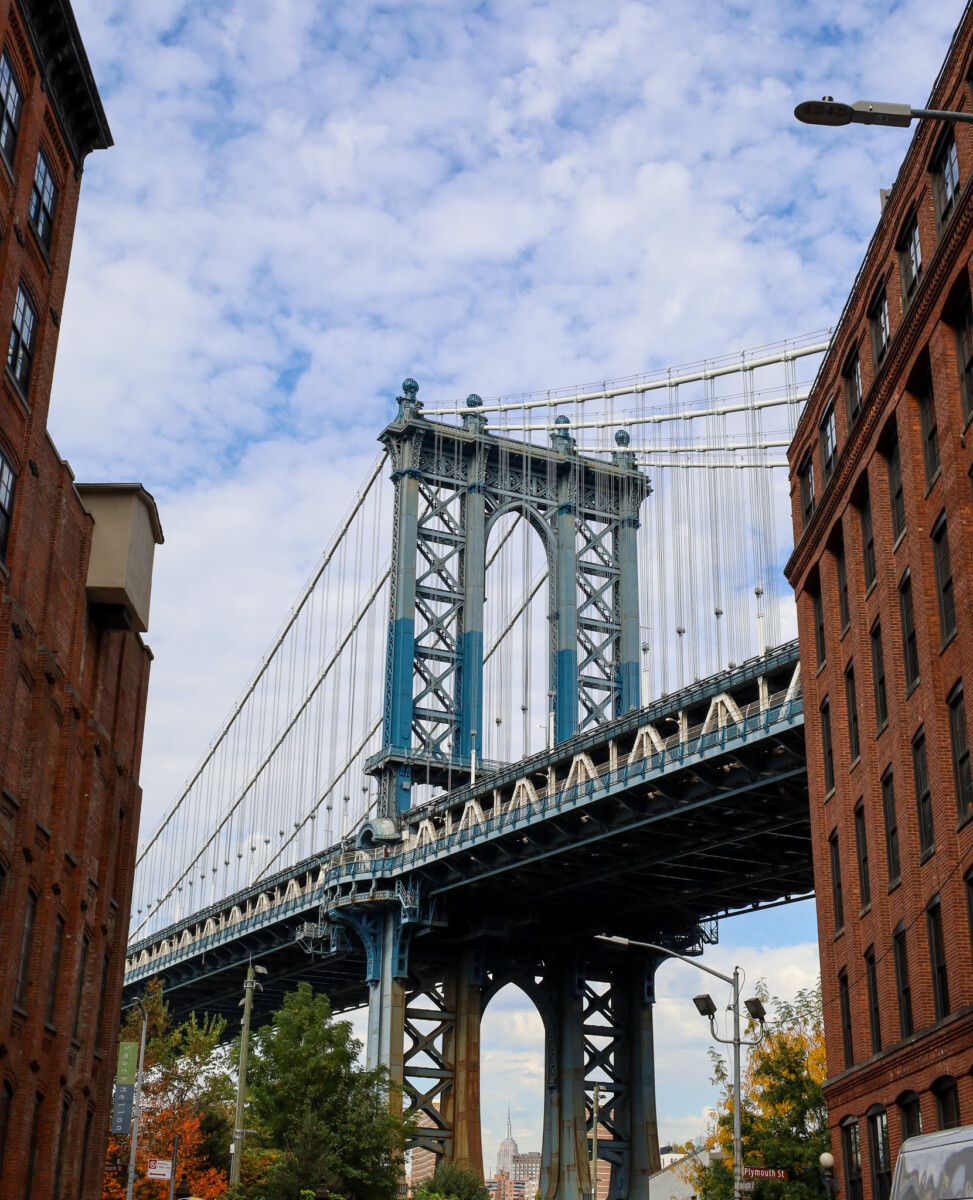
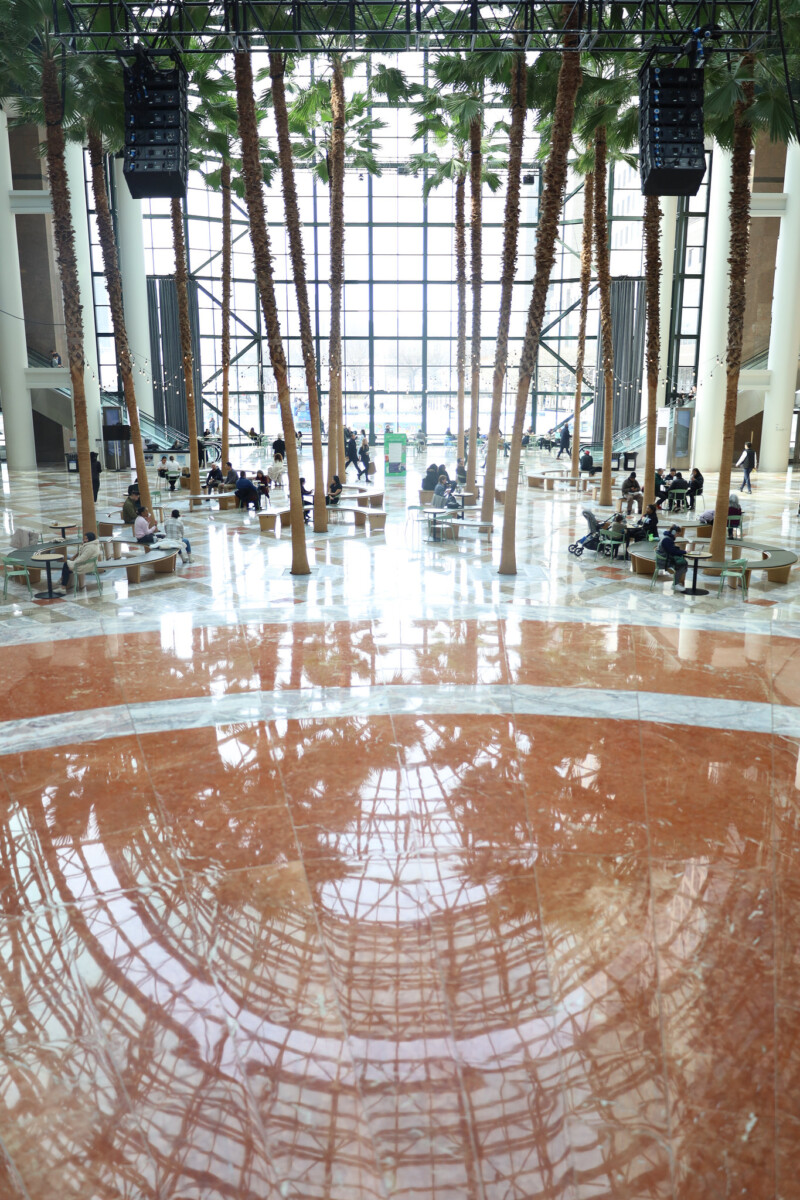
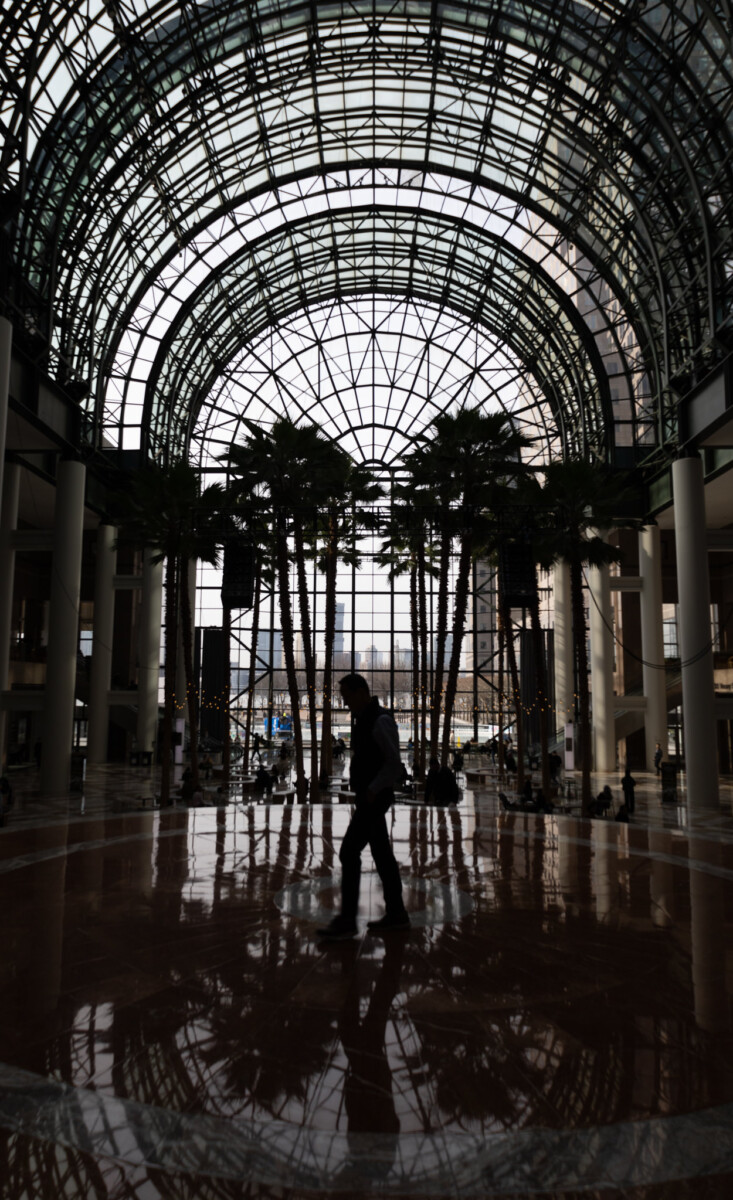
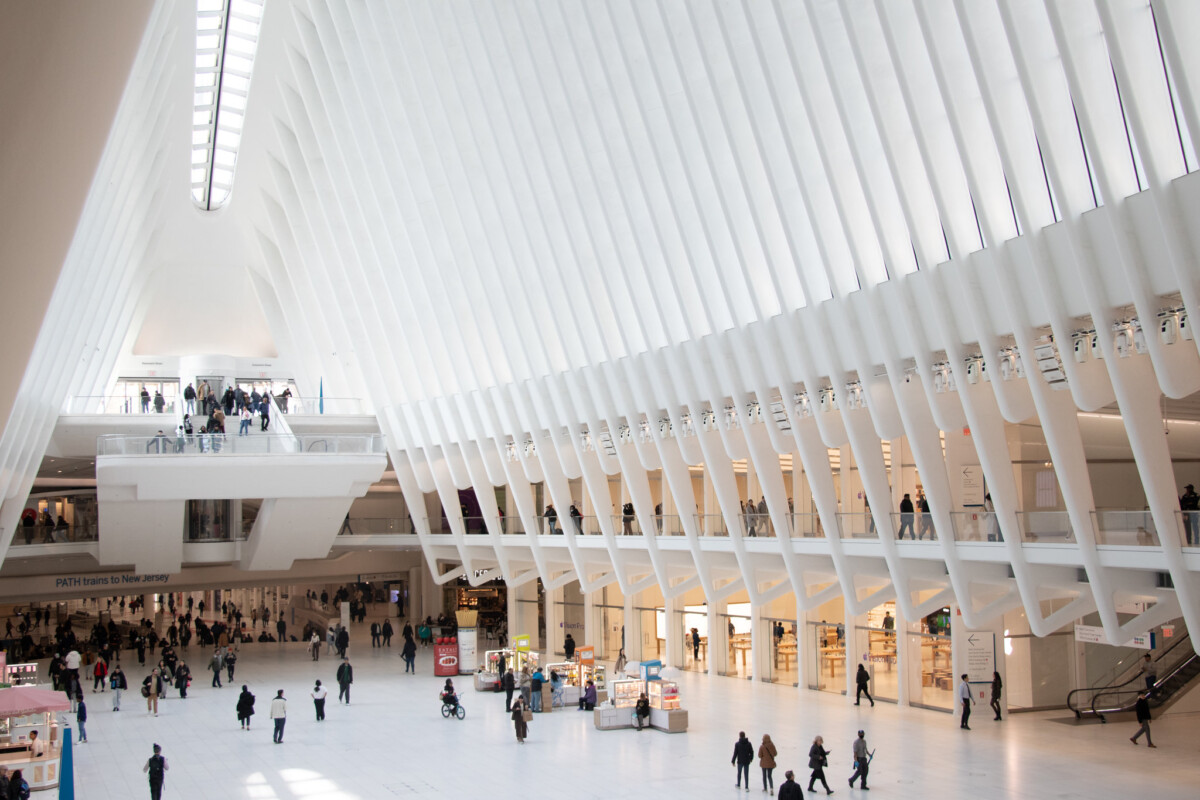
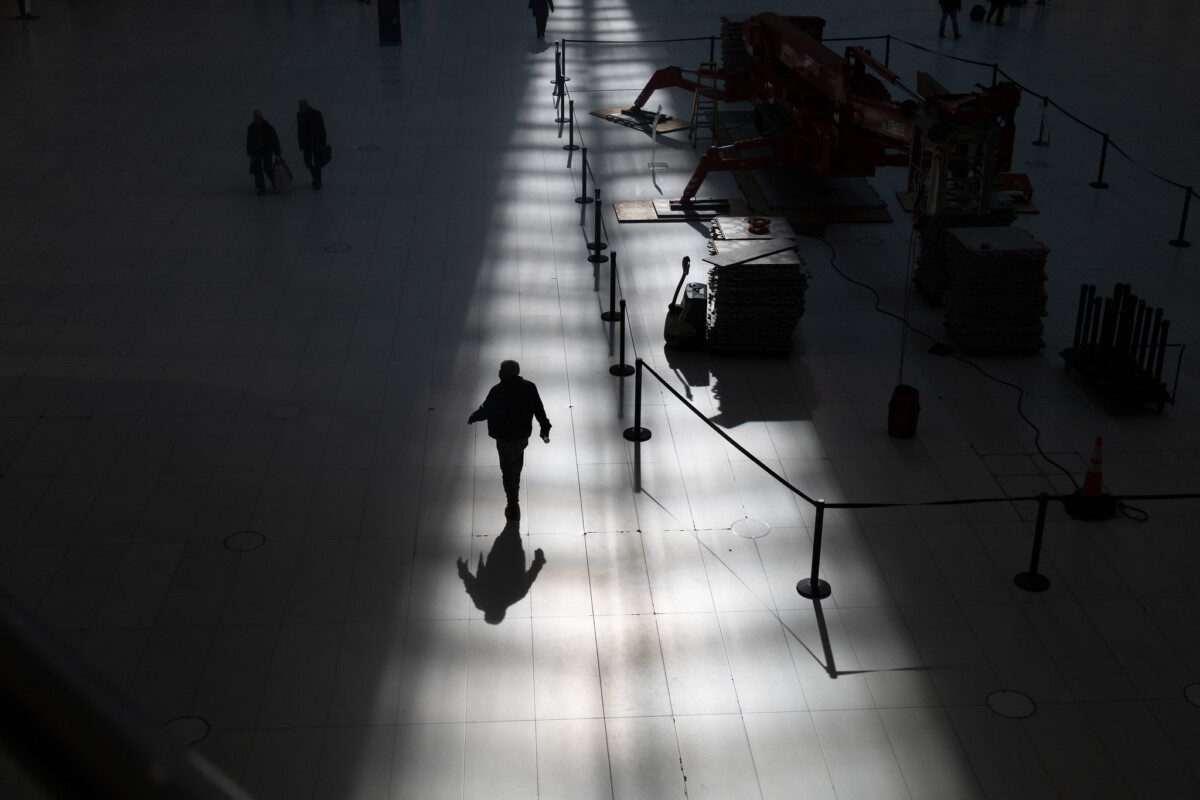
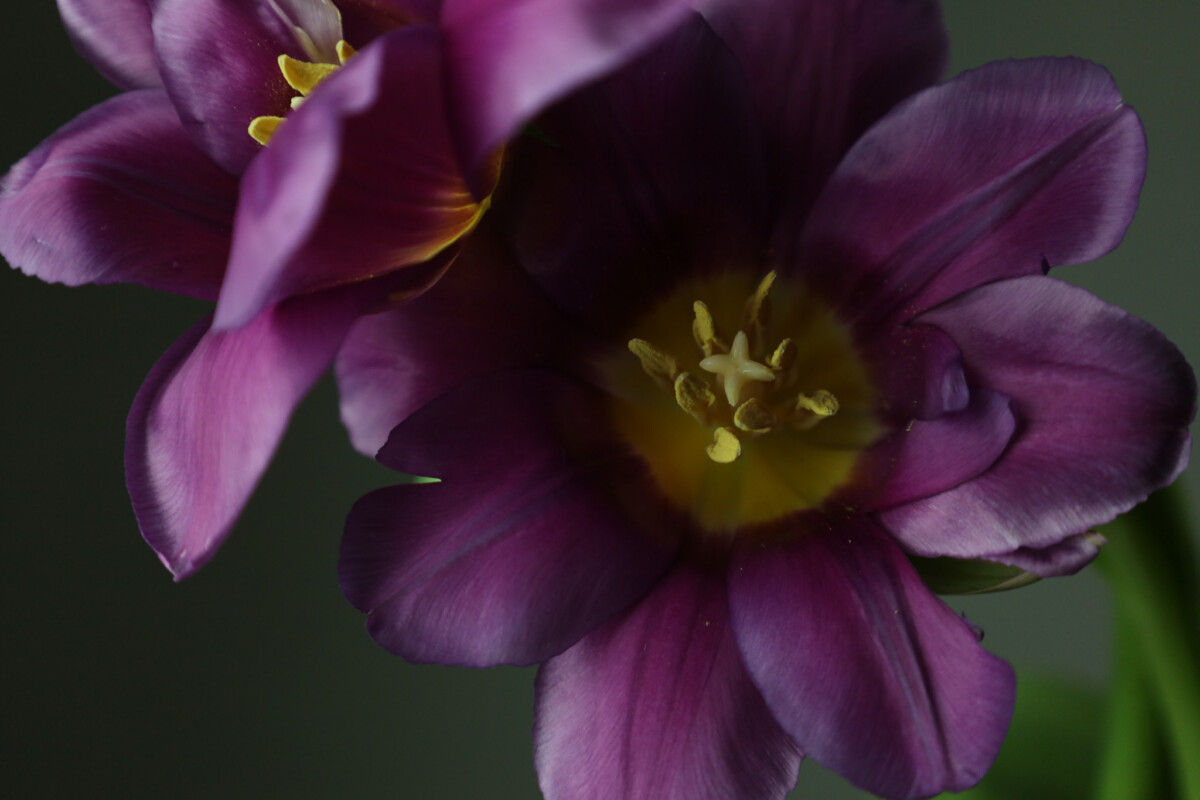
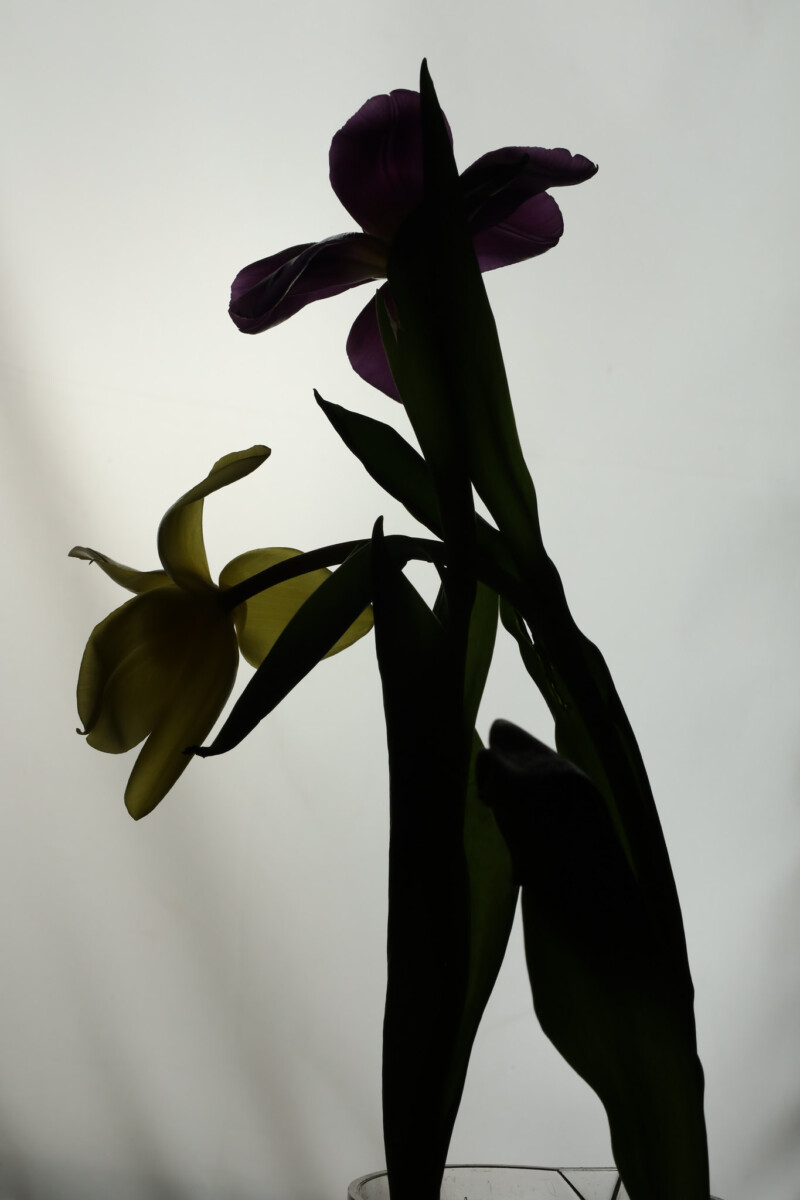
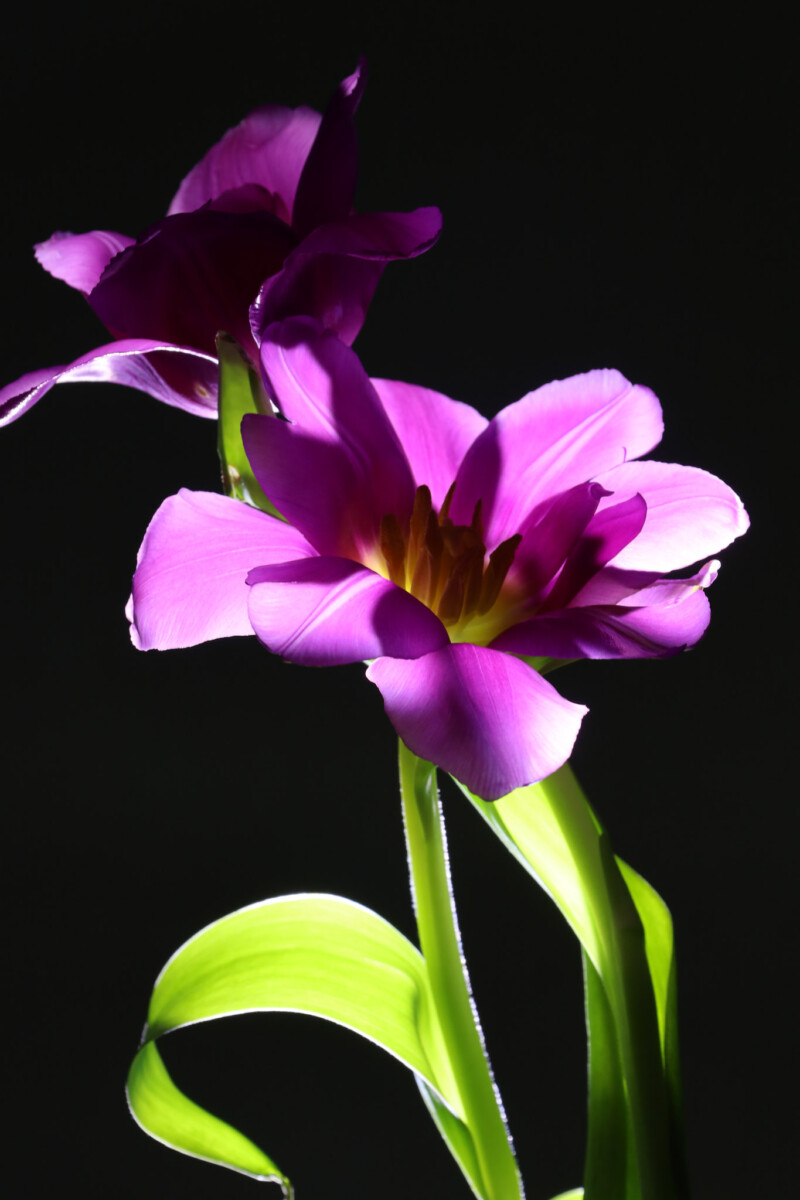
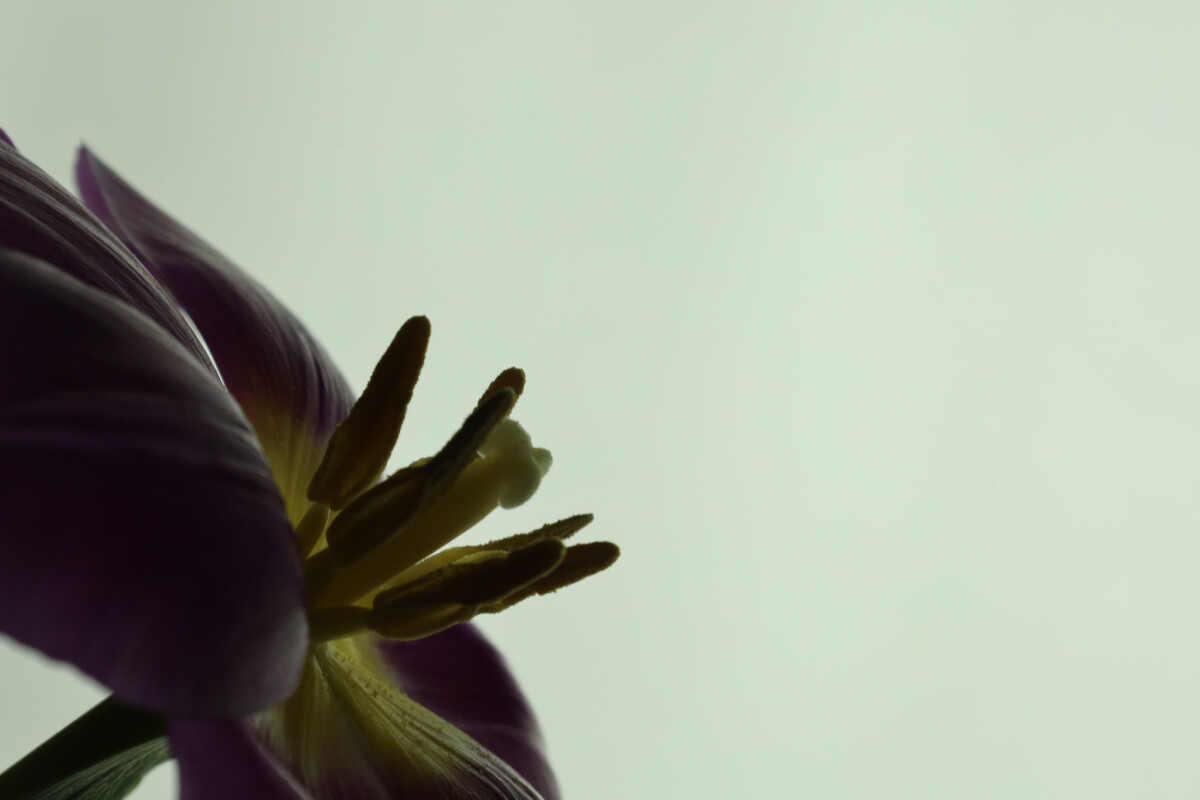
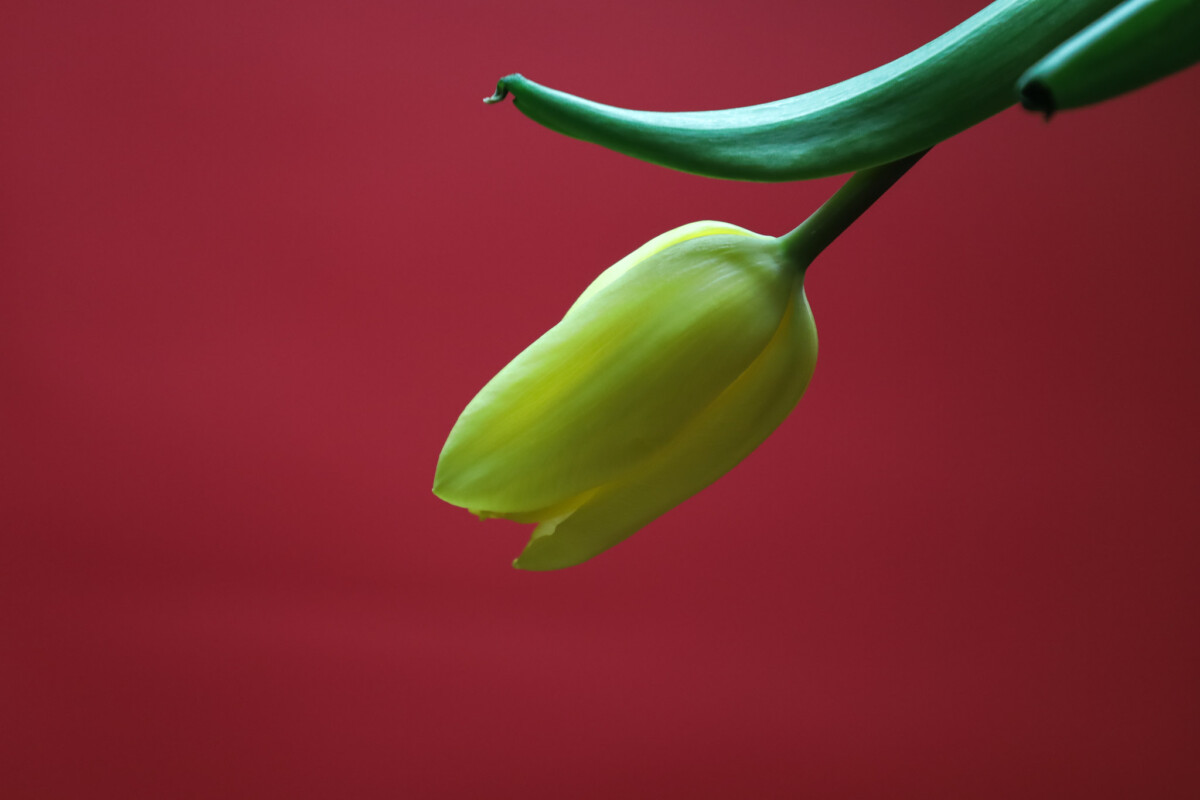
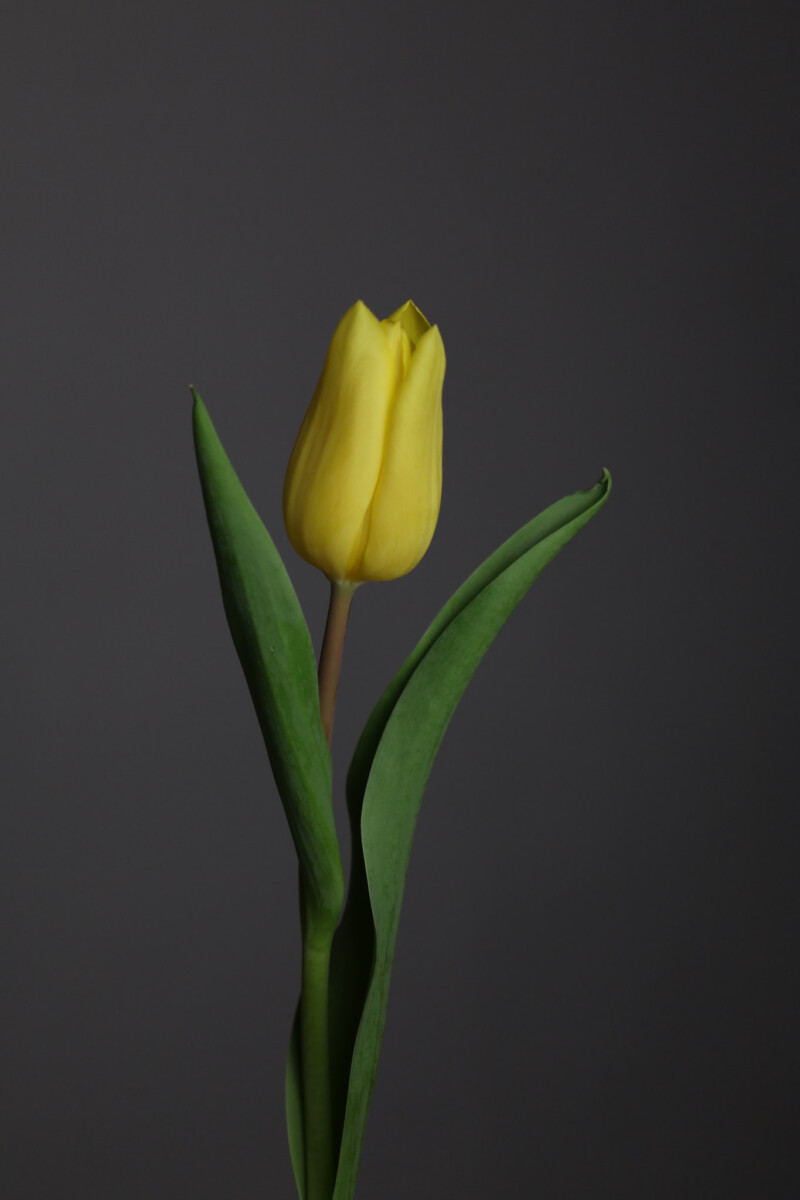
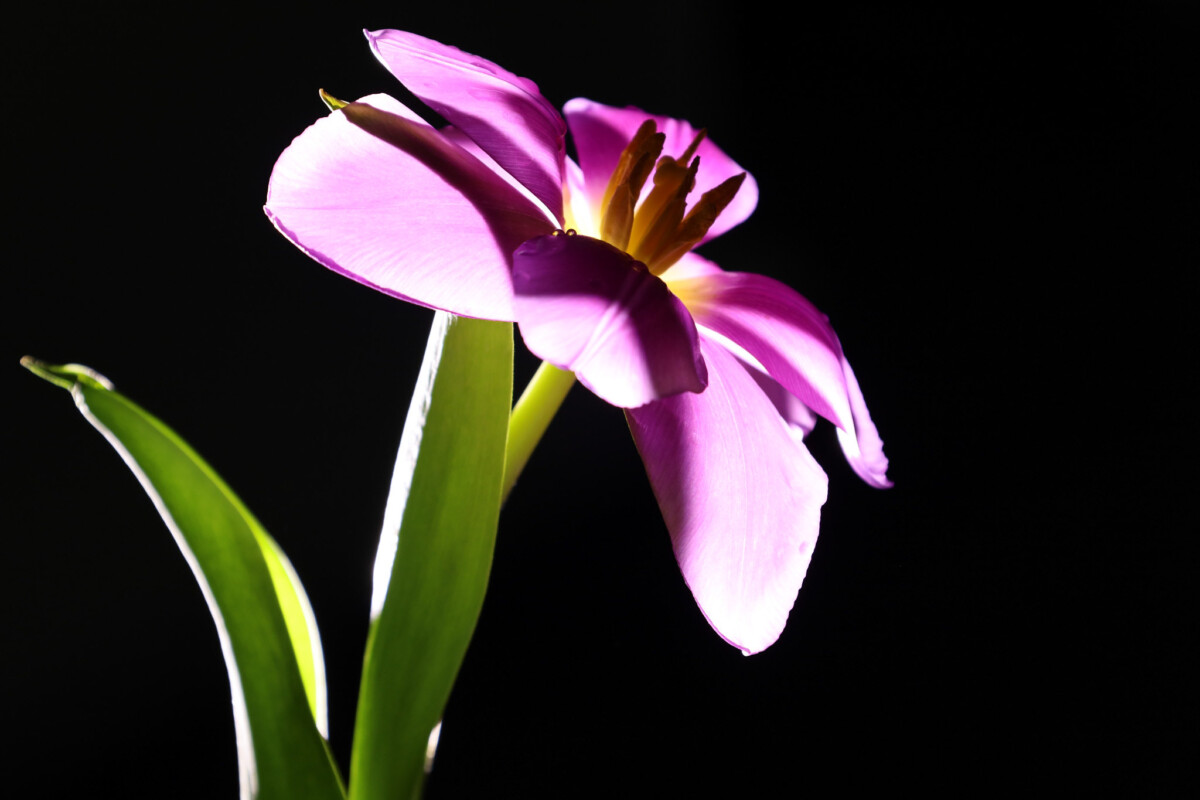
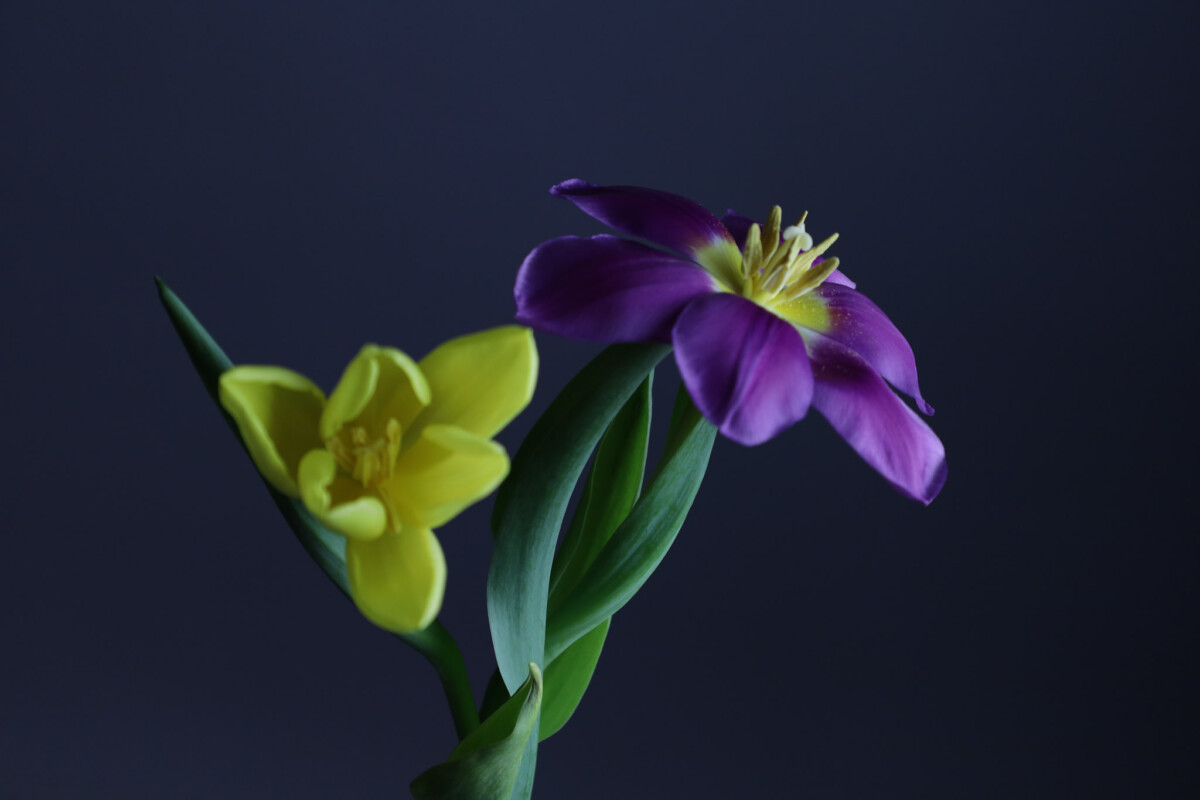
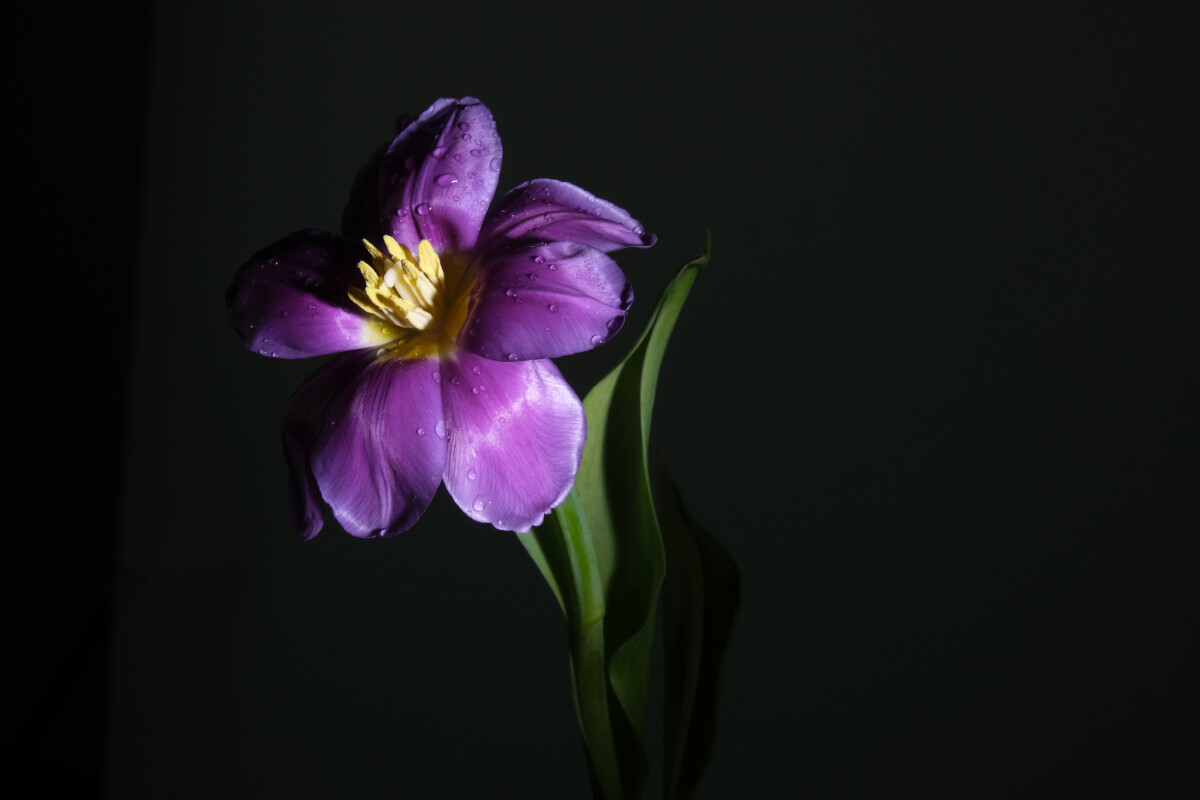
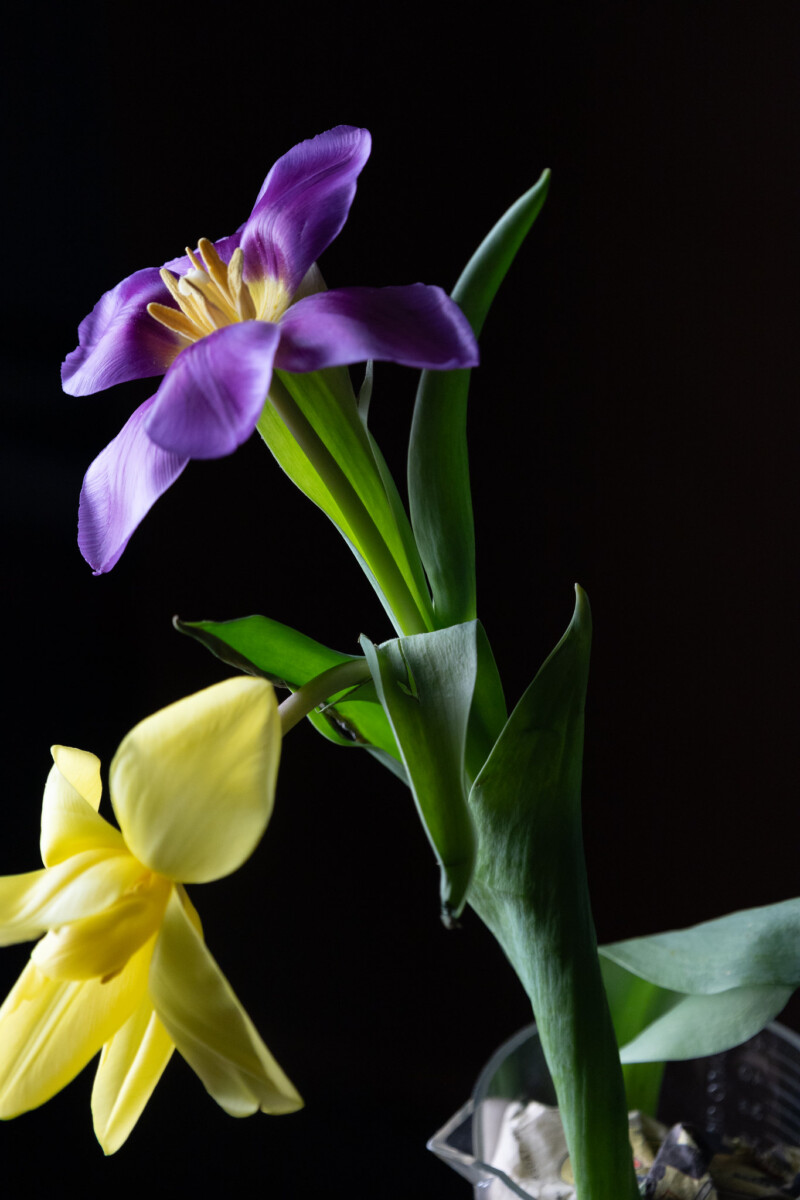
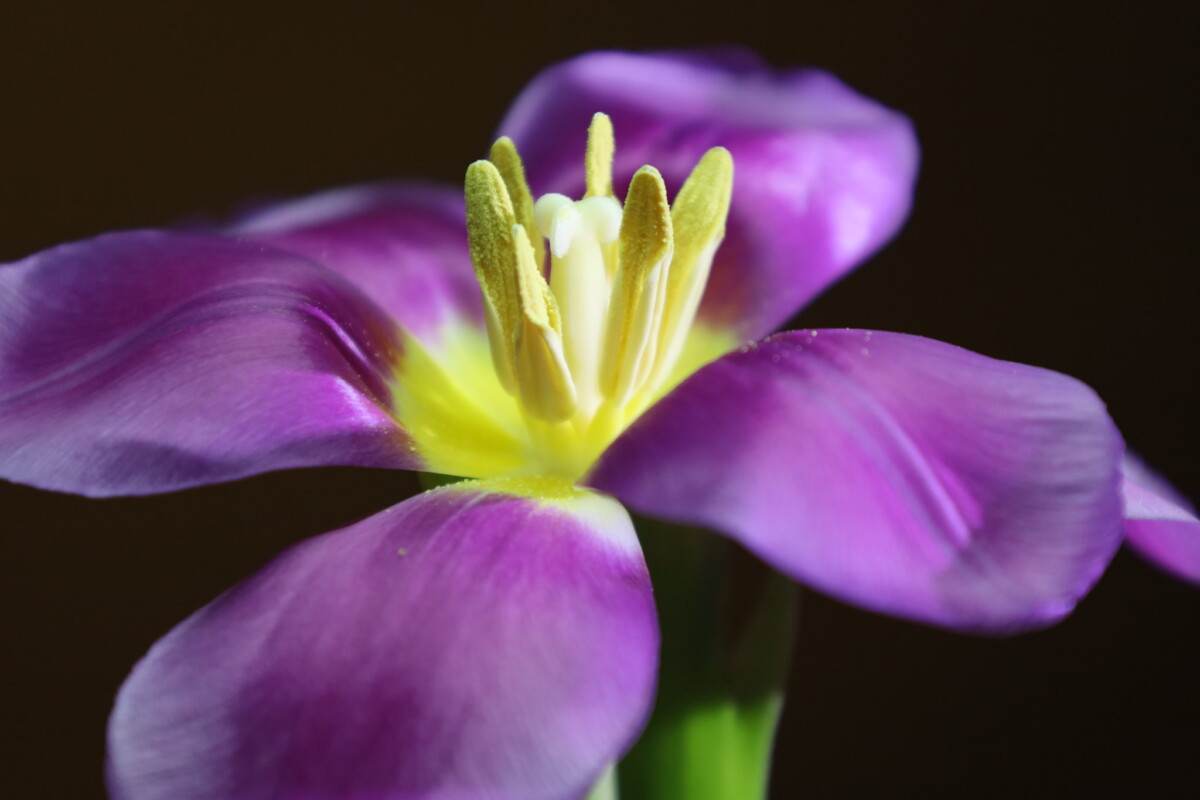
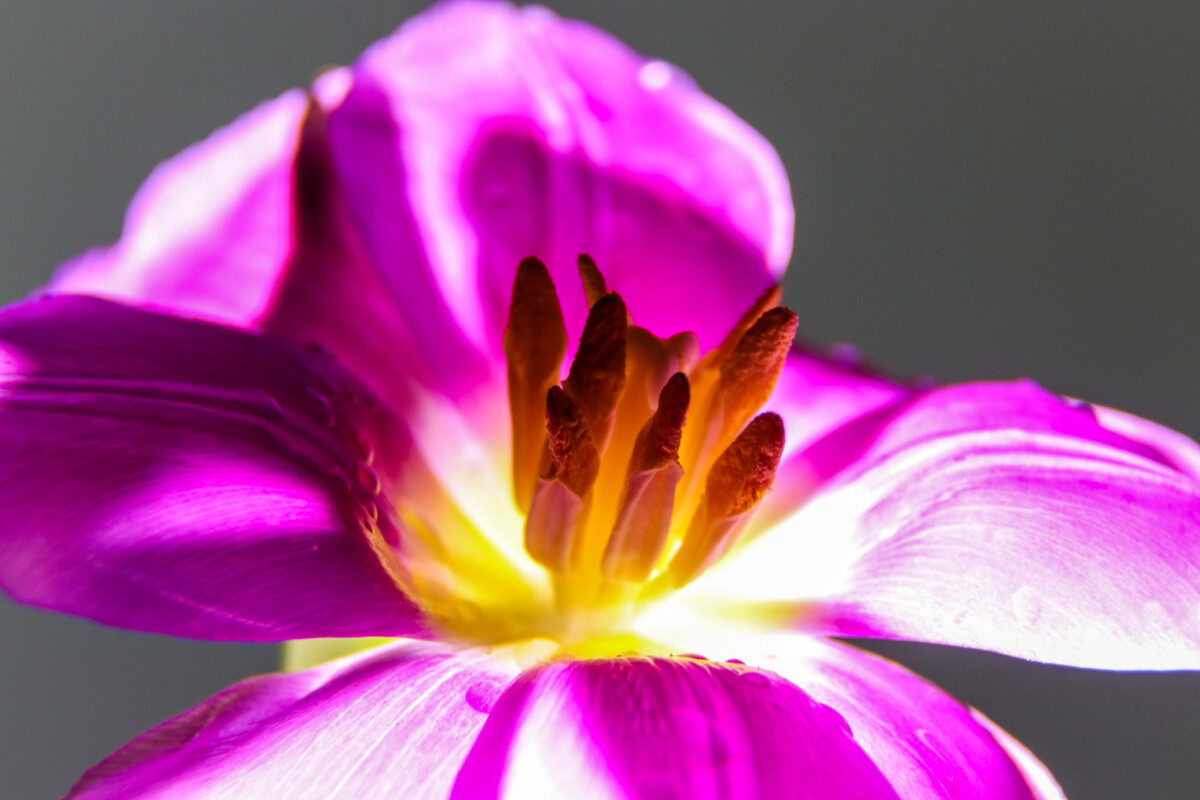
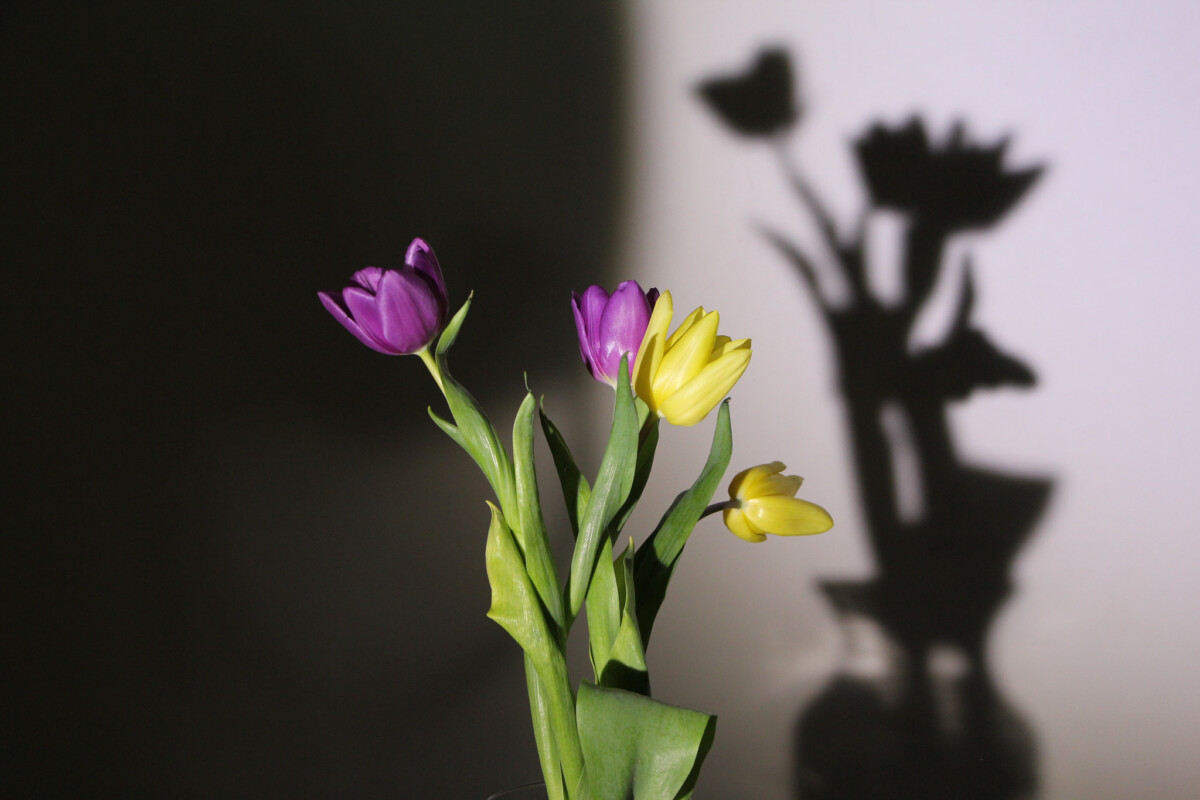
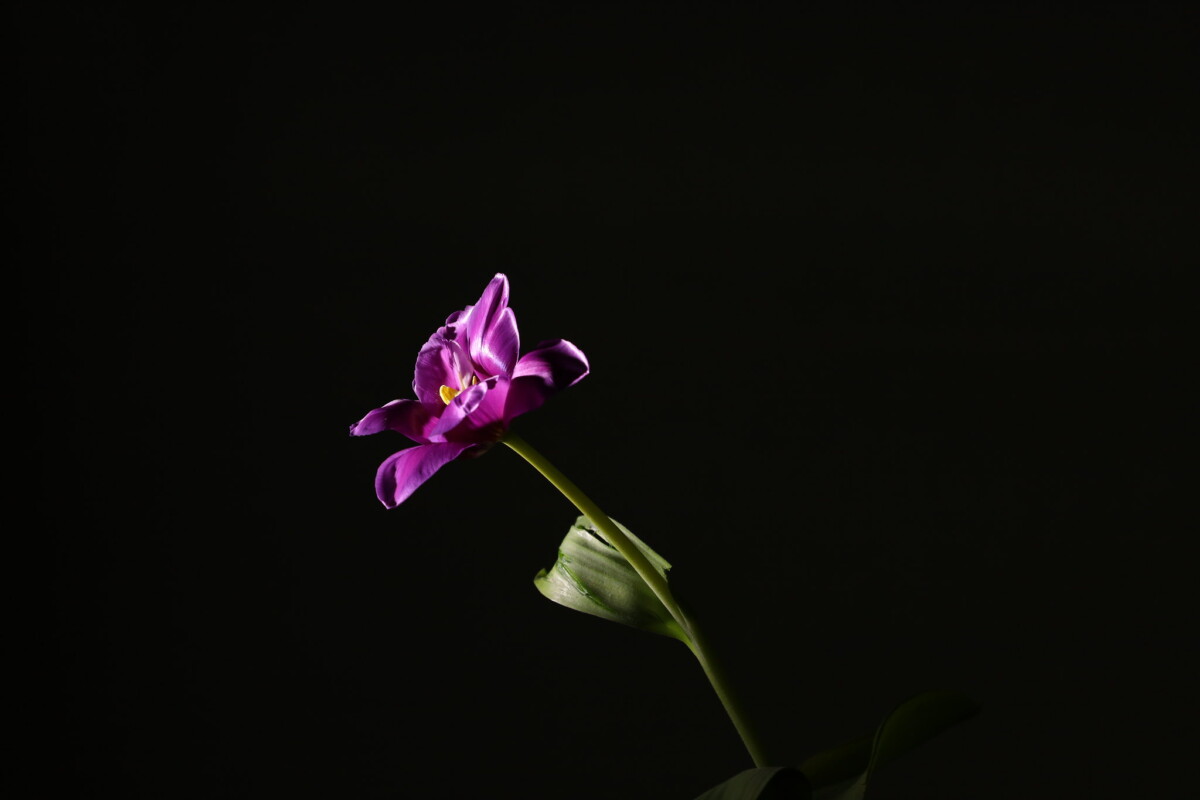
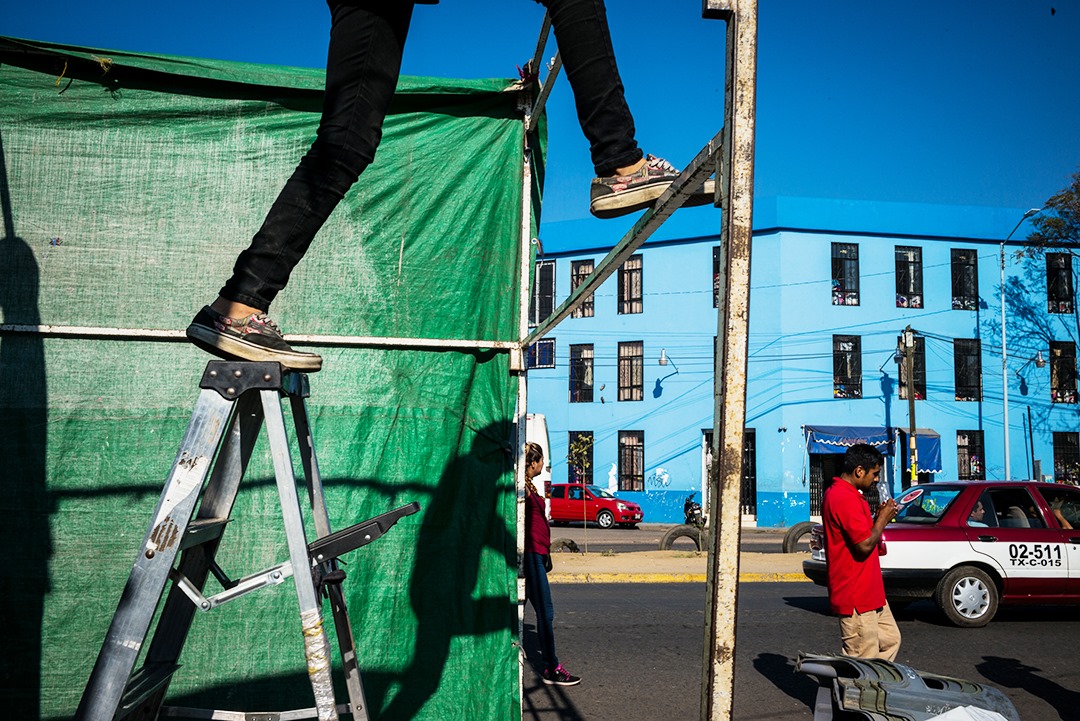
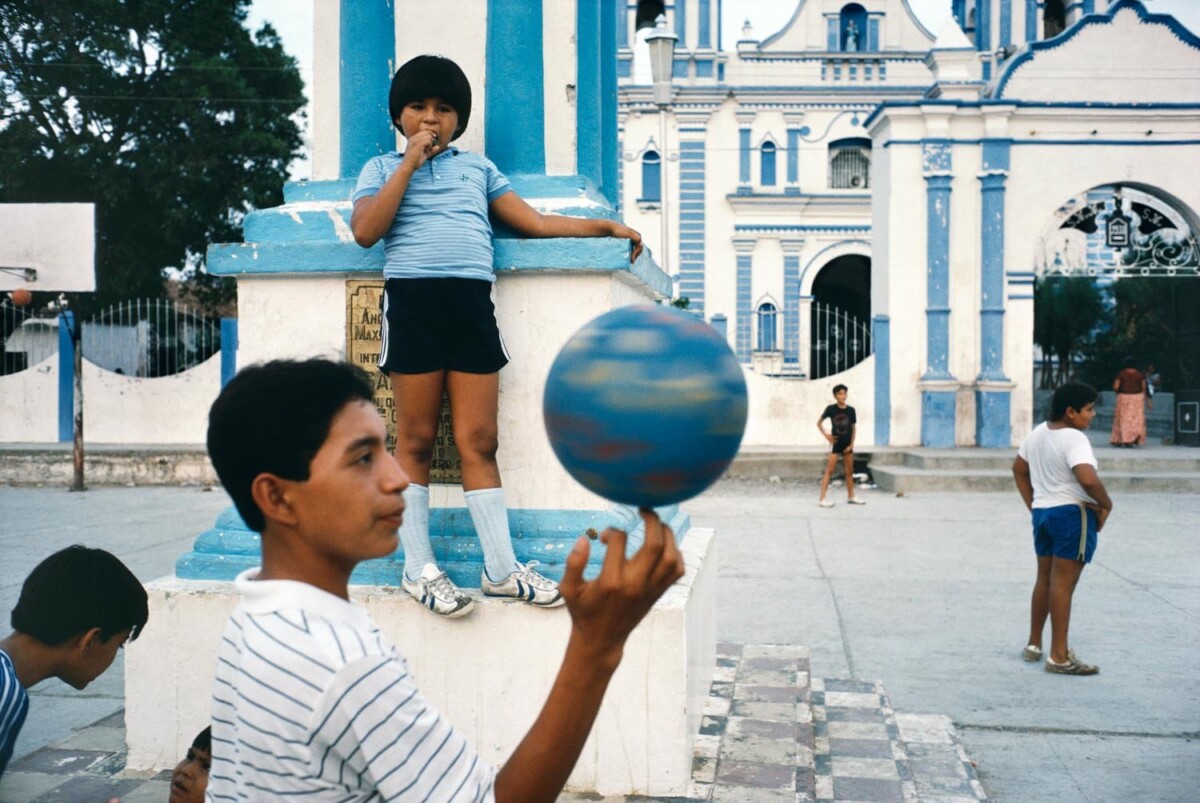
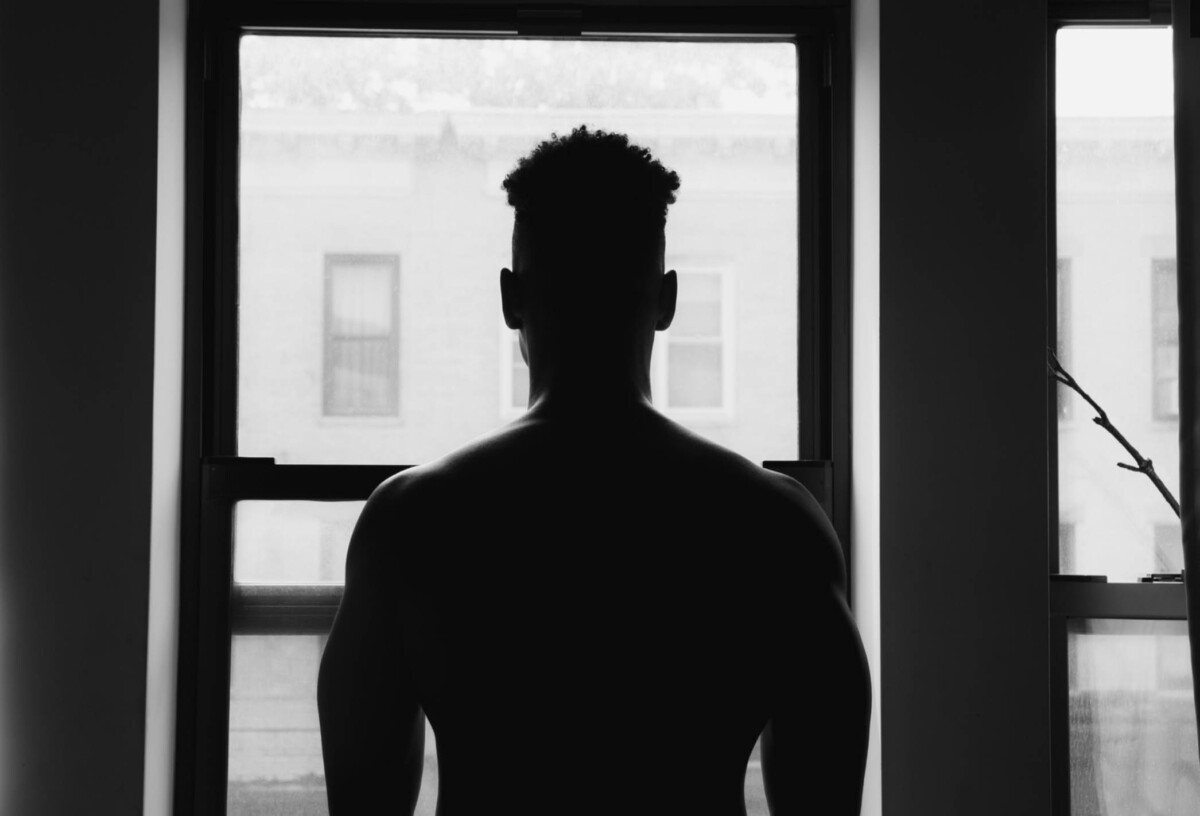
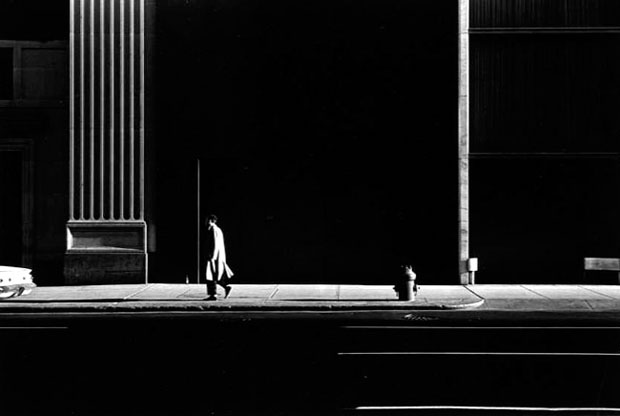
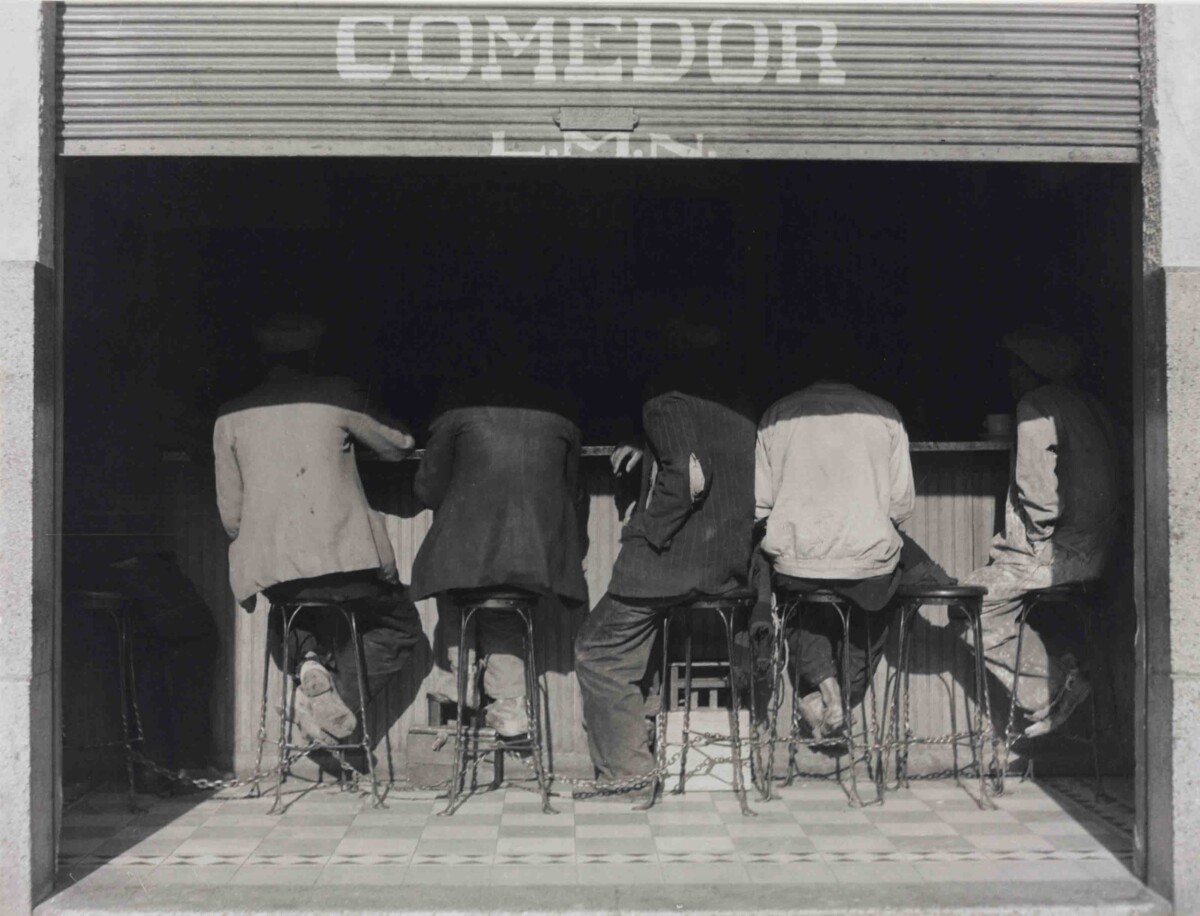
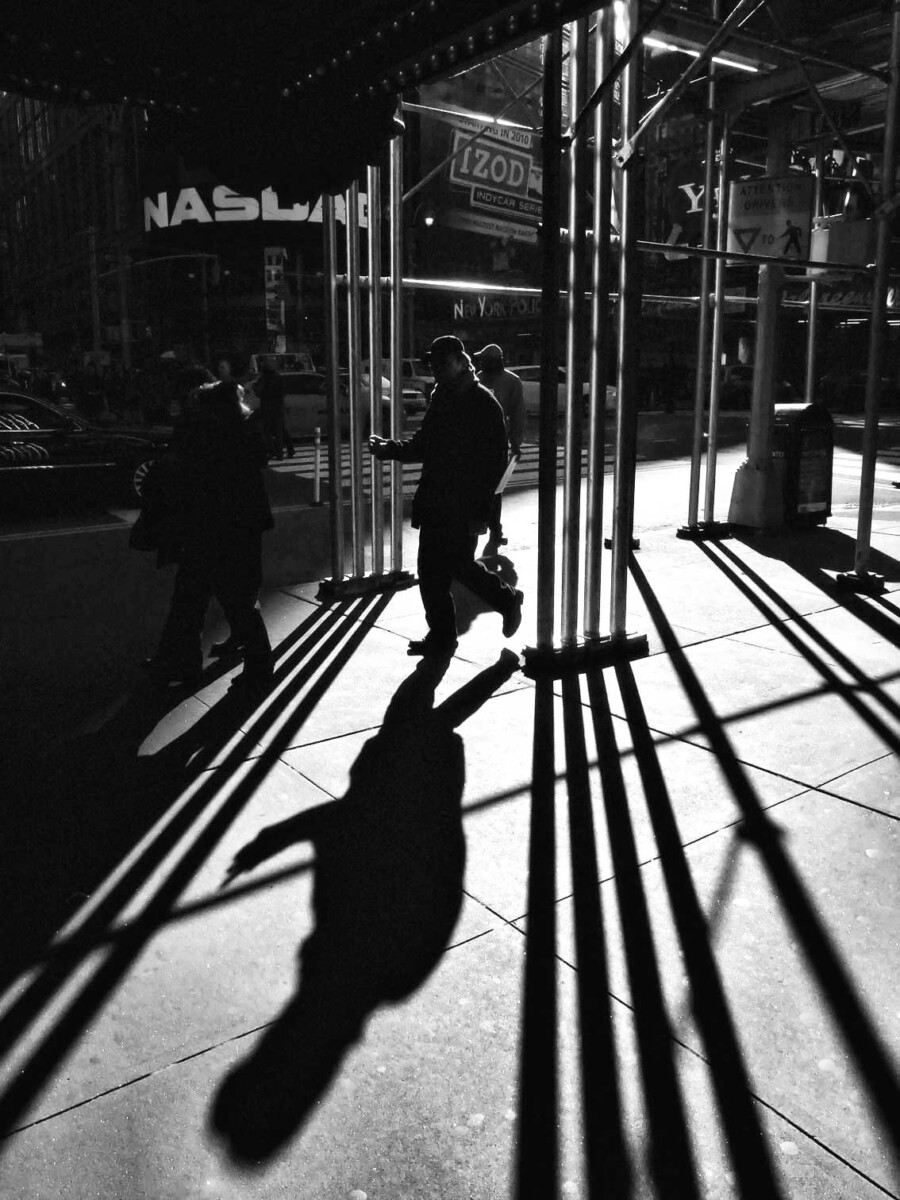
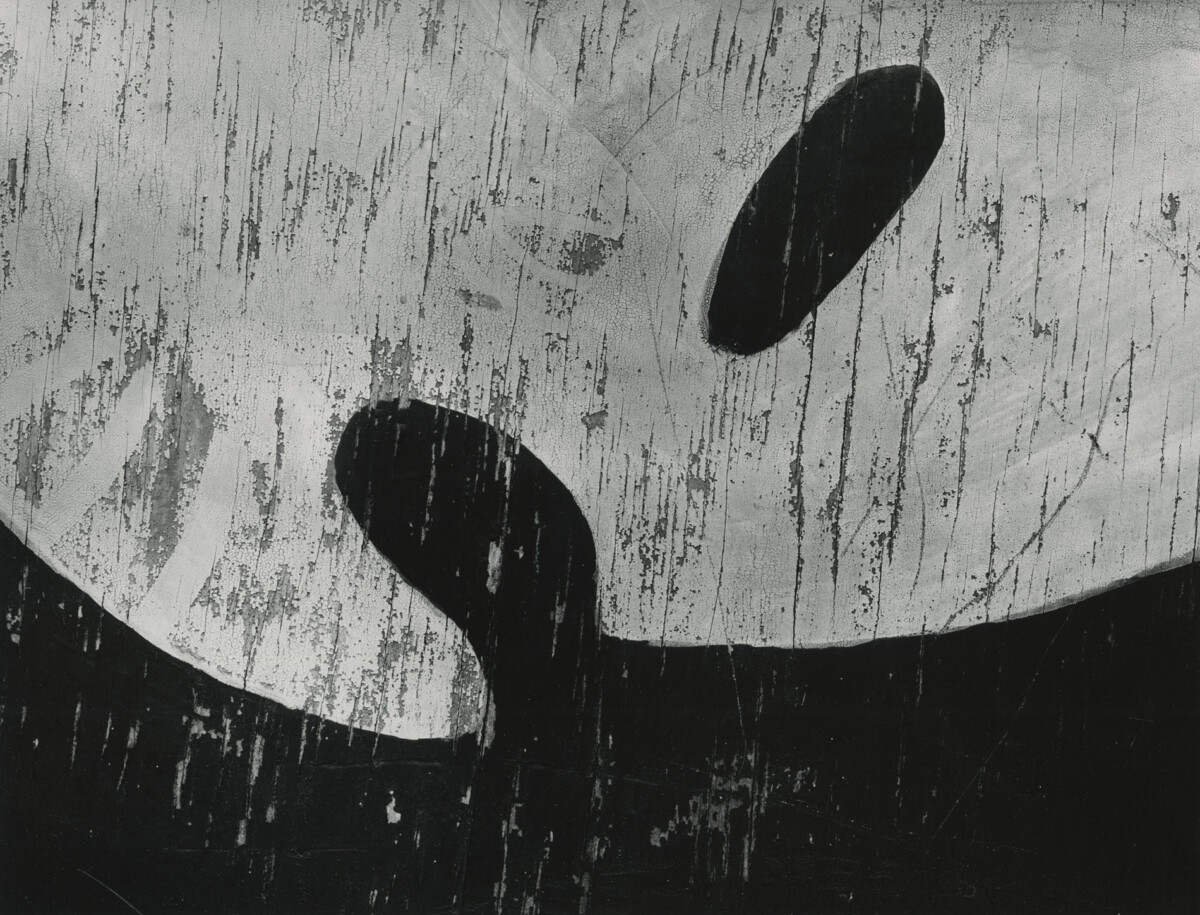
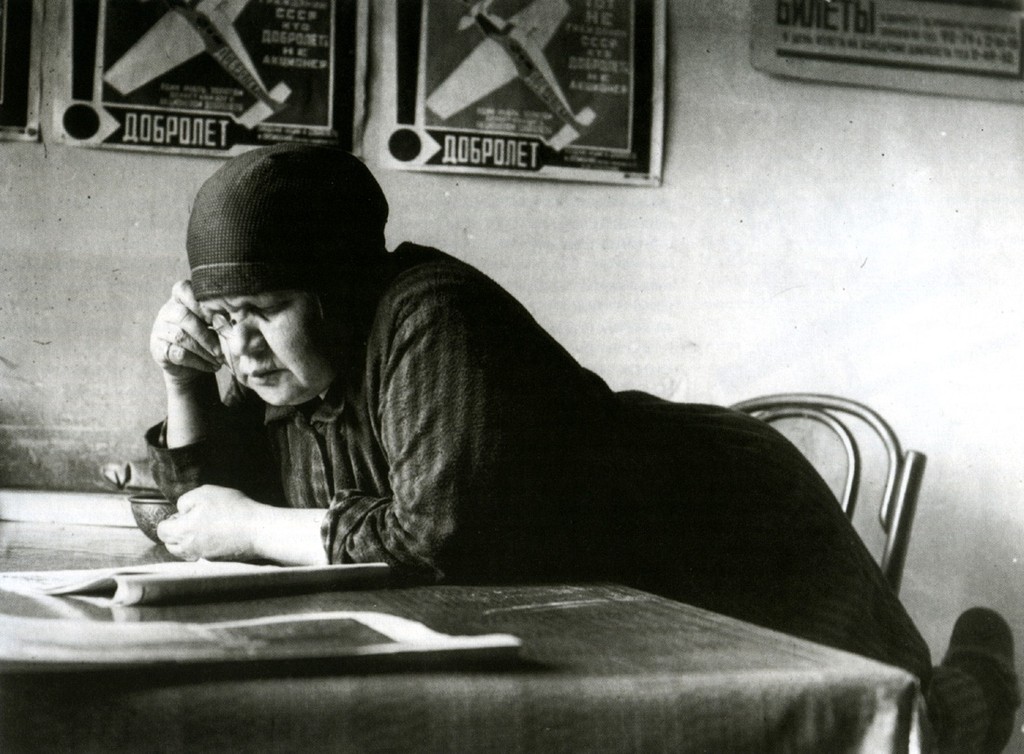
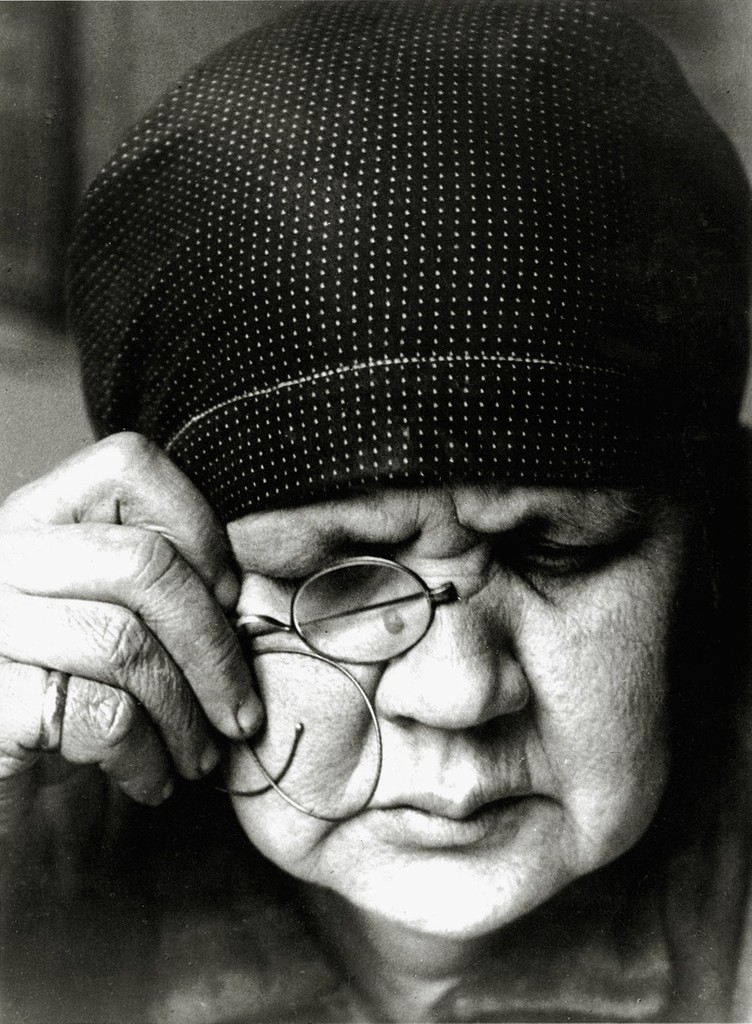
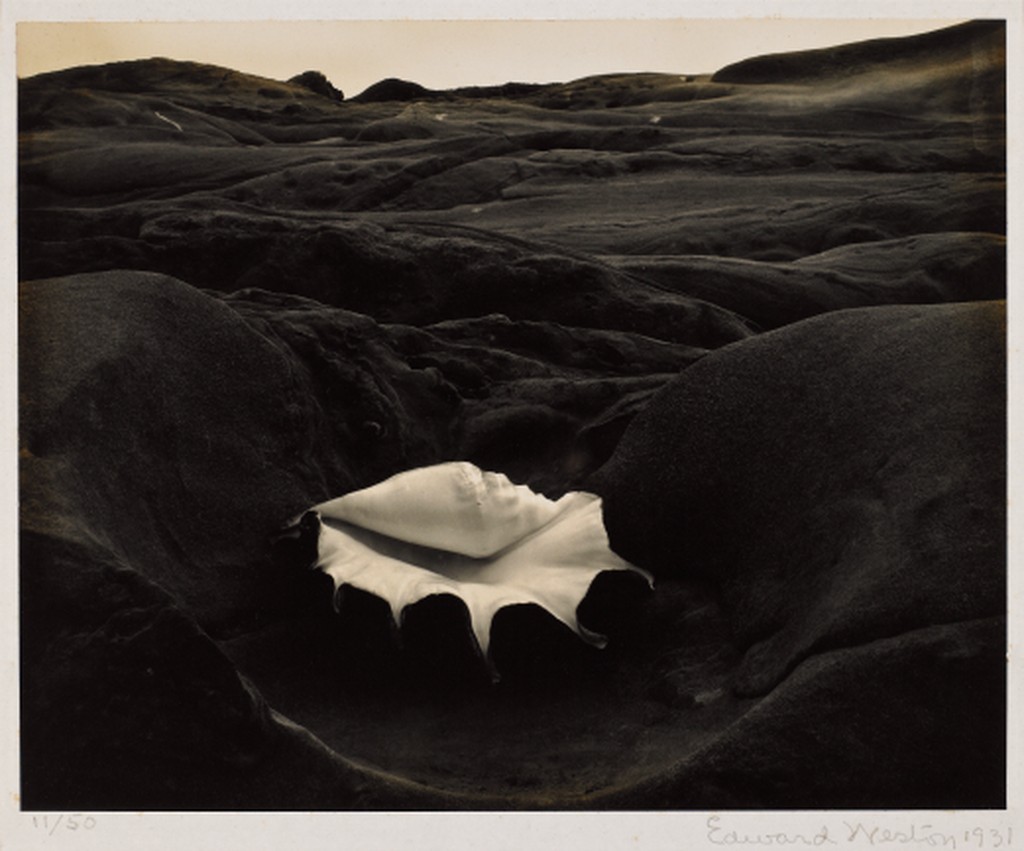
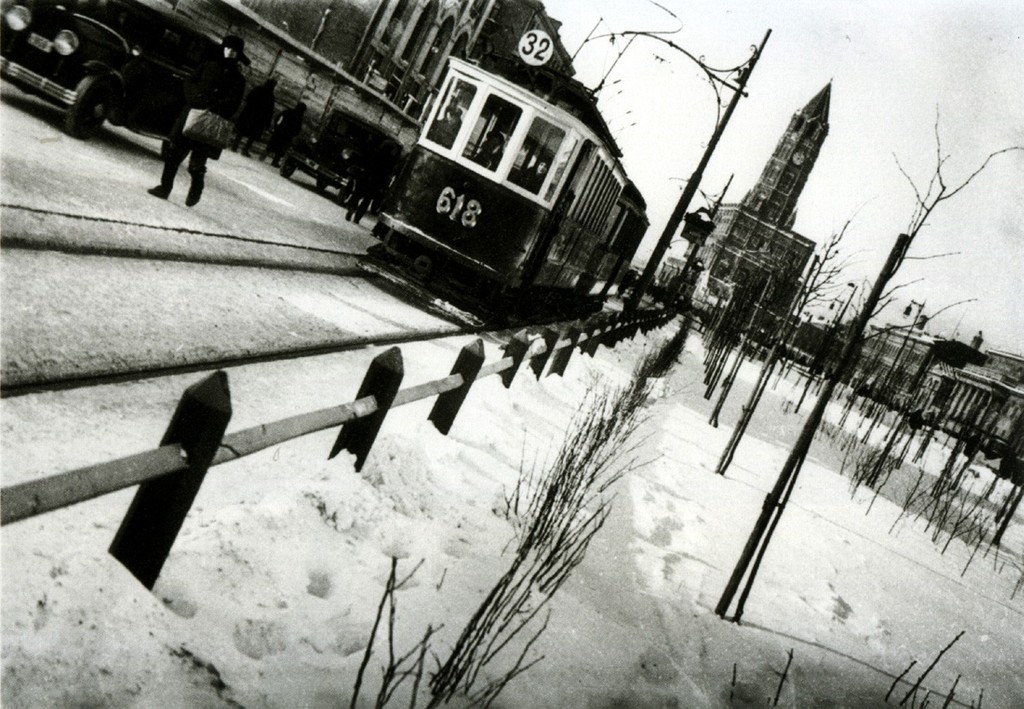
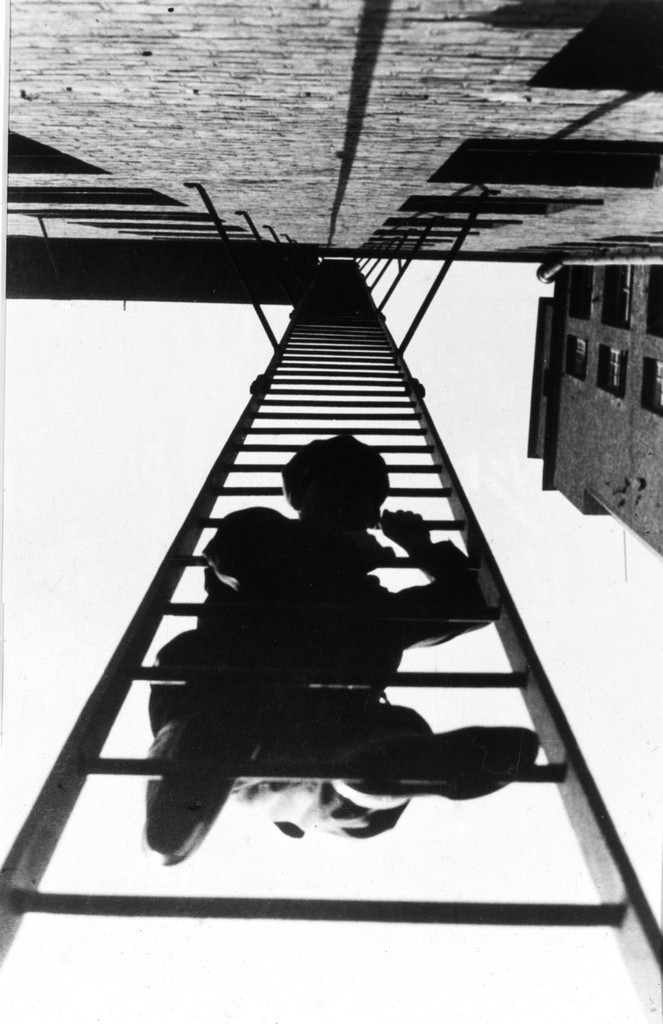
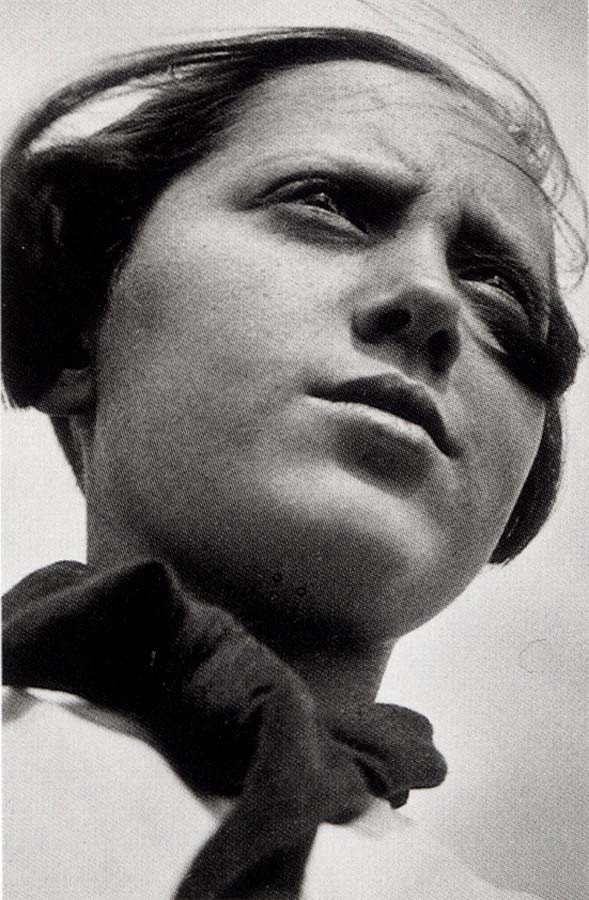
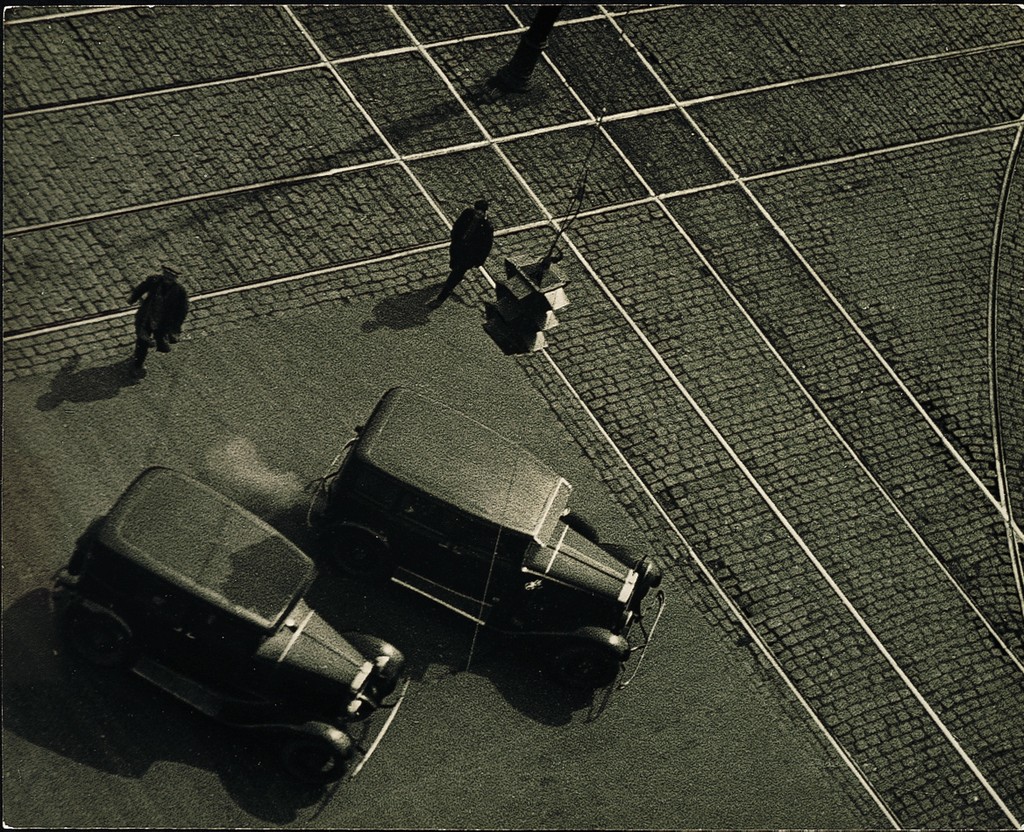
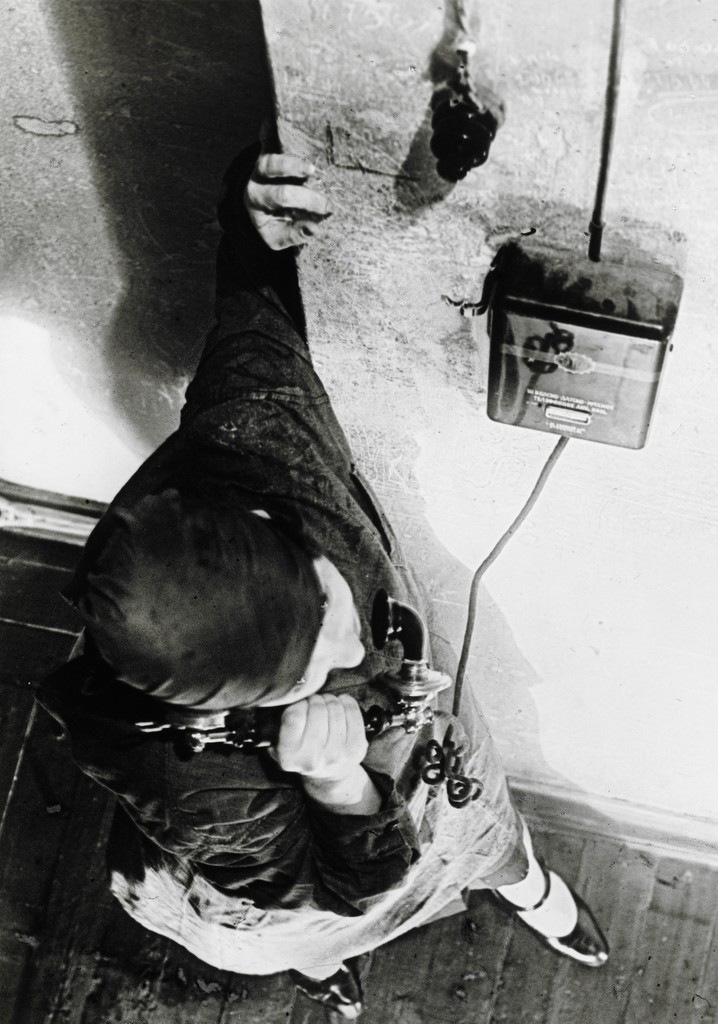
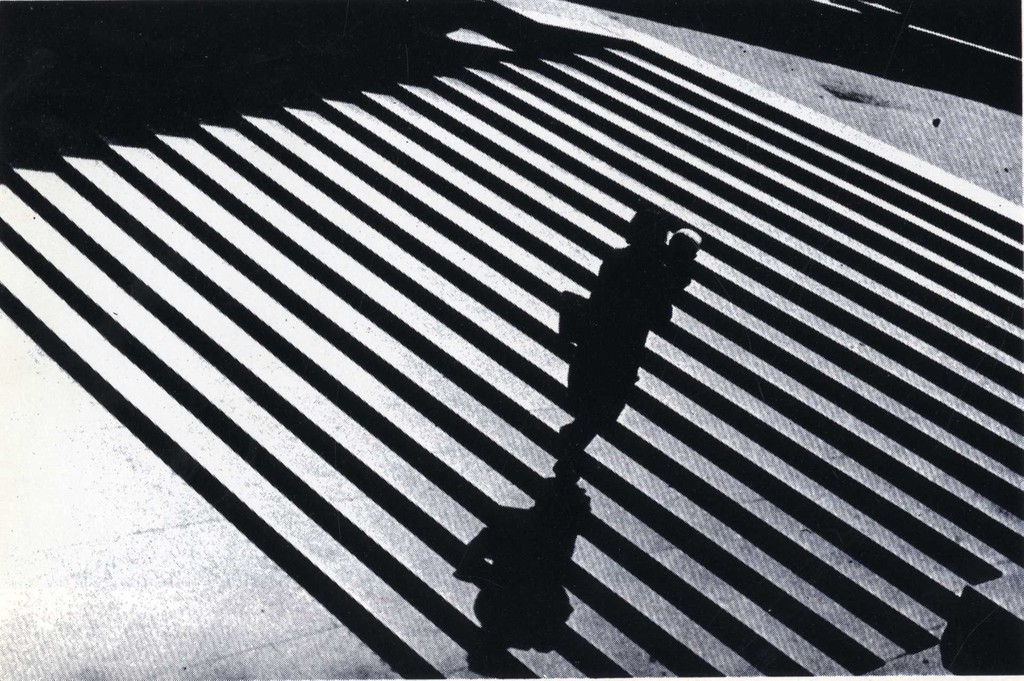
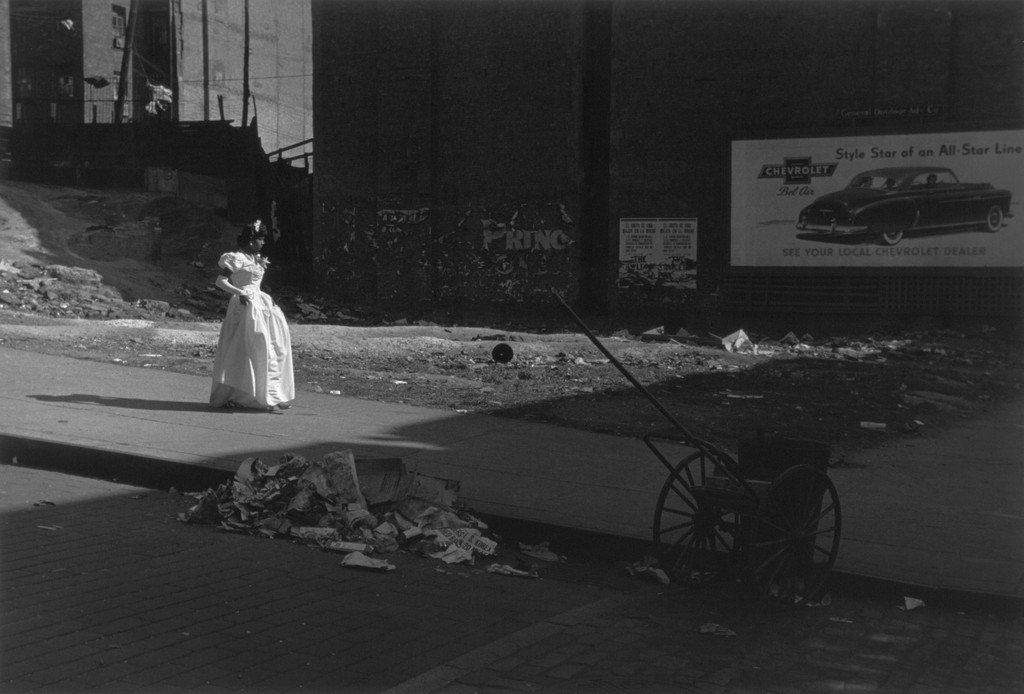
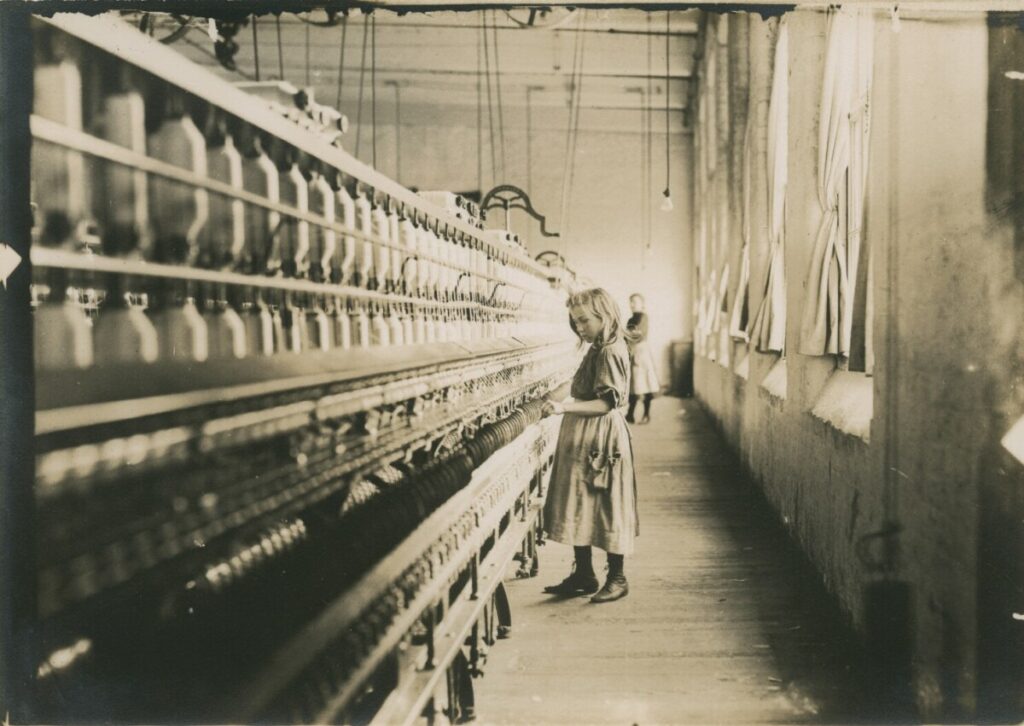
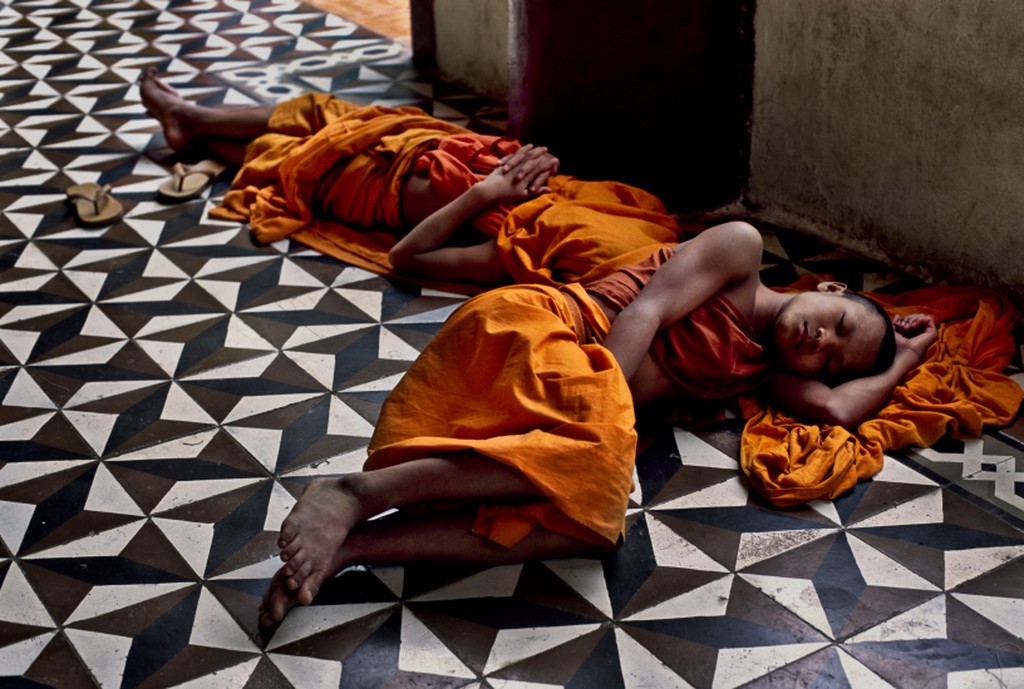
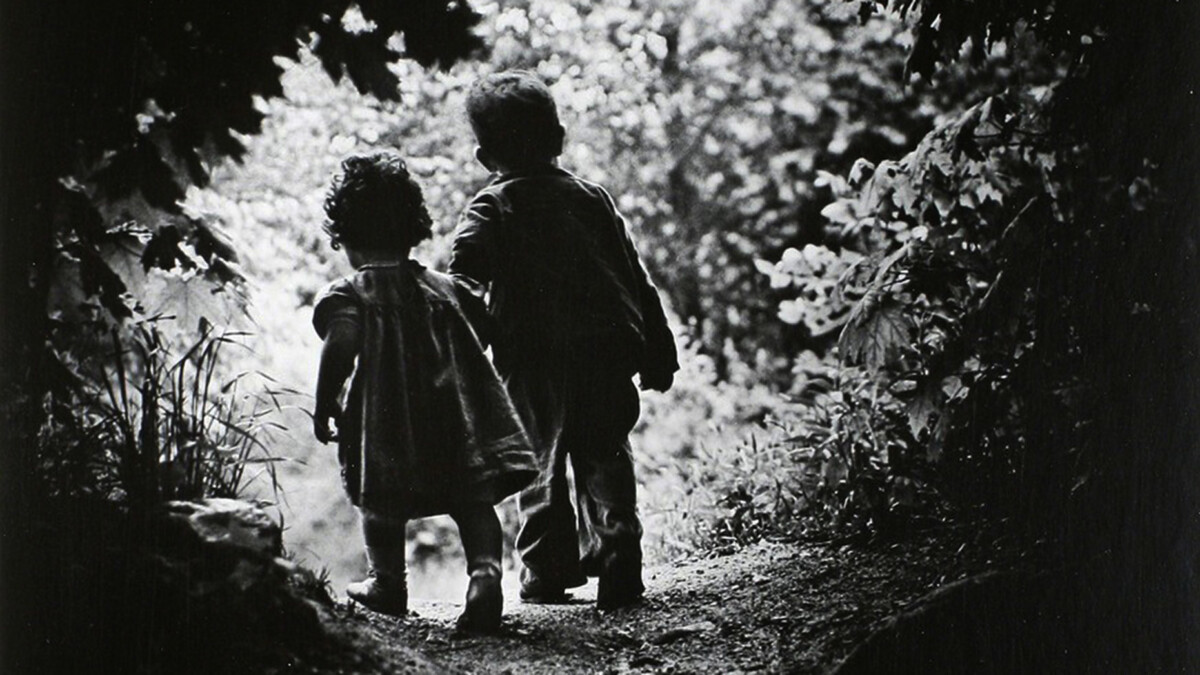
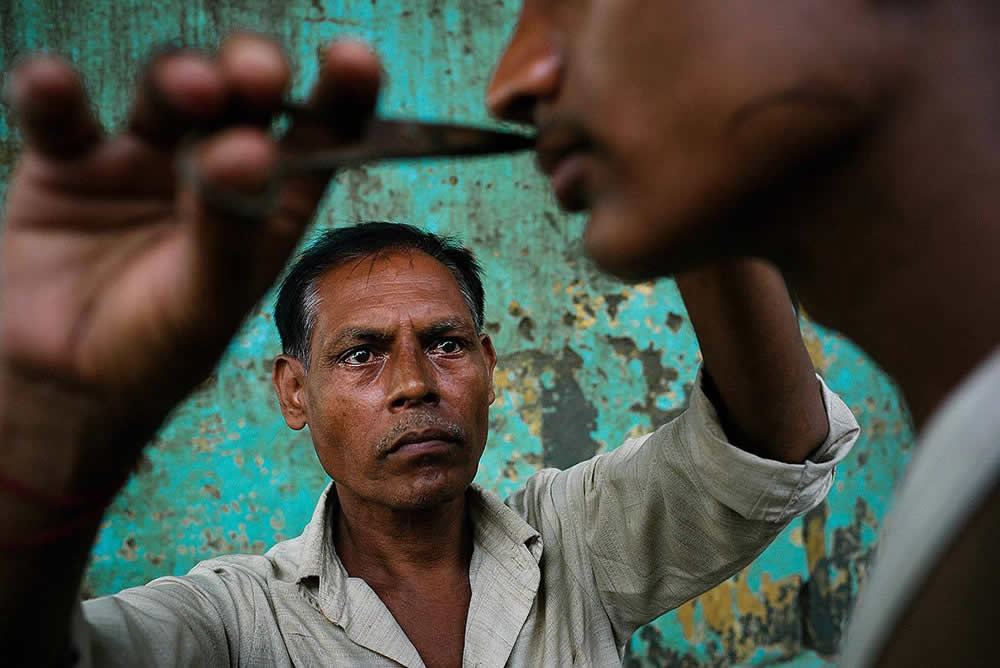
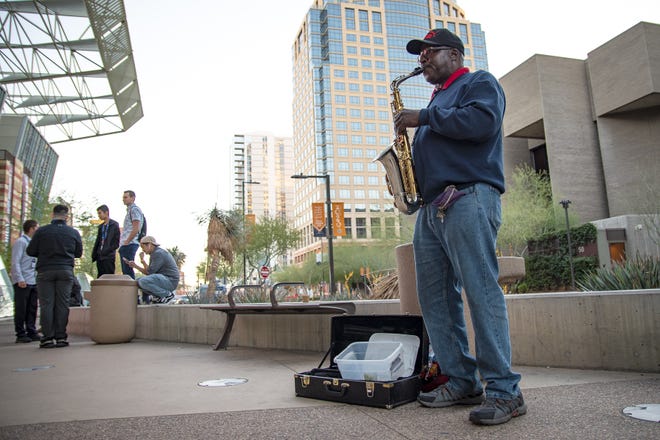
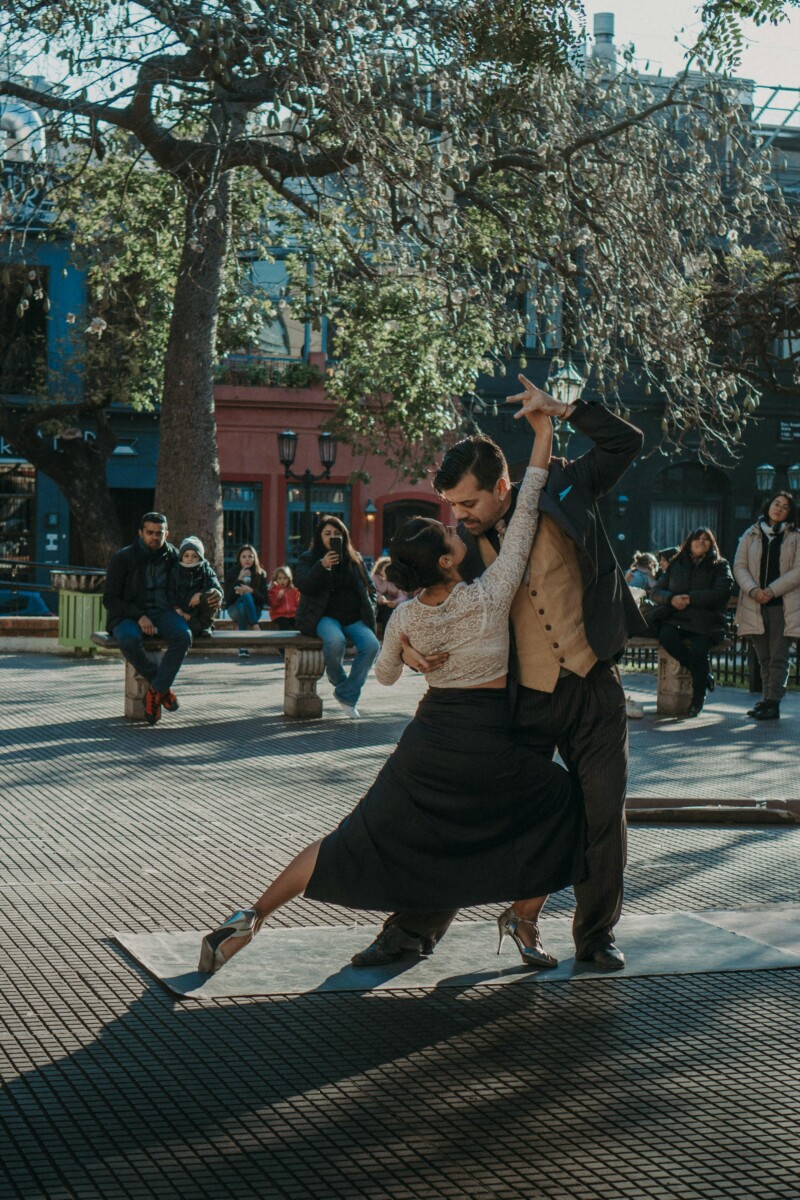
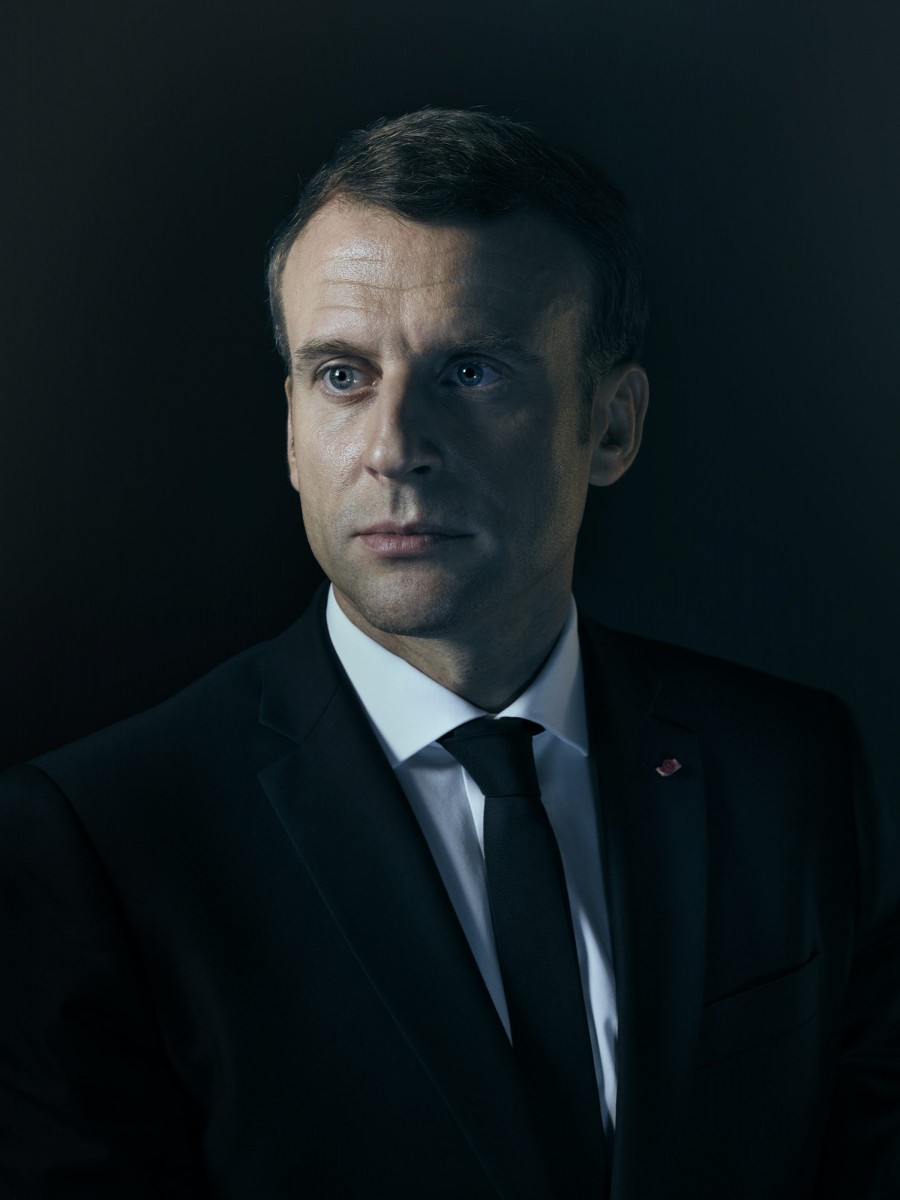
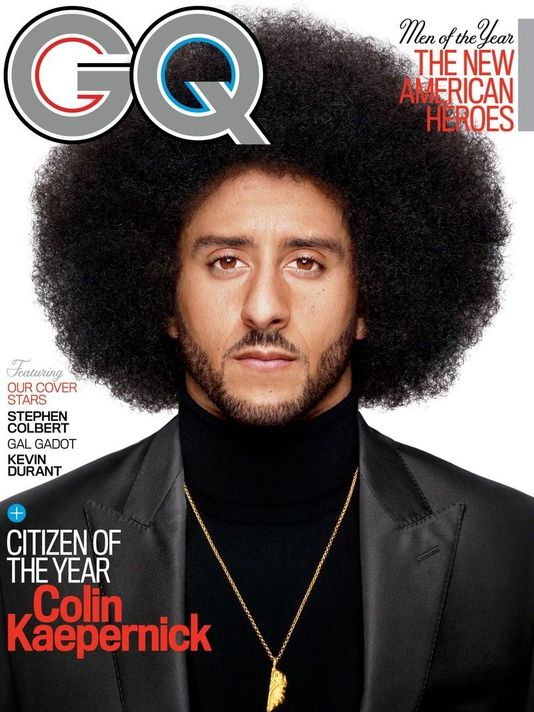
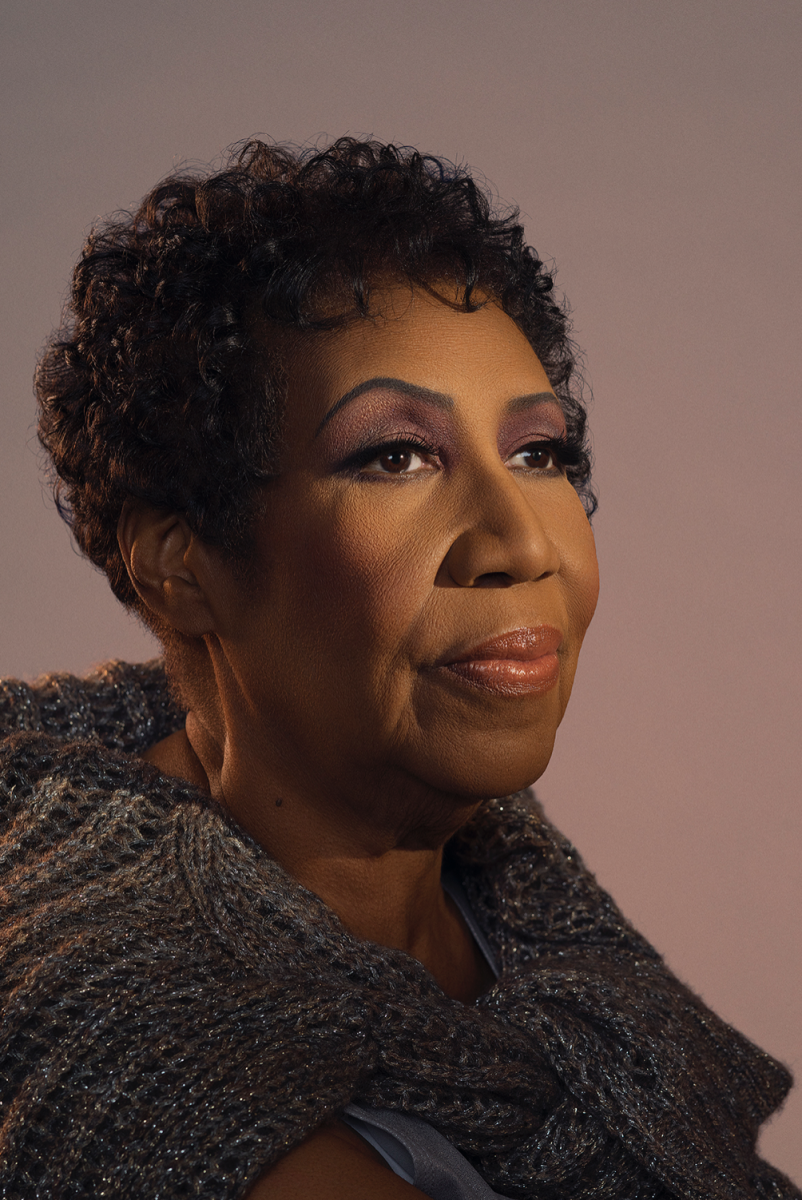
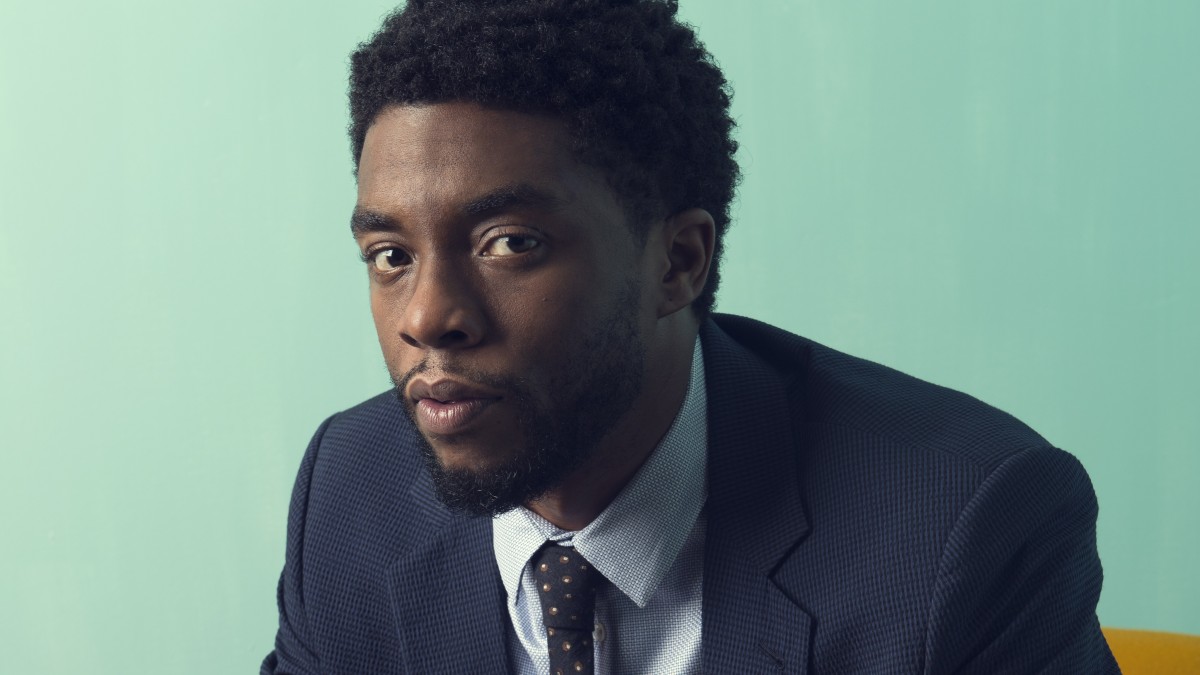
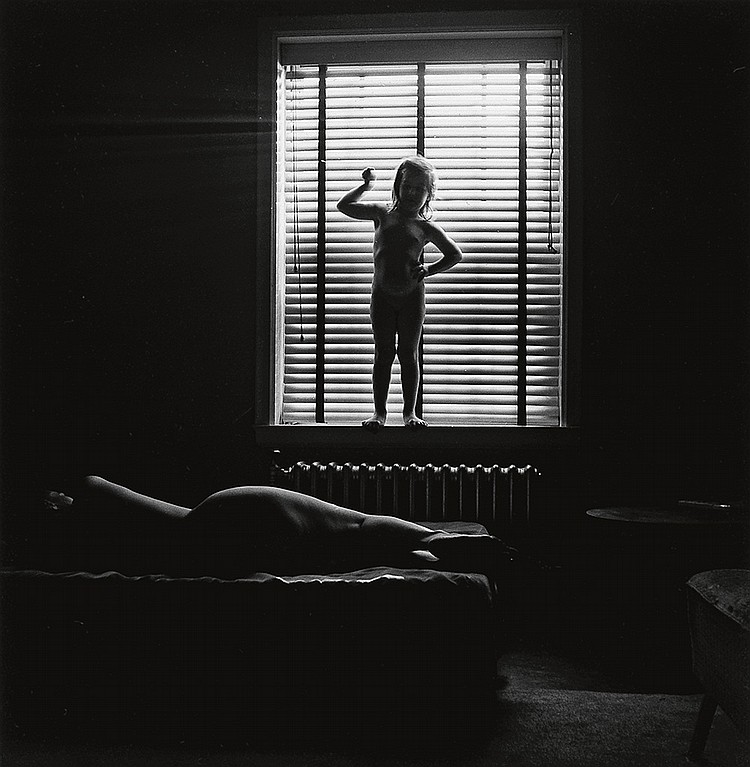
Use masks to make local corrections on the files below.


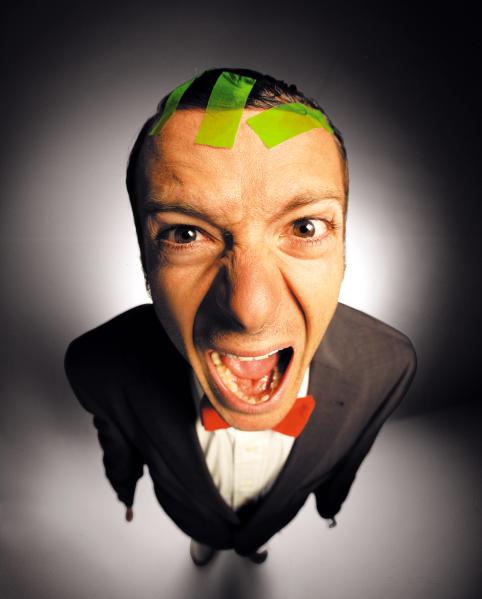
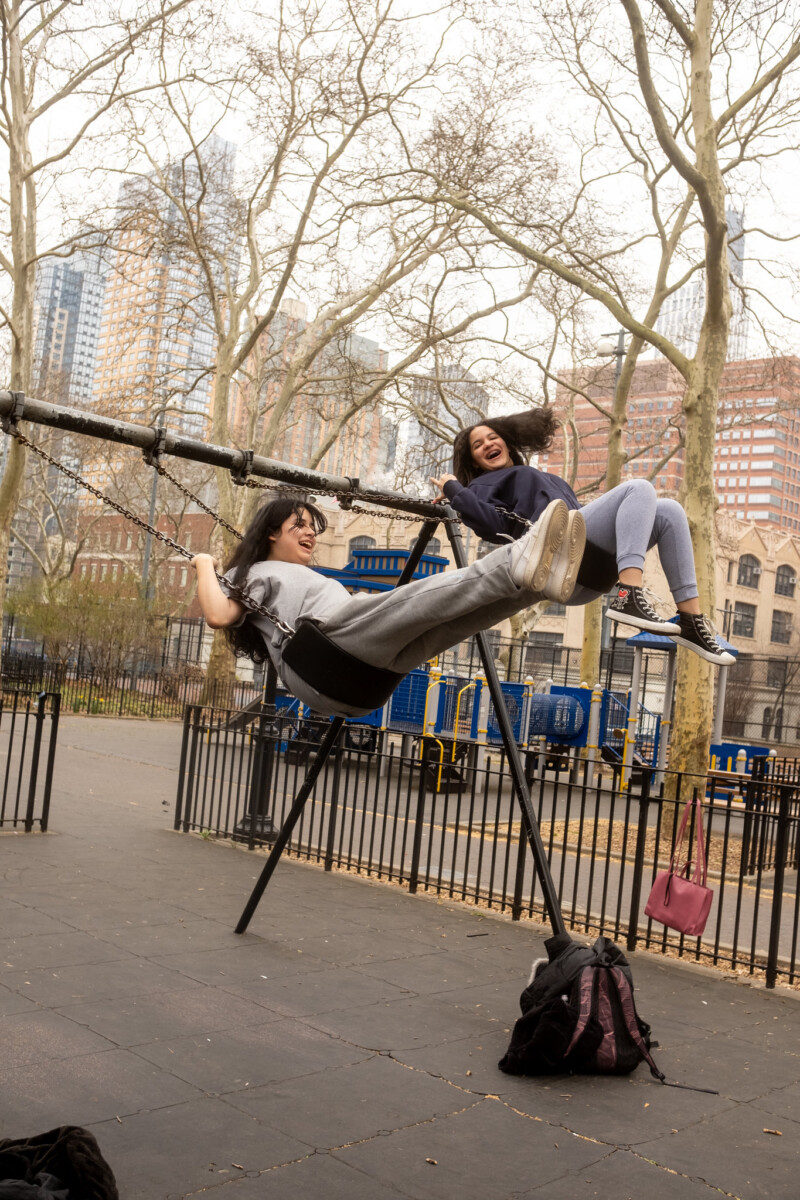
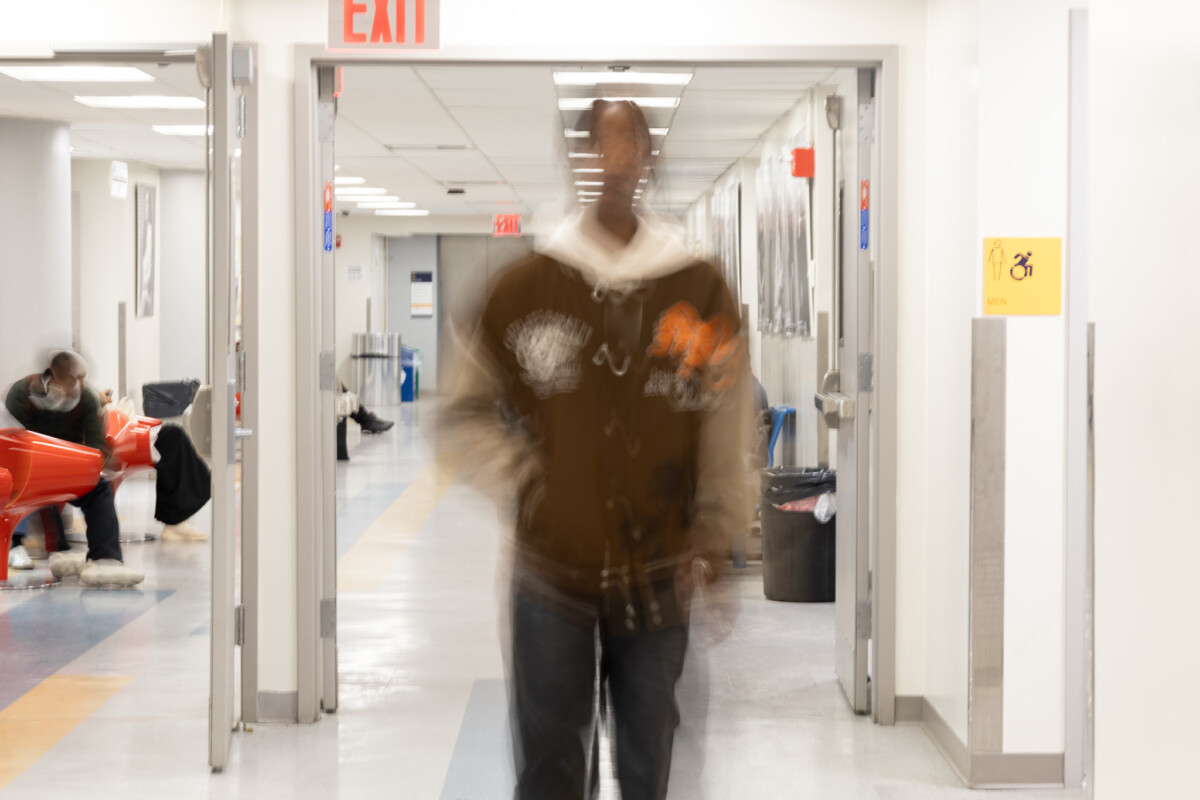
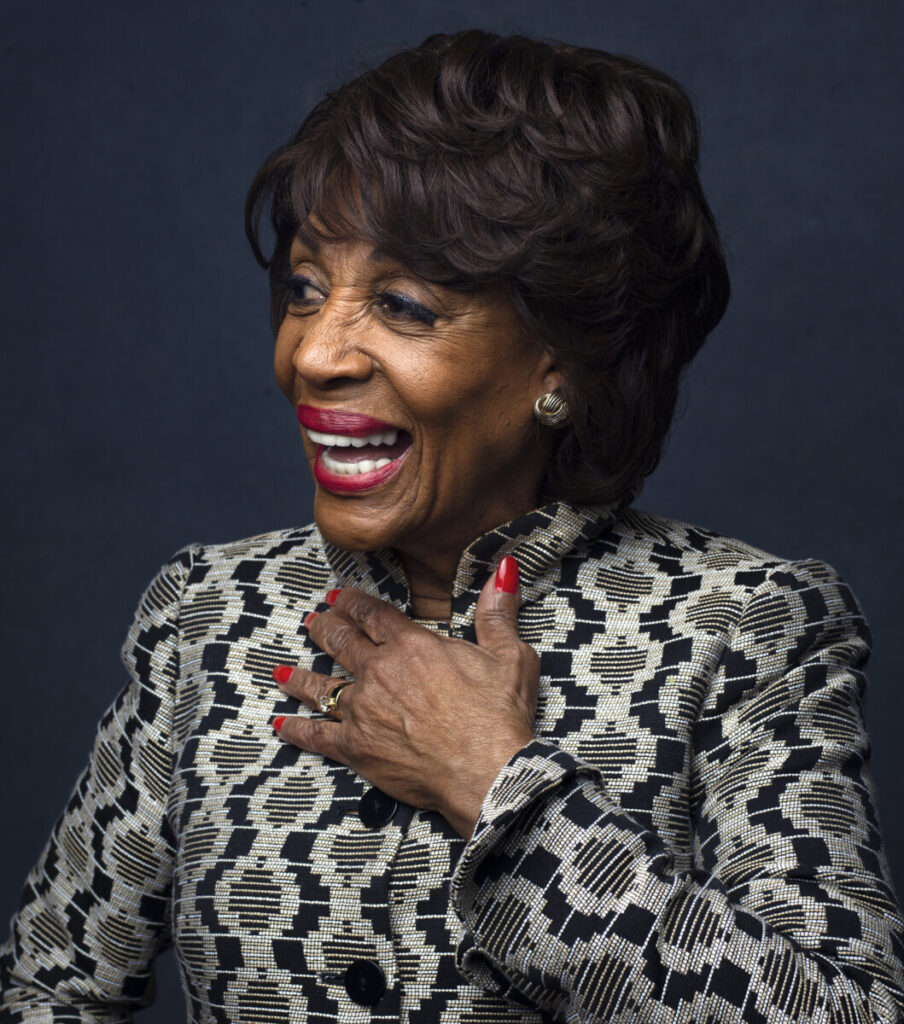
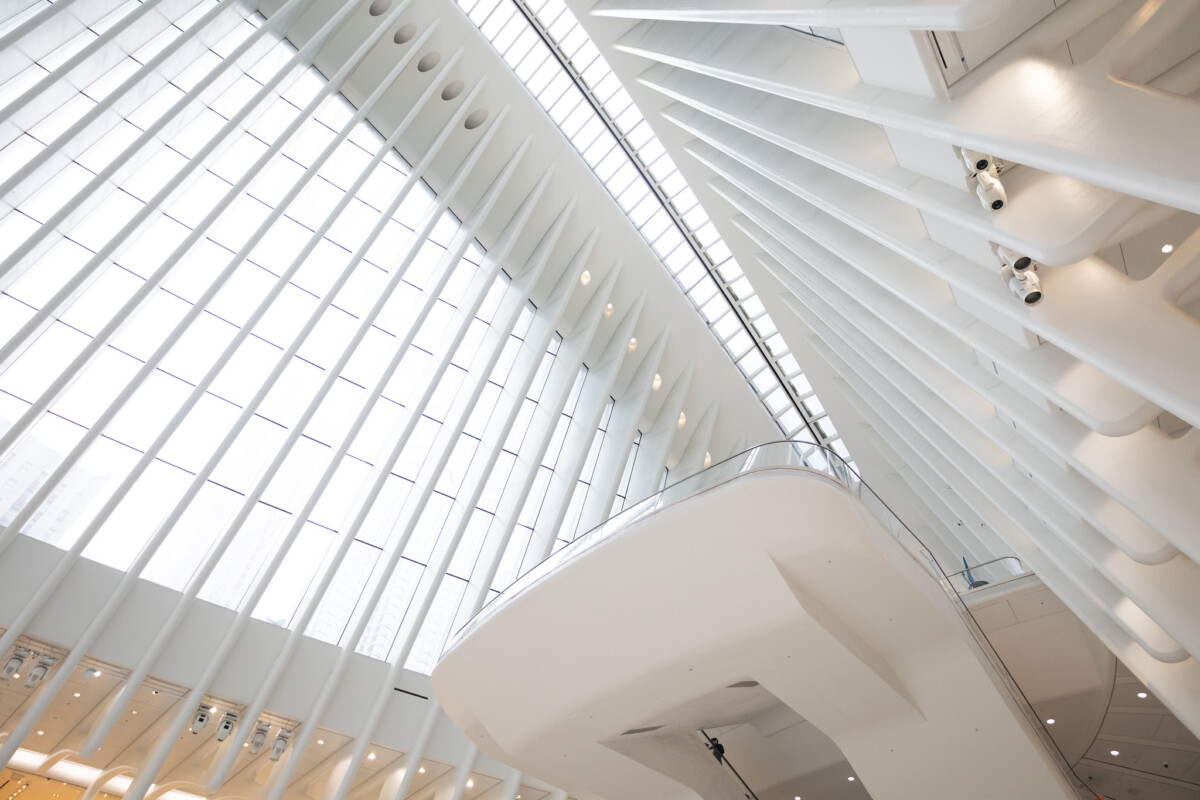
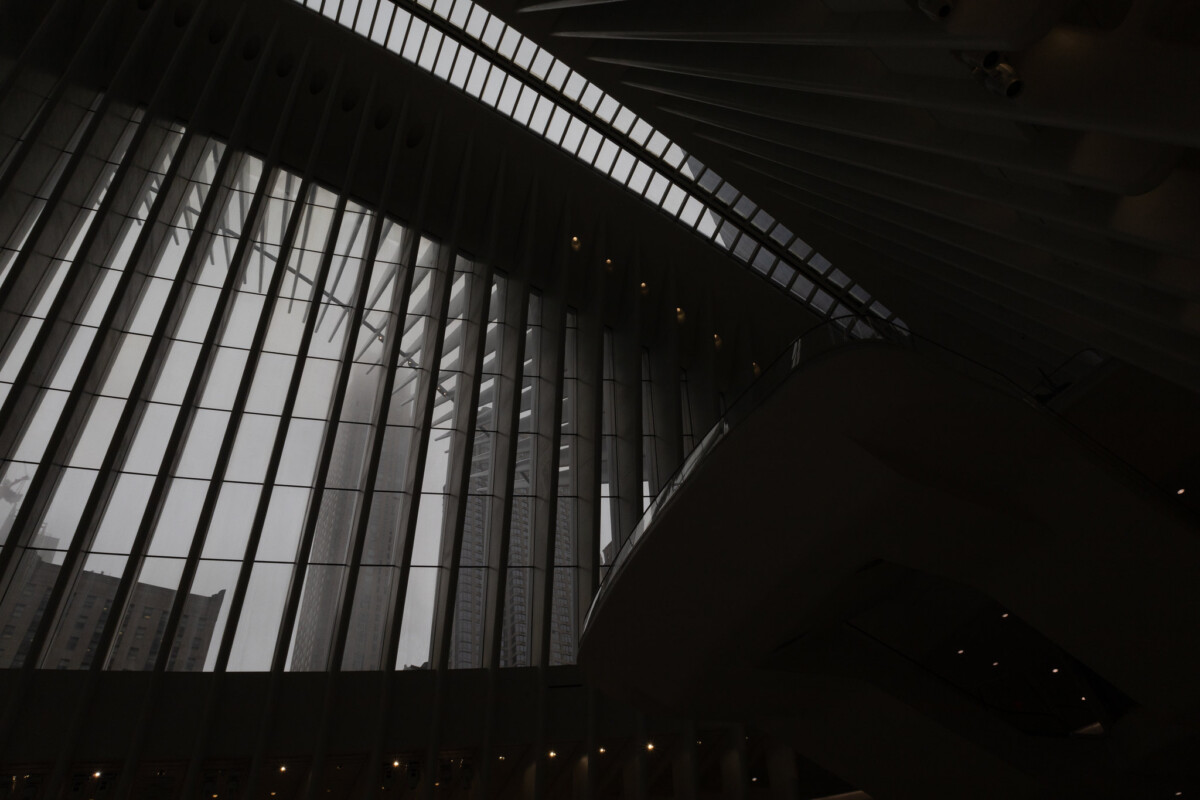
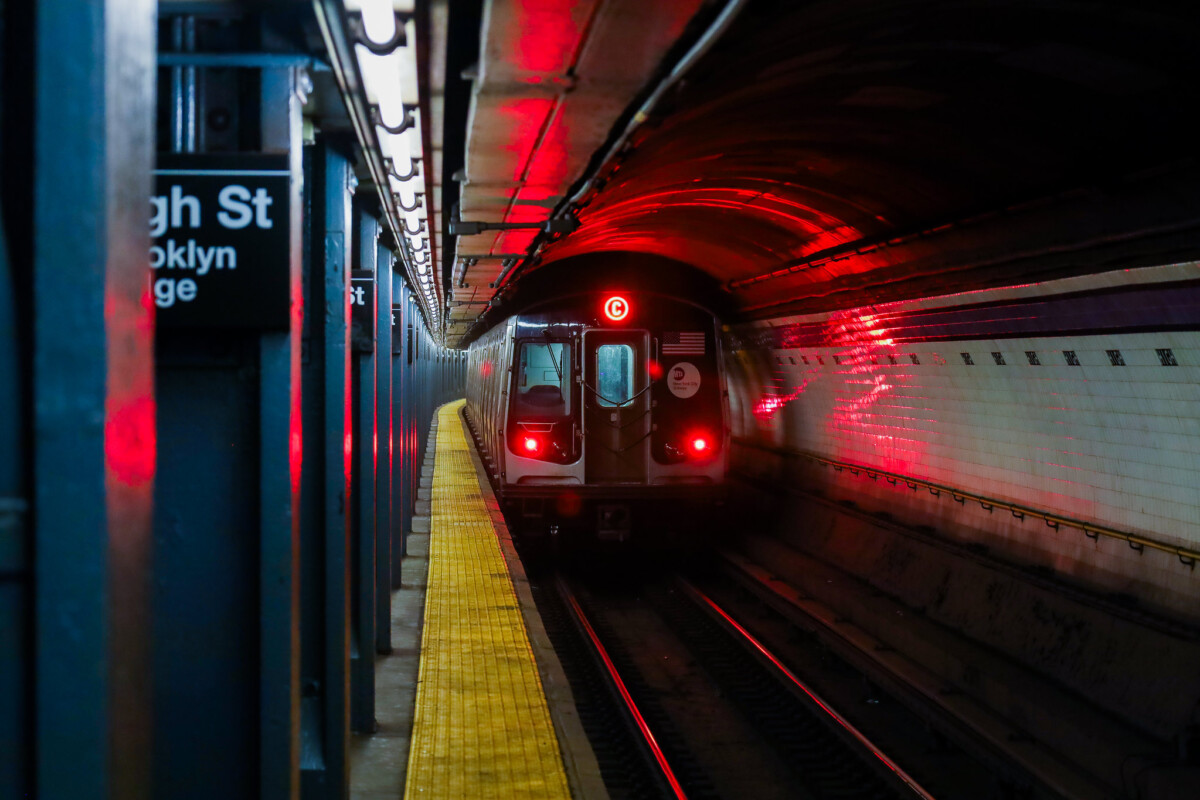
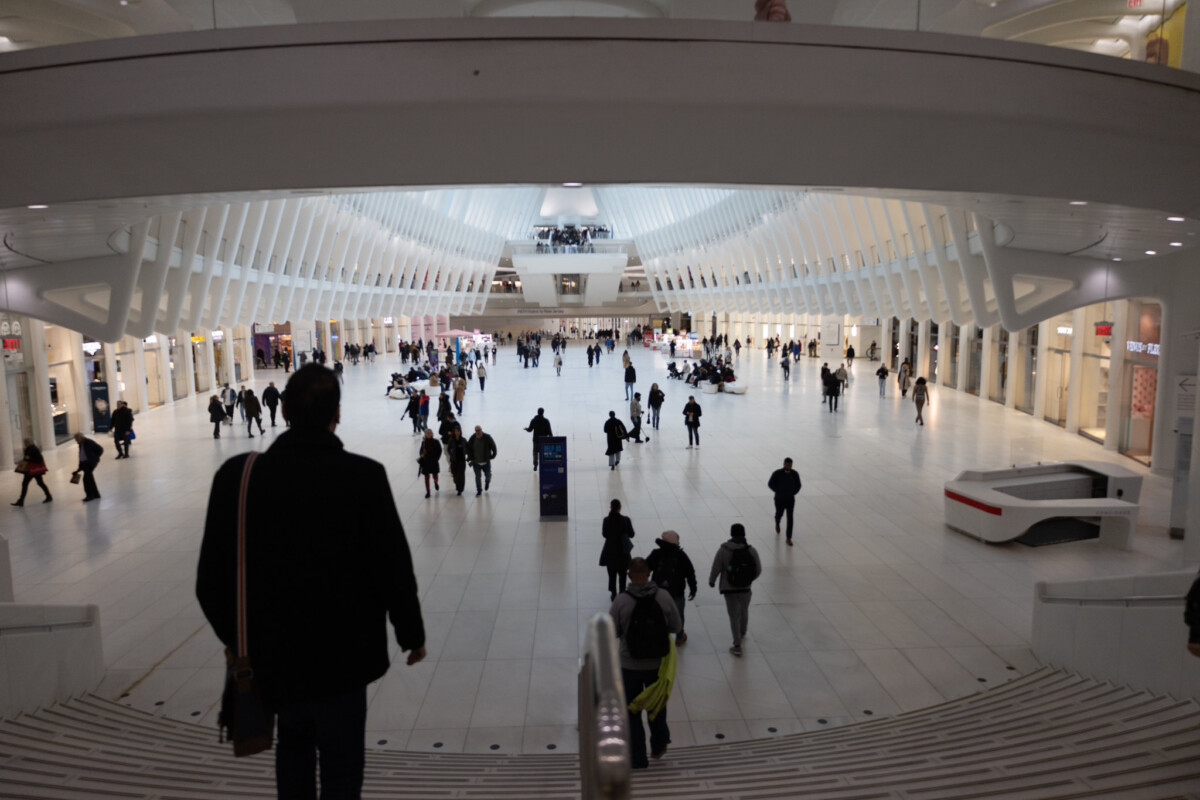
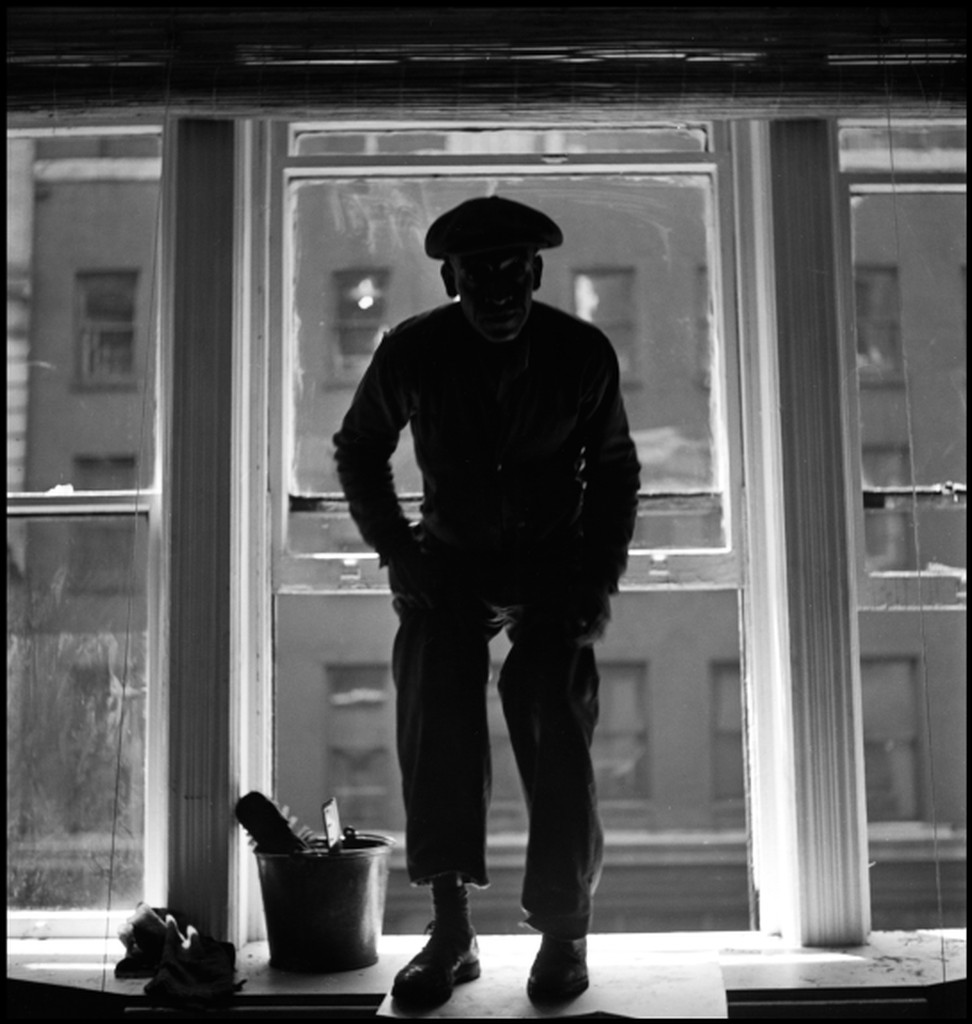
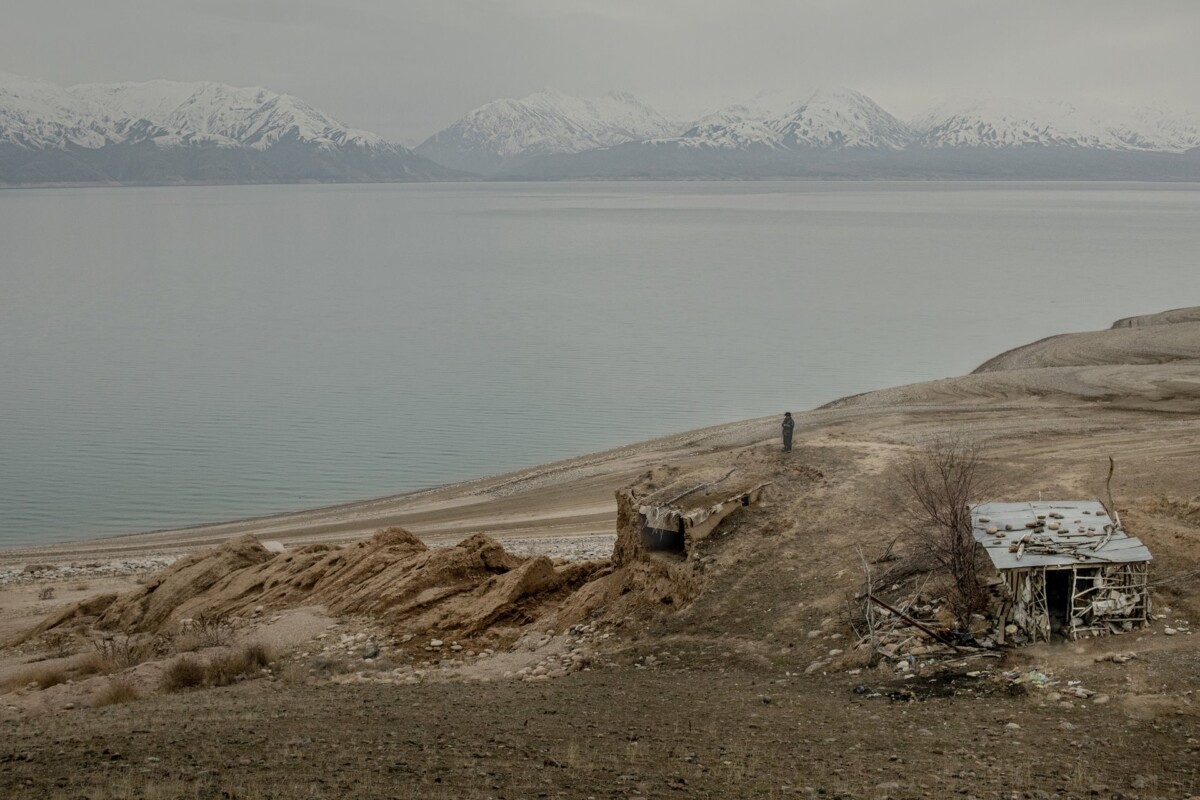
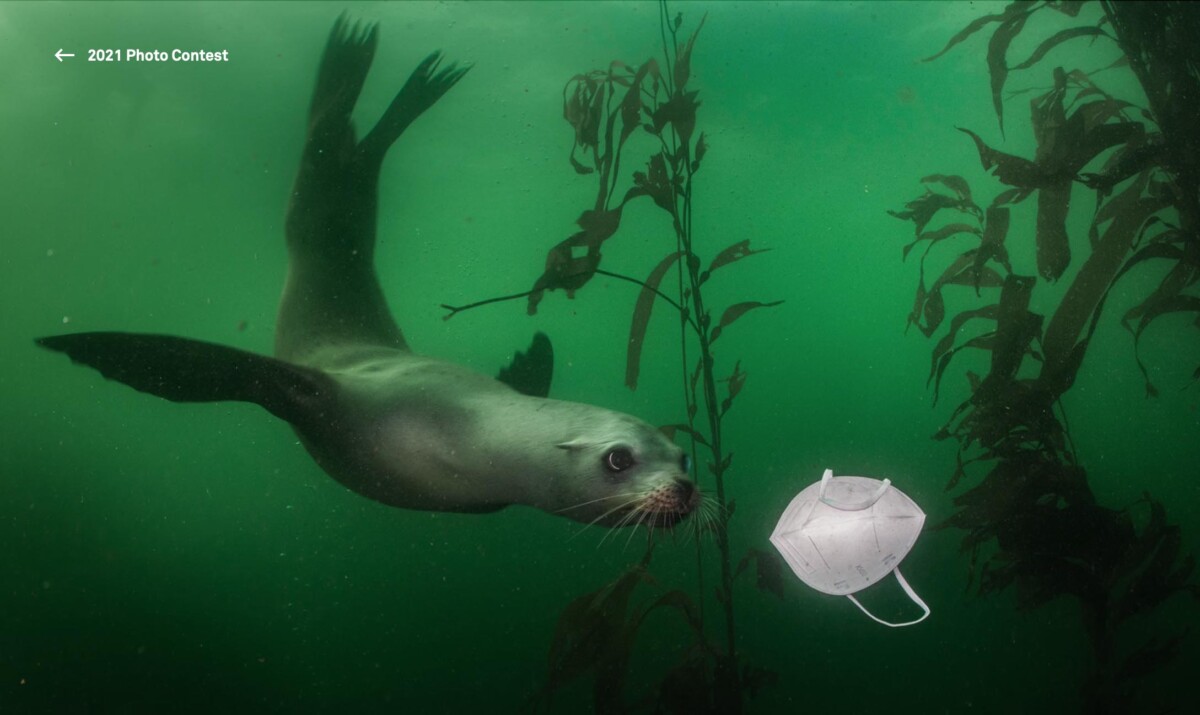
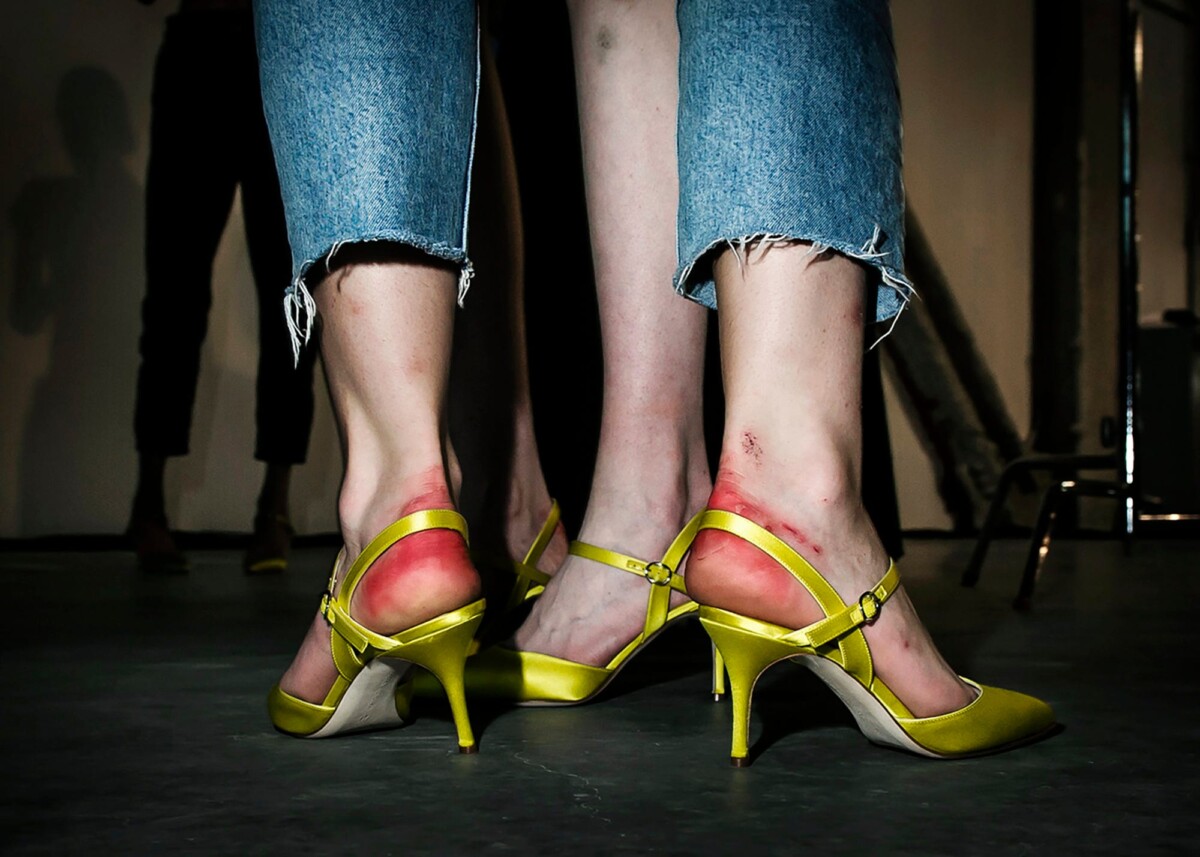
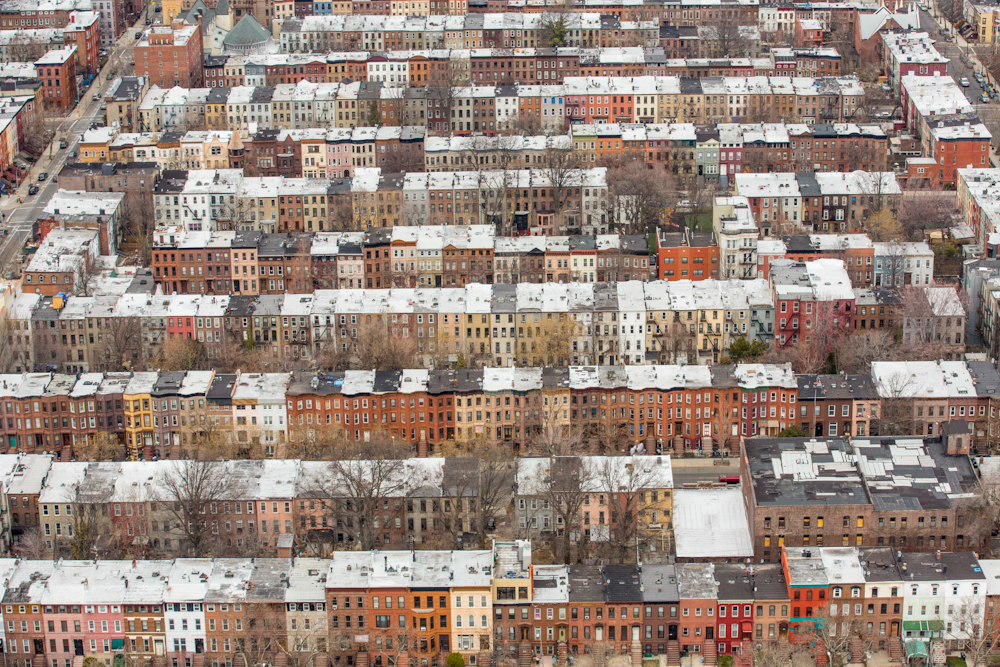
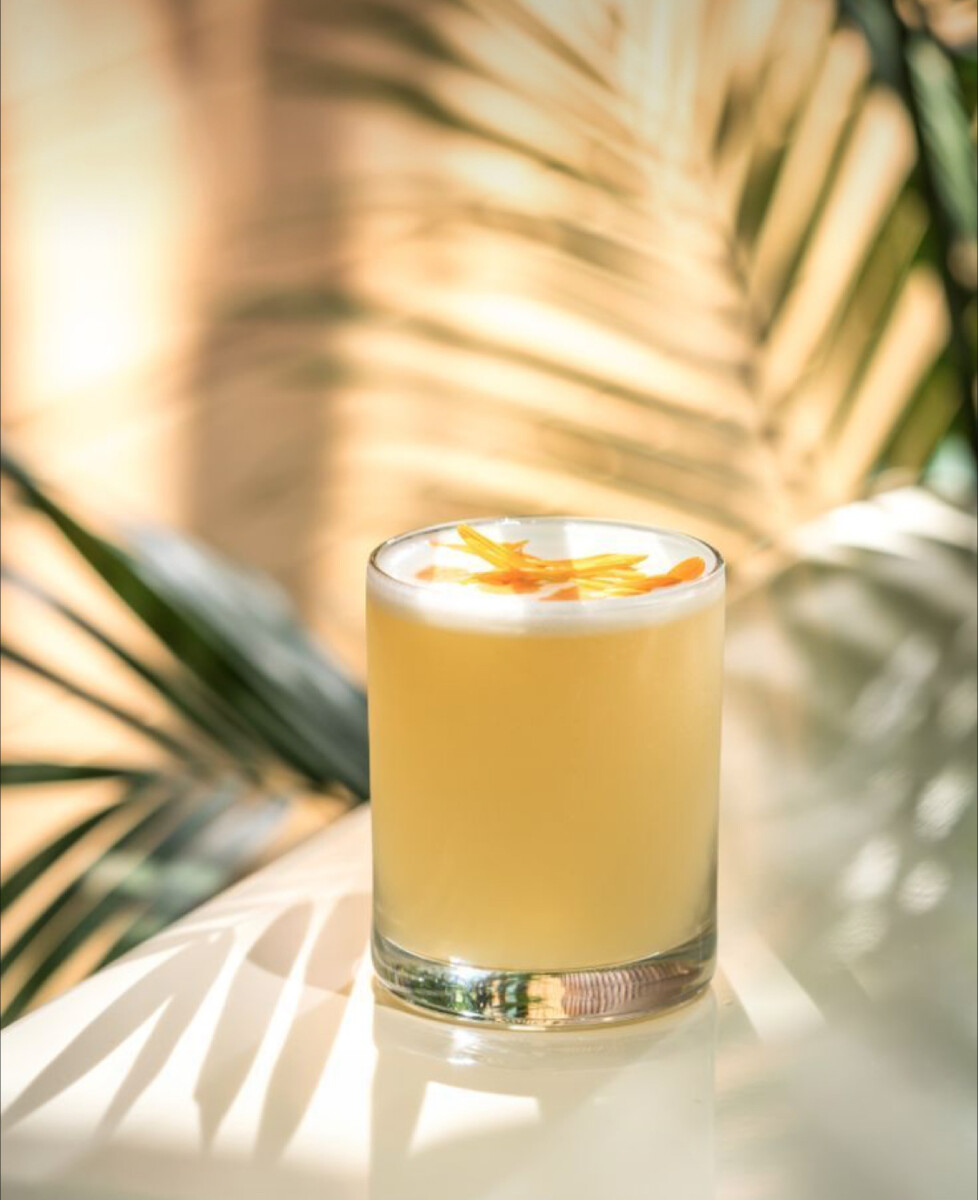
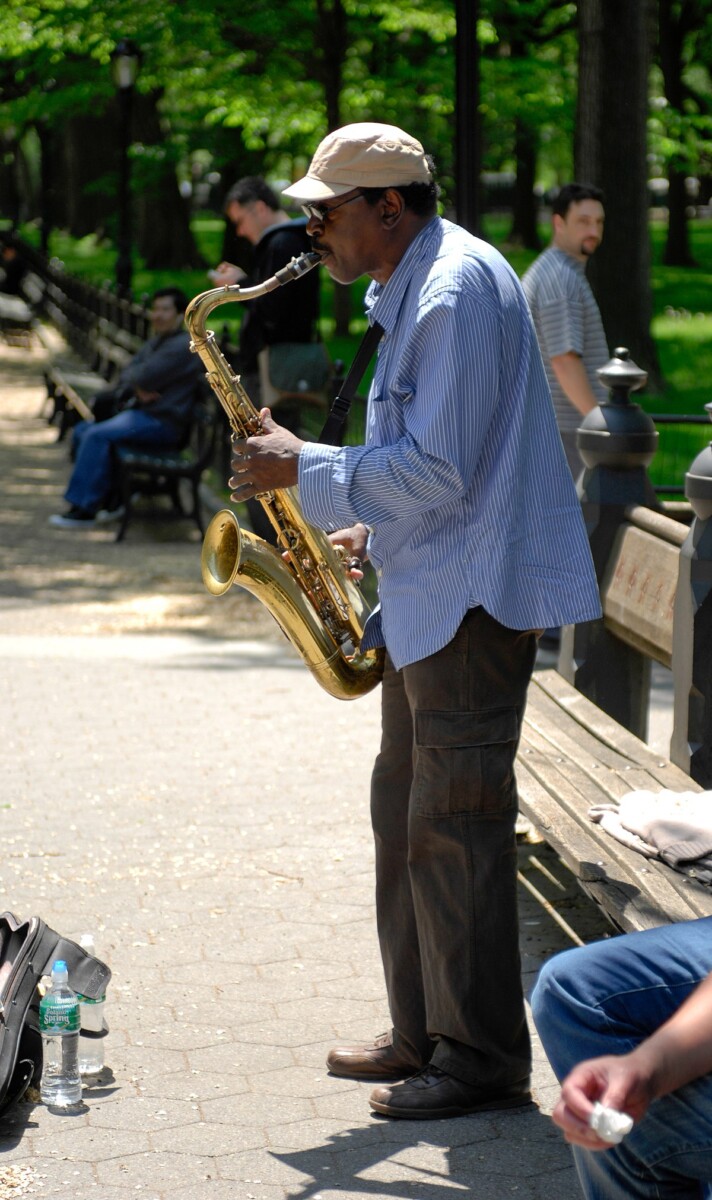
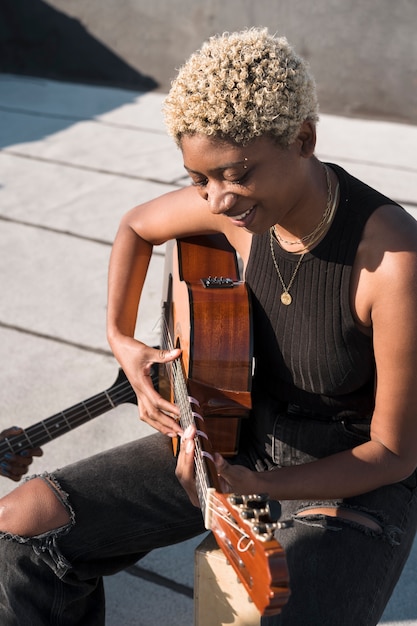
Lab exercises
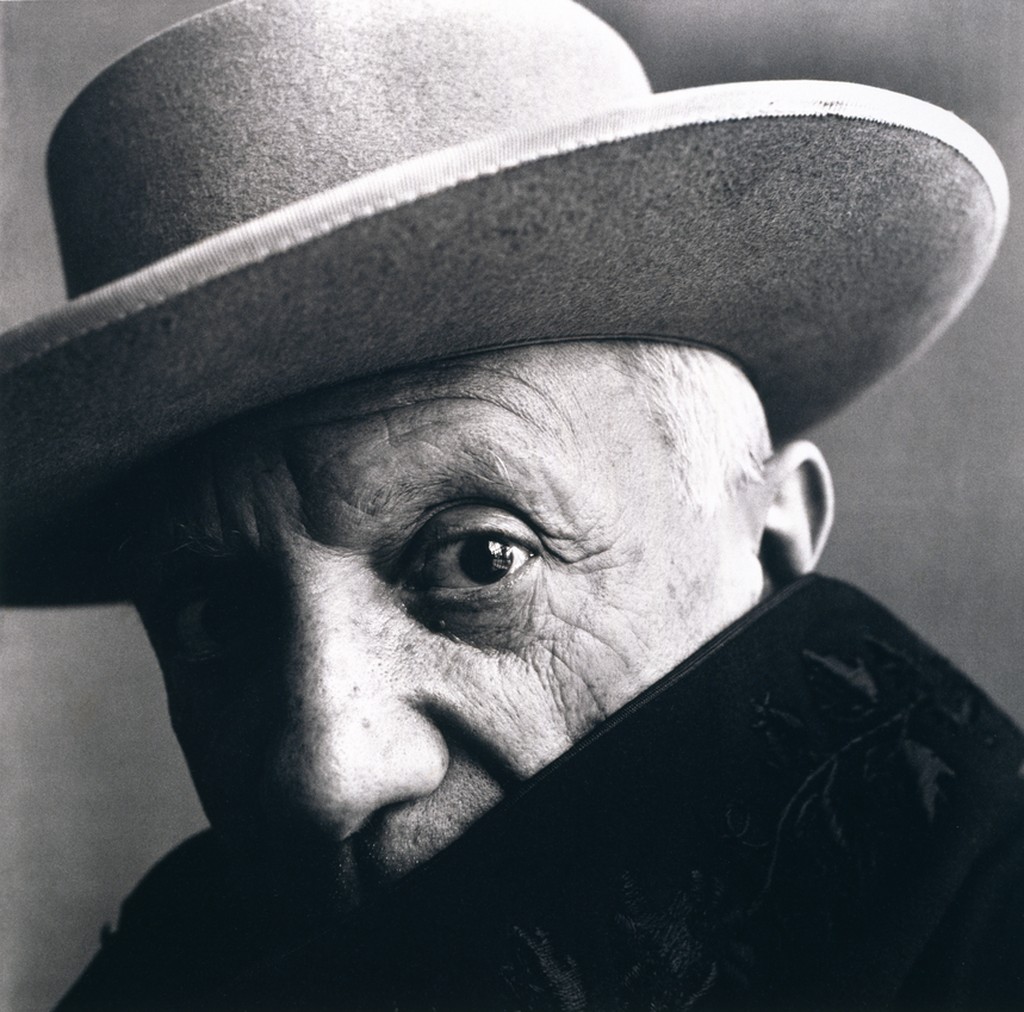
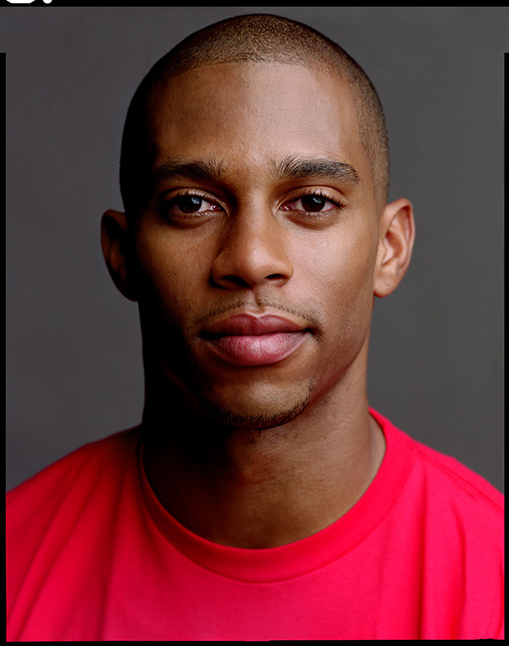
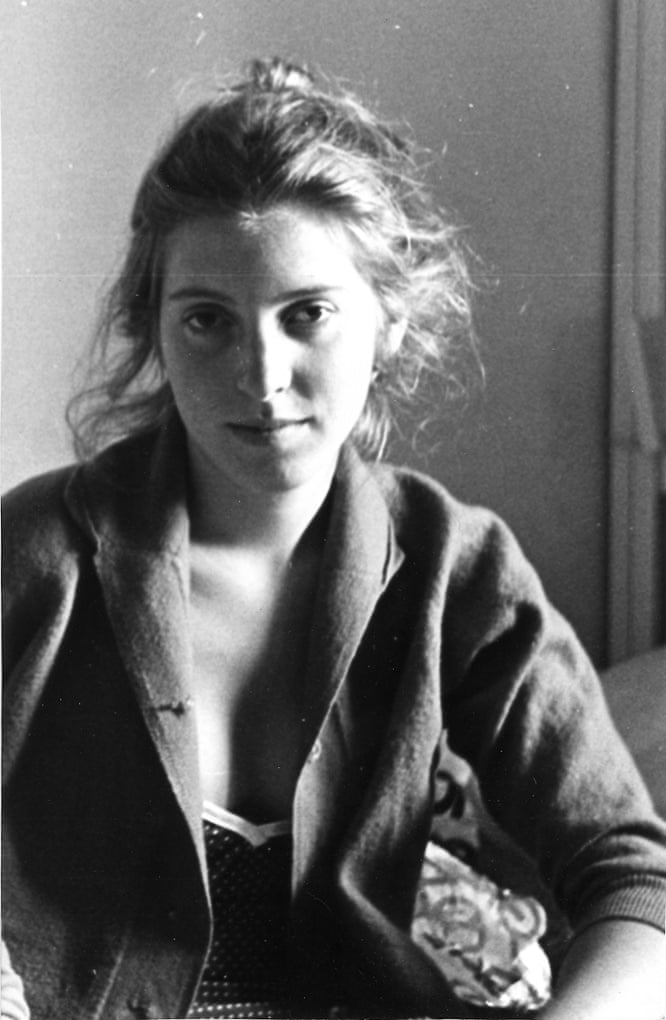
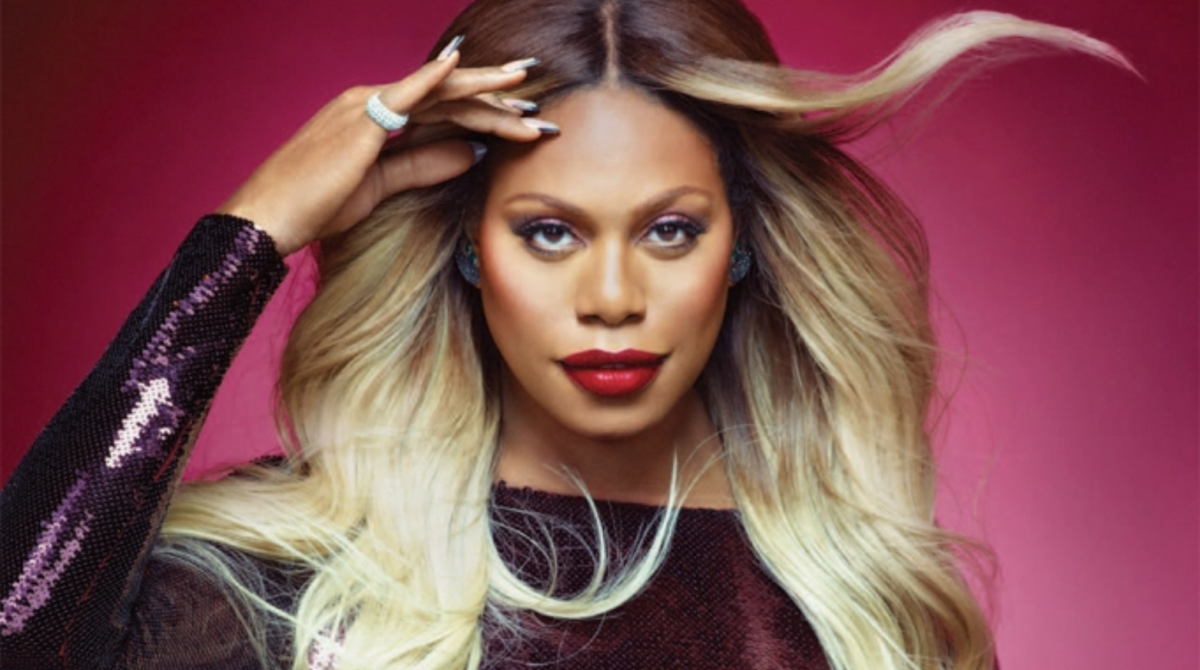
Adjust the 6 photos above.
Working with your partner, you both adjust one of their photos and compare the results. Then you both adjust one of your photos and compare the results.
Put your results, a total of 8 photos, in an album on Flickr for today’s lab credit. Send your corrected photo and your partners corrected to the group.
Homework
Final Project – 20 pts
Due May 22:
3 albums each of a minimum of 40 photos
1 album of the 10 best photos adjusted in Lightroom
a 3-5 min presentation of the final project – projected from the album on Flickr.
Presentation Guidelines
- Start by introducing yourself and your project. Then outline the big picture with a few sentences sentence such as, ” I photographed variations on the theme of windows. Most of the photos were taken in downtown Brooklyn.
- If you are showing 10 images, you have about 30 seconds to describe each photo. Tell us what your intention was, what interested you about the photo we are looking at, and give us information we may need to know to understand the photo. Tell us what makes it visually interesting ie the use of shallow depth of field or some other feature.
- How do you get to Carnegie Hall? Practice.
- Do not tell us about what you did to the photo in Lightroom.


Recent Comments