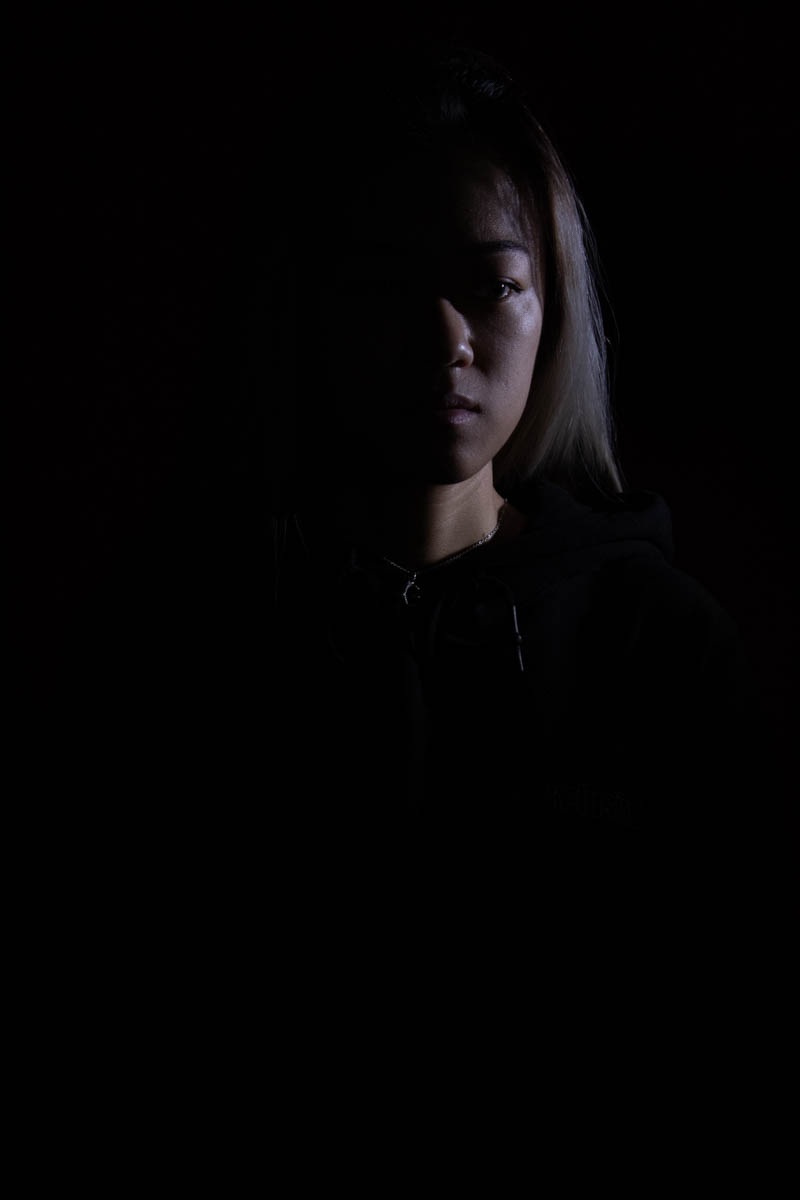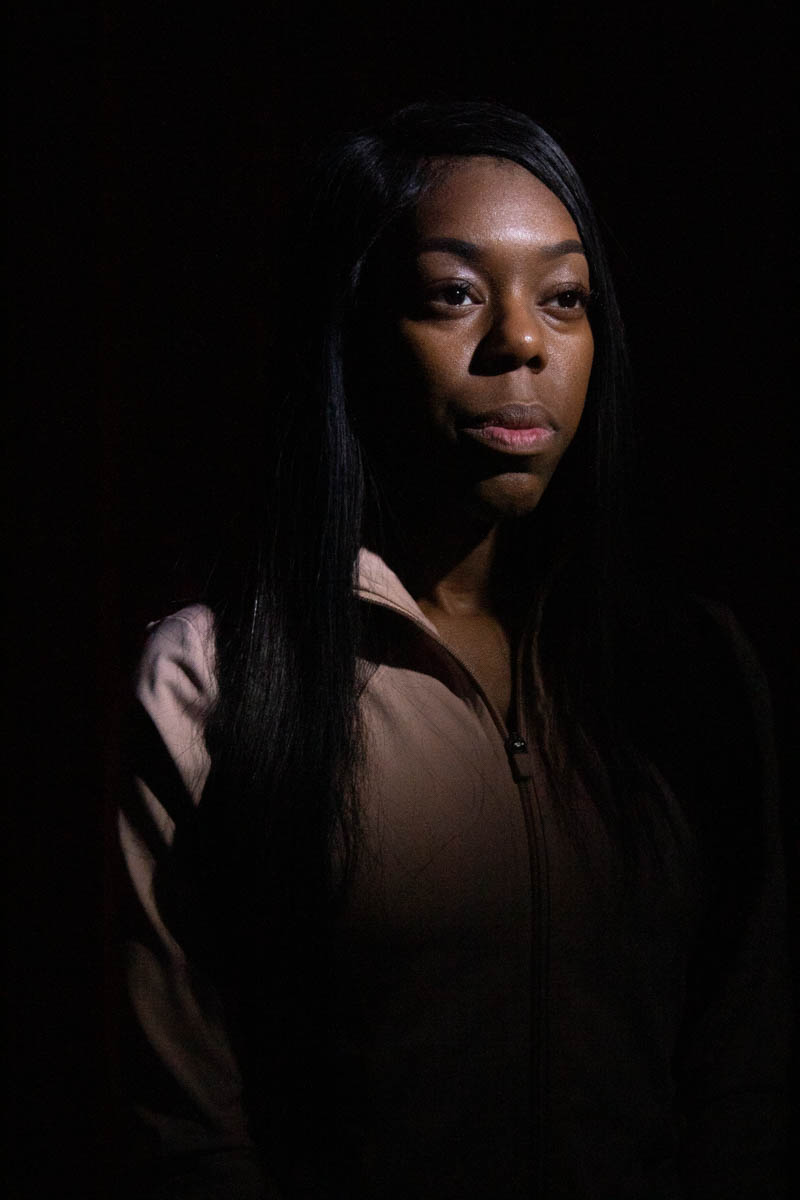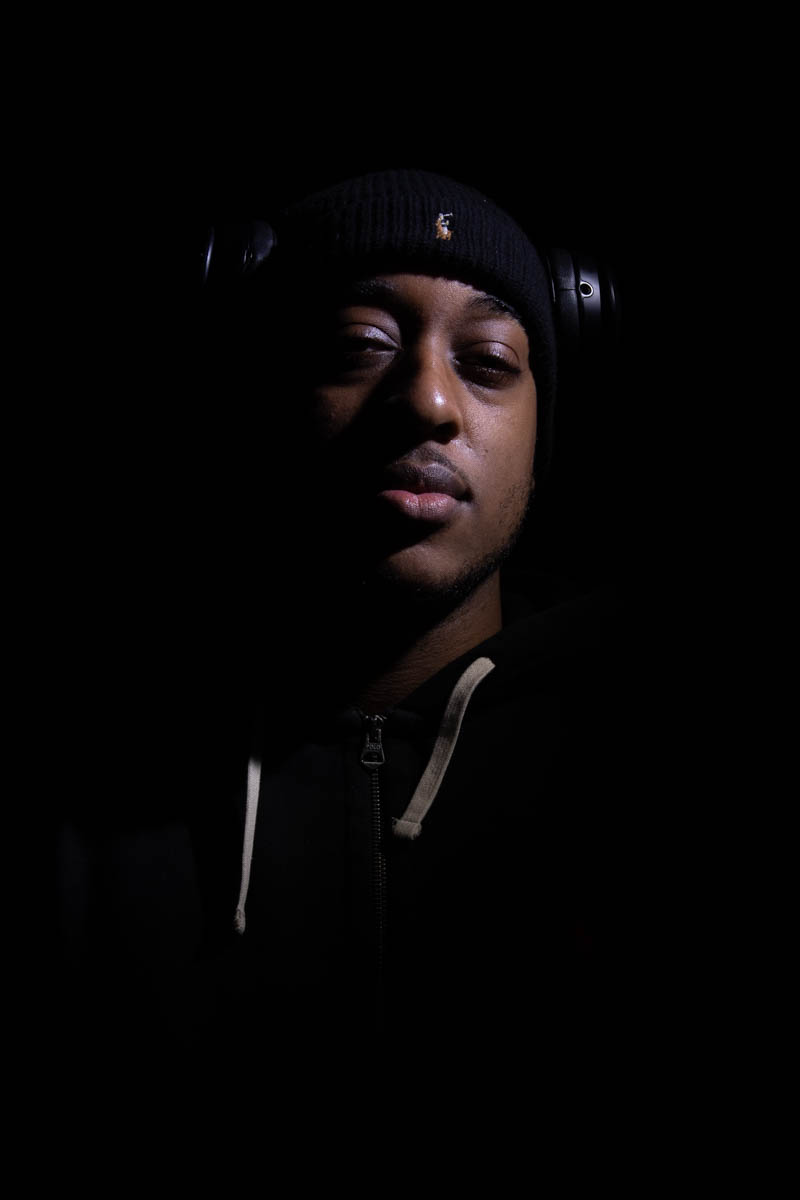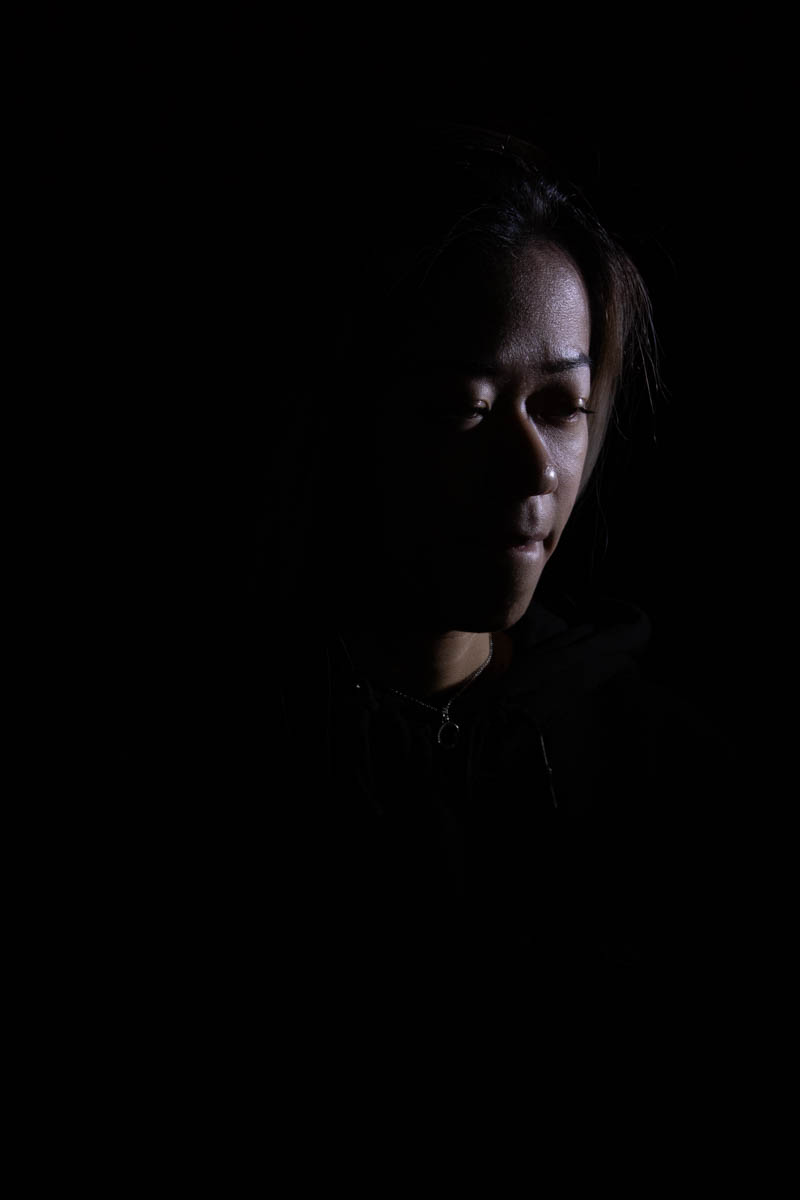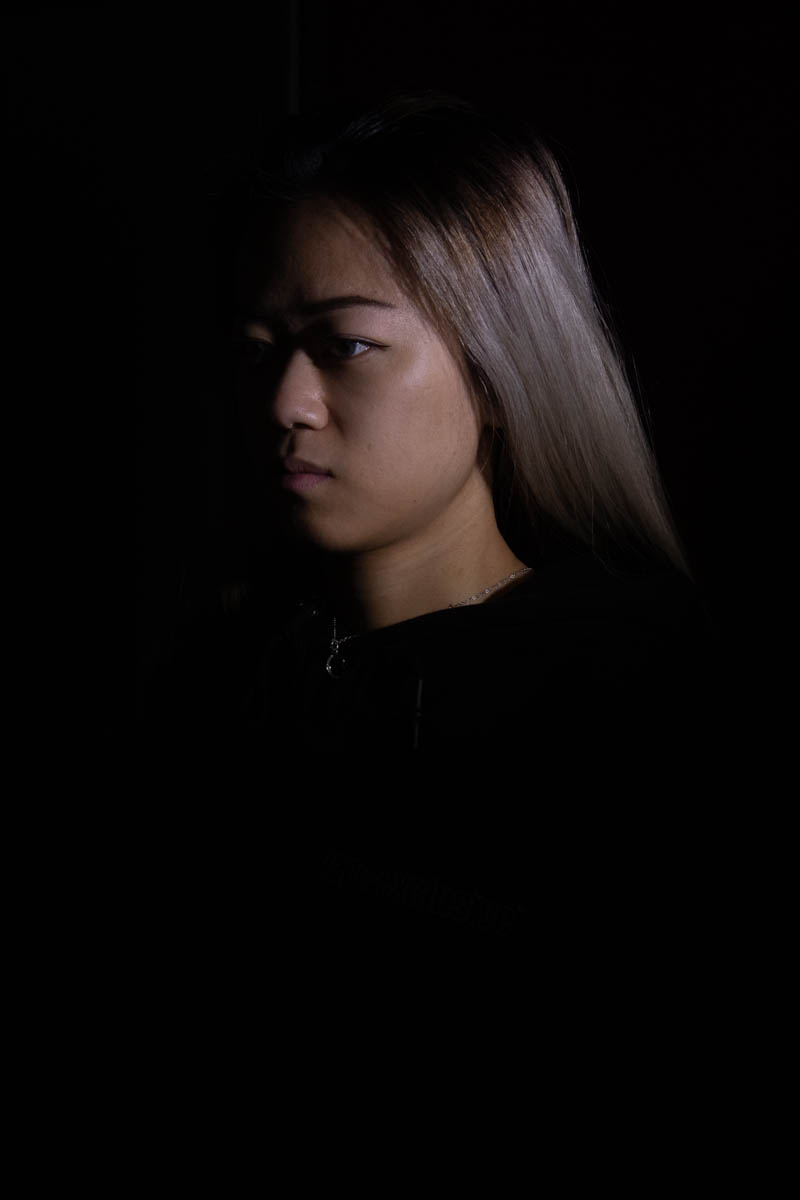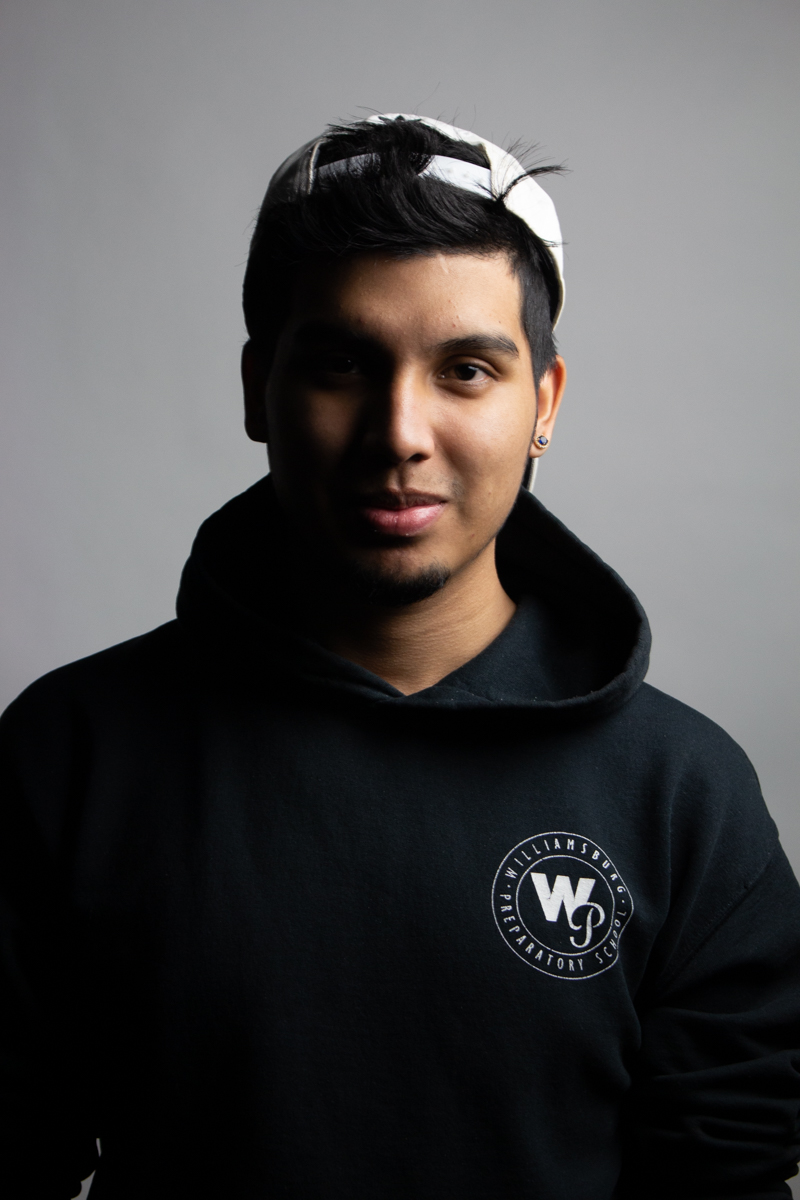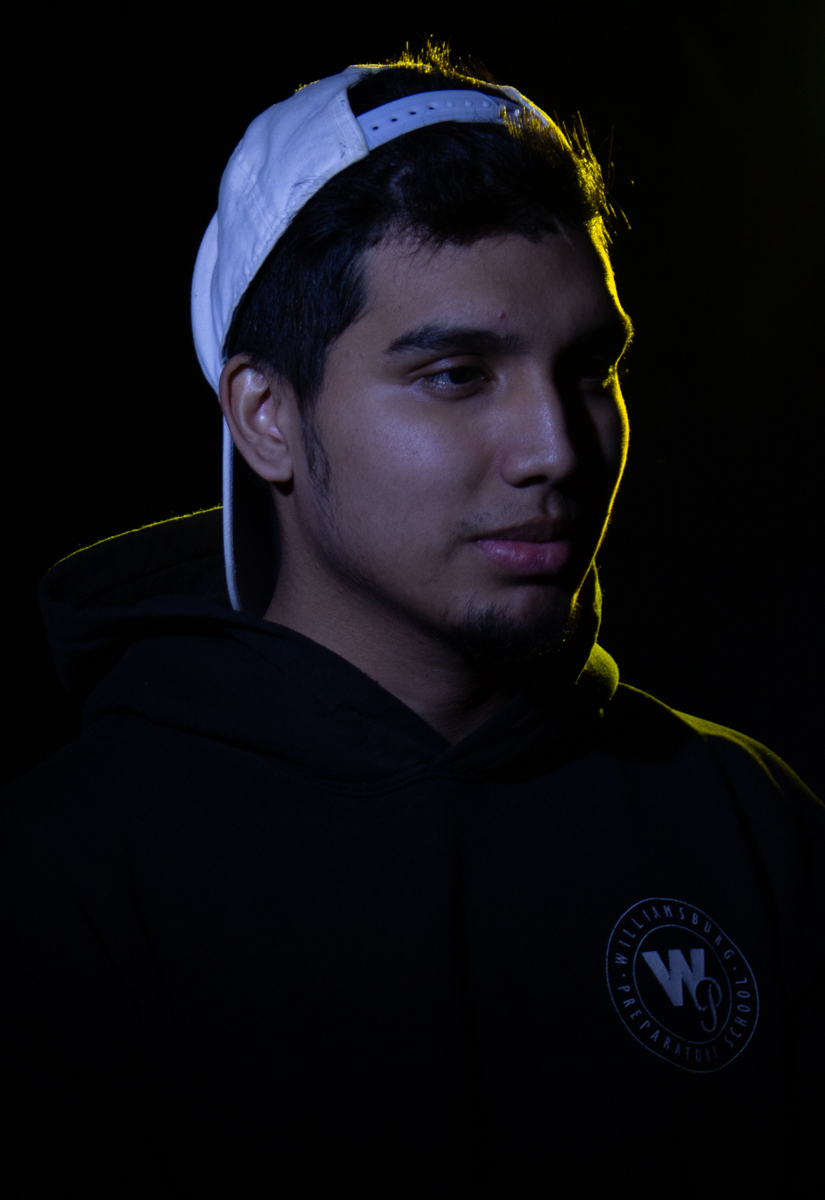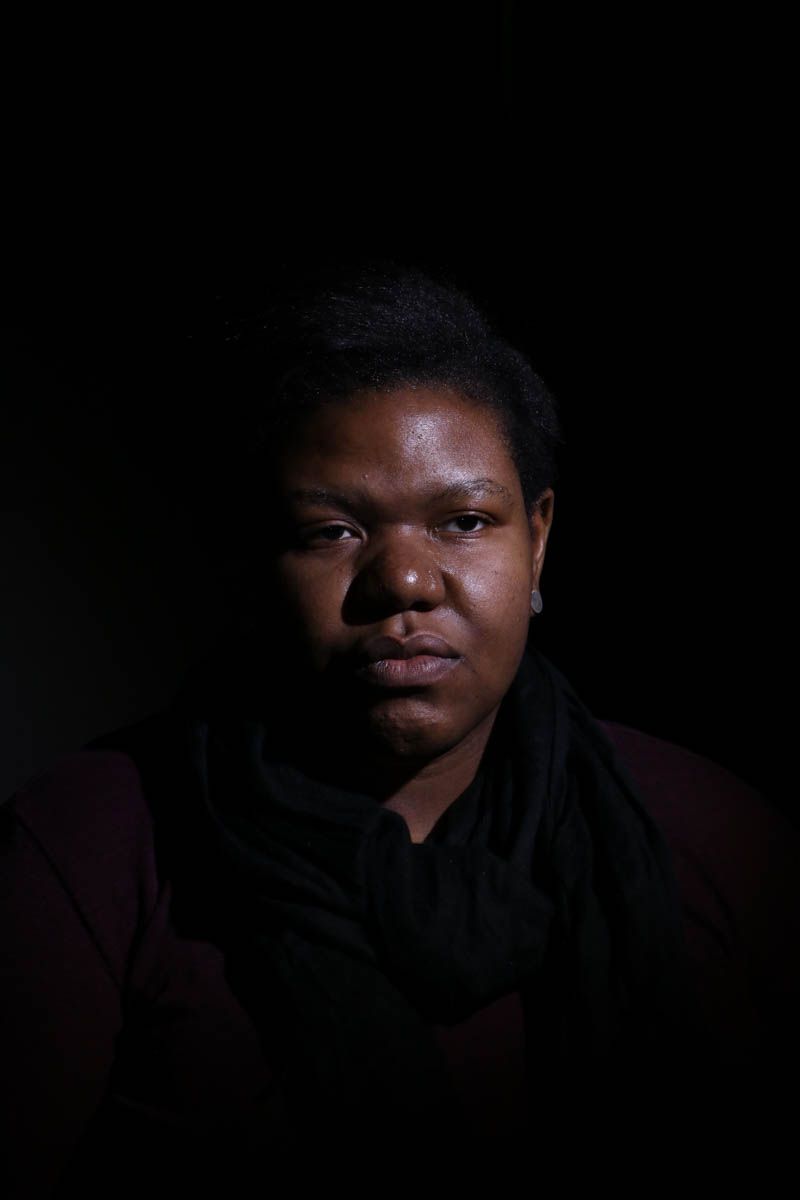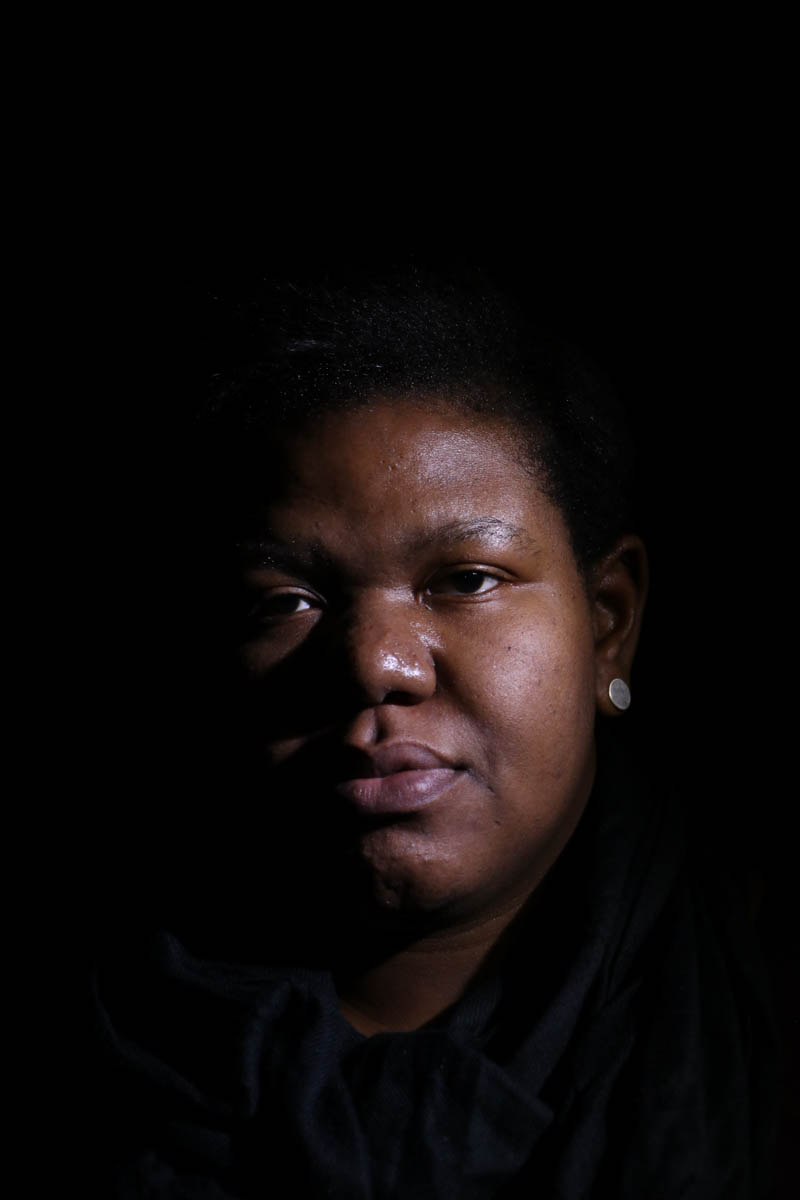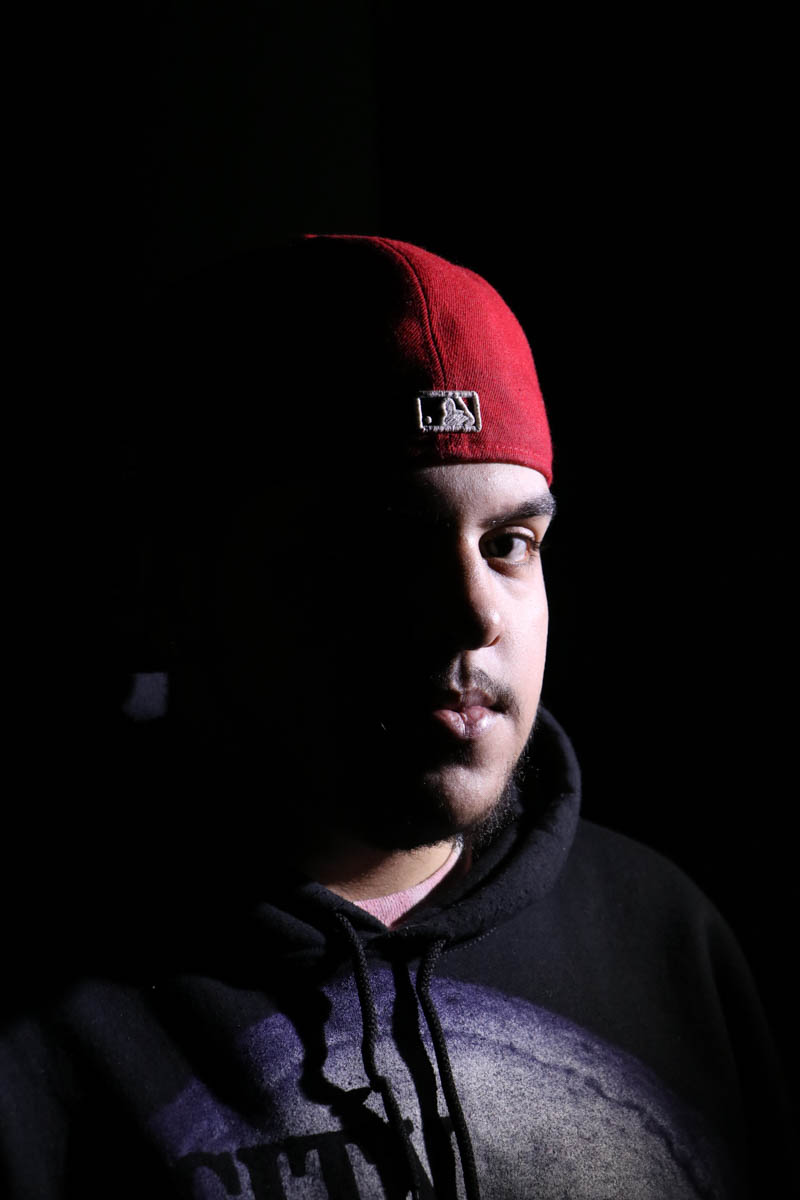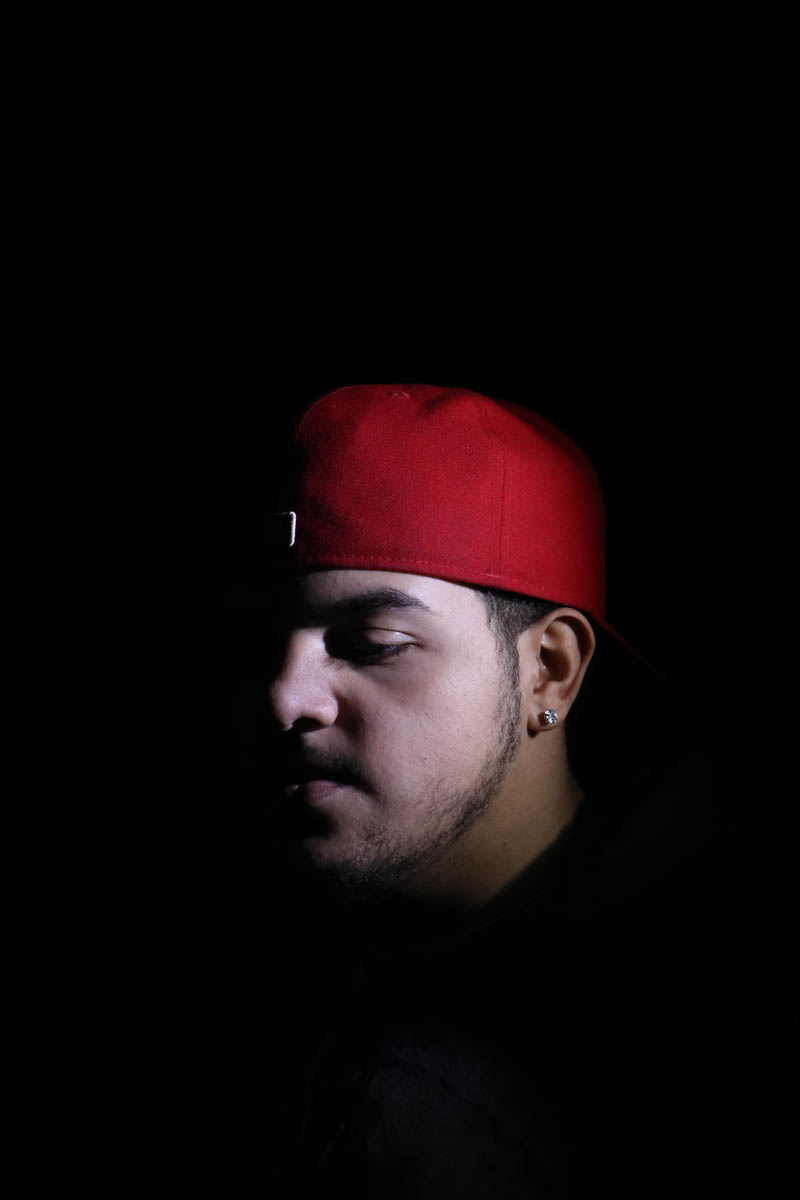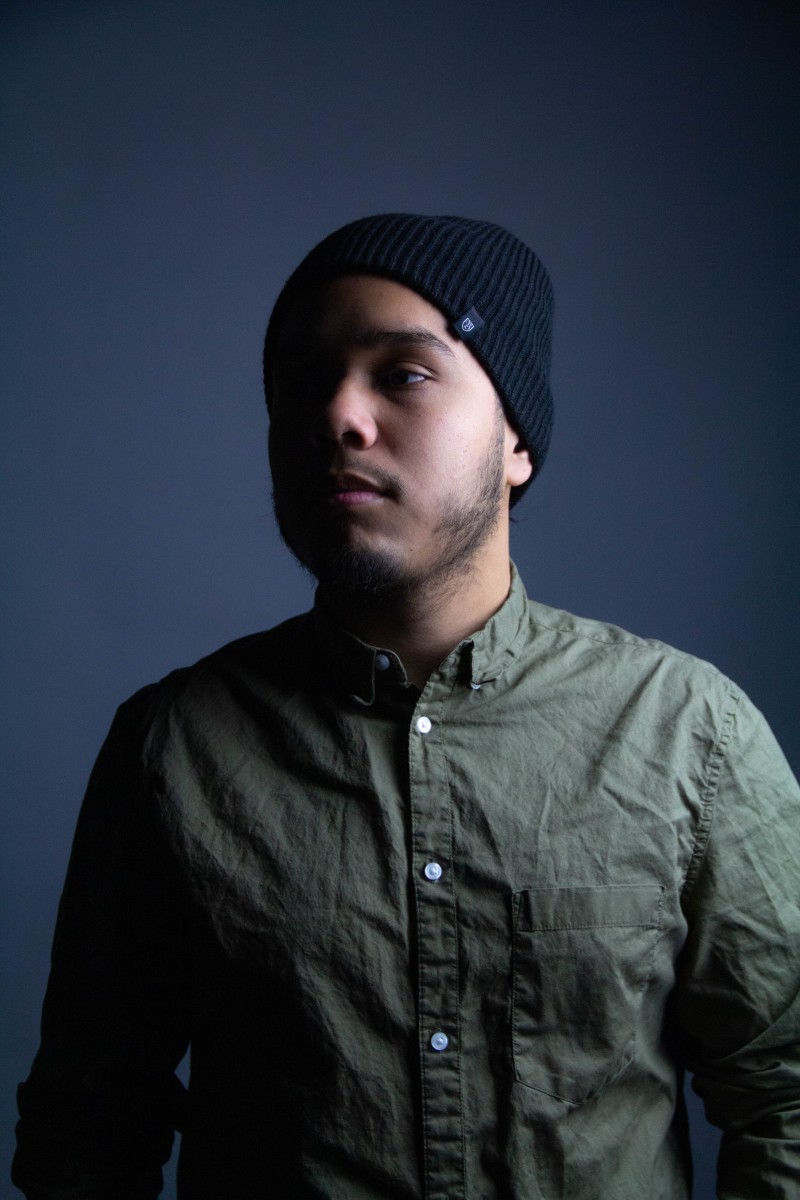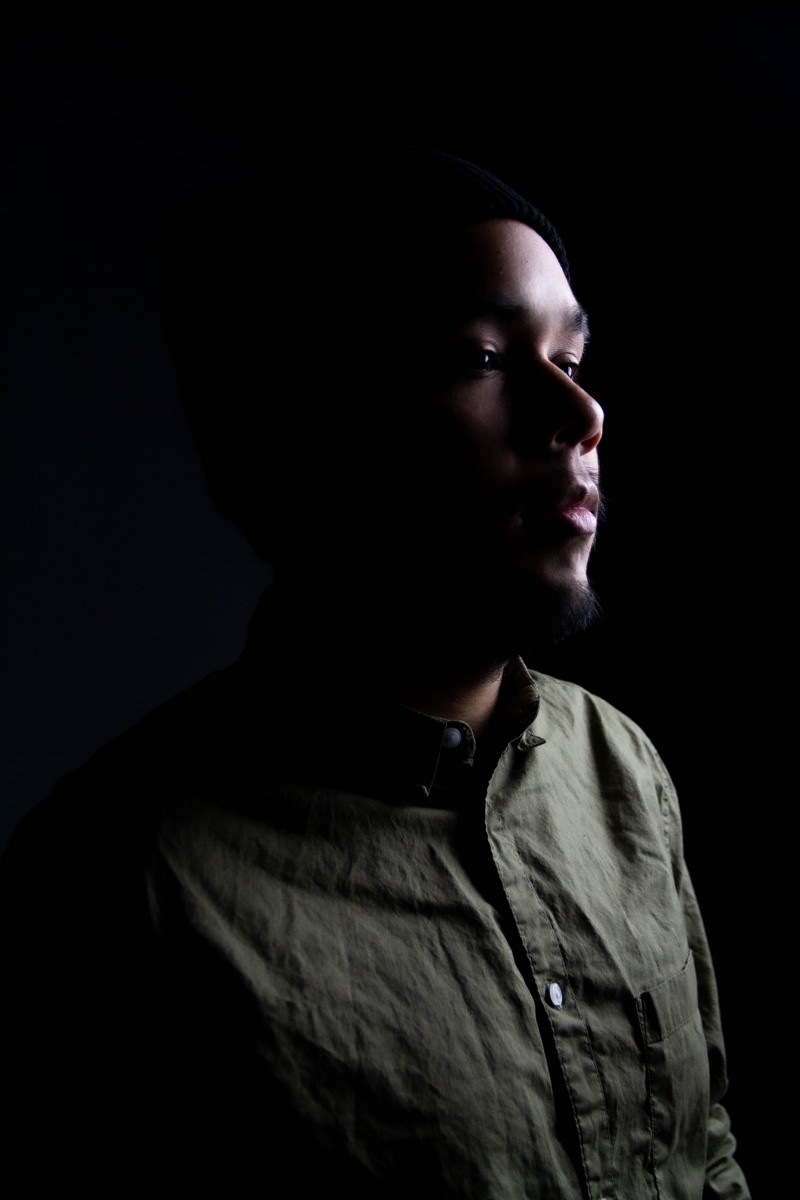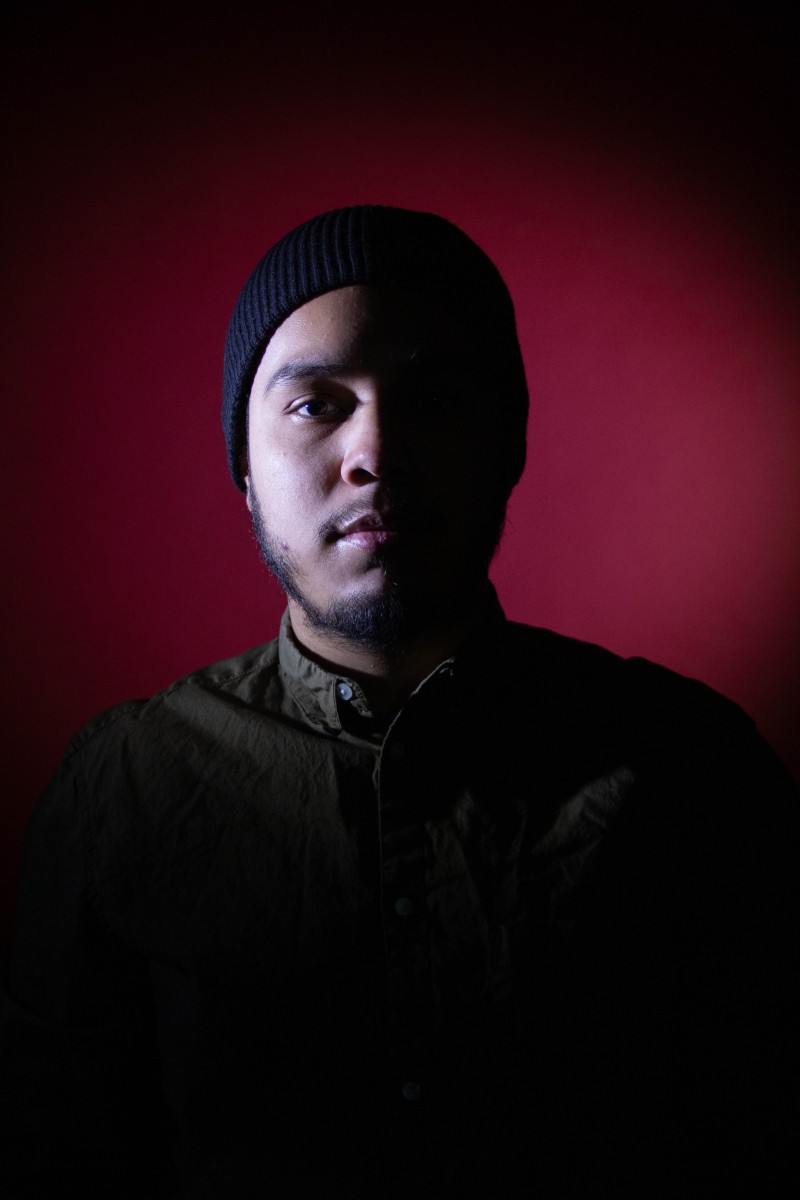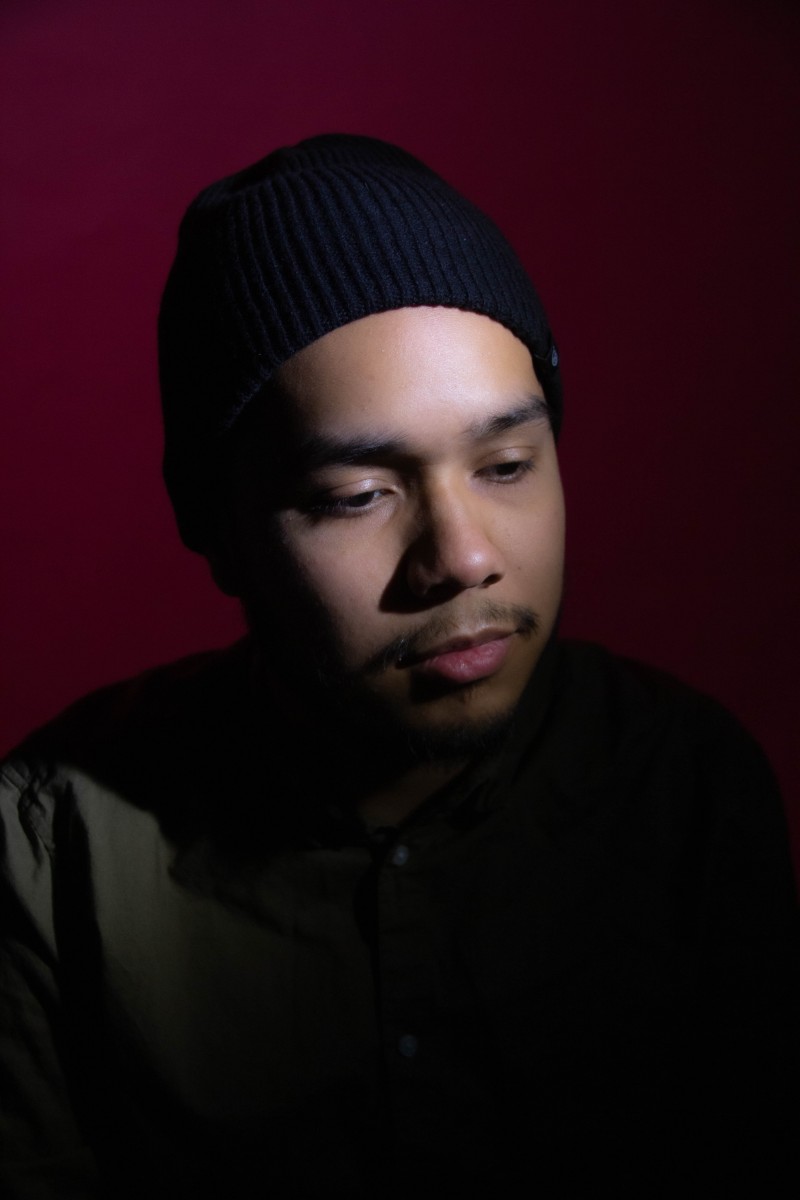
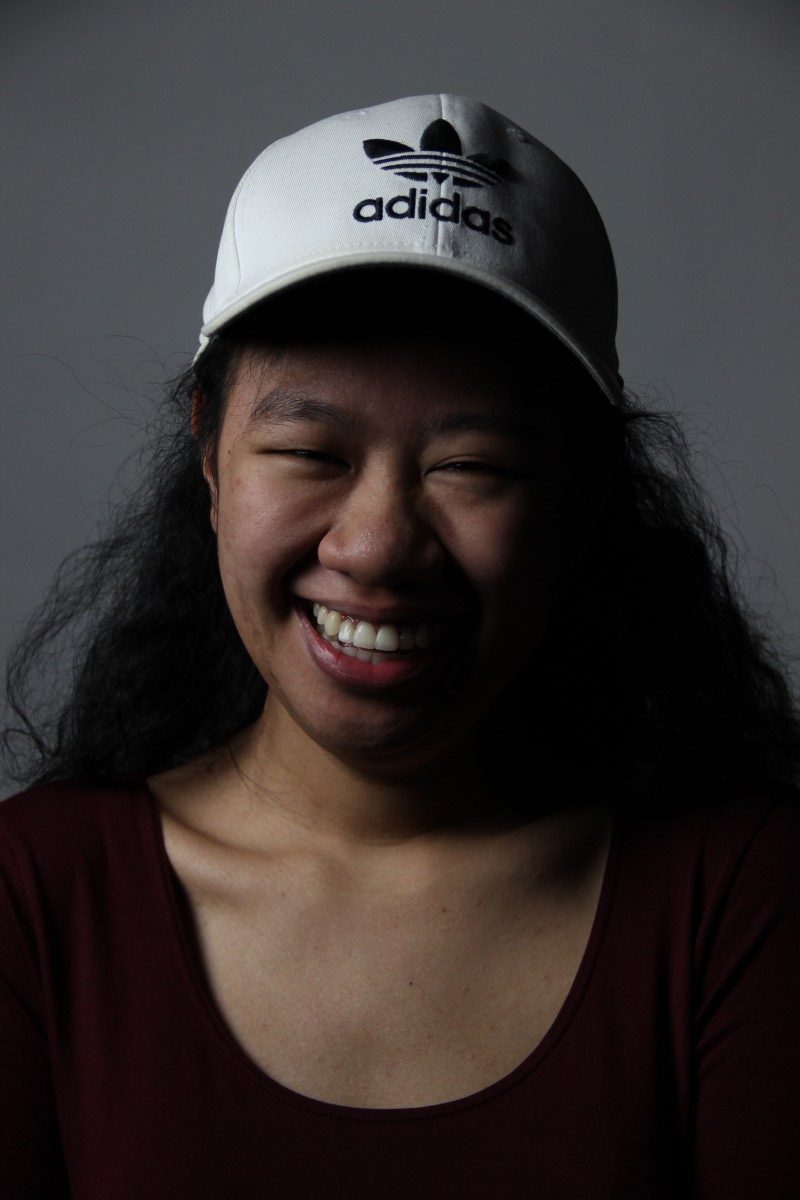
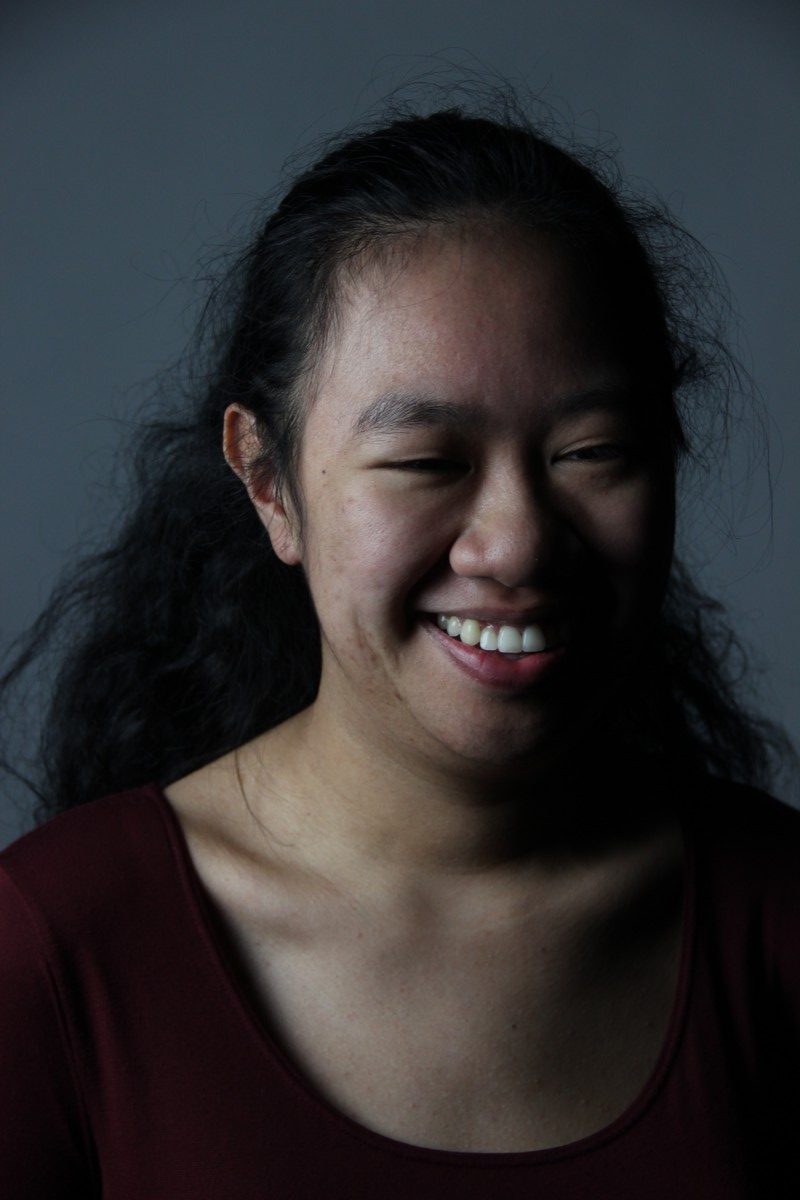
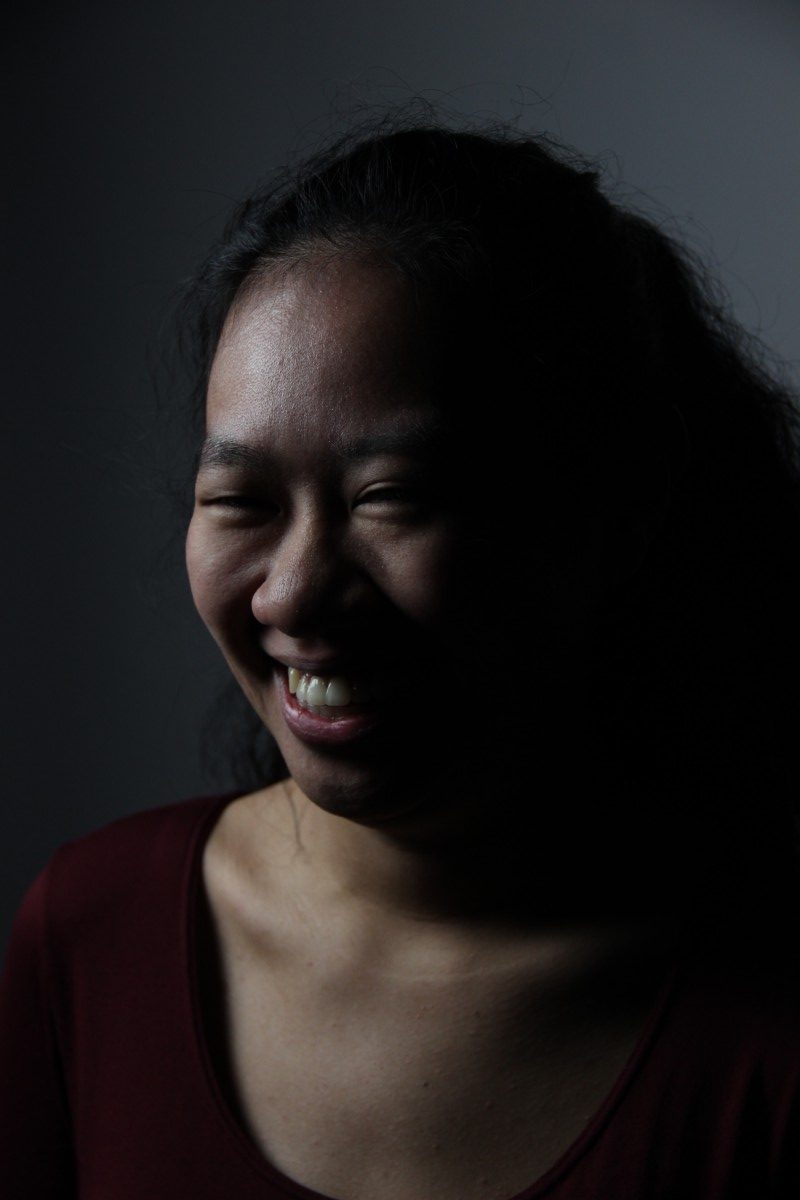
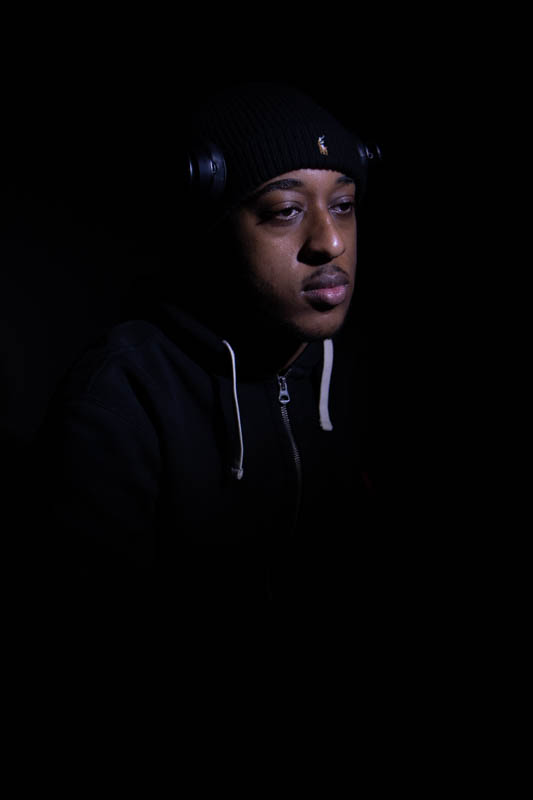
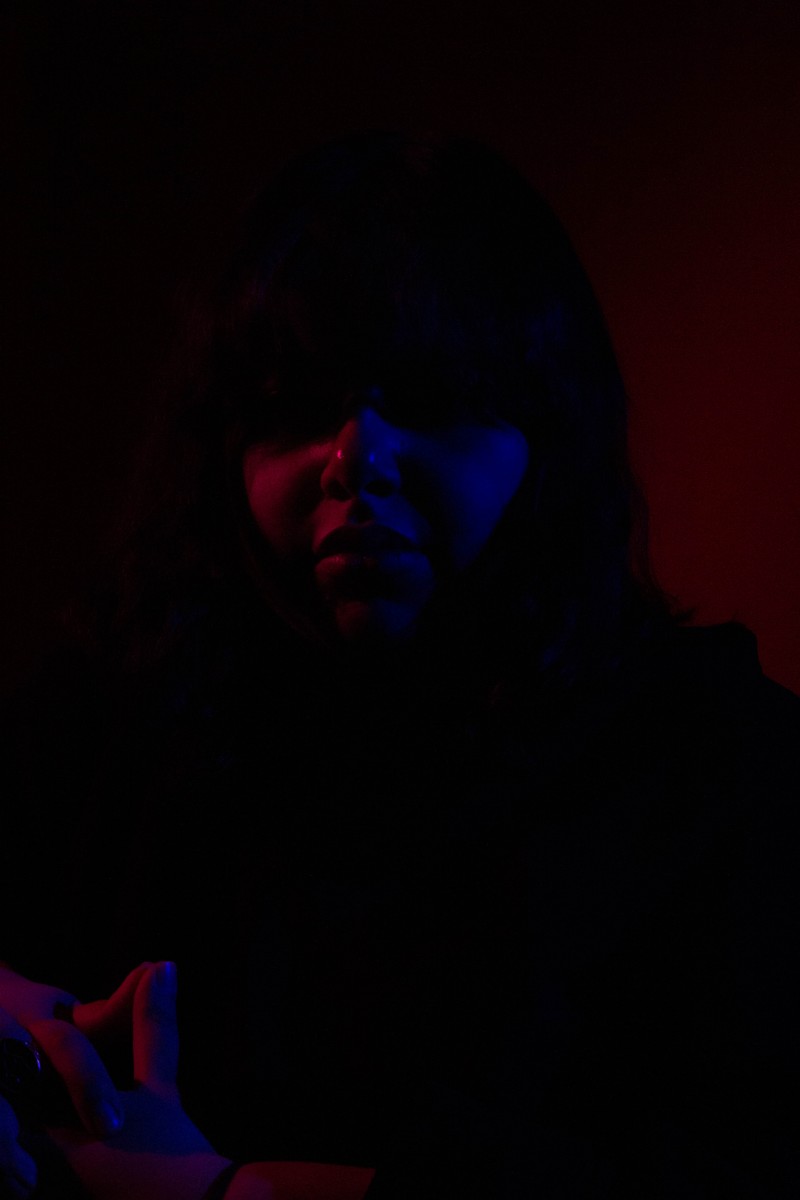
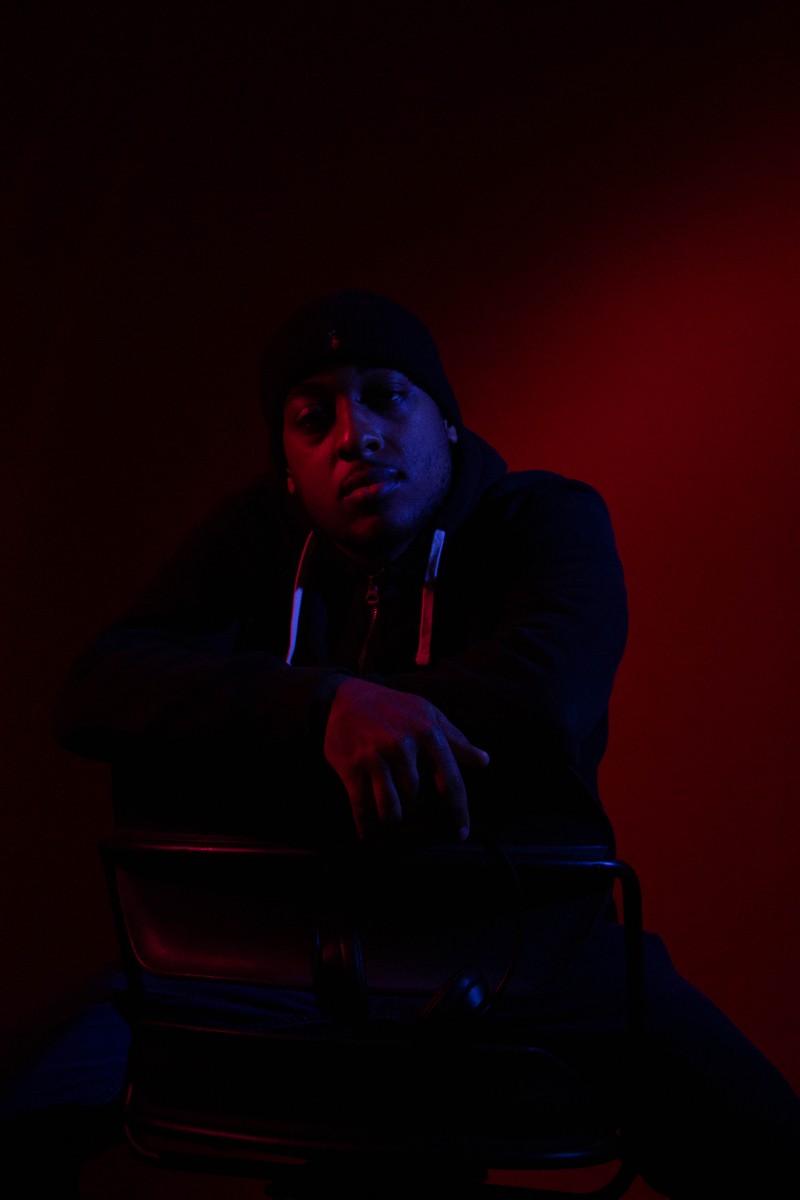
The first picture is rembrandt, The second picture is loop, The third picture is short. That day we learned different ways to take a picture with studio light. I don’t think I did a good job on it because I was able to take pictures as much since everyone wanted me to model for my group.


 Rambrant, Split

 Rambrandt,
  LOOP
LOOP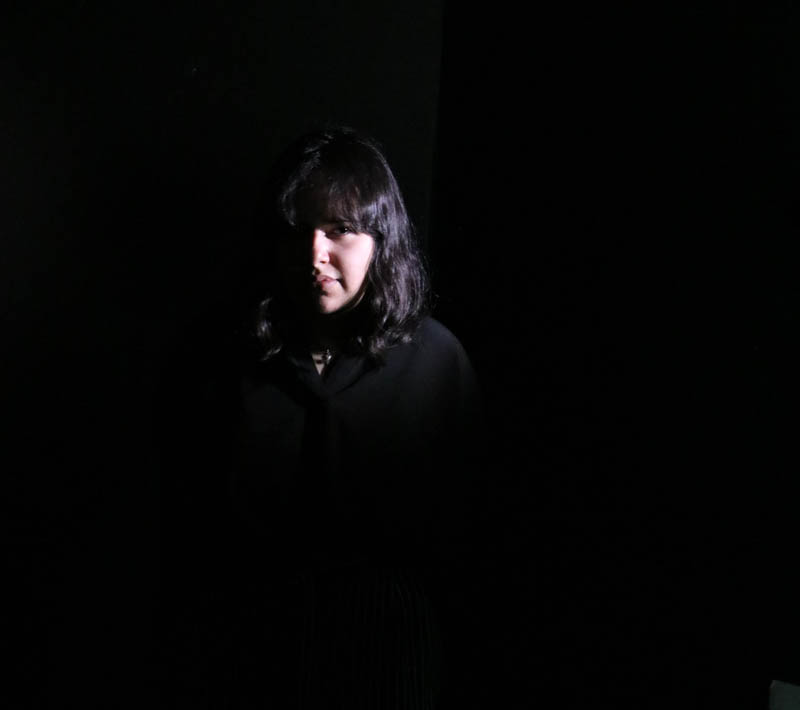 SPLIT
SPLIT REMBRANDT
 BROAD
BROAD SHORT
SHORT SPILT
SPILT