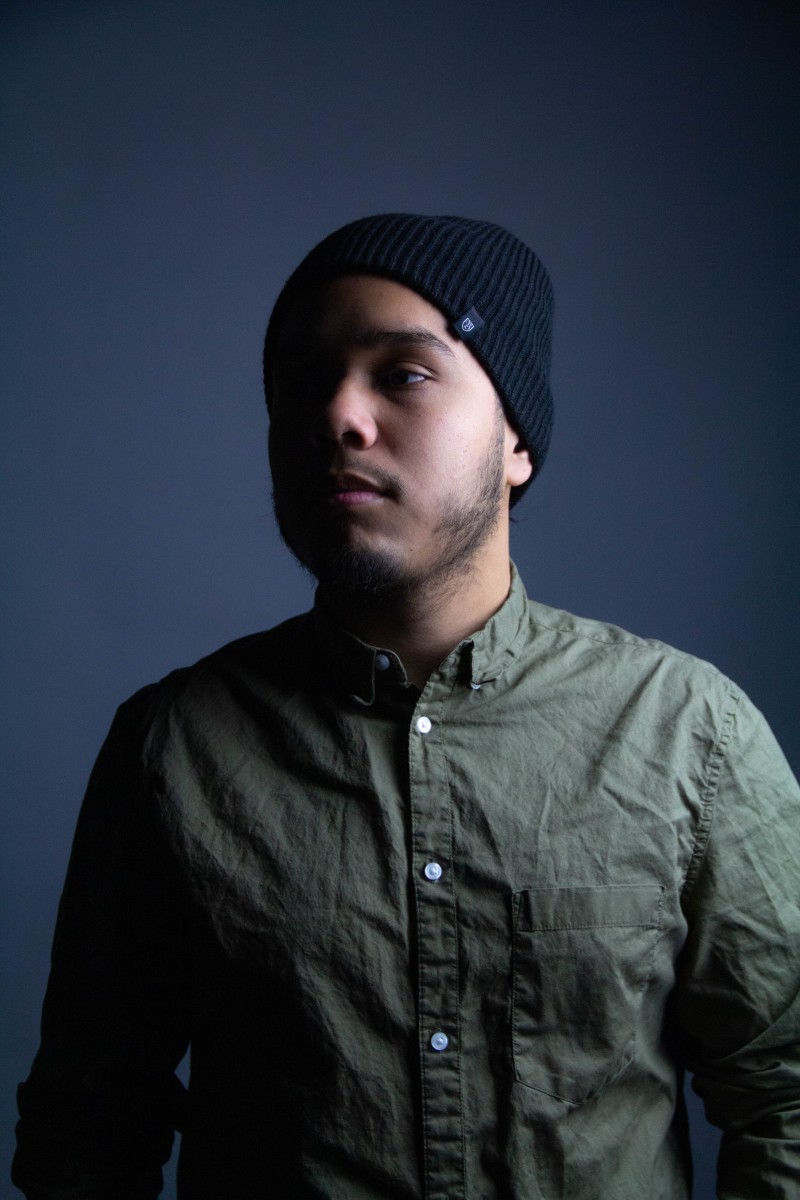

Short
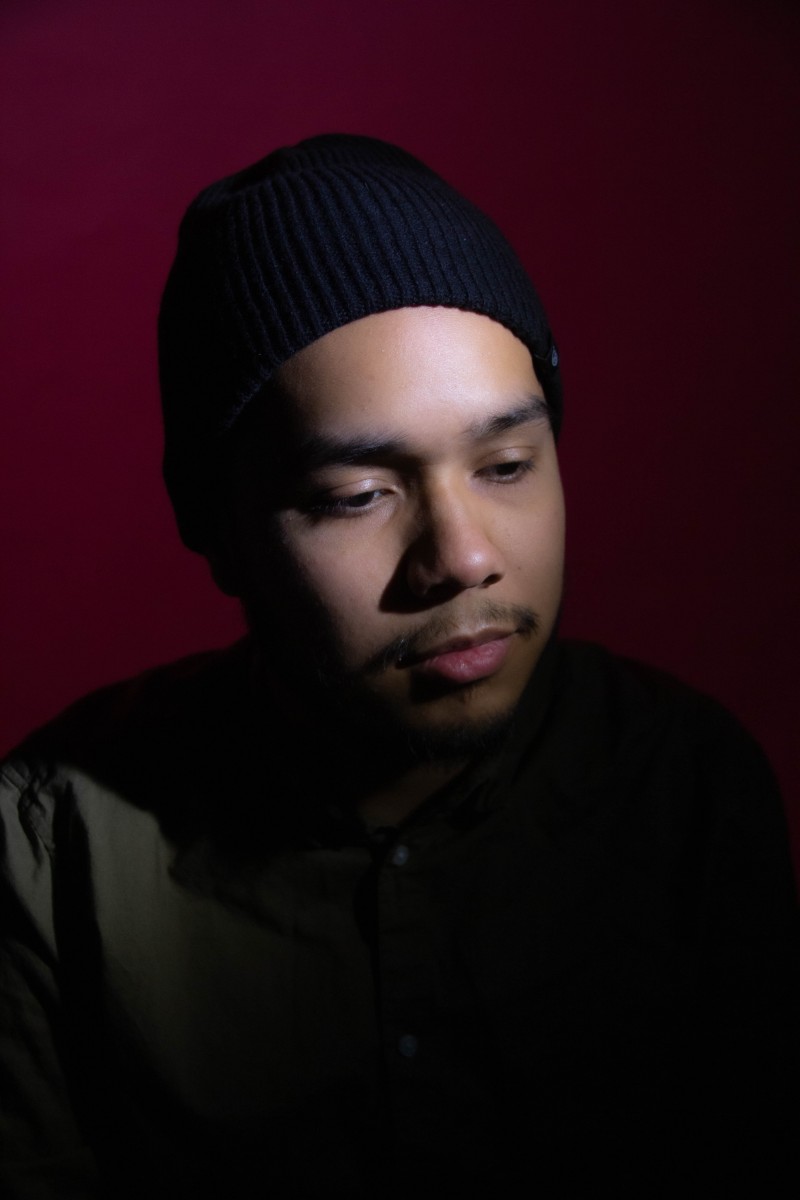
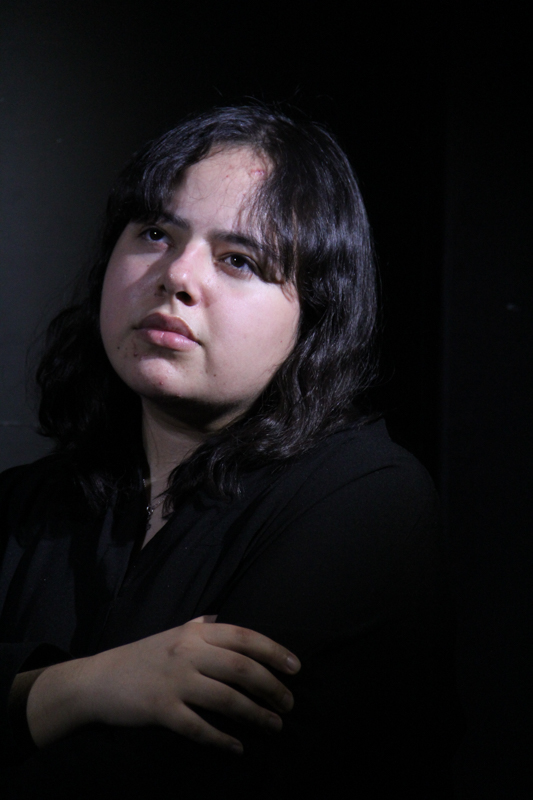
rembrant
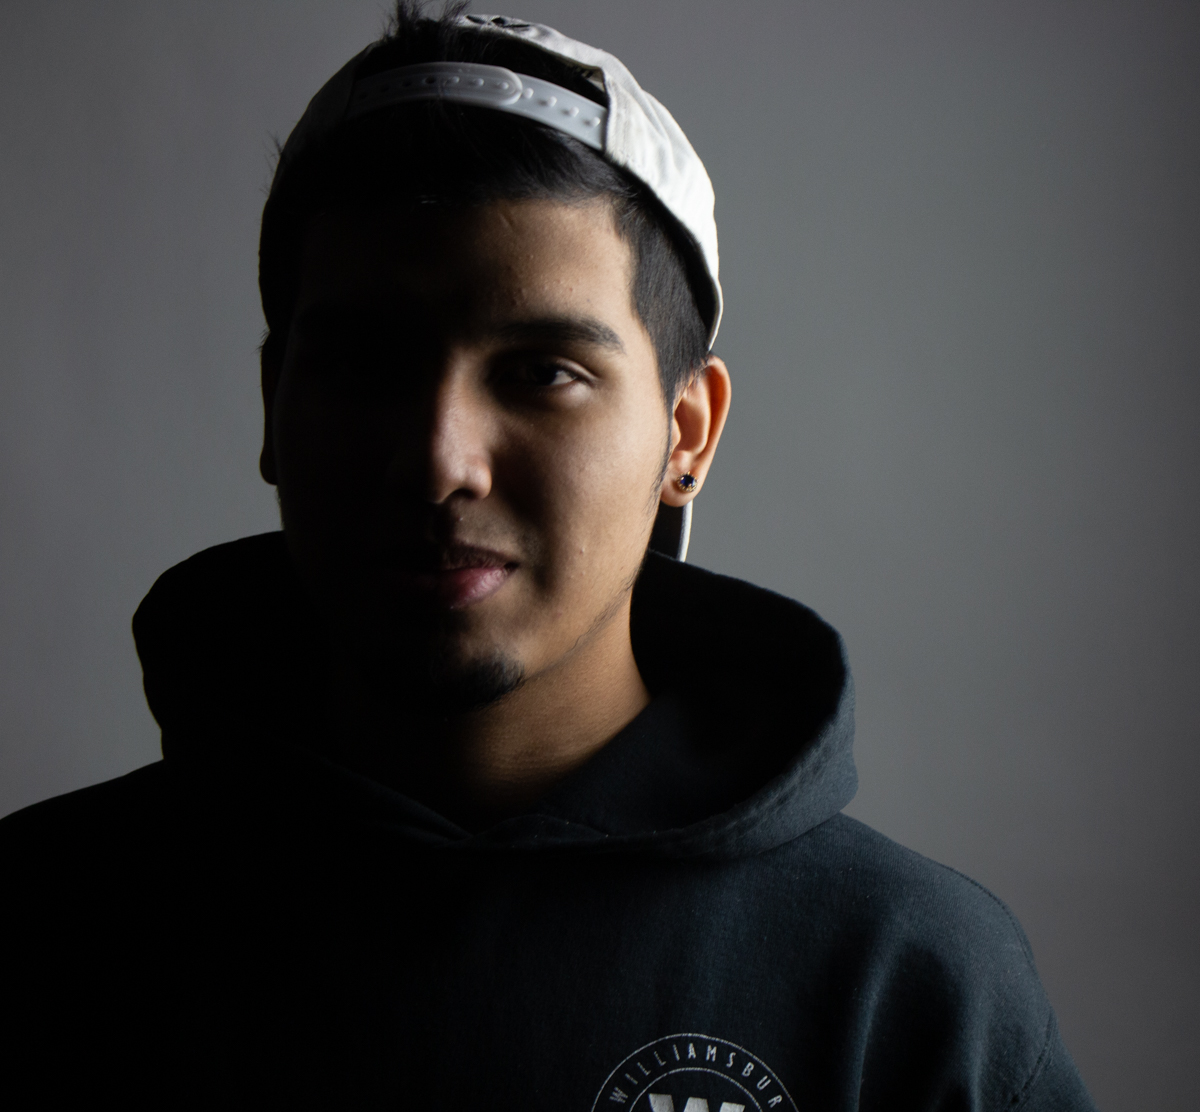
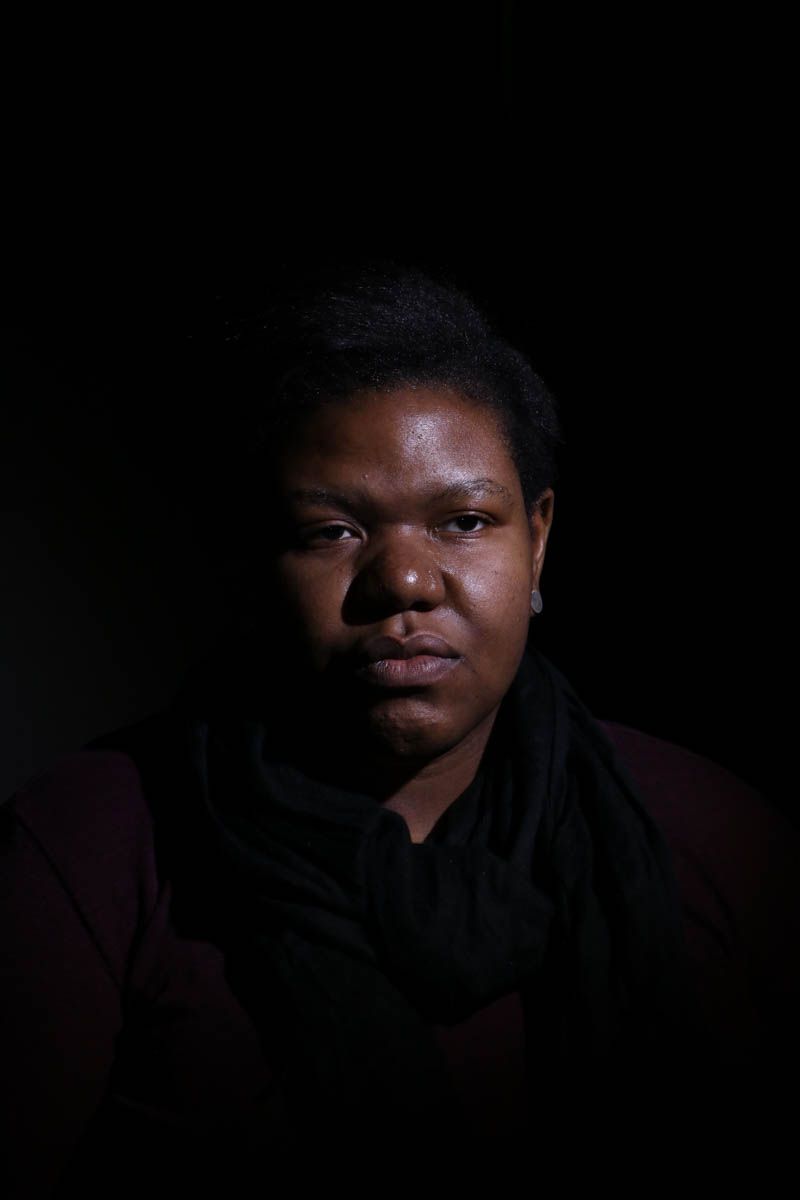
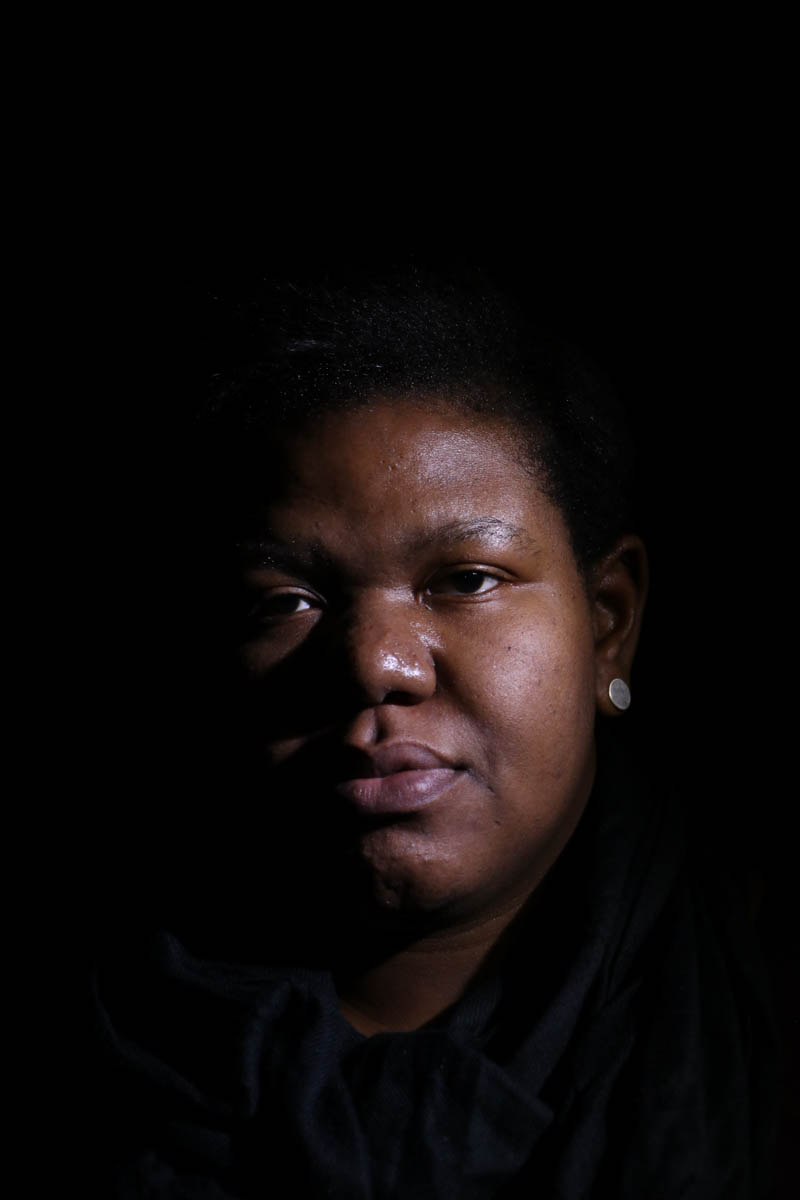
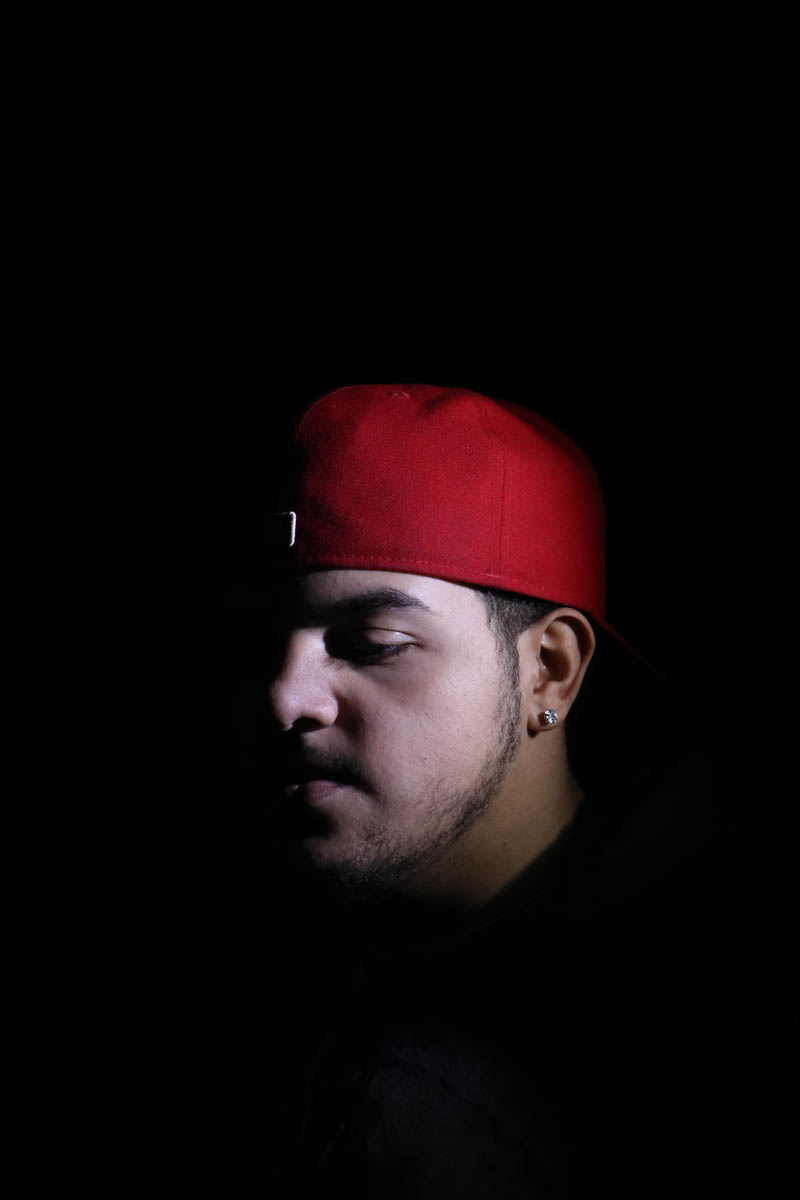
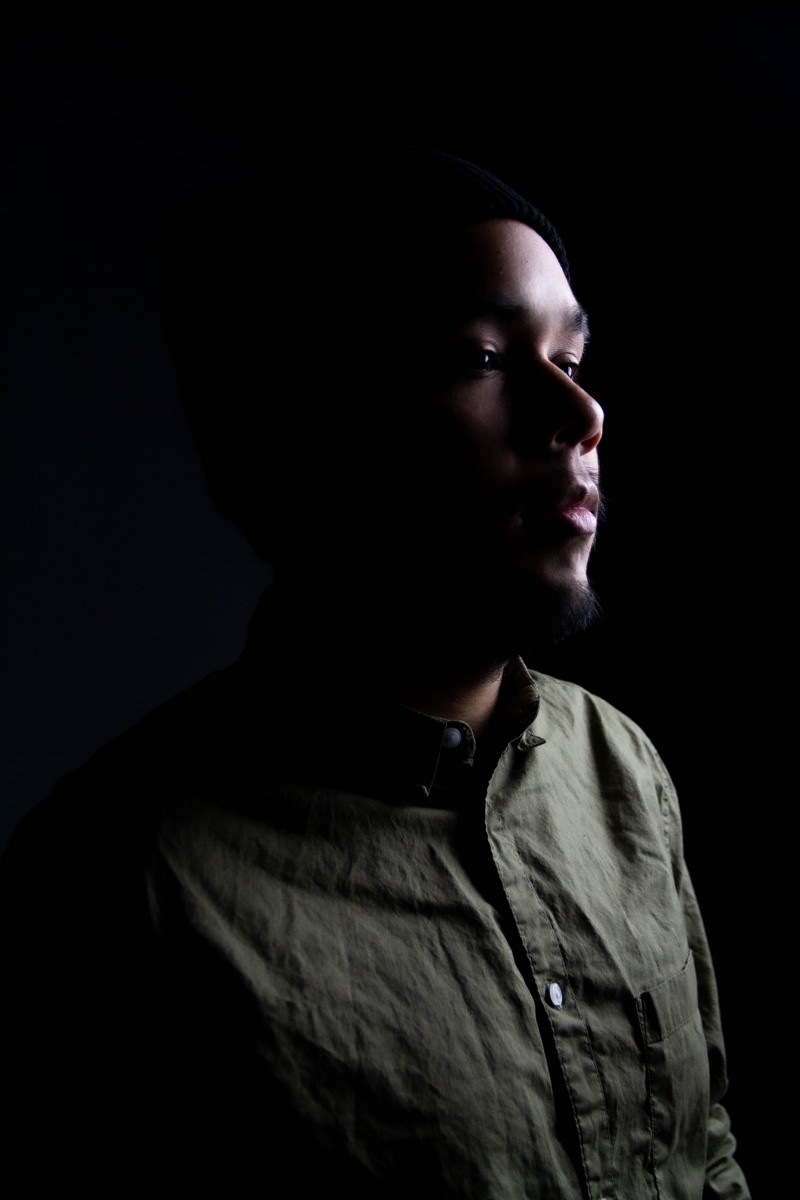
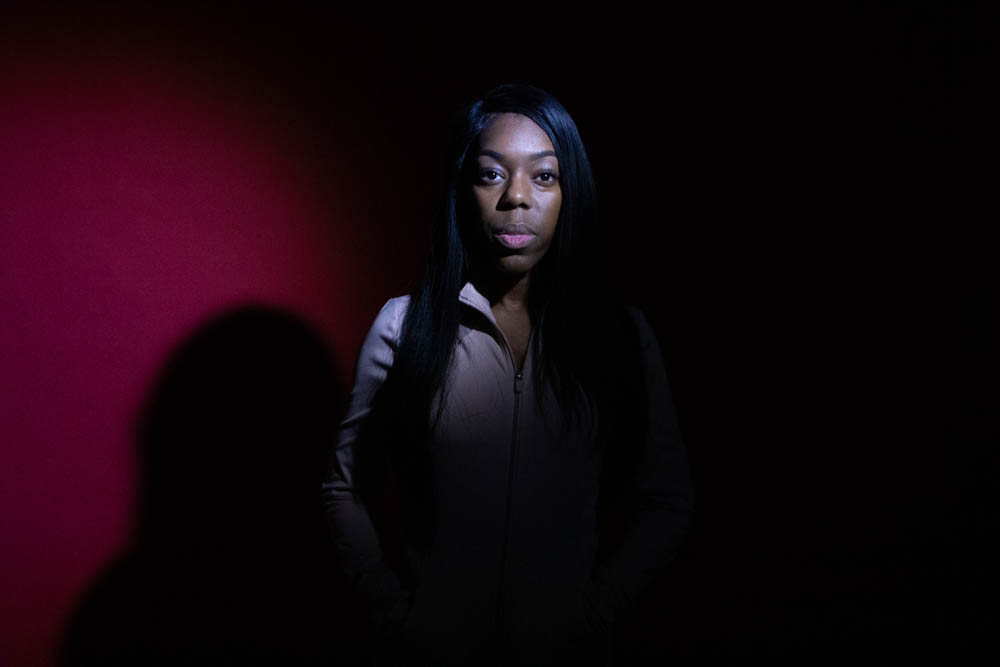
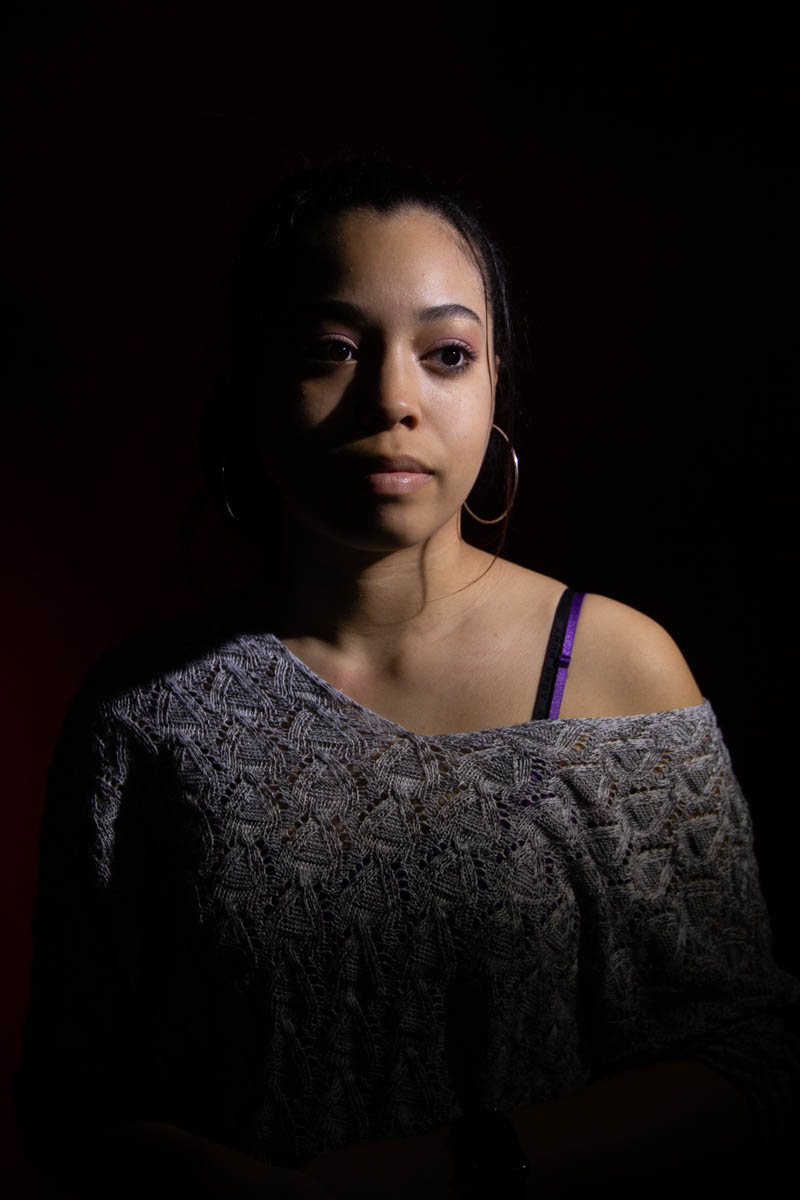
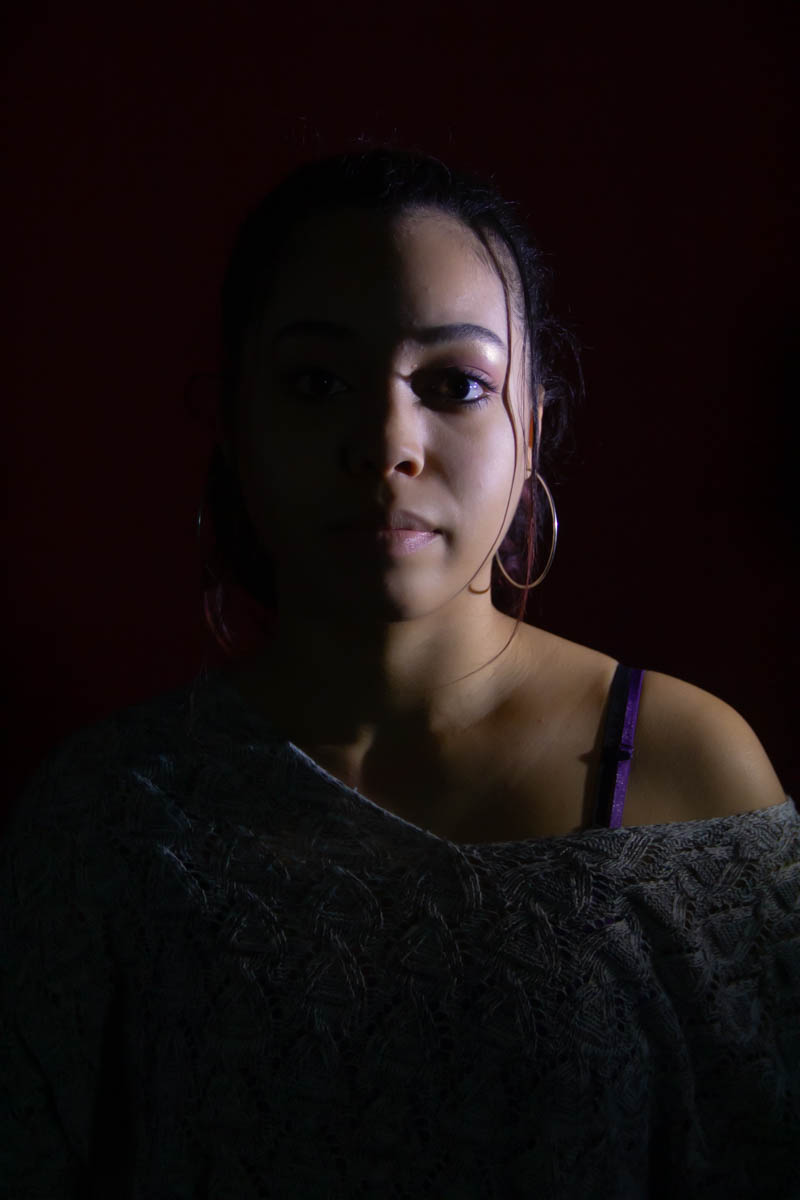
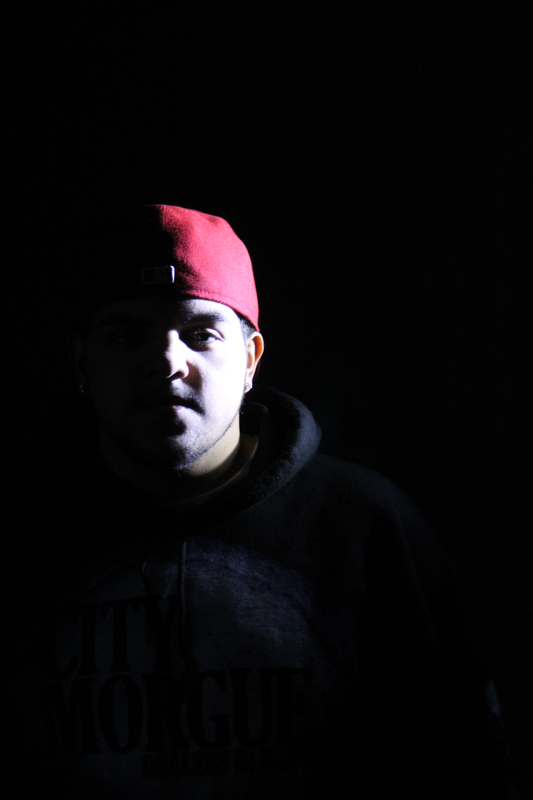
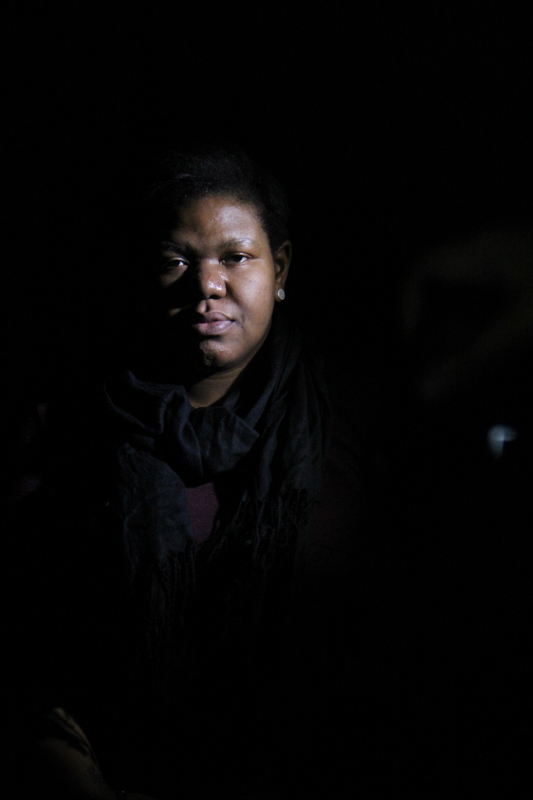
split

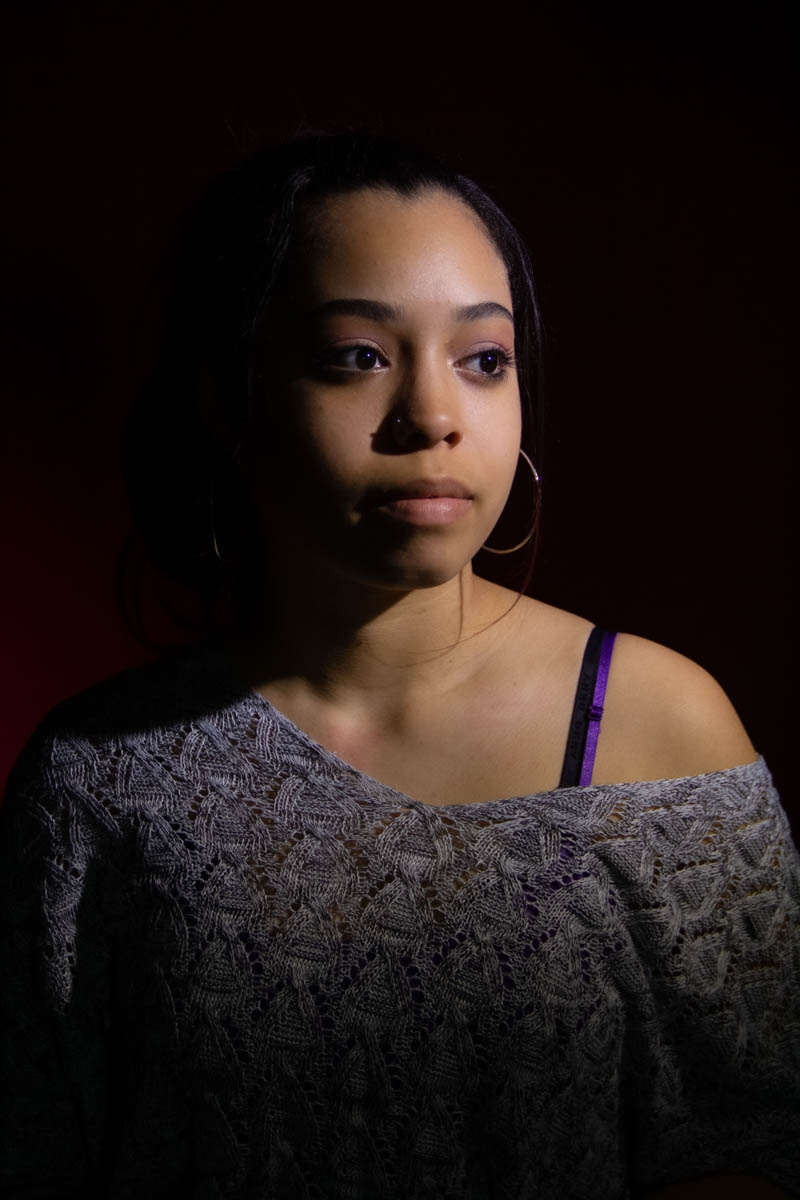
loop
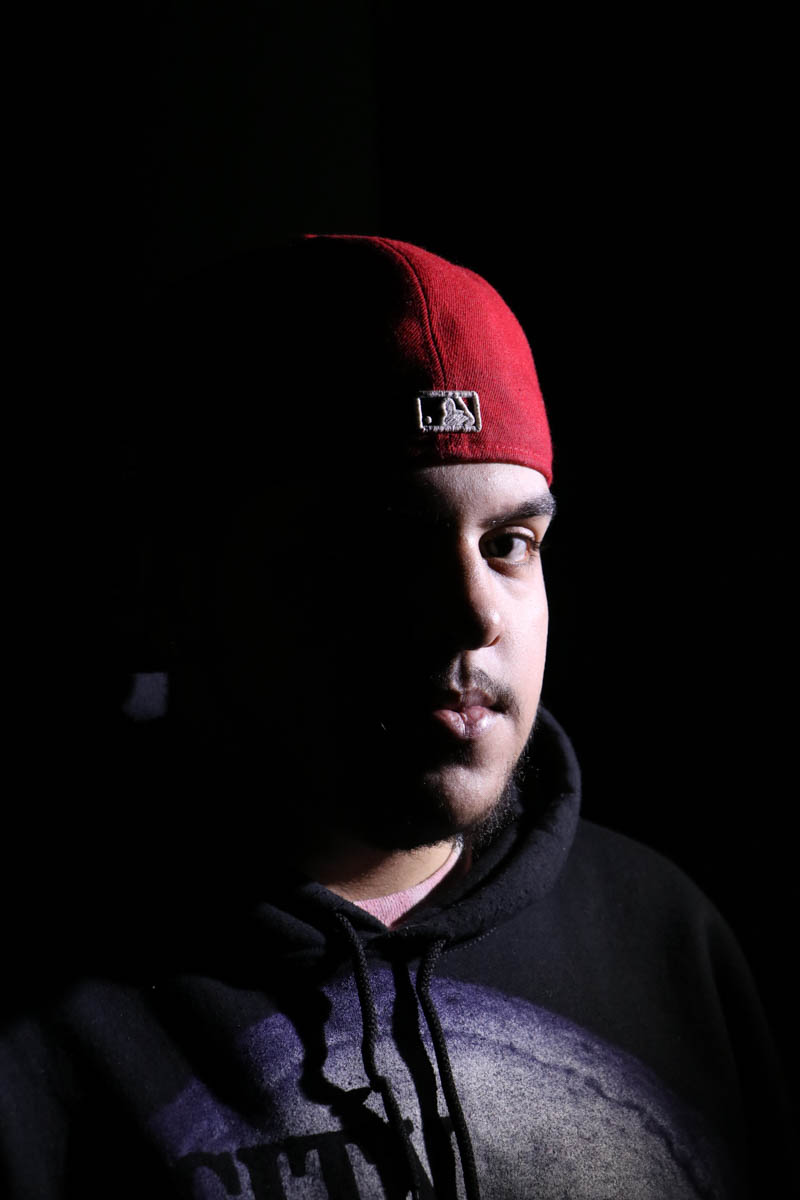
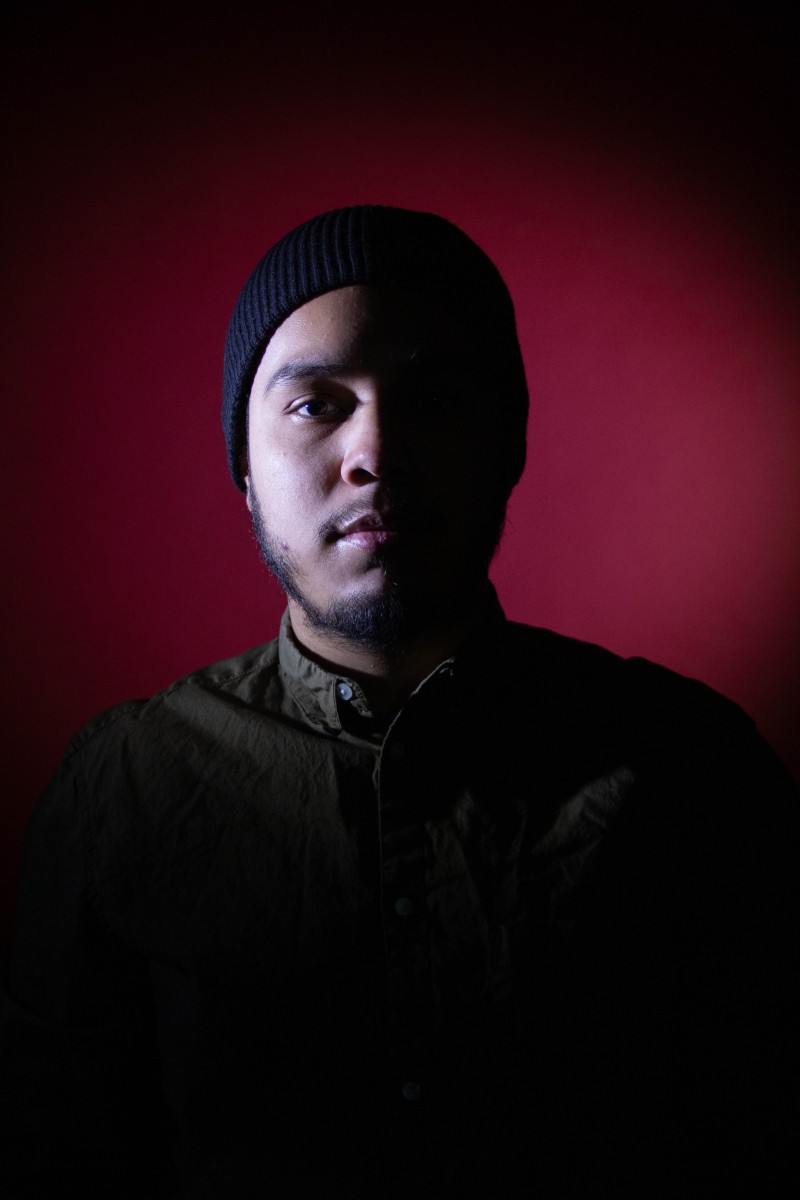
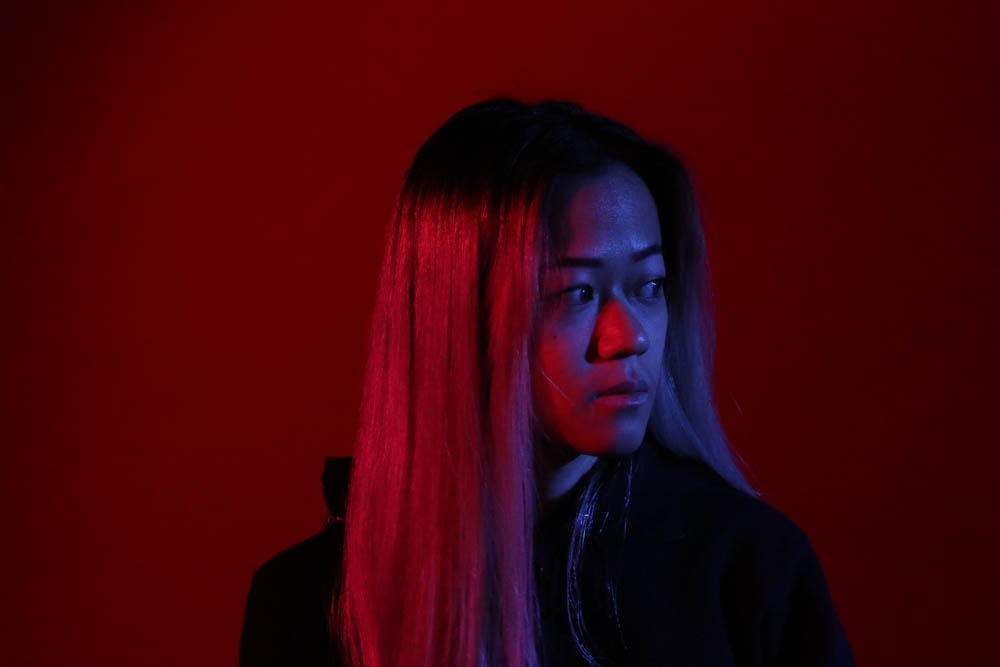
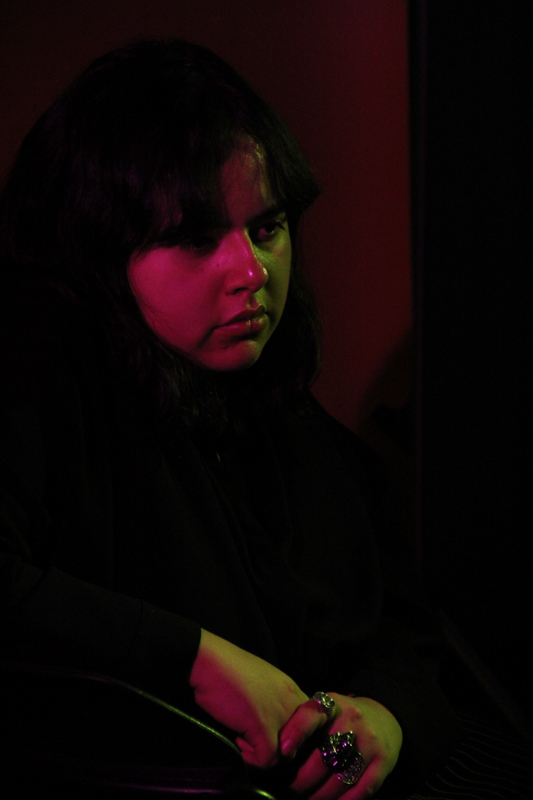
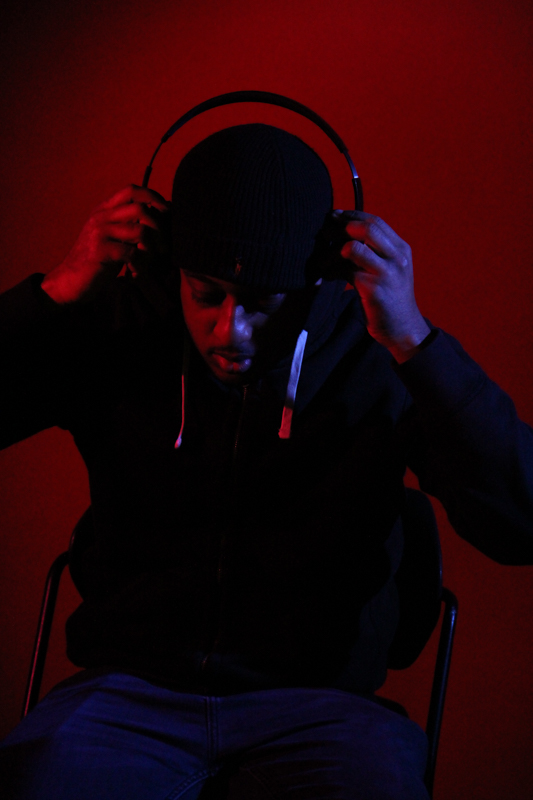
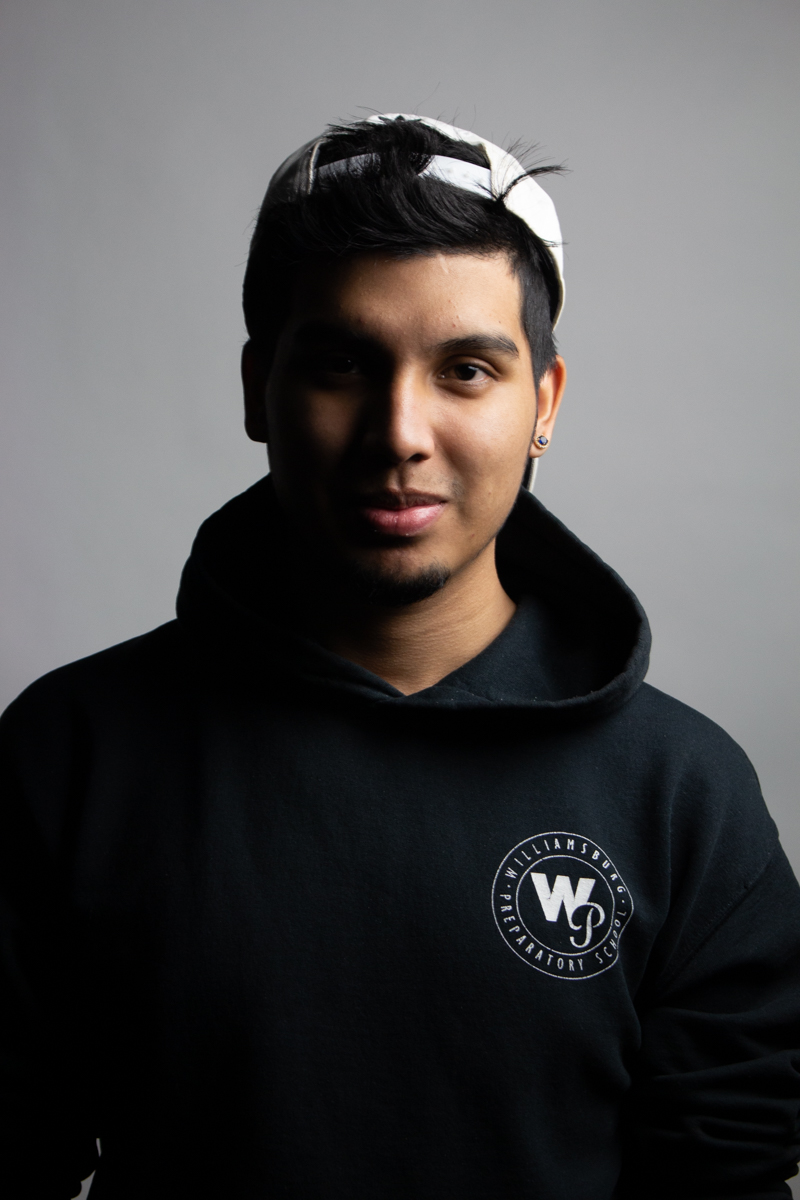
broad
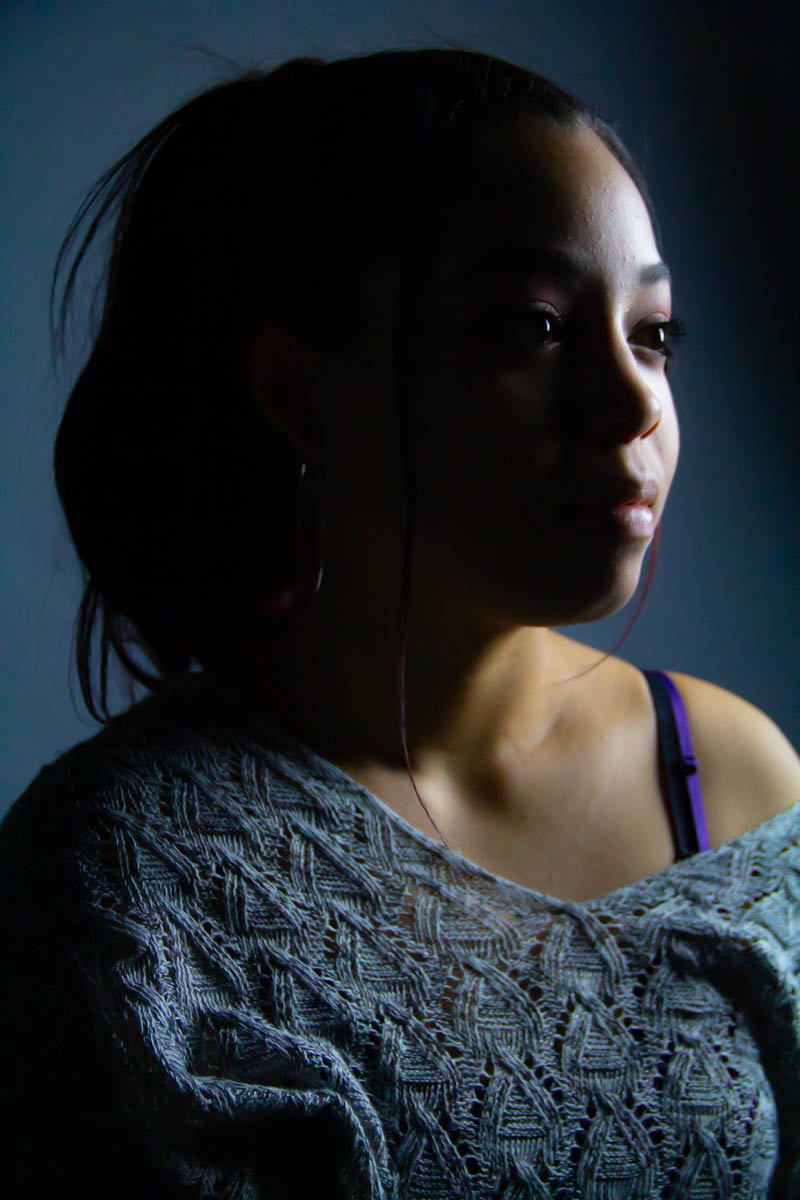
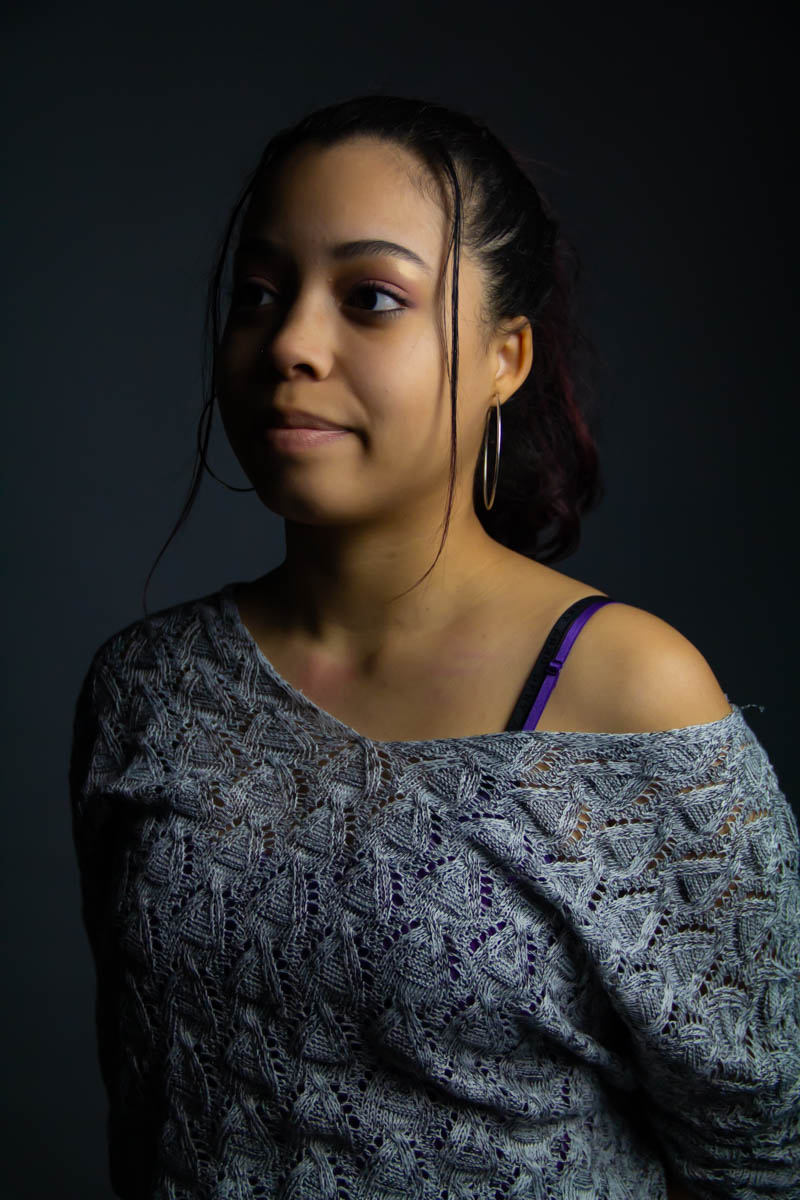
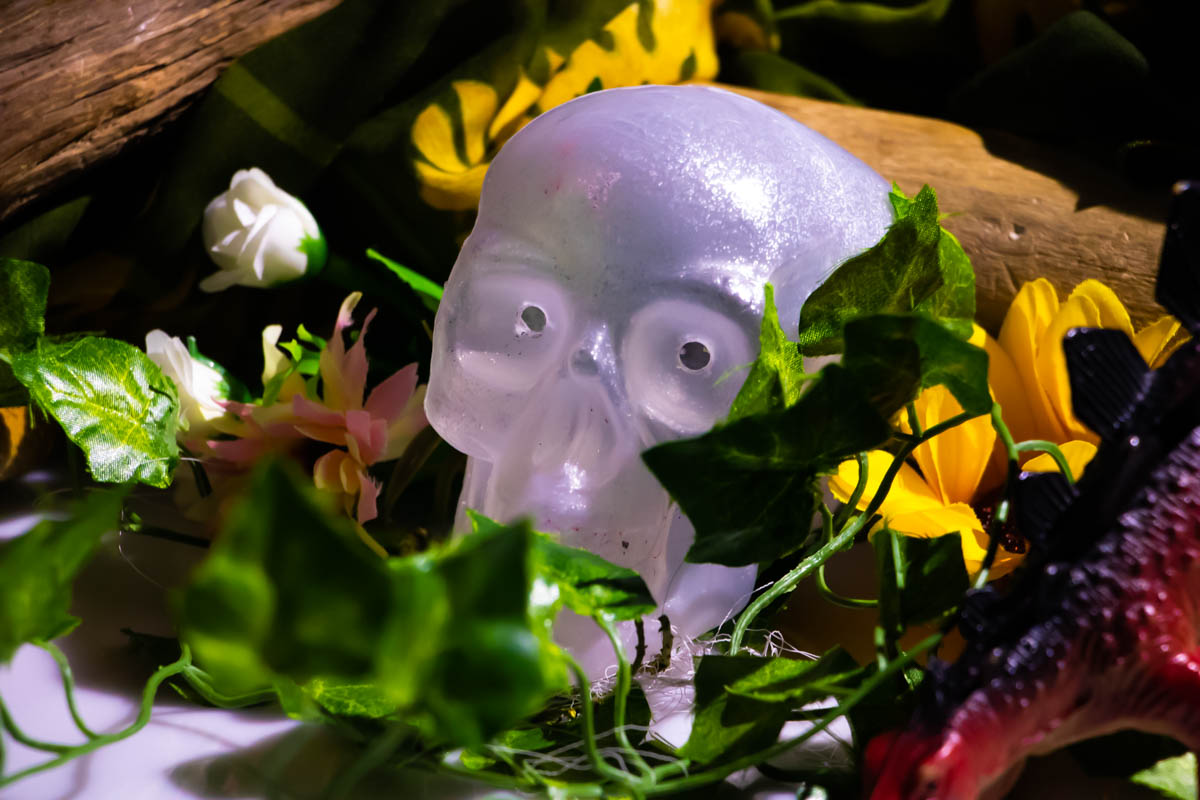
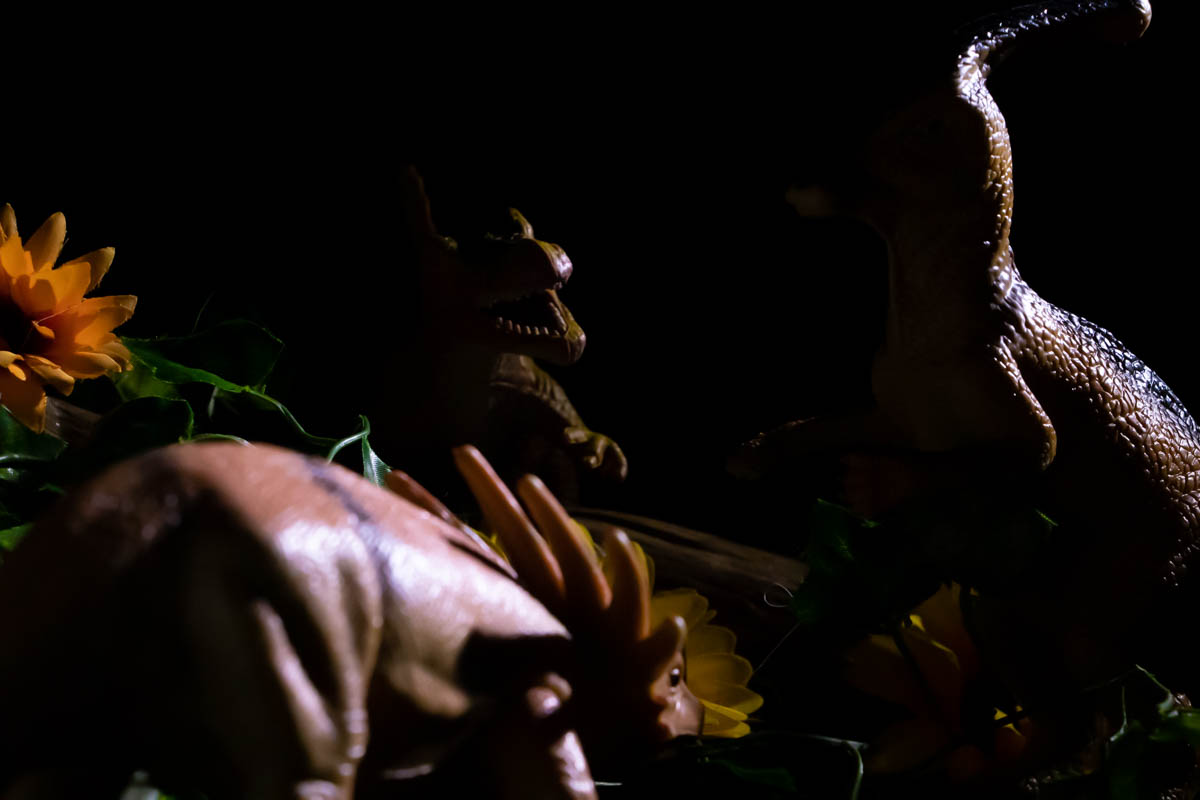
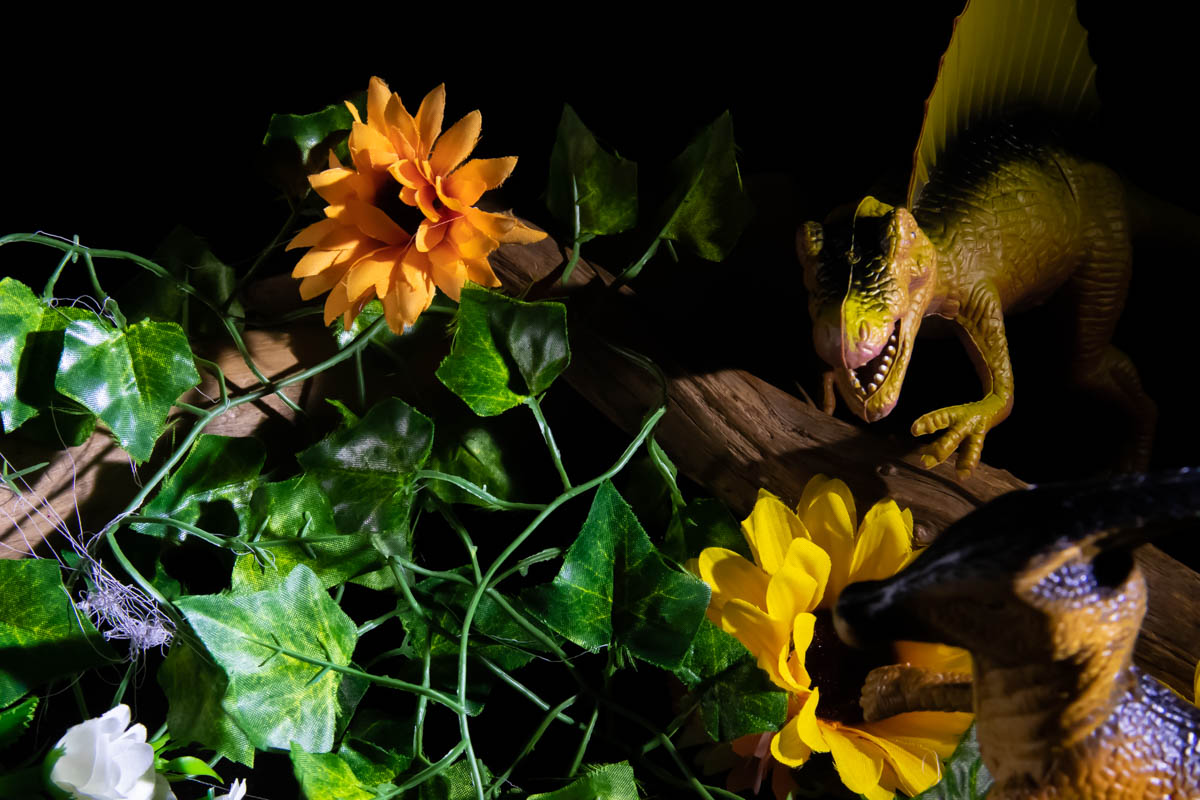
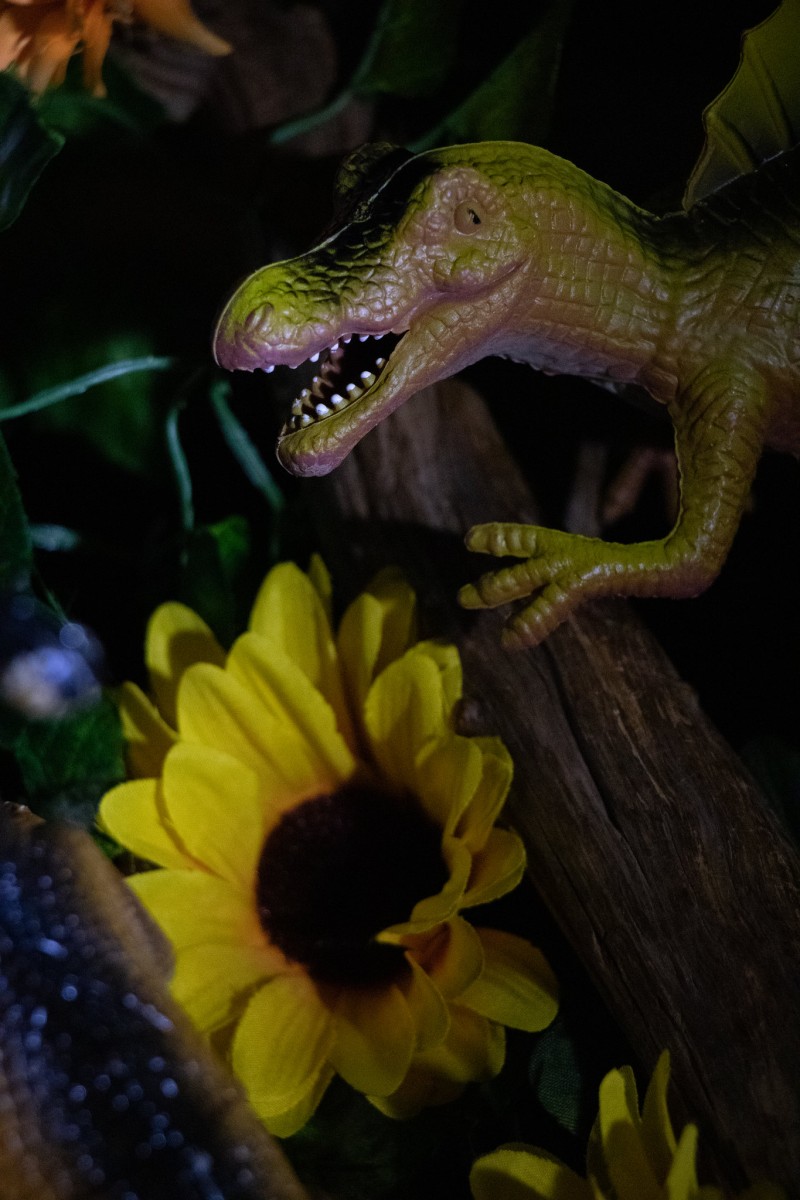
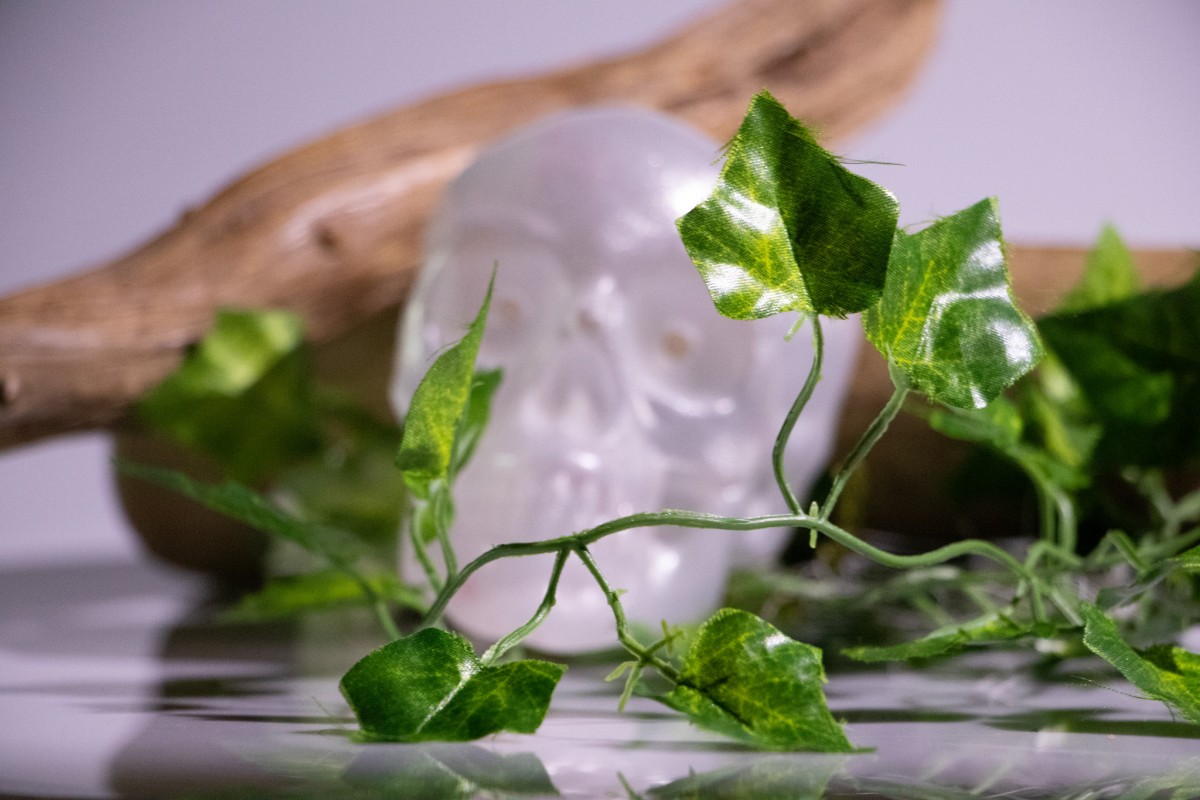
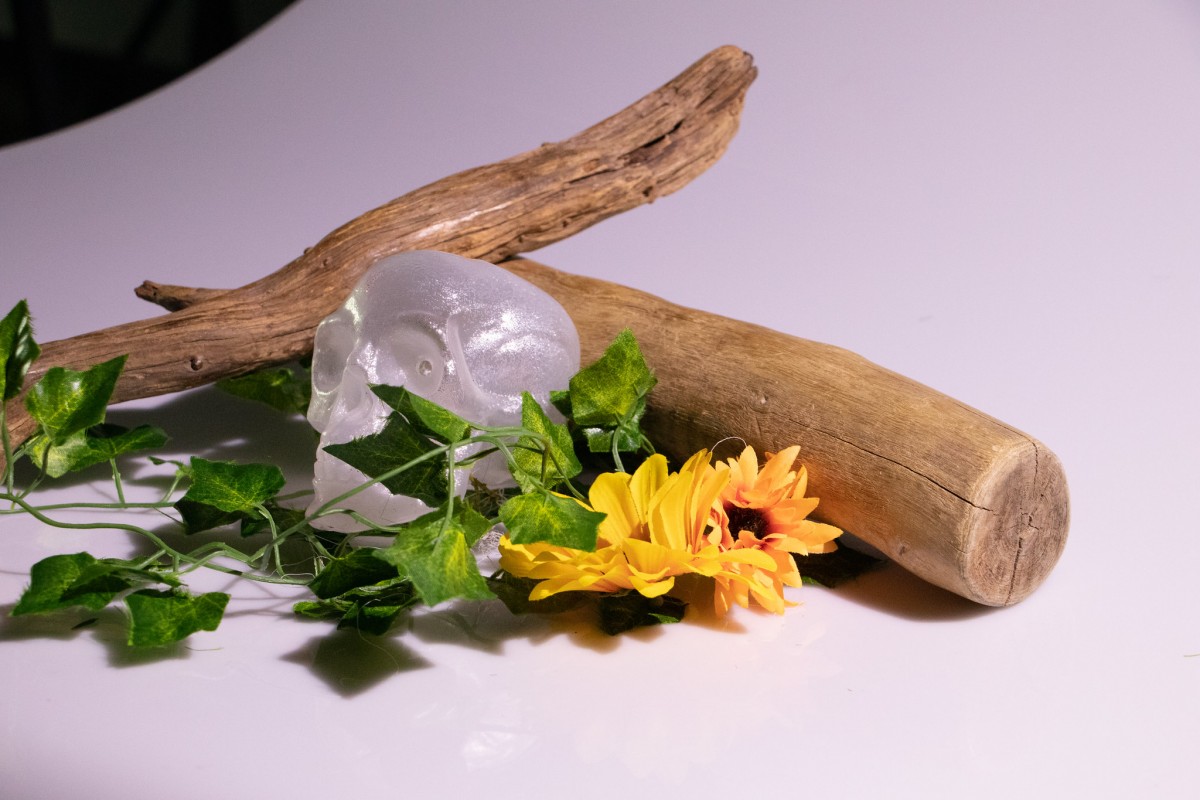
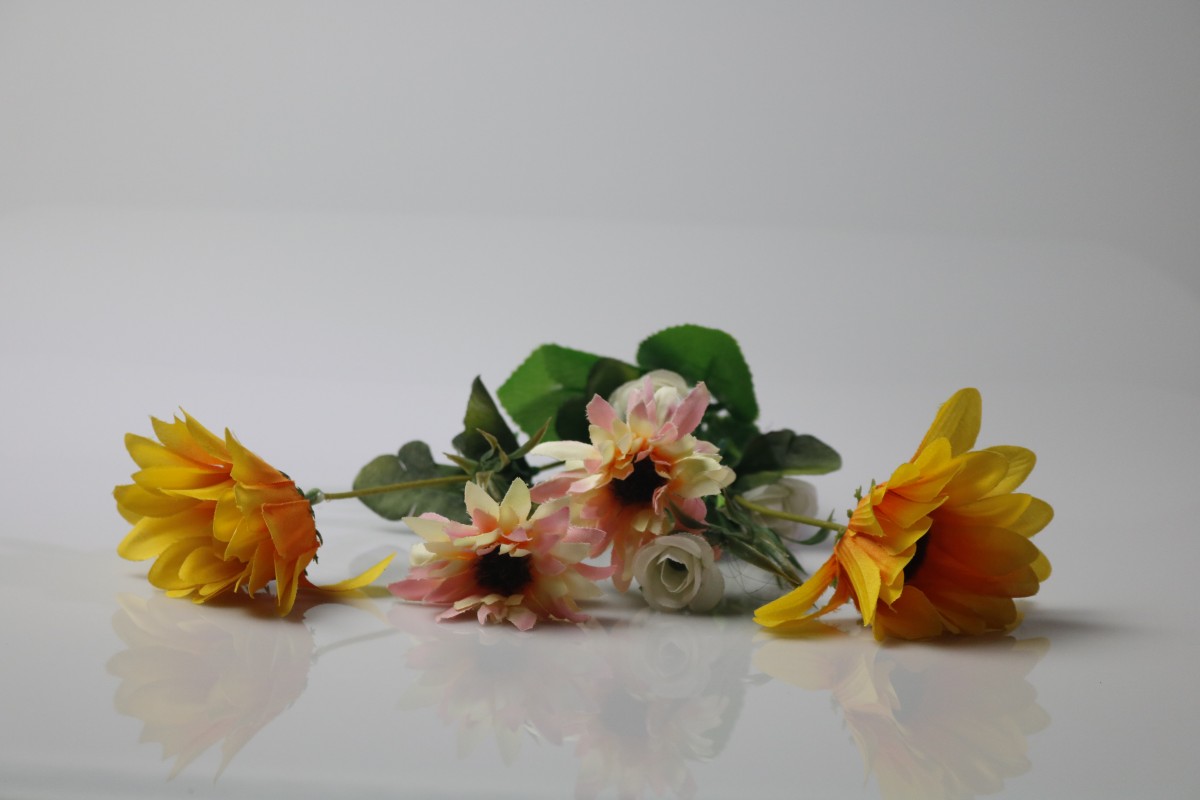
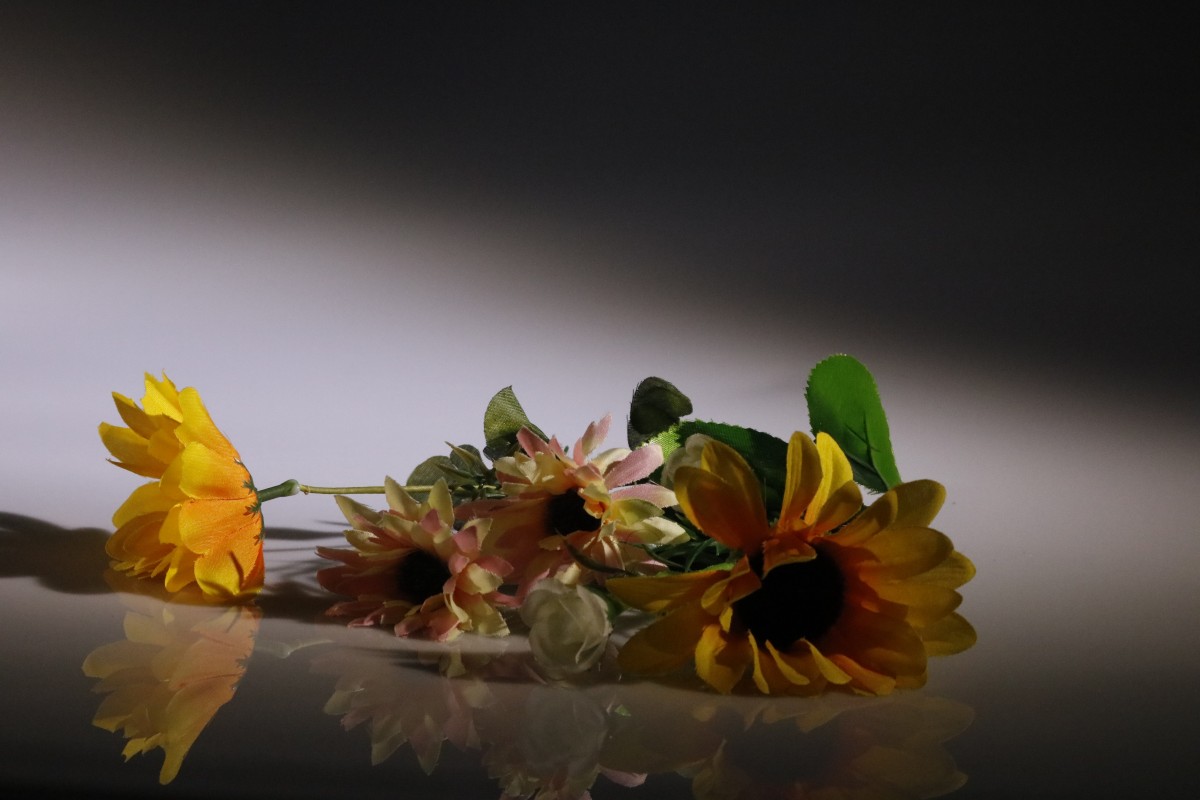
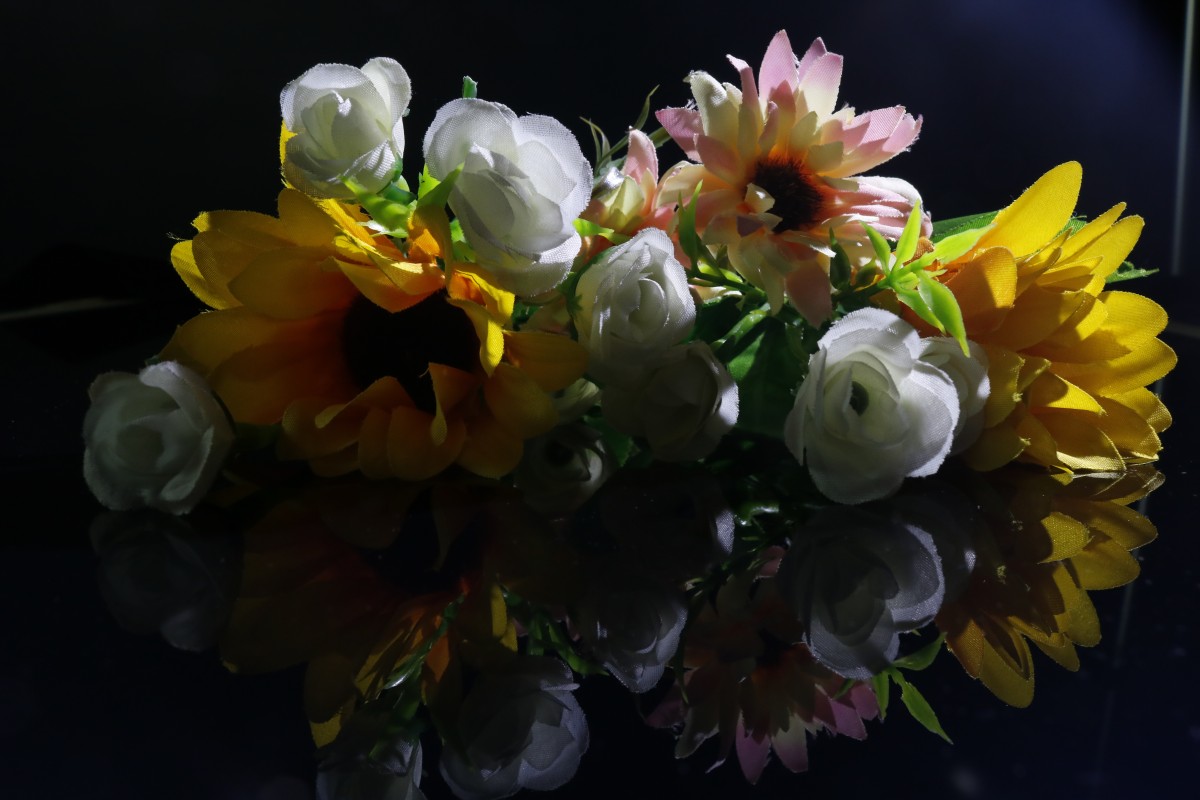
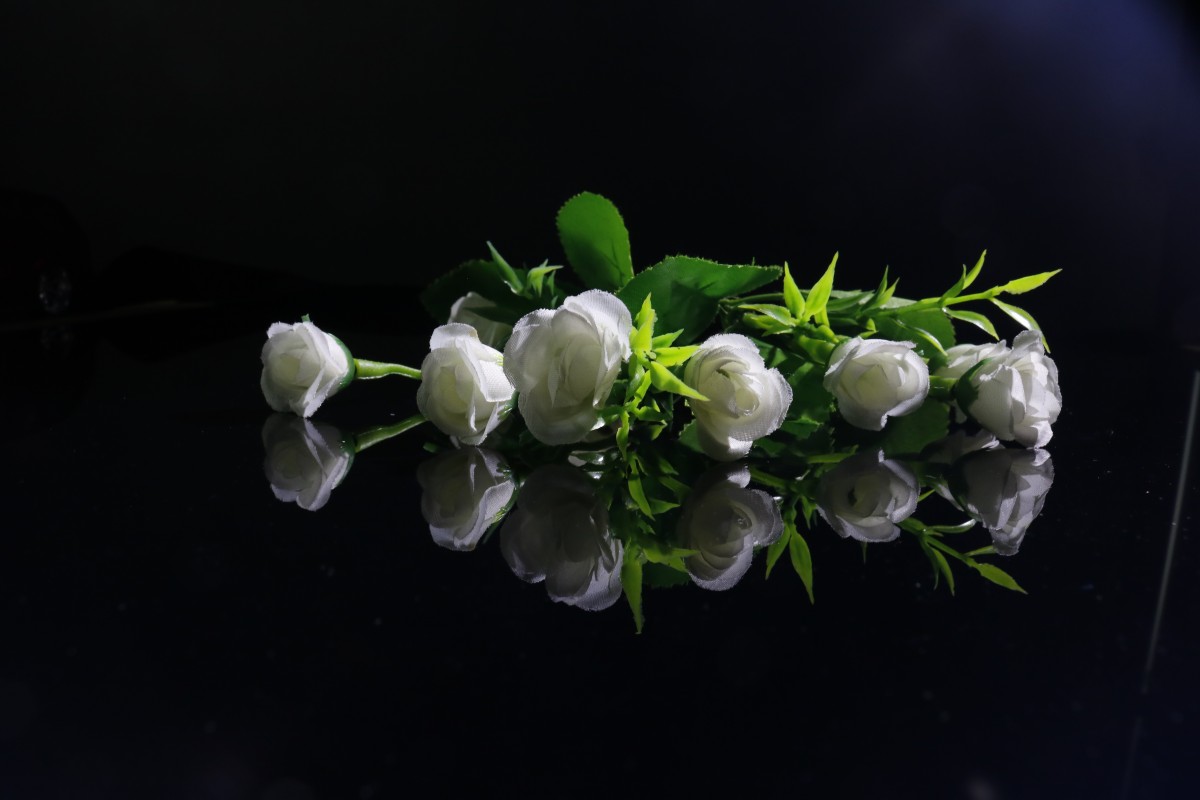
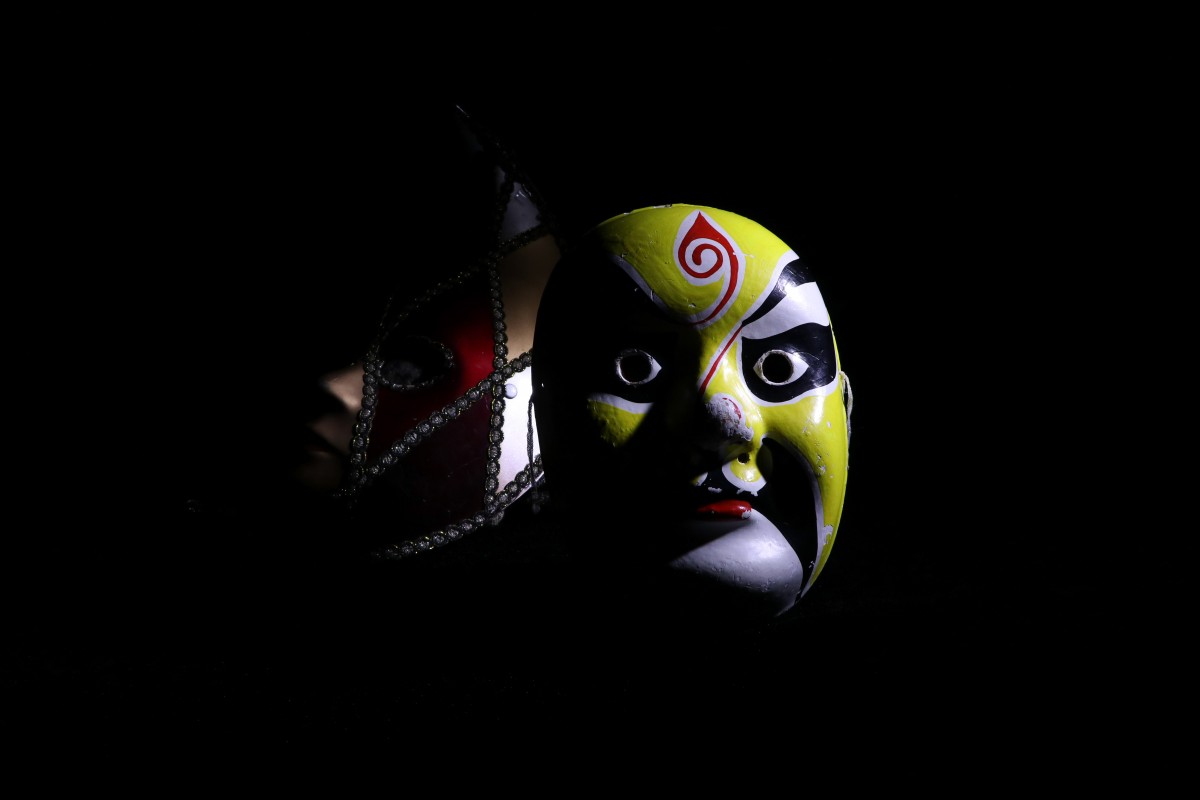
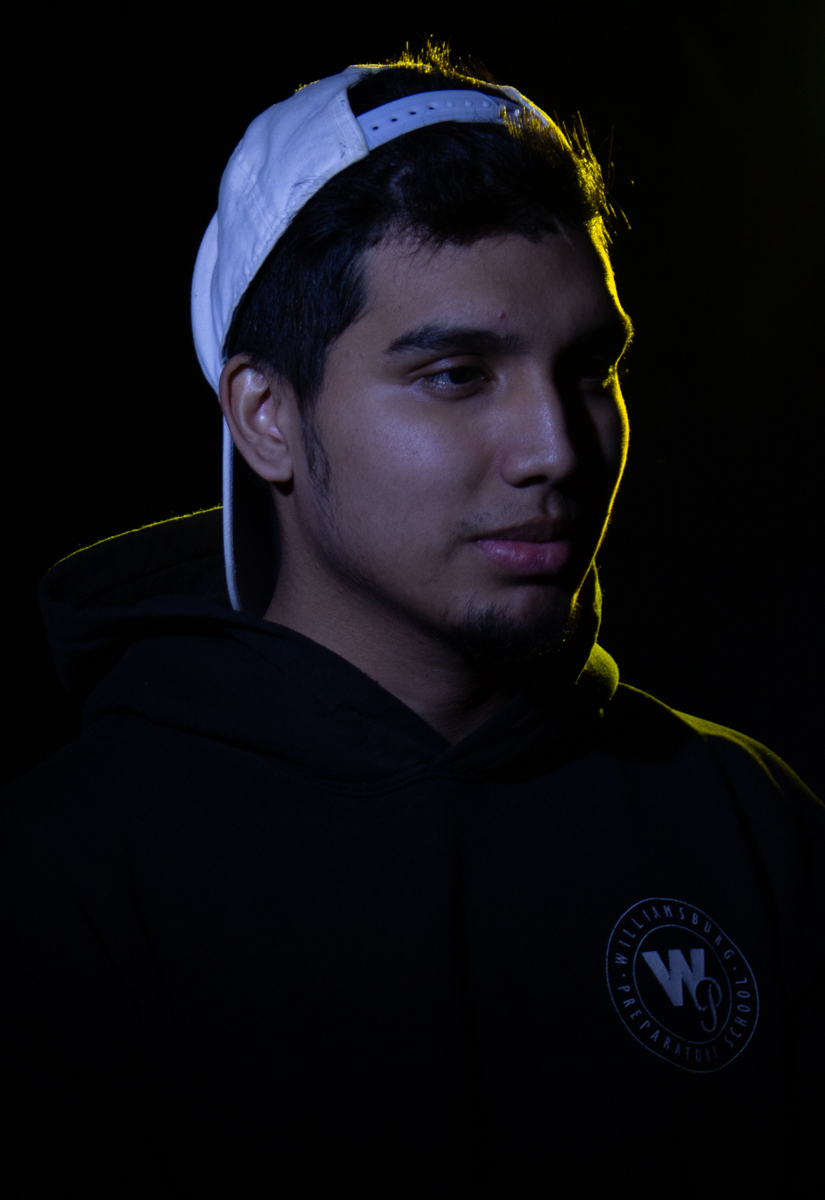
For this session we played with photography and different lighting styles, as there was a couple of us shooting we tried many different angles and many different light placements. for these shots I tried to create an intense look. with information on these different types of lighting I learned how to create more dynamic shots. I think out of all the shots I took I personally liked broad and split. split allowed us to Create a strong sense of mystery. shooting with broad lighting and with color gels allowed for some really interesting shots, for the shot above I like how the yellow light creates a strong but thin outline on his face.