Professor Diana Schoenbrun | COMD 3313 | SP22

Category: Uncategorized (Page 4 of 5)

Sketchbook: Week 5

Pet Portraits

Pet Projects

cartoon by Diana Schoenbrun

After considering whose pet you would like to draw get your model ready!

Draw three pets in your sketchbook. 1 page per pet. You can draw the same pet three times or three different pets. You do not have to fill the page but draw one pet on each page of your sketchbook. It may help to draw a frame first or draw a vignette.

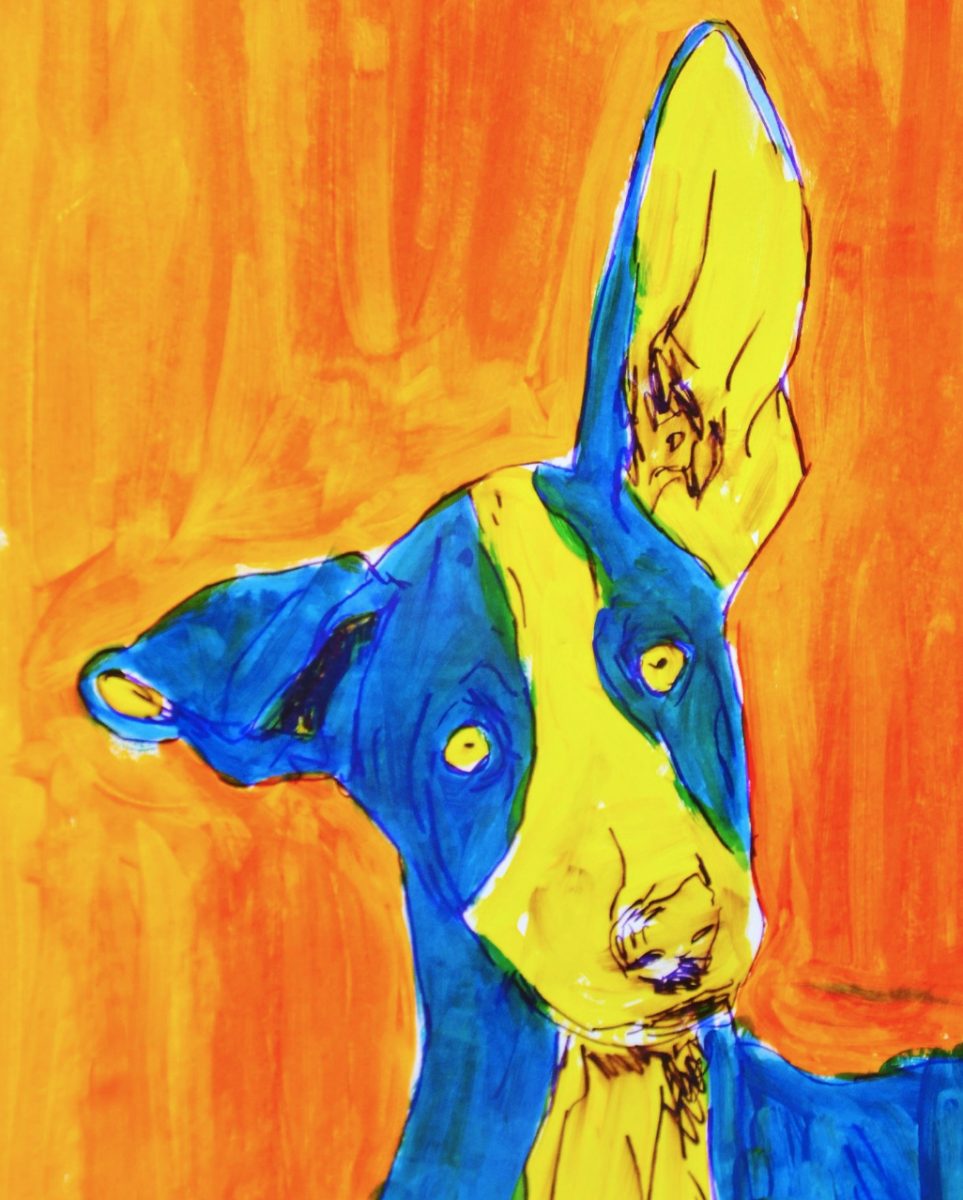
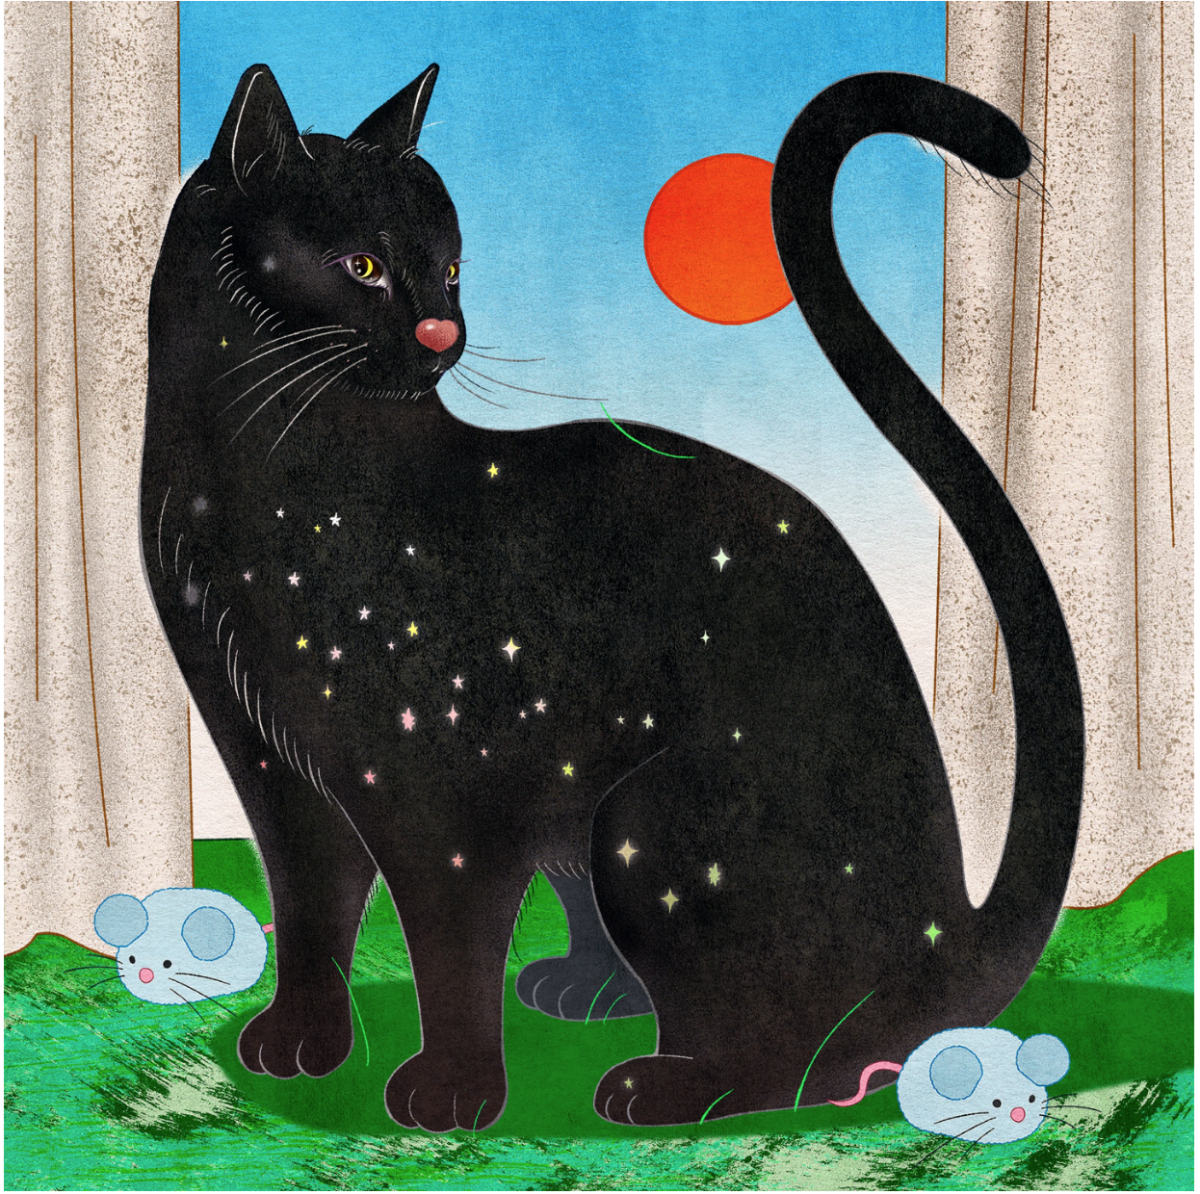
Try three different mediums. But use at least Ink in one of the pet portraits. You can draw the pet sitting or posed or you can draw the pet in an active pose. Decide if the composition needs a background. How will you resolve the negative space? Start with drawing the model in person but feel free to finish up at your desk if needed. Pets often don’t sit still too long. Take a few reference photos if needed.

After you finish your pet portraits make sure to post them to Openlab. Make sure to write the Pet’s name and the media used. Is there anything particular about the pet’s personality and how it influenced how you drew it?

Post when complete:

GO TO: CLASS SITE

DASHBOARD > POSTS > ADD NEW >

Sketchbook Week 5: Pet Portraits Write a post and upload sketchbook pages.

Choose CATEGORY (bottom right side): Sketchbook, Week 5

PUBLISH

Patricia Van Dokkum
Laon KimLaon Kim: A Furry Night 

Assignment 1 Part 4

Take one of your spot drawings, perhaps the simplest one, and practice different methods of drawing in ink. Based on our in-class inking practice I want you to try at least 5 styles for one spot. See samples from the class below.

Try different approaches. Here are some examples or ideas you can try.

  1. Contour line drawing with a felt tip pen (micron/staedlater) in a size of your choice
  2. Line drawing with value (cross-hatching, stippling, short/long lines) and drawing pen
  3. Brush pen
  4. Line drawing with a brush such as a 0 or 1
  5. Line drawing with a brush such as a 0 or 1 and a grey wash for added value or a spot color
  6. Silhouette, if it makes sense
  7. Dip pen or bamboo stick
  8. Color marker or pen
  9. In high contrast, use a pen for contour lines and fill in certain areas in black (bottom left sample).

    How else can you make marks? stencil, added pattern, thumbprint, old brushes

SIZE:

I suggest working larger and scaling down later.

I recommend working no smaller than 2 x 2inches. And No larger than 5×5 inches.

You will be trying out different inking materials to see which style you like. Next week in class we will take a look at the different approaches and you will then complete all the spot illustrations in this style.

« Older posts Newer posts »