Professor Michals

Author: rmichals (Page 7 of 8)

Lab: Week 2 – Lighting Direction

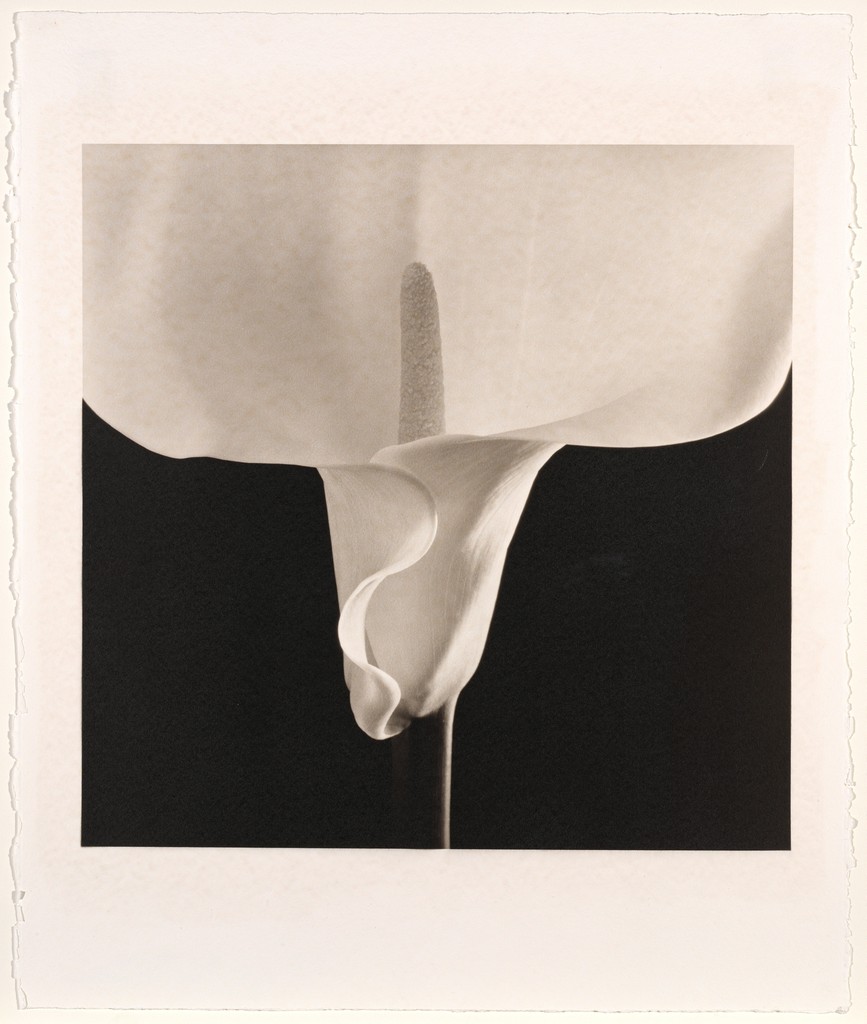
Photograph flowers with continuous lights.

Floodlight– light is diffused and wraps around the subject hitting it from many angles. shadows are soft.

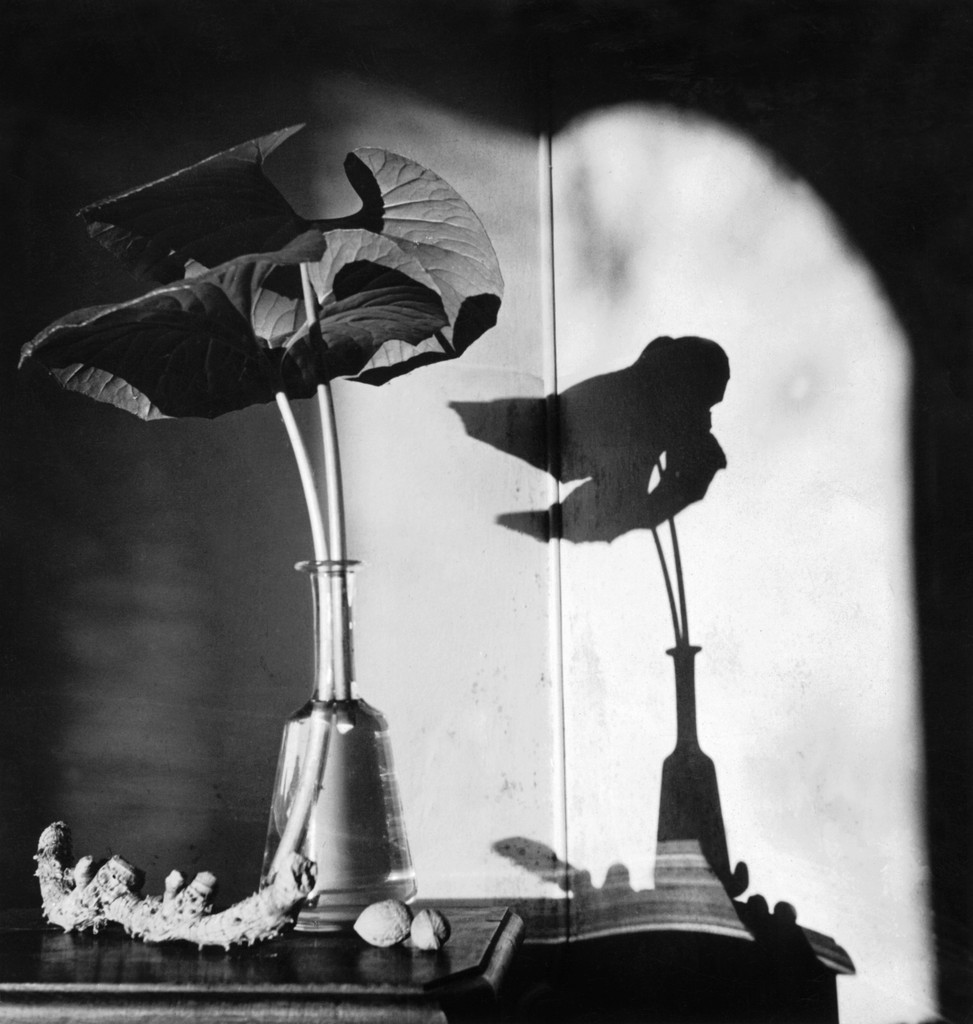
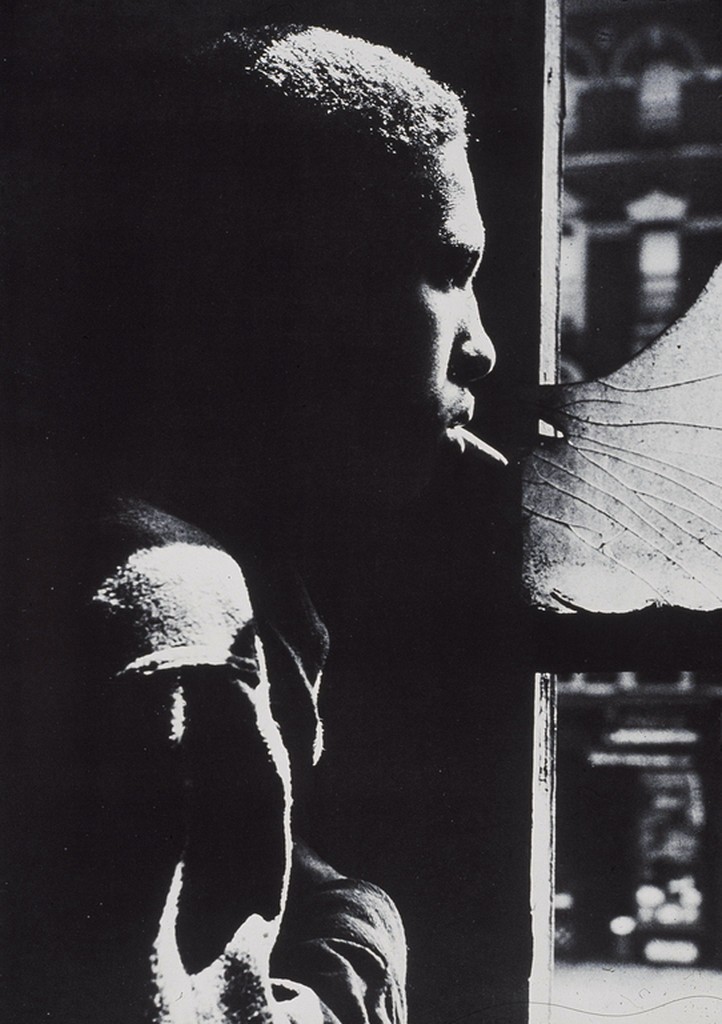
Spotlight – light is direct and hits the subject from one angle. Shadows are hard.

In-class Flower Shoot Camera Settings:

  • Resolution=RAW
  • ISO=100-400
  • WB=Flash
  • Shooting Mode=Tv
  • Shutter speed = 1/125
  • The camera sets the aperture

Every shot has a flower in it as the main subject.

Shot list 1:

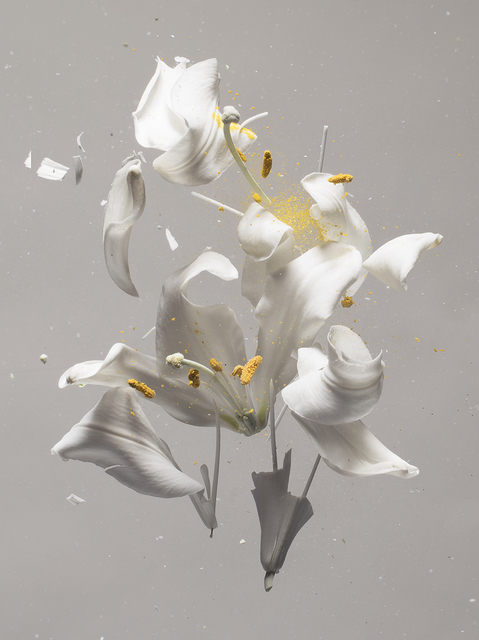
A. Front light: reduces detail, low contrast

Make the light a floodlight by diffusing the light with a soft box. Place it close to the camera position and subject.

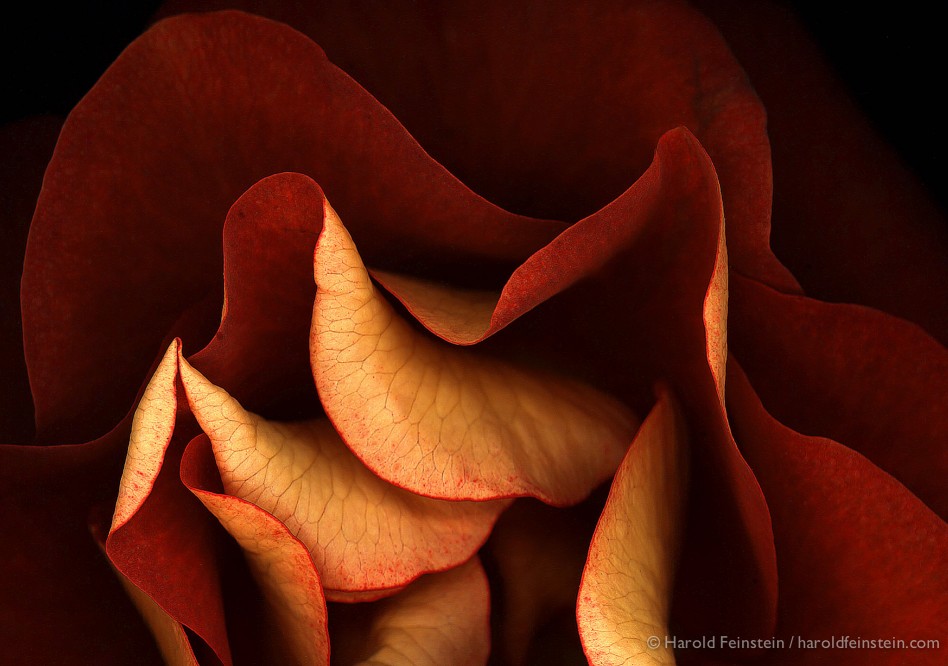
B. Side Light floodlight with diffusion: brings out texture.

C. Side Light spotlight: brings out texture, high contrast

To get the background to fall off to black, increase the distance between the subject and the backdrop and angle the light so that it falls on the subject not the background.

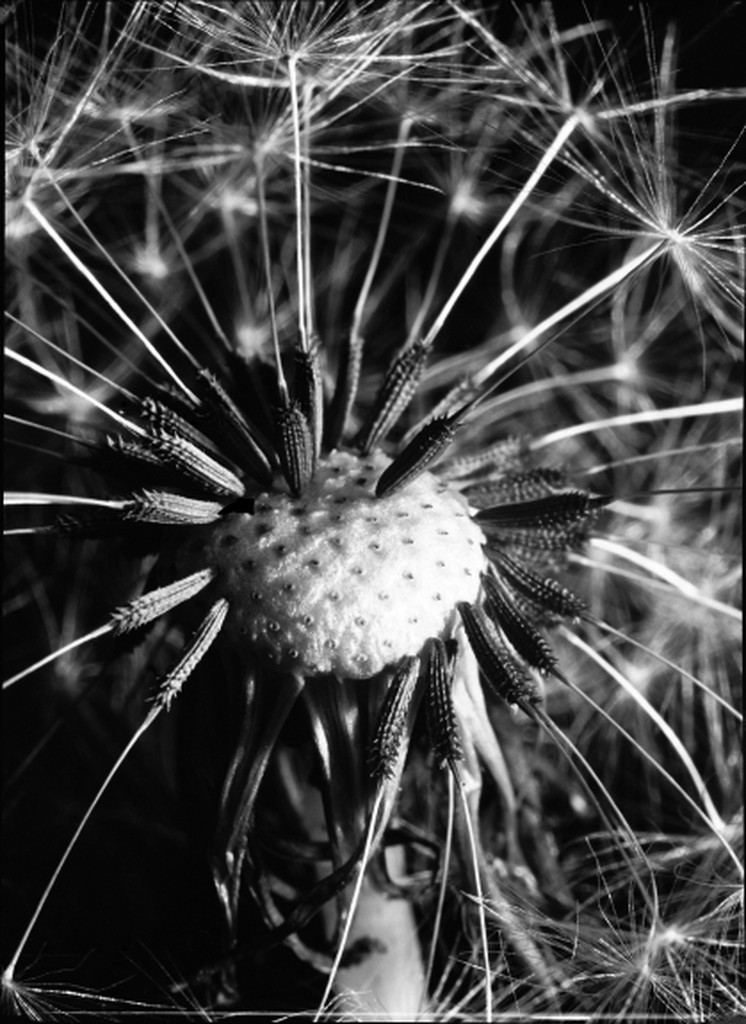
D. Extreme close-up for texture-use extension tube

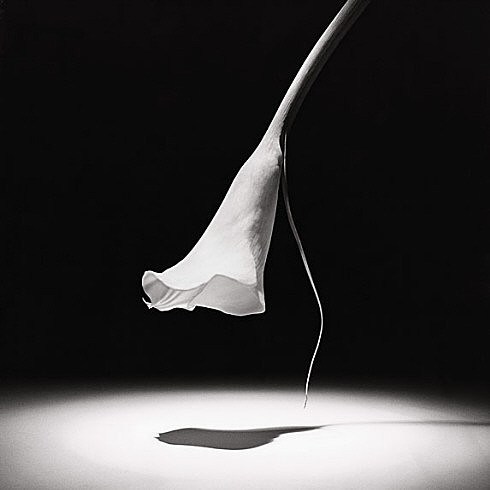
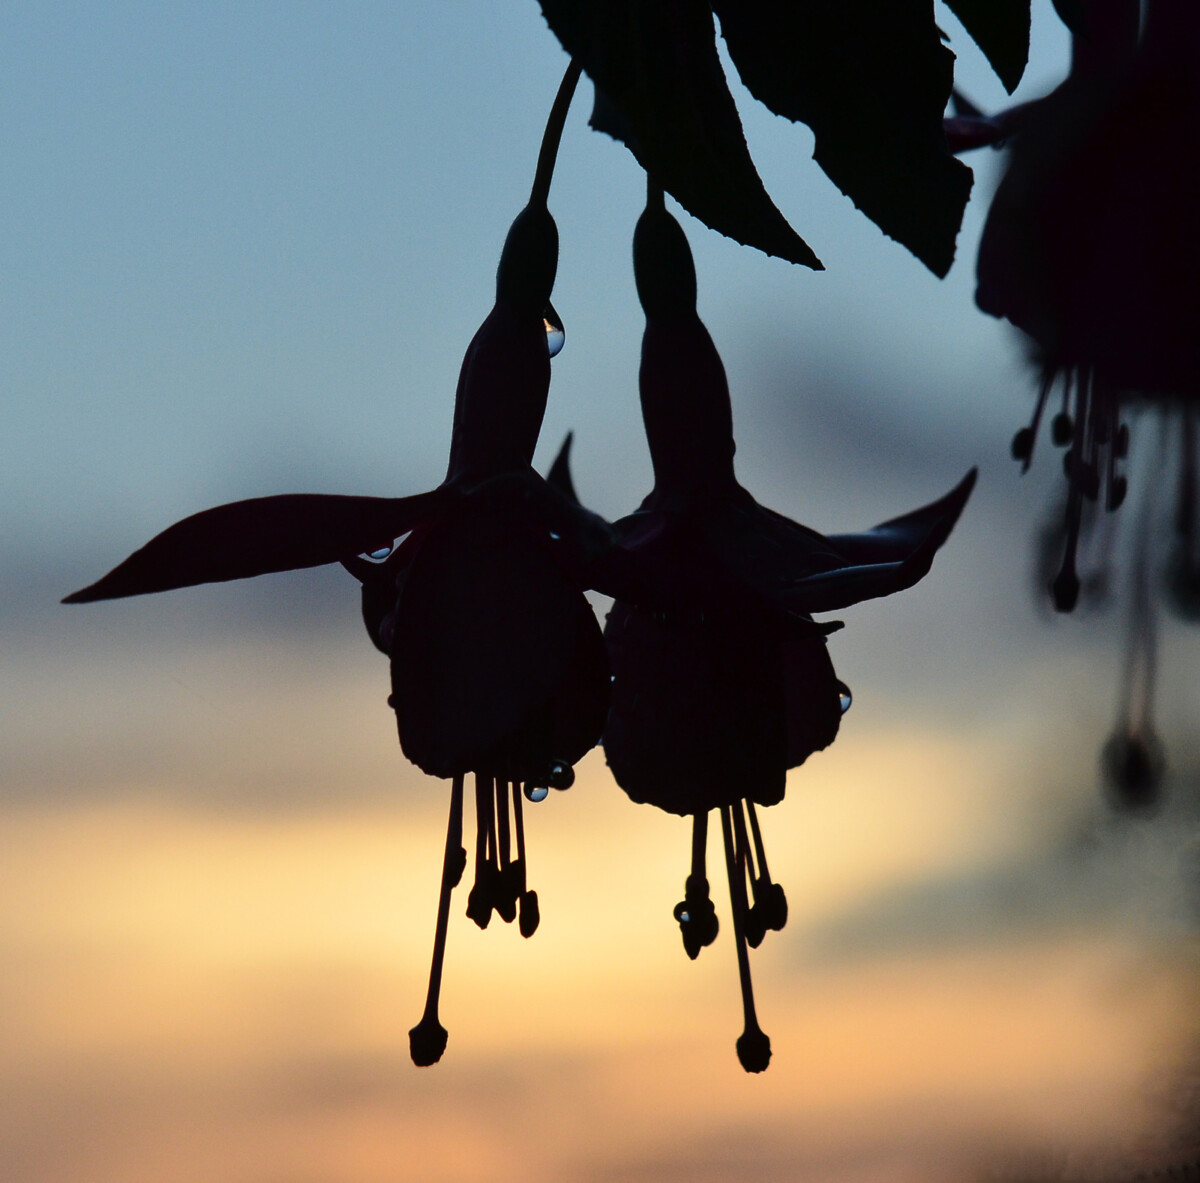
E. Back Light (white background): high contrast, reduces subject detail

Light the background only. Increase the distance between the background and the subject to increase the difference in the lighting ratio and to achieve a silhouette.

Shot list 2:

Photograph the same flower for the following uses:

  1. A sympathy card – type will say “With Deepest Sympathy”
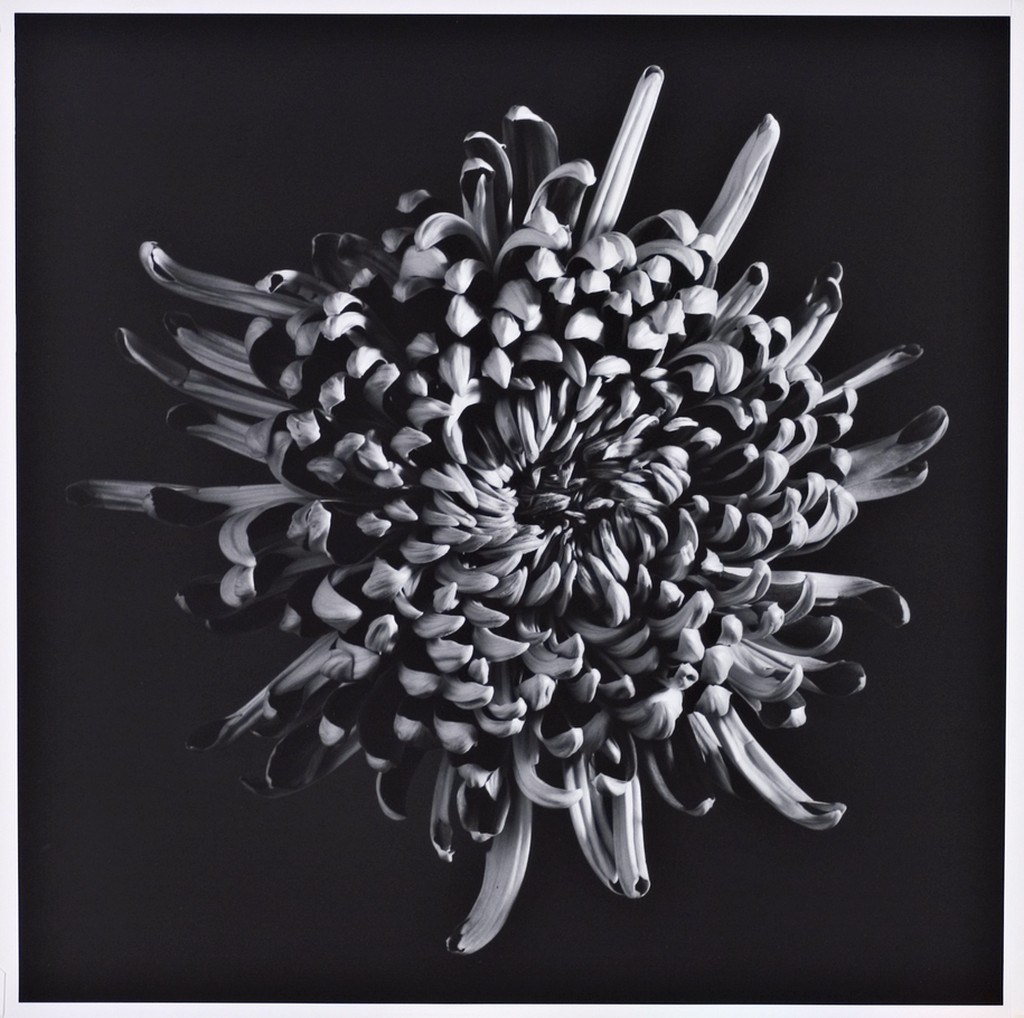
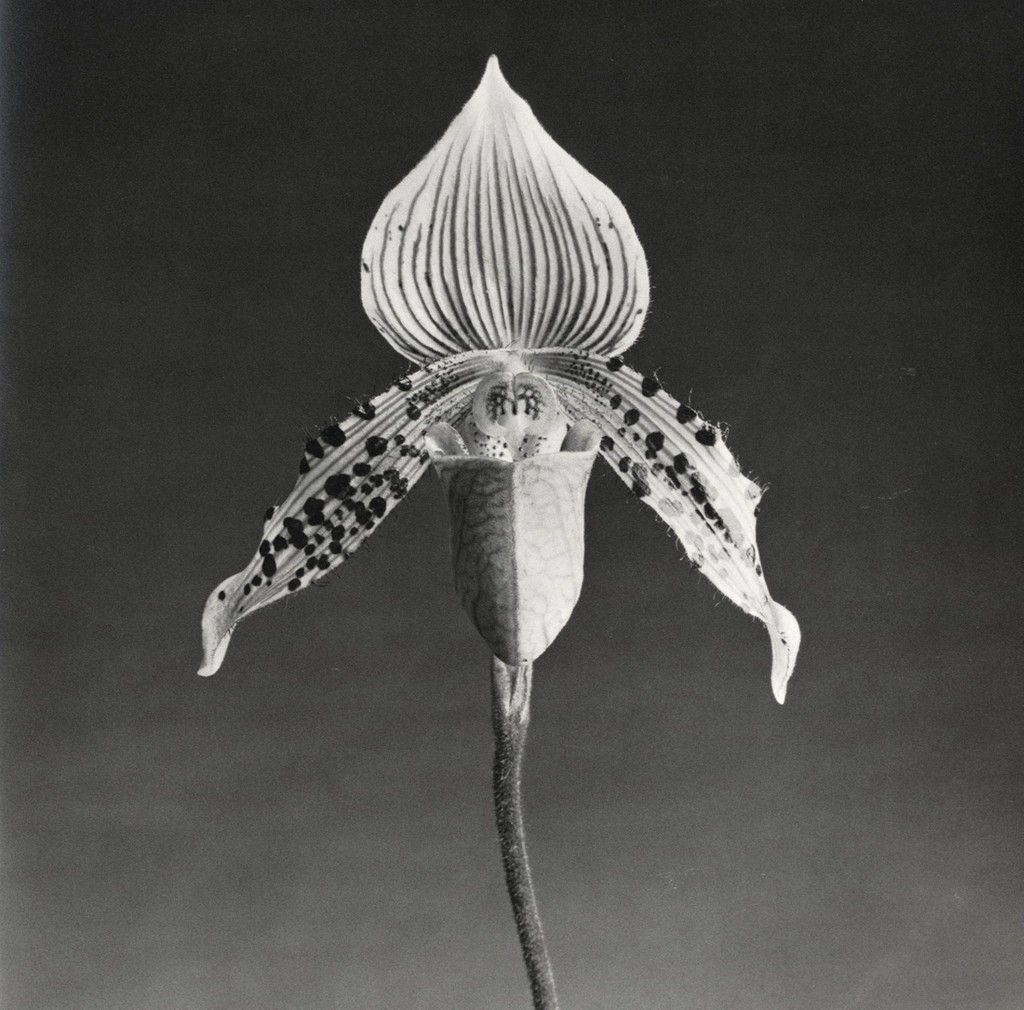
  2. An article in National Geographic on patterns in nature
  3. An upscale chocolate bar – organic dark chocolate

Put your best 20 in an album on Flickr. You must include at least one for each category. Please label your images accordingly so know what you intended. Send your best three, one for each of the items on shot list 2, to the class group.

Week 2 – Lighting Direction

Light Quality

Direct light or hard light – the rays of light are nearly parallel and strike the subject from one direction creating hard edged dark shadows with little detail.
Examples: a spotlight, sun on a clear day, or a bare flash

Diffused light or soft light– the rays of light are scattered and coming from many directions. It appears even and produces indistinct shadows. Examples: overcast daylight, a light covered with tracing paper or other translucent material.

Light Direction

Front light comes from in front of subject from the camera position and the shadows fall behind the subject not concealing any details.

Side Light comes from 90 degrees to the camera. it adds dimension and texture to the subject.

Backlight comes from behind the subject towards the camera.

Inspiration

Lab

Lighting Direction

Homework

HW 2: Lighting Direction

HW 1: Describe a photo

4 pts. Due Feb 15 at 12 noon.

Select one photo that you love from one of the following photographer’s websites:

Malin Fezehai

https://www.malinfezehai.net

Christopher Gregory-Rivera

https://chrisgregory.co

Alex Webster

https://www.alexwebsterphoto.com

Once you have selected a photograph, write a 300-word post on OpenLab about the photograph. 

1. Identify the photograph with the name of the photographer, the title of the photograph if there is one and a link to the image. Write a description of the subject matter and location. Then identify what the photographer is trying to say in the photograph. What is the purpose of the image? How do you feel when you look at the photograph? Why do you love the image?
2. Select three of the formal elements we discussed in class that are most important in the photo that you selected. (Rule of thirds, diagonal lines, leading lines, patterns, symmetry, figure to ground, contrast of light and dark, a frame within a frame.) Write a second paragraph describing the photographer’s use of those three compositional principles and how that composition carries the message or feeling of the photograph. 

Category: Student posts>HW1-Composition

Lab – Week 1 – Composition

2 pts. Take as many photos as you need to to create one visually engaging photo for each of the following compositional principles:

  • Rule of Thirds
  • Diagonal Lines
  • Leading Lines
  • Patterns (or breaking the pattern)
  • Symmetry
  • Figure to Ground
  • Contrast of light and dark
  • A frame within a frame

Put your 8 final photos in an album on Flickr. Label each file with the category above.

Working with your group:

Sign up for milanote. Create one mood board and add the members of your group to the board as editors. Everyone should then add their examples of each category of compositional principle.

Each group will select the best photo for each category. The final mood board should have 8 photos each labeled with the compositional principle and the photographer’s name. Make sure to include at least one photograph by every member of the group.

Send the secret link with me by email: rmichals@nastassiam so I can share the boards with the class.

Week 1 – Composition Review

Composition Review

Rule of Thirds – Instead of placing the main subject in the center of the frame, divide the frame into thirds horizontally and vertically and place the main subject at one of these intersections.

Diagonal Lines – lines that reach towards opposite corners of the photo

Leading Lines – lines in the photograph that lead the eye to the main subject

Patterns – repeated elements. Break the pattern for visual interest.

Symmetry – If you fold the image in half the two haves are very similar and have equal visual weight. Or make it asymmetrical to add tension to the composition.

Figure to Ground -the relationship between the subject and the background sometimes described as negative and positive space.

Contrast of Light and Dark – The darks are close to black and the lights are close to white with few mid-tones.

A Frame within a Frame

Lab Exercise

Composition Review

Homework

HW 1: Composition Review

« Older posts Newer posts »

© 2024 COMD3330_D039_SP22

Theme by Anders NorenUp ↑