Post your corrected versions of all three to Flickr.
Select your favorite of your partner’s photos that could look better with some adjustment. Tone it in Lightroom. Your partner will also adjust the same photo. Compare your results. Post both versions titled with each of your names to Flickr in a way that we can see them side by side.
Now, reverse it. Your partner picks their favorite of your photos. And you both adjust it. Post the results.
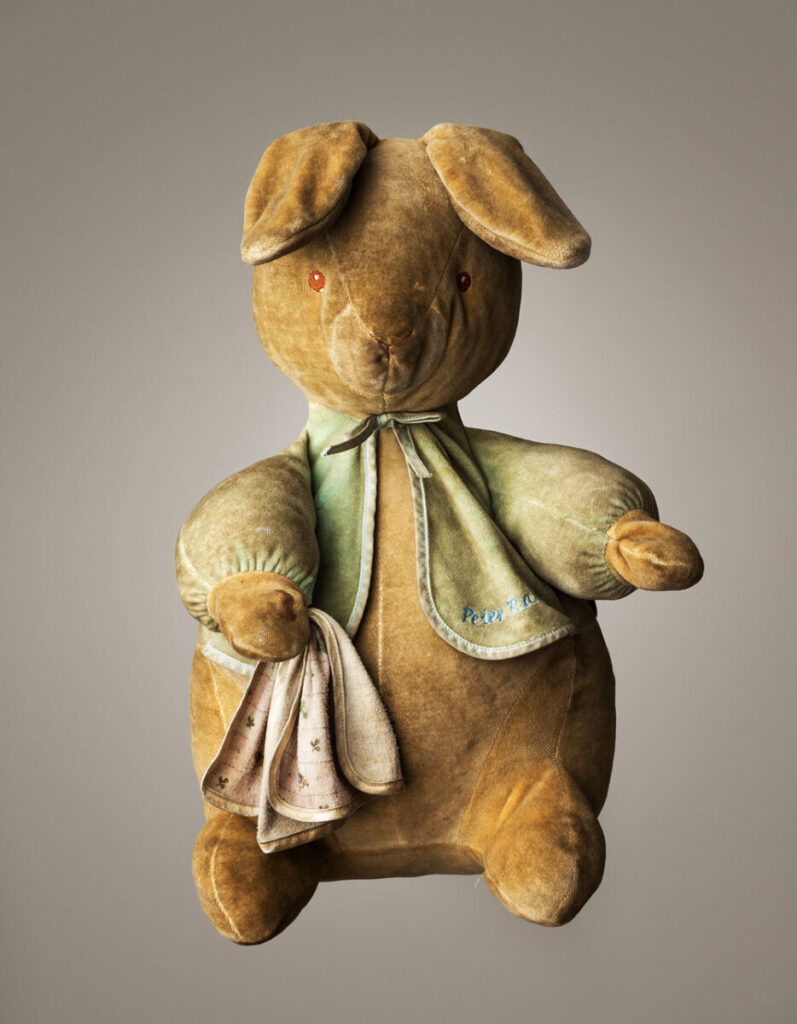
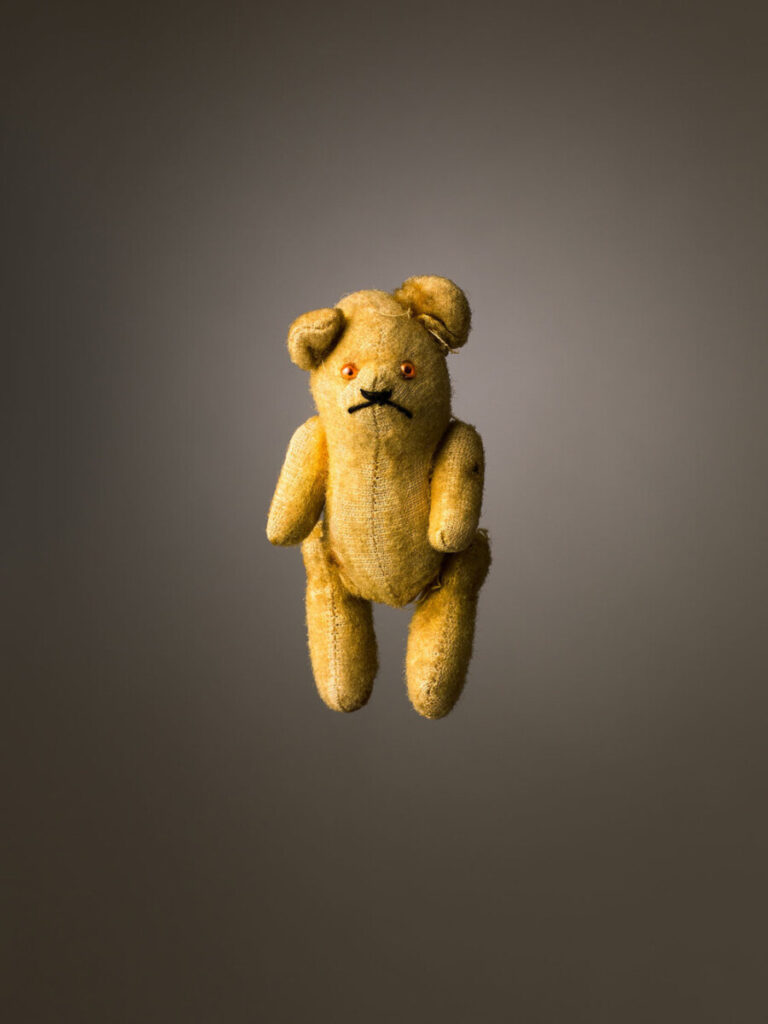
Photograph one stuffed animal at each station. The goal is to get the widest range of moods in your photos including happy, sad, surprised, angry, fearful.
Use the light to create different moods while also using everything you know about composition including angle of view, framing, and so on.
Put your twenty best in an album on Flcikr and send your best two to the class group.
Quiz 1: There will be three technical questions and one compare and contrast paragraph.
Topics for the technical questions are shutter speed, tripod use, lighting quality and direction, studio basics such as the difference between continuous lights and strobe lights.
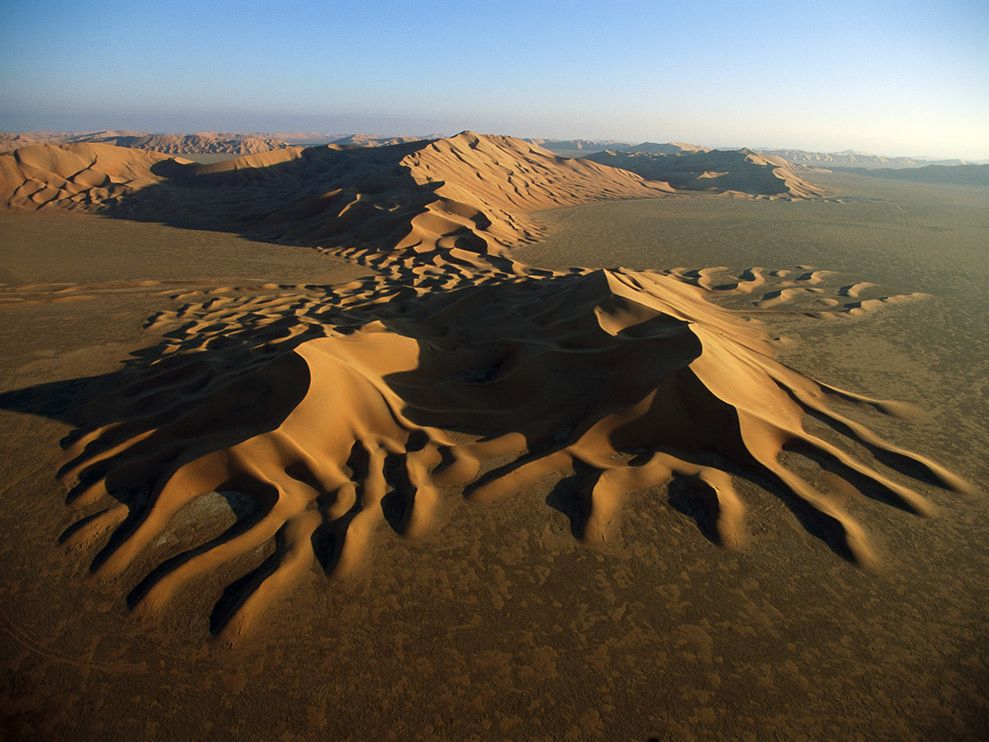
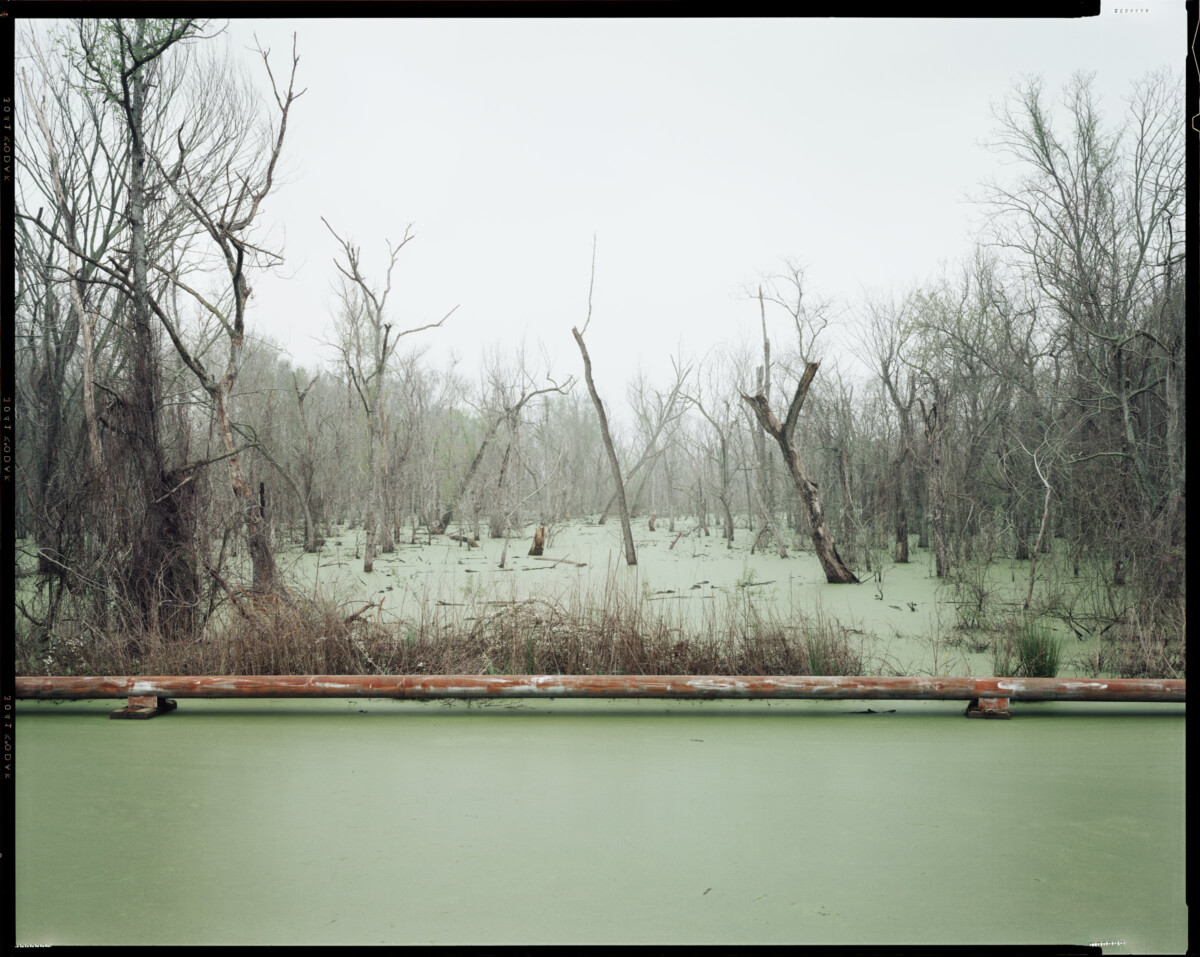
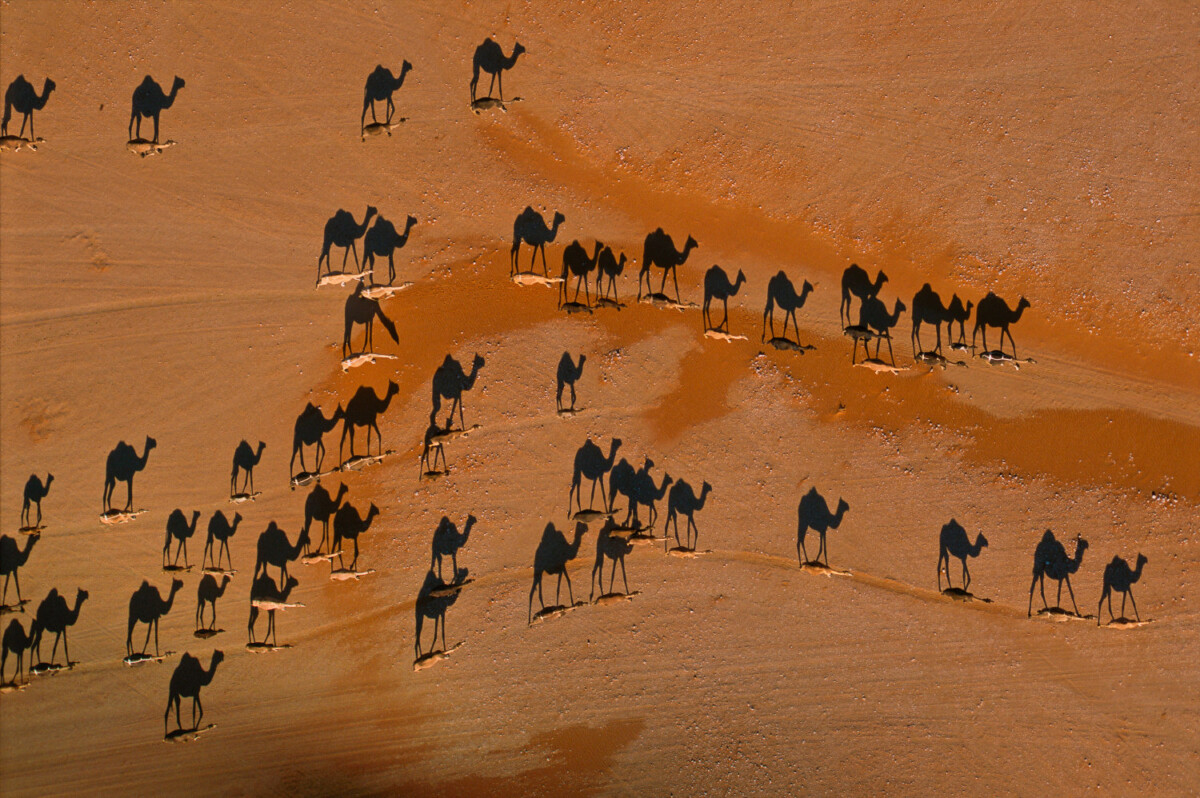
The compare and contrast paragraph will give credit for use of the following terms: the rule of thirds, symmetry, diagonals, angle of view (bird’s eye or aerial view, high angle, eye level, low angle, worm’s eye view,) contrast of light and dark, frame within a frame, figure to ground, leading lines, pattern, Lighting quality: diffused or direct, lighting direction: front, side, back.
Floodlight– light is diffused and wraps around the subject hitting it from many angles. shadows are soft.
Spotlight – light is direct and hits the subject from one angle. Shadows are hard.
In-class Flower Shoot Camera Settings:
Resolution=RAW
ISO=100-400
WB=Flash
Shooting Mode=Tv
Shutter speed = 1/125
The camera sets the aperture
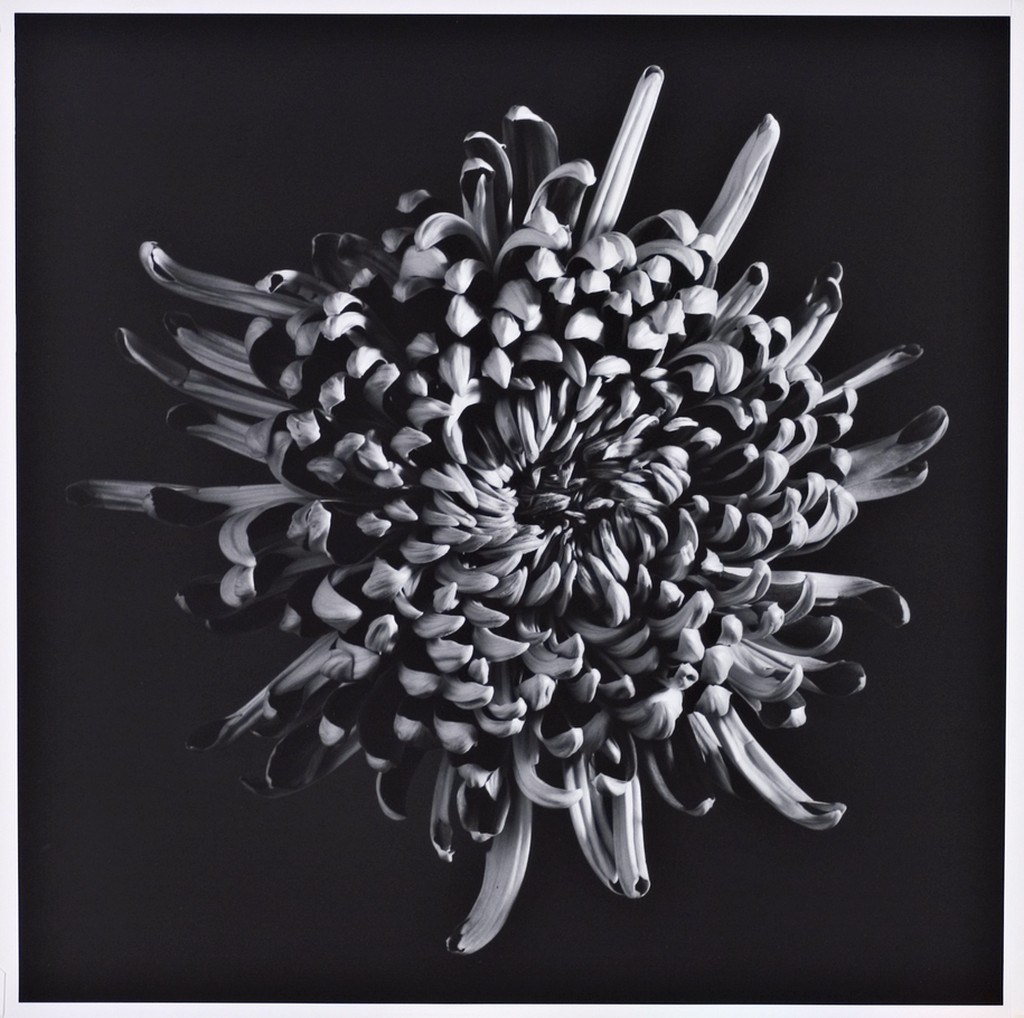
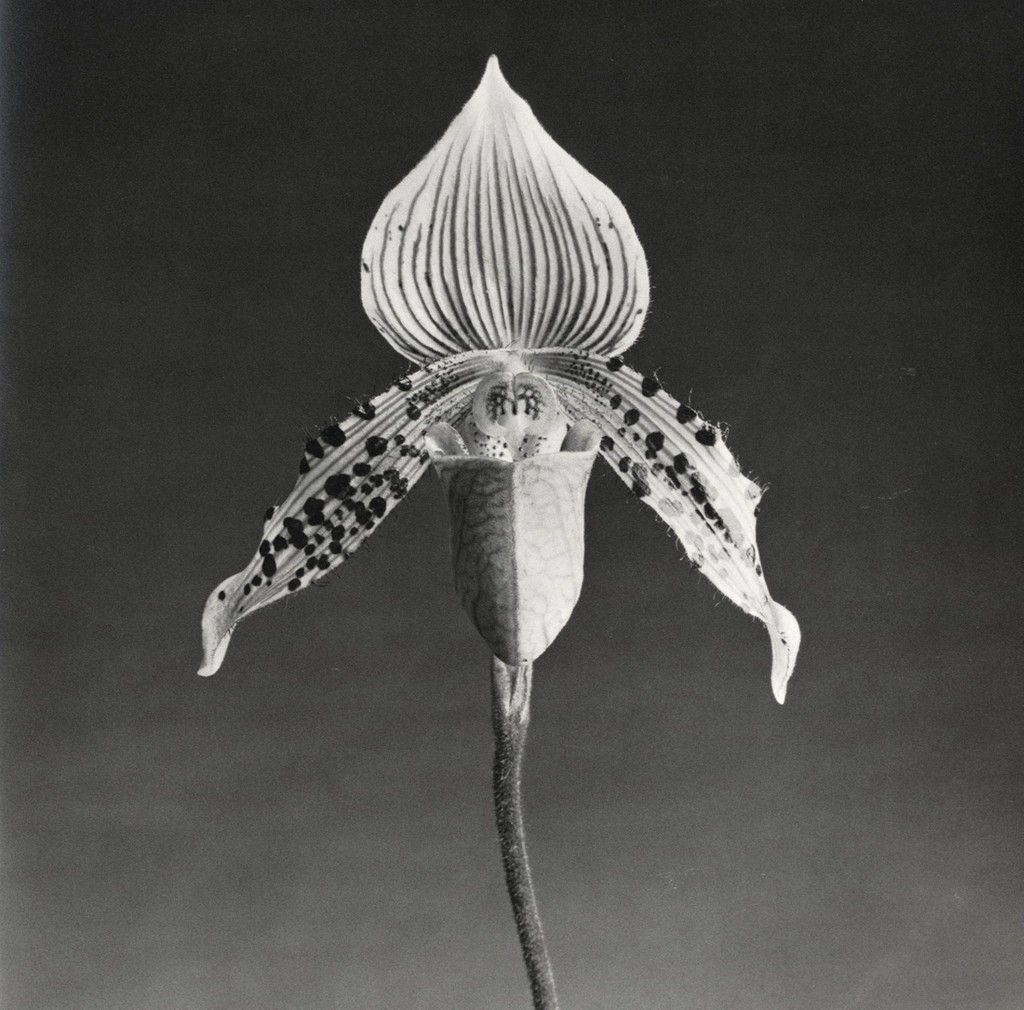
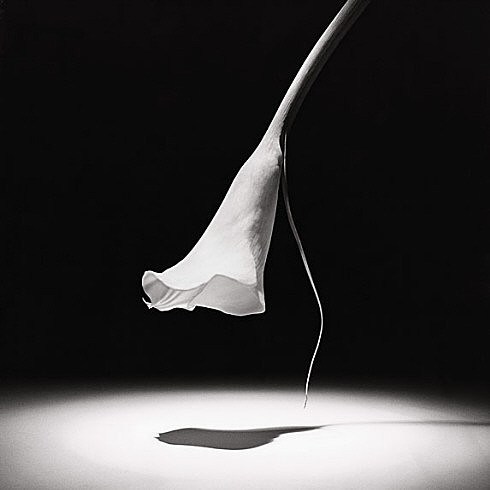
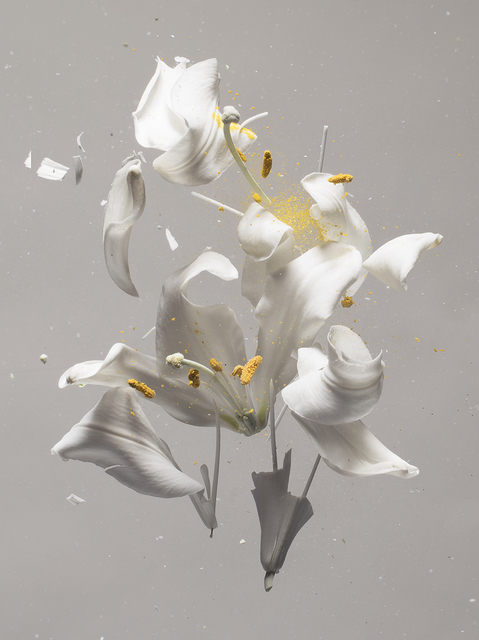
Every shot has a flower in it as the main subject.
A. Front light: reduces detail, low contrast
Make the light a floodlight by diffusing the light with a soft box. Place it close to the camera position and subject.
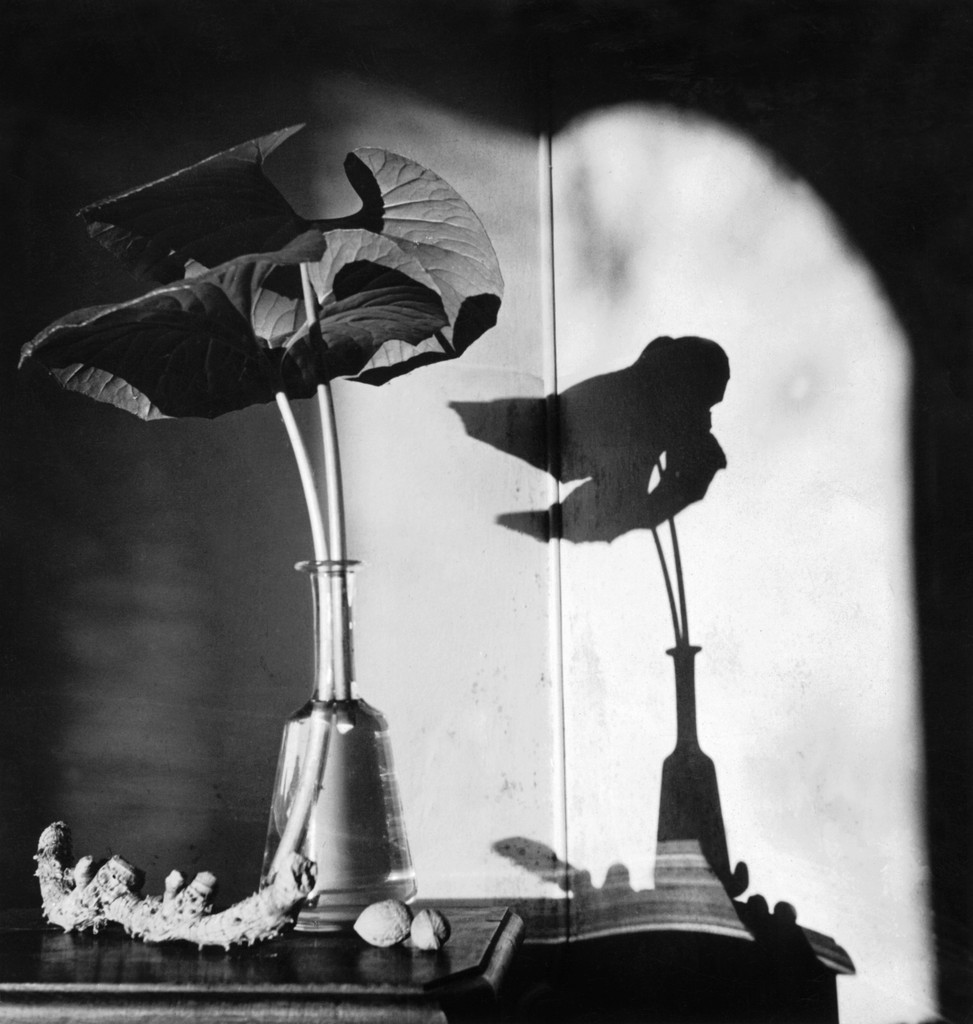
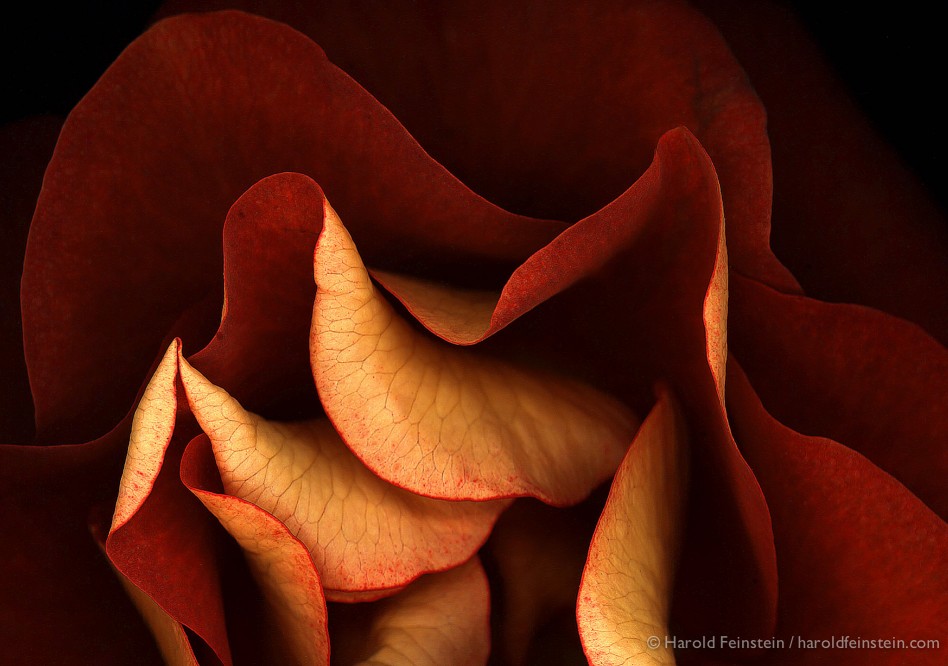
B. Side Light floodlight with diffusion: brings out texture.
C. Side Light spotlight: brings out texture, high contrast
To get the background to fall off to black, increase the distance between the subject and the backdrop and angle the light so that it falls on the subject not the background.
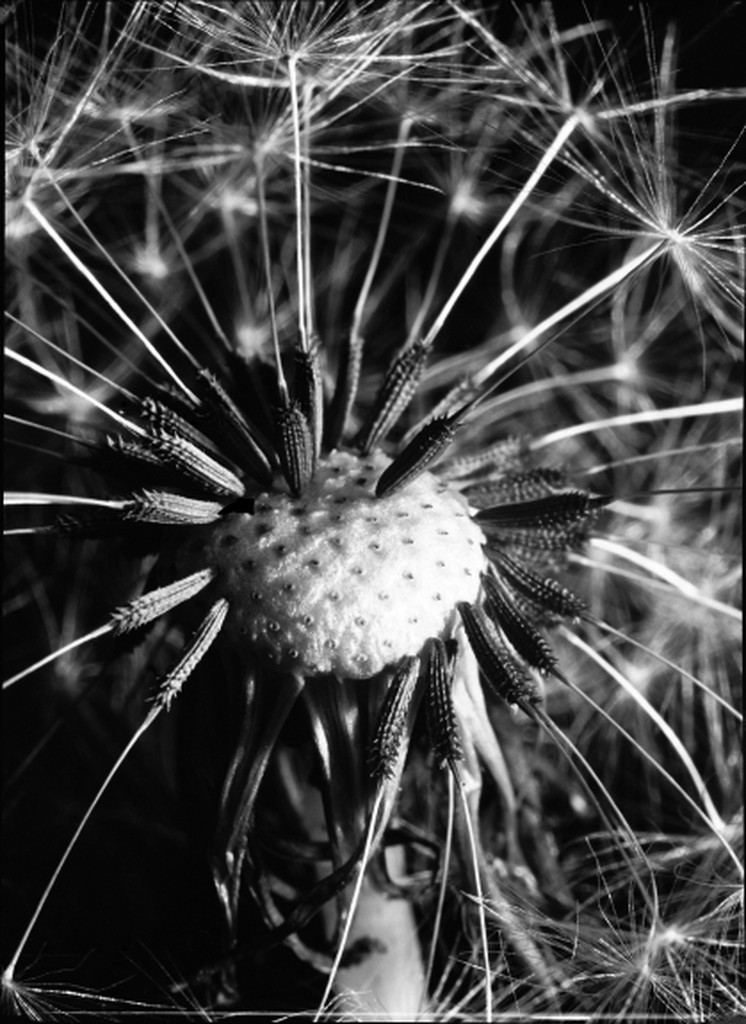
D. Extreme close-up for texture-use extension tube
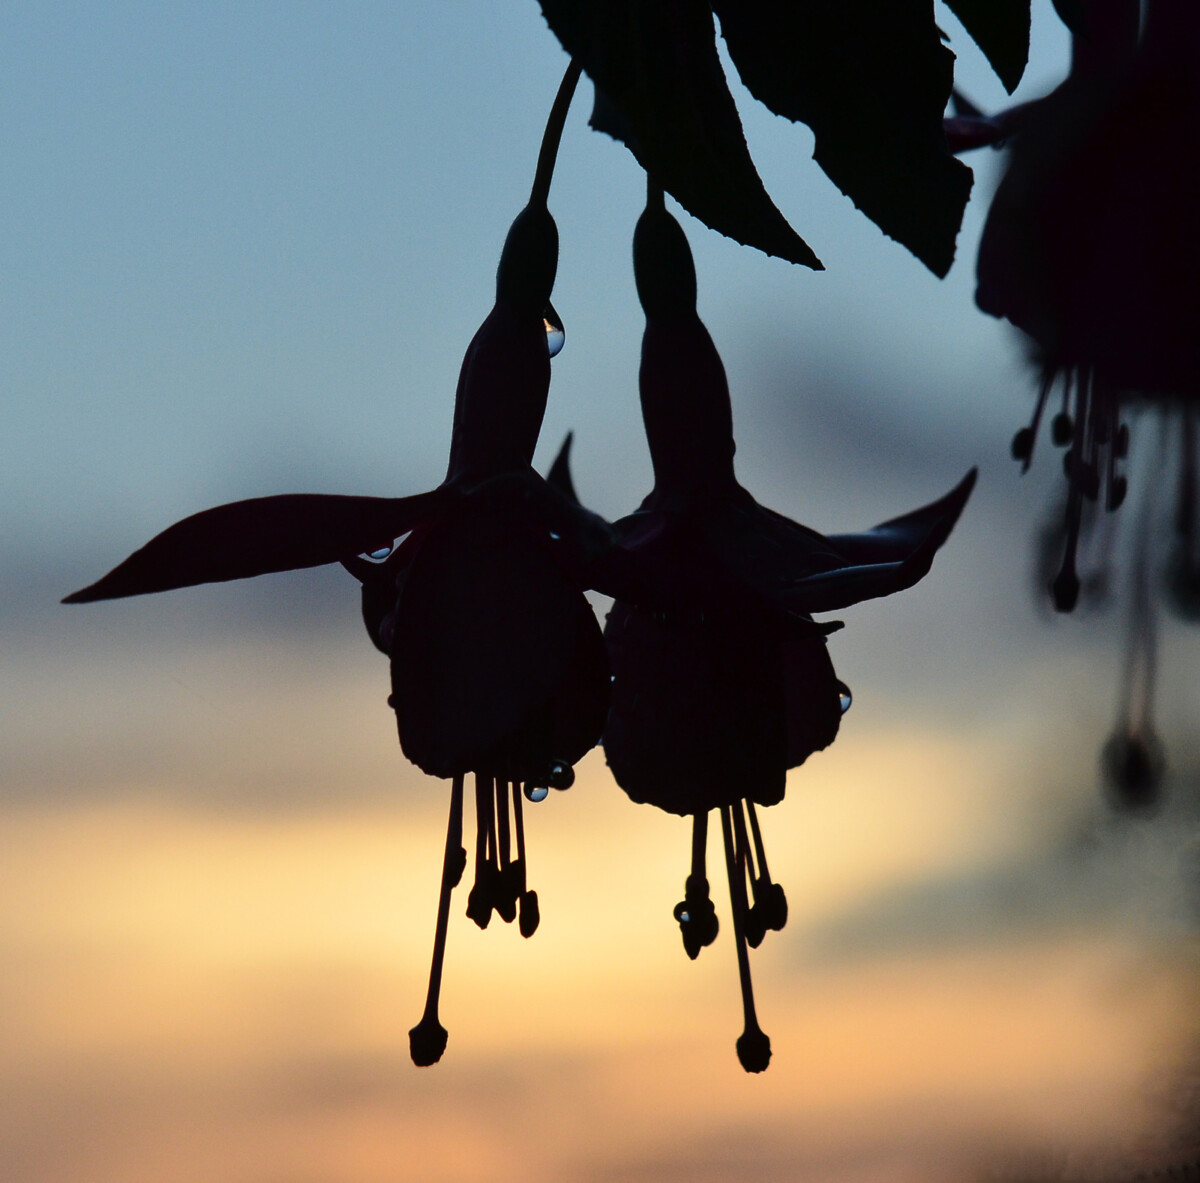
E. Back Light (white background): high contrast, reduces subject detail
Light the background only. Increase the distance between the background and the subject to increase the difference in the lighting ratio and to achieve a silhouette.
Put your best 20 in an album on Flickr. You must include at least one for each category. Please label your images accordingly so know what you intended. Send your best two to the class group.
Direct light or hard light – the rays of light are nearly parallel and strike the subject from one direction creating hard edged dark shadows with little detail. Examples: a spotlight, sun on a clear day, or a bare flash
Diffused light or soft light– the rays of light are scattered and coming from many directions. It appears even and produces indistinct shadows. Examples: overcast daylight, a light covered with tracing paper or other translucent material.
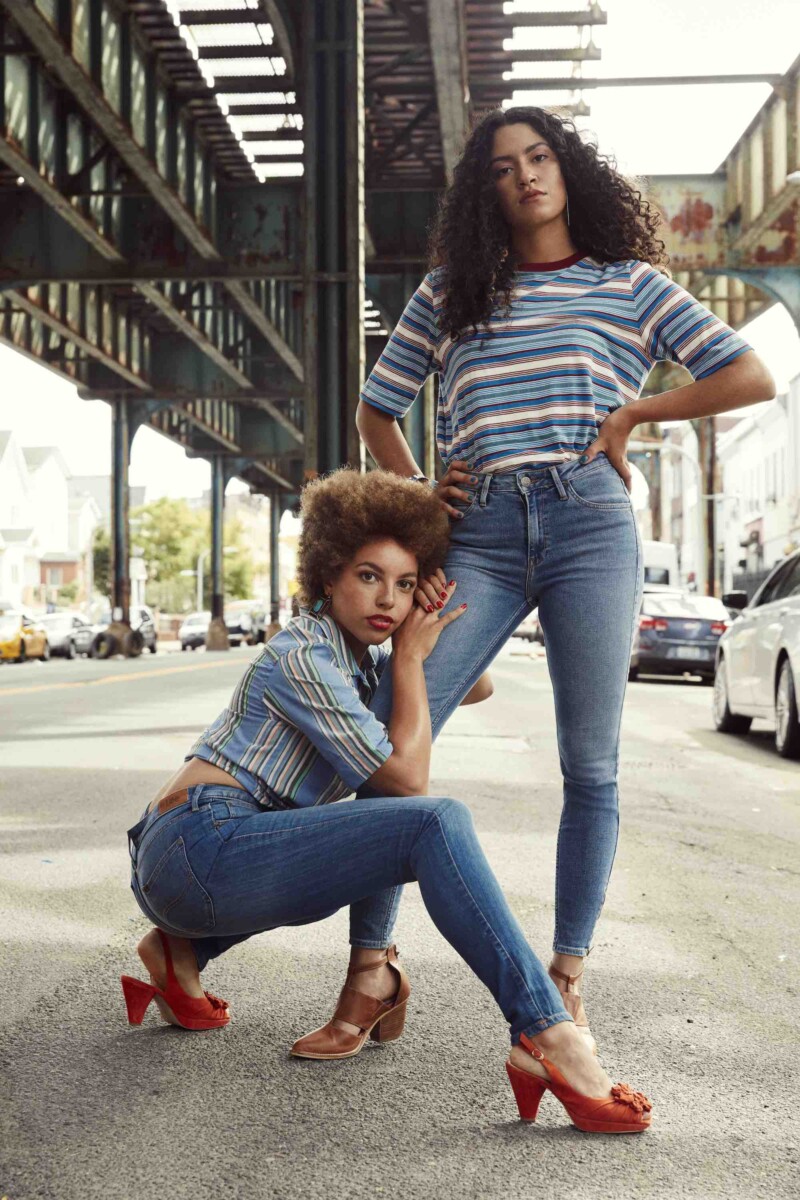
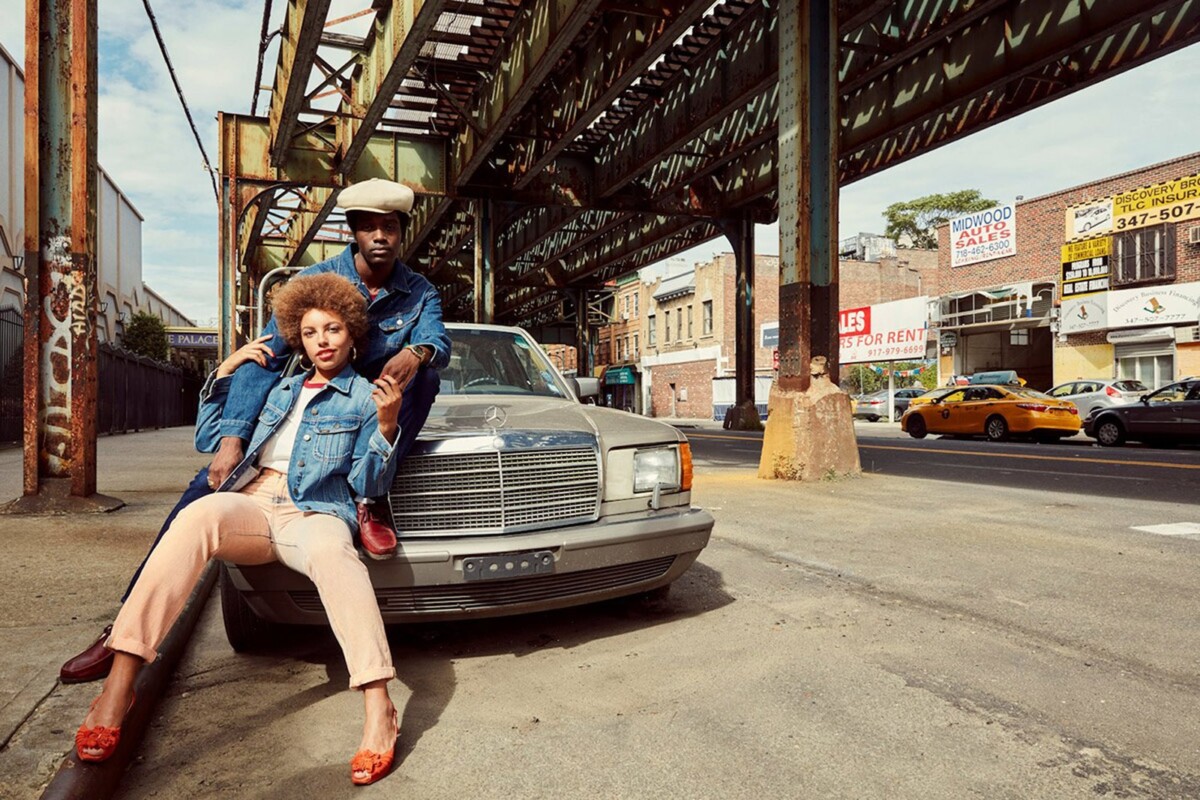
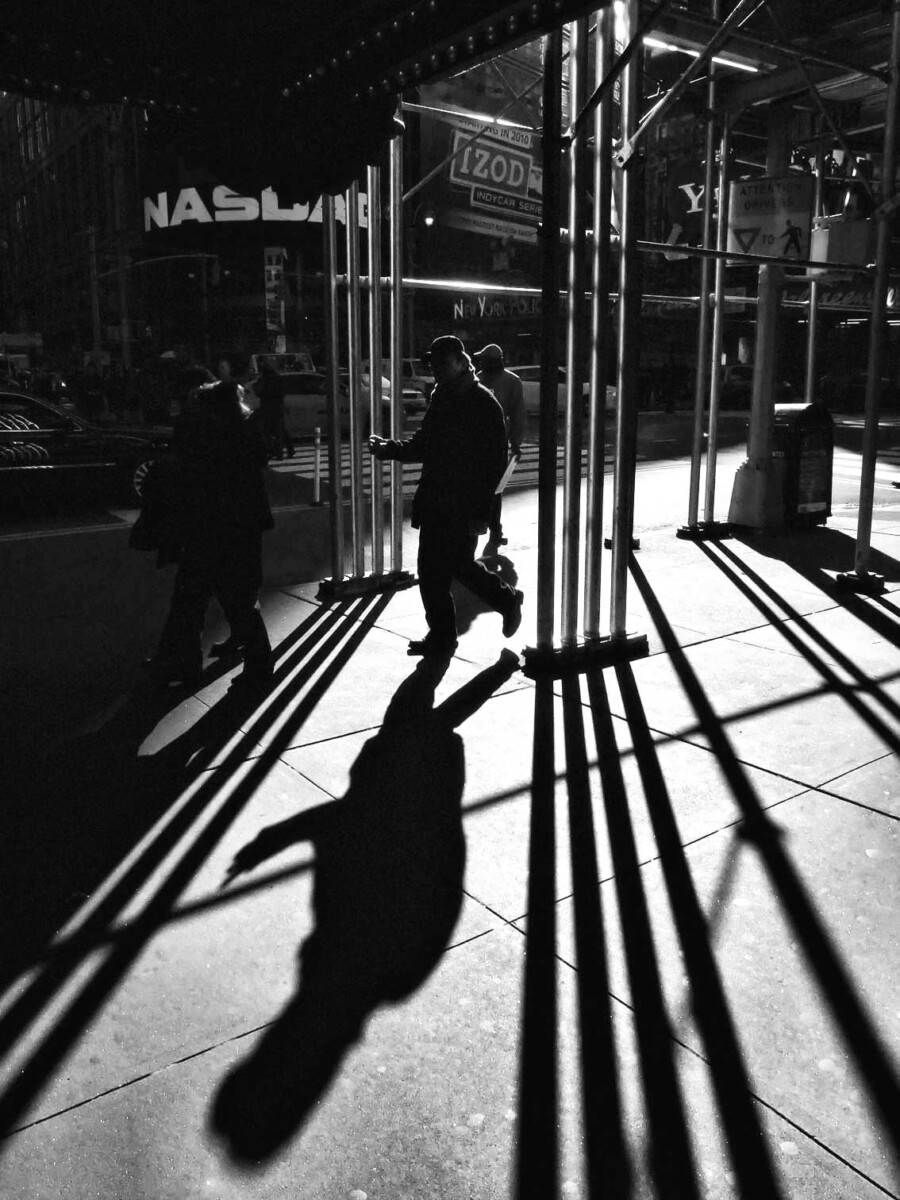
Photographer: Jamal Shabazz, Campaign for Lee Jeans
Direct Light and Direction
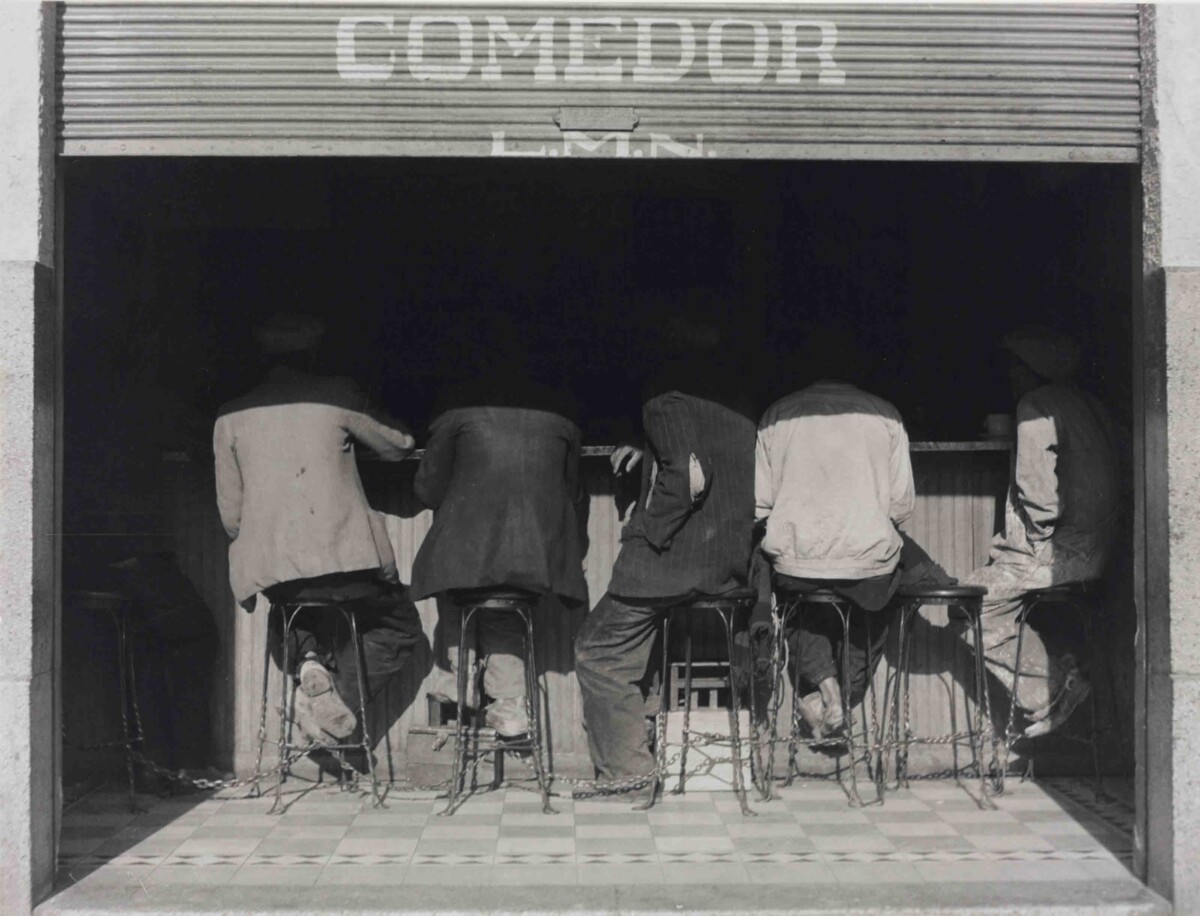
Front light comes from in front of subject from the camera position and the shadows fall behind the subject not concealing any details.
Side Light comes from 90 degrees to the camera. it adds dimension and texture to the subject.
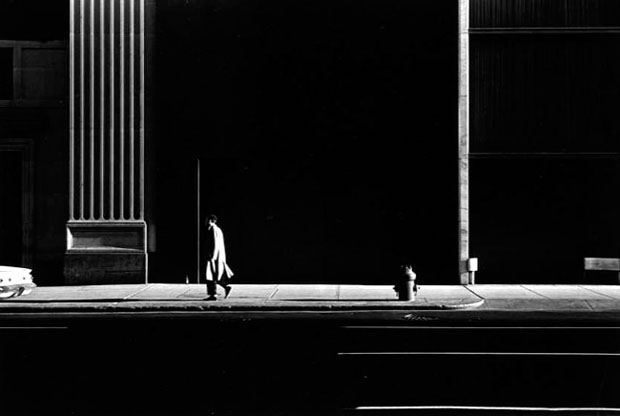
Backlight comes from behind the subject towards the camera.
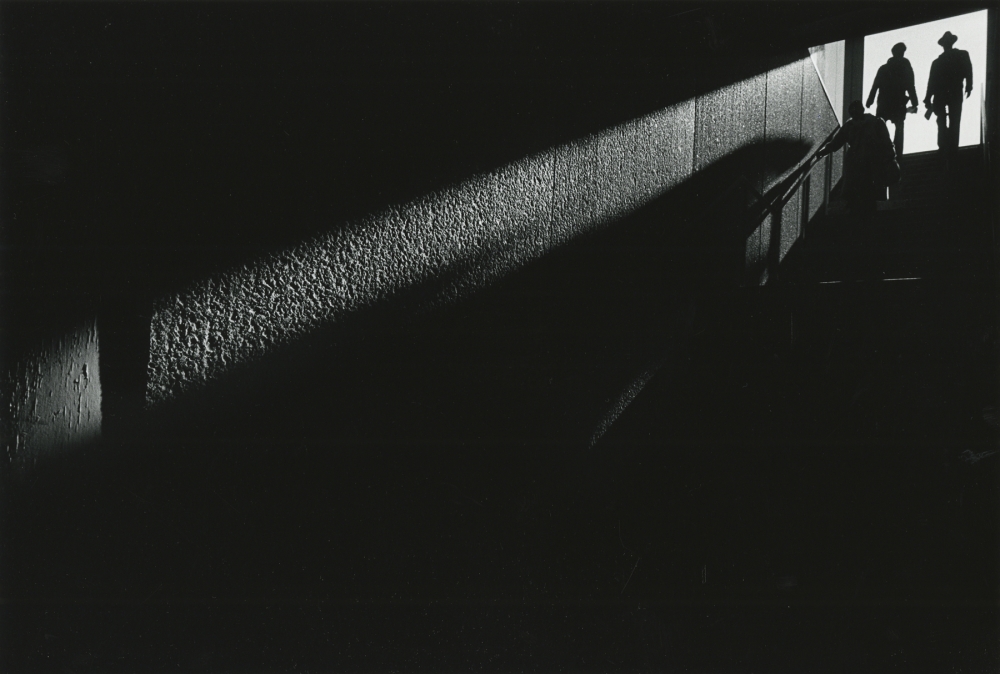
Front light Photographer: Manual Alvarez BravoSide Light Photographer: Ray MetzkerBacklight Photographer: Ray Metzker
Inspiration
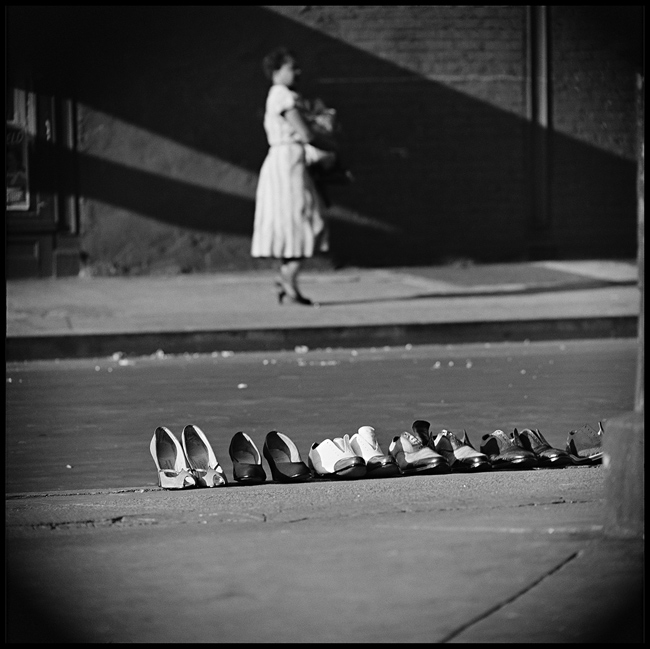
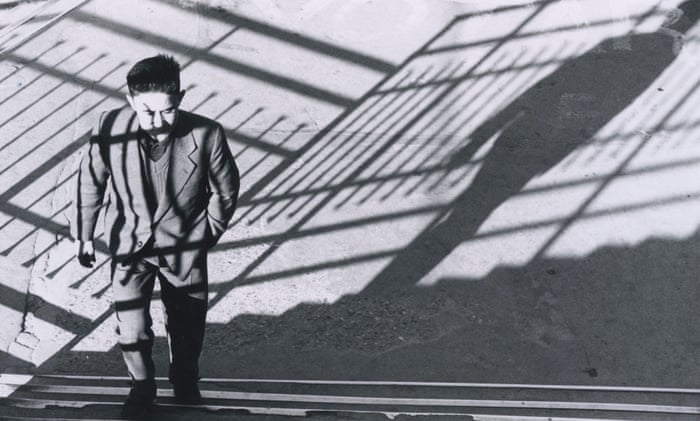
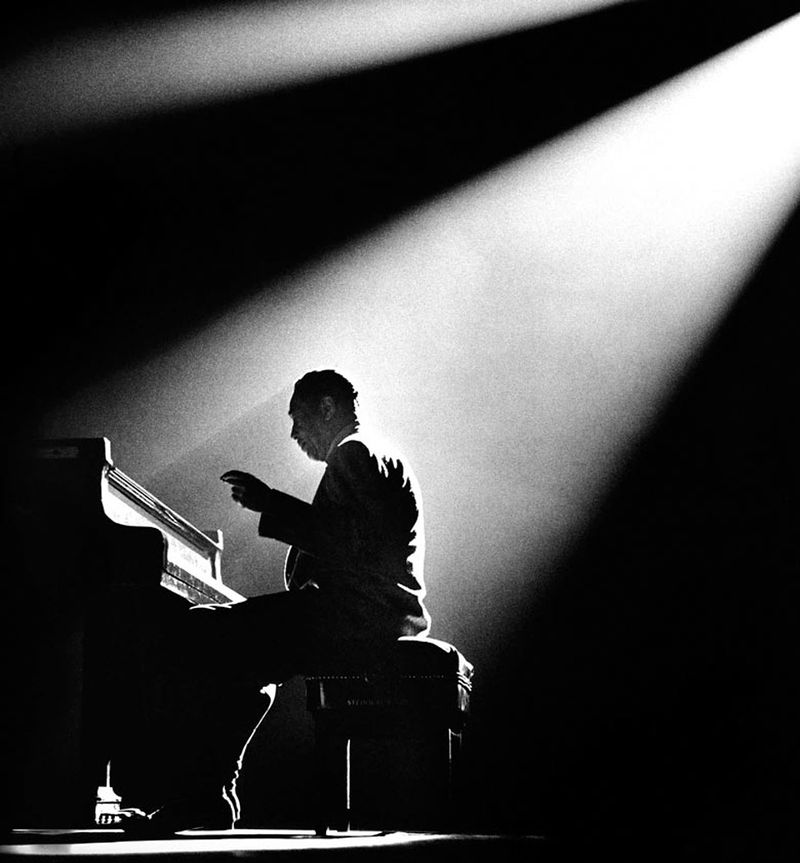
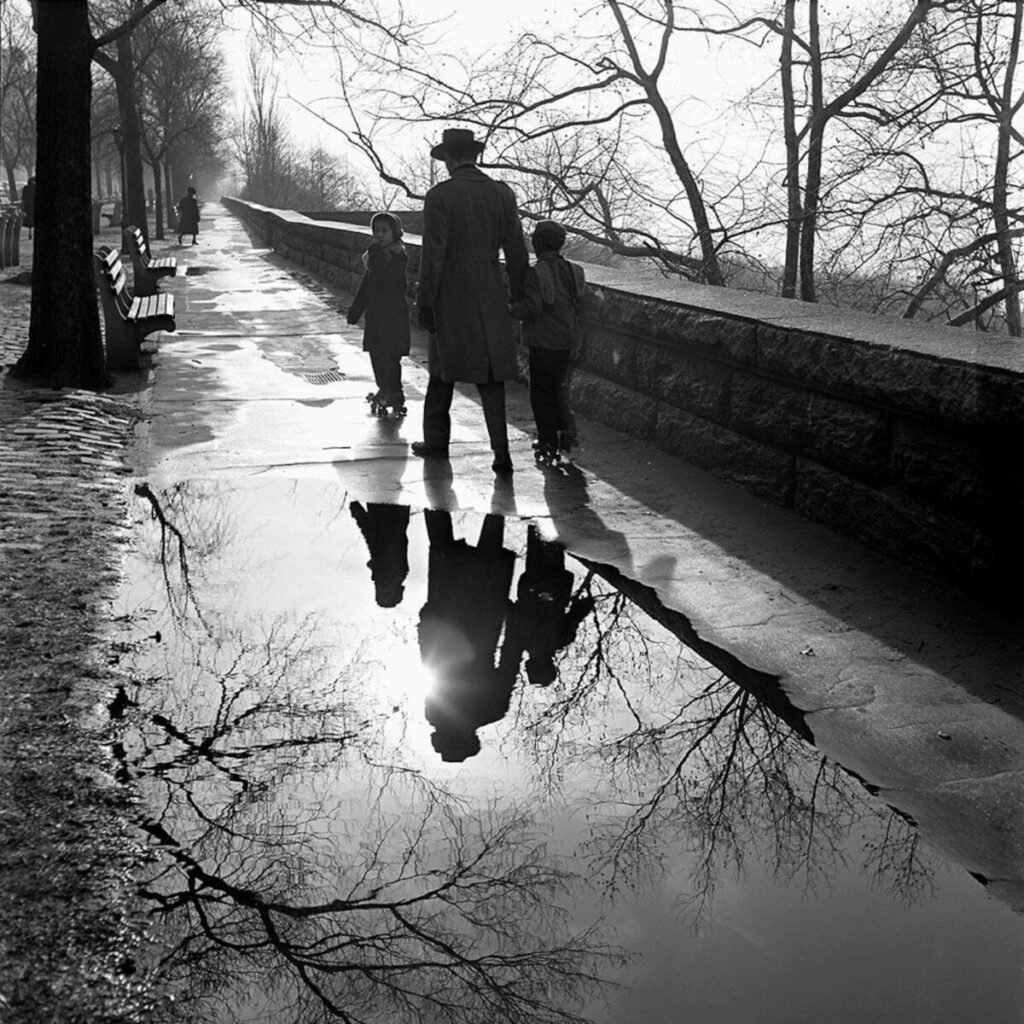
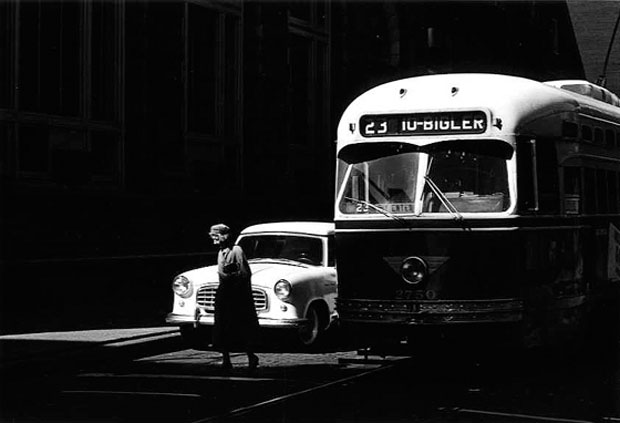
Photographer: Gordon ParksPhotographer: Ray MetzkerPhotographer: Roy de CaravaPhotographer: Ray metzkerPhotographer: Vivian MaierPhotographer: Ray Metzker
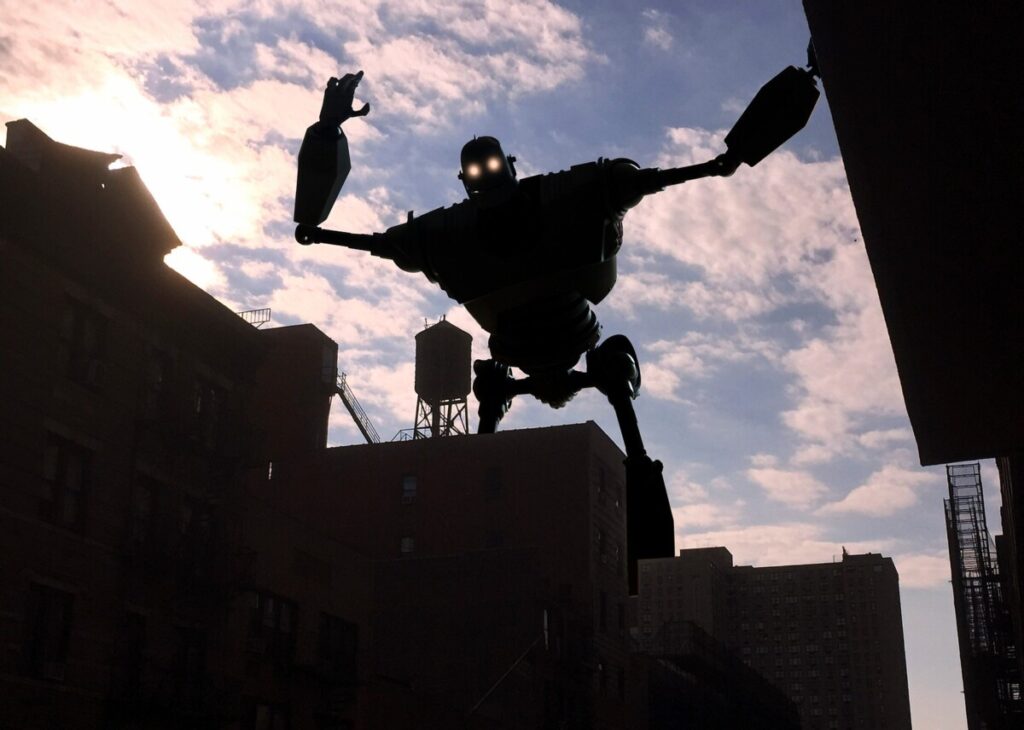
We will be going on a field trip to Lower Manhattan during class. We will take the A train. You will need train fare to go Lower Manhattan and come back to the classroom.
Be prepared to be outside and to walk. right now the forecast is for 50 degrees and sunny. That can change. We will also spend some time indoors the Oculus and Brookfield Place.
Approximate timing:
12-12:30 Review homework and Aperture
12:30-1 Travel to Fulton
1-2 Shoot
2-2:30 Return to class
2:30-3:20 Download and review photos taken on field trip, review for quiz on March 9th


Recent Comments