Robin Michals | COMD 1340 Photography 1

Category: Course Activities (Page 3 of 8)

Week 10 – Portrait Basics

Portrait Poses

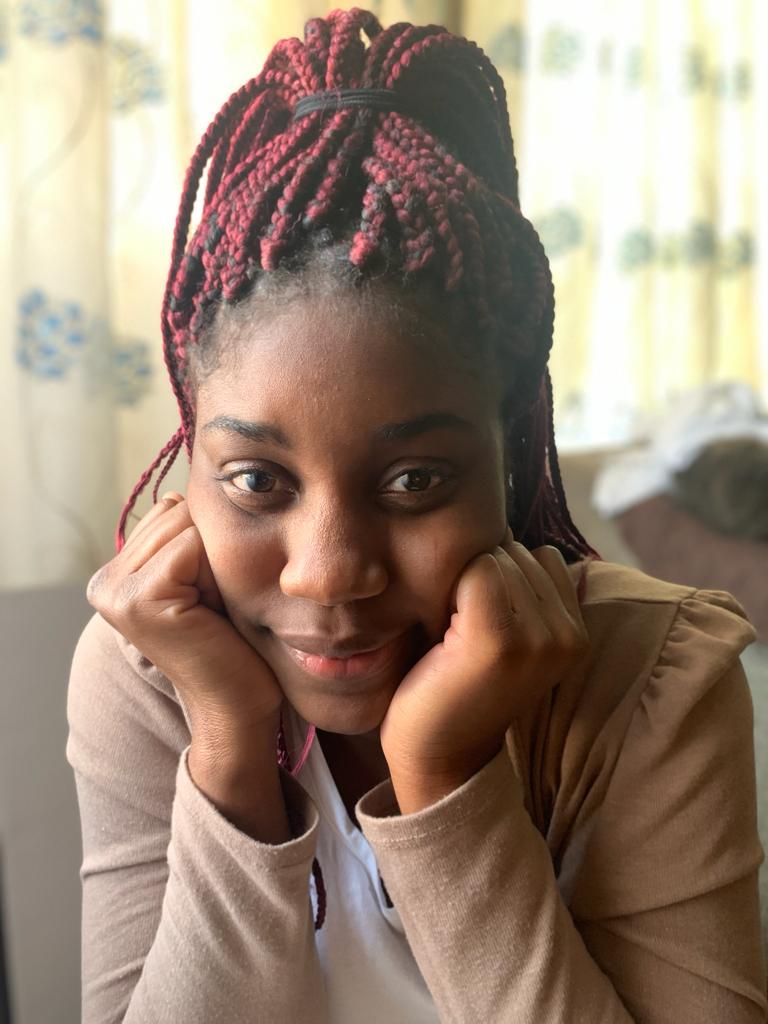
There are three basic positions for someone’s head and face in a portrait.

  1. Front view
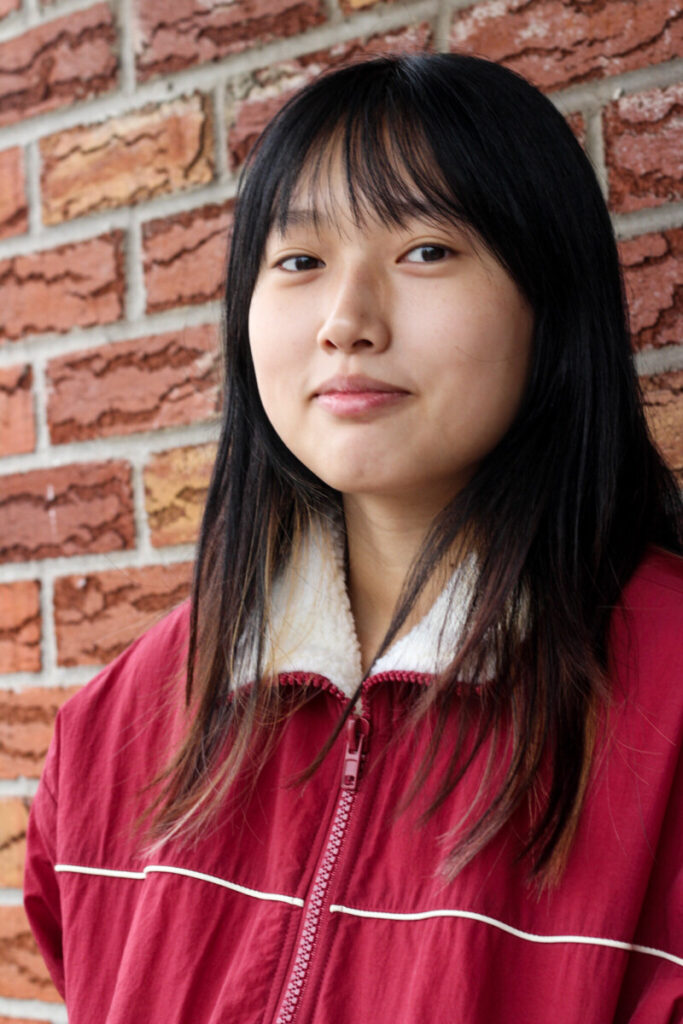
  2. 3/4 view
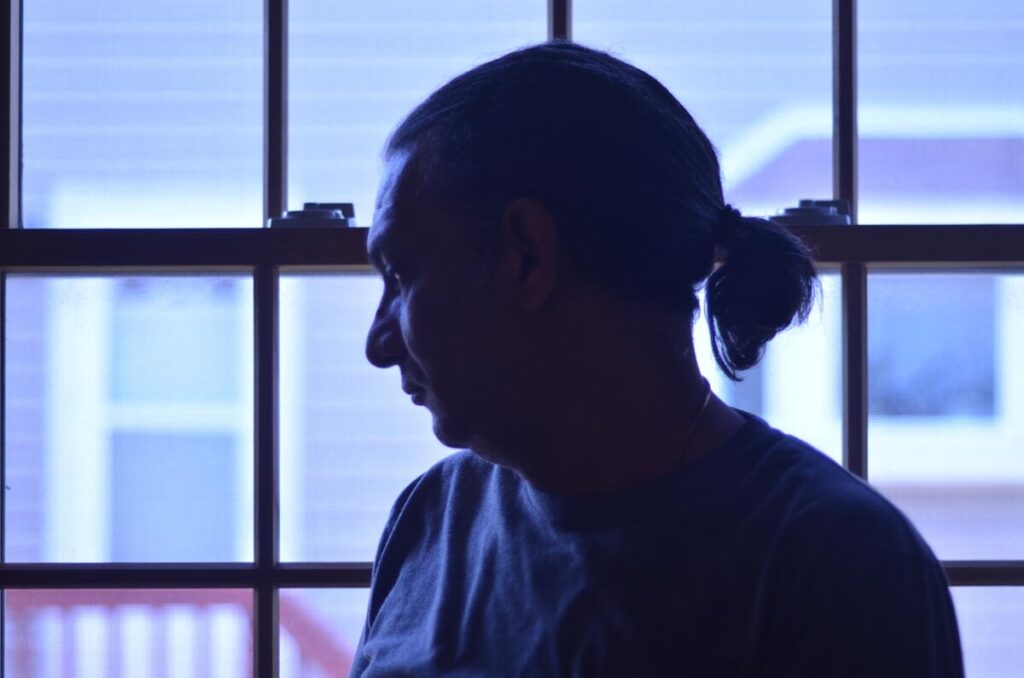
  3. Profile

Expression

For family photos a smile is a must but not so for a portrait. It is however important that your subject look comfortable. It is your job as the photographer to talk with your subject and make them feel comfortable.
Focus

When shooting a portrait, the subject’s eyes must be in focus. Full stop. Period.

Portrait Lighting Styles

There are a 5 basic lighting styles for portrait photography. Each style is defined by how light falls on the face.

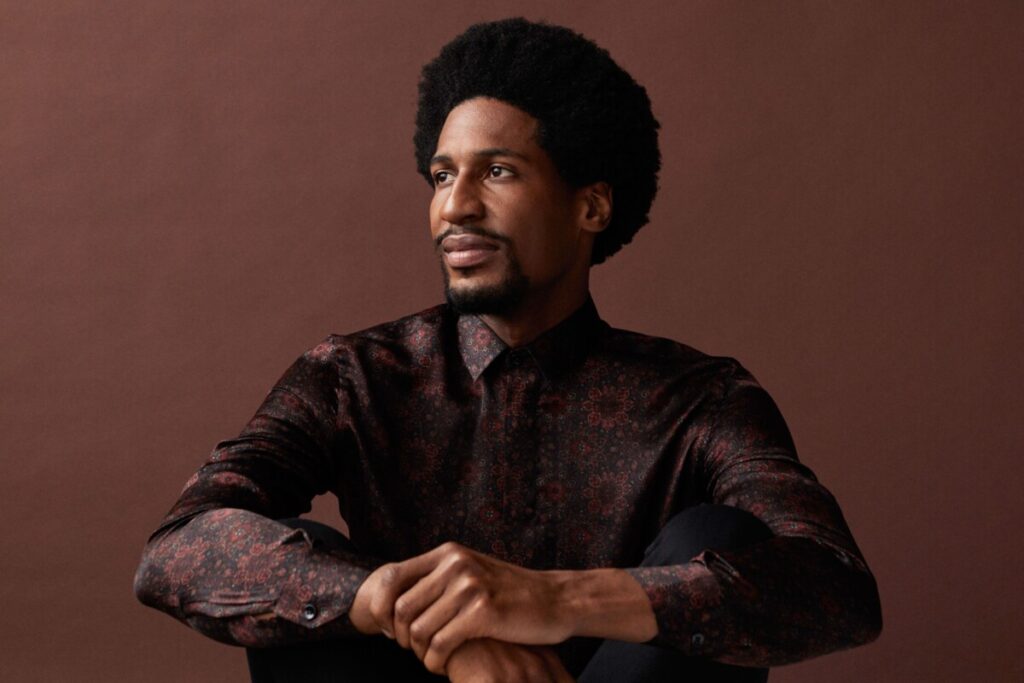
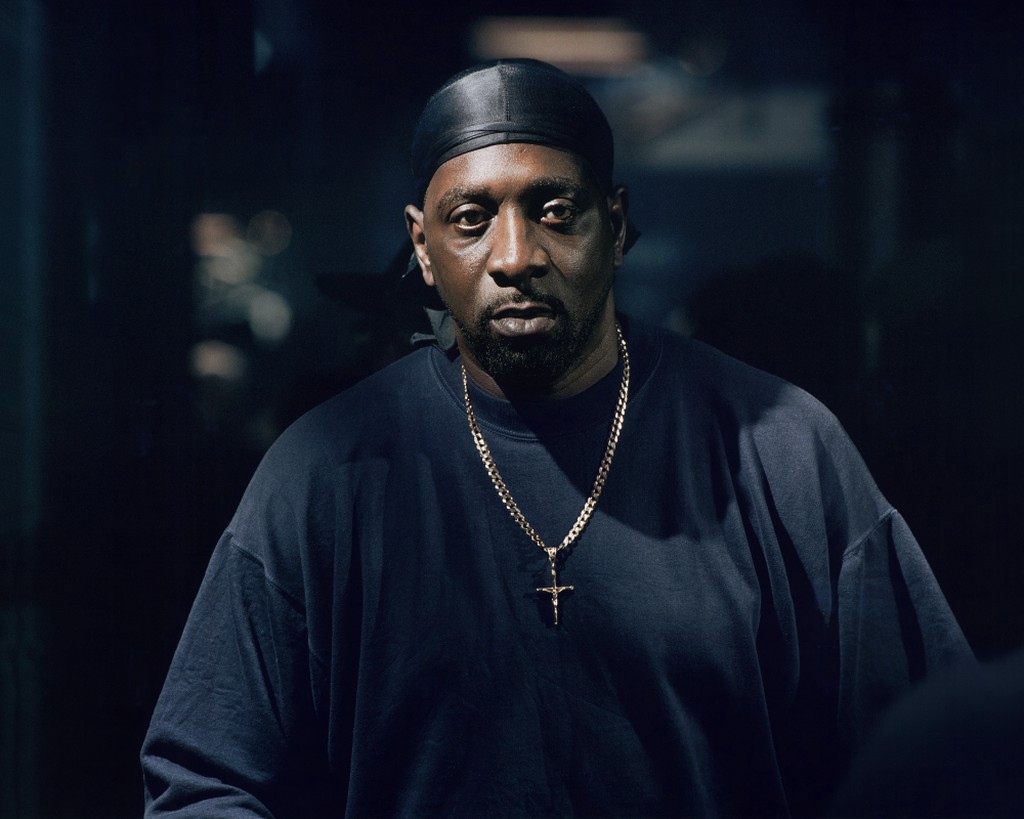
  1. Rembrandt Light – the model is face forward, main light is at 45 degrees and casts a light on the opposite side of the face to form a triangle on the cheek.

Rembrandt Lighting
Michael B. Jordan. Photographer: Peggy Sirota

2. Broad Light-model’s face in 3/4 view-light falls on the side of the face with the visible ear. Good for controlling the reflections on glasses.
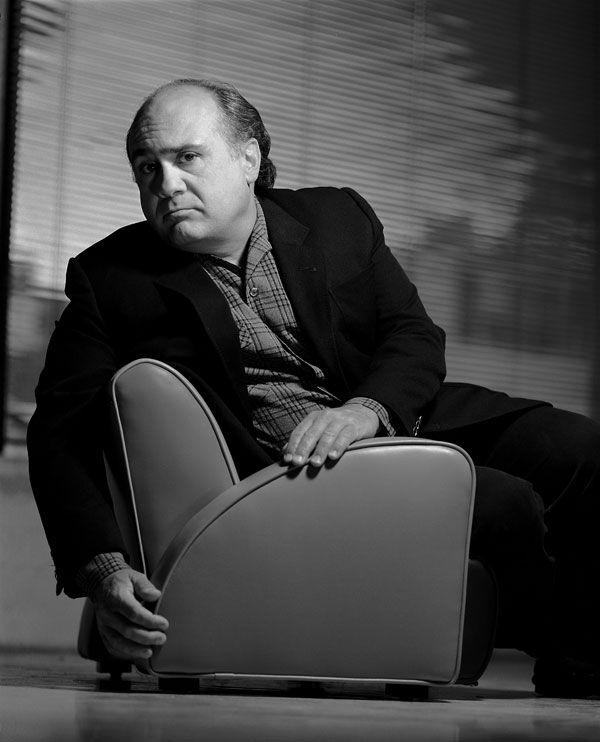
Danny Devito. Photographer: Gregory Heisler.

3. Short Light-model’s face is in 3/4 view, the light falls on the side of the face with the features. (Not on the side with the visible ear.)

Aretha Franklin. Photographer: Matthew Jordan Smith

Both of these are examples of short light.

Chadwick Boseman. Photographer: Caitlin Cronenburg

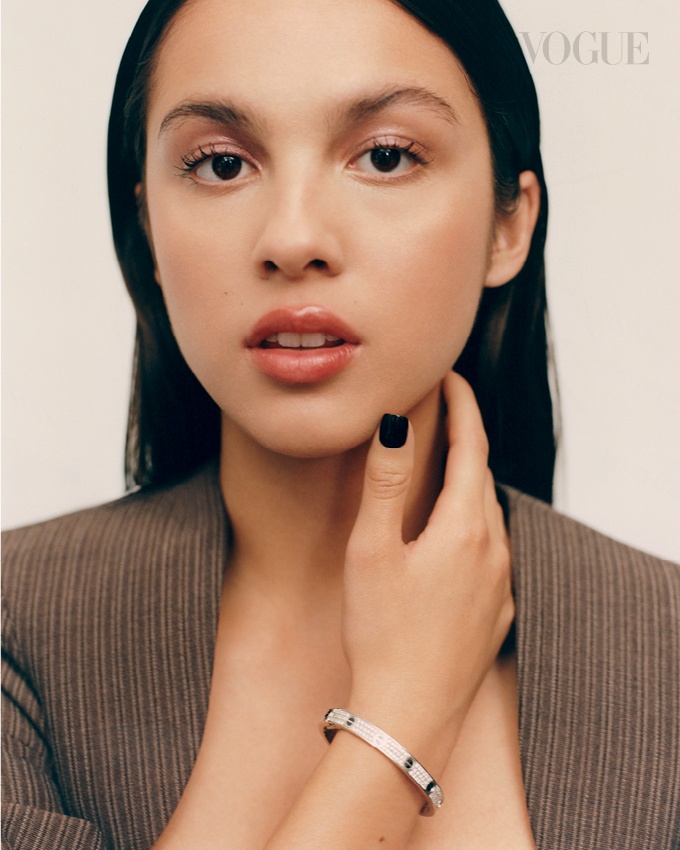
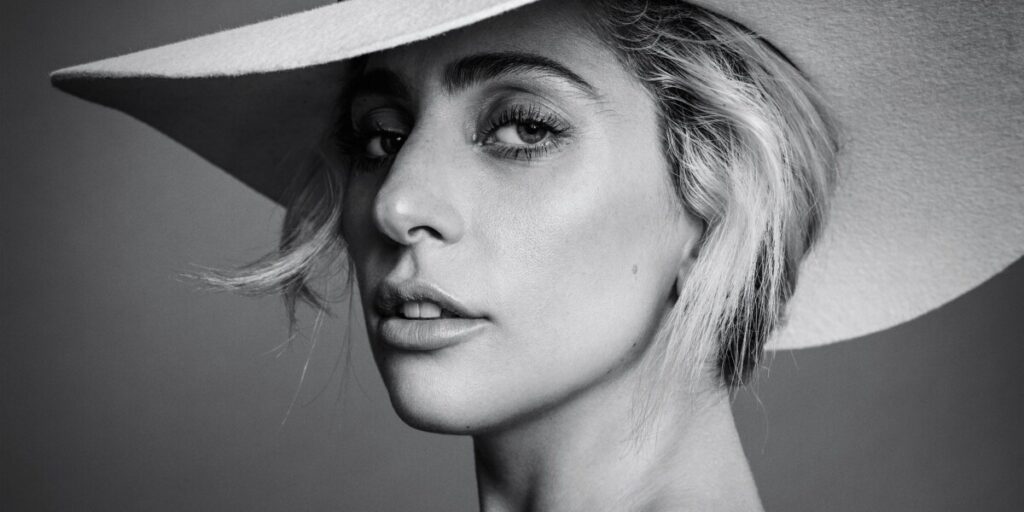
4. Butterfly Light, Clamshell or beauty or glamour light-model is face forward, front light.

Tyra Banks. Photographer: Matthew Jordan Smith

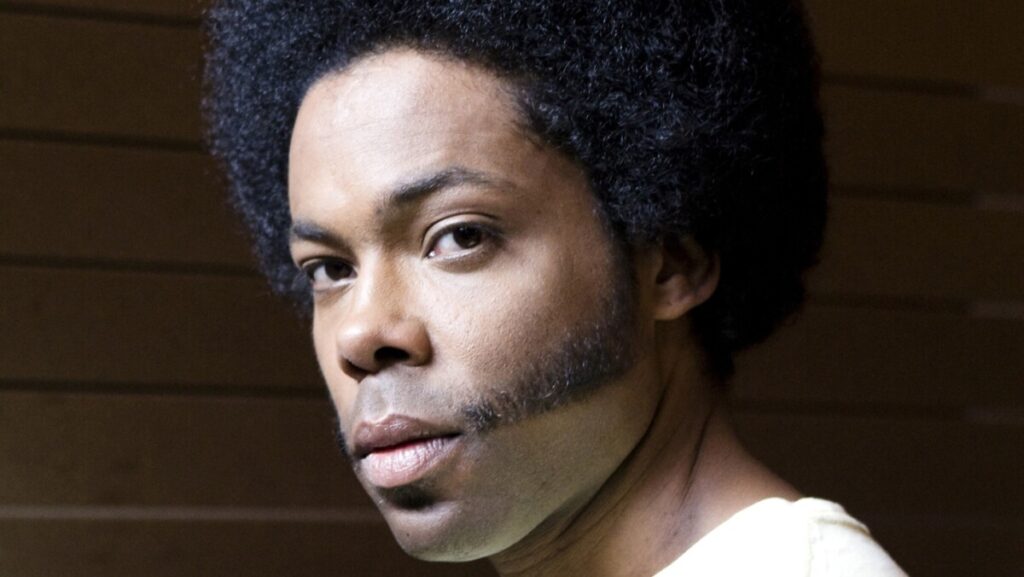
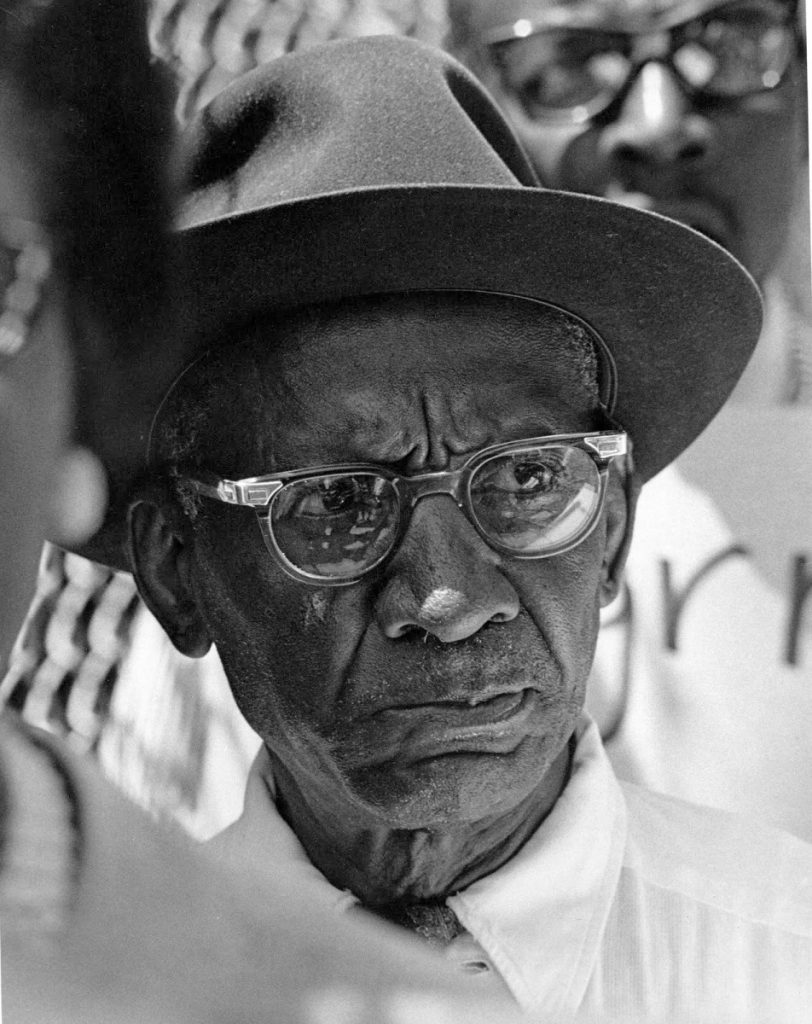
5. Split Light-model is face forward, the main light is at 90 degrees to the camera and falls on one side of the face. 
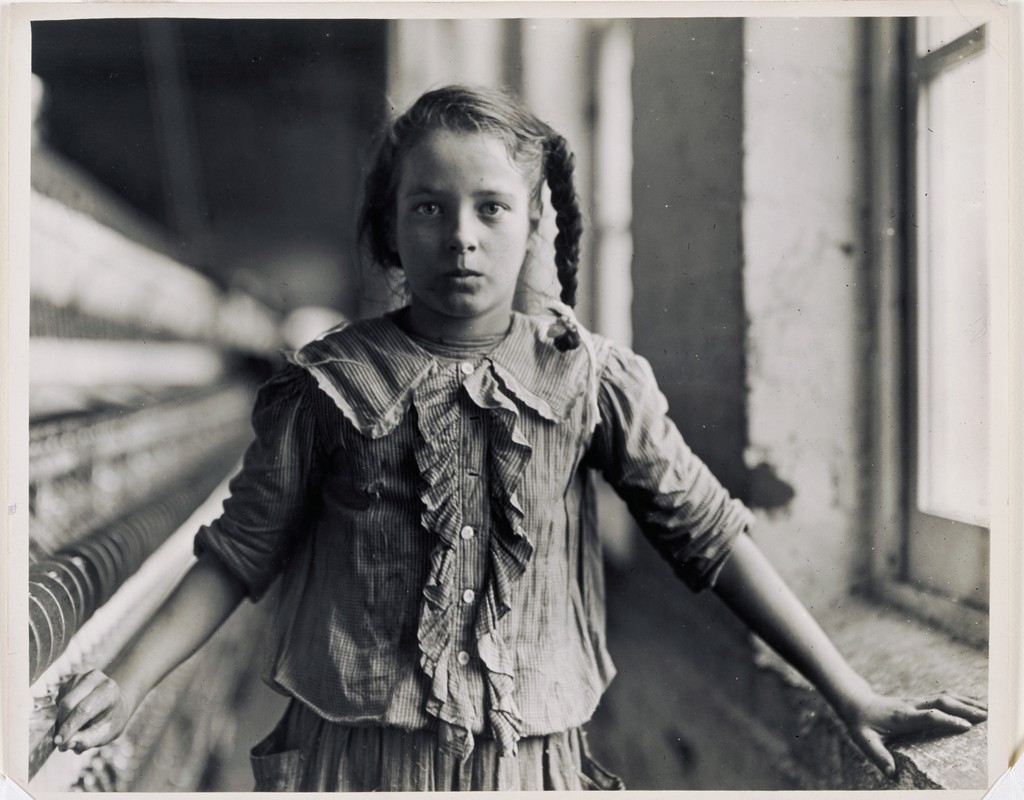
Lewis Wickes Hine (U.S.A., 1874–1940), One of the spinners in Whitnel Cotton Mfg. Co. N.C. December 1908.

Inspiration

Lab

Portrait Lighting Styles

Homework Assignment

Window Light Portraits

HW 7: Window Light Portraits

Due April 13. 4 pts.

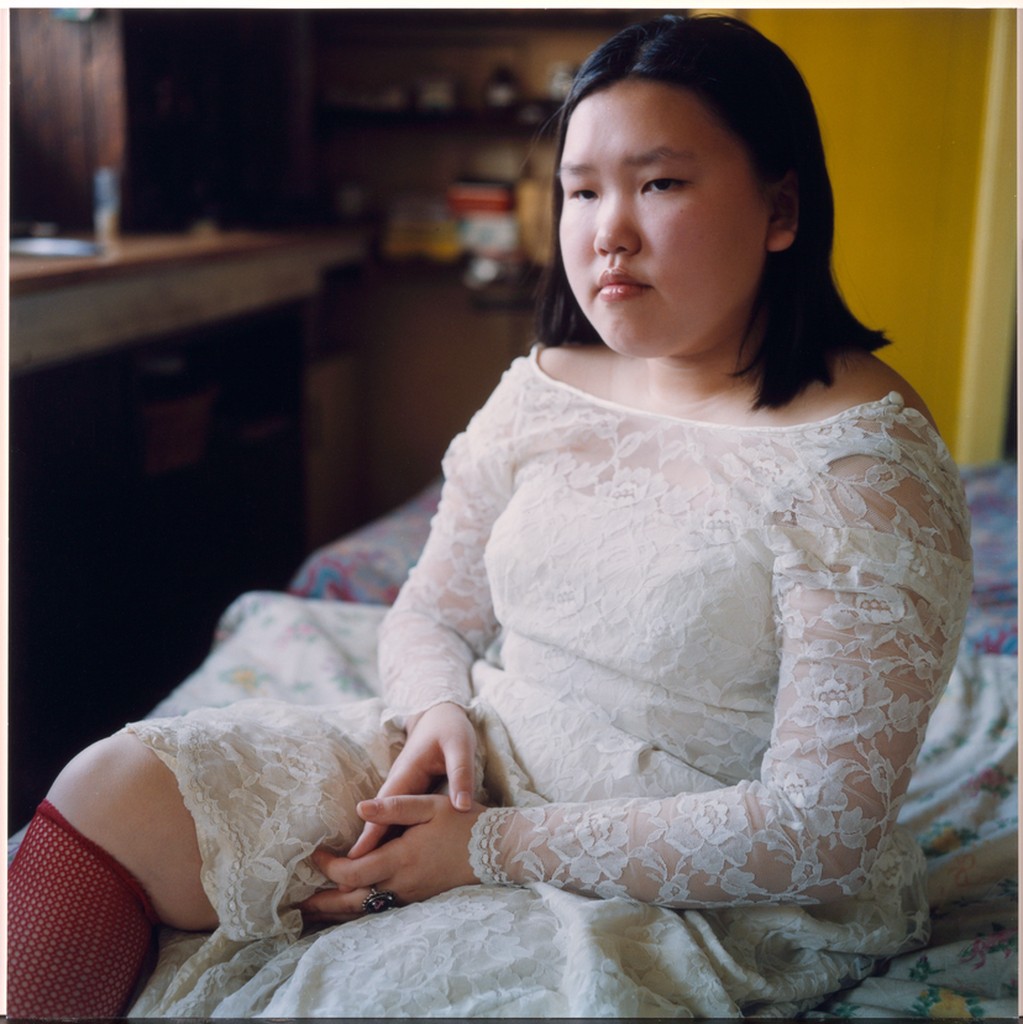
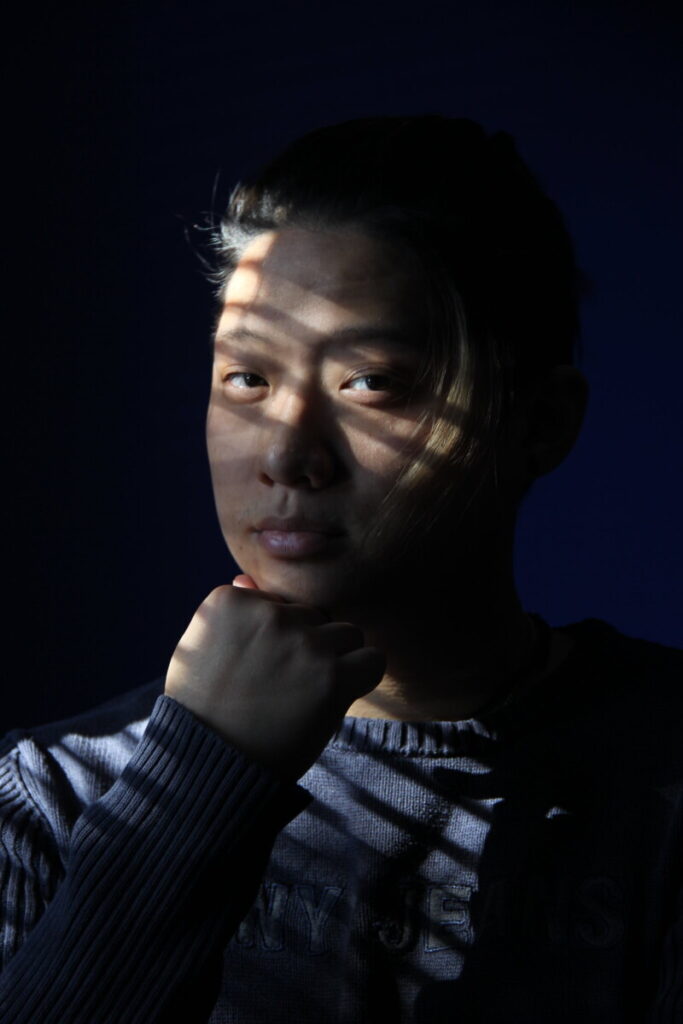
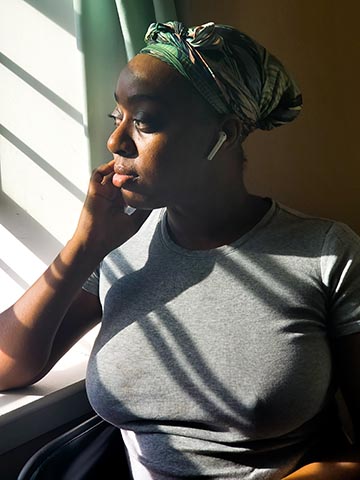
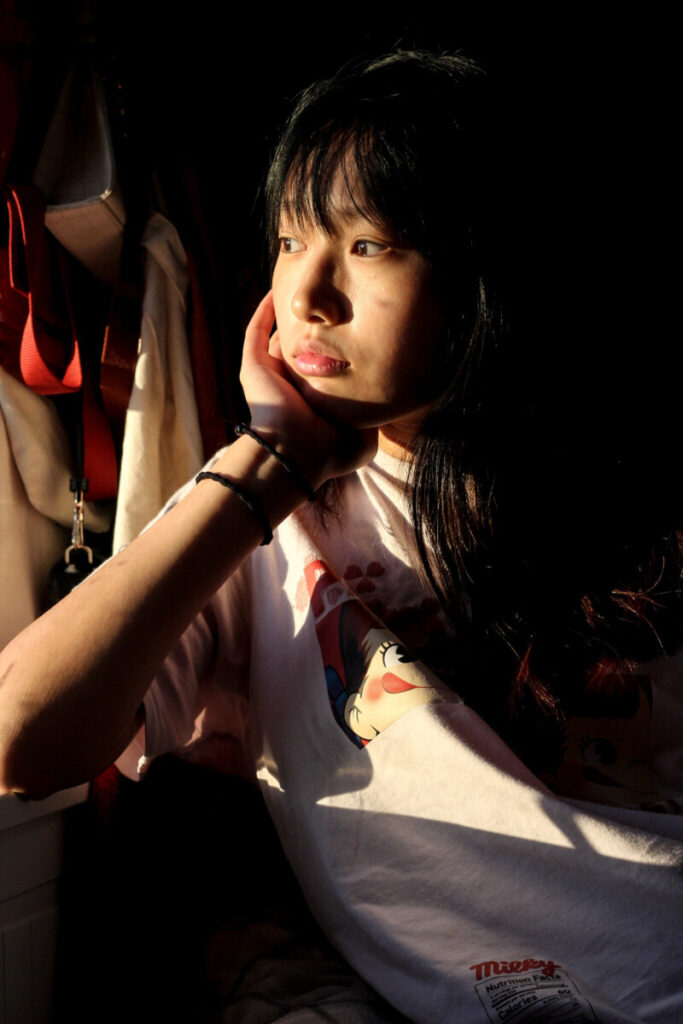
Create a series of 30 portraits of at least 3 different subjects using window light or outdoor diffused light.

For each subject, shoot some in front view, some in three quarter view and some in profile.

Try the 5 lighting styles: front light, Rembrandt light, split light for front view poses, and broad light and short light for three-quarter poses. When you are working with a window, you can’t move the light source so you and the subject must move.

You should be near or next to a window during the day. 

The window can be in the photo or you can just use the light from the window.

Pay attention what is in the frame and make sure the background adds to the photo and is not distracting.

Your photos should use light and expression to be expressive. No props. If you have curtains or venetian blinds, you may use them as elements in the photos.

Experiment with different expressions and gestures and different framing (how much of your subject is in the frame.)

Upload the 30 photos to OpenLab and put them in an album. Send your best 3 – the best of each subject- to the class group.

Examples from previous semesters


HW6: Space and Focus

4 pts. Due April 6, 12 noon. 40 photos in an album on Flickr.

Shooting outside during the day at a location of your choice:

Take at least 20 photos that use perspective to depict deep space. This can be either converging lines or diminishing scale or both. these photos should use extensive depth of field meaning everything from near to far should be sharp. this may not be possible in dark indoor spaces but should be possible outside or in bright indoor spaces.

Take at least 20 photos that use shallow depth of field. The subjects of the photo need to be at varying distances from the camera. Somethings the closest thing should be in focus, somethings the thing in the mid distance and sometimes the thing in the far distance. Of course somethings its not a thing but a person. Make sure that your shutter speed is fast enough that the blur in the photo is shallow depth of field and not motion blur.

Put your 40 photos in an album on Flickr. Send your best photo with deep space and perspective to the group as well as your best example of shallow depth of field.

Week 9 – Depth of field, Aperture, and Perspective

Depth of Field

Depth of Field-The distance between the nearest and farthest points that appear in acceptably sharp focus in a photograph. Depth of field can be shallow or extensive. While the term includes the word depth, depth of field refers to focus.

Shallow Depth of Field

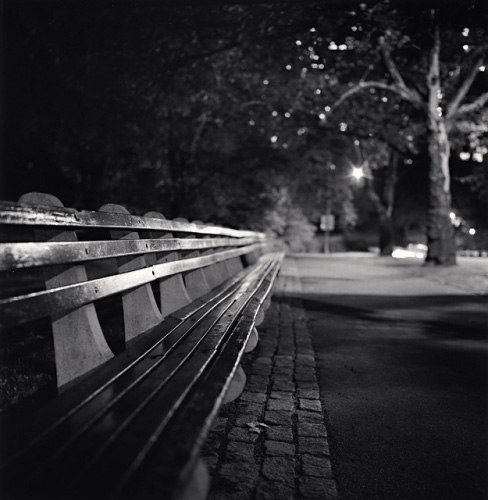
Shallow depth of field is commonly used in portrait photography to separate the subject from the background and in food photography.

Extensive Depth of Field

Extensive depth of field is often used in landscape photography and photojournalism.

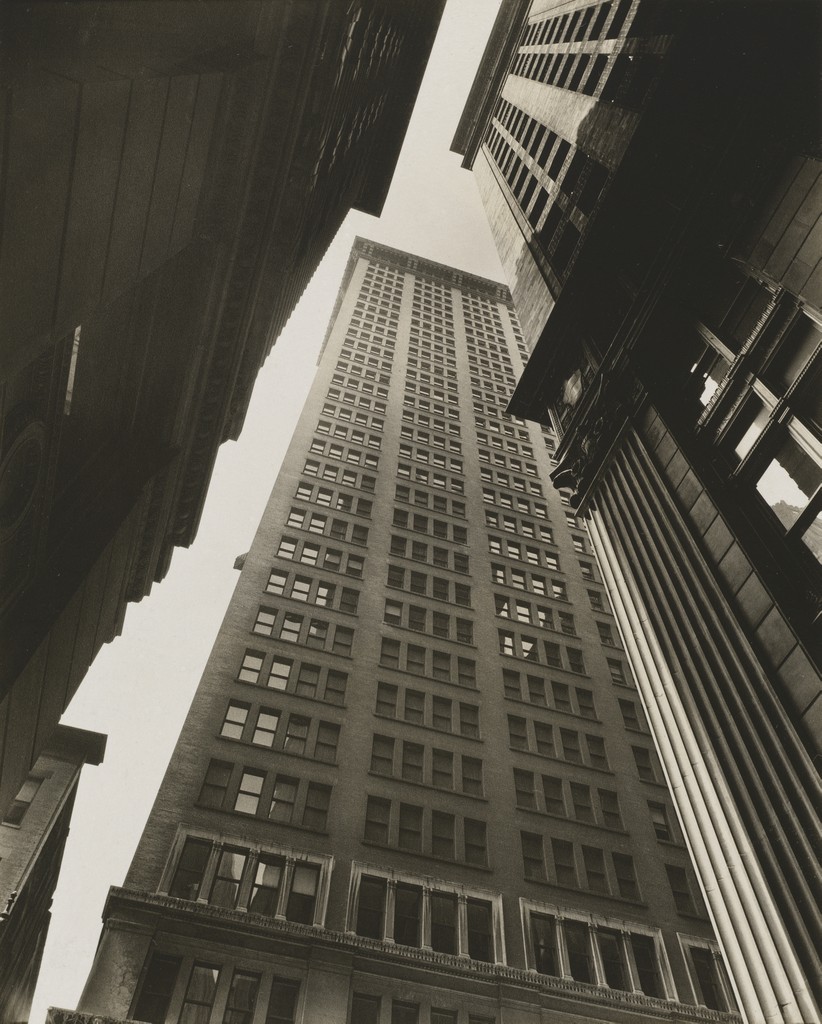
The depiction of space

Perspective-the representation of a 3-dimensional space on a 2-dimensional surface by converging lines, diminishing scale and/or atmospheric perspective.

Canyon, Broadway and Exchange Place. 1936.
Photographer: Berenice Abbott

Sometimes photos combine perspective and shallow depth of field.

How to control depth of field (with a camera)

These four factors control depth of field:

  • lens aperture 
  • focal length
  • camera-to-subject distance
  • sensor size.

Aperture

Aperture is the size of the opening that allows light to hit the camera’s sensor when the photograph is taken. 

  1. Aperture values are expressed in numbers called f-stops. A smaller f-stop number means more light is coming into the camera and will create shallow depth of field. A larger f-stop number will let less light into the camera and create extensive depth of field.
  2. The full stops for aperture are: F2, f28, f4, f5.6, f8, f11, f16, f22, f3

Focal Length  is the distance from where the light converges in the lens to the sensor. If it is a short distance then the lens is a wide angle lens and shows a lot of the scene. If it is a long distance, the lens is a telephoto lens and it magnifies the scene. Wide angle lenses create extensive depth of field while telephoto lenses create shallow depth of field.

Camera-to-subject distance is how far the subject is from the camera. If everything is far from the camera, it is easier to achieve extensive depth of field. If the main subject is very close to the camera and the background elements are far from the camera, it is easier to achieve shallow depth of field.

It is the small size of the sensor that makes cameraphones so good at achieving extensive depth of field. It is also the main reason it is so hard to get your cameraphone to achieve shallow depth of field.Sensor size-the smaller the sensor the easier it is to achieve extensive depth of field. Bigger sensors allow for shallow depth of field.

 Bokeh-Bokeh comes from the Japanese word boke (ボケ), which means “blur” or “haze”, or boke-aji, the “blur quality.” Bokeh is pronounced BOH-Kə or BOH-kay. 

 — From http://www.nikonusa.com/en/learn-and-explore/article/h0ndz86v/bokeh-for-beginners.html

Lab Exercises

Lab 8: Space and Focus

Homework

HW 6: Space and Focus

Lab 8: Space and Focus

On our field trip:

Take at least 20 photos that use perspective to depict deep space. This can be either converging lines or diminishing scale or both. these photos should use extensive depth of field meaning everything from near to far should be sharp. this may not be possible in dark indoor spaces but should be possible outside or in bright indoor spaces.

Take at least 20 photos that use shallow depth of field. The subjects of the photo need to be at varying distances from the camera. Somethings the closest thing should be in focus, somethings the thing in the mid distance and sometimes the thing in the far distance. Of course somethings its not a thing but a person. Make sure that your shutter speed is fast enough that the blur in the photo is shallow depth of field and not motion blur.

Put your 40 photos in an album on Flickr. Send your best example of perspective and of shallow depth of field to the class group.

« Older posts Newer posts »