Shoot a total of 30 environmental portraits of three different subjects- 10 each.
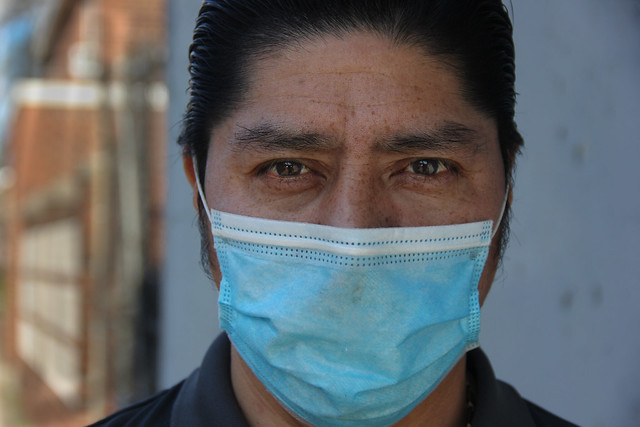
Environmental Portrait-is a photograph of a person in their environment. It usually shows their whole body in a place that is meaningful to them. This could be their home or workplace or neighborhood. The surroundings illuminate something about the subject’s life.
When shooting indoors, remember keep the shutter speed faster than 1/60. Better the raise the ISO. It may be too dark. If so change the location!
When shooting outdoors, shoot in diffused light: either shade or cloudy weather.
Make sure that there is light on your subject’s face.
The goal of the Final Project is to create a series of 10 related images on a theme.
You may choose to do either:
A series of portraits OR
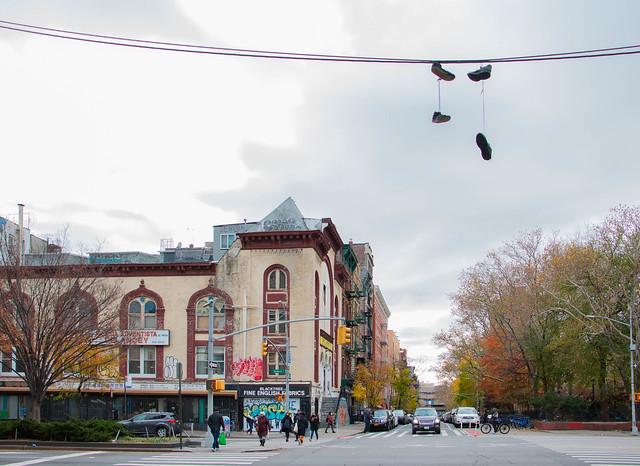
A portrait of a neighborhood
OR another theme that you are passionate about: dogs, skateboarders, flowering trees.
Decide which assignment(s) you most enjoyed. Then consider: do you have people to work with? What is your schedule like and what is practical?
Deliverables and dates:
Due Week 12: April 27 – a 300 word final project statement posted to Openlab with a mood board
Due Week 13, May 3: Shoot 1 – minimum of 30 images in an album on Flickr
Due Week 14, May 8: Shoot 2 – minimum of 30 images in an album on Flickr
Due Week 15, May 17: Shoot 3 -minimum of 30 images in an album on Flickr PLUS
final 10 images selected, adjusted in Lightroom, and posted to an album on Flickr
a presentation to the class of the final images.
Final Project statement: Describe your project. What is your theme? What is the story you want to tell? What will the subject matter be? Where will you shoot and when will you shoot? What kinds of techniques will you use?
Use the app milanote to create amoodboard of a minimum of 6 images by 6 different photographers that show what you want your project to look like. Include the link in the final project statement.
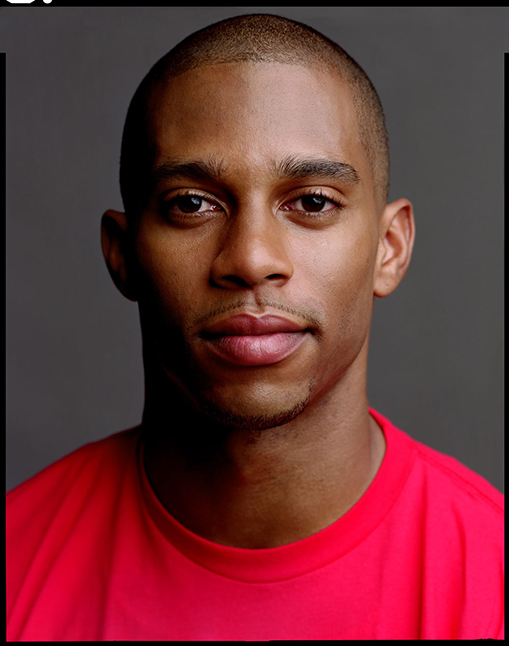
Victor Cruz. Photographer: Timothy Greenfield-Saunders
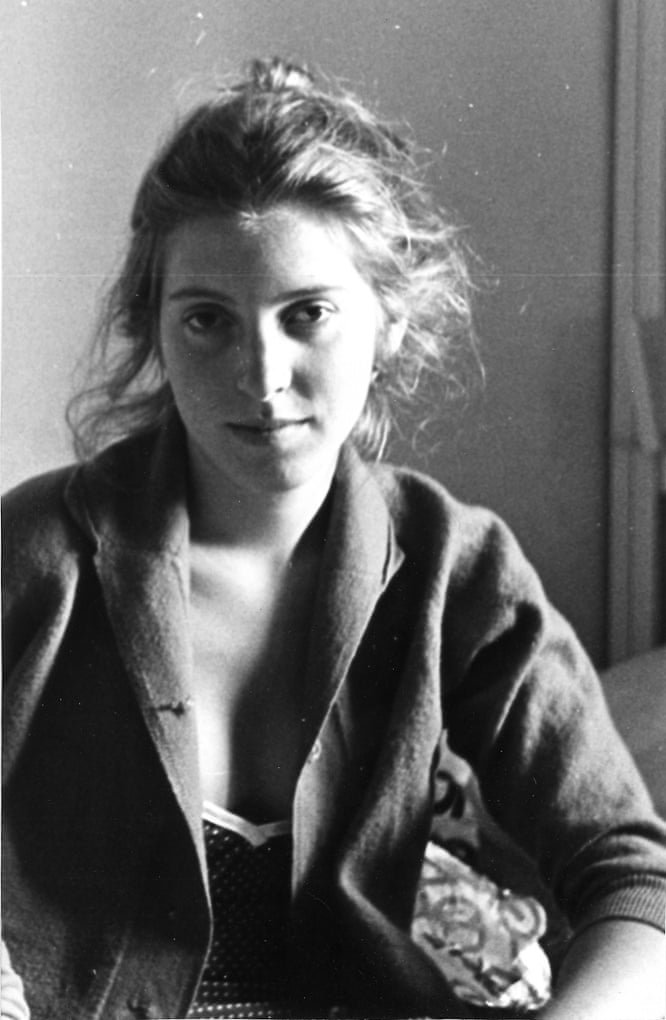
Francesca Woodman
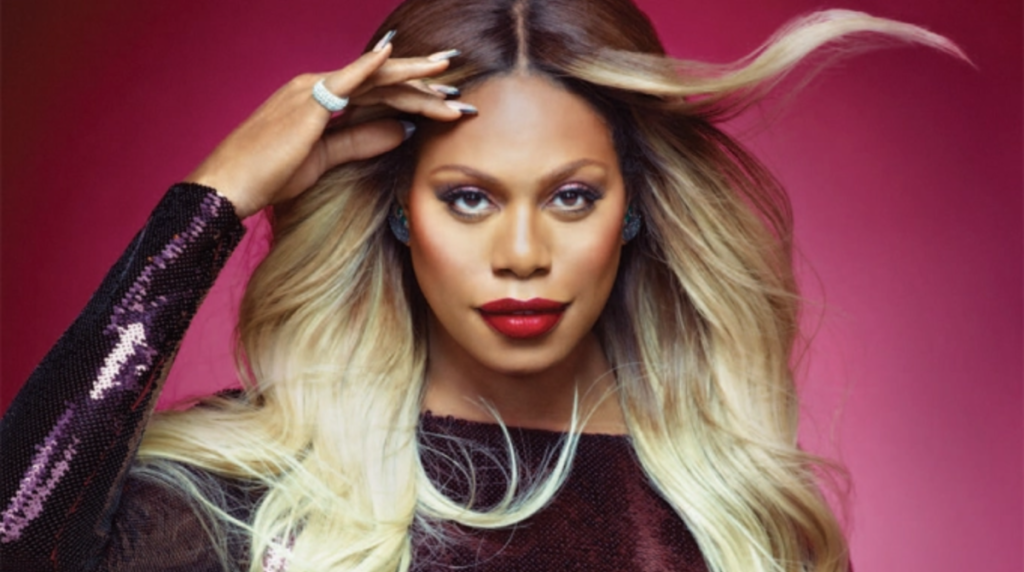
Laverne Cox. Photographer: Jill Greenberg
Focal Length
The focal length of a lens is defined as the distance in mm from the optical center of the lens to the the sensor when the lens is focused on infinity. This varies on the camera and the lens.
Focal length controls: Magnification and angle of view
Focal length is described as short, normal ie close to human vision, or long.
Wide Angle Distortion-created when using a wide-angle lens AND the camera is very close to the subject. The object close to the lens appears abnormally large relative to more distant objects, and distant objects appear abnormally small and hence more distant – distances are extended.
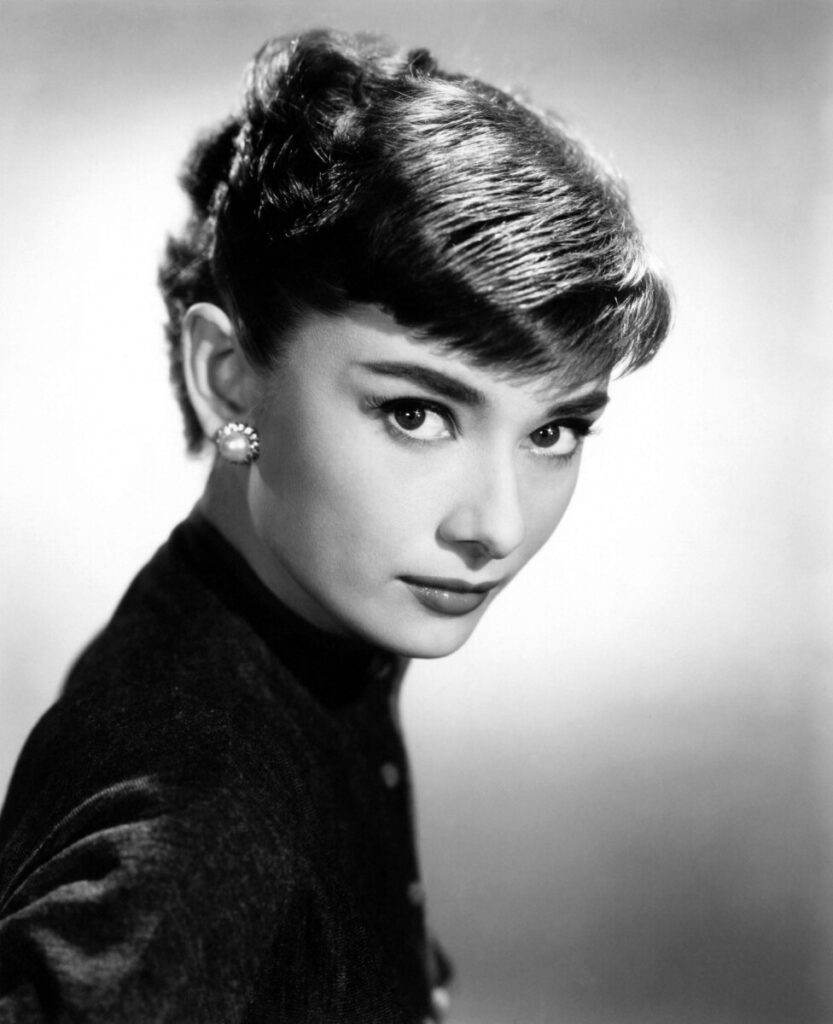
Focal length and proximity to the camera affect how a person’s face looks in a photograph. A wide focal length and proximity between the subject and the camera create wide angle distortion and will distort a person’s features.
Think about selfie sticks. What are they for but to get the camera away from your face? This makes the photograph look more complimentary to the subject. This is really important with a cameraphone because it has a wide angle lens. The center of the lens and the sensor cannot be very far apart given the thin design of cellphones.
When working with a crop-frame sensor such as a Canon 60d, approximately 65 mm will be the most flattering to your subject.
Lights
There are three basic types of lights (these are the physical lights not portrait lighting styles):
The Main or Key Light-This light provides the brightest illumination and casts the shadows
2. The Fill Light-this light brightens the shadows. It can be a reflector or an actual light.
This video shows how to use a reflector as the fill light.
3. The Separation Light or Background Light-creates separation between the subject and the background. This light can be aimed at the background or it can be aimed at the subject. If the later, it would be called a hair light. If accenting the edge of the face or shoulders, this light would be called a rim light or a kicker.
3-point Lighting
– standard lighting for portraits, video and film, uses all three: a main light, a fill light and a background light.
The subject should be at least 4 or 5 feet in front of the backdrop to avoid casting a shadow.
Use 65mm focal length when you are using a camera with a cropped frame sensor, 85 mm for a full-frame sensor
Focus on the subject’s eyes.
The key or main light is the light that casts the shadows.
Working with just the key light:
Front view:
Photograph your subject with:
Rembrandt light – the light is at a 45 degree angle to the subject. Look for the key triangle -a triangle of light on the darker side of the face to position the light.
Do not place the light too high because this will cause shadows around the subject’s eye sockets.
Split light – the light is at a 90 degree angle to the subject. One side of the face is dark but light does fall on the other side.
Front light (butterfly) – Light falls on the subject from the camera position.
Three-quarter view:
The model’s face is turned to a 45 degree angle from the camera.
Photograph your subject with:
broad lighting by placing the light on the side of the visible ear. There will be a broad highlight on the subject’s hair. This works for subjects wearing glasses.
short lighting by placing the light on the side of the invisible ear.
Profile:
The model turns their face at a 90 degree angle to the camera. Place light like a side light. The subject faces the light BEING VERY CAREFUL NOT TO LOOK DIRECTLY INTO THE LIGHT.
Put your 20 best photos into an album on Flickr. Make sure to represent each one of these lighting styles. Send your 2 best to the class group.


Recent Comments