Depth of Field
Depth of Field-The distance between the nearest and farthest points that appear in acceptably sharp focus in a photograph. Depth of field can be shallow or extensive. While the term includes the word depth, depth of field refers to focus.
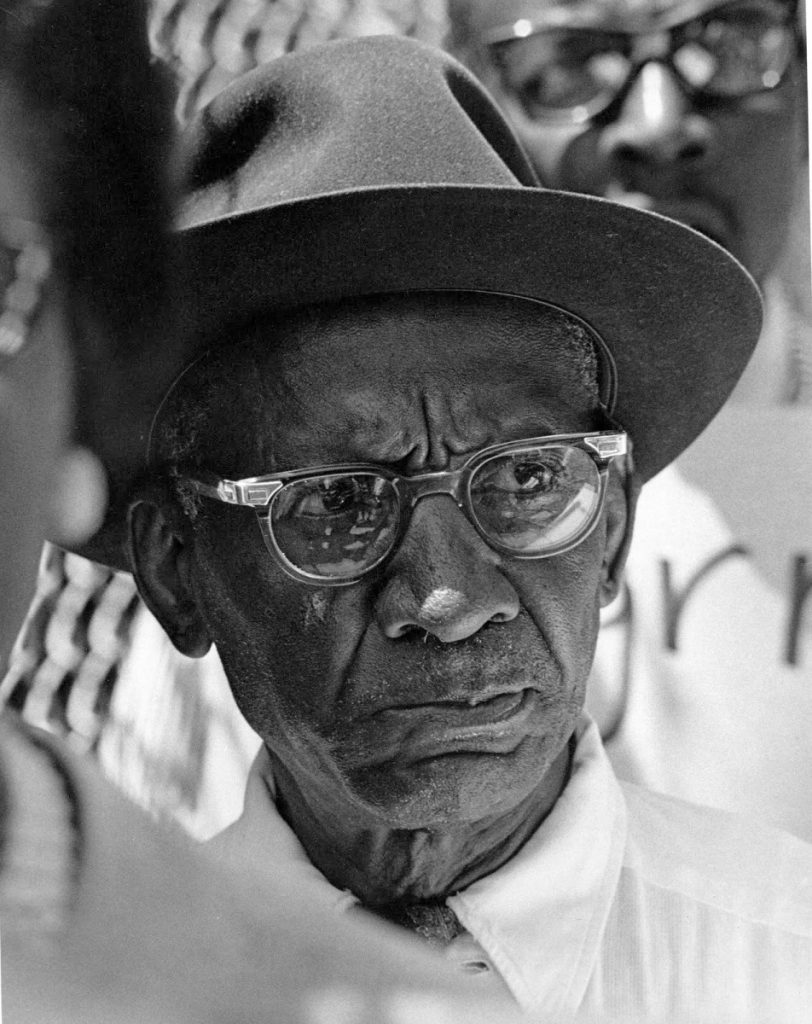
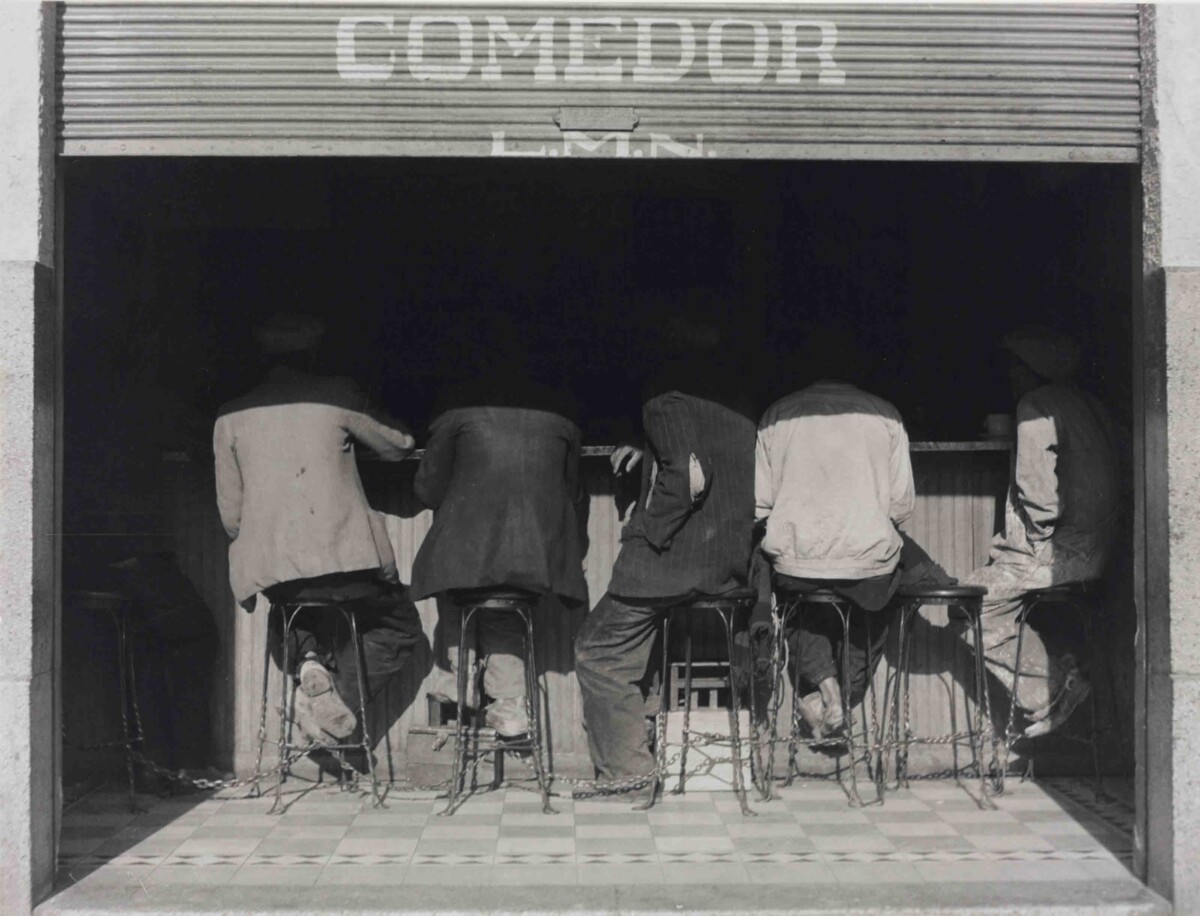
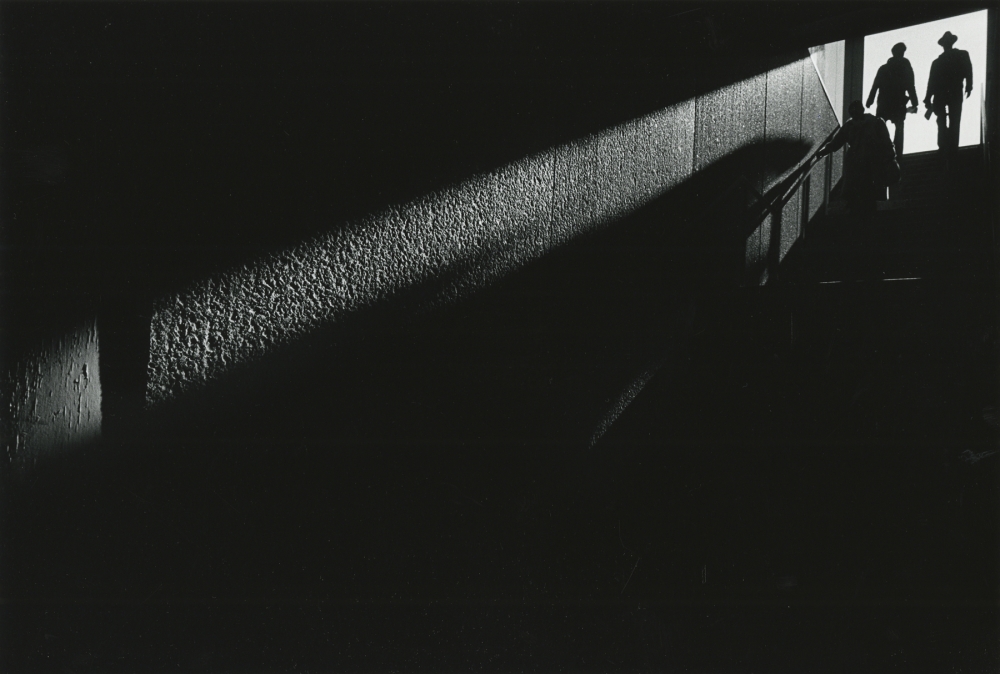
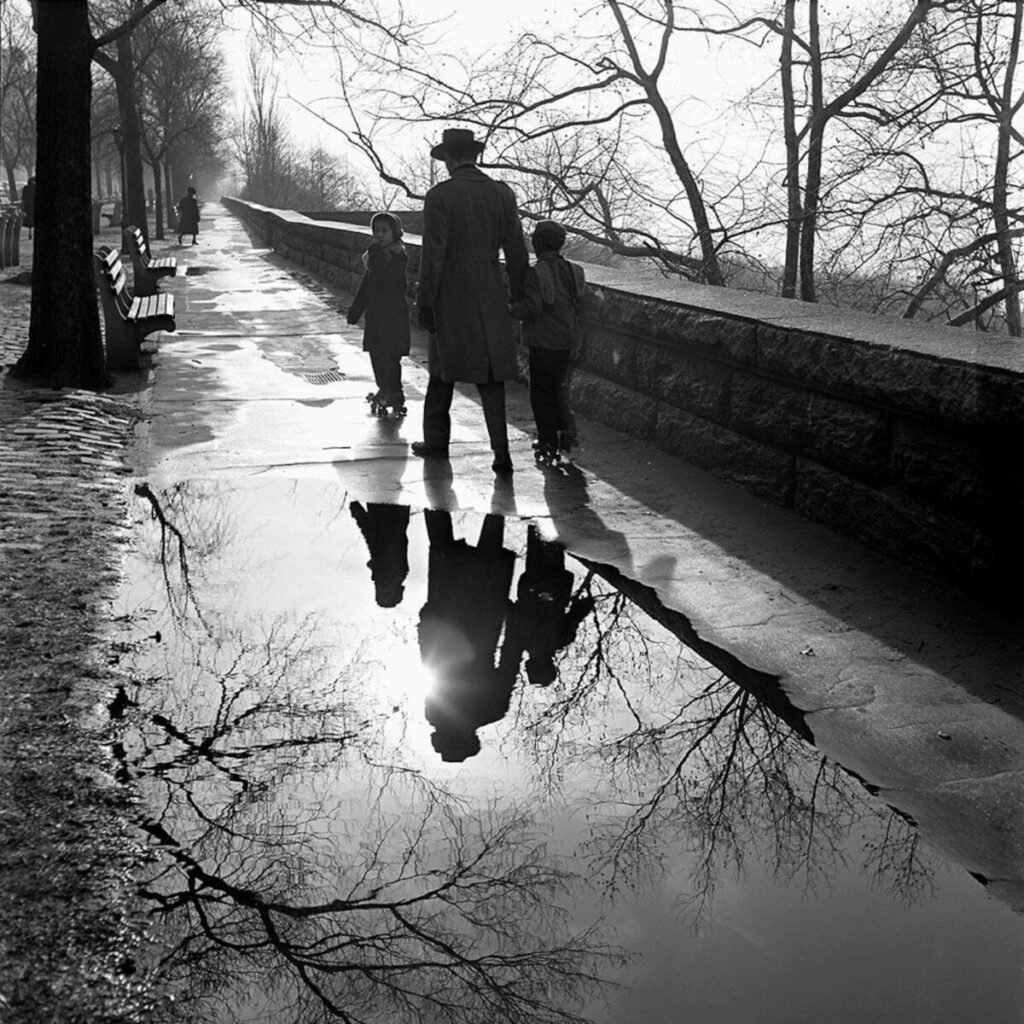
Photographer: Roy Decarava 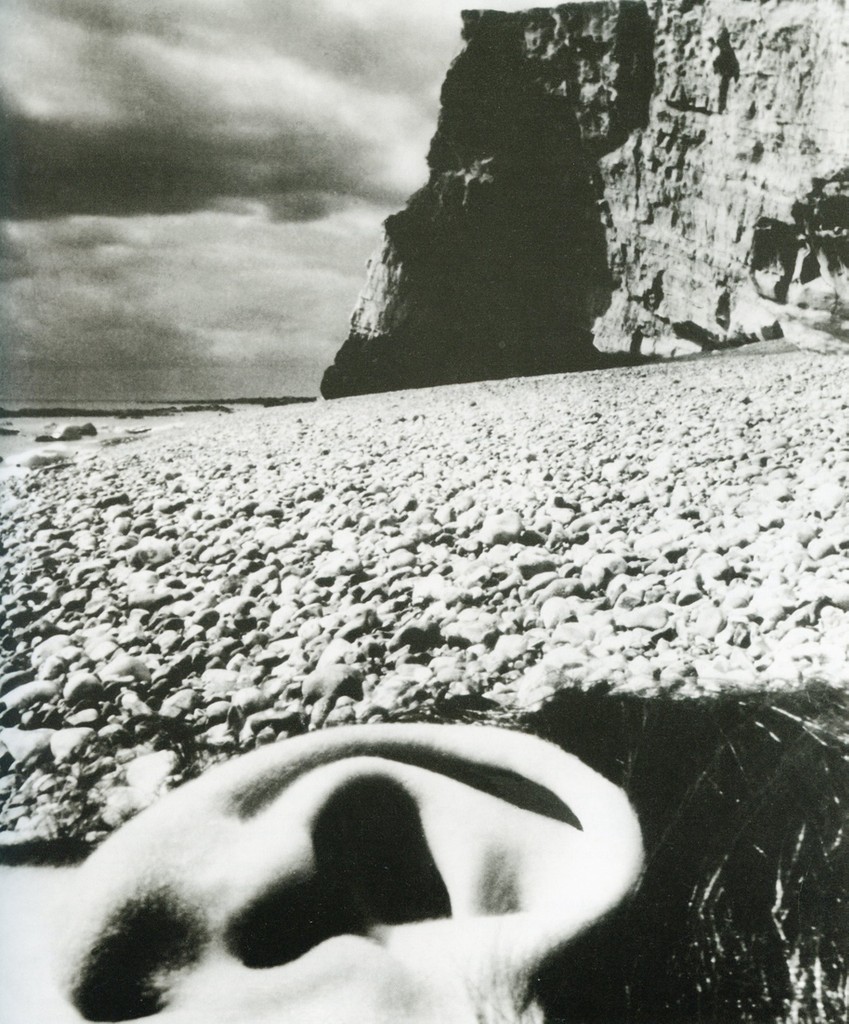
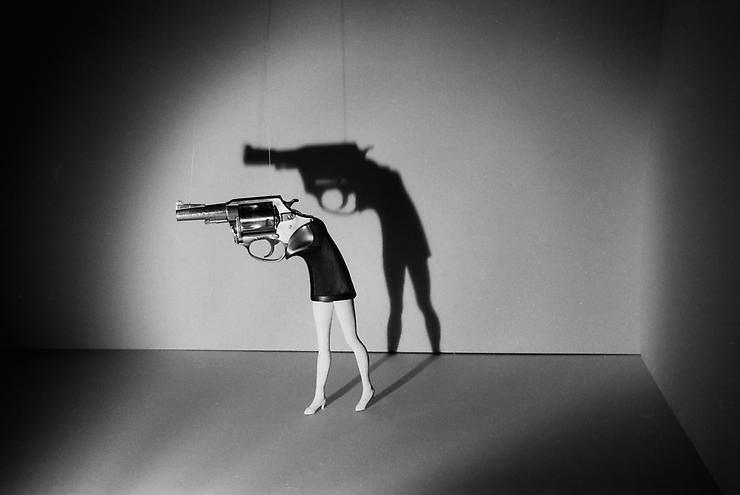
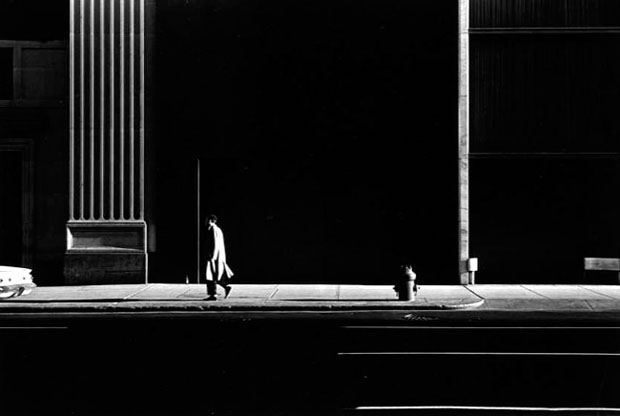
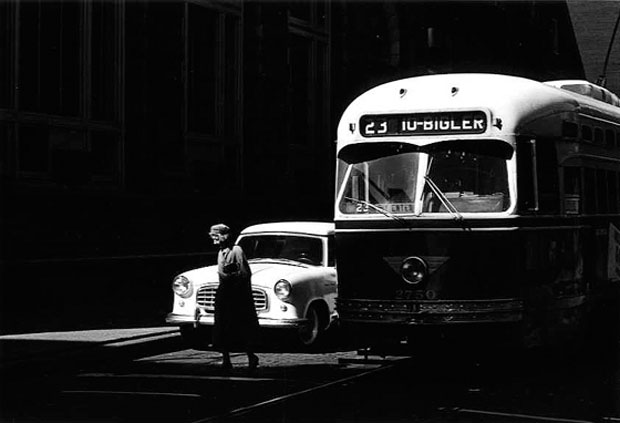
Photographer: Bill Brandt
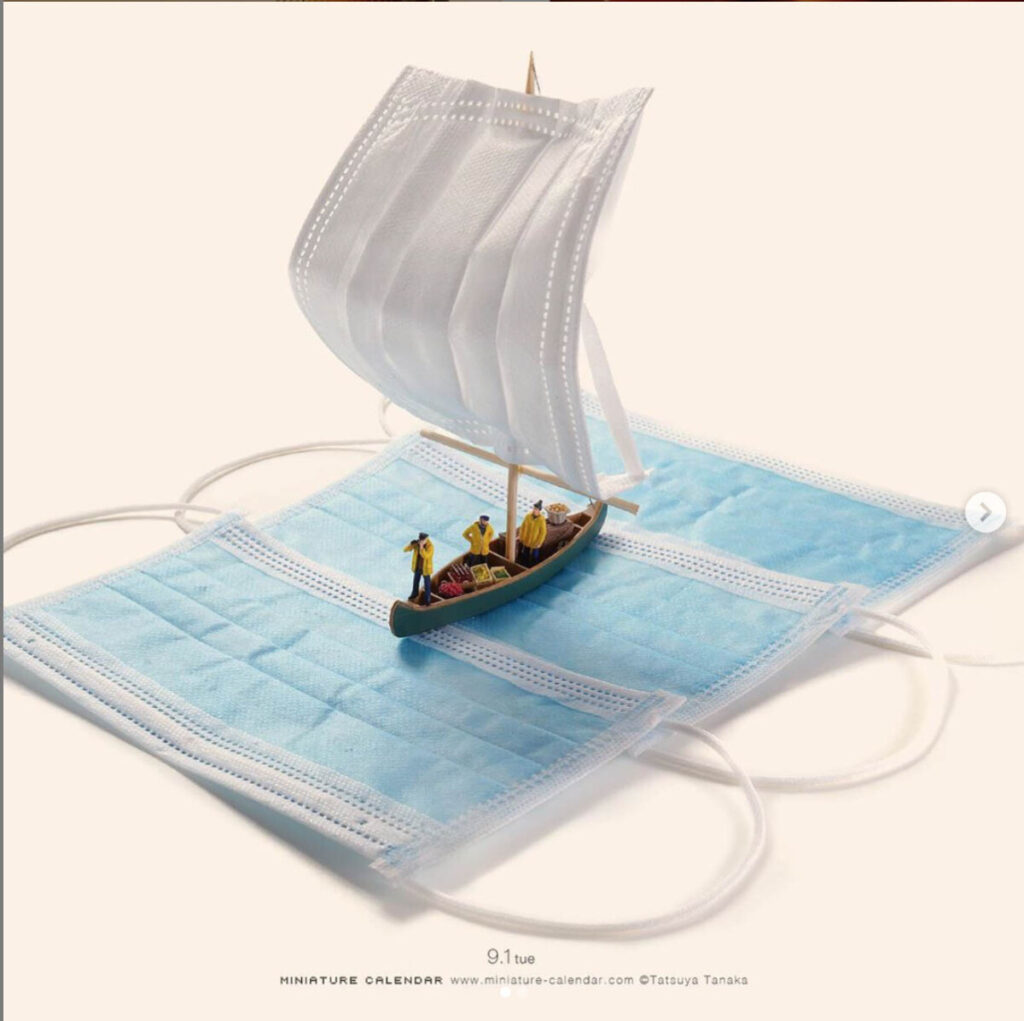
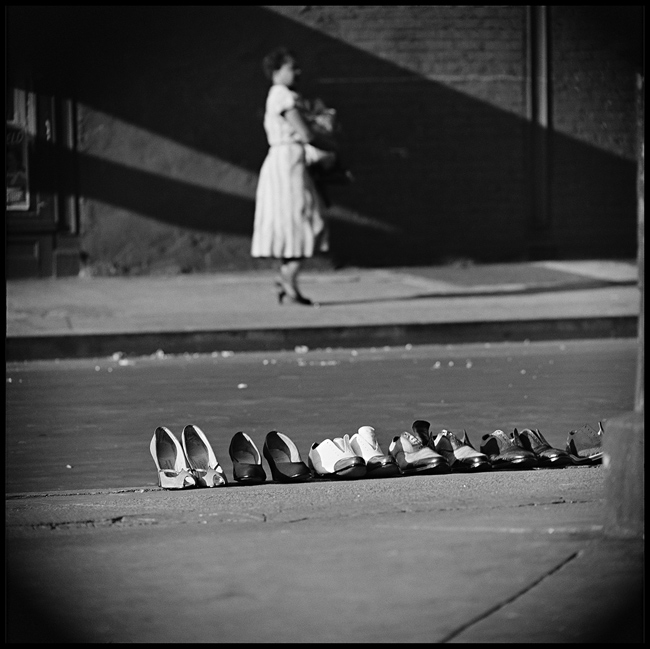
Shallow Depth of Field
Shallow depth of field is commonly used in portrait photography to separate the subject from the background and in food photography.
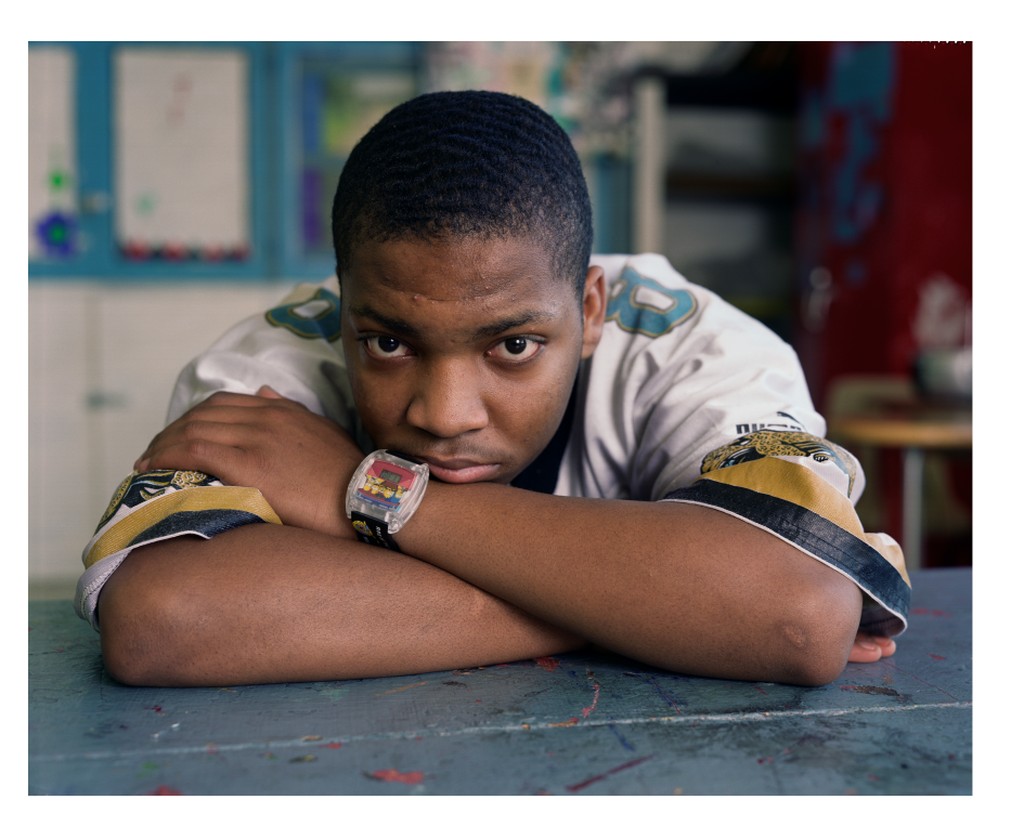
Dawoud Bey 
Andrew Scrivani
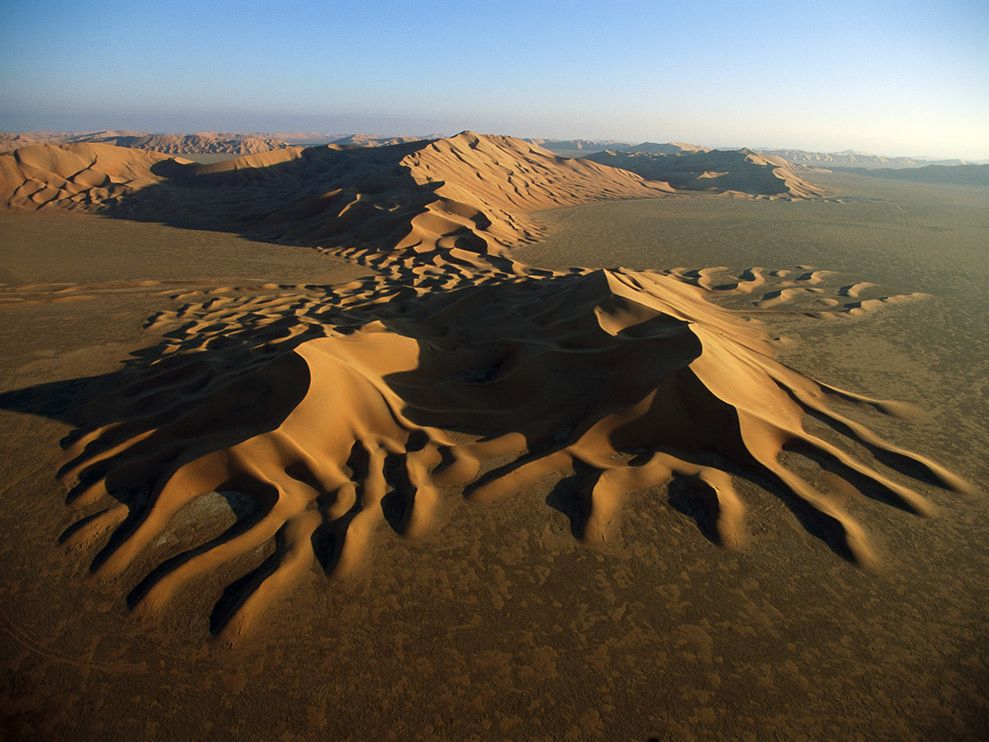
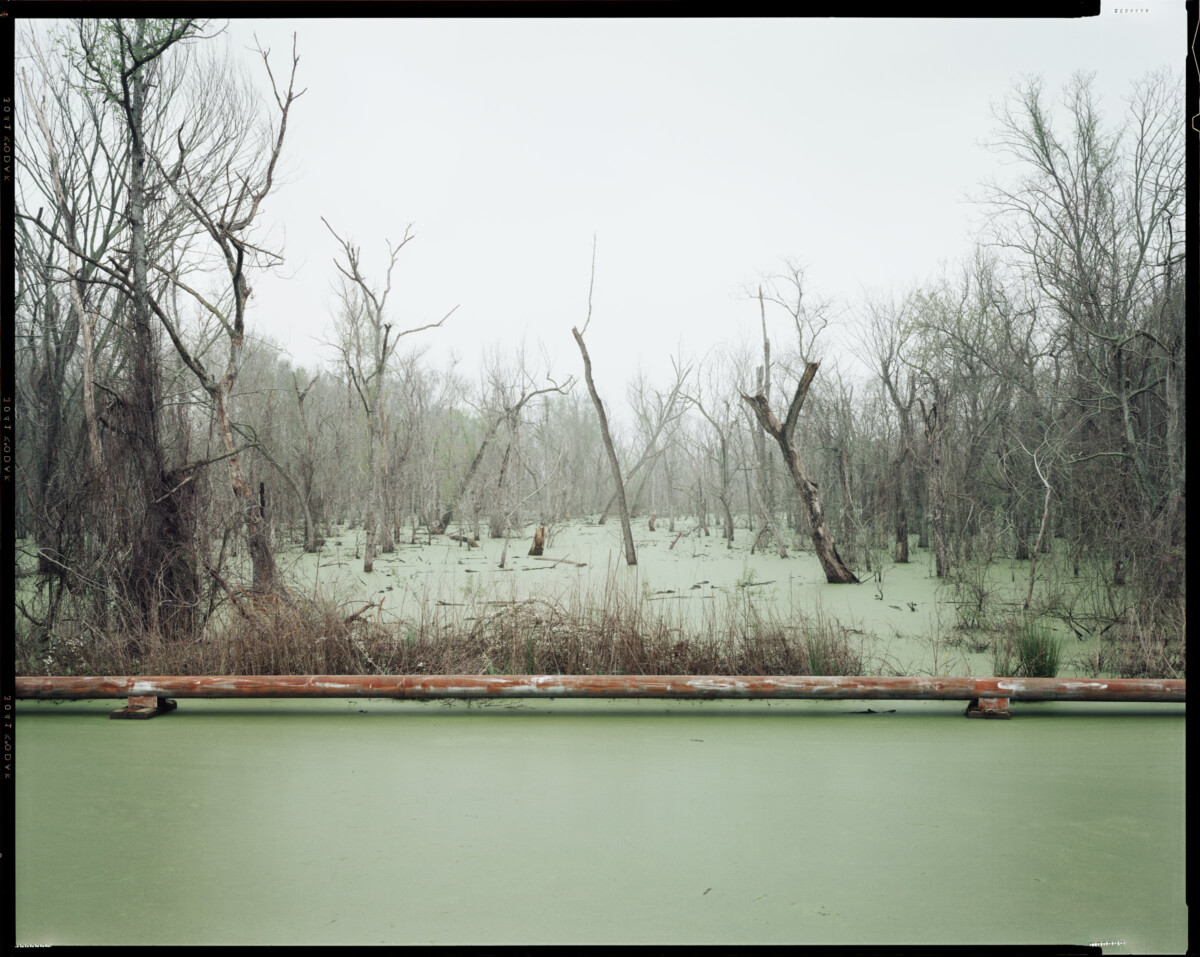
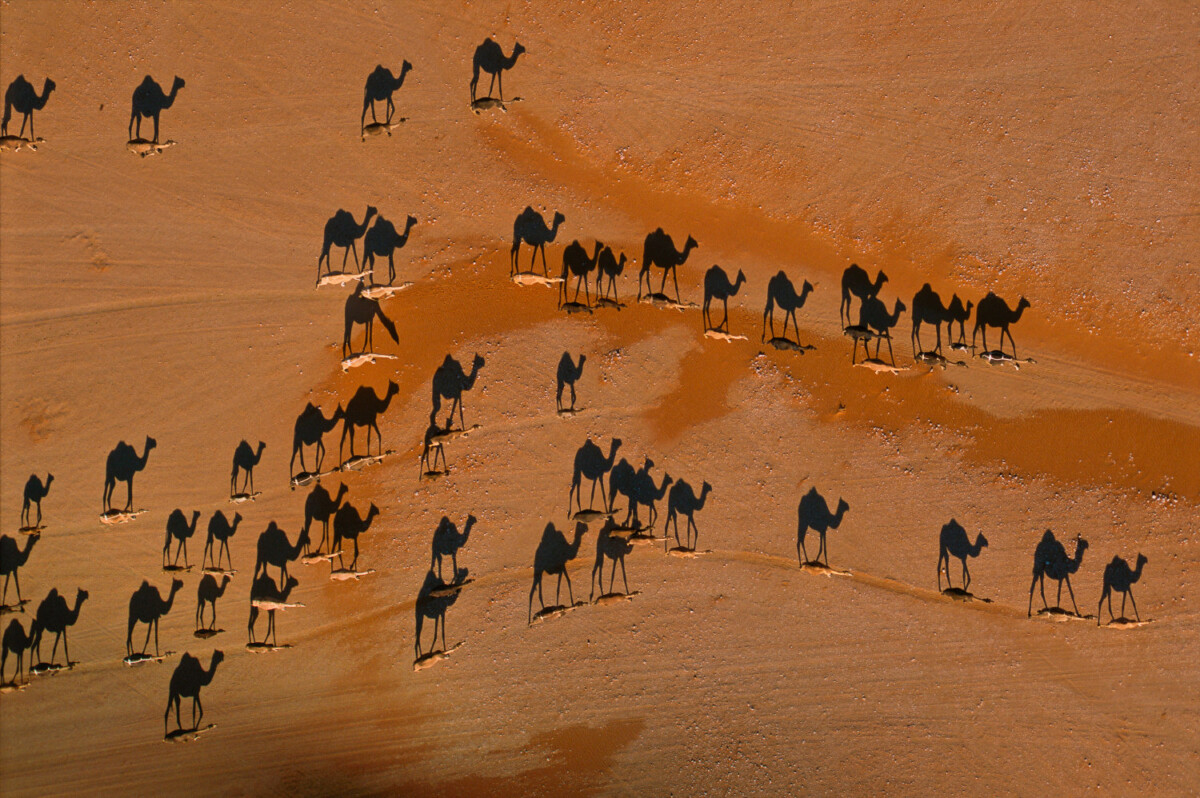
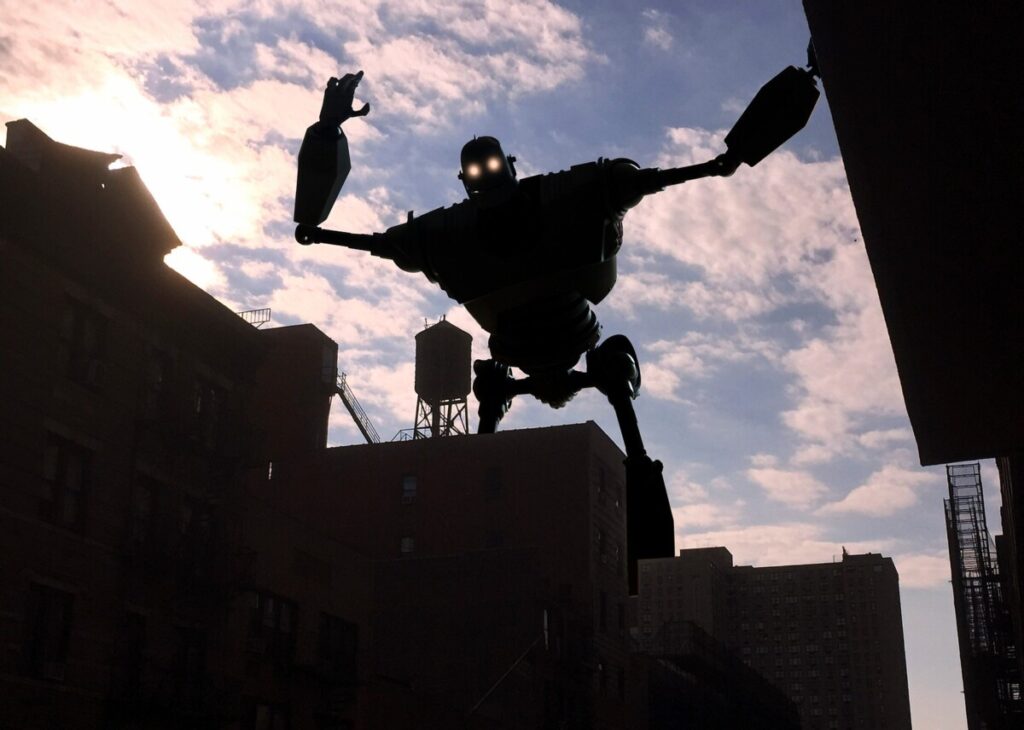
Extensive Depth of Field
Extensive depth of field is often used in landscape photography and photojournalism.
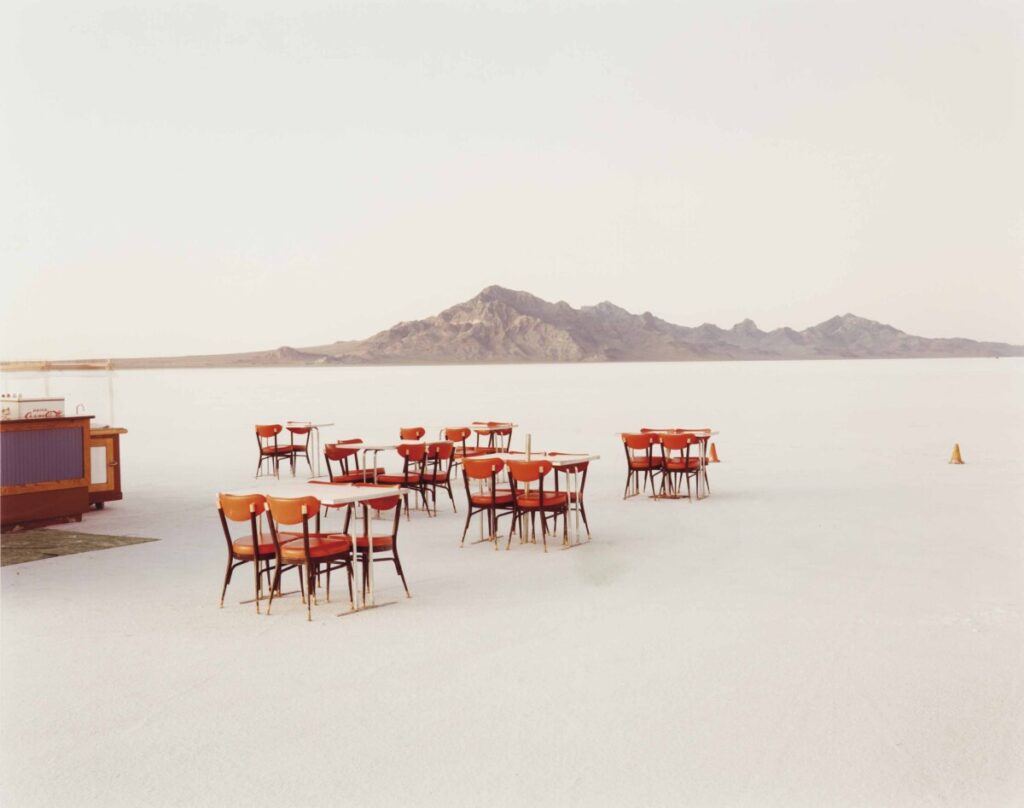
Richard Misrach 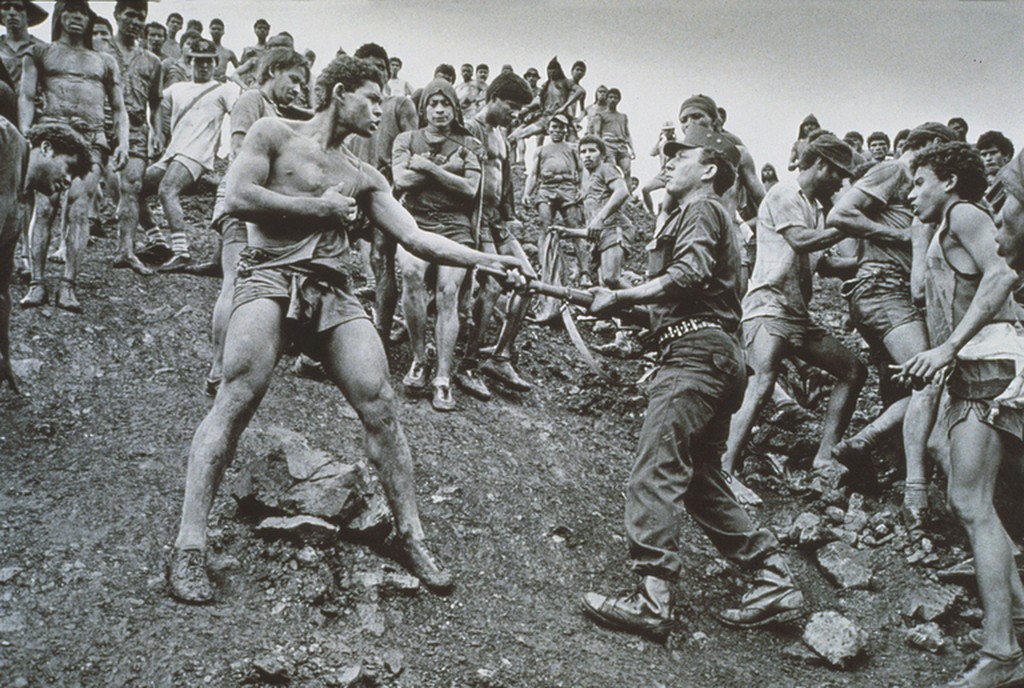
Sebastio Salgado
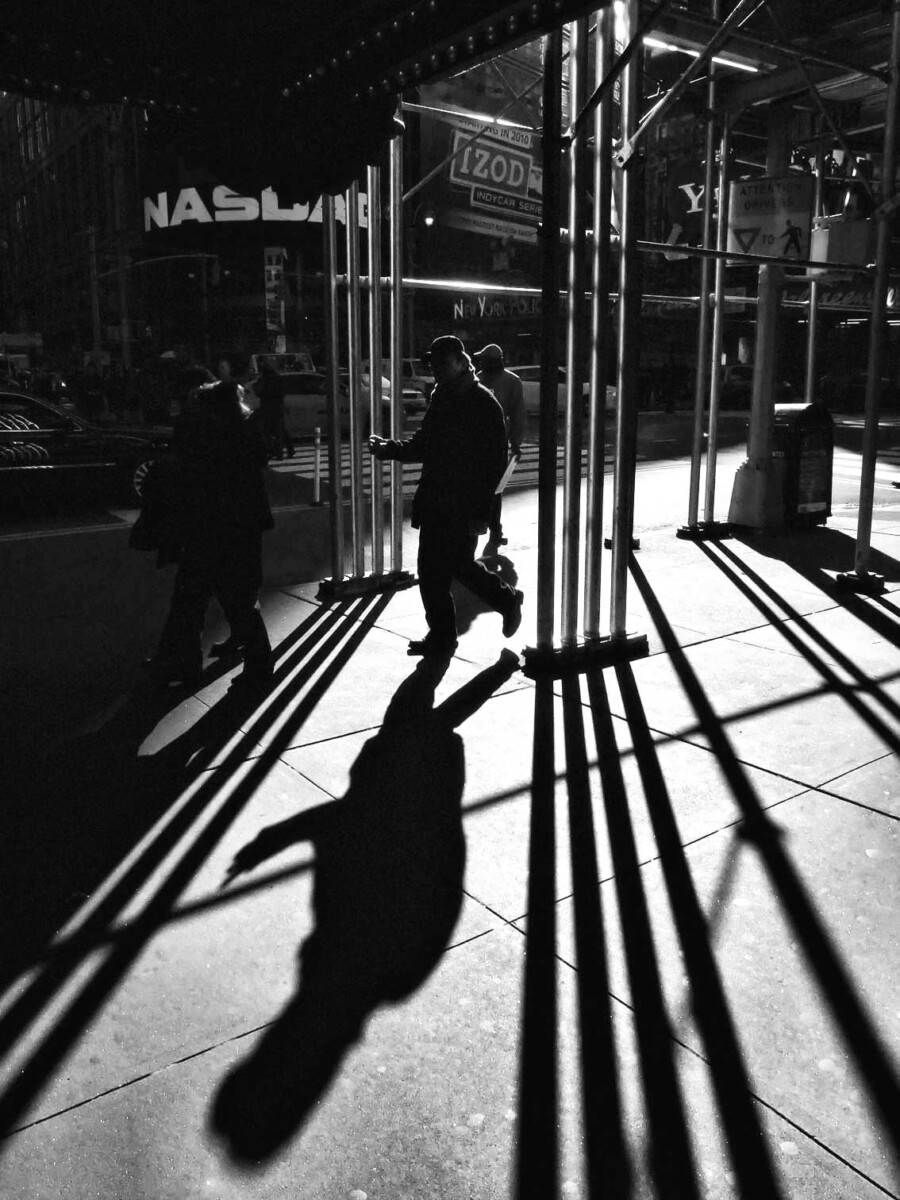
The depiction of space
Perspective-the representation of a 3-dimensional space on a 2-dimensional surface by converging lines, diminishing scale and/or atmospheric perspective.
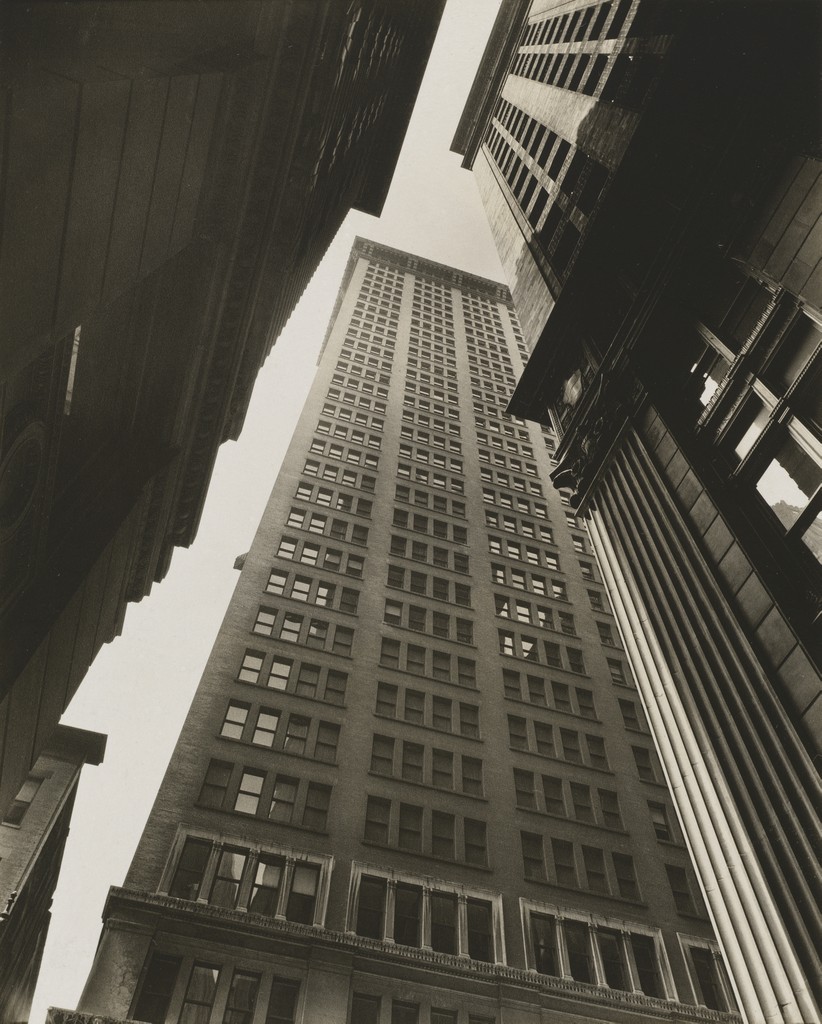
Photographer: Berenice Abbott
Sometimes photos combine perspective and shallow depth of field.
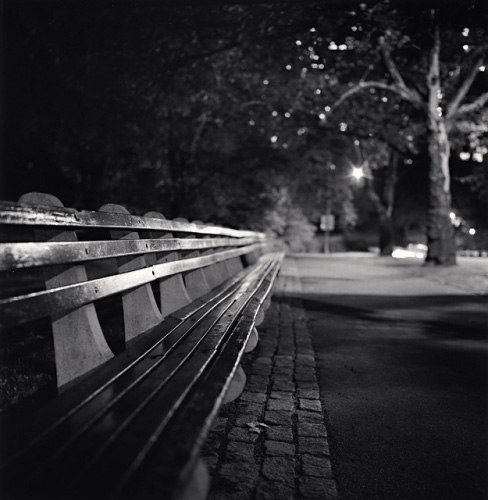
Photographer: Michael Kenna
How to control depth of field (with a camera)
These four factors control depth of field:
- lens aperture
- focal length
- camera-to-subject distance
- sensor size.
Aperture
Aperture is the size of the opening that allows light to hit the camera’s sensor when the photograph is taken.
- Aperture values are expressed in numbers called f-stops. A smaller f-stop number means more light is coming into the camera and will create shallow depth of field. A larger f-stop number will let less light into the camera and create extensive depth of field.
- The full stops for aperture are: F2, f28, f4, f5.6, f8, f11, f16, f22, f3
Focal Length is the distance from where the light converges in the lens to the sensor. If it is a short distance then the lens is a wide angle lens and shows a lot of the scene. If it is a long distance, the lens is a telephoto lens and it magnifies the scene. Wide angle lenses create extensive depth of field while telephoto lenses create shallow depth of field.
Camera-to-subject distance is how far the subject is from the camera. If everything is far from the camera, it is easier to achieve extensive depth of field. If the main subject is very close to the camera and the background elements are far from the camera, it is easier to achieve shallow depth of field.
It is the small size of the sensor that makes cameraphones so good at achieving extensive depth of field. It is also the main reason it is so hard to get your cameraphone to achieve shallow depth of field.Sensor size-the smaller the sensor the easier it is to achieve extensive depth of field. Bigger sensors allow for shallow depth of field.
Bokeh-Bokeh comes from the Japanese word boke (ボケ), which means “blur” or “haze”, or boke-aji, the “blur quality.” Bokeh is pronounced BOH-Kə or BOH-kay.
— From http://www.nikonusa.com/en/learn-and-explore/article/h0ndz86v/bokeh-for-beginners.html


Recent Comments