Robin Michals | COMD 1340 Photography 1

Author: rmichals (Page 1 of 8)

Week 14 – Digital Darkroom: Local Corrections

Review Global corrections

Global corrections adjust the entire file. In the Lightroom, it includes the controls under Light, Color and Effects. In Lightroom classic, this includes everything in the basic panel: White balance, Tone and Presence.

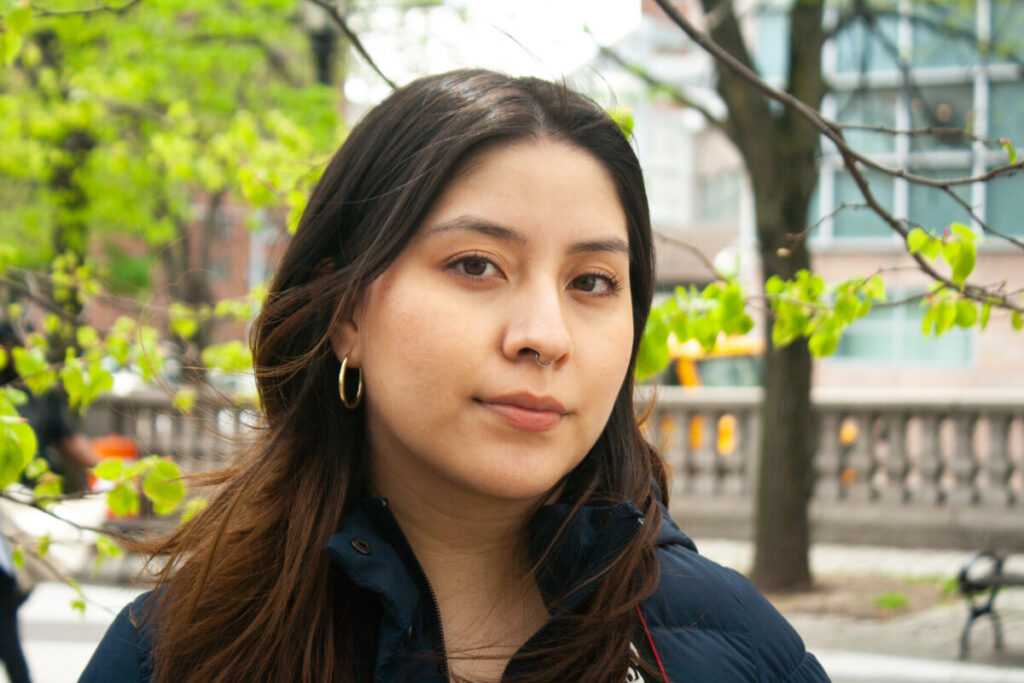
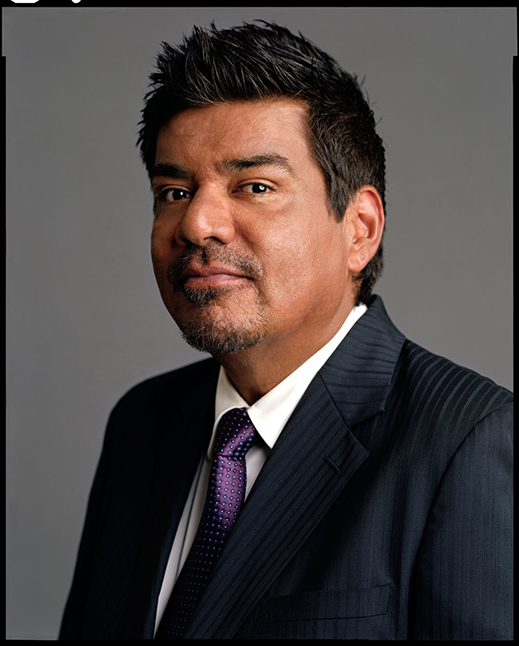
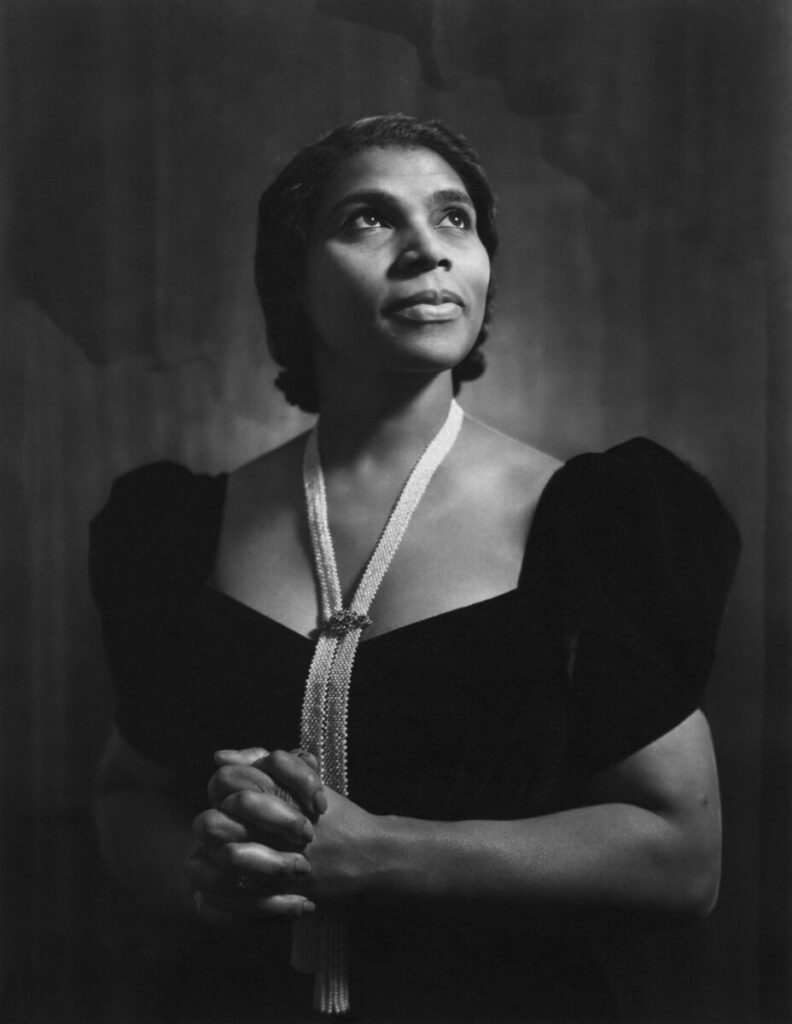
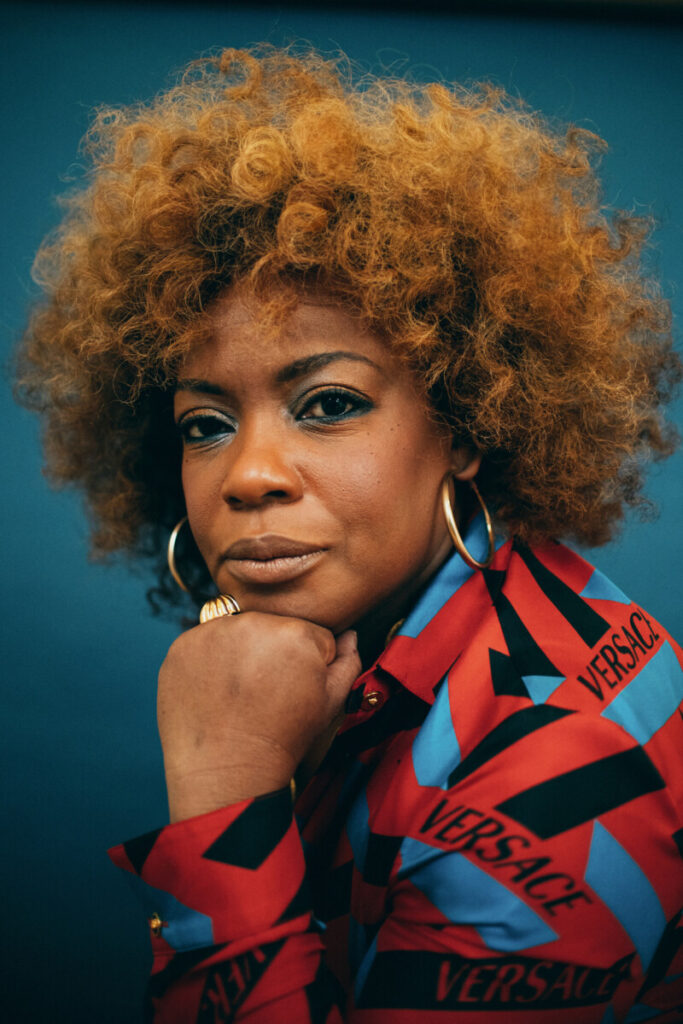
Download and color correct the four files. Put the corrected versions in an album on Flickr.

Local corrections

After you make global corrections, sometimes you will want to make corrections to part of your image. Generally, the brightest part of the image commands the most attention. Sometimes that is not where you want your viewer to look first so shifting the exposure of parts of your image can create the image you want.

The Adjustment Brush

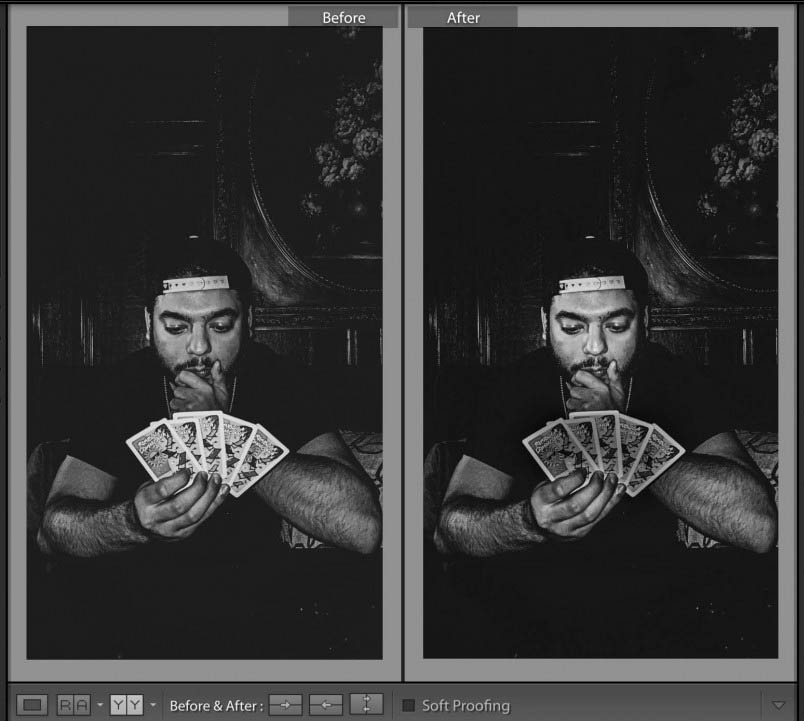
The important thing in this photo by Bryan Rodriguez is the face of the card player. However the cards are brighter and demanded too much attention. Using the adjustment brush, I darkened the cards. Creating a second adjustment, I lightened the face of the card player a little more. The goal was to bring more attention to the person’s face and less to the overly bright cards.

Masking

Lightroom allows you to select either the sky or the subject. the sky masks works well with building or other hard lines around the sky. It is not soeffective with trees or other soft edges.

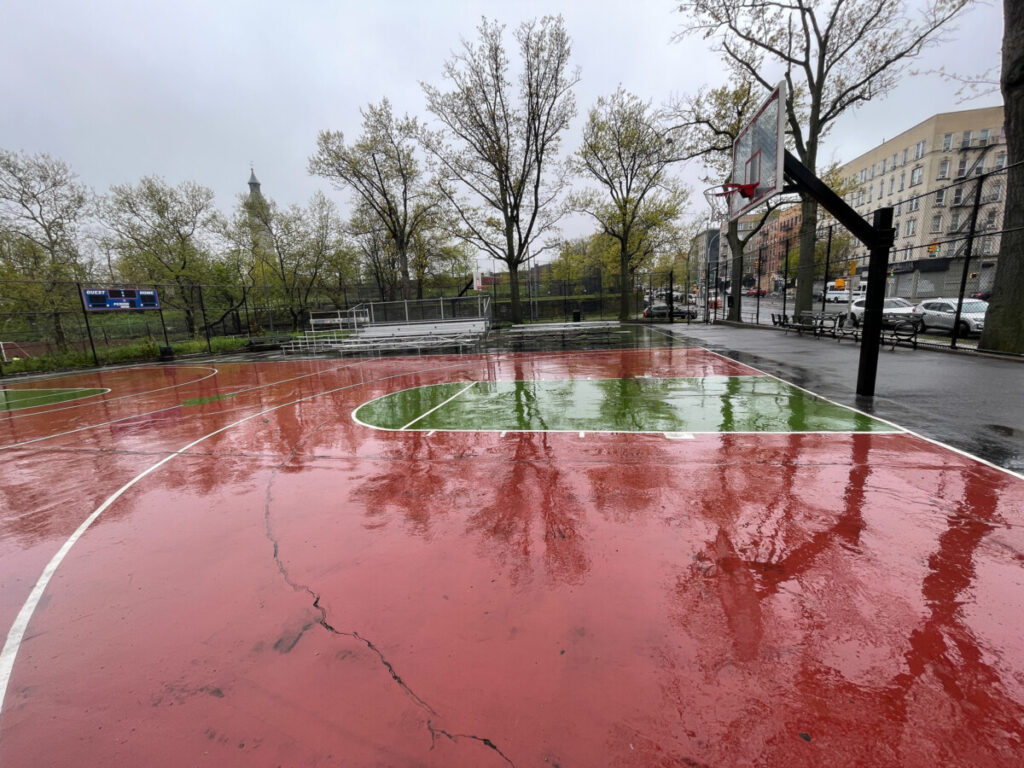
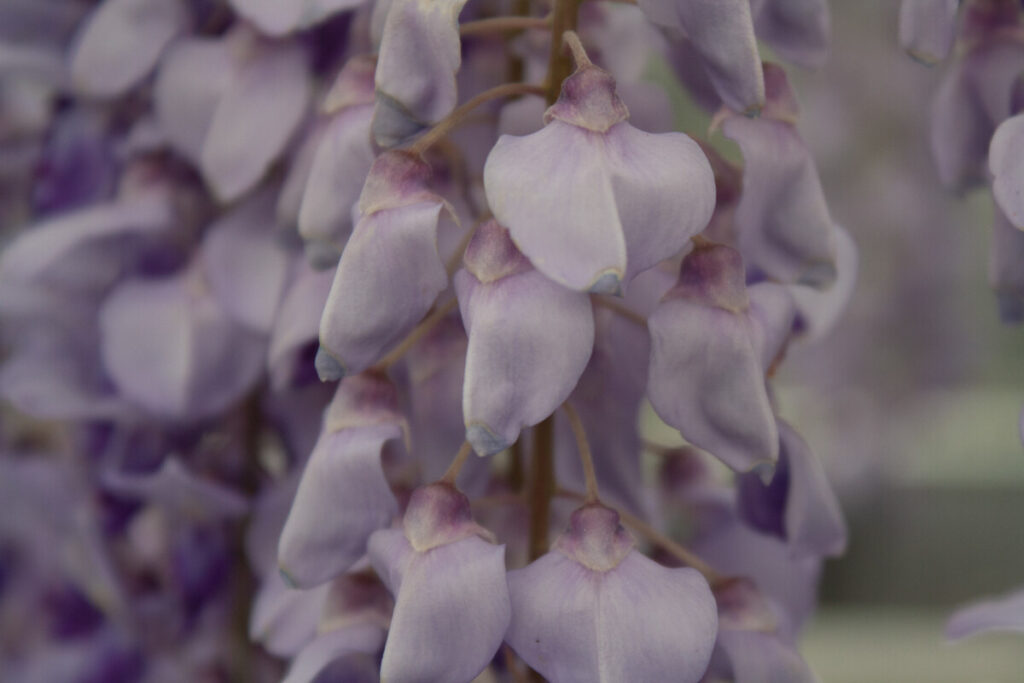
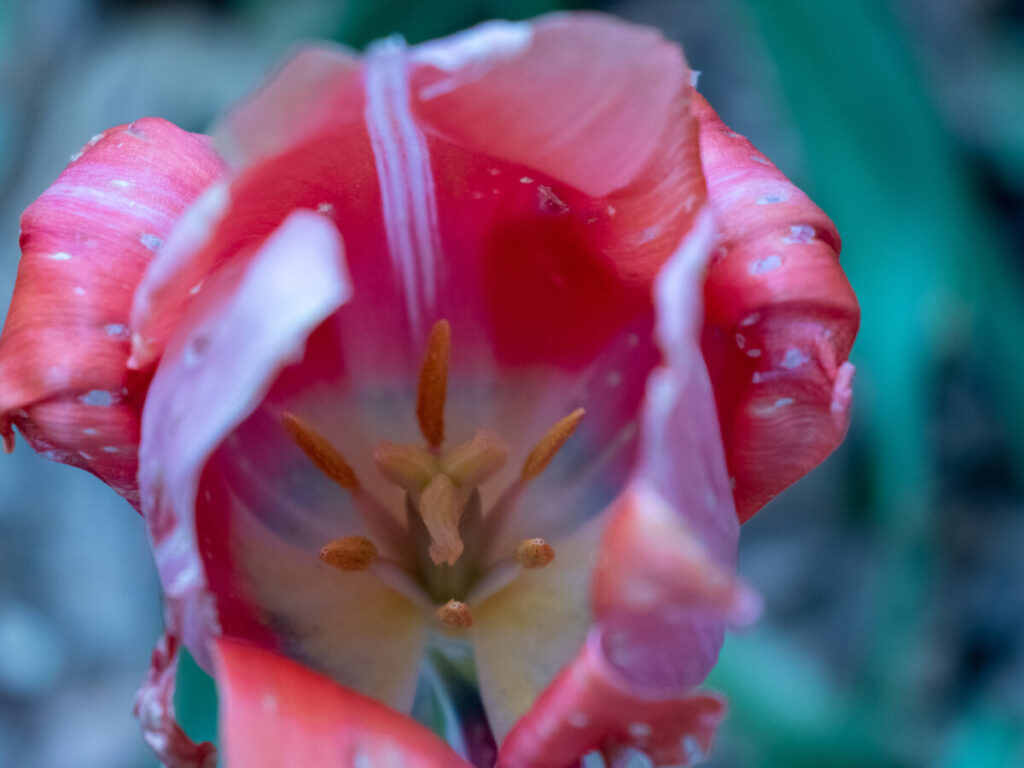
After doing global corrections on each file, use the adjustment brush on the flower, sleect sky on the building photo and select subject on the portrait to make local adjustments.

Lab exercises

Adjust the photos above.

Working with your partner, you both adjust one of their photos and one of your and compare.

Put your results, a total of 8 photos, in an album on Flickr for today’s lab credit.

Homework

Final Project – 20 pts

Due next week, May 18:

3 albums each of a minimum of 30 photos

1 album of the 10 best photos adjusted in Lightroom

a 3-5 min presentation of the final project – projected from the album on Flickr.

Presentation Guidelines

  1. Start by introducing yourself and your project. Then outline the big picture with a few sentences sentence such as, ” I photographed variations on the theme of windows. Most of the photos were taken in downtown Brooklyn.
  2. If you are showing 10 images, you have about 30 seconds to describe each photo. Tell us what your intention was, what interested you about the photo we are looking at, and give us information we may need to know to understand the photo. Tell us what makes it visually interesting ie the use of shallow depth of field or some other feature.
  3. How do you get to Carnegie Hall? Practice.
  4. Do not tell us about what you did to the photo in Lightroom.

All the World Photo Contest Submission – 4 pts

Put a small jpg and your bio for each of your three photos on Google docs and share it with me. I will use the suggestions feature to edit the bios.

You will also need a photo release for each subject and proof of submission.

to get credit, email me the proof of submission.
CUNY Photo Challenge submission – 1 pt Extra Credit

Week 13 – Bringing it all together

Review

Composition

  • Rule of Thirds
  • Leading Lines
  • Diagonals
  • Frame within a frame
  • Figure to ground
  • Fill the Frame
  • Patterns
  • Symmetry

Framing

  • A long shot or establishing shot
  • a medium shot
  • a close up
  • an extreme close up

Angle of view

  • Worm’s eye view
  • low angle
  • eye-level
  • high angle
  • bird’s eye or aerial view
  • oblique angle

Shutter Speed

  • Blur Motion
  • Freeze motion (including your own!)

Aperture

  • Extensive depth of field
  • Shallow depth of field

Light Quality

  • Direct – hard edged shadows
  • Diffused – soft edged shadows

Light Direction

  • Front
  • Side
  • Back

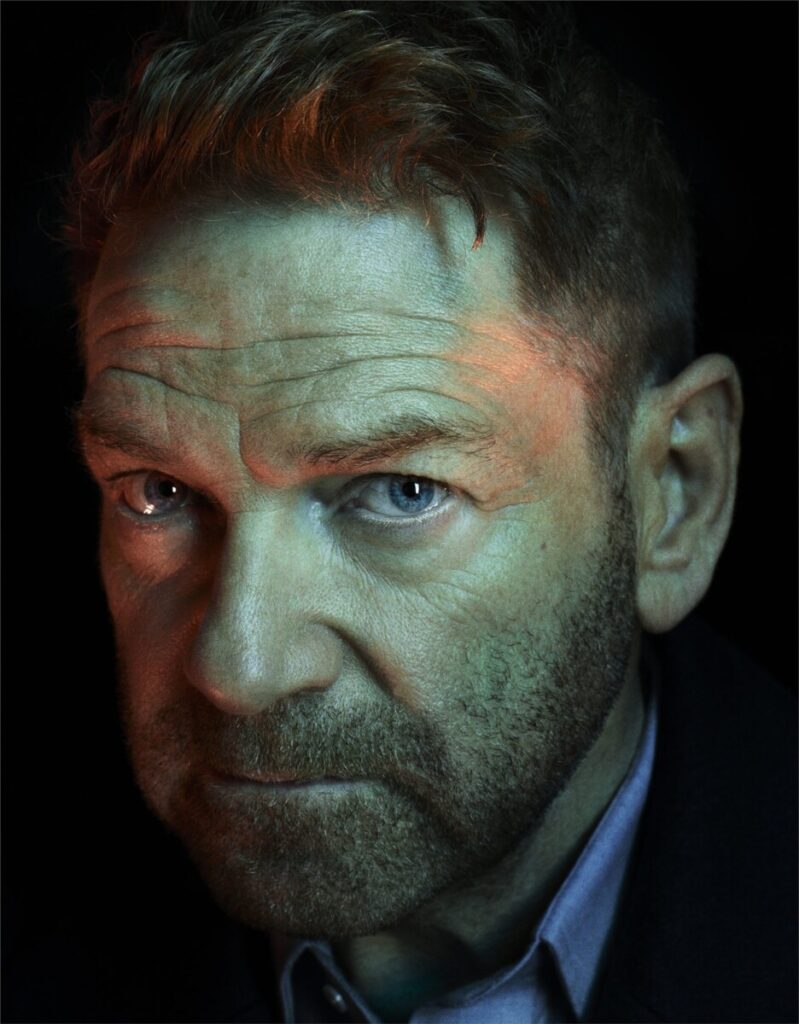
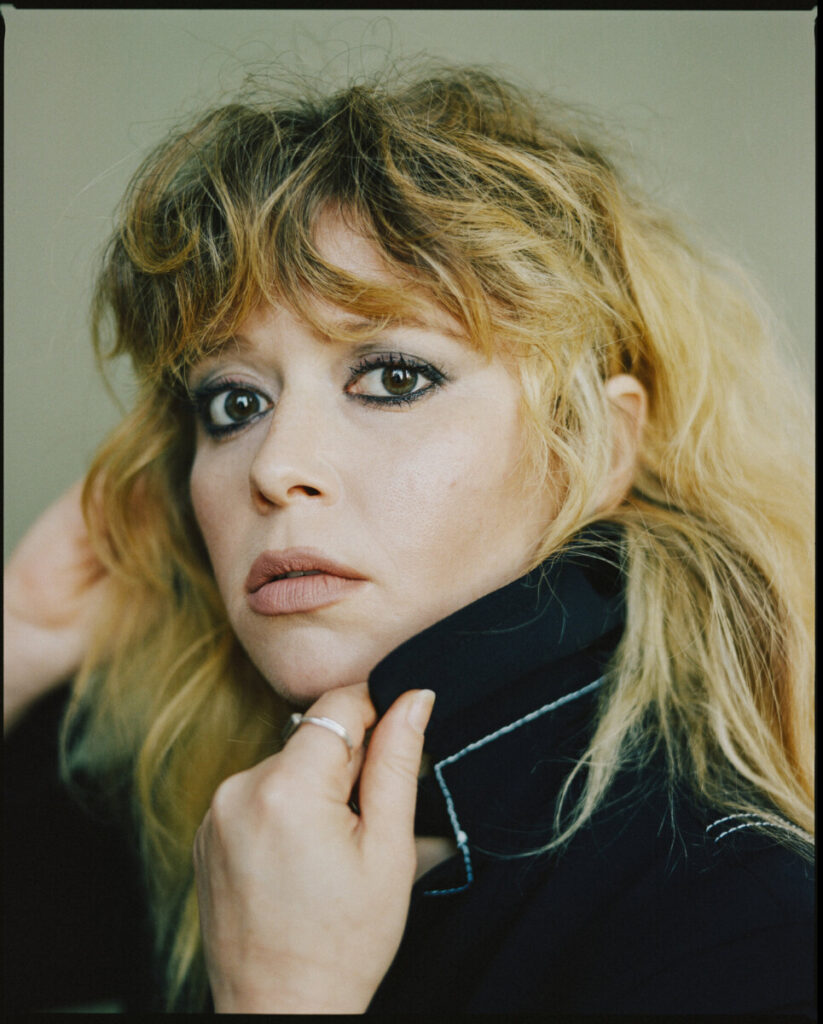
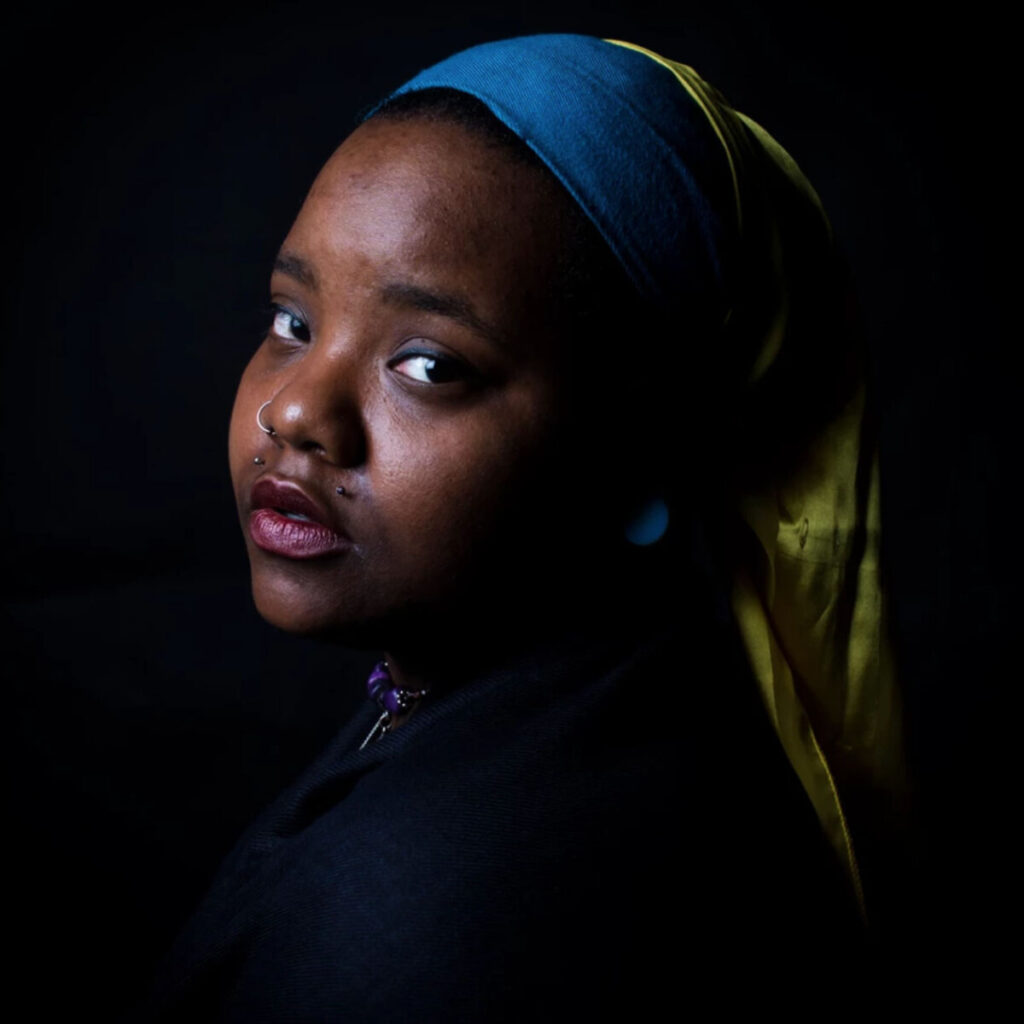
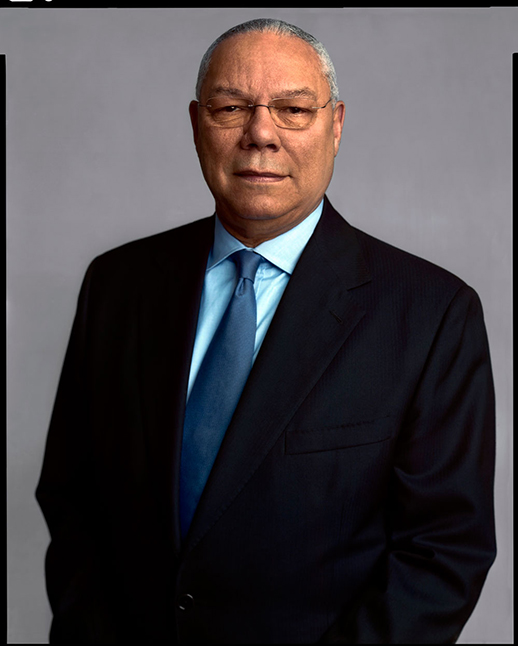
Portrait Lighting Styles

For a front view:

  • Rembrandt
  • Butterfly
  • Split

For three-quarter view

  • Broad
  • Short

Studio Portrait Light Roles

  • Main – this light creates the lighting style. it casts the shadows.
  • Fill – this light brightens the shadows
  • Background light – this light creates separation between the subject and the background.

Lab

Brooklyn Botanic Garden

Take beautiful photographs at the BBG to demonstrate everything we learned this semester. post your 20 best to an album on Flcikr and send your best two to the class group.

Homework

Final Project

All the World Photo Contest submission

4 pts. Due May 18th.

The entry consists of three portraits, each with a 100 word bio, and a photo release for each person. If you want my help editing the bio – hand it in by May 11th. Put your bio in a google doc and share it with me and I will use the editing feature to make “suggestions.”

Lab: Week 12 – Outdoor portraits

Take portraits of your classmates in outdoor diffused light using reflectors and fill flash.

Start with using a reflector. Have your model stand with the sun to their back. use the reflector to reflect light back into their face. Hold the reflector higher for a more pleasing result.

Then try fill flash. You don’t want to cast any shadows on the face just brighten it.

Use your widest aperture. You may need to use a fast shutter speed to compensate. When using flash, make sure to set it to High Speed Sync (HSS) in order to be able to use a shutter speed faster than the sync speed.

Put your 20 best outdoor portraits in an album on Flickr and send the best two to the class group.

Week 12 – Outdoor Portraits

Review:

Considerations for any portrait:

Use a vertical orientation.

Focus on the model’s eyes.

Watch the background for distracting things behind the model’s head.

Considerations for outdoor portraits

Work with the model in shade or place the model with the sun BEHIND their head.

use a reflector to add light to their face.

Do not use direct sunlight on the model’s face.

Resource

Using Fill flash

Ambient Light-the existing light that you cannot control

Fill Flash-brightens shadows

Built-in flash-part of the camera and throws light about 6 to 10 feet

External flash-added to the camera on the hot shoe and can throw light 15 to 20 feet 

ETTL (Evaluative-Through The Lens) is a Canon EOS flash exposure system that uses a brief pre-flash before the main flash in order to obtain a more correct exposure.

Use M or manual.

1/1 is full power. for fill flash, try 1/16 and adjust from there.

Use Zoom to spread or focus the light. Wide angle numbers (smaller numbers) spread the light. Higher numbers focus the light.

High speed sync-allows the camera to be set at shutter speeds higher than the camera sync speed 

Resource

Lab

Outdoor Portraits

Homework

Final Project

Submit to the CUNY Photo Challenge by April 28th! 1 pt of extra credit if you send me the screen shot of your submission.

« Older posts