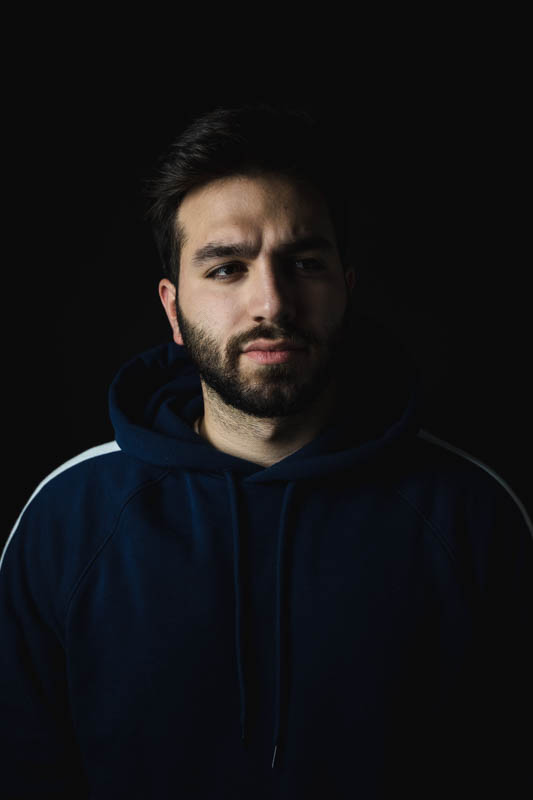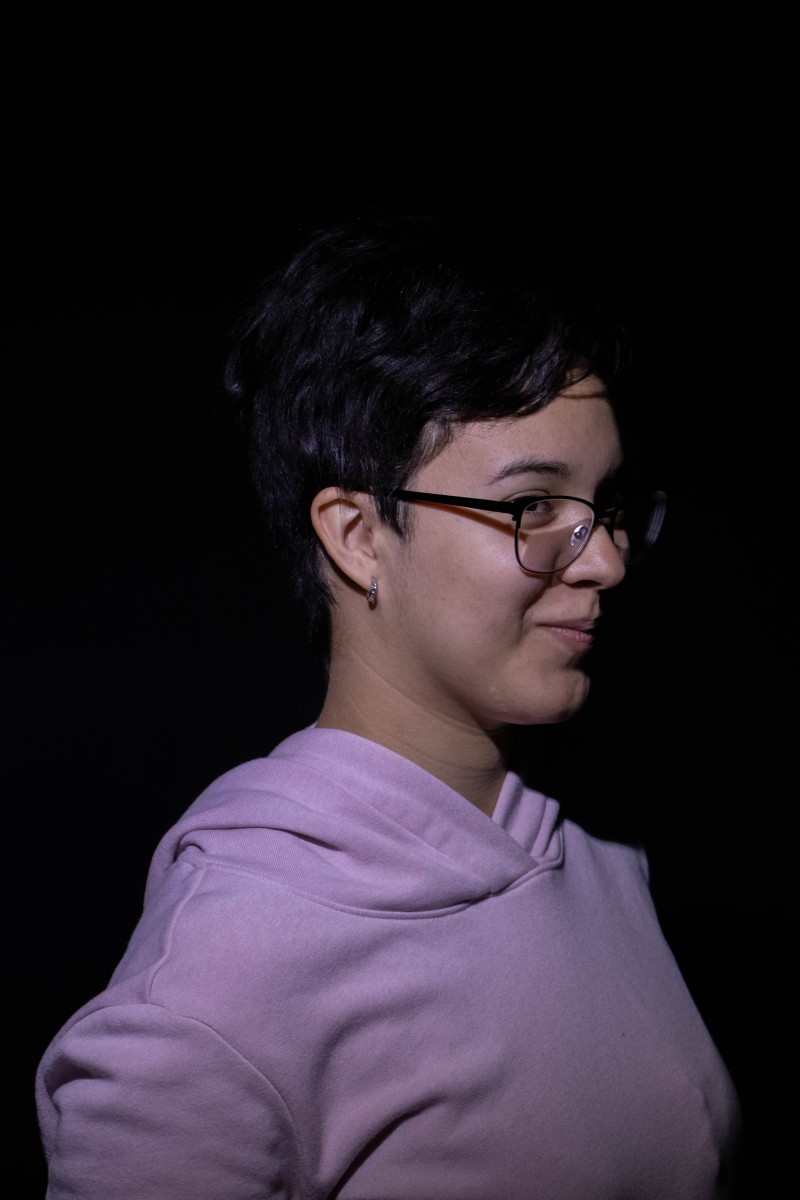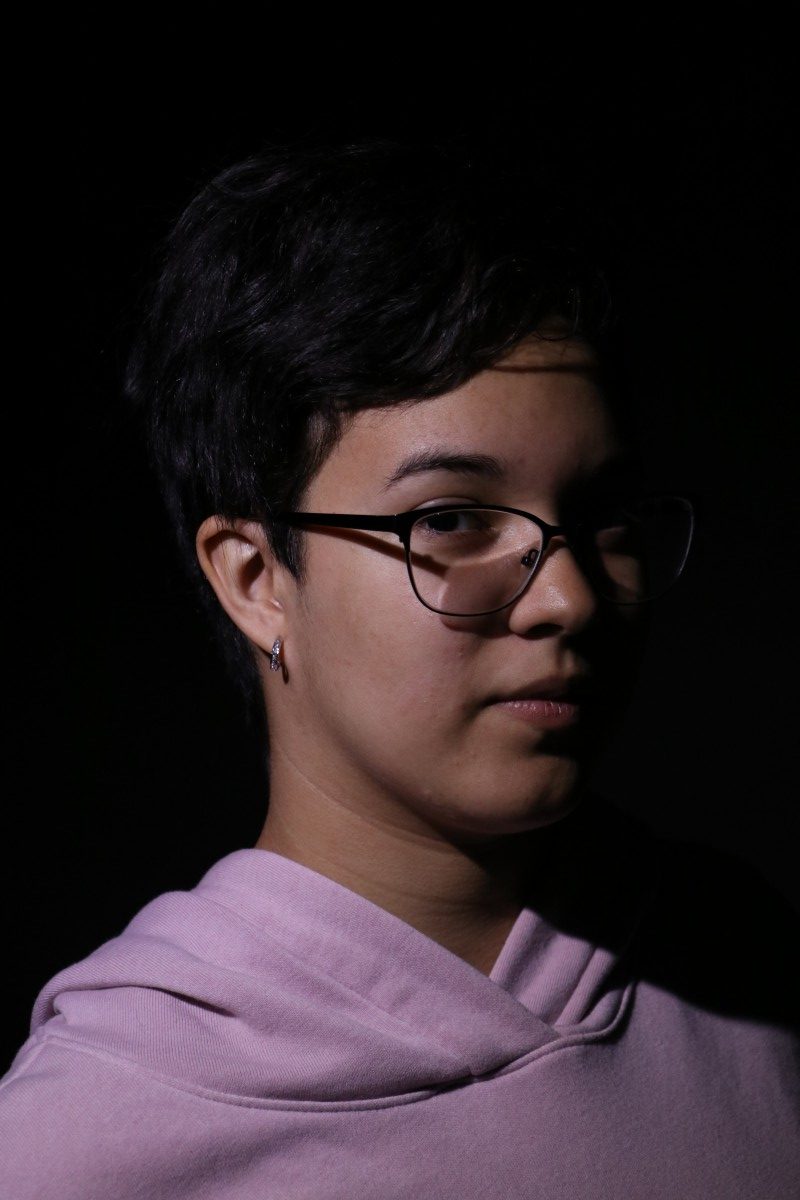

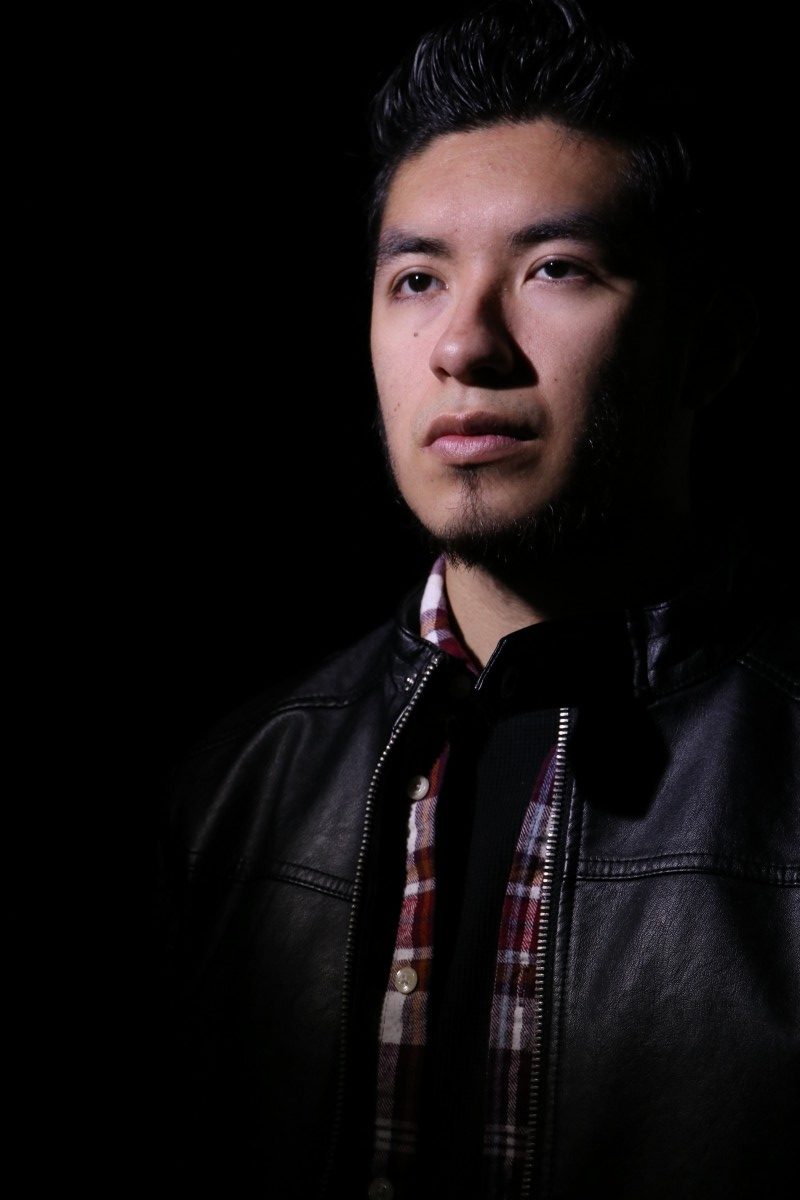
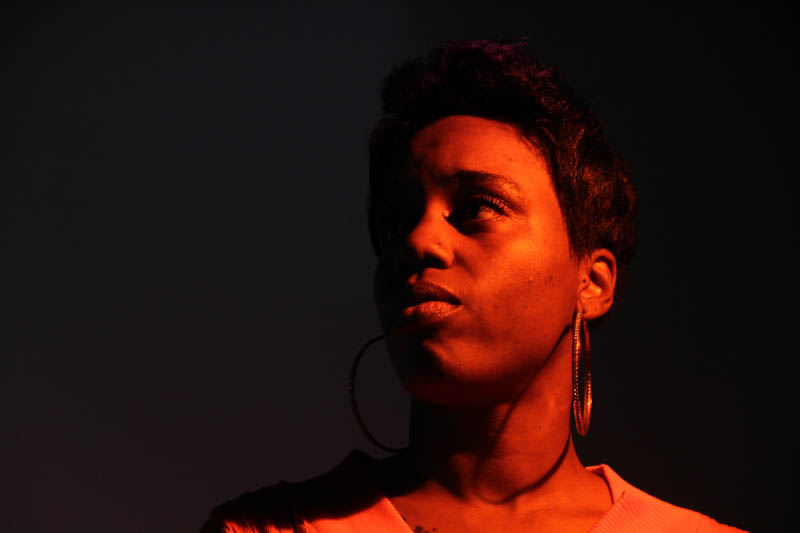
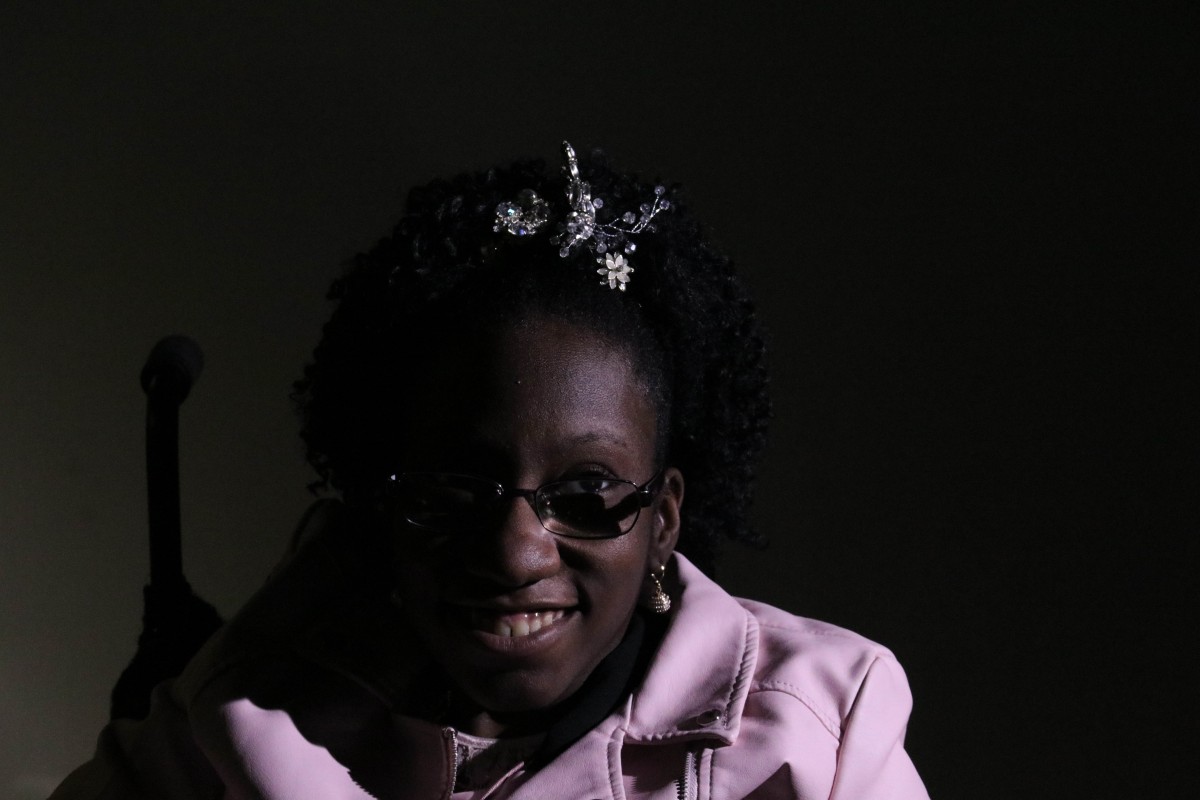
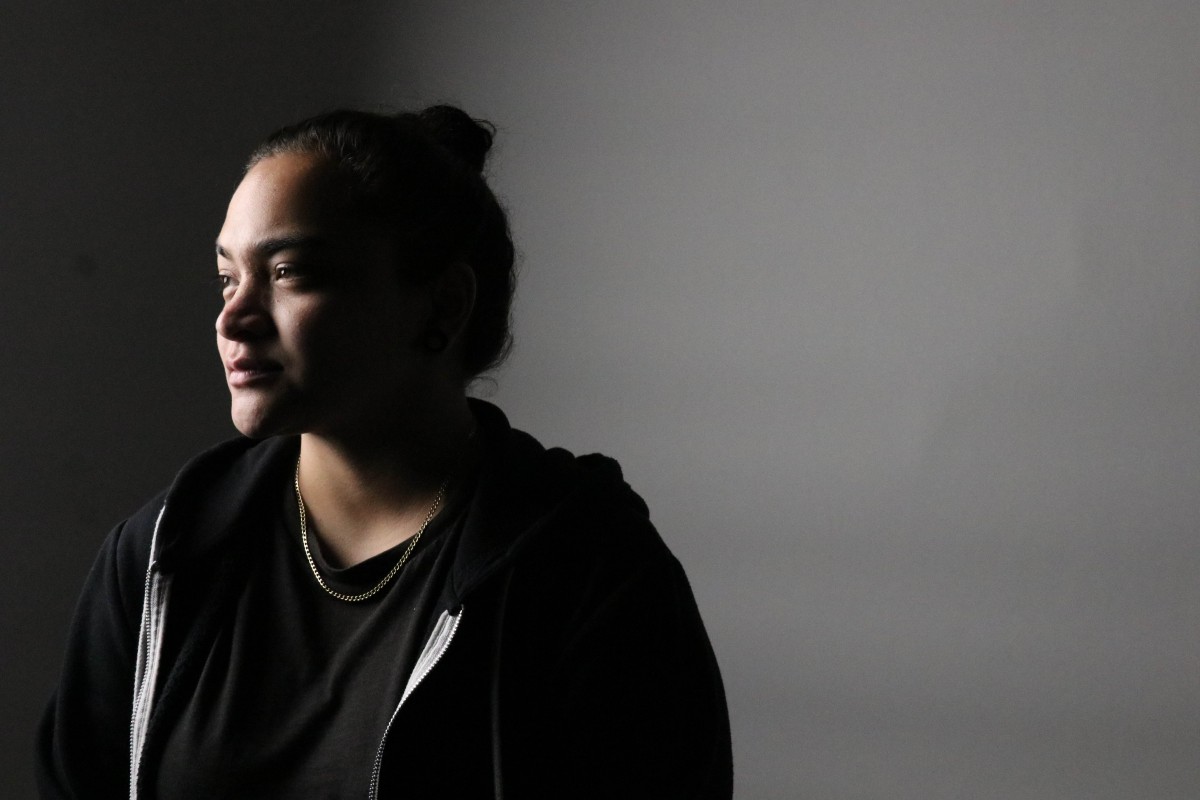
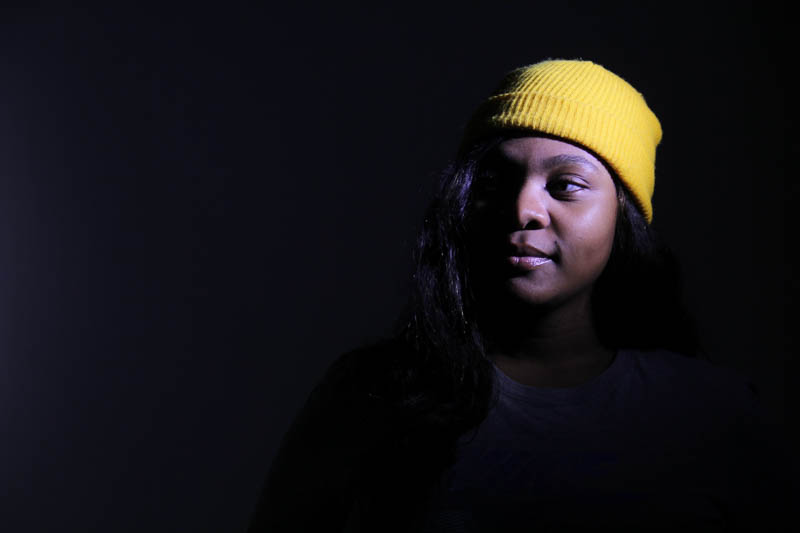
3 point with hair light
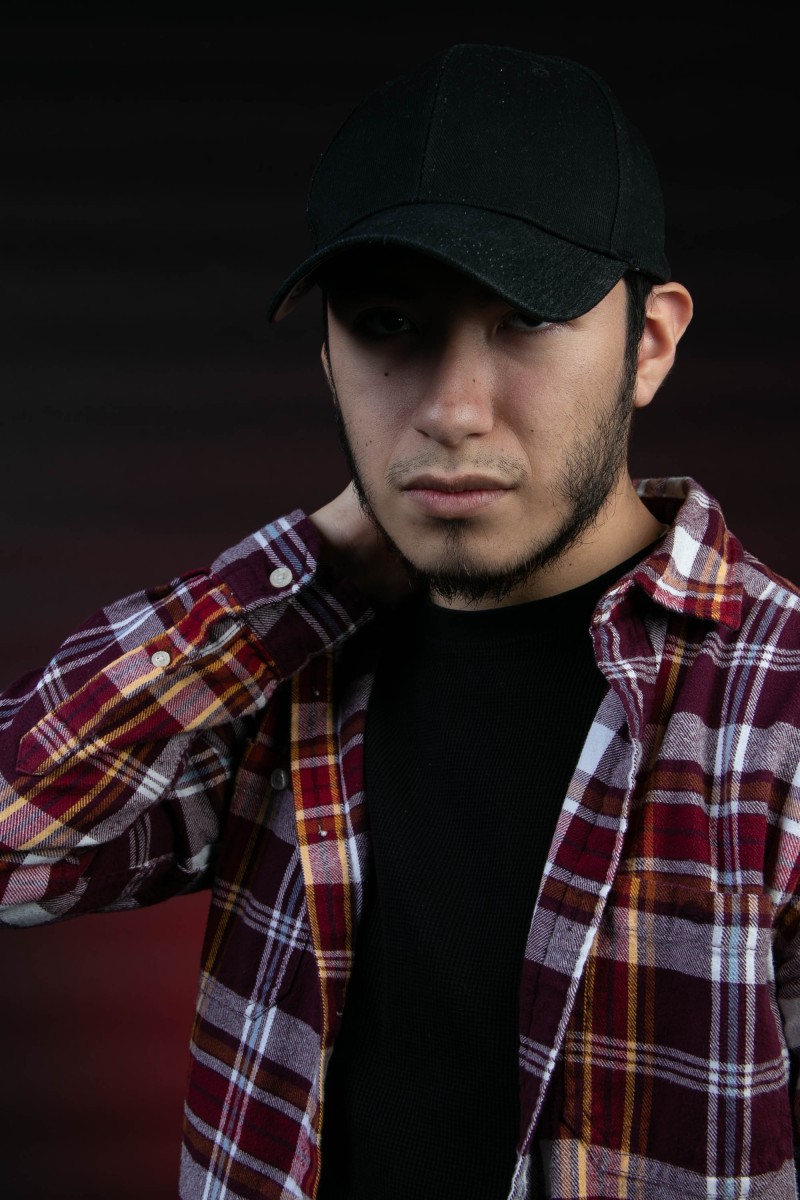
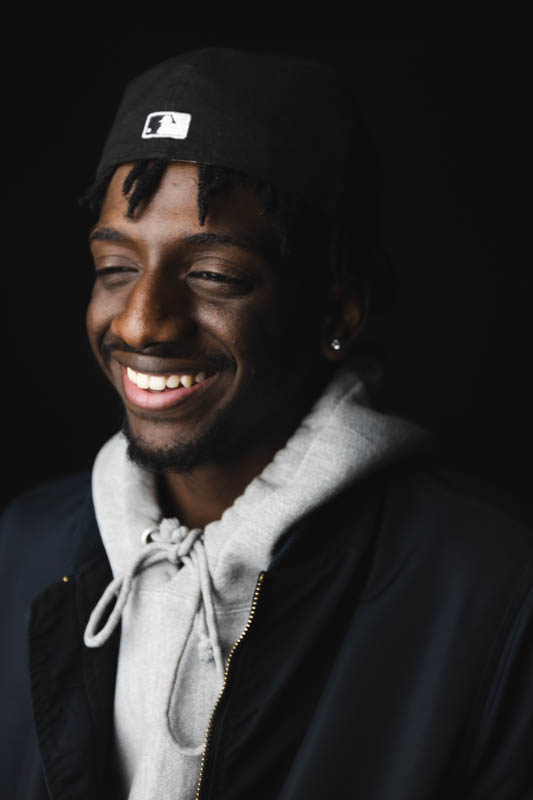
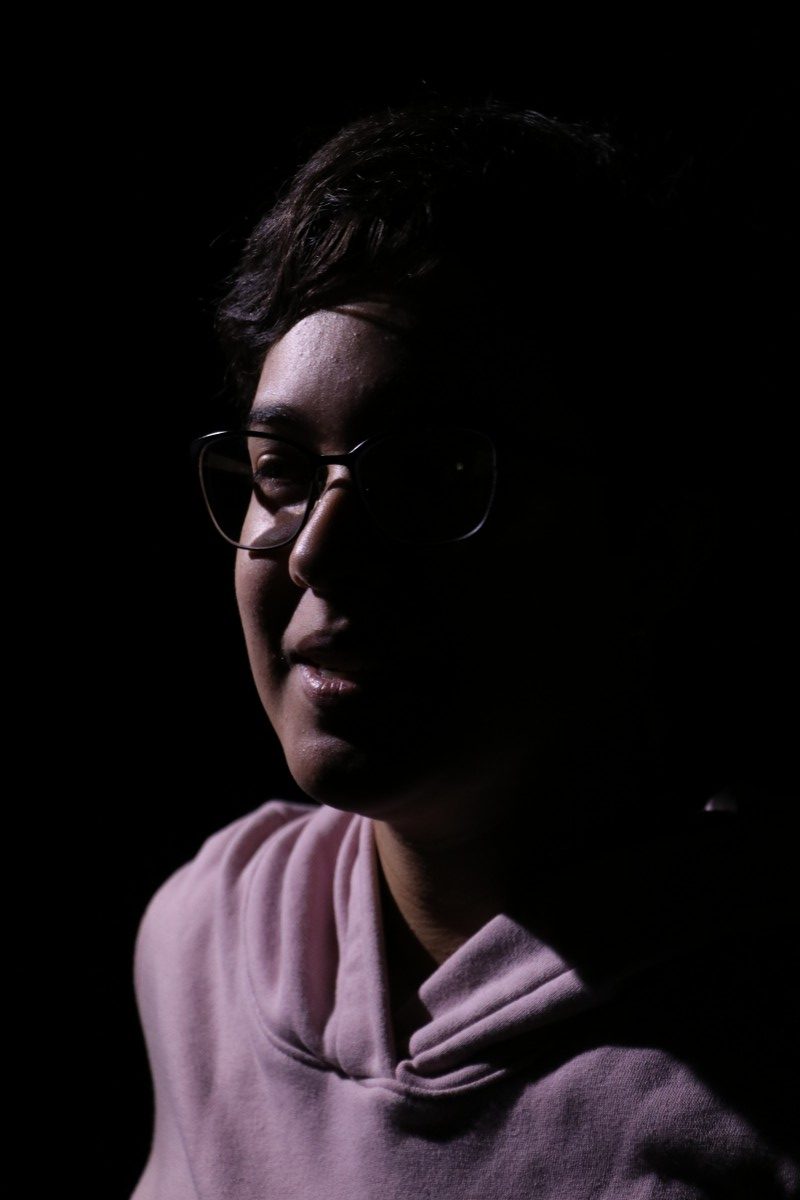
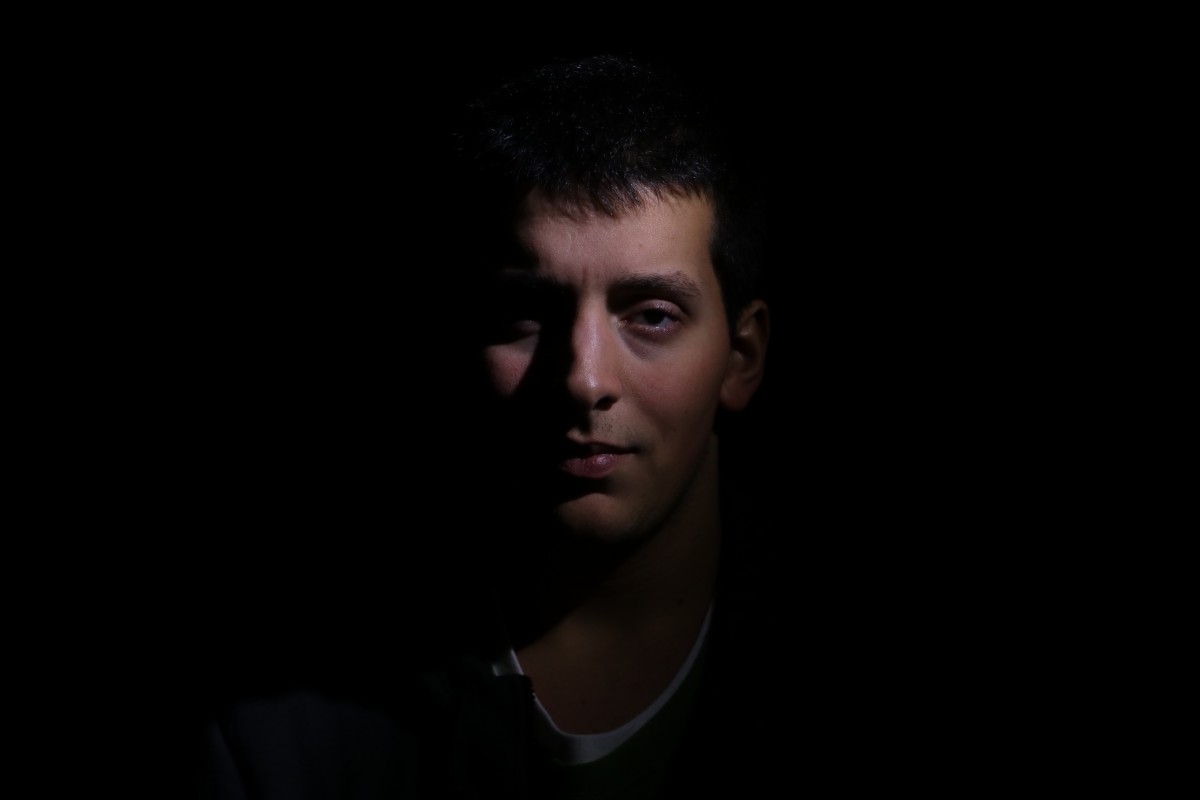
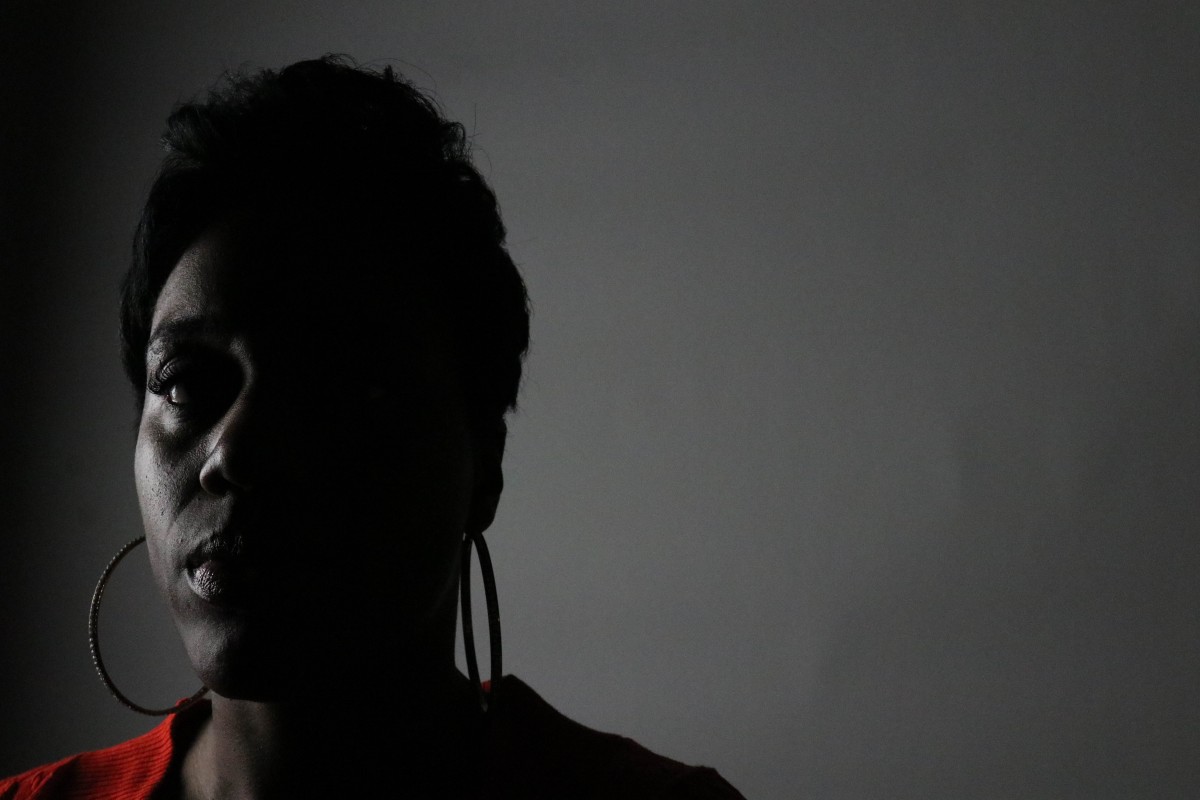
3 point with background light
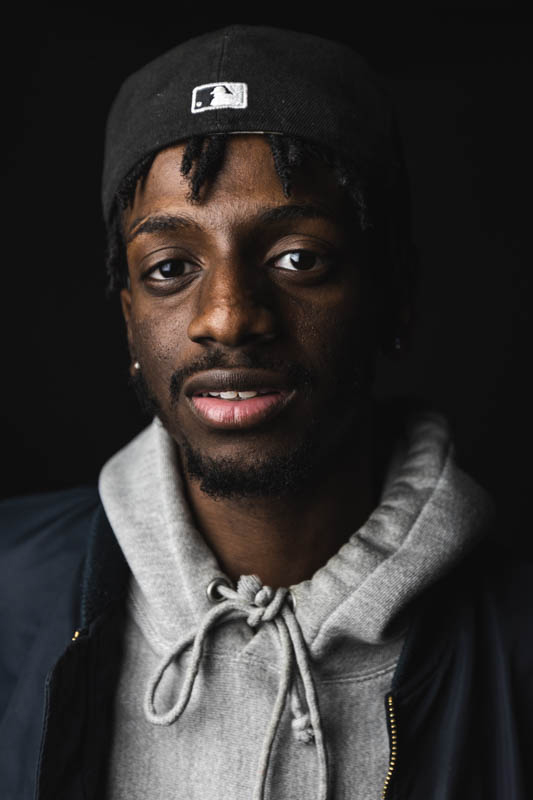
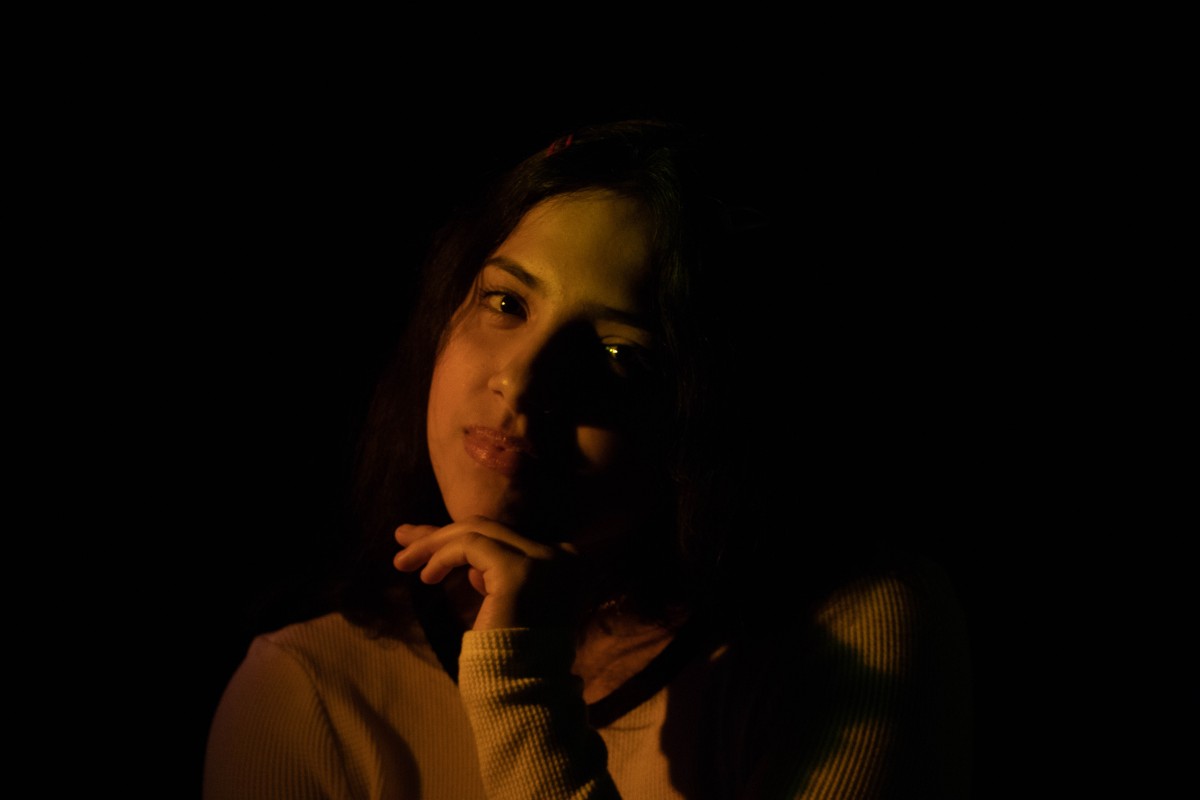
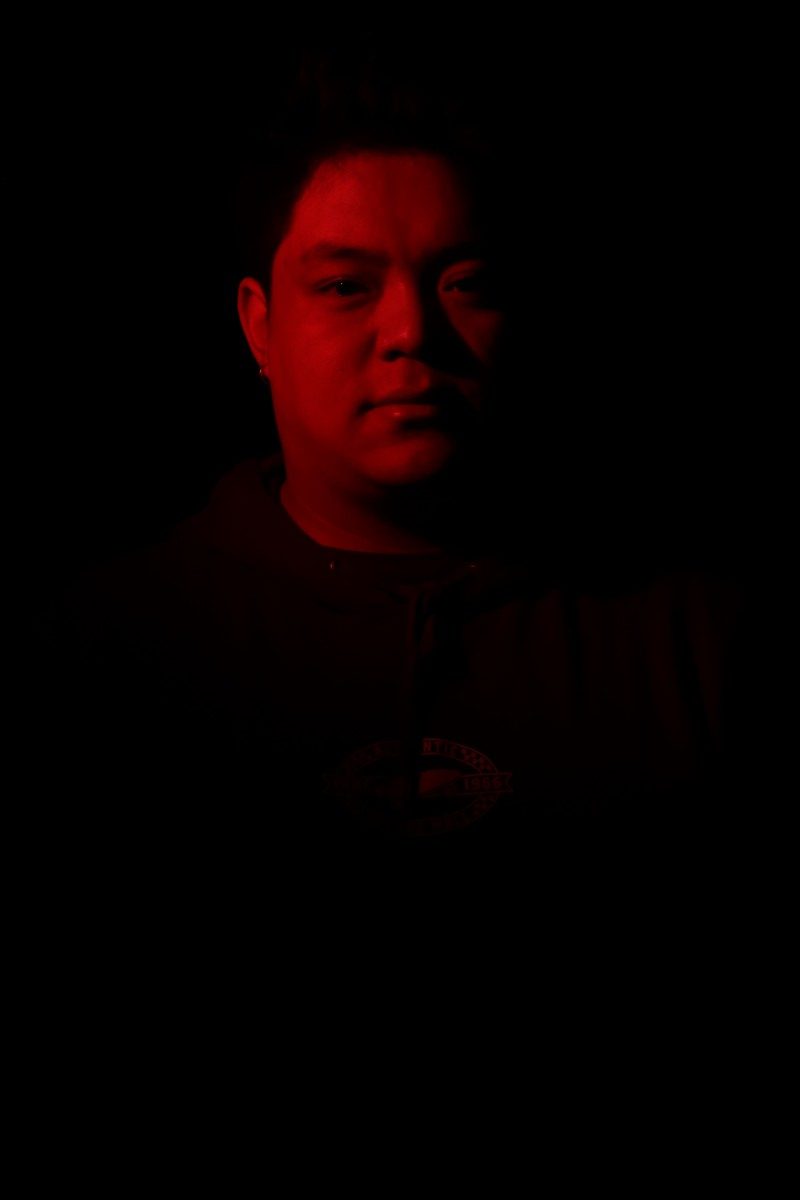
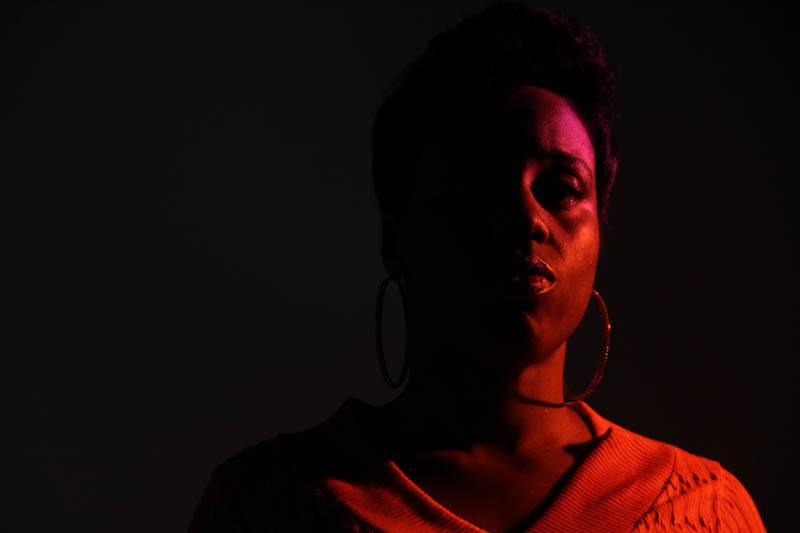
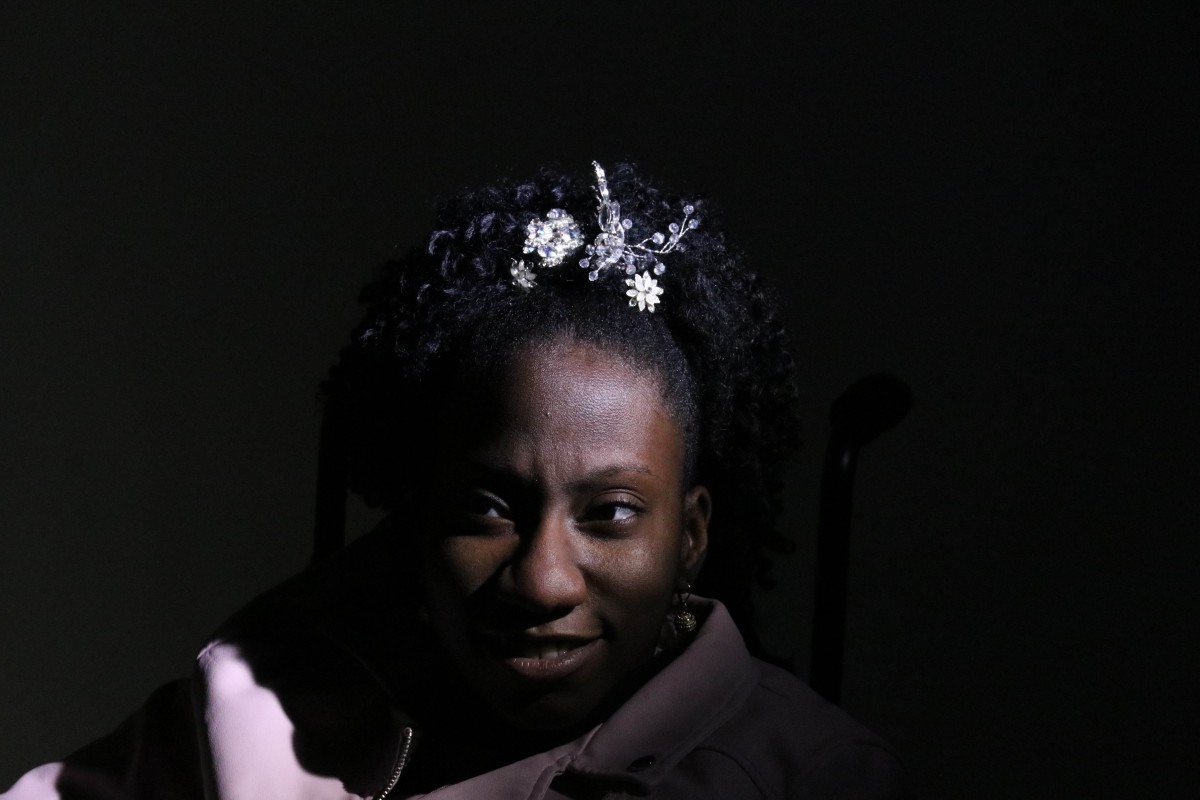
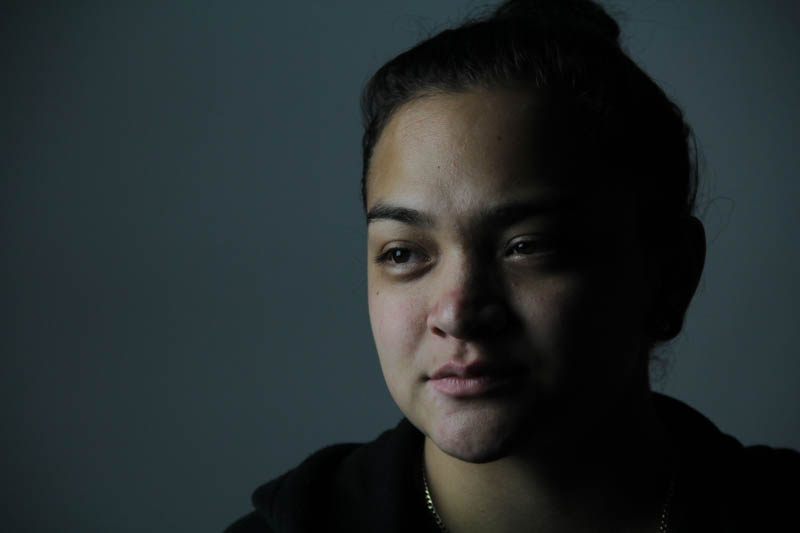
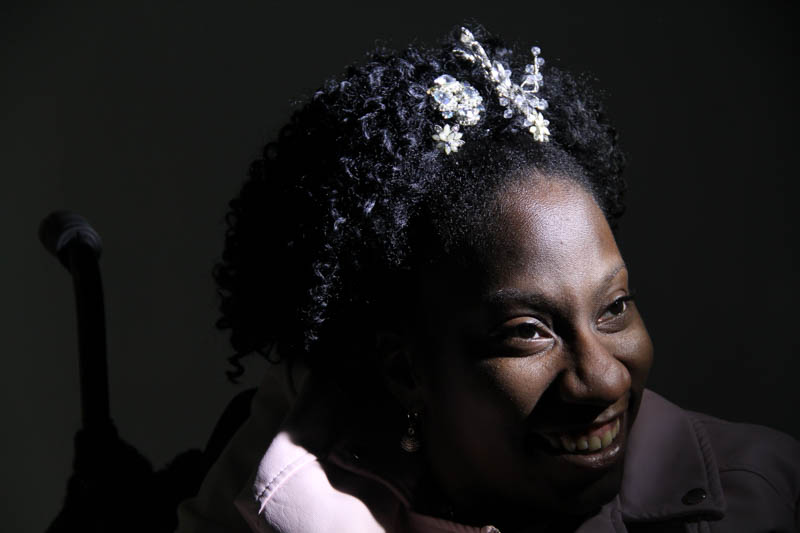
Butterfly/Clamshell

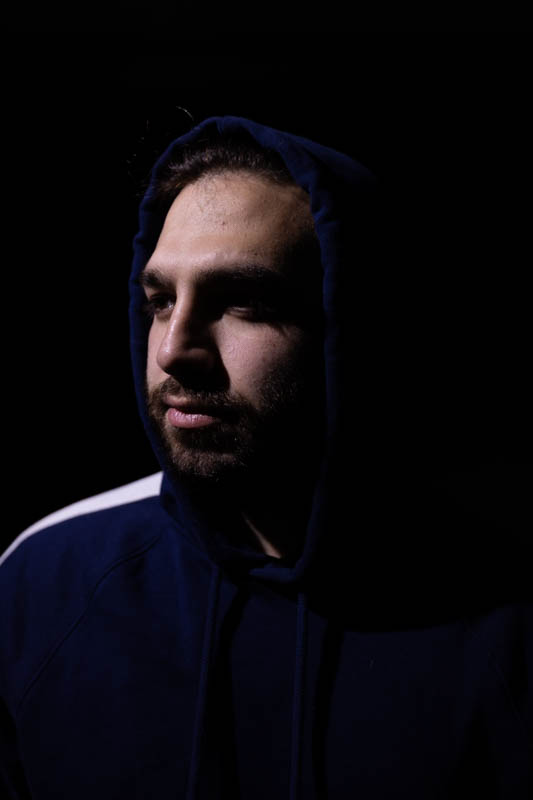
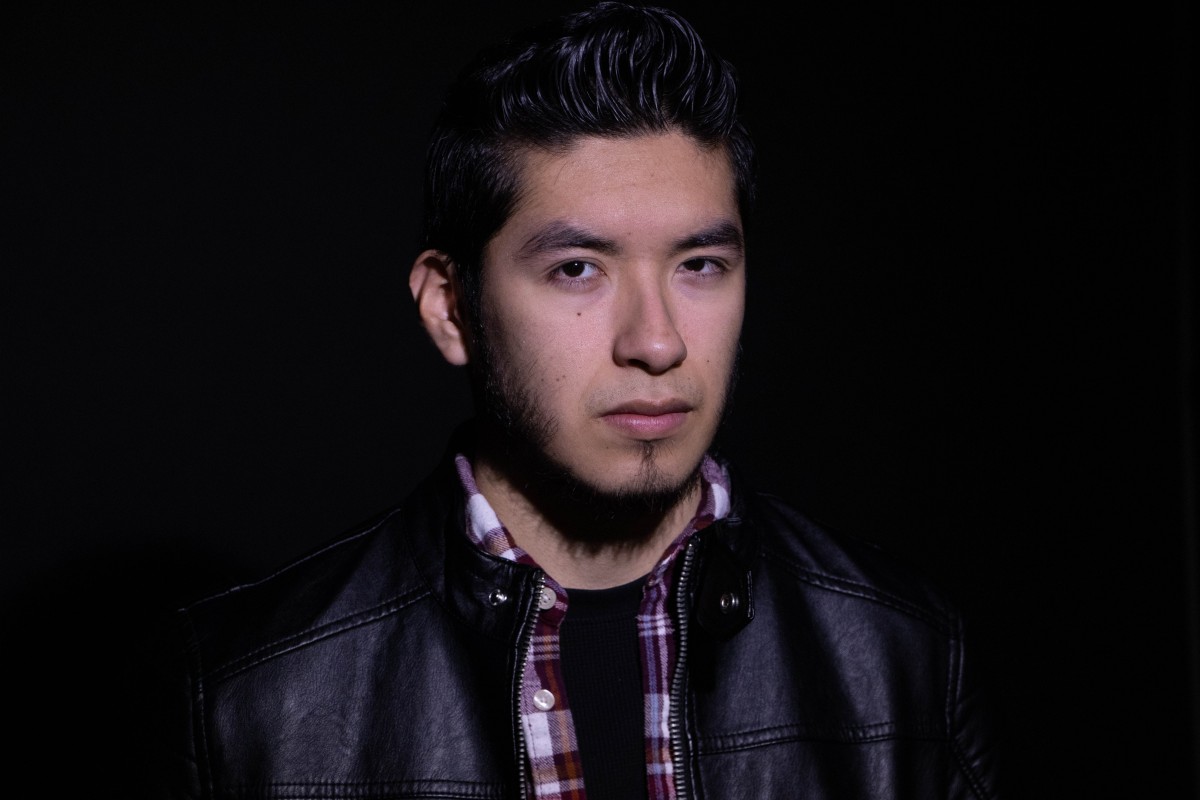
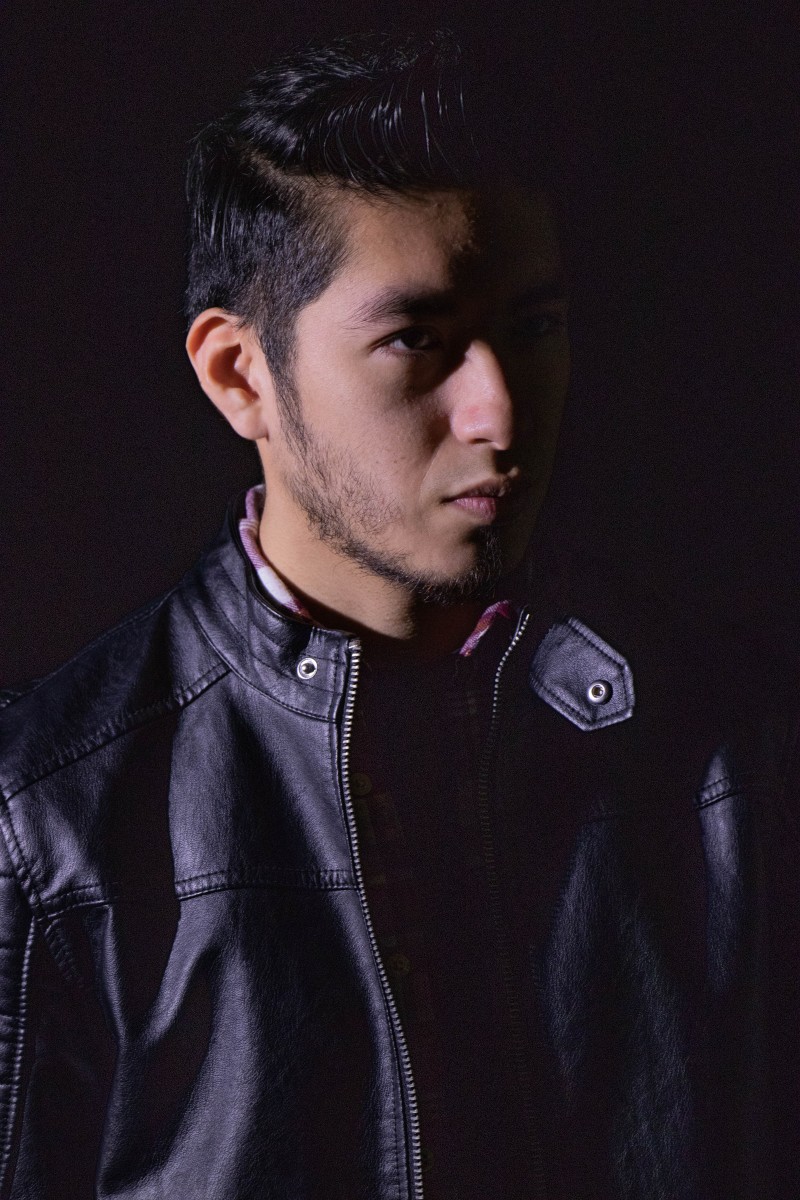
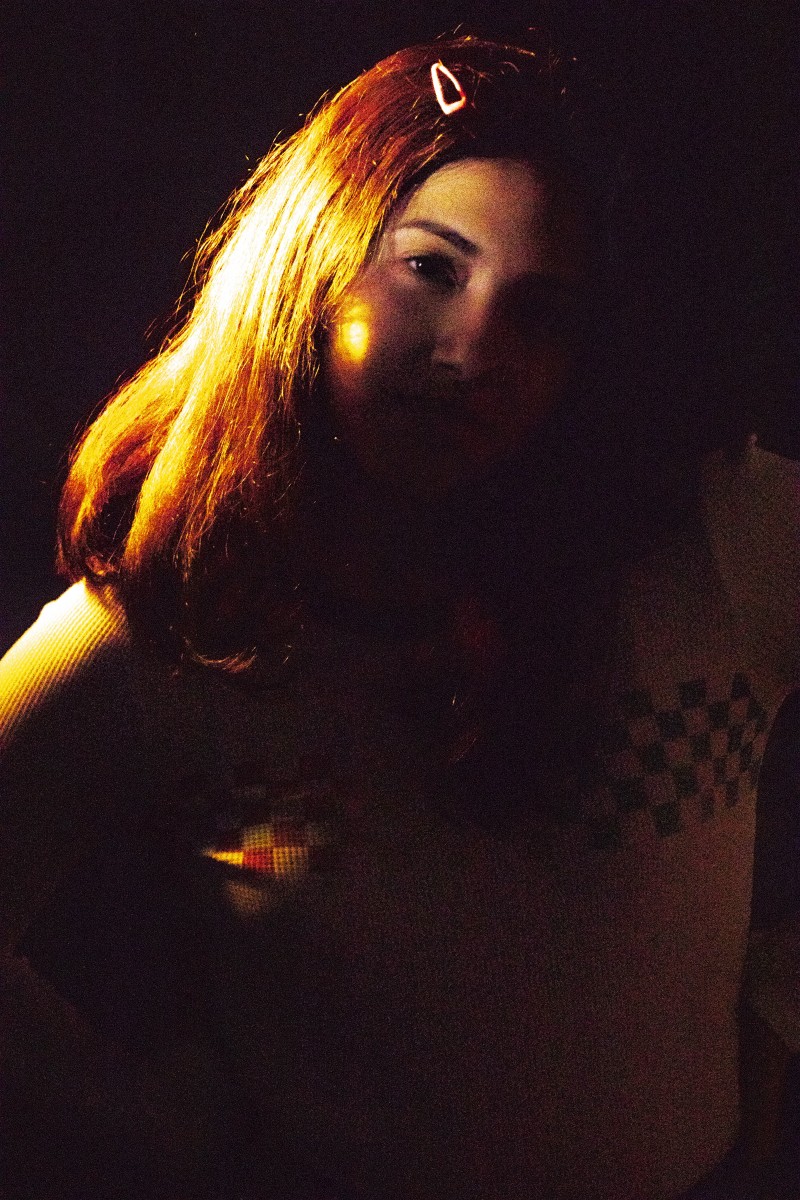
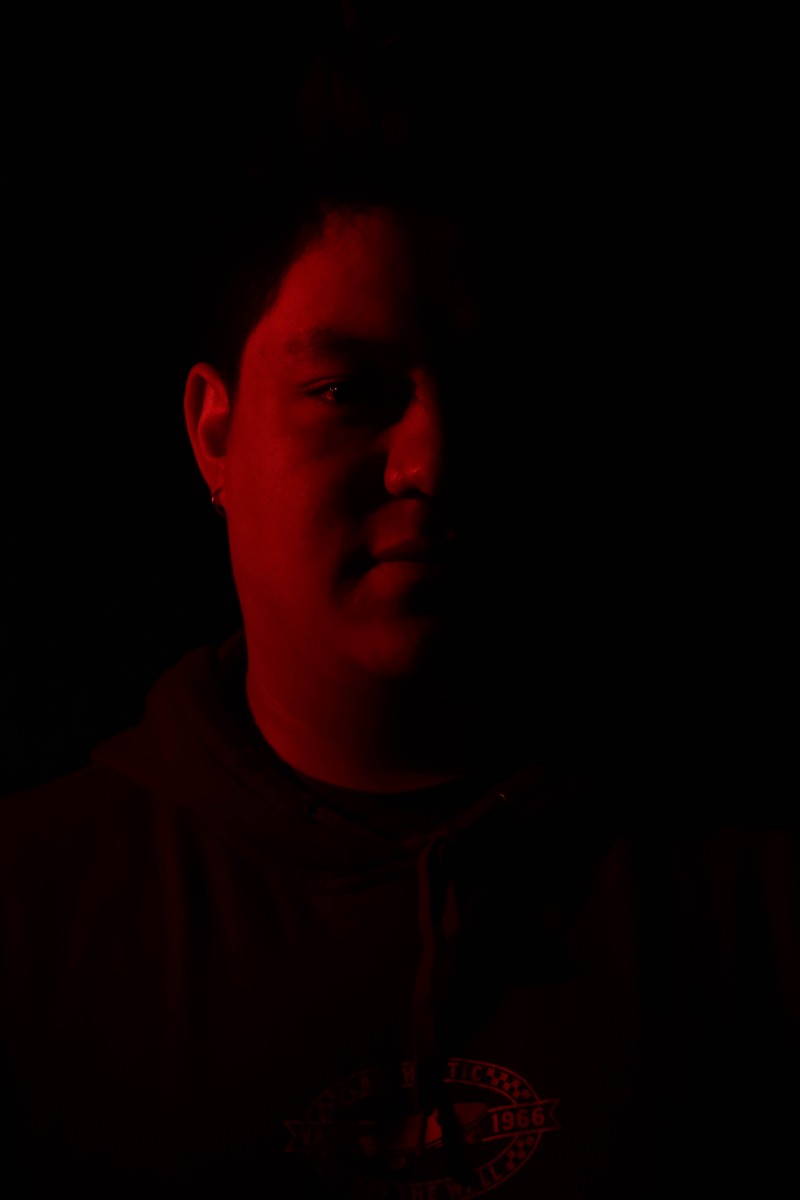
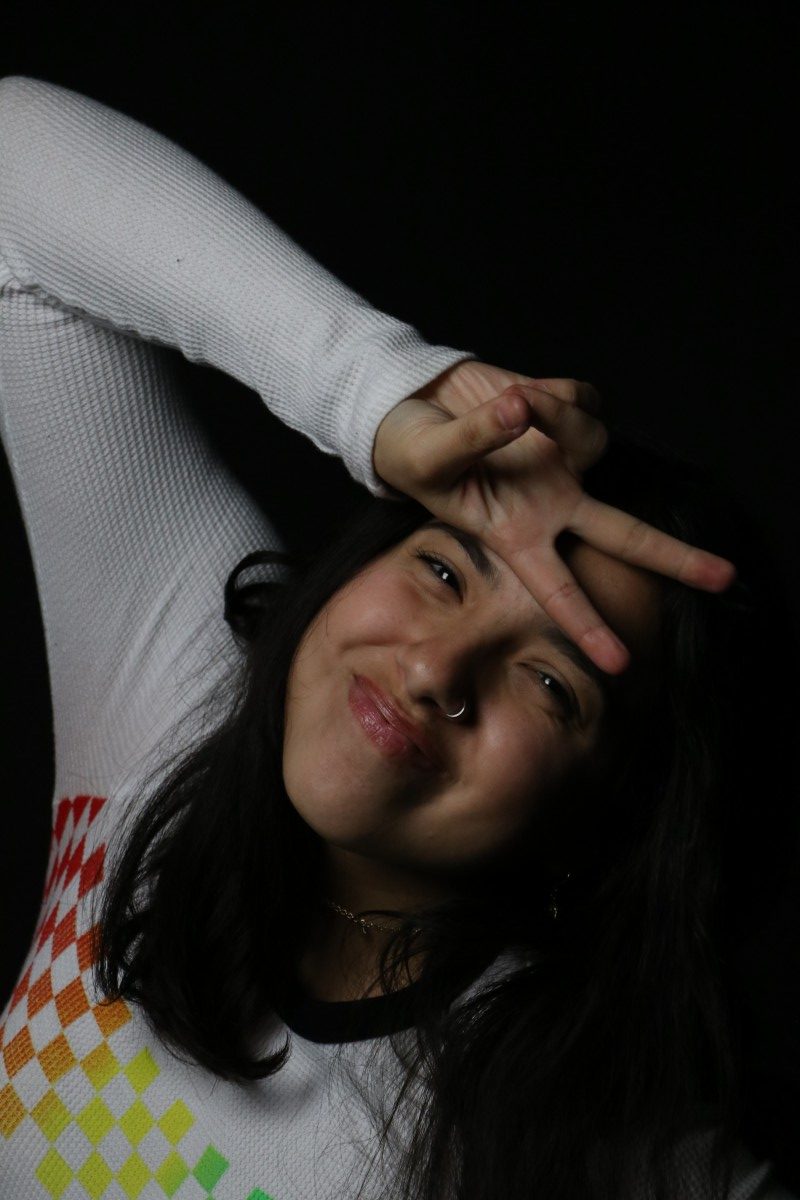
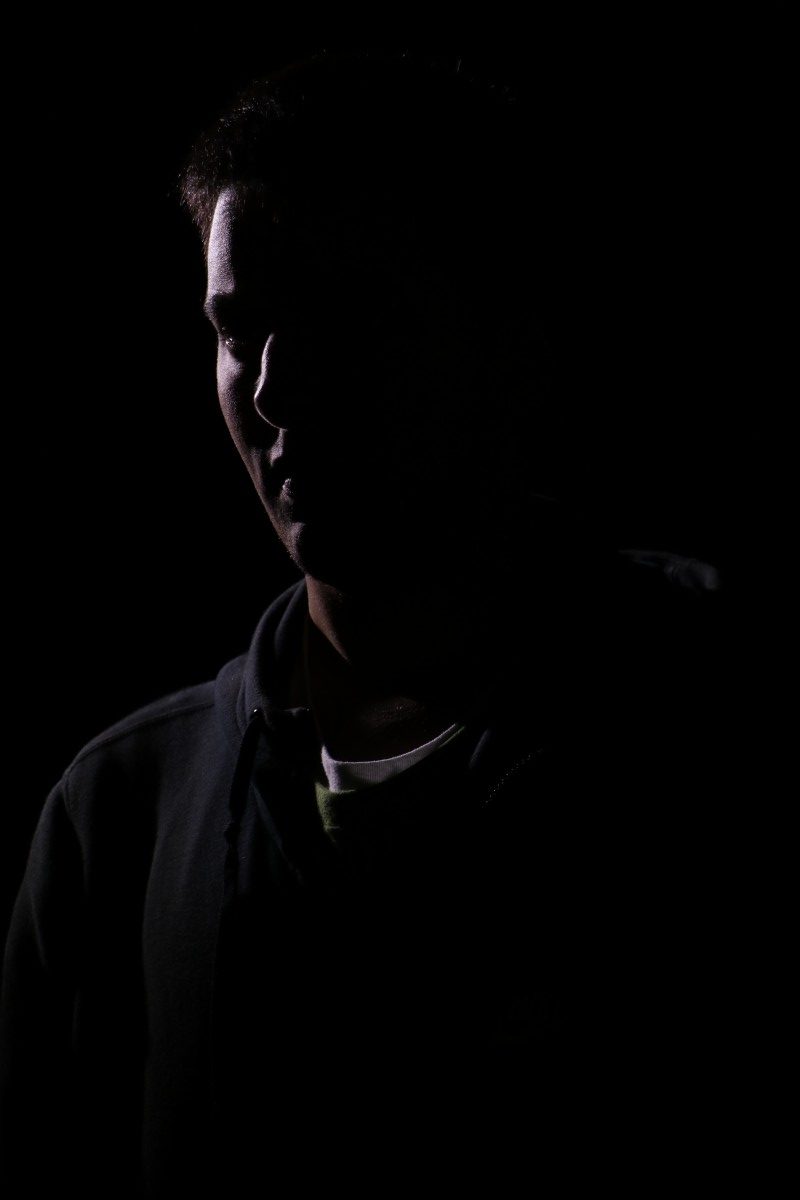
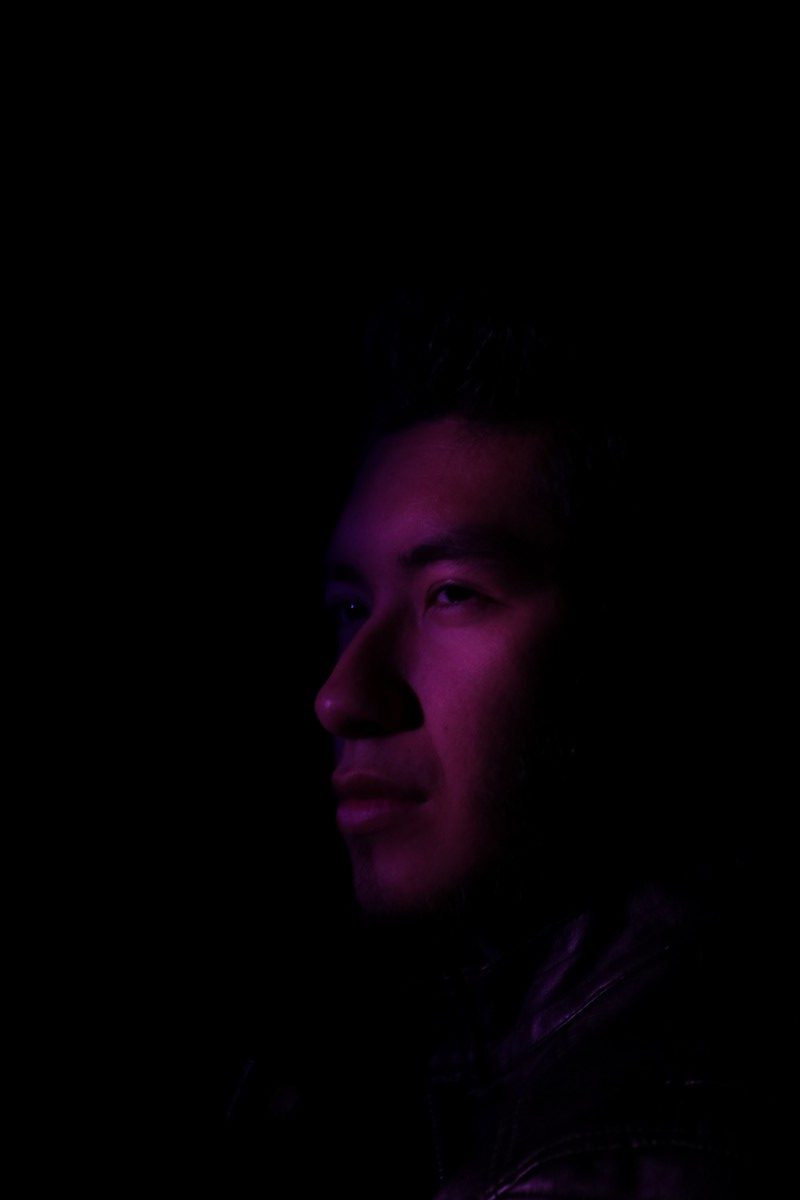
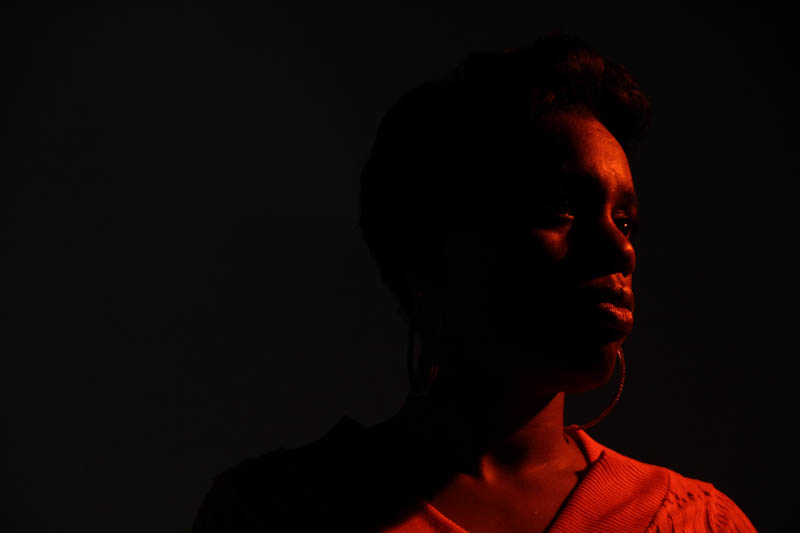
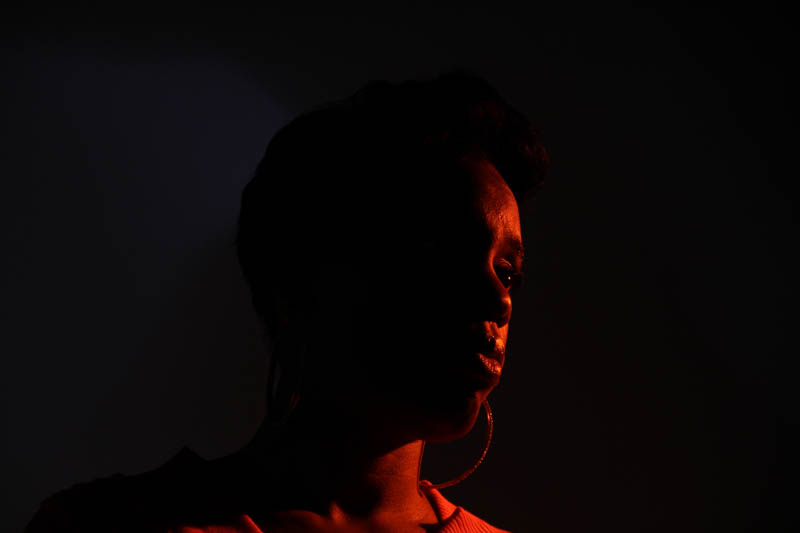
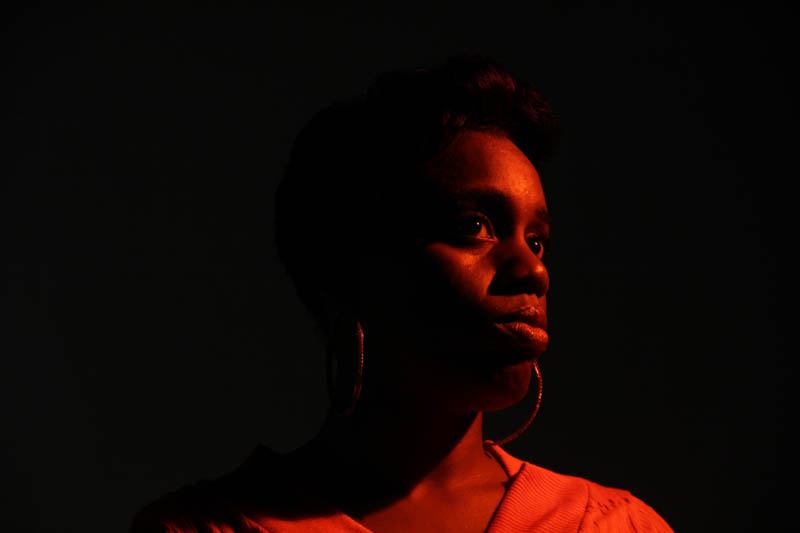
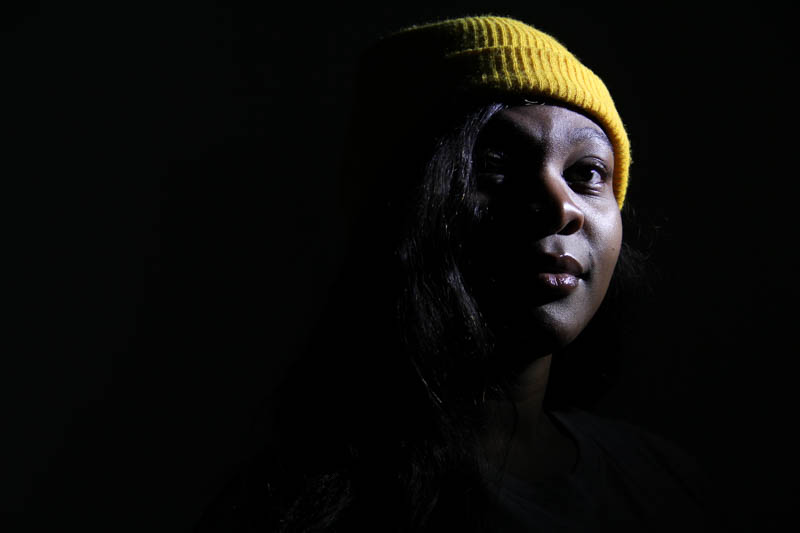
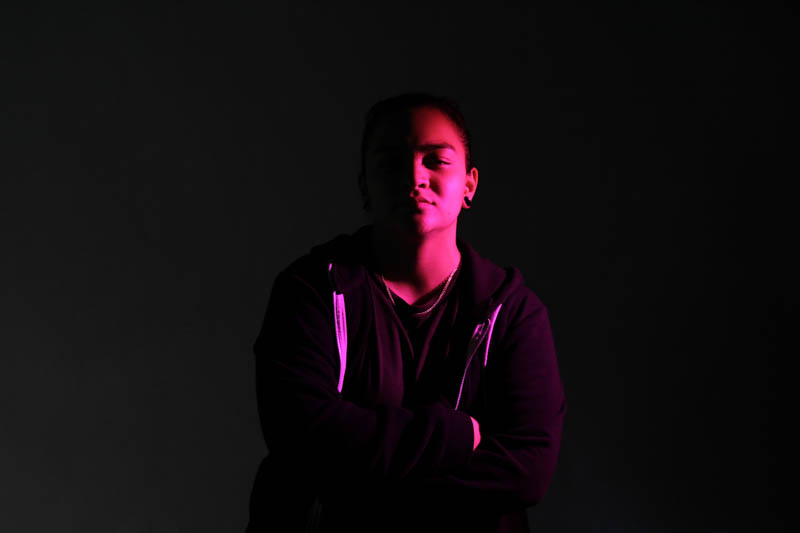
Edge Lighting
I really enjoyed taking these photos in different lightings because they all created a different vibe and feel to it. It was really fun and interesting to learn how to take these photos and I learned a lot during the process of it. One of my favorite photos is the last one with edge lighting with Kiara in it because it gives a relax feel to it and a really calming vibe. It gives these vibes because of the edge lighting which I like a lot.

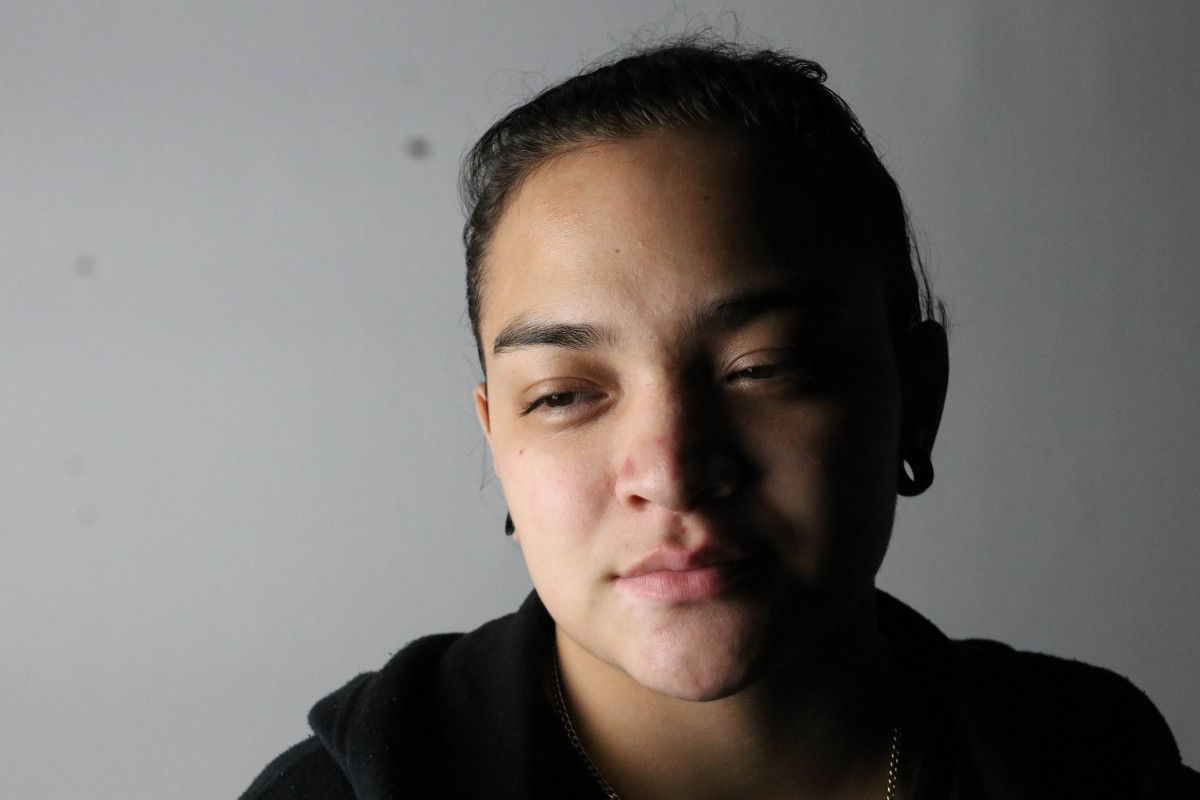
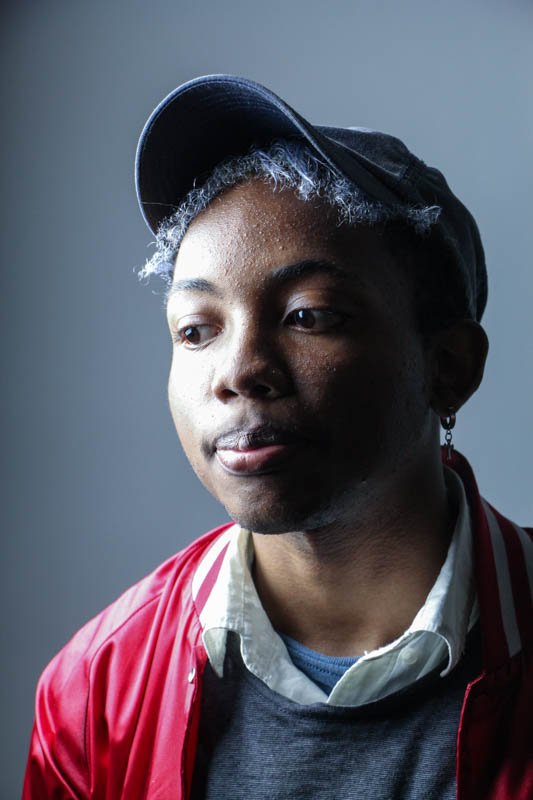
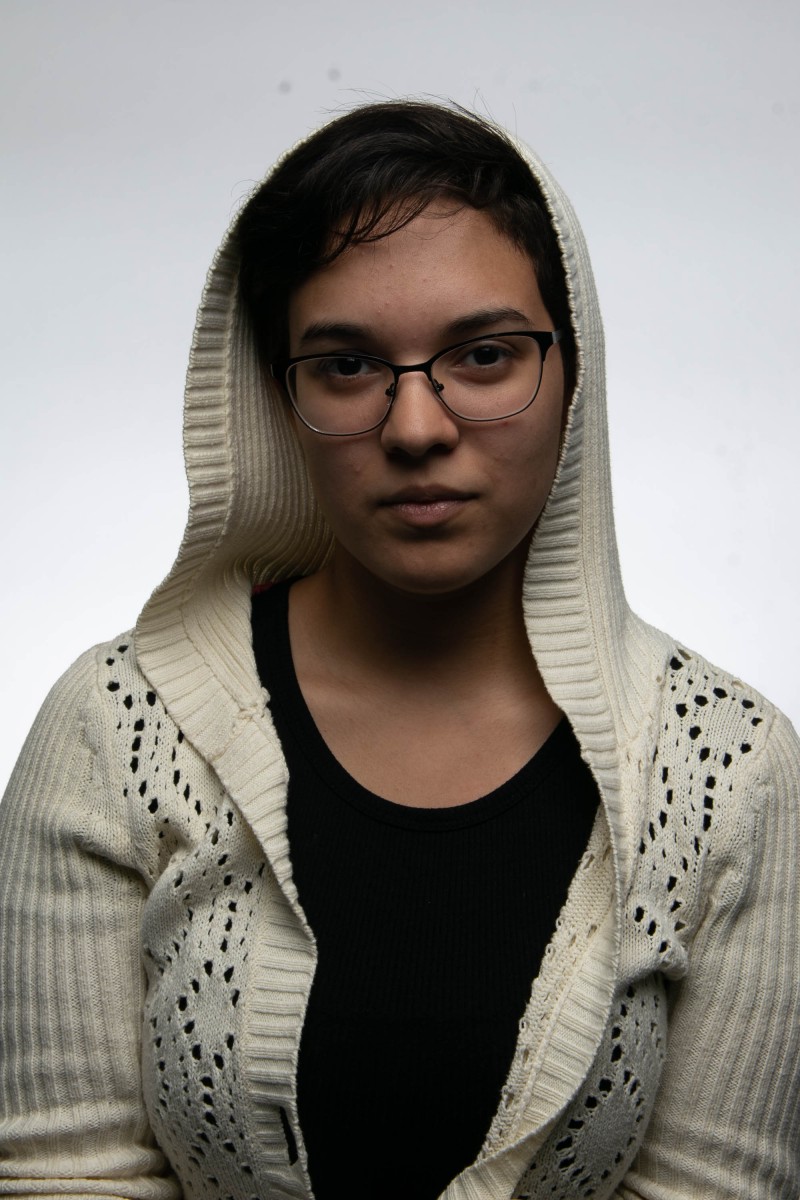
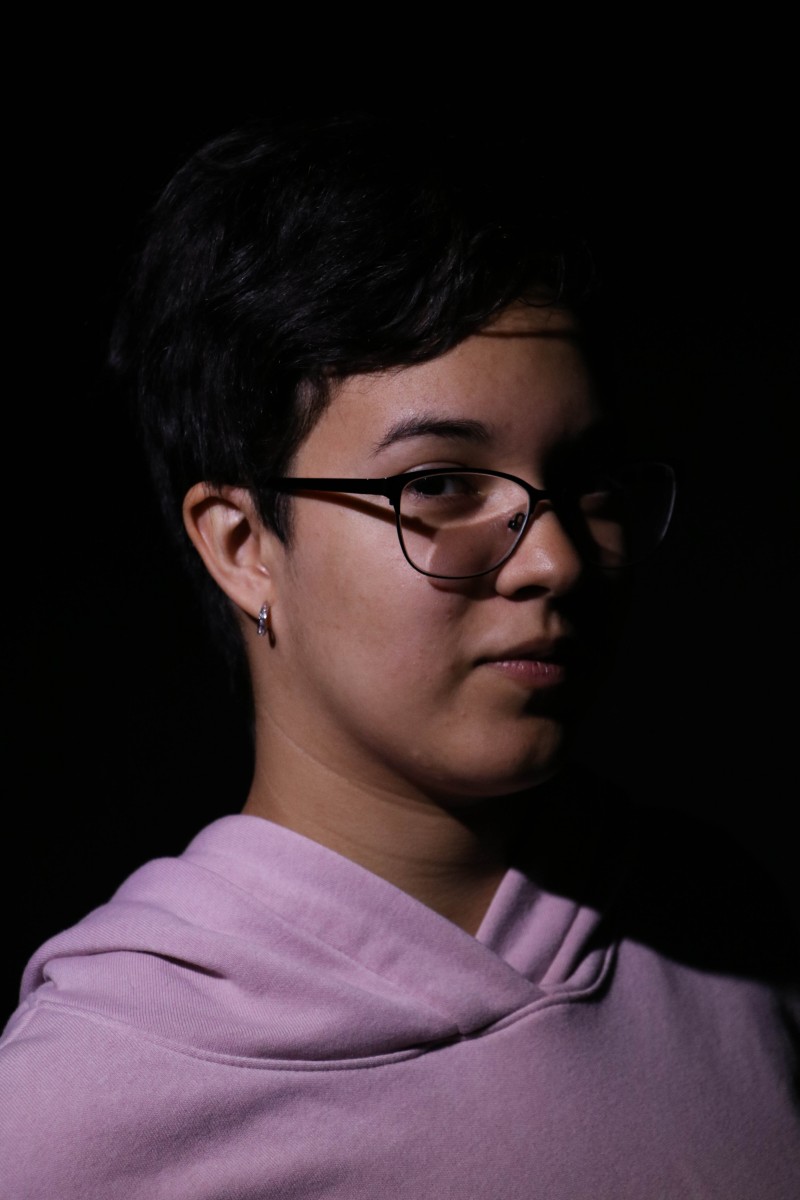 Broad
Broad Short
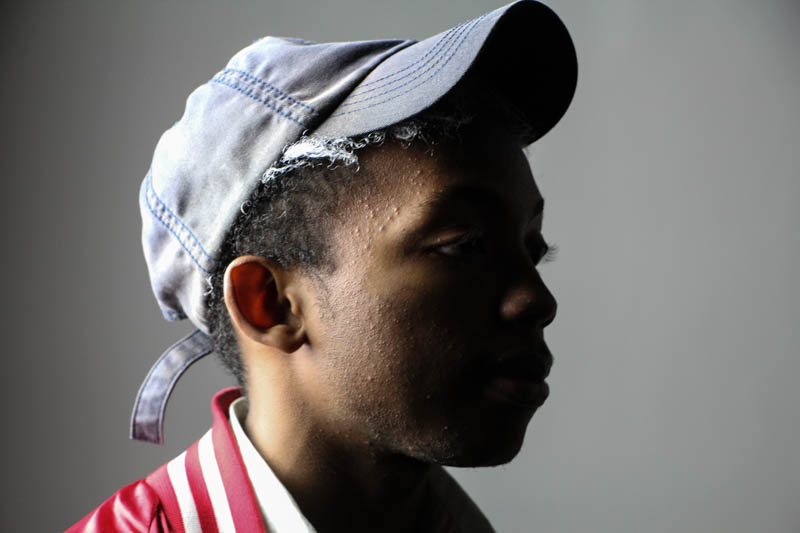
Short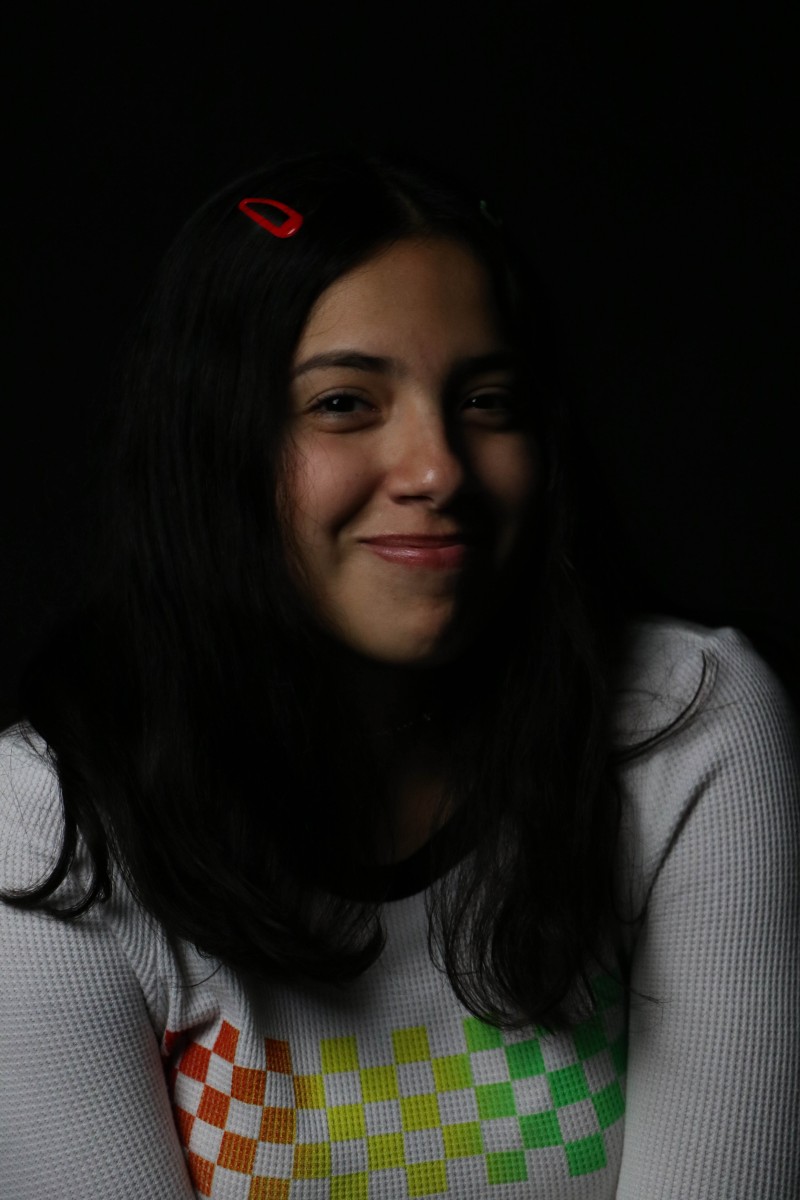 Rembrandt
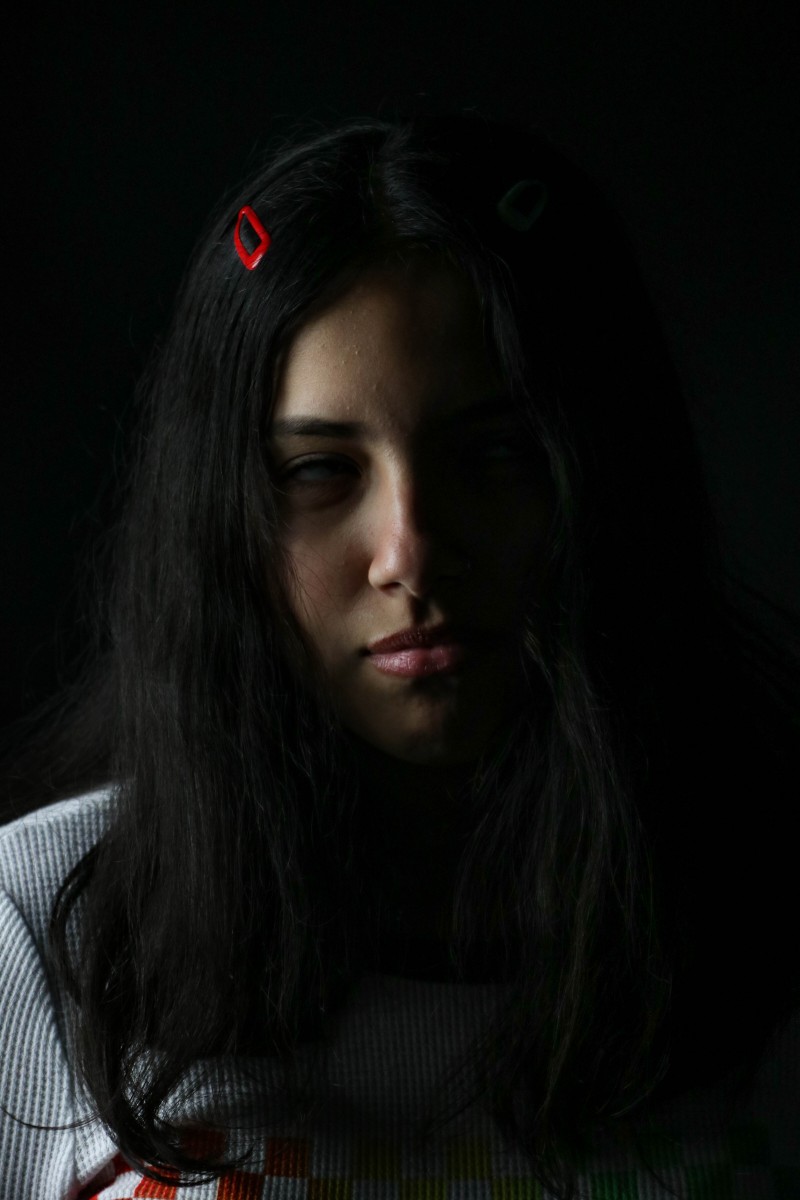 Split
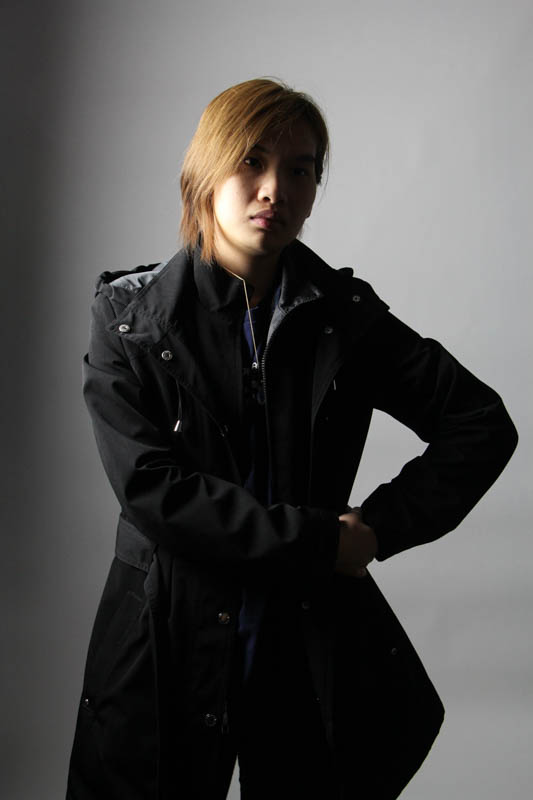
Split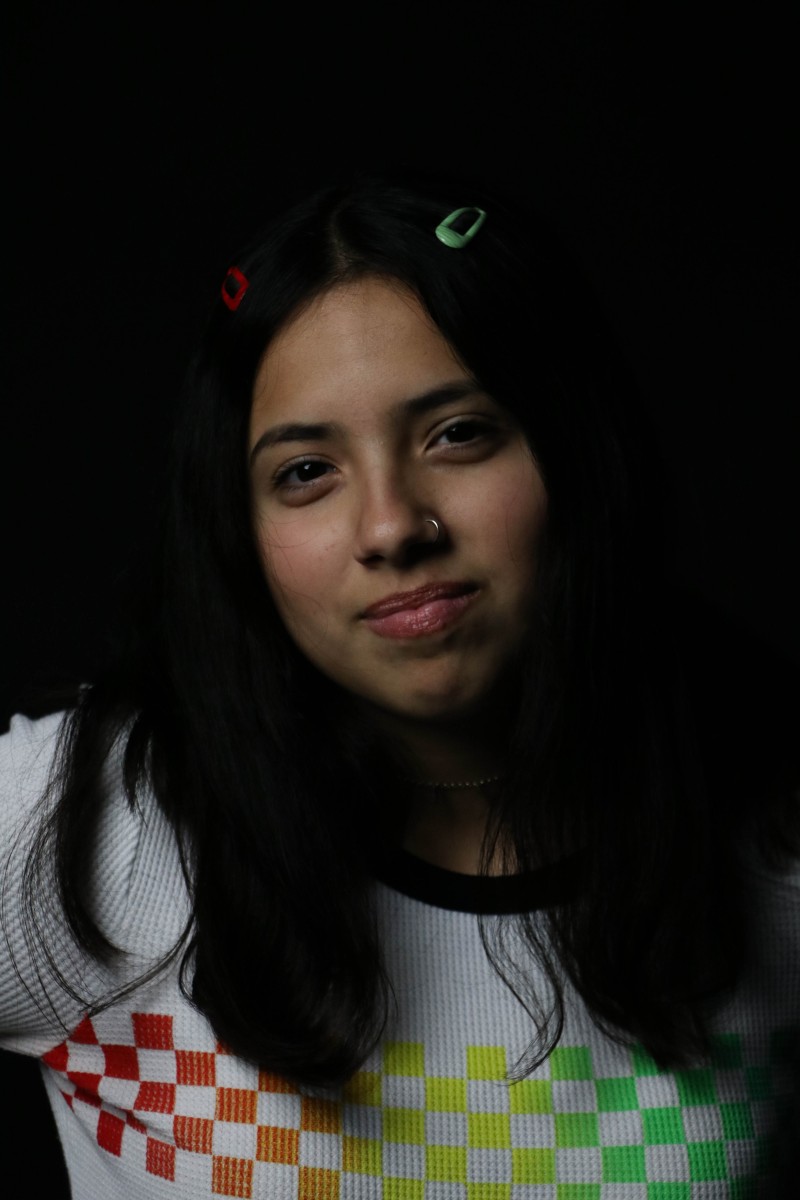 Loop
Loop