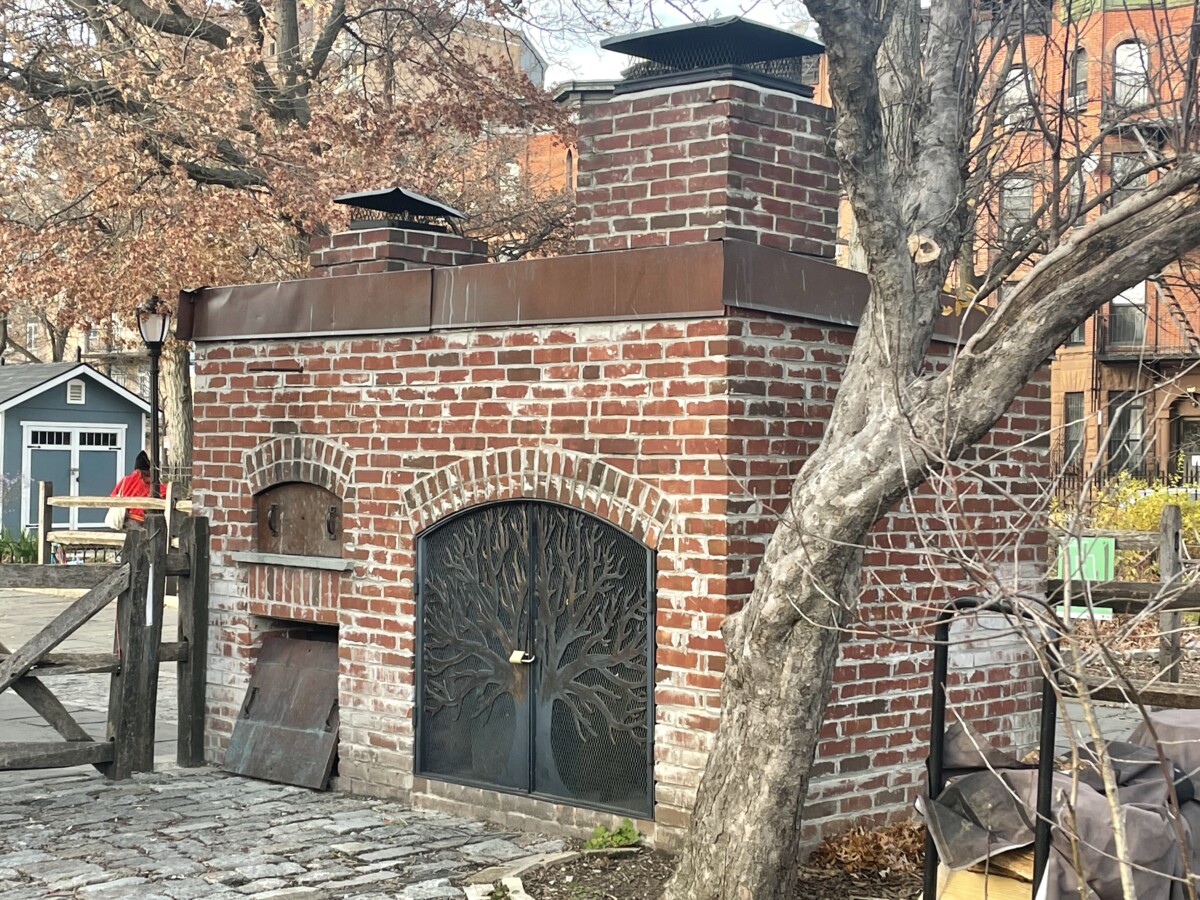
Before Correction
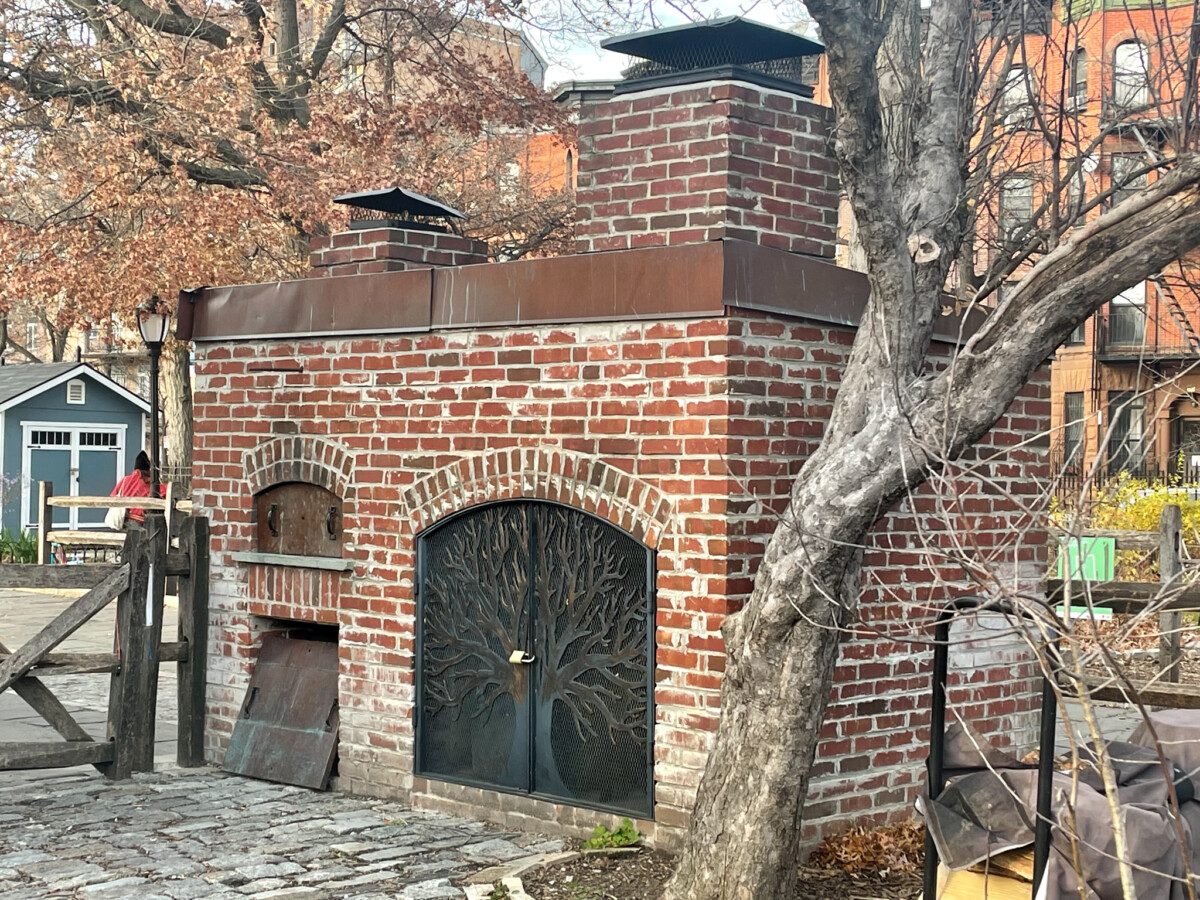
After Correction
Professor Michals
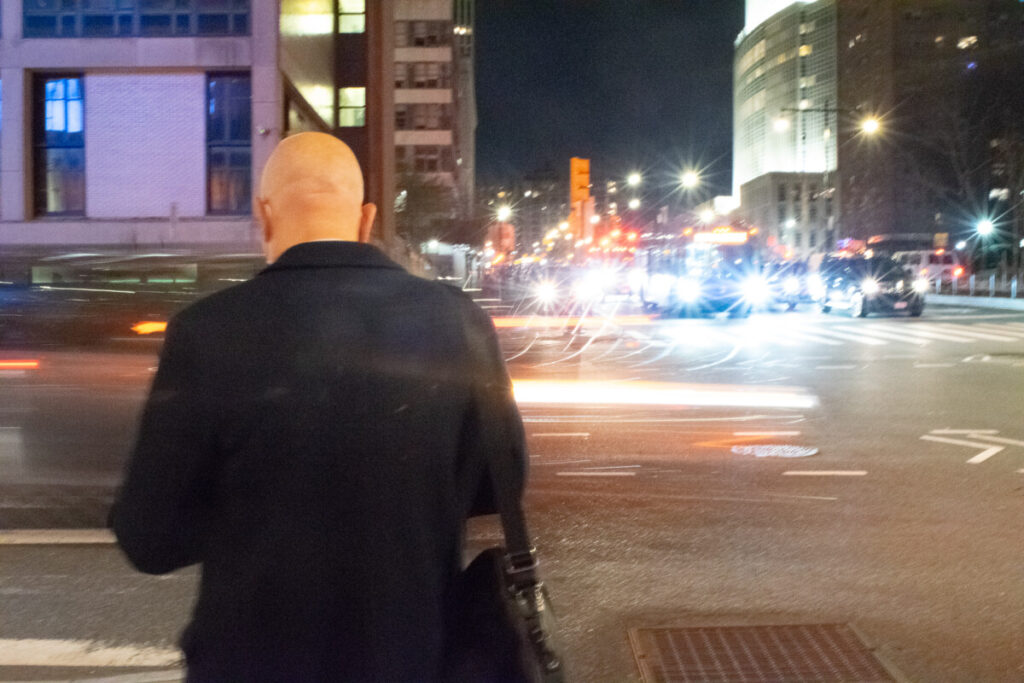
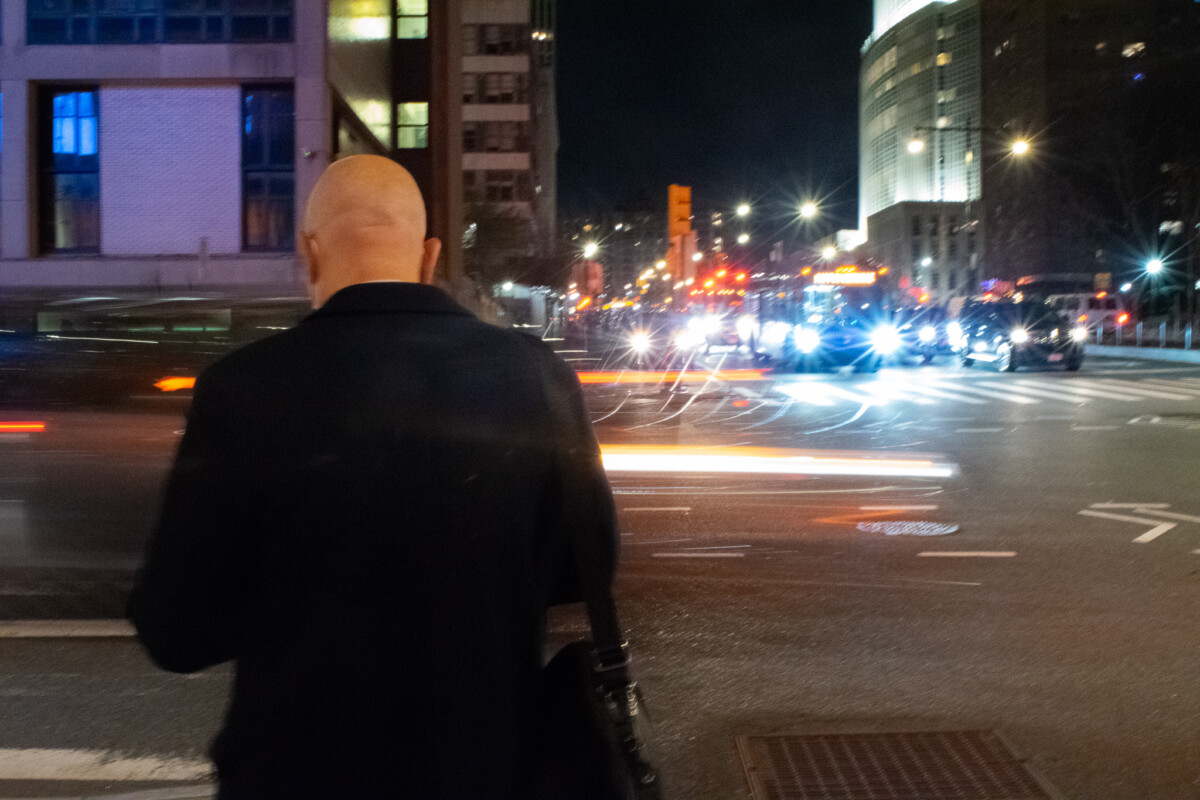
Before Correction
After Correction
Set up:
The key or main light is the light that casts the shadows.
Working with just the key light:
Front view:
Photograph your subject with:
Three-quarter view:
Photograph your subject with:
Profile:
The model turns their face at a 90 degree angle to the camera. Place light like a side light. The subject faces the light BEING VERY CAREFUL NOT TO LOOK DIRECTLY INTO THE LIGHT.
Put your 20 best photos into an album on Flickr. Make sure to represent each one of these lighting styles. Send you 2 best to the class group.
Shooting with strobes, experiment and create some magic with frozen motion.
Shoot at least 20 examples and put them in an album on Flickr. Send the best one to the class group.
In a series of long exposure photographs, use motion blur to tell a story, a ghost story if you will. Contrast something sharp, still and in focus with motion blur to create a narrative or show an inner state or emotion. Shoot at least 20 examples and put them in an album on Flickr. Send the 3 photos that tell your story to the class group.
2. Use the timer so that you do not shake the camera.
3. Use the strobes’ modeling light for the exposure. It will be warmer than the flash so if AWB is not cutting it, adjust the WB.
4. Use a long exposure such as 10″ with ISO 100 and a narrow aperture such as f11. This should give you enough time to create the blur you want.
5. You can create multiple exposures by popping the flash during the exposure.

© 2024 COMD 3330 HE 10
Theme by Anders Noren — Up ↑
The OpenLab is an open-source, digital platform designed to support teaching and learning at City Tech (New York City College of Technology), and to promote student and faculty engagement in the intellectual and social life of the college community.


Recent Comments