Dominique, Egly, & Darius

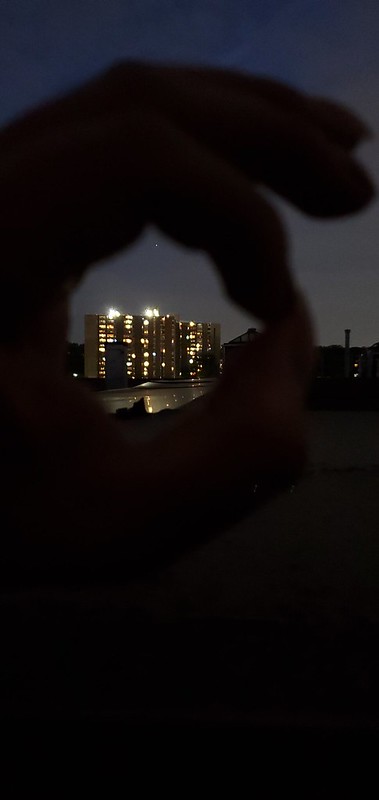
Contrast of Light & Dark -Egly
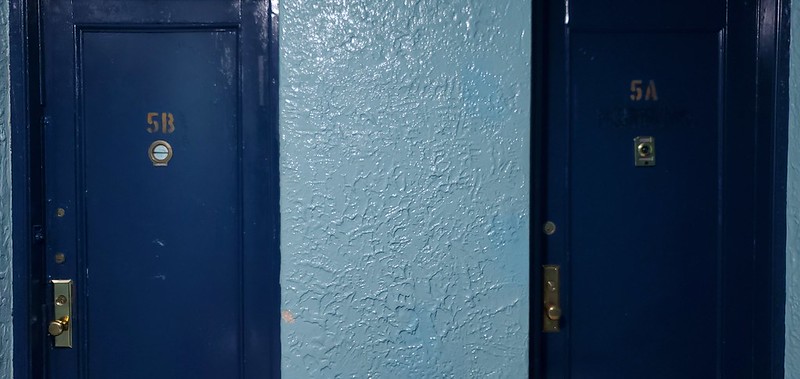
Symmetry -Egly
Frame Within A Frame -Egly
Diagonal Lines – Darius

Figure To Ground – Darius
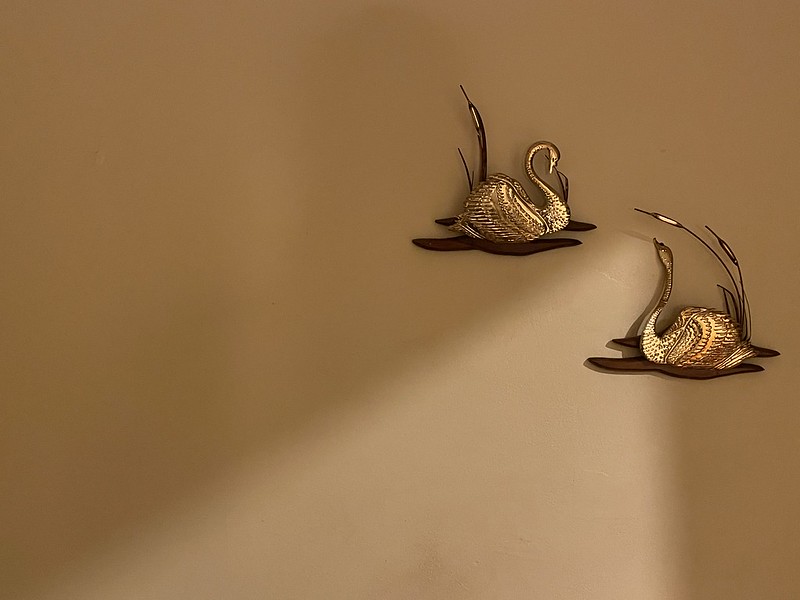
Rule of Thirds – Dominique
Leading Lines – Dominique

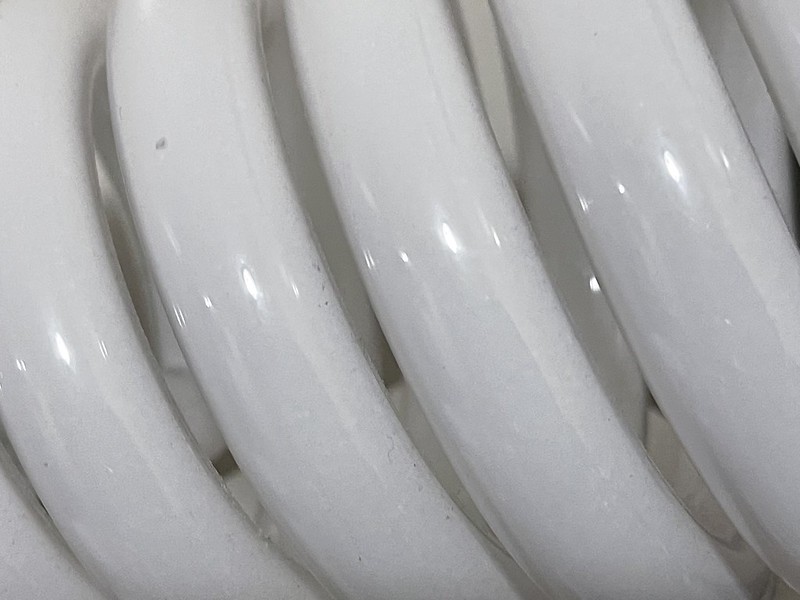
Patterns- Dominique
Professor Michals
Select one of the photos that you will include in your final project that needs some local as well as global corrections.
First make the global corrections.
Then identify what is the most important thing in your photo. Consider how to best direct our attention there.
Then using the adjustment brush and or the graduated or radial filters, make the needed local corrections.
Put a before and after version of your file with local corrections into a gallery block in a post on OpenLab. Include a list of the global and then local corrections that you made to the file.
Category: Lab: Week 14 – Local Corrections
Pick any photo that you will be including in your final project presentation.
Make the necessary global corrections to make your photo look its best.
Put the before and after versions of your photo in a gallery block into a post on OpenLab. Include a list of the adjustments you made to the photo.
Category: Lab: Week 14 – Review Global Corrections
To avoid direct reflection, light glass from behind.
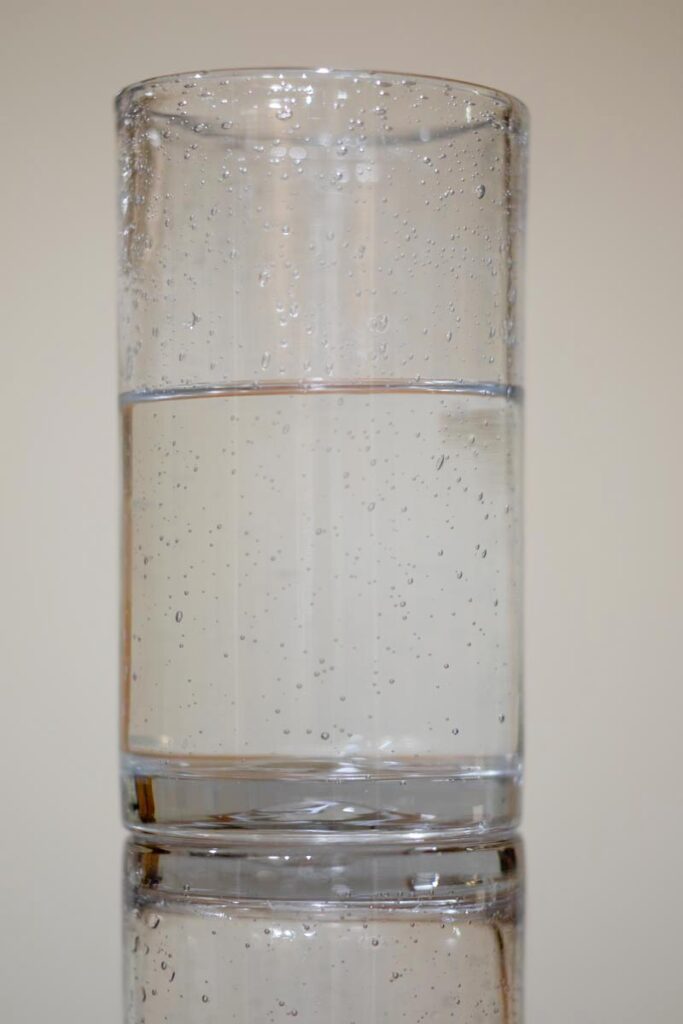
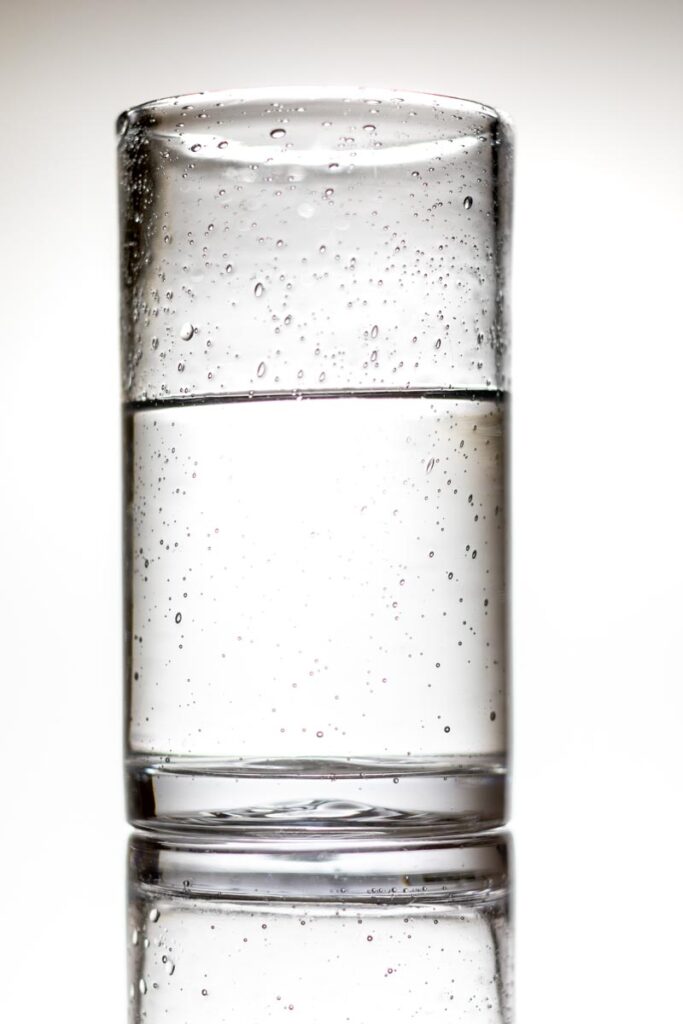
Photograph a glass of water using backlight. Turn off all other lights so that there is no direct reflection.
Put the glass on white plexi or place one glass on top of an identical upside down glass in front of a white wall or other white background that fills the frame behind the glass.
Use a black card to cut the light along the end making it dark and giving the glass form.
Think abut the ellipses in the glass as you choose the angle of view. A low angle will make the glass appear larger and more “heroic.”
Photograph the glass so that there is no direct reflection.
Then create two photos of your glass filled to the midpoint with water: one where it is clear from the image that the glass is half full (optimistic) and one where the glass is half empty (pessimistic.)
Put a minimum of 20 photos in an album on Flickr and send your best one half full image and your best 1/2 empty image to the class group.
Create a photograph for the lead article for each of these two websites.
The title of the article is, “7 tips for cooking with onions and garlic.”


For each, make a photo that brings out the shapes and textures of the onions and garlic and looks visually engaging and appetizing.
Choose your subjects carefully. Note that odd numbers generally create more appealing compositions. Keep it simple but build in some visual interest.
Think carefully about the background.
Decide if you prefer side or back light.
Arrange your subjects using the basic rules of composition:
Post 20 photos to Flickr showing your process. Send your best for each website to the class group.
Write a post outlining your final project. Cover the following:
Topic: What is it about? What genre of photography interests you and would you like to explore: street photography, food photography, portrait photography
Purpose: What purpose will it serve in your portfolio? Do you want to highlight your conceptual thinking, your design sense, your lighting skills?
Subject Matter: Literally what will you shoot?
Style: What will it look like? How will you use photographic style to communicate
emotion and point of view? Find at least one example and include at least one
photograph with your description that shows what you want the project to look like.
Lighting: how will you light your project? This may be daylight.

© 2024 COMD 3330 HE 10
Theme by Anders Noren — Up ↑
The OpenLab is an open-source, digital platform designed to support teaching and learning at City Tech (New York City College of Technology), and to promote student and faculty engagement in the intellectual and social life of the college community.


Recent Comments