Professor Michals

Category: Lab Exercises (Page 2 of 4)

Lab: Week 11 – Photographic Style

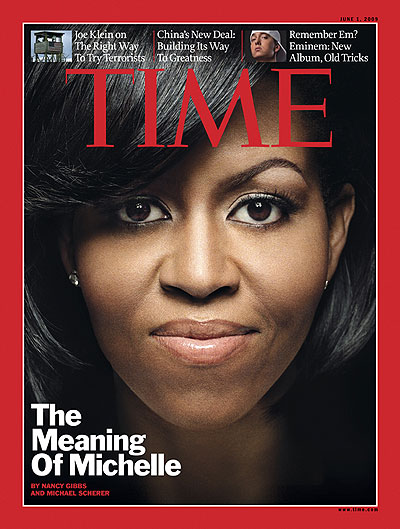
What are the stylistic differences between the way that people are photographed for each of these three magazines?

Create a cover image for each publication that fits with the existing style standards of that magazine.

Put at least 30 of the photos on Flickr. Select the best for each magazine and send it to the class group. Make sure to clearly label the image with the magazine.

Lab: Week 10 – Portraits

Photograph your classmates at each of the stations in the class. Make sure you have at least one good example of:

  • wide angle distortion
  • clamshell lighting
  • a hair light
  • three point lighting

Post your 20 best to an album on Flickr and send your two best portraits to the class group.

Lab: Week 9 – Basic Portrait Lighting Styles

Set up:

  • The subject should be at least 4 or 5 feet in front of the backdrop to avoid casting a shadow.
  • Use 65mm focal length when you are using a camera with a cropped frame sensor
  • Focus on the subject’s eyes.

The key or main light is the light that casts the shadows.

Working with just the key light:

Front view:

  • The subject faces the camera.
  • Photograph your subject with:

    • Rembrandt light – the light is at a 45 degree angle to the subject. Look for the key triangle -a triangle of light on the darker side of the face to position the light.

      Do not place the light too high because this will cause shadows around the subject’s eye sockets.
    • Split light – the light is at a 90 degree angle to the subject. One side of the face is dark but light does fall on the other side.
    • Front light (butterfly) – Light falls on the subject from the camera position.


    Three-quarter view:

    • The model’s face is turned to a 45 degree angle from the camera.

    Photograph your subject with:

    • broad lighting by placing the light on the side of the visible ear. There will be a broad highlight on the subject’s hair. This works for subjects wearing glasses.
    • short lighting by placing the light on the side of the invisible ear. 

    Profile:

    The model turns their face at a 90 degree angle to the camera. Place light like a side light. The subject faces the light BEING VERY CAREFUL NOT TO LOOK DIRECTLY INTO THE LIGHT. 

    Put your 20 best photos into an album on Flickr. Make sure to represent each one of these lighting styles. Send you 2 best to the class group.

    Lab: Week 7 – Global Corrections

    Make global adjustments on each of the three examples:

    Rename the file with your name and a number and send them to me rmichals@citytech.cuny.edu

    Select one photo from either your midterm project or your coursework to-date that you think represents your best work and will benefit most from adjustment in Lightroom. Using the Lightroom Workflow detailed on today’s class topics page, adjust your photo.

    Make a post and include the before and after versions with a screen shot of the Lightroom settings you used and a short description of how you improved your photo.

    Category: Global Corrections

    Lab: Week 6 – Lighting Direction and Quality

    Working with your stuffed animal, take a series of photos of it at each of the four stations. The goal is to create the most varied series of photos that you can on this one stuffed animal.

    Continuing to work with the same stuffed animal and no other props, create two final photographs-one that illustrates the idea of a happy childhood and a second that illustrates the idea of a difficult childhood. Convey the difference in emotion between the two photos with the lighting. Consider the angle of view and framing as well.

    No stereotypes. Keep it fresh.

    Post a minimum of 20 photos of your stuffed animal to Flickr from the first part of the exercise and your two final shots. Send these two images to the class group and one or two others that represent your best work.

    « Older posts Newer posts »

    © 2024 COMD 3330 HE 10

    Theme by Anders NorenUp ↑