Robin Michals | COMD 1340 Photography 1 DO97

Category: Course Activities (Page 4 of 11)

Lab: Week 11 – One-Light Portraits Styles

Set up:

  • The subject should be at least 4 or 5 feet in front of the backdrop to avoid casting a shadow.
  • Use 65mm focal length when you are using a camera with a cropped frame sensor
  • Focus on the subject’s eyes.

The key or main light is the light that casts the shadows.

Working with just the key light:

Front view:

Photograph your subject with:

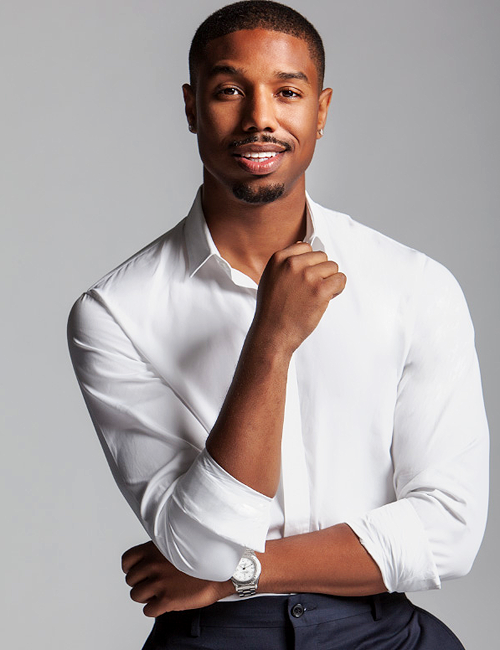
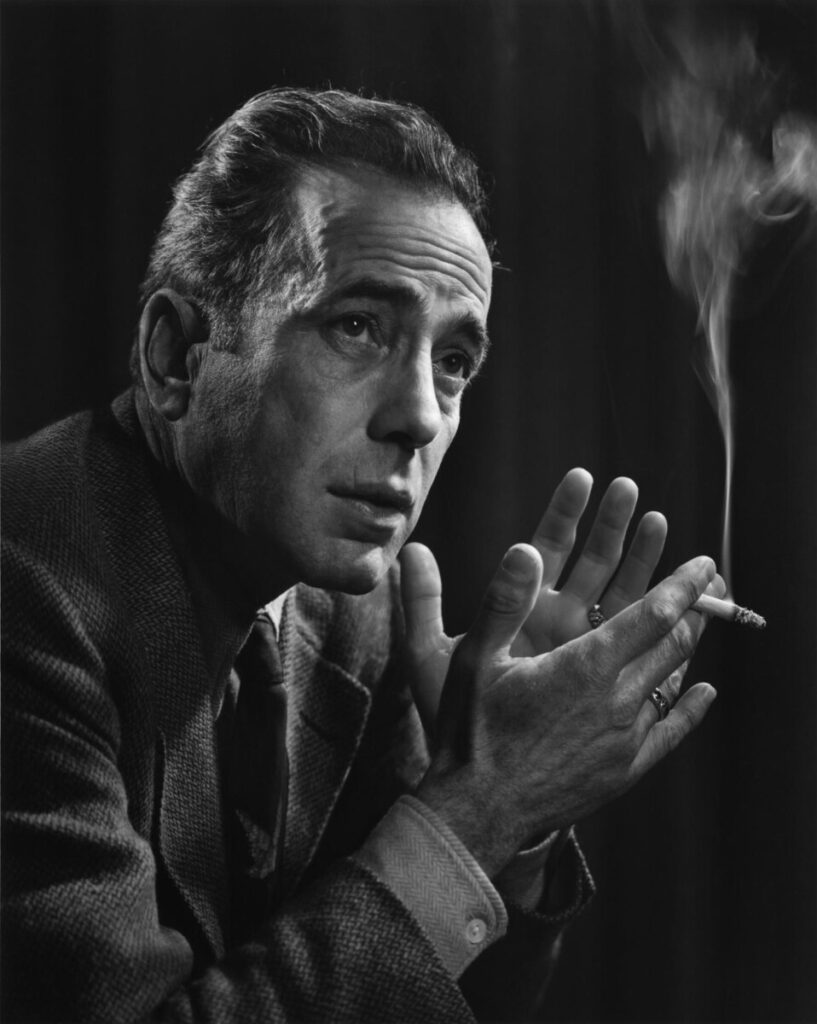
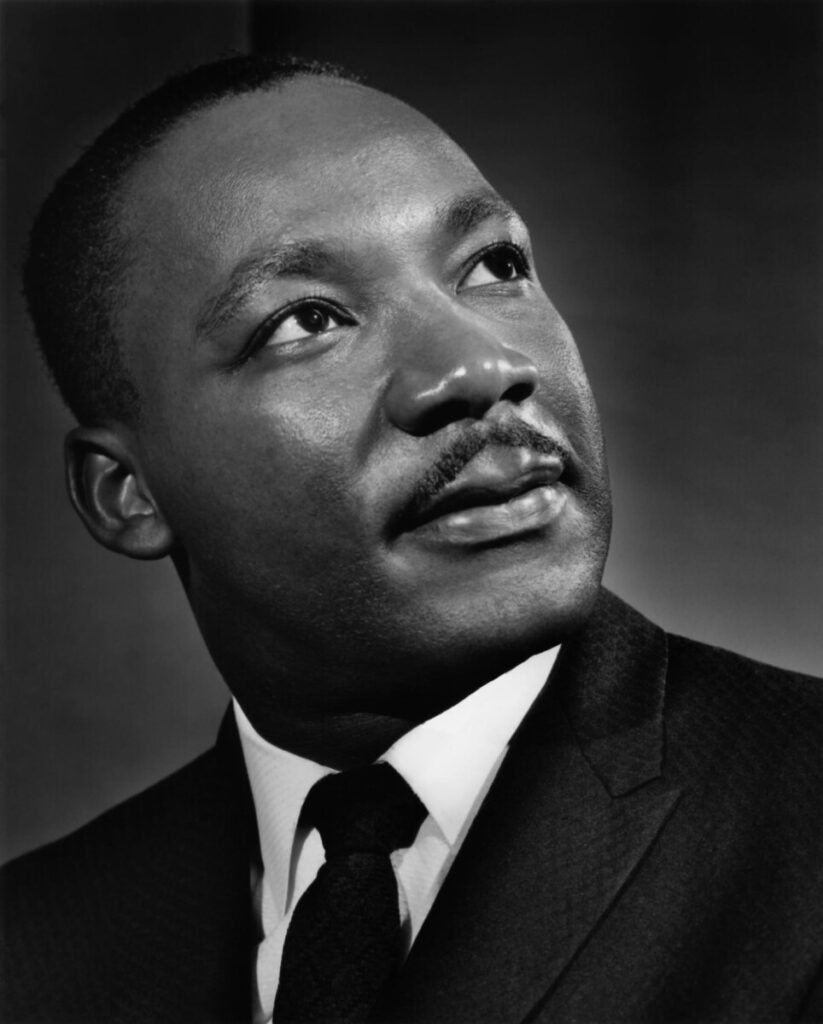
  • Rembrandt light – the light is at a 45 degree angle to the subject. Look for the key triangle -a triangle of light on the darker side of the face to position the light.

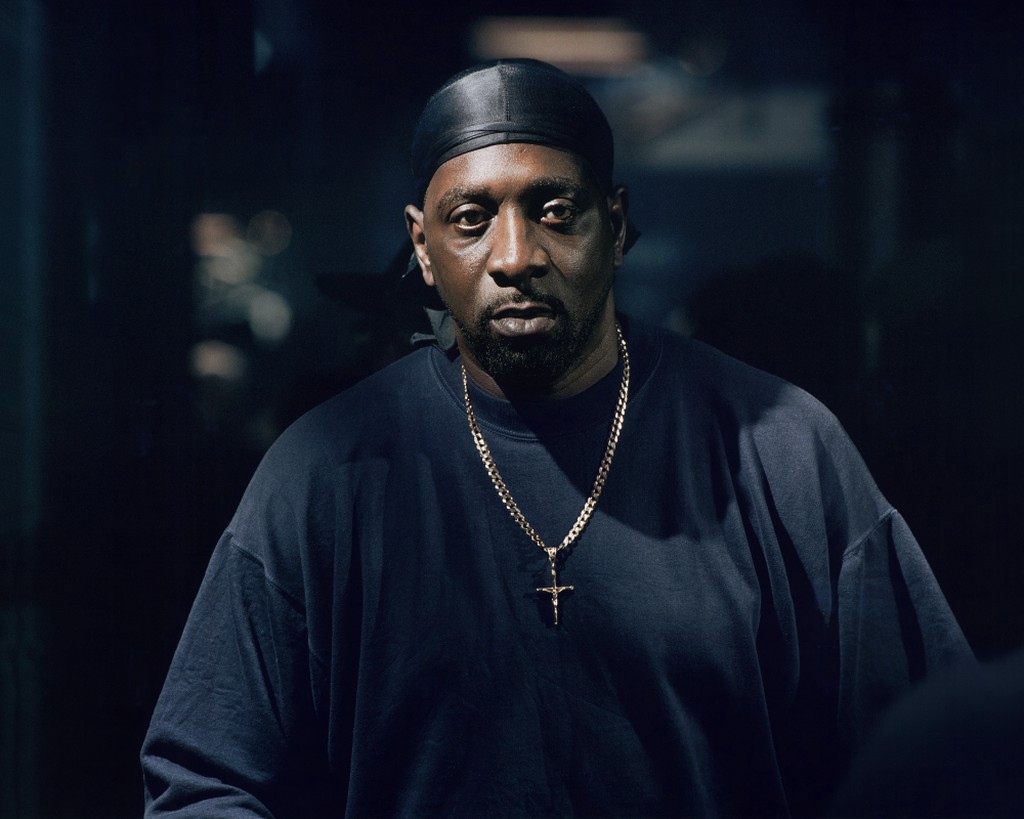
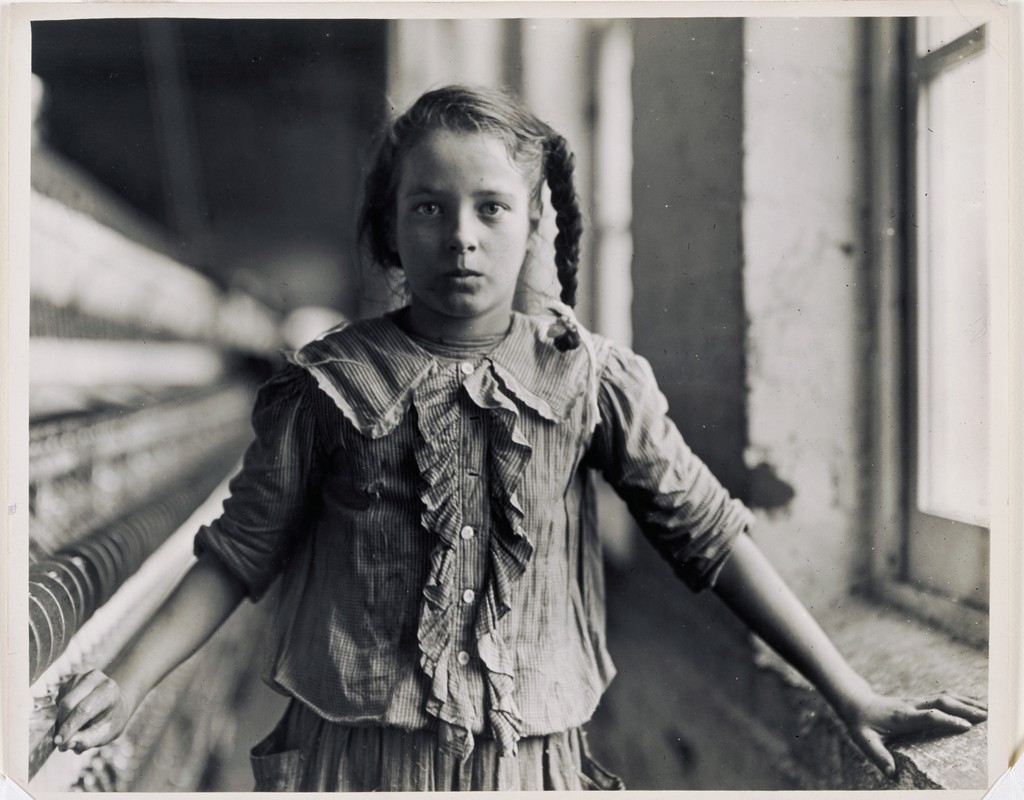
    Do not place the light too high because this will cause shadows around the subject’s eye sockets.
  • Split light – the light is at a 90 degree angle to the subject. One side of the face is dark but light does fall on the other side.
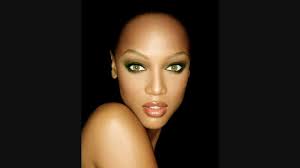
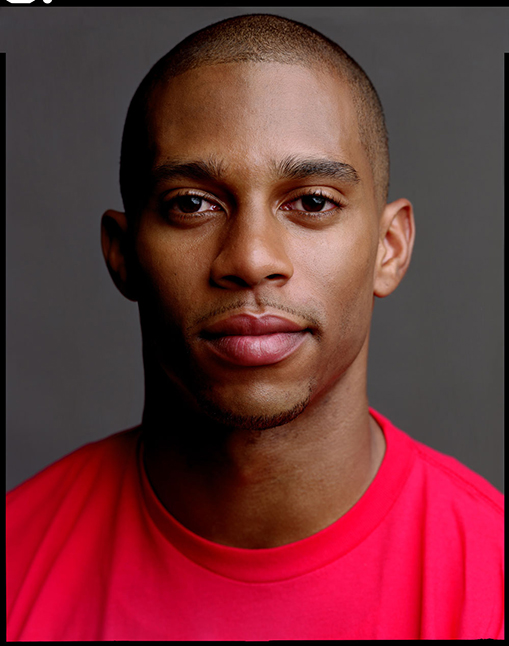
  • Front light (butterfly) – Light falls on the subject from the camera position.
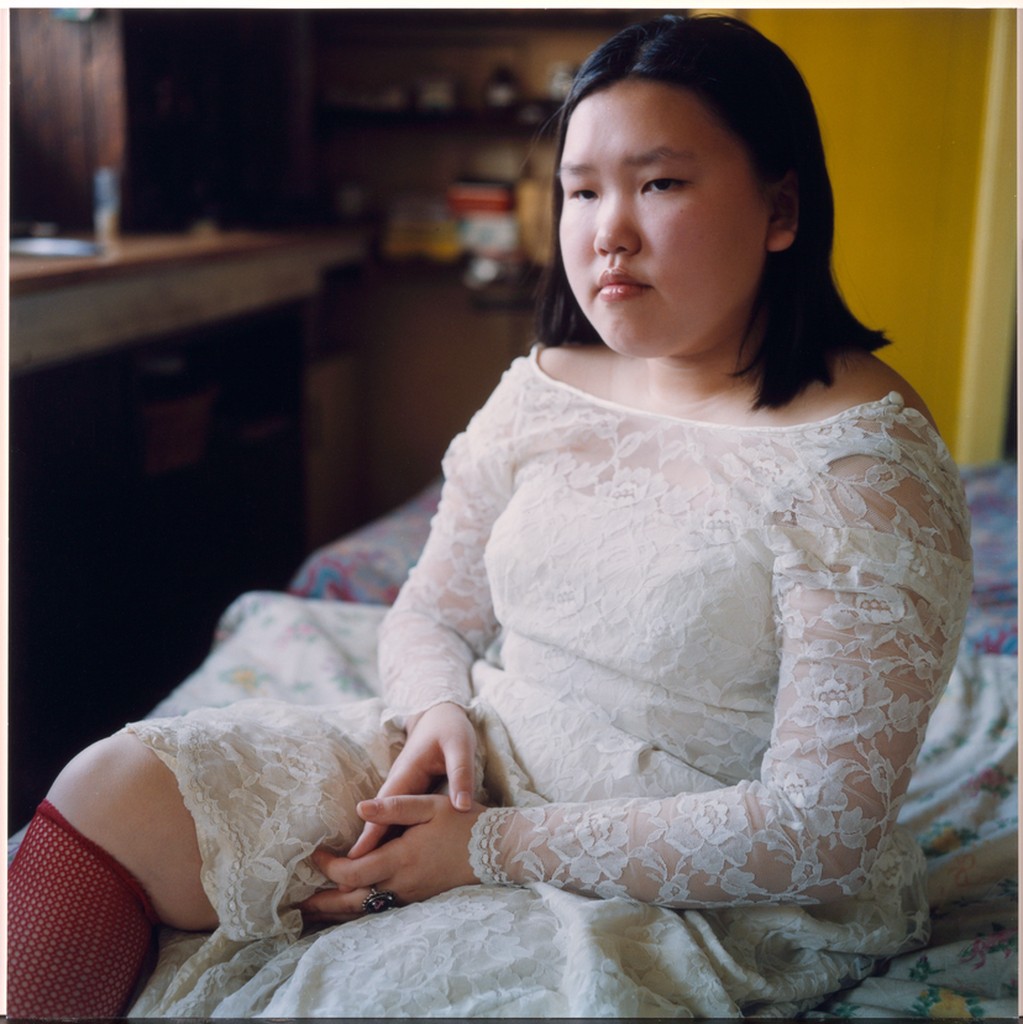
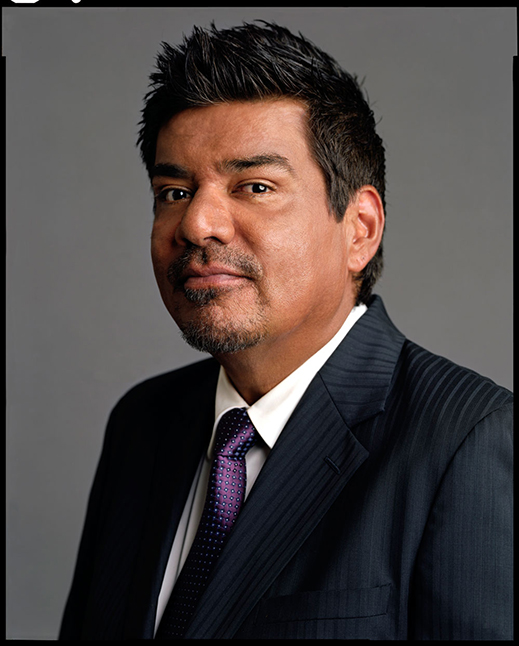
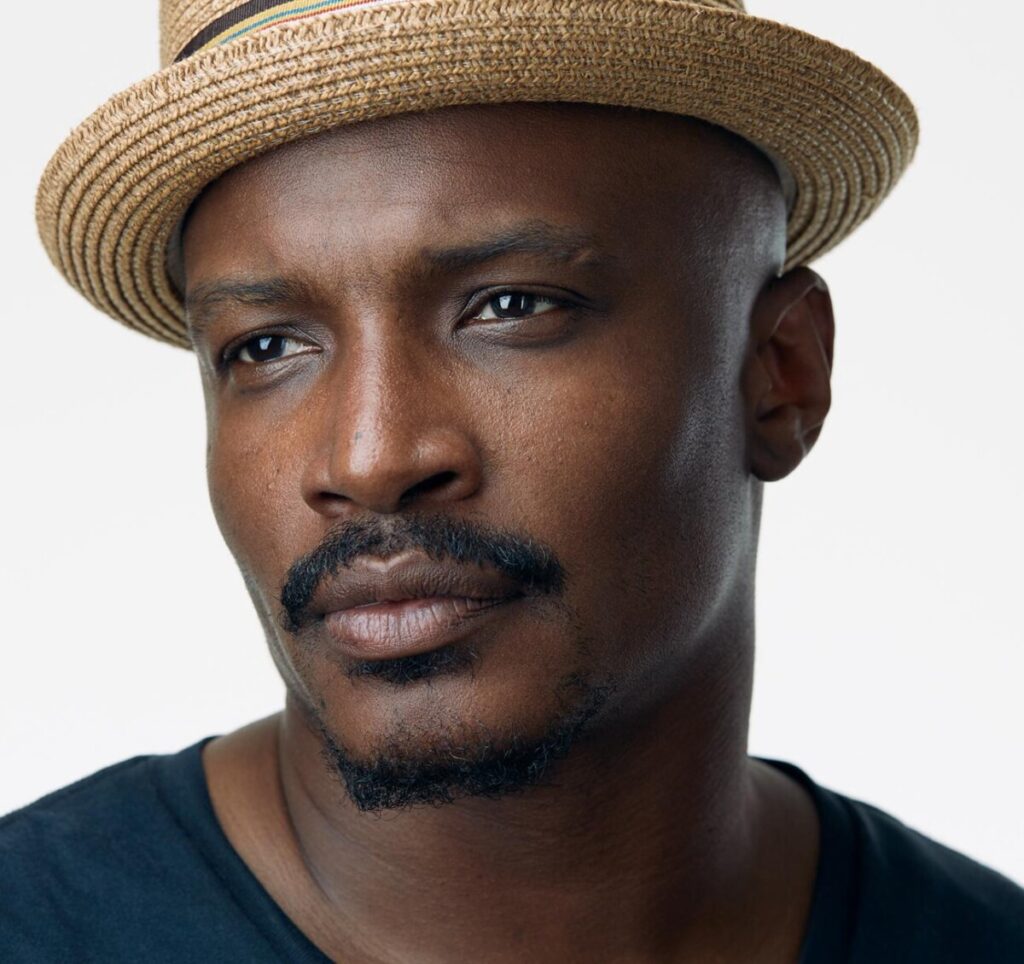
     

Three-quarter view:

  • The model’s face is turned to a 45 degree angle from the camera.

Photograph your subject with:

  • broad lighting by placing the light on the side of the visible ear. There will be a broad highlight on the subject’s hair. This works for subjects wearing glasses.
  • short lighting by placing the light on the side of the invisible ear. 
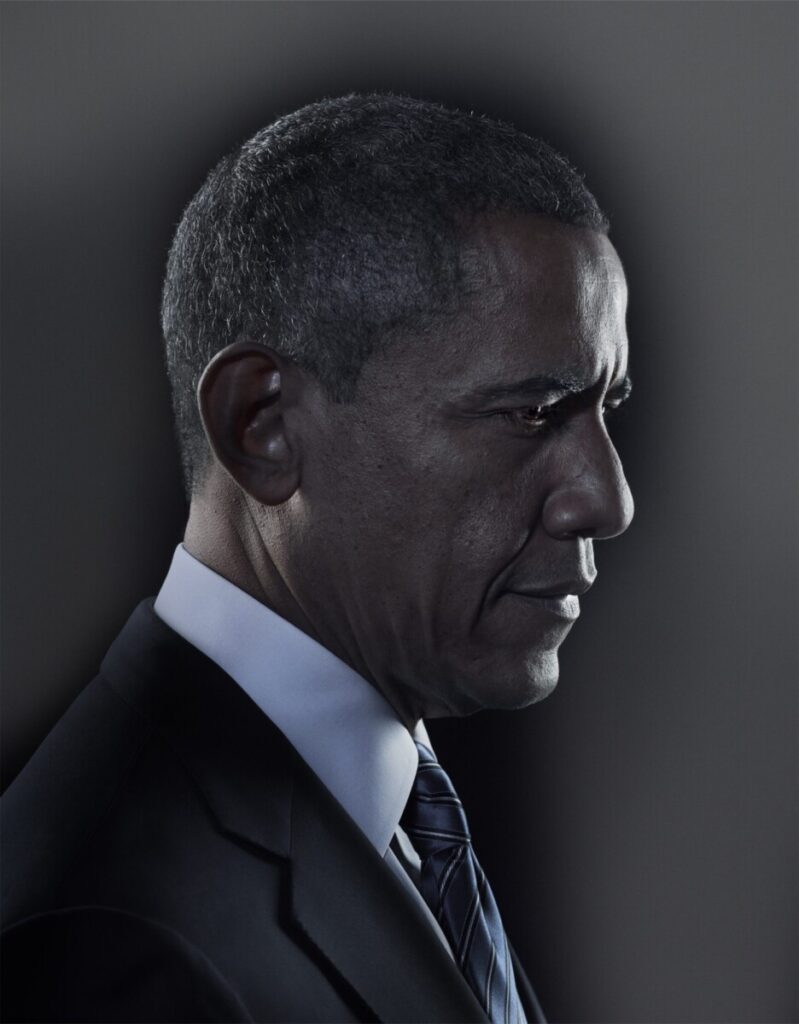
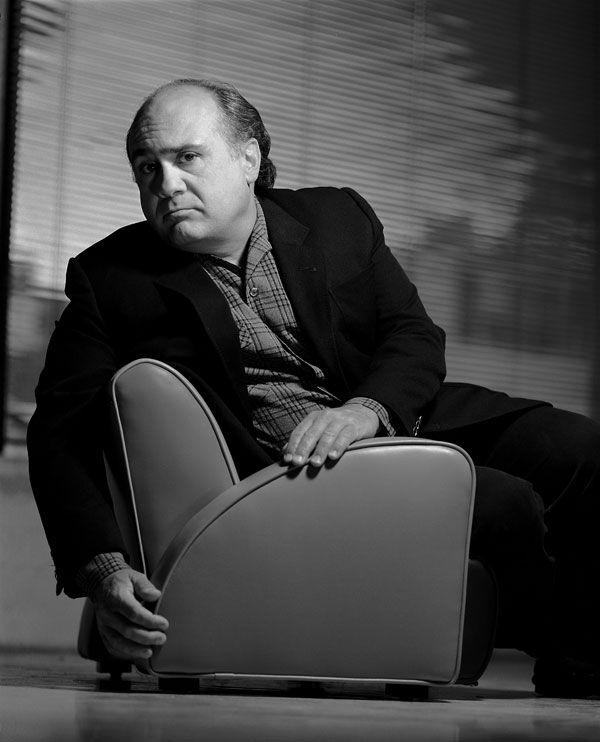
Profile:

The model turns their face at a 90 degree angle to the camera. Place light like a side light. The subject faces the light BEING VERY CAREFUL NOT TO LOOK DIRECTLY INTO THE LIGHT. 

Put your 20 best photos into an album on Flickr. Make sure to represent each one of these lighting styles. Send your 2 best to the class group.

Week 11 – Portrait Basics

Portrait Poses

There are three basic positions for someone’s head and face in a portrait.

  1. Front view
  2. 3/4 view
  3. Profile

Expression

For family photos a smile is a must but not so for a portrait. It is however important that your subject look comfortable. It is your job as the photographer to talk with your subject and make them feel comfortable.

Focus

When shooting a portrait, the subject’s eyes must be in focus. Full stop. period.

Portrait Lighting Styles

There are a 5 basic lighting styles for portrait photography. Each style is defined by how light falls on the face.

  1. Rembrandt Light – the model is face forward, main light is at 45 degrees and casts a light on the opposite side of the face to form a triangle on the cheek.

Rembrandt Lighting
Michael B. Jordan. Photographer: Peggy Sirota

2. Broad Light-model’s face in 3/4 view-light falls on the side of the face with the visible ear. Good for controlling the reflections on glasses.

Danny Devito. Photographer: Gregory Heisler.

3. Short Light-model’s face is in 3/4 view, the light falls on the side of the face with the features. (Not on the side with the visible ear.)

Both of these are examples of short light.

Chadwick Boseman. Photographer: Caitlin Cronenburg

4. Butterfly Light, Clamshell or beauty or glamour light-model is face forward, front light.

Tyra Banks. Photographer: Matthew Jordan Smith

5. Split Light-model is face forward, the main light is at 90 degrees to the camera and falls on one side of the face. 

Lewis Wickes Hine (U.S.A., 1874–1940), One of the spinners in Whitnel Cotton Mfg. Co. N.C. December 1908.

Inspiration

Lab

Portrait Lighting Styles

Homework Assignment

Window Light Portraits

HW 8: Childhood

4 pts. Due Nov 16. Photographing one stuffed animal or doll, create 15 images that communicate the idea of a happy childhood and 15 images that convey the idea of a difficult or traumatic childhood.

Pick one stuffed animal or doll. Do not use any elaborate figurines or a toy that is shiny and reflective.

Photograph it with a range of locations, using the light -both direction and quality, and composition to create images that convey the idea of a happy childhood and a traumatic childhood.

Do not use props. Convey the message with the light and the composition and your choice of location.

Work where there is adequate light. That means outside during the day or by a window during the day. Shoot some each with front, side, and back light. Try some in direct light and some in diffused light. Try to create the greatest range of emotion from really happy to miserably sad.

Week 10: Studio Photography

Review – Light Quality and Direction

Inspiration

Filippo Drudi – the Fork

Studio Lighting

Continuous lights – Always on. Can be tungsten, fluorescent, LED

Strobe Lights – Electronic flash. The light for the exposure is fired at the time of exposure.

White Balance

adjustment for the color of the light so that a white object will appear white

Metering

Reflected Light meter-measures the light as it falls on the camera. The camera meter is a reflected light meter.

Incident meter-measures the light that falls on the subject

Flash meter- is a form of incident meter but measures the light at the time of exposure. Use it to determine the correct aperture.

Three rules for still life lighting:

  • There should be one set of shadows.
  • the background should be far enough from the subject to light it separately
  • if you do have shadows, use them in the composition

The main light– casts the shadows.

The fill light – brightens the shadows.

Lab

Studio Photography

Homework

HW 8: Childhood

Lab: Week 10 – Studio Basics

Round 1:

Working with a small stuffed animal, photograph it at each lighting station to get a range of very different results. Post to an album on Flickr a minimum of 12 images from this round.

Round 2:

Photograph that stuffed animal to make it communicate any four of these:

  • happy
  • sad
  • angry
  • surprised
  • cheerful
  • afraid
  • proud

Plan which station you think is best for each emotion. Use the light and composition to communicate. Post to an album on Flickr a minimum of 8 images from this round.

« Older posts Newer posts »

© 2024 COMD 1340 DO97

Theme by Anders NorenUp ↑