Robin Michals | COMD 1340 Photography 1 DO97

Category: Course Activities (Page 5 of 11)

HW 7: Lighting Direction

Due Nov 9. 4 pts.

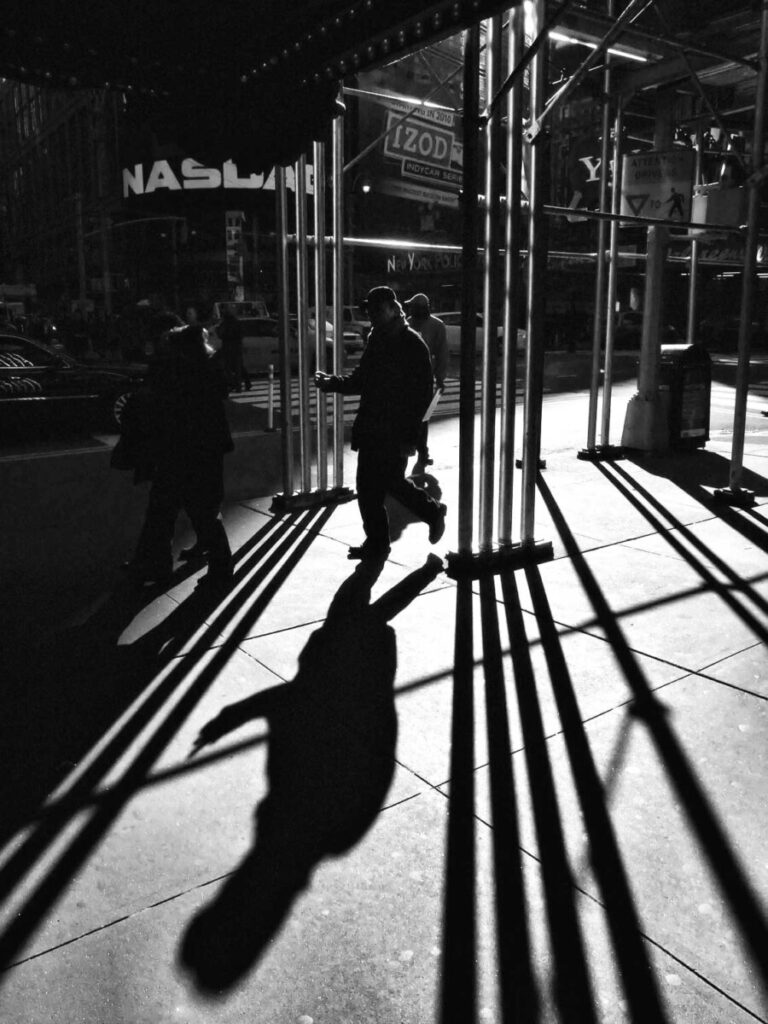
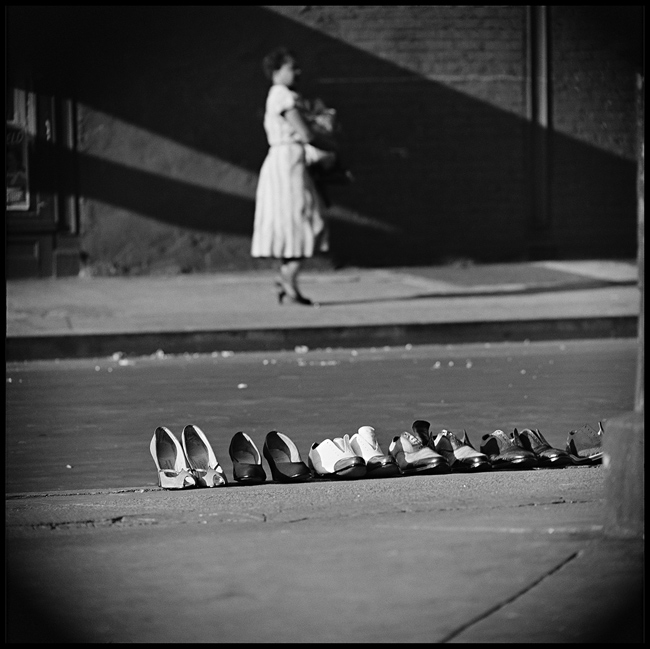
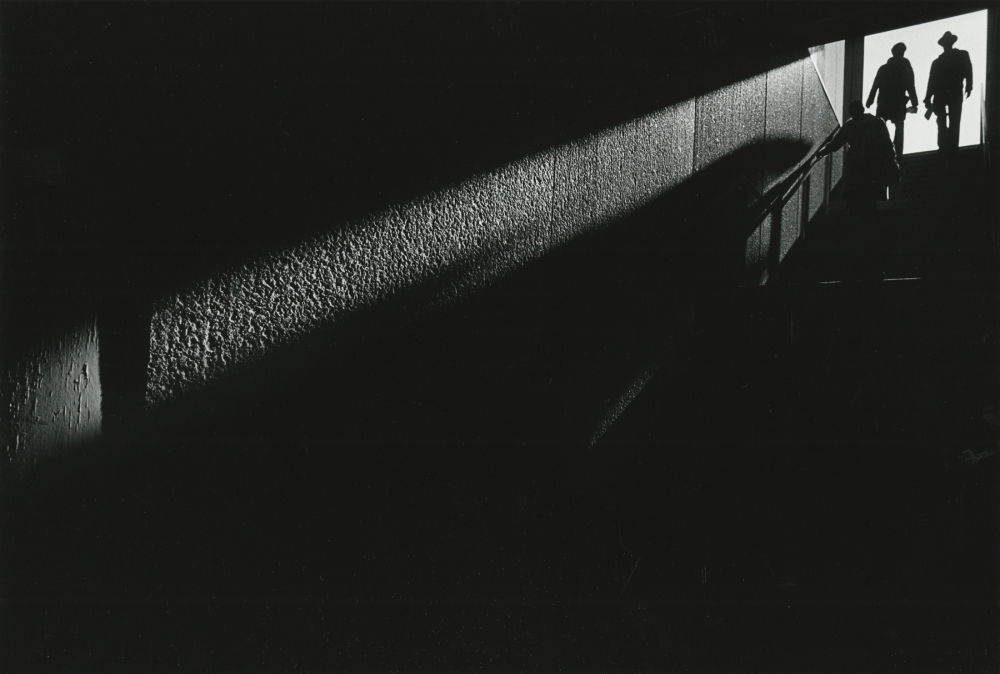
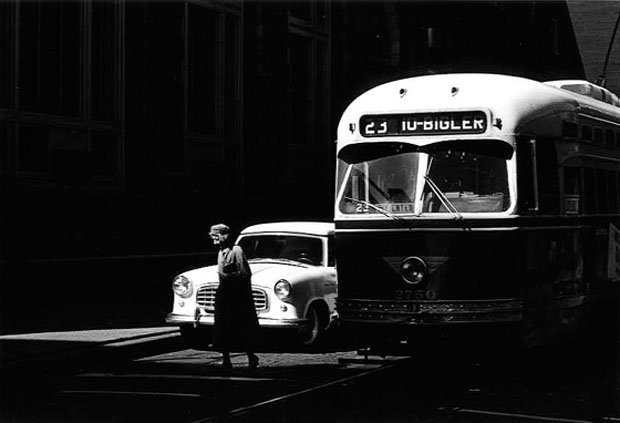
Working outside on a sunny day, photograph subjects and their shadows. Your subjects could be anything: a person, a tree, a dog, a bridge. What counts is the light falling on it.

Think of the sun as your main light and move so that it is a front light, a side light and a back light.

Take 10 photos where the shadow falls away from the camera otherwise known as front light.

Take 10 photos where the shadow falls to the side otherwise known as side light.

Take 10 photographs where the shadow falls towards you otherwise known as back light.

Each photo should be unique.

Post to an album on Flickr and send the best examples of each type of light to the class group.

Due: November 9th, 2:30 pm
Lab: Week 9 – Lighting Direction and Quality

Photograph flowers with strobe lights.

In-class Flower Shoot Camera Settings:

  • Resolution=RAW
  • ISO=100
  • WB=Flash
  • Shooting Mode=Manual
  • Shutter speed = 1/125
  • Meter for the aperture

You will photograph flowers to create shots with:

1. Front light: reduces detail, low contrast

Make the light a floodlight by diffusing the light with a soft box. Place it close to the camera position and subject.

2. Side Light floodlight with diffusion: brings out texture.

3. Side Light spotlight: brings out texture, high contrast

To get the background to fall off to black, increase the distance between the subject and the backdrop and angle the light so that it falls on the subject not the background.

4. Extreme close-up for texture-use extension tube

5. Back Light (white background): high contrast, reduces subject detail

Light the background only. Increase the distance between the background and the subject to increase the difference in the lighting ratio and to achieve a silhouette.

Put your best 20 in an album on Flickr. Send your best two to the class group.

Week 9 – Light Quality and Direction

Light Quality

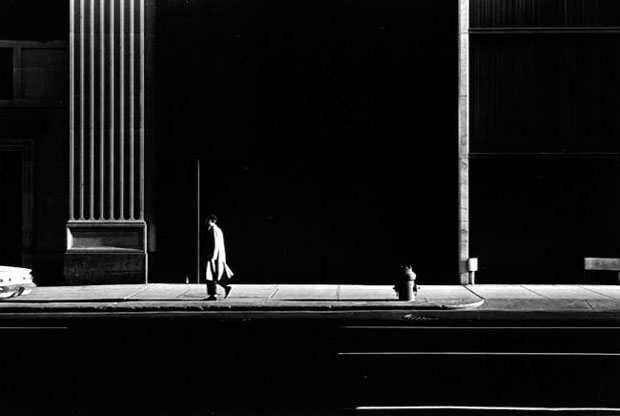
Direct light or hard light – the rays of light are nearly parallel and strike the subject from one direction creating hard edged dark shadows with little detail.
Examples: a spotlight, sun on a clear day, or a bare flash

Diffused light or soft light– the rays of light are scattered and coming from many directions. It appears even and produces indistinct shadows. Examples: overcast daylight, a light covered with tracing paper or other translucent material.

Directional/Diffused Light.   This light is a combination of directional and diffused light. The light is partially diffused yet it appears to come from a definite direction and creates shadows. The shadows are less harsh and contain more detail than in direct light. More subtle transition between light and dark areas. Examples: window light, sunlight on a hazy day, sunlight on a partly cloudy day or sunlight bouncing off a reflective surface.

Light Direction

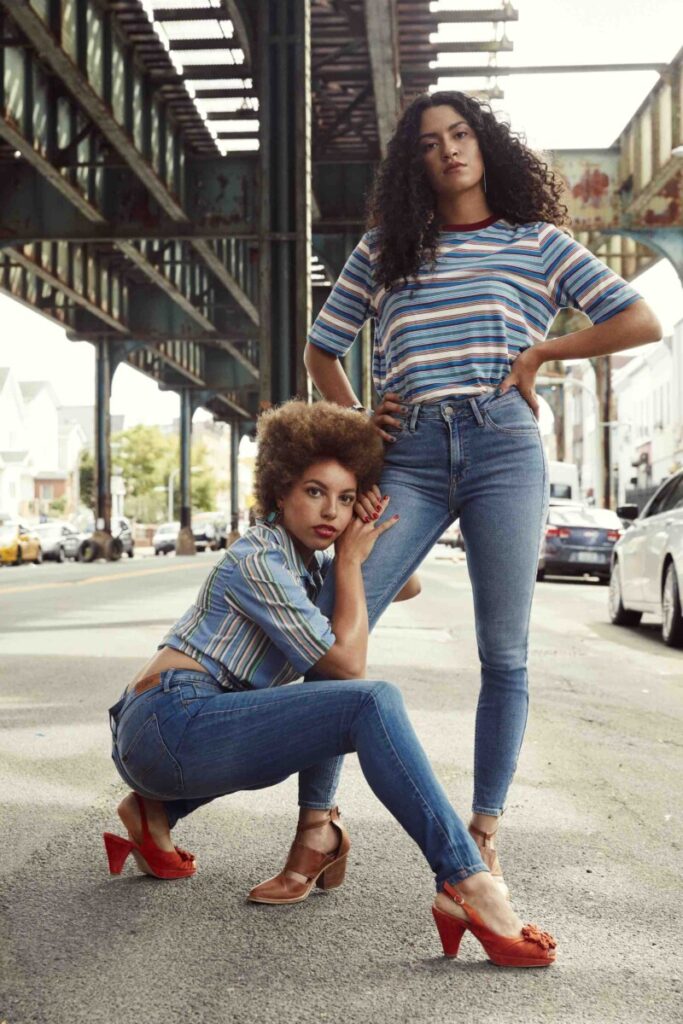
Front light comes from in front of subject from the camera position and the shadows fall behind the subject not concealing any details.

Side Light comes from 90 degrees to the camera. it adds dimension and texture to the subject.

Backlight comes from behind the subject towards the camera.

Inspiration

Labs

Lighting Direction

Homework

HW 7: Lighting Direction

Next Week

Please bring in a small stuffed animal to work with.

Lab: In-process Midterm Critique

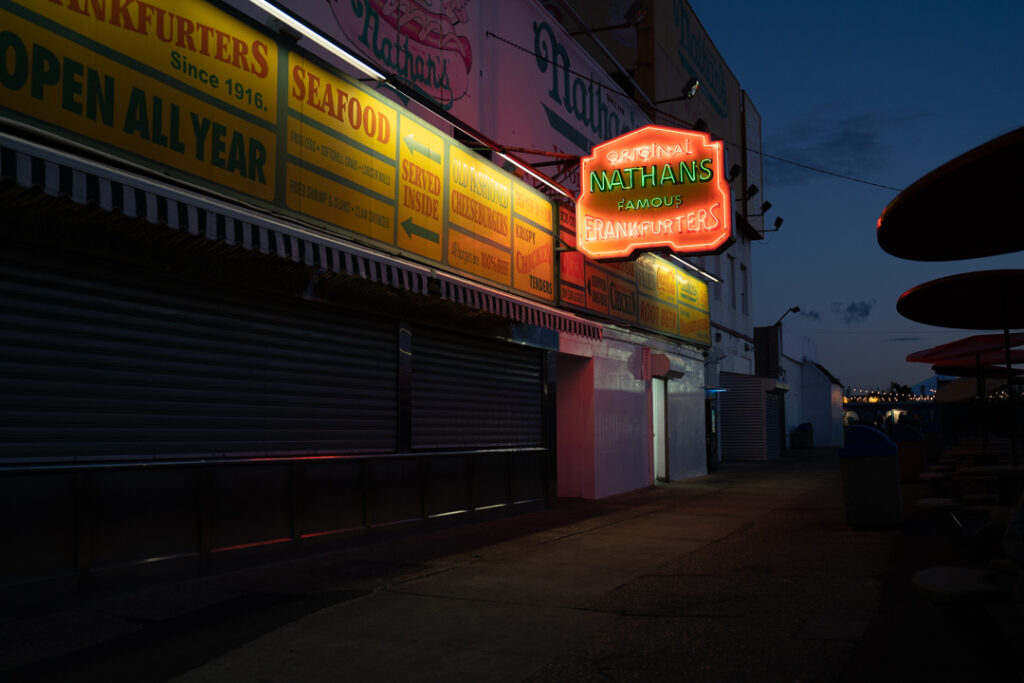
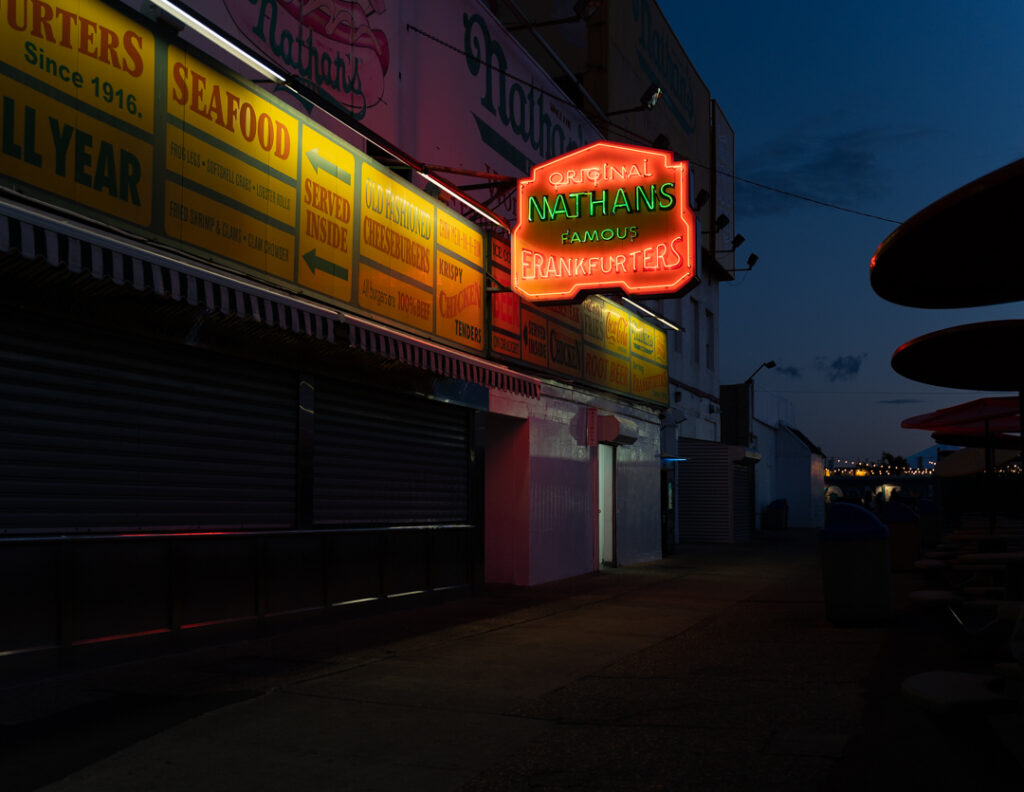
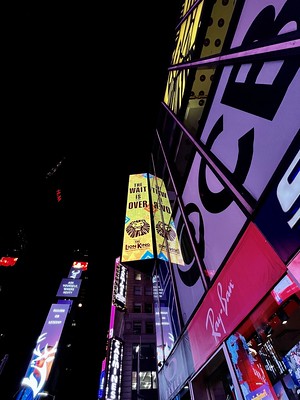
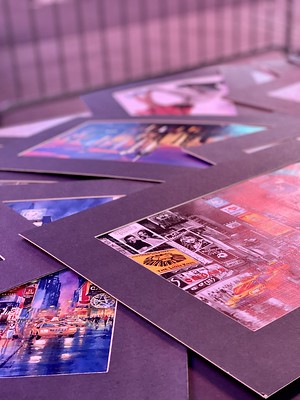
  1. The top left photo is good due to the usage of a low angle that exaggerates the shape and size of the buildings.
  2. The top right photo is good due to the constant pattern in the image and also the neon lighting.
  3. The bottom left is great because again the pattern is very pleasing to the eyes and also the good usage of angle and lines in the image.
  4. The last photo is good because the main subject is placed in the bottom left of the image which is a good usage of the rule of thirds.
« Older posts Newer posts »

© 2024 COMD 1340 DO97

Theme by Anders NorenUp ↑