Robin Michals | COMD 1340 Photography 1 DO97

Category: Course Activities (Page 3 of 11)

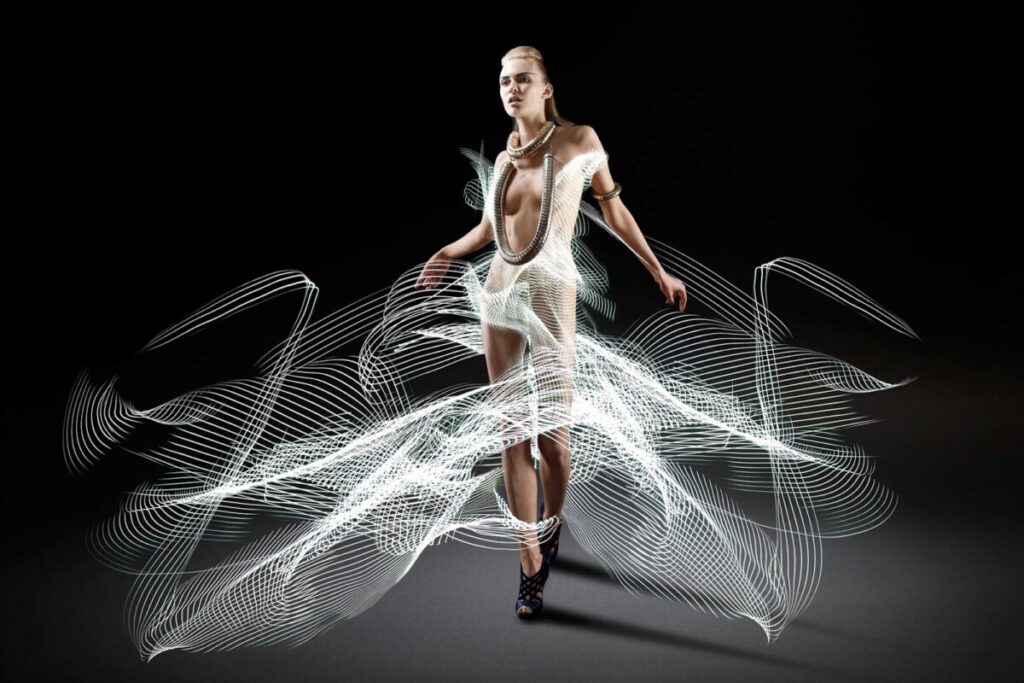
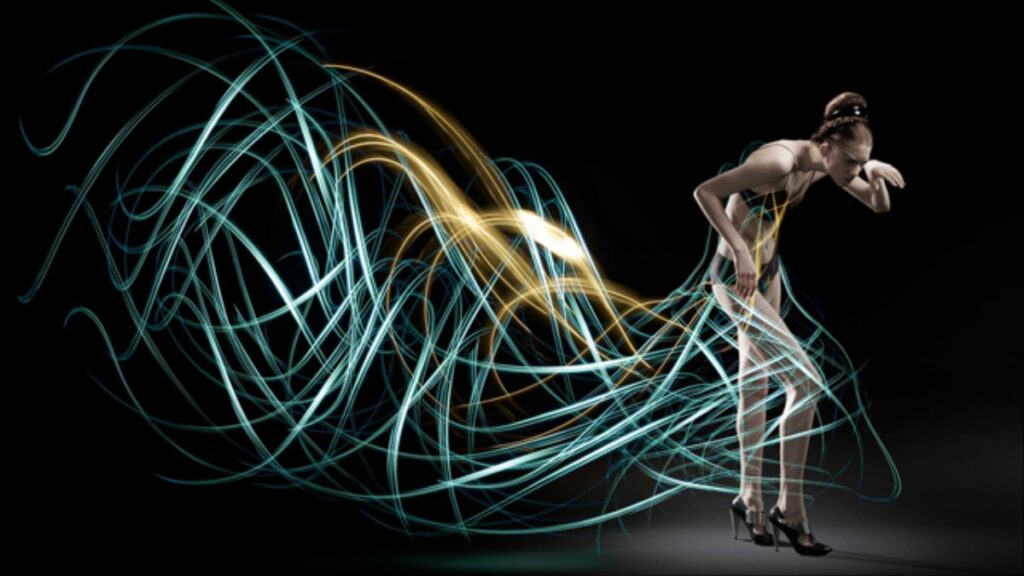
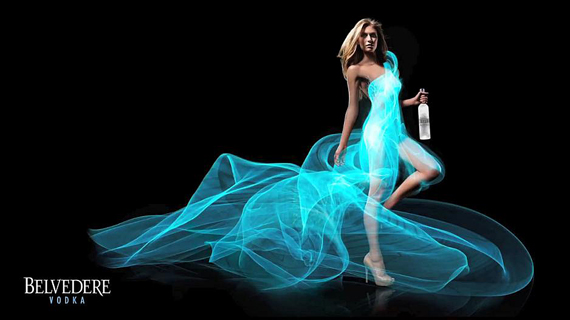
Week 13 – Painting with Light

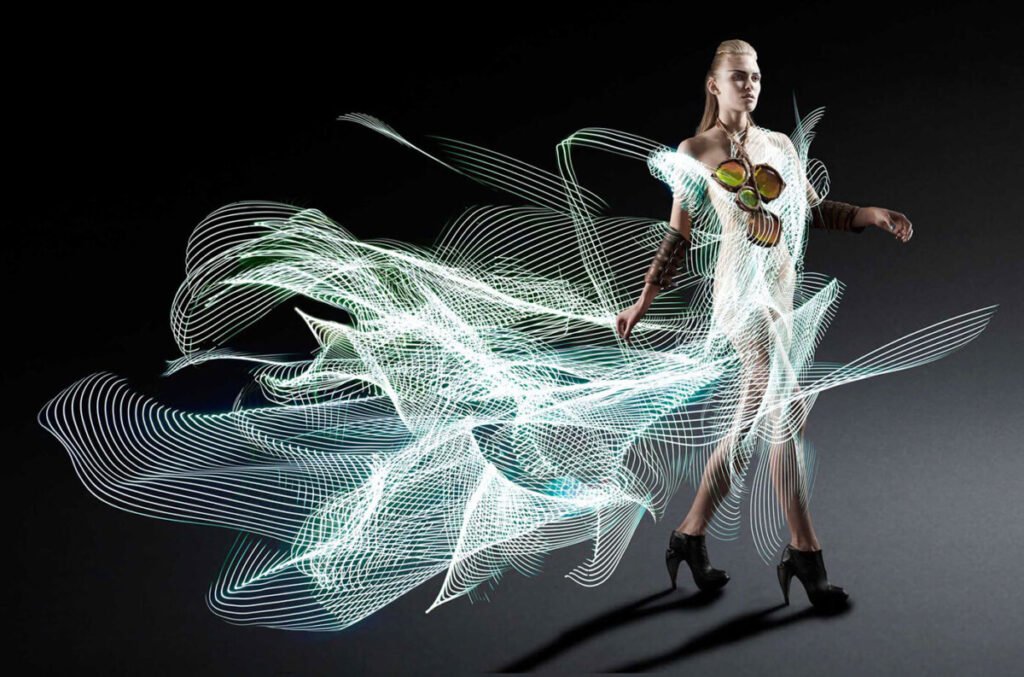
Inspiration: Atton Conrad

Sprint Campaign: http://lightpaintingphotography.com/?s=sprint 

Tripod use

  • Spread the legs out and make sure the tripod is stable. Use the height from the legs before using the neck of the tripod. Put one leg forward and the two legs on your side.
  • Put the plate on the camera and make sure that the lens arrow is pointing towards the lens. Insert the plate into the locking mechanism and make sure that the camera is secure.
  • Use the camera timer and DO NOT TOUCH the camera or the tripod during the exposure.

Considerations for painting with light: 

1. Use a tripod 

2. Use Manual as the shooting mode.

3. Set the ISO to 100

4. Set the aperture to f/11 as a starting point to get a wide range of depth of field. 

5. Set the shutter speed to 2″ as a starting point.

6. Use manual focus. Make sure the subject is in focus. To do this shine a light on the subject and use auto focus. Then flip the lens back to MF. Remember that if the distance of the subject to the camera changes, you need to refocus!

Mixing Strobe Lights or Flash with Painting with Light 

The aperture controls the exposure of whatever is lit by the strobe lights. 

The shutter speed controls the illumination of the background. 

Lab

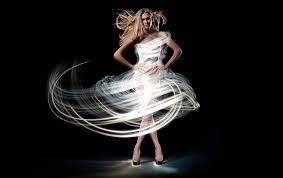
Working with a light or lights, draw an image over time in the frame. Experiment with thin and thick lines, abstraction, words, and images.

Using a speedlite, add a person to your shot. the more the subject and the light painting interact, the more successful your photos will be.

Upload a minimum of 20 images to Flickr. Send your best two to the class group.

Quiz Review

There will be three technical questions. Possible topics: light quality and direction, still life lighting rules, roles of the main and fill lights, difference between a reflected and an incident light meter, portrait lighting styles, wide angle distortion, three-point lighting.

There will be a compare and contrast of two photos which will be graded on correct use of vocabulary including portrait lighting styles: Rembrandt, split, butterfly, broad and short light and rule of thirds, diagonal lines, leading lines, pattern, symmetry, figure to ground, contrast of light and dark, a frame within a frame, depth of field, angle of view.
Homework

Final Project

Final Project

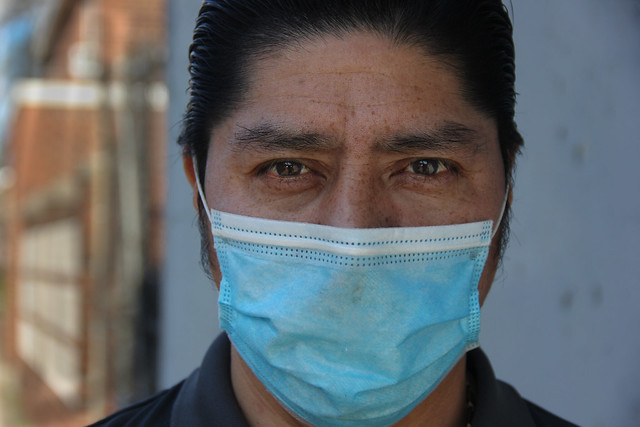
The goal of the Final Project is to create a series of 10 related images on a theme.

You may choose to do either:

A series of portraits OR

A portrait of a neighborhood

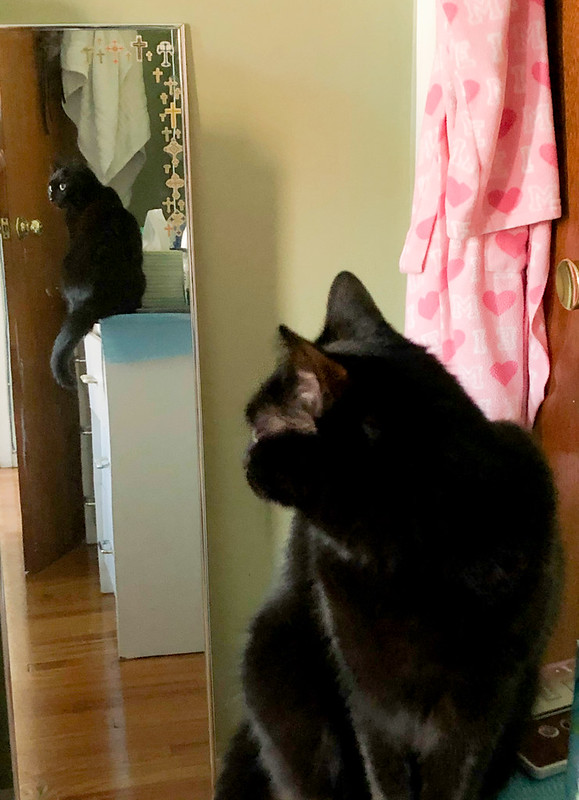
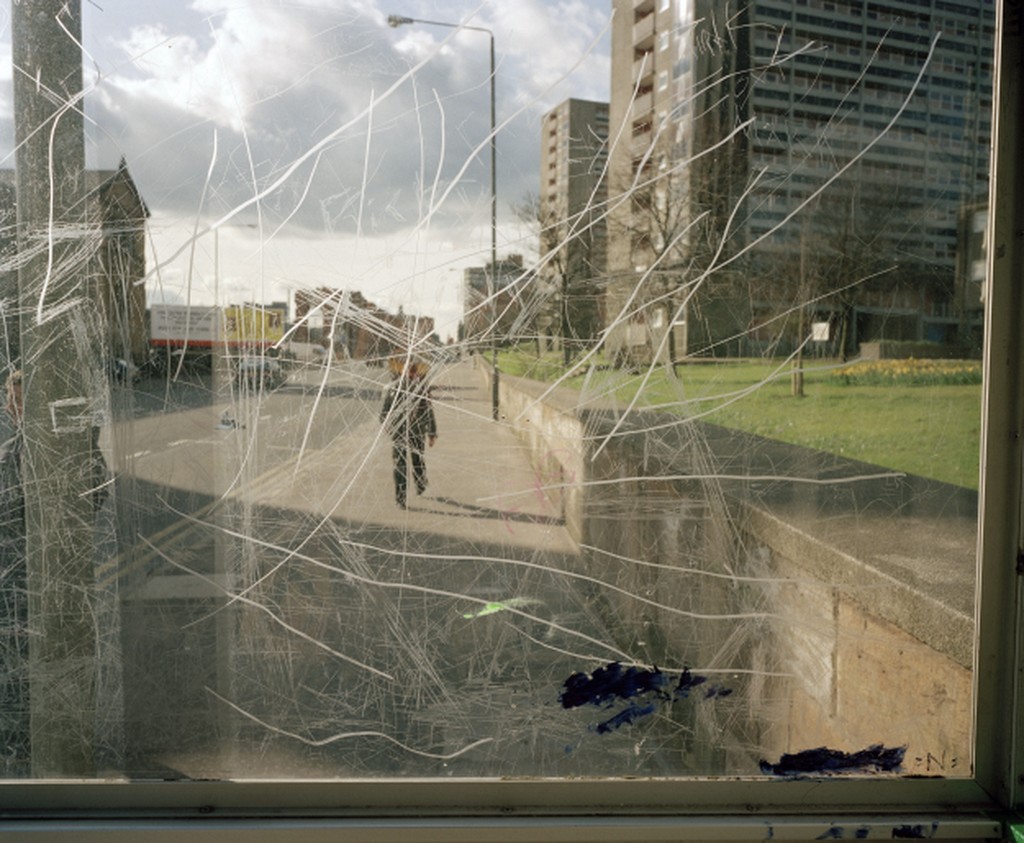
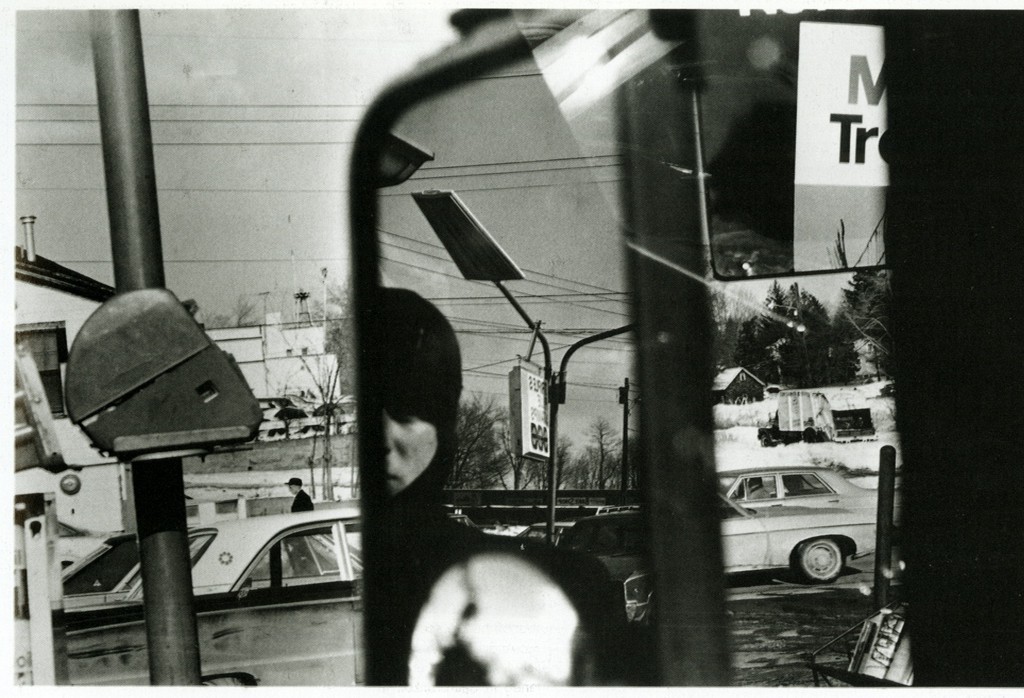
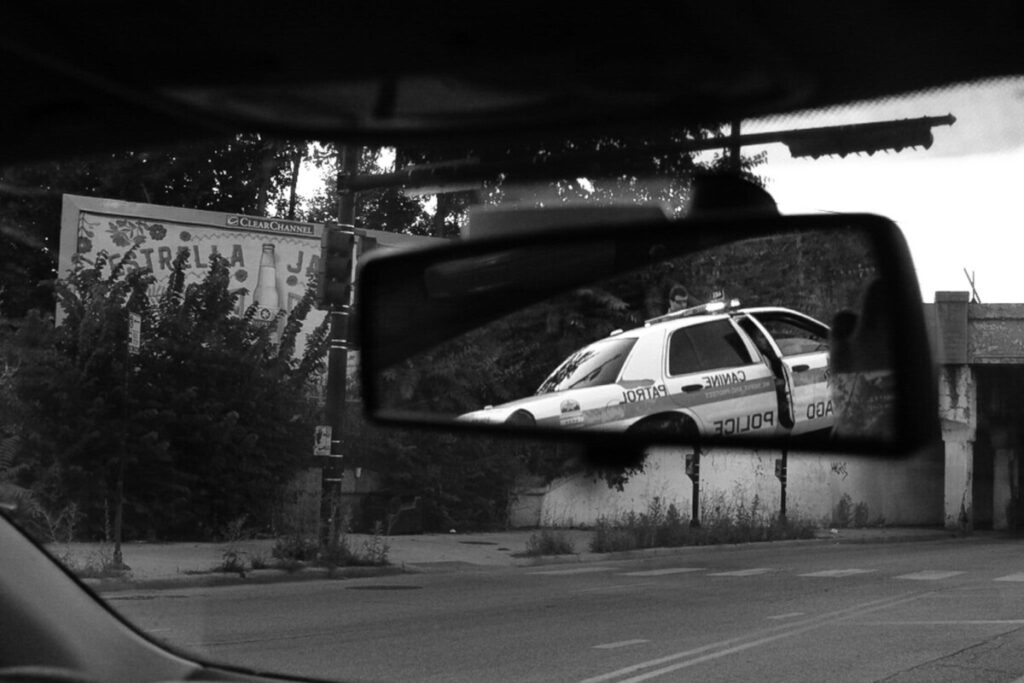
OR working outside during the day a series on Mirrors (reflections) and Windows.

First decide which assignment(s) you most enjoyed. Then consider: do you have people to work with? What is your schedule like and what is practical?

Deliverables and dates:

Due Week 13, November 30: Shoot 1 – minimum of 30 images in an album on Flickr

Due Week 14, December 7: Shoot 2 – minimum of 30 images in an album on Flickr

Due Week 15, December 14: Shoot 3 -minimum of 30 images in an album on Flickr PLUS

  • final 10 images selected, adjusted in Lightroom, and posted to an album on Flickr
  • a presentation to the class of the final images.

Examples:

Ilda Medel- A Neighborhood Portrait

IMG_0127 (1)

Jing Wang – A Neighborhood portrait

https://www.flickr.com/photos/189946022@N05/albums/72157717331742888

Example Projects:

Jennifer Humala – Portraits

Inspiration for Mirrors and Windows:

Week 12 – Portraits

Focal Length

The focal length of a lens is defined as the distance in mm from the optical center of the lens to the the sensor when the lens is focused on infinity. This varies on the camera and the lens.

Focal length controls: Magnification and angle of view

Focal length is described as short, normal ie close to human vision, or long.

Wide Angle Distortion-created when using a wide-angle lens AND the camera is very close to the subject. The object close to the lens appears abnormally large relative to more distant objects, and distant objects appear abnormally small and hence more distant – distances are extended. 

Focal length and proximity to the camera affect how a person’s face looks in a photograph. A wide focal length and proximity between the subject and the camera create wide angle distortion and will distort a person’s features.

Think about selfie sticks. What are they for but to get the camera away from your face? This makes the photograph look more complimentary to the subject. This is really important with a cameraphone because it has a wide angle lens. The center of the lens and the sensor cannot be very far apart given the thin design of cellphones.

When working with a crop-frame sensor such as a Canon 60d, approximately 65 mm will be the most flattering to your subject.

Lights

  There are three basic types of lights (these are the physical lights not portrait lighting styles):

  1. The Main or Key Light-This light provides the brightest illumination and casts the shadows

2. The Fill Light-this light brightens the shadows. It can be a reflector or an actual light.

This video shows how to use a reflector as the fill light.

3. The Separation Light or Background Light-creates separation between the subject and the background. This light can be aimed at the background or it can be aimed at the subject. If the later, it would be called a hair light. If accenting the edge of the face or shoulders, this light would be called a rim light or a kicker.

3-point Lighting

– standard lighting for portraits, video and film, uses all three: a main light, a fill light and a background light.

Lab Exercise

Two and Three Light Portraits

Homework

Final Project

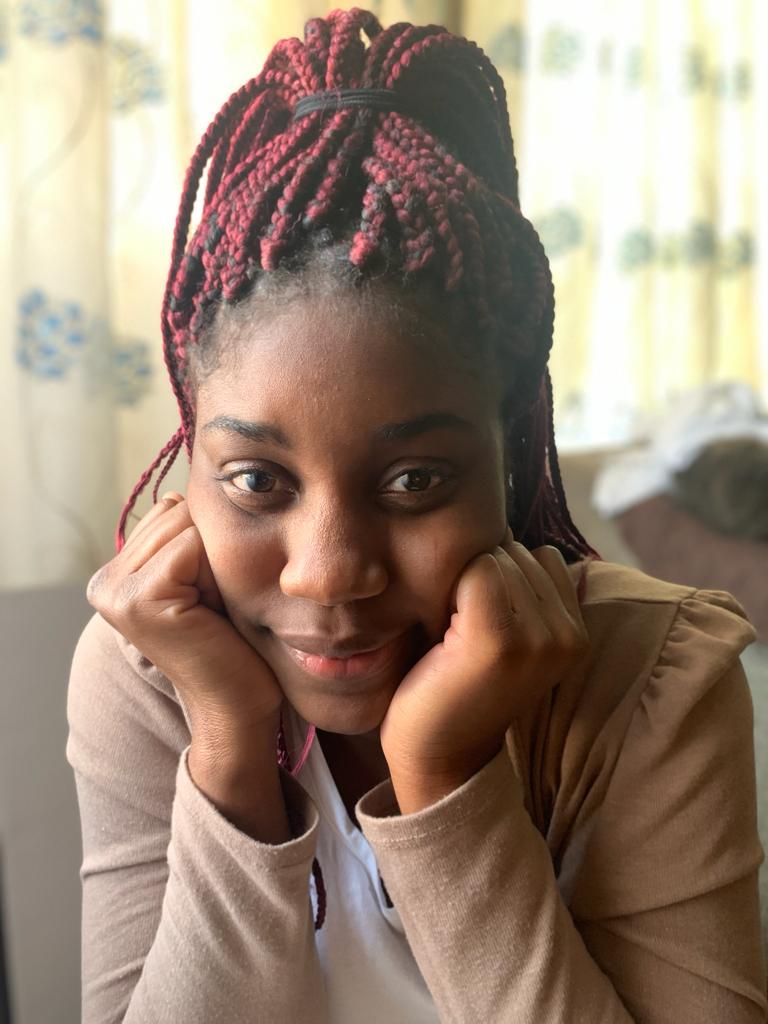
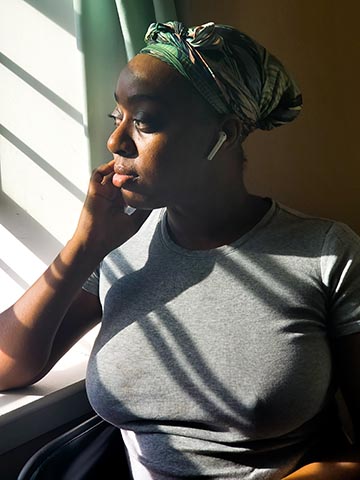
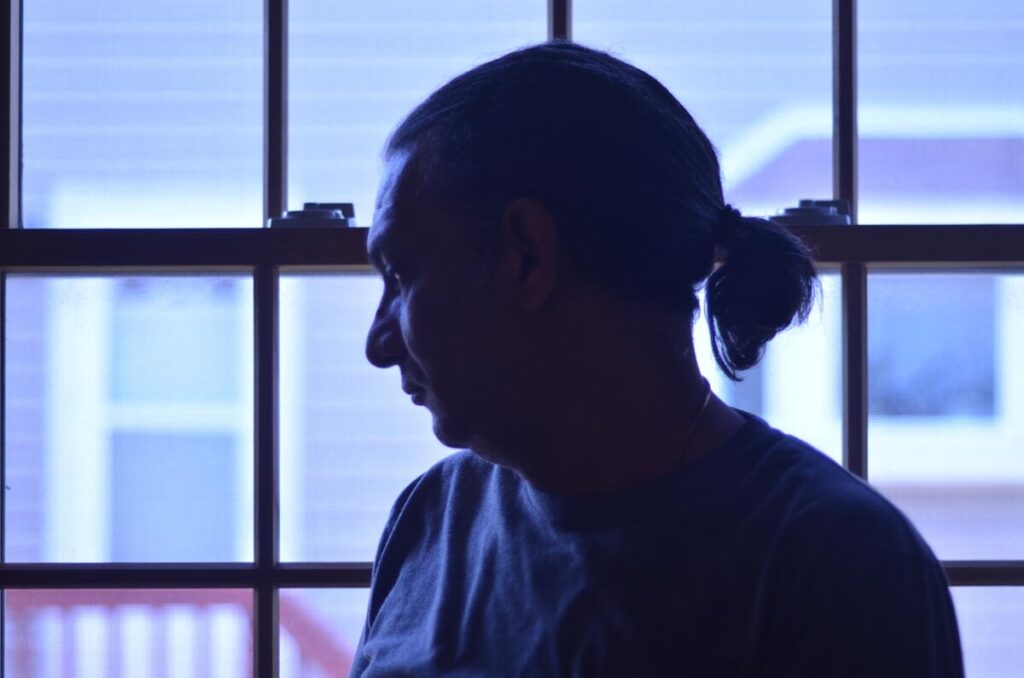
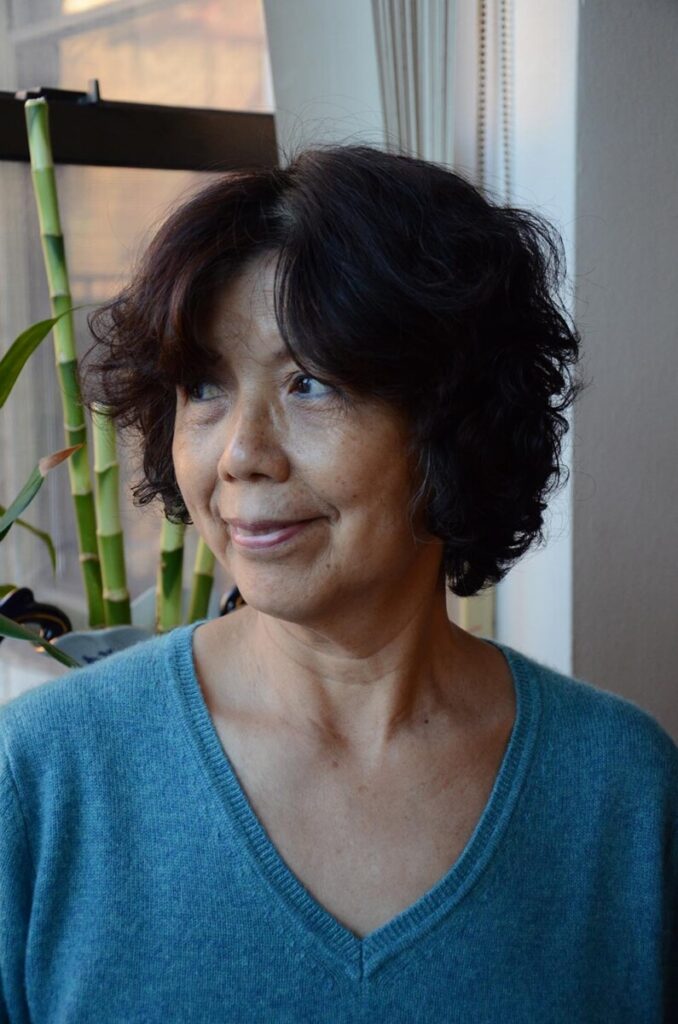
HW 9: Window Light Portraits

Due Nov 23. 4 pts.

Create a series of 30 portraits of at least 3 different subjects using window light or outdoor diffused light.

For each subject, shoot some in front view, some in three quarter view and some in profile.

Try the 5 lighting styles: front light, Rembrandt light, split light for front view poses, and broad light and short light for three-quarter poses. When you are working with a window, you can’t move the light source so you and the subject must move.

You should be near or next to a window during the day. 

The window can be in the photo or you can just use the light from the window.

Pay attention what is in the frame and make sure the background adds to the photo and is not distracting.

Your photos should use light and expression to be expressive. No props. If you have curtains or venetian blinds, you may use them as elements in the photos.

Experiment with different expressions and gestures and different framing (how much of your subject is in the frame.)

Upload the 30 photos to OpenLab and put them in an album. Send your best 3 – the best of each subject- to the class group.

Examples from last semester


« Older posts Newer posts »

© 2024 COMD 1340 DO97

Theme by Anders NorenUp ↑