The Hot Wings of Willoughby

The Most-Made-Dish-for-Events award goes to….. HOT WINGS

     ♫ [Wings] [wings], their good for the heart…The more you eat, the more…  ♪ 

… If not, at least, they will make you happy.

I eat hot wings at least once a week, regardless of the after affects. : ) Besides home cooking, I’ve tried the spicy poultry meat from various restaurants, groceries stores, and pop-up-shops. However, today we will analyze the different hot wing dishes that can be found in a small sector, Downtown Brooklyn on Willoughby Street and Jay Street, right down the block from our home at City Tech. (Disclaimer: I am not advertising for any one, just giving you my thoughts and a simple DIY recipe. I have also took all images featured in the post)

the outside of a wings restaurant

Buffalo Boss Organic Wings & Things usually has long lines of people waiting for their orders. This is its second location Downtown Brooklyn, originally it sat on Fulton Street and Flatbush Ext.  I tried it a few weeks ago for the first time at this new location on Willoughby and Jay St. The service wasn’t the best. They are known for their wings and they have a lot of sides, including sweat potato fries. I was allowed to choose from variety of sauce types. When I was also told I had to pay for dipping sauce, I was turned off and I didn’t buy the ranch. I decided to get rice, hot wings, and a drink, which totaled about $7.  The 5 spicy wings, served in a small black styrofoam, tasted okay. They were fried hard and dipped in hot sauce. I remembered a better tasting experience before.

the outside of a restaurant

Yummy Taco always come through with my craving for asian-mexican-american dishes. (laugh) They, also, usually have long lines and hit-or-miss service during lunch time. Thankfully I got there early. Their $6 wings (8) and fries really filled me. The wings were fried slightly hard with a hint of spice. wings with French fries
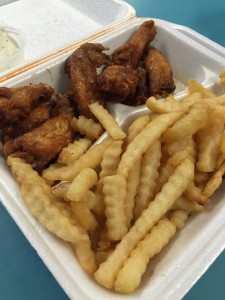
It may have been more then a hint, considering the nose drool.

the outside of a restaurant

Super Taco is another great asian-mexican-american spot. I frequent there as well when Yummy Taco lines are long. The wings there were about $6 and came with celery. The taste seemed strikingly familiar, it seemed they have shared the recipe with Yummy Taco. 😉

the outside of a restaurant

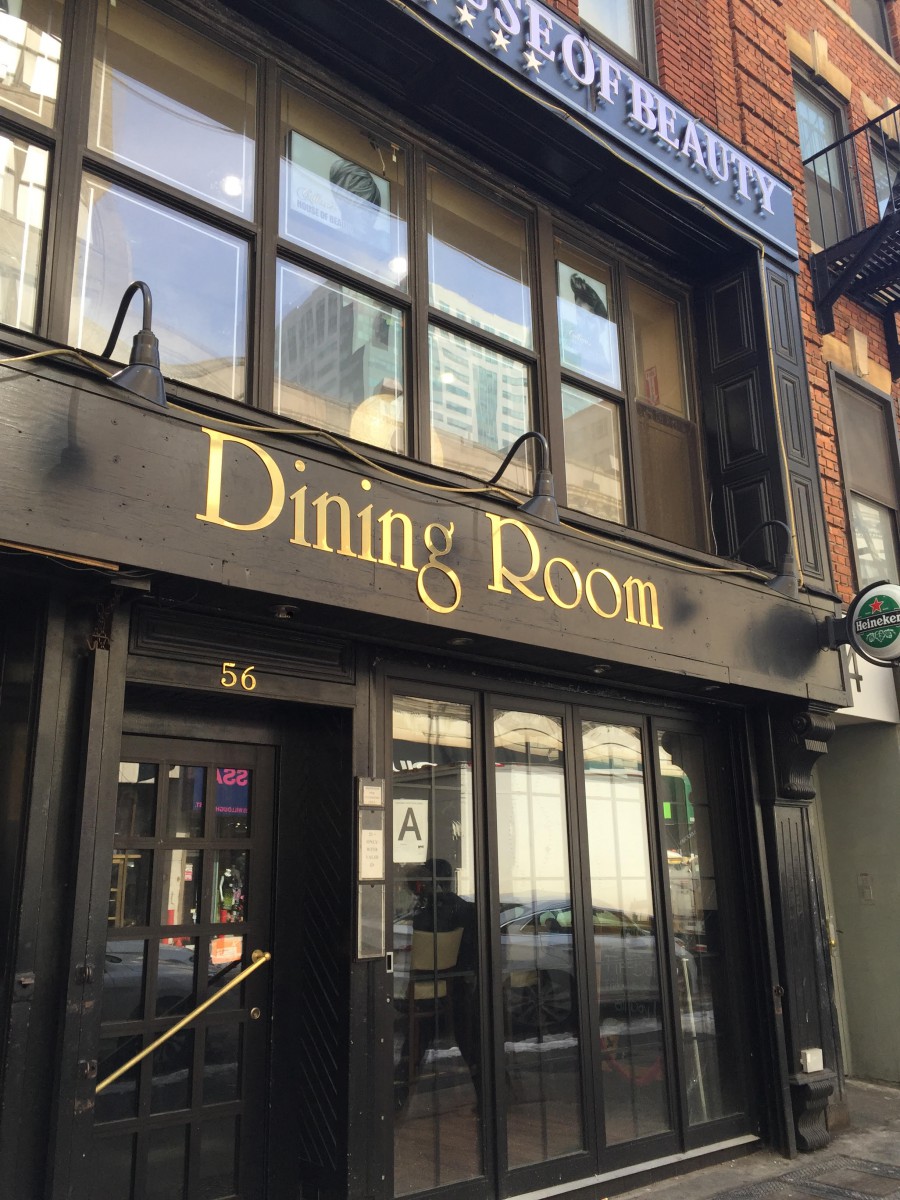
The Dining Room seemed to be a whole in the wall. I must have passed it several times before realizing it was there. It is a restaurant/bar. Inside is usually quite unless there is a group of friends that comes on their lunch break. You can sit at the bar or tables. I sat at the bar. I order wings, water, and fries, which totaled 9.80. The 8 wings was boiled, fried lightly and soaked in mild hot wing sauce, my choice of sauce type. It came with vegetables as well. The wings had so much meat on it and more juicy compared to the other places. wings and friesa cooked chicken wing
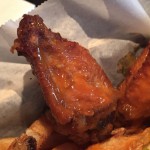
Maybe thats the reason it costs more. It was like no experience I have ever had, I revisited two more times.

the outside of a restaurant

The 99¢ Fresh Hot Pizza’s hot wings is currently a mystery to me. But I thought I’d add them in since they, too, rests on Willoughby Street. If you know how the hot wings taste please share. After my Dining Room experience I was addicted. Don’t Judge me.   


TRY YOUR OWN:

Hosting and need a delicious homemade meal? Try making your own Hot wings.

Ingredients / Precursors:

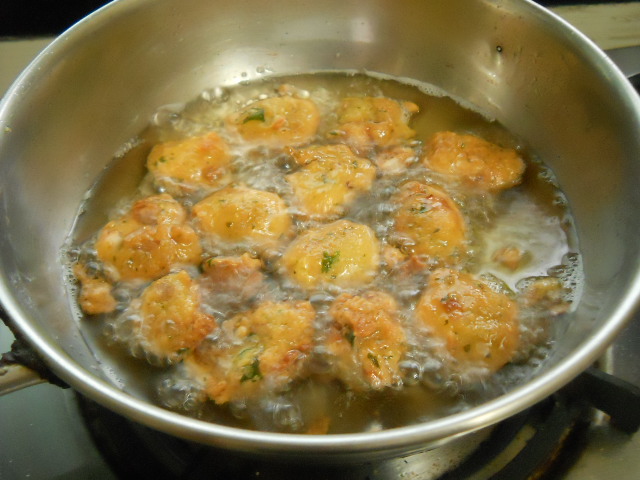
  • Separated precooked chicken wings (can be boiled or fried)
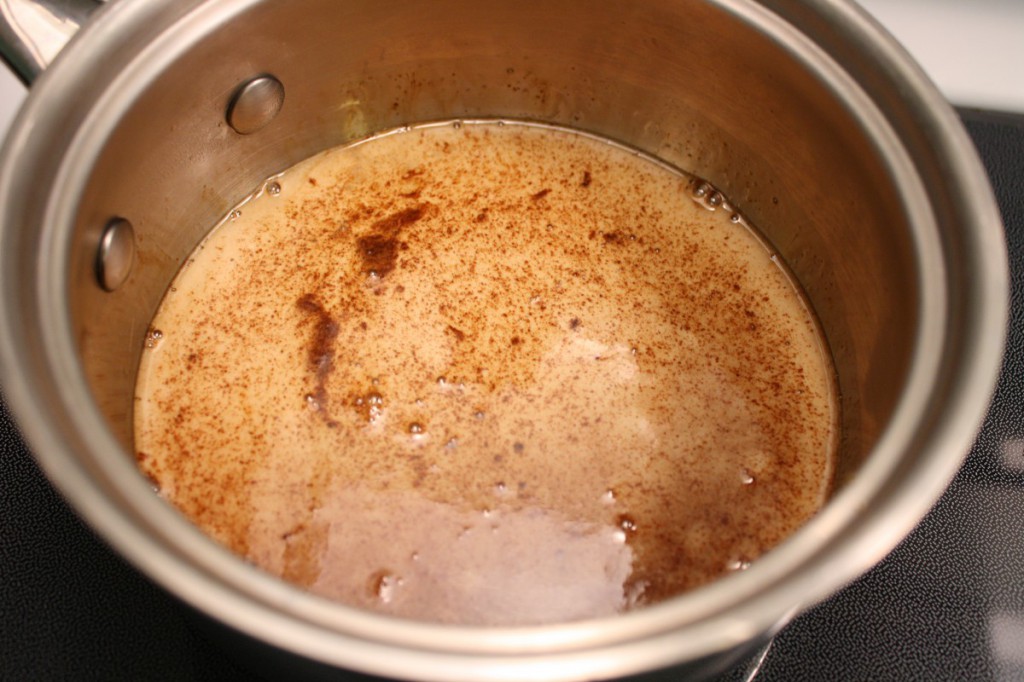
  • D.I.Y Your OWN Sauce (optional ingredients you can use: dry pepper, hot sauce, honey, bbq sauce, ketchup)
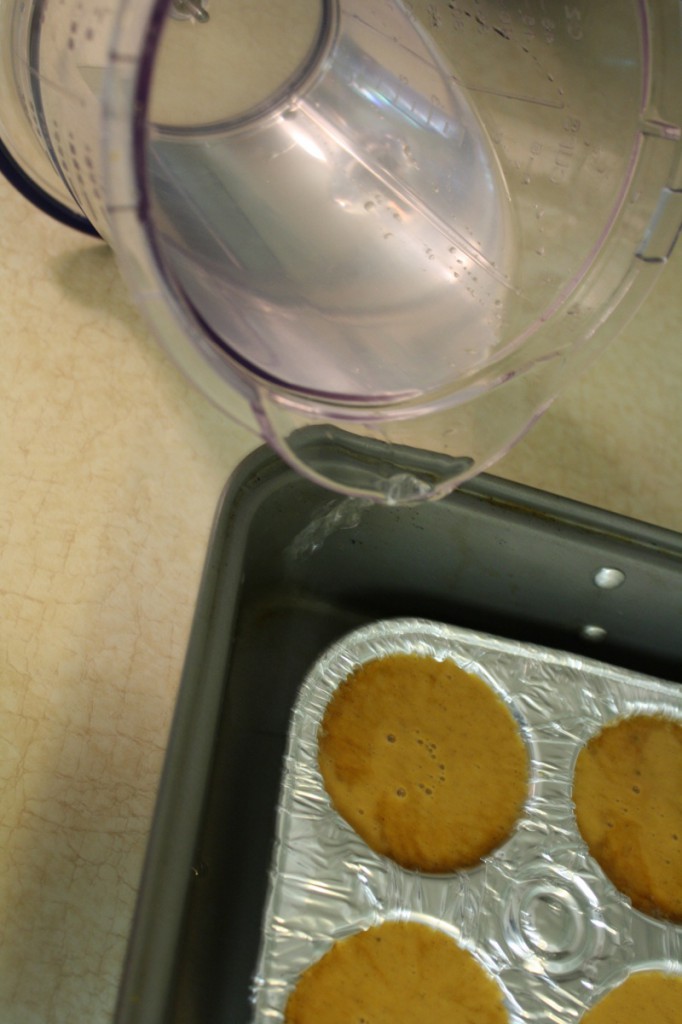
  • Metal pan (aluminum) big enough to lay each flat while baking
  • Bowl for sauce
  1. Preheat your oven to 350 degrees
  2. Place your pre-cooked wings in your metal pan
  3. Coat the sauce throughout the wings
  4. Bake for 10 minutes
  5. Flip the wings, coat the chicken and bake for another 10 minutes.
  6. Continue to flip and bake until the chicken reaches creates your desired crisp.
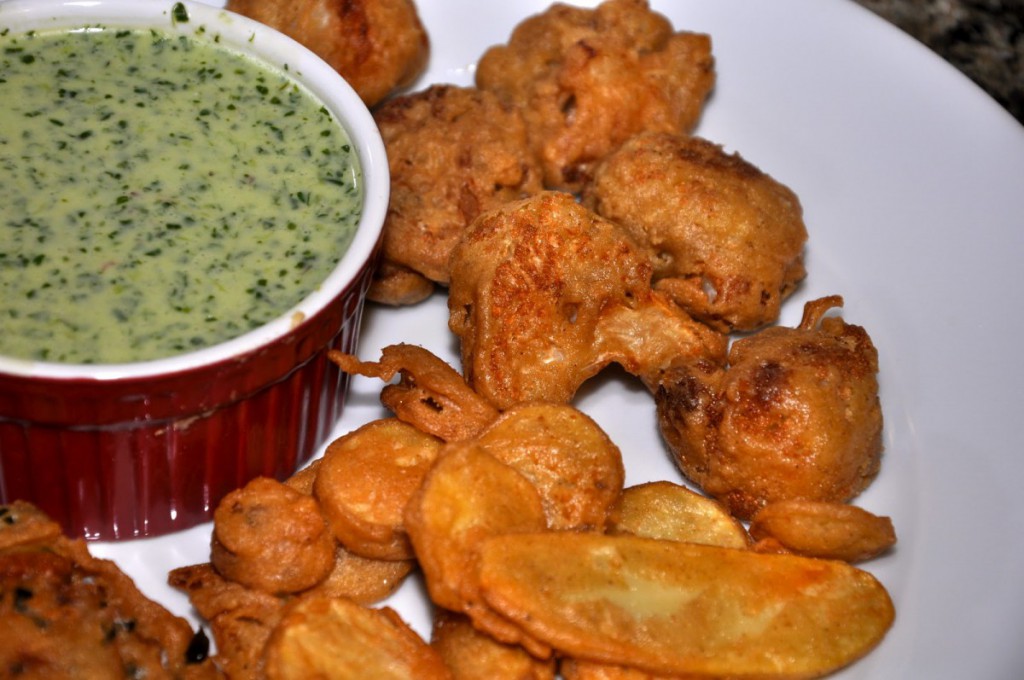
  7. Serve while hot with a side of ranch dressing. (…Or blue cheese I guess, I am being bias.)

NOTE: It’ll taste so good, you can serve them cold.


CARROT GINGER SOUP

kitchen_logo_ol

This one is a must try (if you can stand the zing of ginger).

Ingredients
4 tablespoons unsalted butter4 shallots, peeled and chopped4 cloves garlic, peeled and minced

3-inch piece ginger, peeled and chopped

3 lbs carrots, peeled and chopped

2 tablespoons thyme

2 teaspoons coarse seat salt

8 cups chicken or vegetable stock

1/2 cup whole milk yogurt

Equipment:
StockpotVegetable peelersKnives

Cutting board

Measuring cups and spoons

Mixing spoon

Immersion blender ladle

Directions:
1. Peel cut and slice shallots, garlic, ginger and carrots. (Use a vegetable peeler to peel carrots.)
2. Warm the butter in the stock pot over medium-high heat. Add shallots, ginger, garlic and carrots. Saute for 8 minutes until onions begin to soften.
3. Add thyme, sea salt and stock. Cover, increase heat to high to bring to a boil. Once boiling, reduce to medium and simmer until carrots are soft, about 15 minutes.
4. Puree the soup until smooth. Add a dollop of yogurt to the top of the serving bowl before serving.

carrot ginger soup

Prep Time: 15 Minutes
Cook Time: 30Minutes
Servings: 8
Recipe by Stacey B. Ornstein

Pakora

logo: "In the kitchen with Patricia"
Last night I was at an internship potluck! What I love about potlucks is the diversity of dishes; we had everything from Hawaiian breadfruit dishes, to indian pakoras. Pakoras are a favorite in India. Your favorite vegetables are dipped in a spicy batter and deep fried to make fabulous fritters.
Ingredients:
1 cup chickpea flour
1/2 teaspoon ground coriander
1 teaspoon salt
1/2 teaspoon ground turmeric
1/2 teaspoon chili powder
1/2 teaspoon garam masala
2 cloves garlic, crushed
3/4 cup water
1 quart oil for deep frying
1/2 head cauliflower florets
2 onions, sliced into rings
Directions:
1. Sift the chickpea flour into a medium bowl. Mix in the coriander, salt, turmeric, chili powder, garam masala and garlic.
2. Make a well in the center of the flower. Gradually pour the water into the well and mix to form a thick, smooth batter.
3. Over medium high heat in a large, heavy saucepan, heat the oil to 375 degrees F (190 degrees C).
4. Coat the cauliflower and onions in the batter and fry them in small batches until golden brown, about 4 to 5 minutes. Drain on paper towels before serving.

Deep-fry-Chana-Dal-Pakoraa dish of fried food with sauce

Serving Suggestion:
As shown in the photo above, this simple sauce can be a great dip. Just blend all ingredients together.
For the yogurt sauce
  • Yogurt 250 ml
  • Sugar 5 ml
  • Salt 1 pinch
  • Coriander 15 ml chopped leaves
  • Mint 15 ml chopped leaves
Prep Time: 15 Minutes
Cook Time: 10 Minutes
Ready In: 25 Minutes
Servings: 6

Pumpkin Maple Flan

logo: "IN THE KITCHEN WITH PATRICIA"

( Adapted from Tiffany’s Treats)


Ingredients

Syrup:

1/2 cup maple syrup

1 tsp bourbon vanilla (this is most of the natural vanilla’s at the grocery store)

1 tsp espresso powder


flan:

4 eggs ( or egg replacer…follow box directions for 4 eggs)

1 13.5 oz can coconut milk ( or 1 + 3/4 cup milk of choice)

1 15 oz can pumpkin

2 tsp bourbon vanilla

2 tsp cinnamon

1/2 tsp allspice

1/2 cup coconut sugar ( I get mine at the health food store)

2 packets stevia


Kitchen Equipment:

saucepan

disposable Foil cupcake pans ( enough to make at least 12 flan)

blender

scissors

aluminum foil

roasting pan


directions:cake batter

  • Heat oven to 325°. Place all syrup ingredients (maple syrup, espresso powder, vanilla)  in saucepan and bring to a boil. When mixture begins to boil, remove from heat. Keep an eye on the stove, so it boil over as it gets foamy quickly!
  • Divide the syrup 12 equal parts among the cupcake pan(s). Set pan(s) aside. Meanwhile, blend all remaining flan ingredients in a blender for 2 minutes or until completely combined.
  • Slowly, pour the flan batter into the cupcake cups over the syrup that was placed in the bottom. Fill to the top of the cups. Place the cupcake pan  into a large roasting pan.

muffin tins

  • Fill roasting pan with 2 inches of water, careful to not spill the water into the flan. You can also put the water in first if it is easier, just allow room for the water to rise when you stick your cupcake pans in the roasting pan.
  • Bake for 50 minutes at 325°. When the flan is done, you should be ale to insert a toothpick and have it come out clean. Place flan in refrigerator to cool completely before eating.

baked goods

  • When flan is completely cool, cut the foil pans so that  each flan is now separated from one another. Loosen the edges of the flan from the pan with a knife.
  • Invert flan onto a plate, gently tapping the top of the foil pan to help it release. Don’t forget to let the syrup drizzle out on top!

dessert

Makes 12 servings.

Homemade Ramen Burger

logo: "IN THE KITCHEN WITH PATRICIA"

After two attempts at getting into Smorgasburg, which is nearby City Tech, my brother and I finally got our hands on the Ramen Burger. The hype is real! The textures I experienced in my first nibble both confused and satisfied. As a foodie, I was trying to guess ingredients with every bite. Before I could decipher the sauce, the last morsel was devoured. My brother and I looked at each other; sharing mirrored expressions that said, “challenge accepted.”

Ingredients:

1 packet ramen noodles
1 egg

Burger ingredients:
burger patty
curry powder (optional)
lettuce, tomatoes, spinach, etc
bacon bits or bacon flavored Onion Crunch
cheese slice (optional)
fried egg (Optional)

Directions:

1. Cook the ramen noodles according to instructions, I significantly reduced the seasoning powder so that the “bun” would not be too salty.
2. Drain the noodles. Place noodles in a medium bowl and mix in an egg. thoroughly mix in the raw egg with the noodles so that all the noodles are coated. The egg is what is going to bind your noodle bun together.
3. Split the ramen noodles in half. Pour into 2 large cylinders/ramekins that are about the size of a hamburger bun. Wrap plastic wrap over container and press down to firmly pack noodles. Add something on top to add a little weight. I added a tupperware bottom and then put a heavy can on top of that. Refrigerate for about 30 minutes to let set.
4. Meanwhile, heat up/cook your burger patty. I made a free form patty with some ground beef, salt and curry powder to add some more Japanese flare. Heat up your frying pan with some oil. Flip over your ramen noodle container upside down so that the noodle bun slides easily into frying pan in one piece. Fry for a few minutes on both sides until noodles become slightly crispy.
5. Add in patty and additional toppings of your choice.


a stack of noodles

Roasted Chickpea & Broccoli Burrito

logo: "IN THE KITCHEN WITH PATRICIA"

Every year, right before the school year begins, my mom goes on a “meat-less” diet. Let’s just say, what mom says, goes! Don’t get me wrong, I always enjoy a savory vegetarian meal, but my mom tends to lack variety when she’s pressed for time.

I was at a design client meeting, when somehow vegetarian meals came into topic. Let me be upfront when I say I am not a fan of tofu if it looks, tastes, or smells like tofu. My client mentions how she made garbanzo beans taste like chicken! WHAT, WAIT, PAUSE! Needless to say, I had to try it. As well as give mom a break in the kitchen.

Ingredients:

3 cups of cooked chickpeas  (2-15 ounce cans, drained)

1 large yellow onion

1 red bell pepper

1 large crown of broccoli

4 cloves of garlic

1 lime


spice blend:

3 tablespoons olive oil

1-2 tablespoons soy sauce, tamari, or Bragg’s Liquid Aminos (You can usually find this near the vinegars or soy sauces)

2 teaspoons chili powder

1 teaspoon ground cumin

1 teaspoon smoked paprika

1/2 teaspoon ground coriander or more cumin if you don’t want to go to the store

black pepper or cayenne pepper to taste


directions:

  • Heat the oven to 425 degrees. Chop up the onion, bell pepper, and broccoli so that all the pieces about the size of a chickpea. Chop up the garlic into small pieces, but save it until later.
  • Place all the chopped up veggies in a large bowl with the cooked chickpeas. Pour in the oil and soy sauce, stir, and then throw all the spices in there. Mix until everything is coated.
  • Put all of that on a large rimmed baking sheet (like what you would put cookies on but with an edge) and bake for 20 minutes. Take it out of the oven, add the garlic, and bake for another 15 minutes. The broccoli will look a little burnt at this point but that is the plan so  take it out of the oven.
  • Squeeze the juice of half of the lime over the pan and stir the roasted chickpeas and veggies all around. Taste some and see if it needs more spices or anything. Now here’s your filling, make a  burrito! I like mine with spinach, avocado, cilantro, and some chipotle sauce.

Notes: makes 6-8 burritos

a wrap sandwich

Photo © Deb Lindsey