Learning Log 3

Split

Rembrandt

Loop

Short

Broad

For today’s class our assignment was to capture the different forms of lighting: broad, Rembrandt, loop, and short. This lesson emphasized the importance of light in photography. This class also made me realize the cool effects you can have on your photos through the use of light. Some of the photos that we took gave off a somber vibe due to the lighting.

Learning Log #3 – Portrait Lighting 1

Short Lighting

Broad Lighting

Rembrandt Lighting

Loop Lighting

Split Lighting

This lesson is to use different portrait lighting for the subject. Each have their own different feel and look. Broad and short have a similar composition but different use of lighting. Broad focuses more light on the subjects face while Short uses less light on the face. Rembrandt and loop are similar but different. Loop is the edging of the shadow on the nose while Rembrandt creates a triangle lighting on the subjects cheek. And lastly, Split is using the lighting adjacent from the subject to make a slice on the center of the face, one side being lit while the other side is dark.

learning log 3 NSJR

Broad

Split

Rembrandt

Short

Loop

In todays lesson involving Portrait Lighting helped me understand how to do portrait shots with different people and and see what kind of colors can contrast with that person. With each photo i took today involve with and without color in the portraits shots. Personally in my opinion when taking the photos I was able to have a better understanding on how to properly take portrait shots and enjoy doing them. In the end of the day its safe to say that I will be able to take better and more portrait photos more often in the near future.


Learning Log #2

In this class, we learn how to use lighting and composition. The use of lighting can change the mood of the scene. Some ways of doing so is creating highlights and shadows. I used the lighting on the skull to give some highlights to stand out from the rest in the photo. The second photo I focused more on telling a scene or story by giving the back dinosaur more shadow to blend in with the background. It gives off as if the dinosaur is appear from the darkness. And lastly, the last photo is an overall look of using both highlights and shadows.

Learning Log 2


During the class session we tinkered with lighting. the most important element in photography. My group and I experimented with both hard lighting and soft lighting, while also manipulating different environments, both white and black. while manipulating focus and aperture I was able to create depth within some of the photos. I also utilized angle to create a more diagonal dramatic effect to one of the photos as well. This exercise was very benefitting to my knowledge of lighting as well.

Learning Log 2

Today’s photography class we learned how to shoot in different lightings. The difference between light and dark lighting is that the darker lighting gives a pop to the flower. The light on the sides angle from light to dark which adds shadows to the flowers and background. I used the reflective board to give it more of a depth in the picture. The lighting goes from bright to dark in a linear direction.

Learning Log#2

in class, we shot still life shots and try to incorporate high key shots and lowkey shots. We mostly shot lowkey shots. The shot with the mask, our group try to create a dark scene. Having one mask in front lit up and the second in the back with part of the mask lit up. Also having one mask in front and one in the back created depth to the photo. The second set of photos we investigated with different items. For these photographs, we made a drug, gambling, death theme. Overall this was an interesting fun session of photography. I learned that the lighting and backdrop can create the mood of the items.

learning log #2

Photography class learning to shoot photos of objects. I shot the picture where you can somewhat see the face of the second mask in the background of the first picture. The yellow mask has a light and dark side to it which gives it more of a pop. The second two pictures, I think me and my group went off topic and just took pictures of the objects and creating a story to them. We gave the objects a story of what happens when you gamble.

Forhad Sunny Learning Log #1

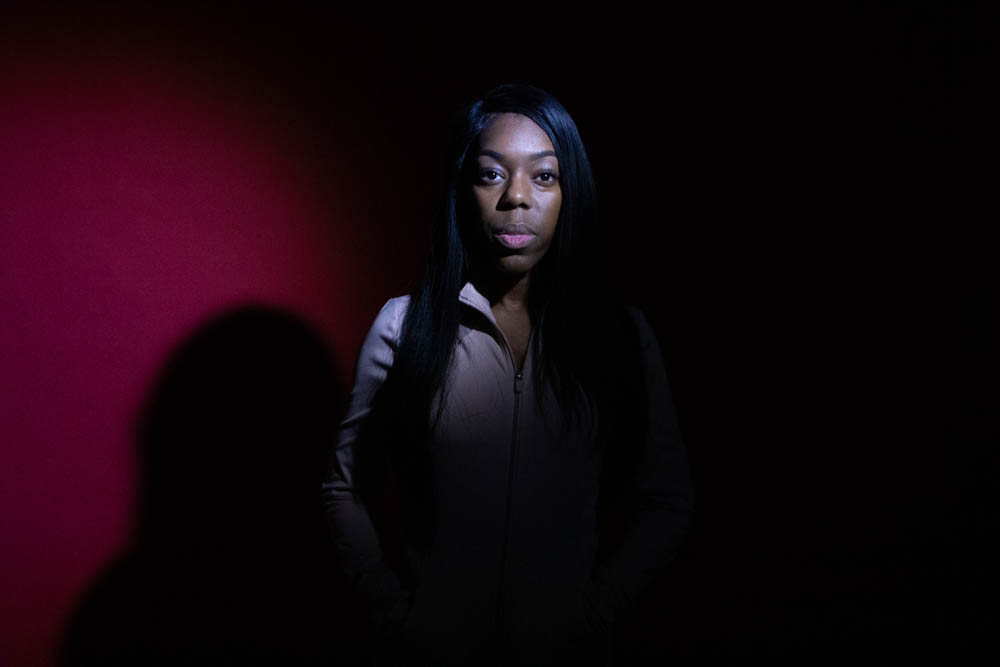
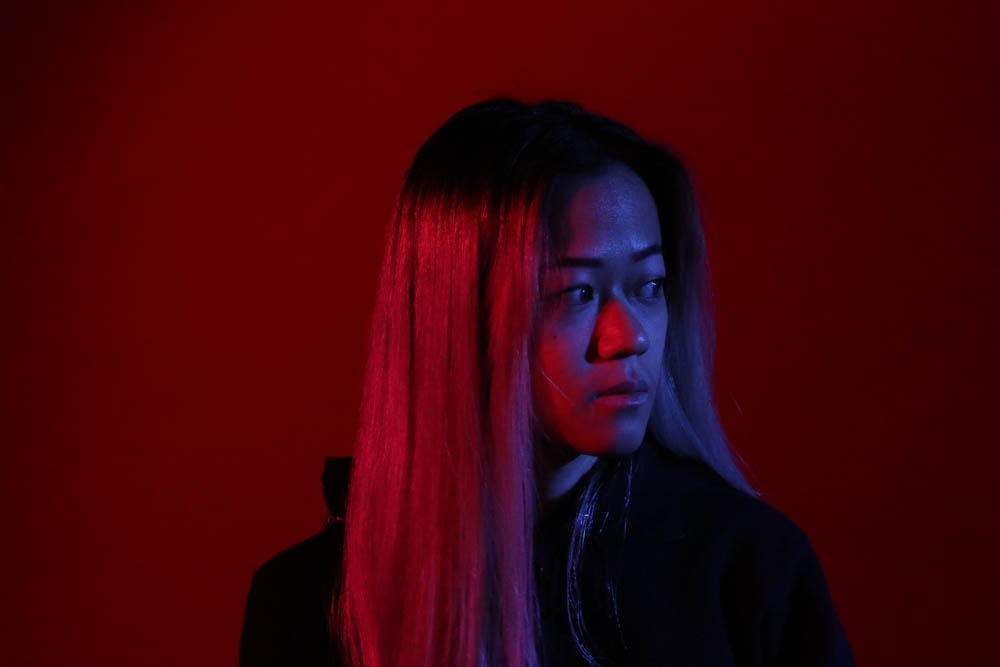
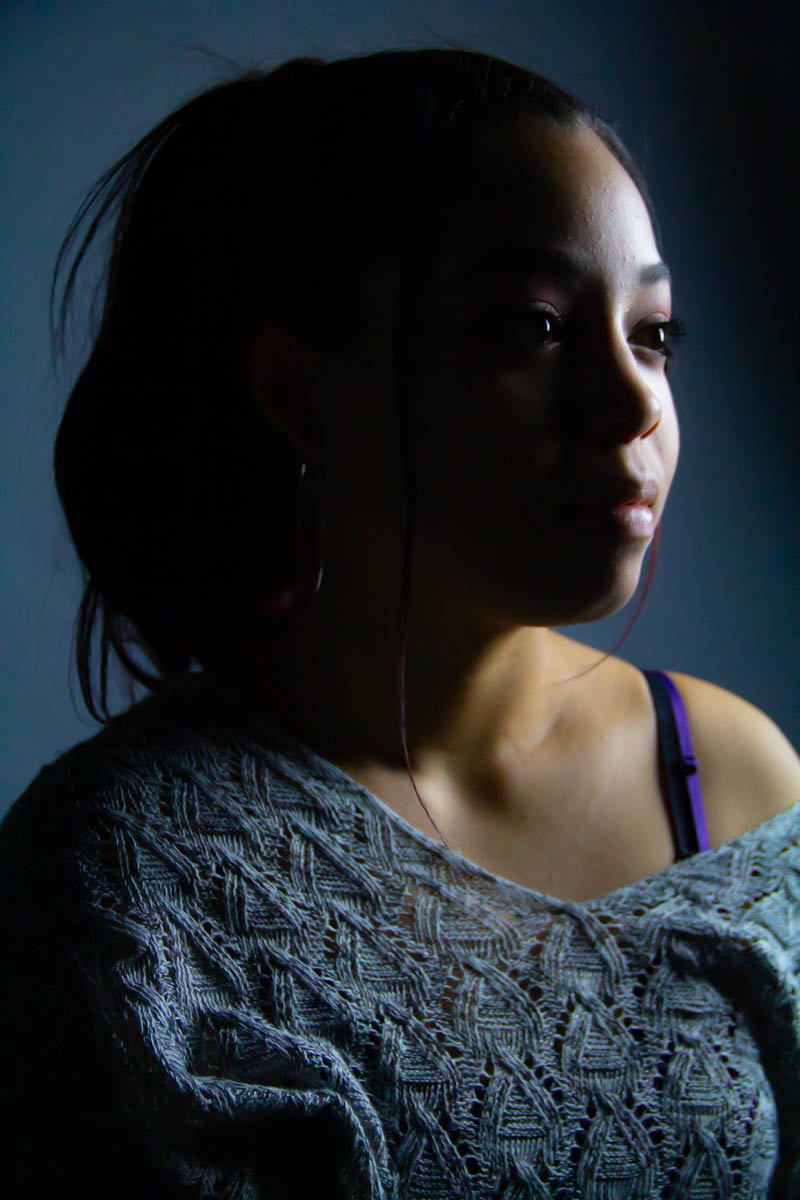
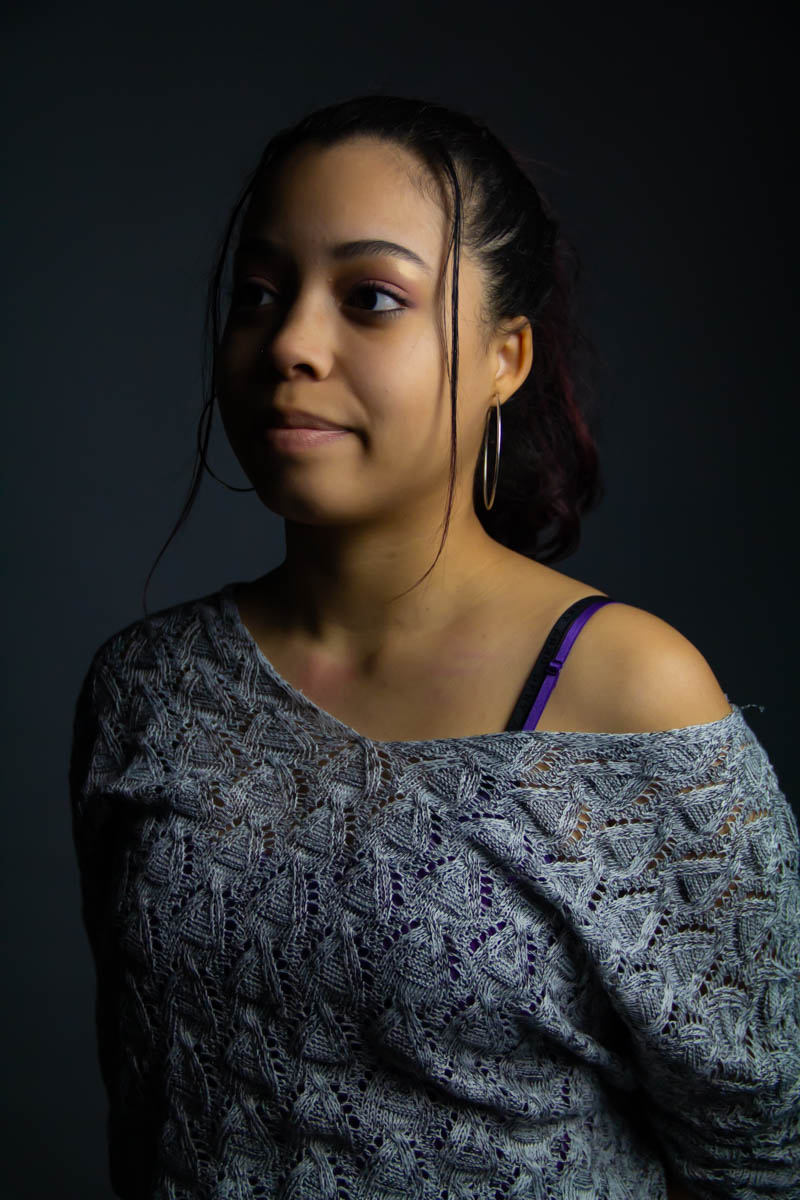
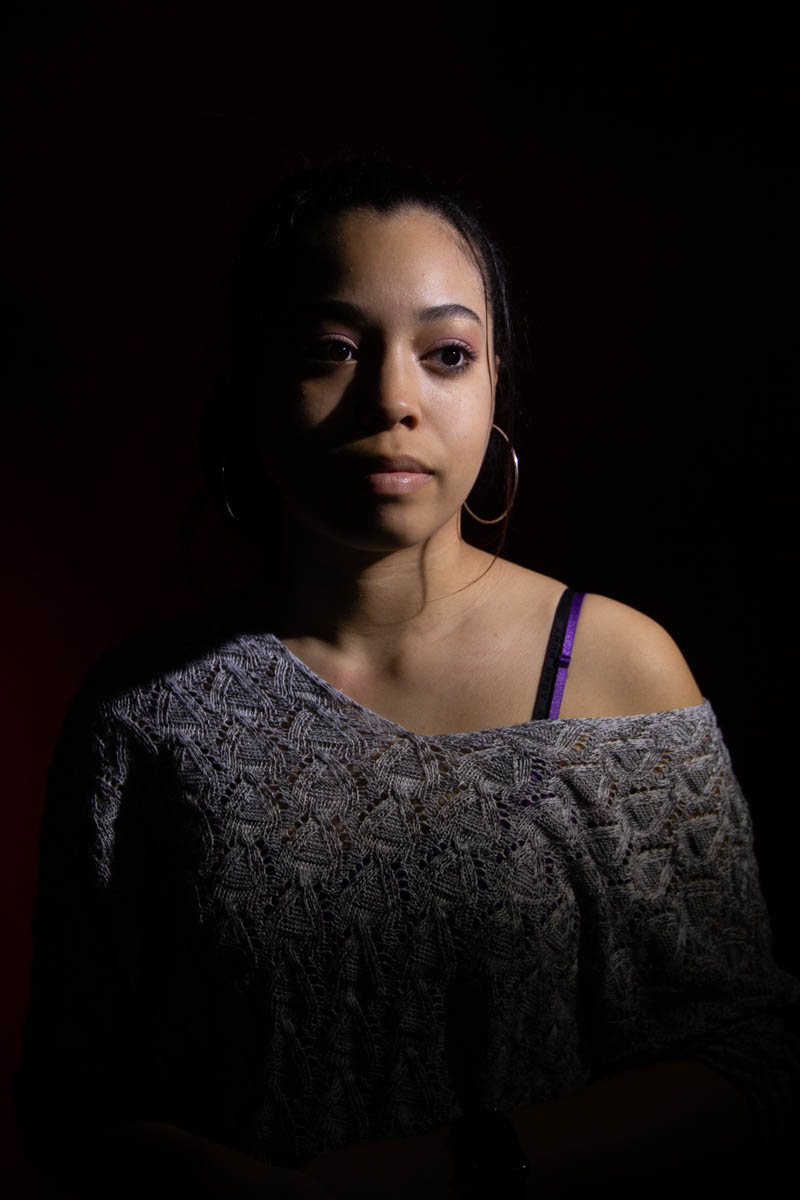
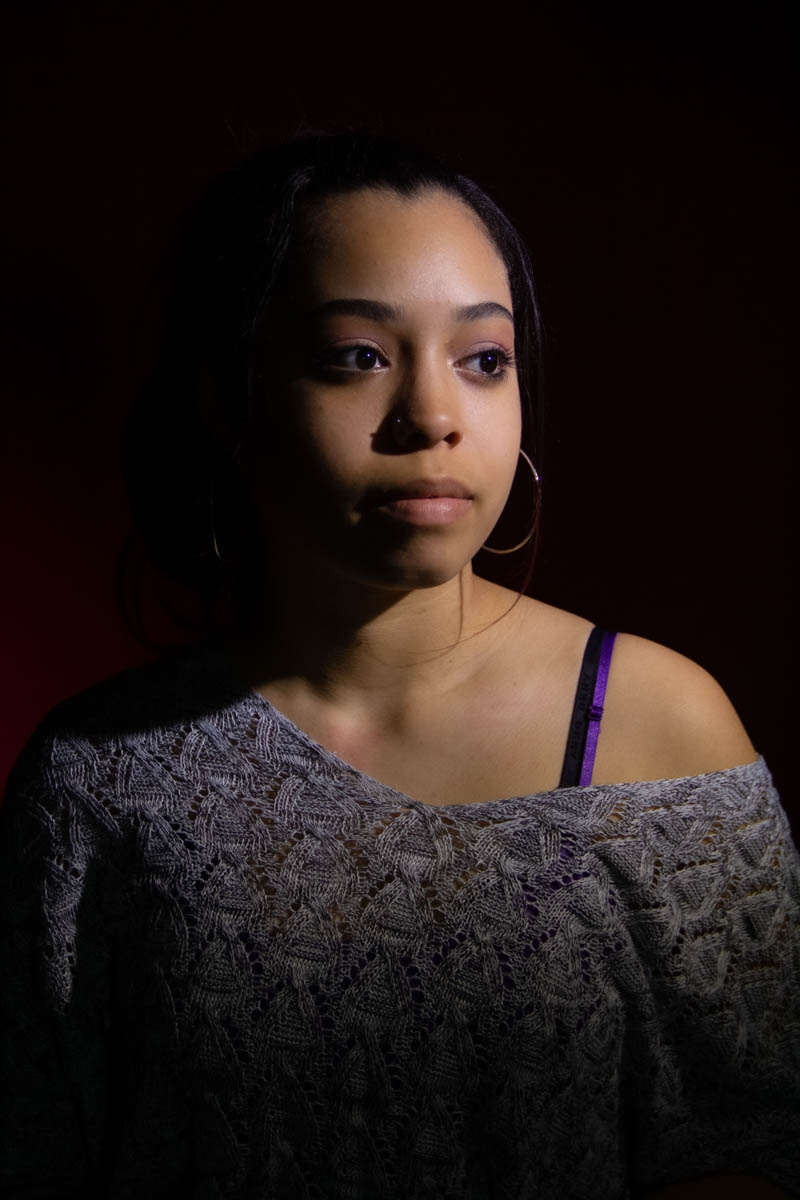
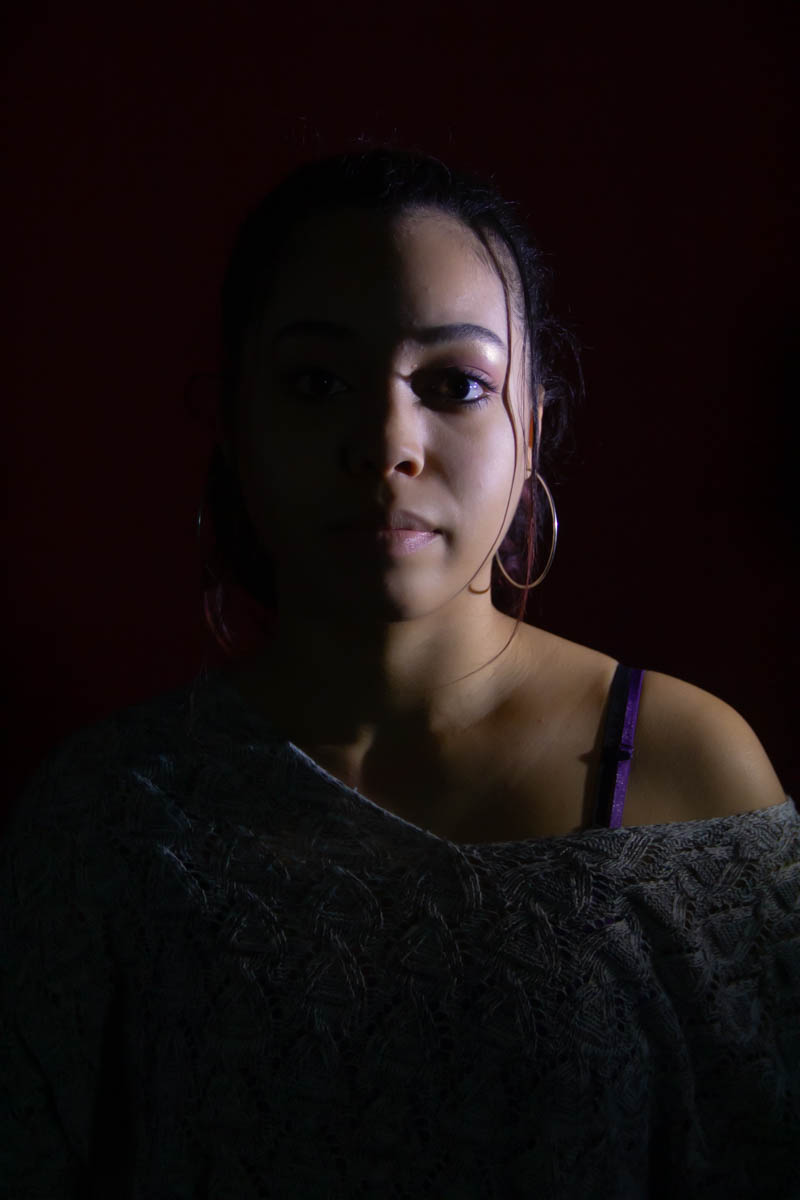
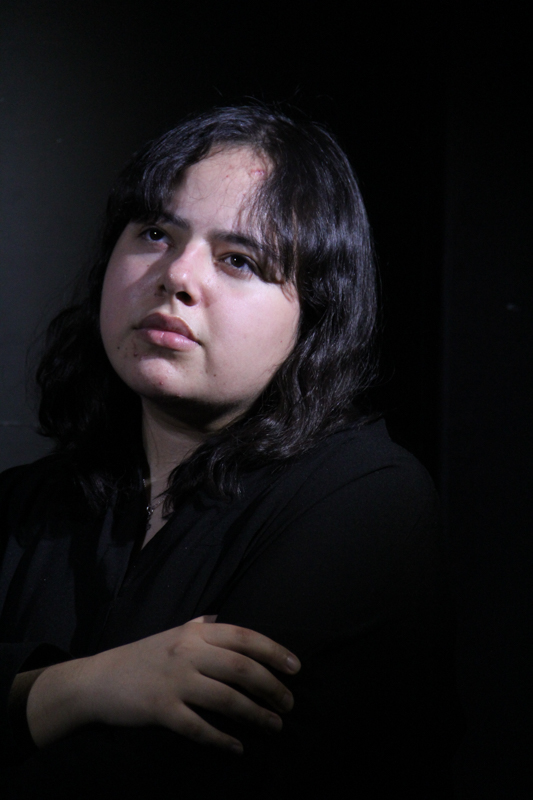
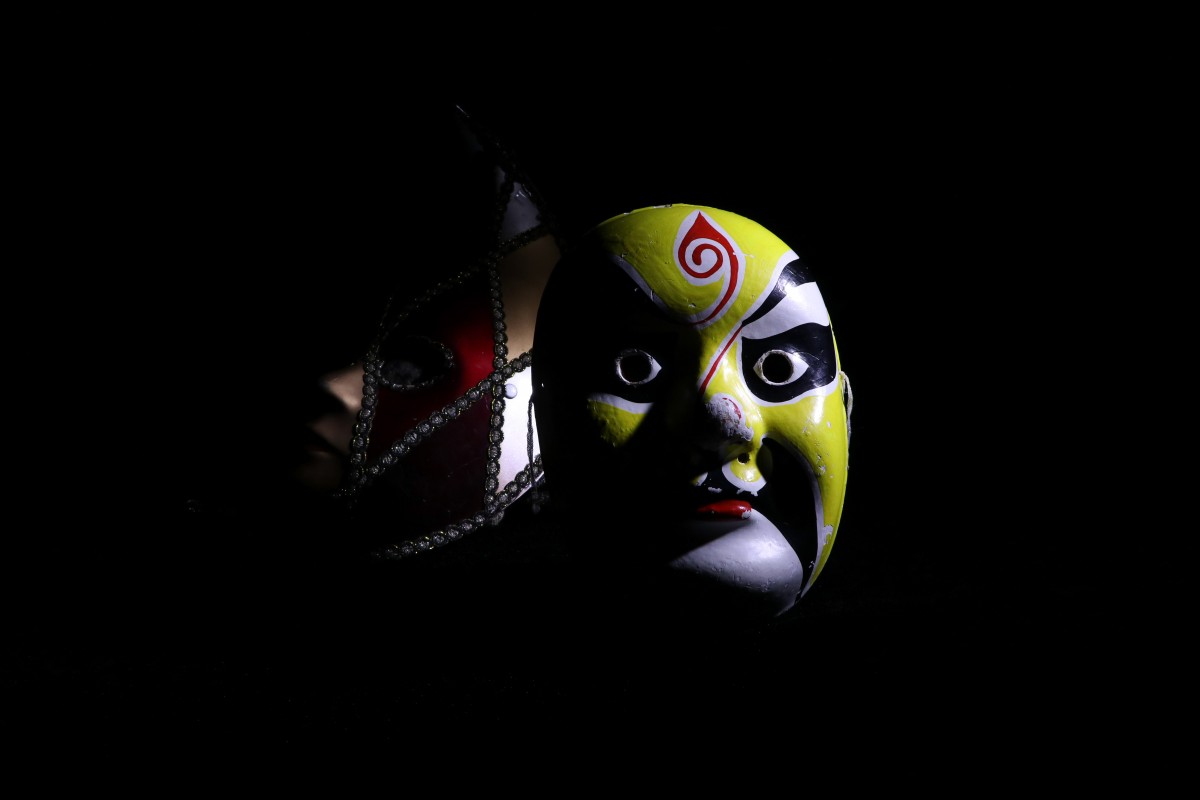
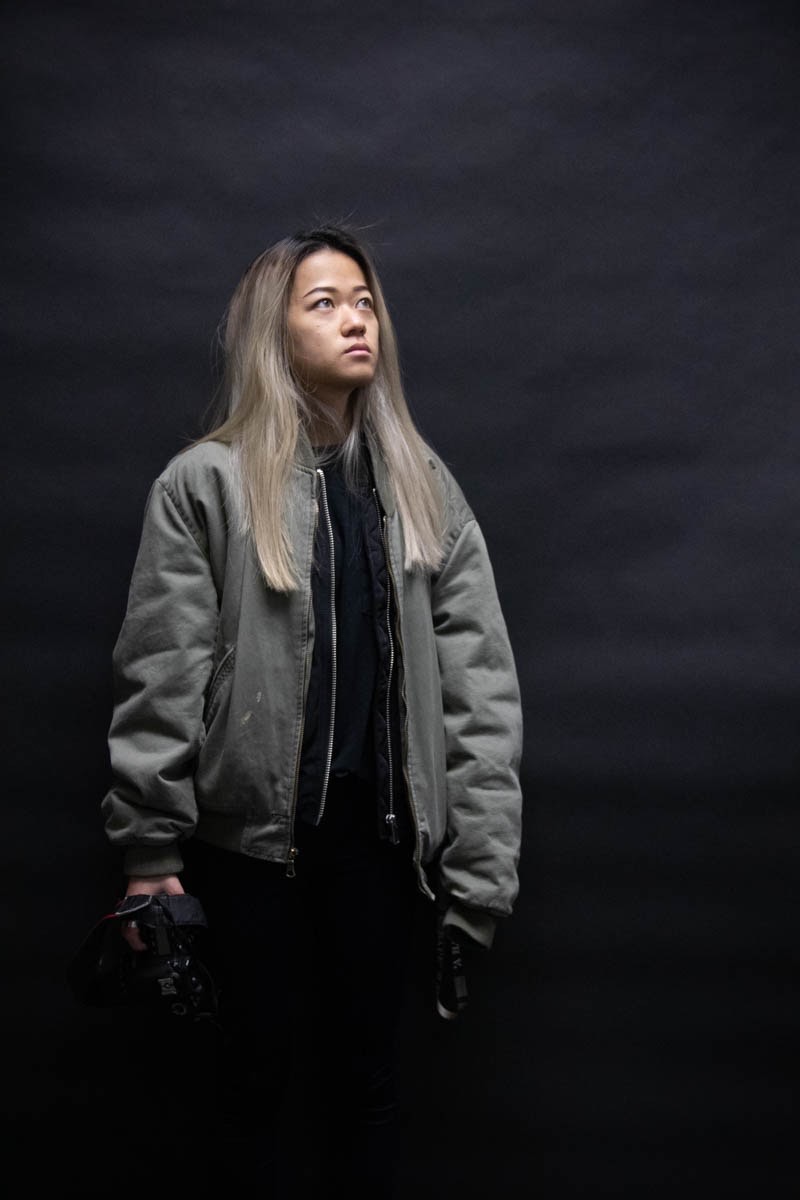
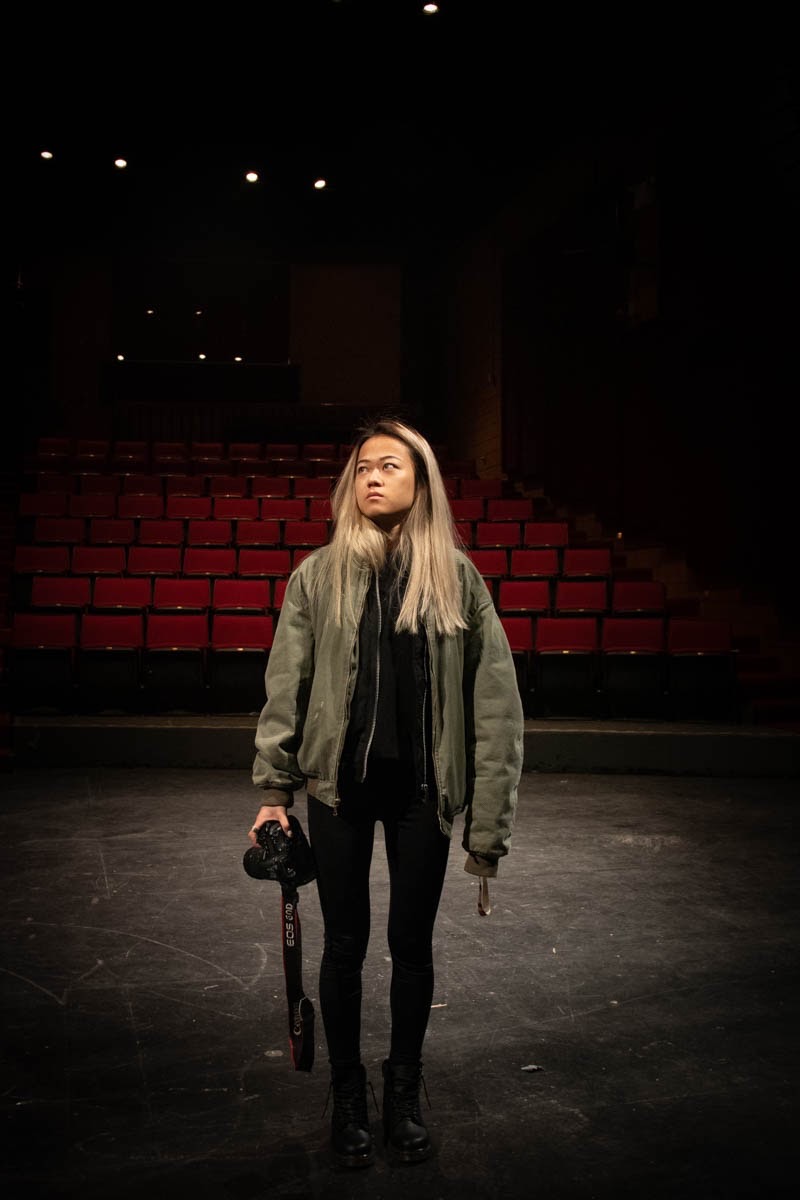
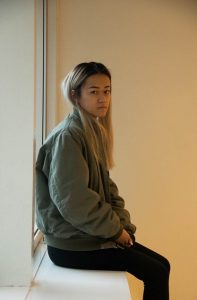
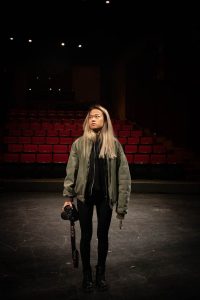
For the three photographs above I went to different locations to get the correct lighting. Since the aperture doesnt go less than 4.0 I had to search for a location with bright lighting. I took the first picture inside the classroom in front of the black drop beacuse I wanted the ceiling lights to hit the subject. For this picture I put ISO 800, shutter speed 200, and 4.0 f. The second picture was taken inside the cafeteria next to a window. I made the subject put her back against window so the light could hit her back. For this picture i put ISO 200, shutter speed 100, and 4.0 f. For the last picture I went to the auditorium. Since the auditorium had warmer lighting, I had to change the camera setting. I decreased the kelvin and made the color of the picture a little bit cooler. The ISO was 400, shutter speed was 100, and 4.0 f.

learning log#2

for learning log #2 I tried to work with the focus to make my photos have a sense of depth. considering what my objects were I used the low-key look to give it that dramatic and spooky vibe to it. I also used the rule of thirds in the way I places my objects to make my photos that much more interesting.