Monthly Archives: February 2020

learning log #2

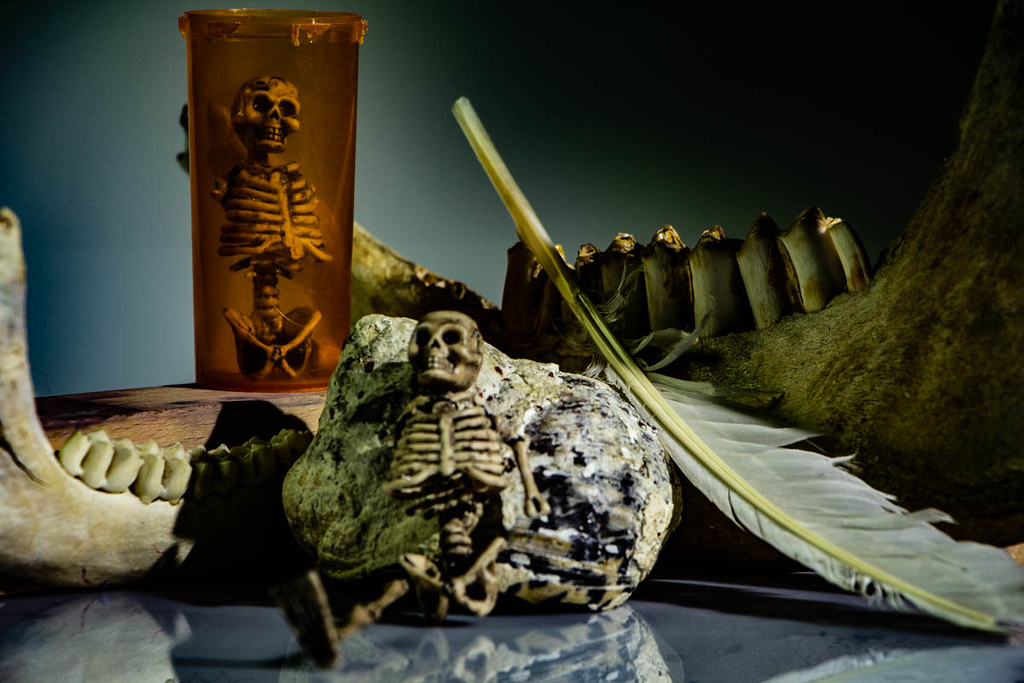
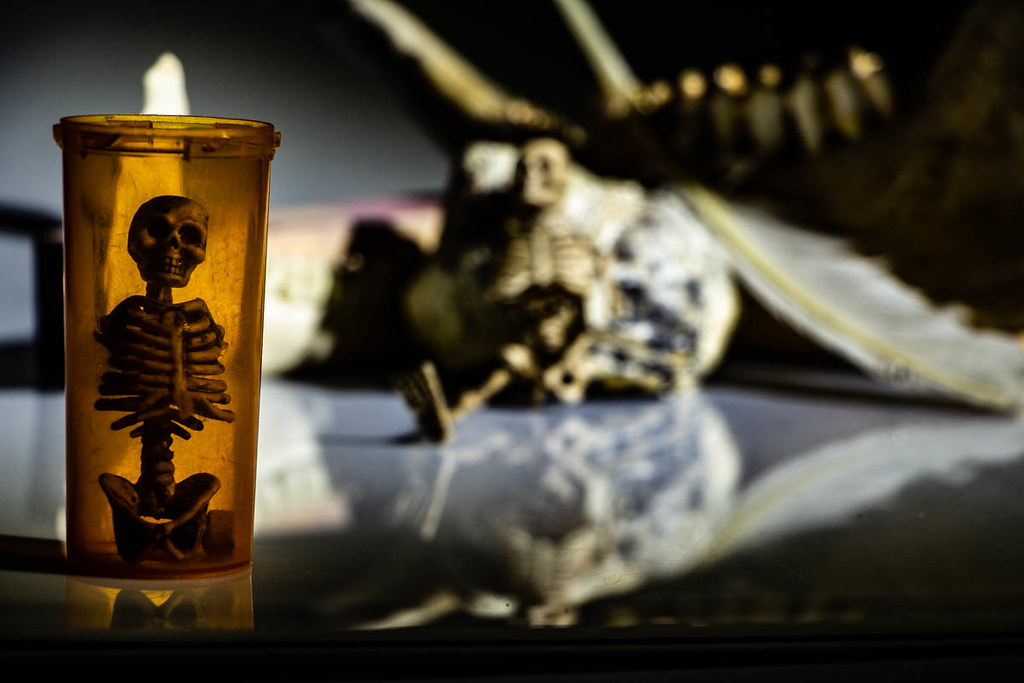
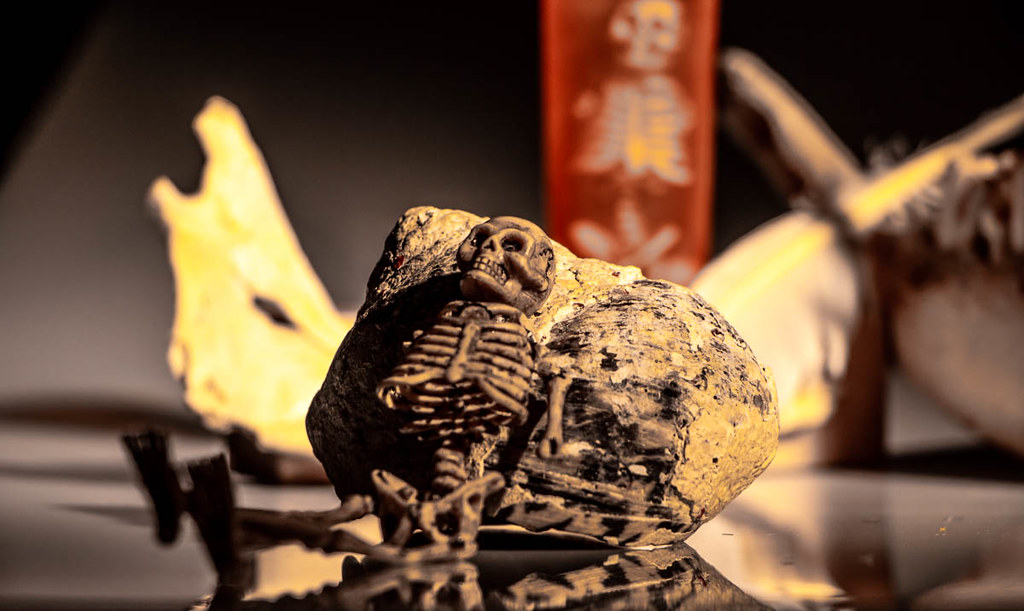
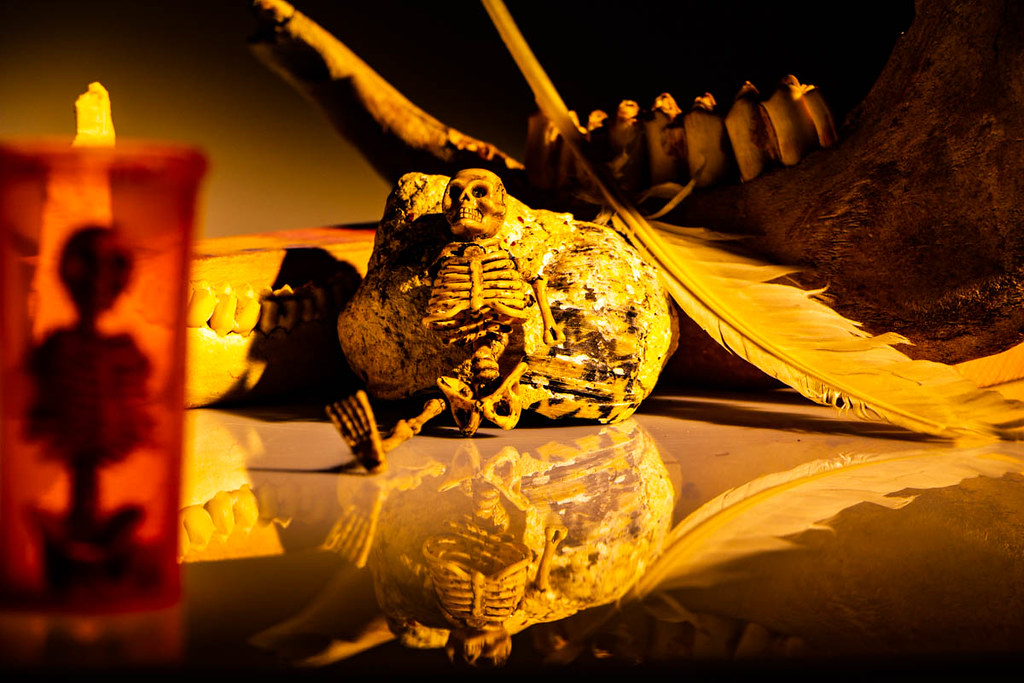
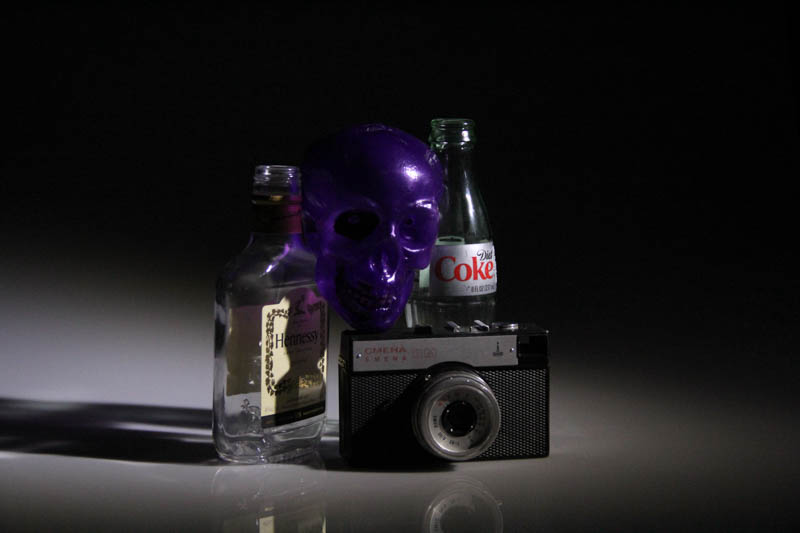
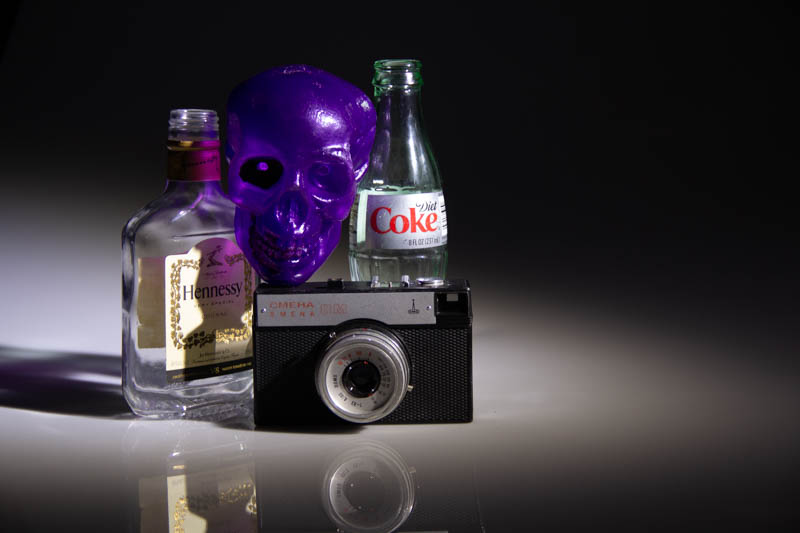
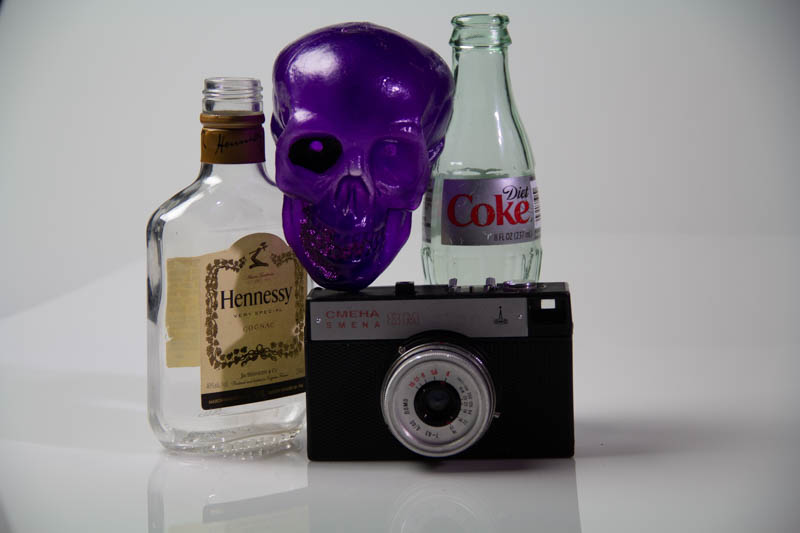
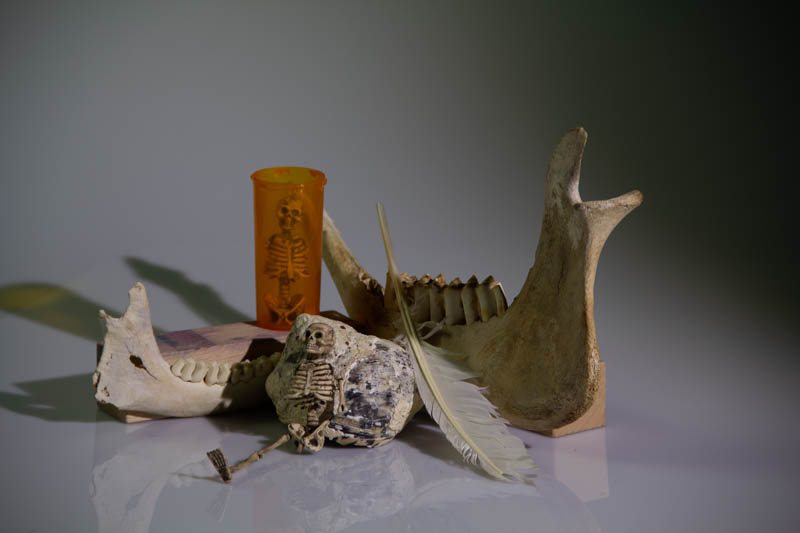
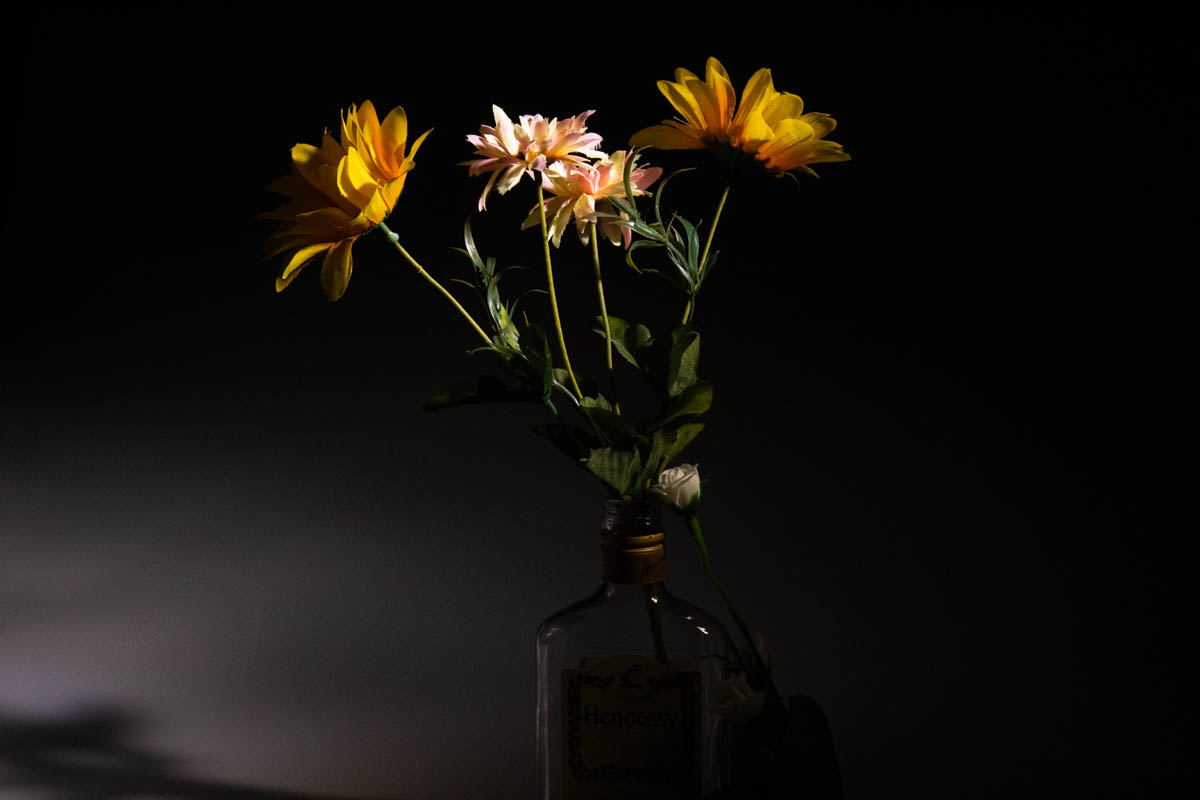
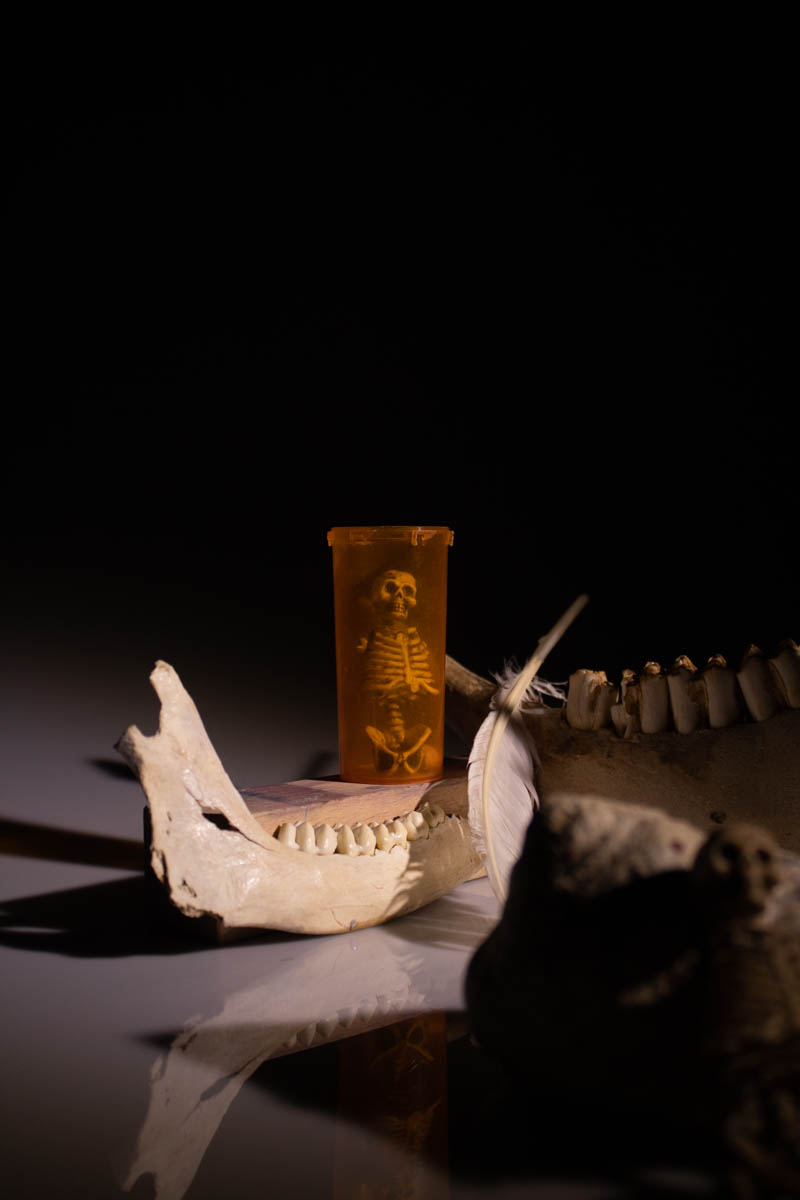
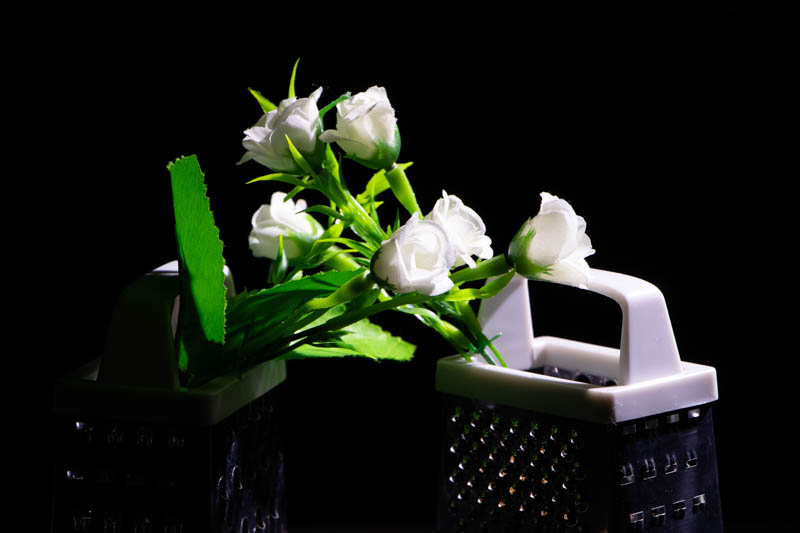
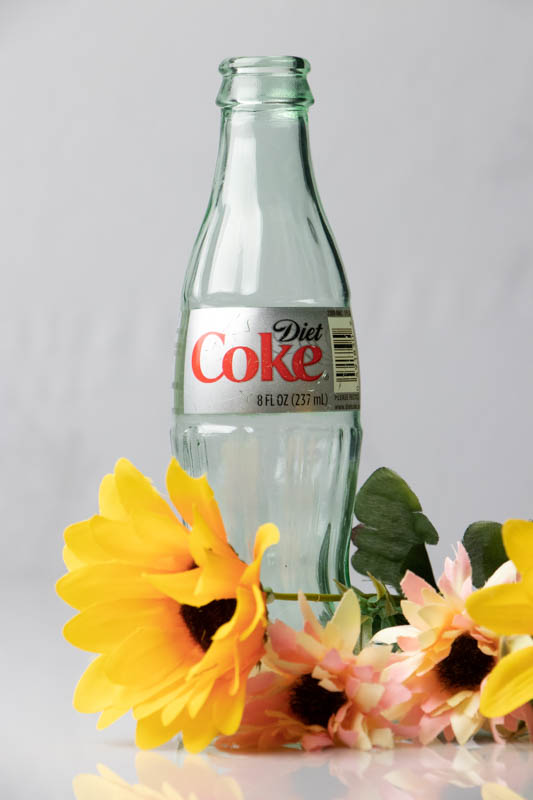
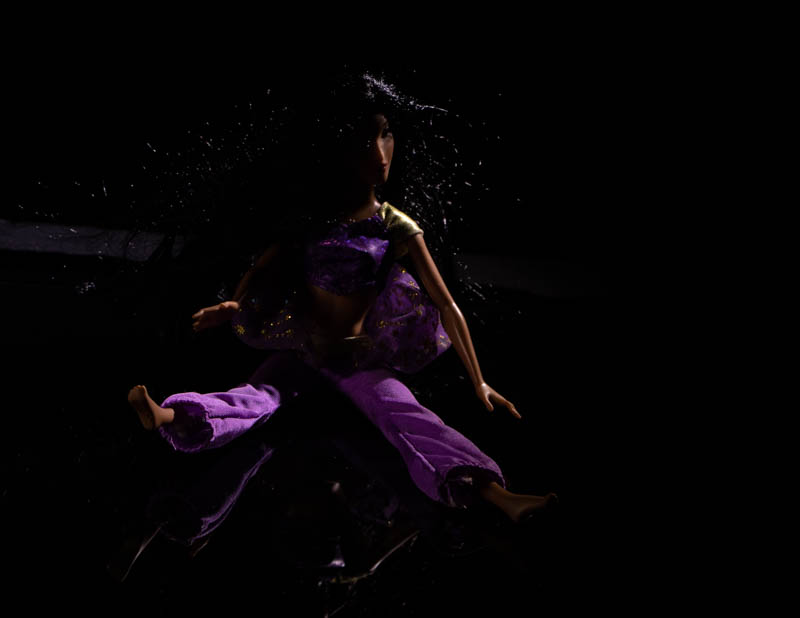
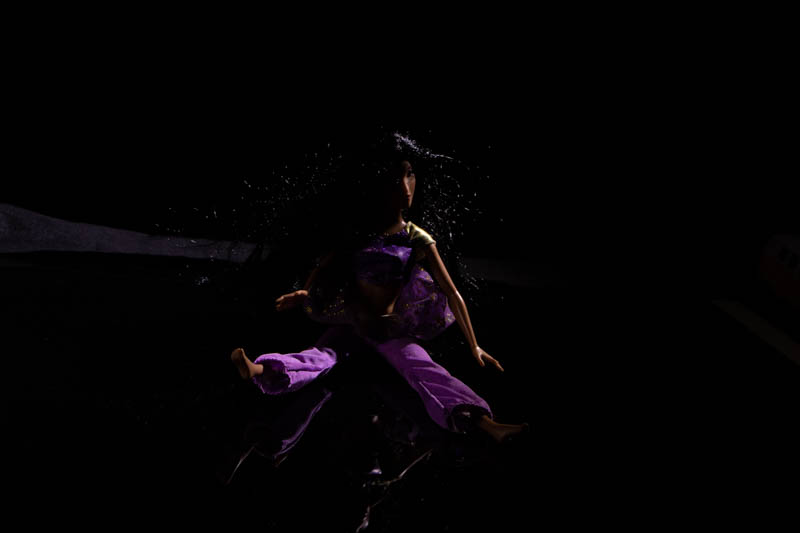
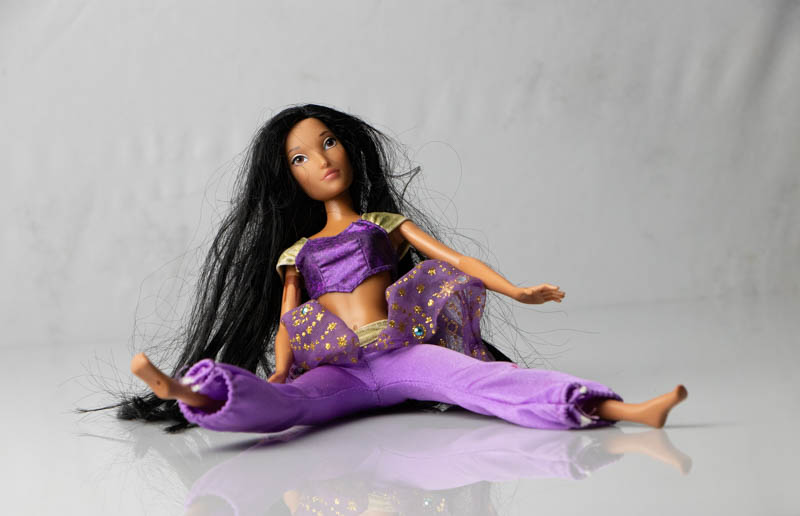
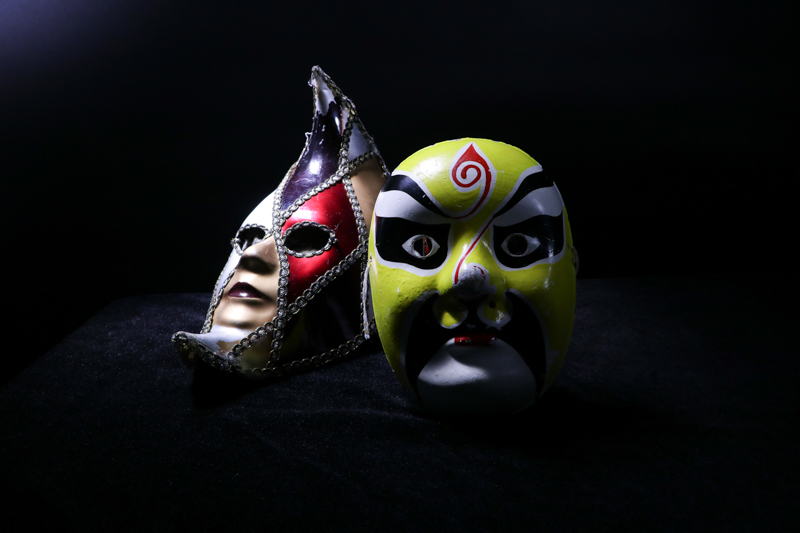
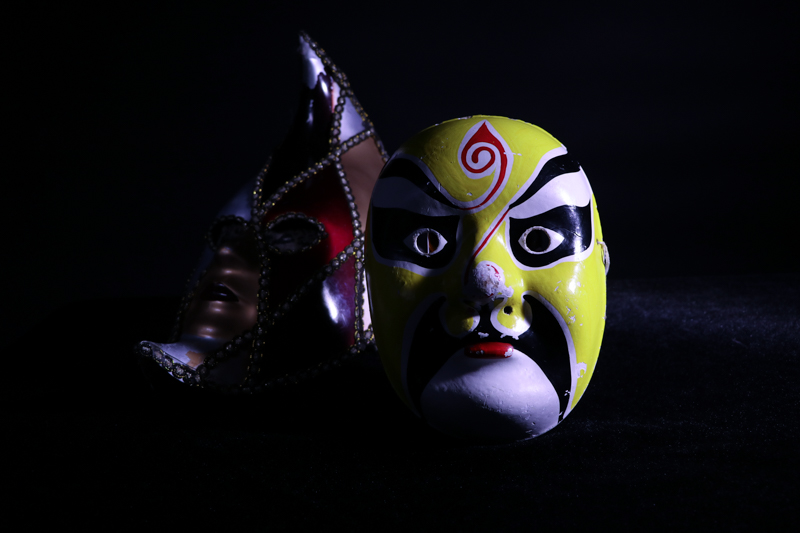
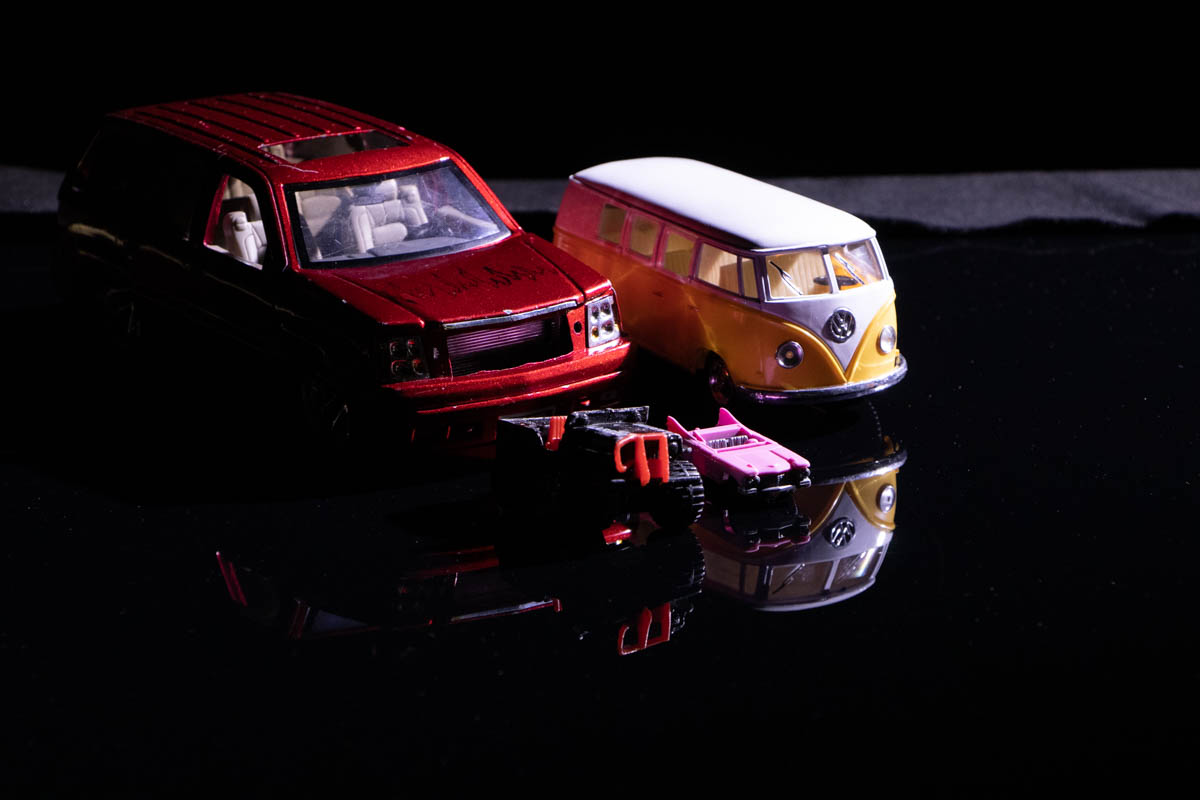
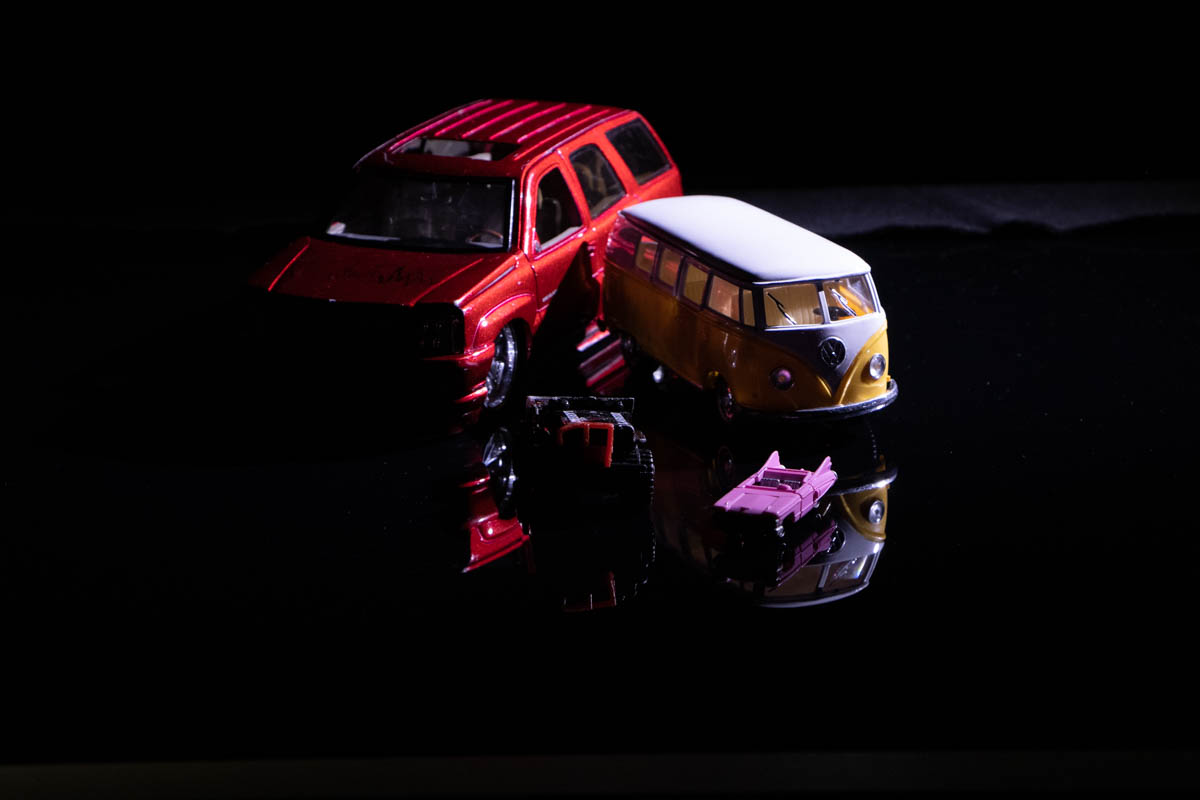
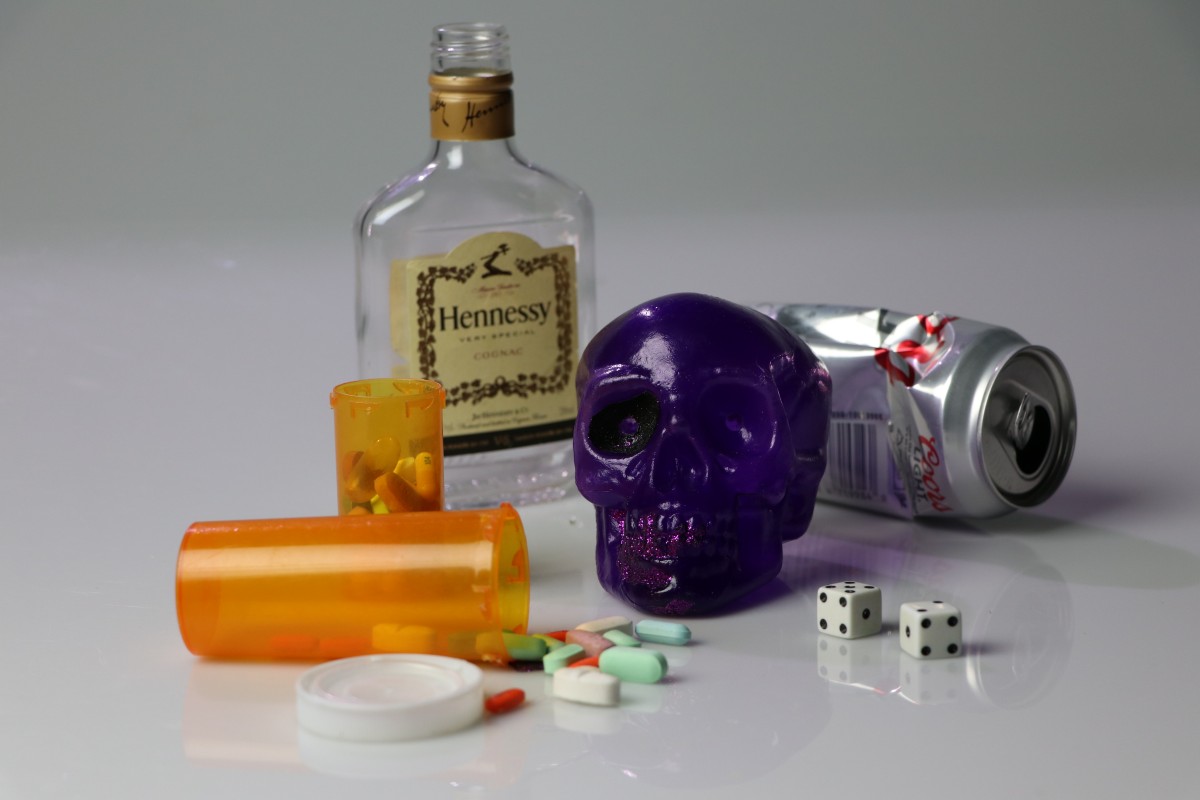
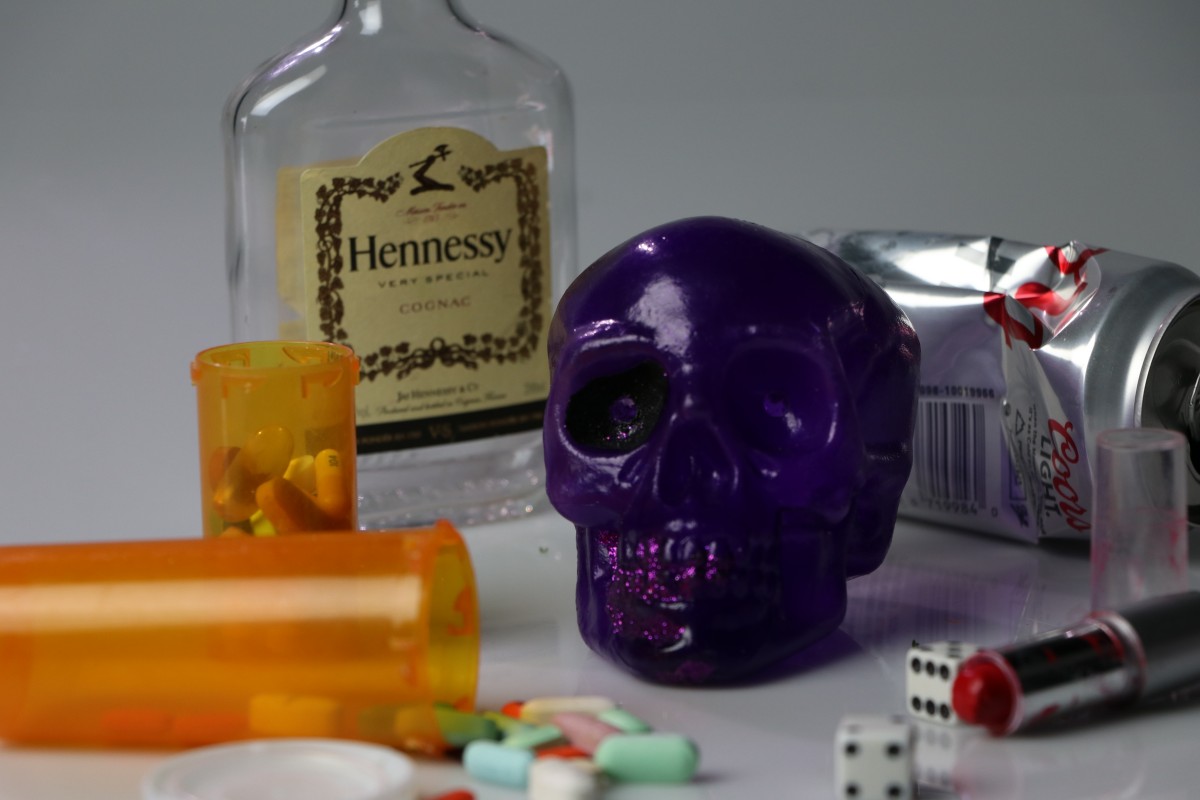
Photography class learning to shoot photos of objects. I shot the picture where you can somewhat see the face of the second mask in the background of the first picture. The yellow mask has a light and dark side to it which gives it more of a pop. The second two pictures, I think me and my group went off topic and just took pictures of the objects and creating a story to them. We gave the objects a story of what happens when you gamble.

Forhad Sunny Learning Log #1

For the three photographs above I went to different locations to get the correct lighting. Since the aperture doesnt go less than 4.0 I had to search for a location with bright lighting. I took the first picture inside the classroom in front of the black drop beacuse I wanted the ceiling lights to hit the subject. For this picture I put ISO 800, shutter speed 200, and 4.0 f. The second picture was taken inside the cafeteria next to a window. I made the subject put her back against window so the light could hit her back. For this picture i put ISO 200, shutter speed 100, and 4.0 f. For the last picture I went to the auditorium. Since the auditorium had warmer lighting, I had to change the camera setting. I decreased the kelvin and made the color of the picture a little bit cooler. The ISO was 400, shutter speed was 100, and 4.0 f.

learning log#2

for learning log #2 I tried to work with the focus to make my photos have a sense of depth. considering what my objects were I used the low-key look to give it that dramatic and spooky vibe to it. I also used the rule of thirds in the way I places my objects to make my photos that much more interesting.

Learning Log #2


For the first photo I took, I tried to focus more on the dinosaur who was in the front but still capture the second dinosaur who was in the back. For the second pictures what I did was make the skull who was in the center as the main center but still have the dinosaur. However, I still have part of the second dinosaur legs in the shot.

Learning Log #2 High Key vs. Low Key

I took these photos using soft lighting and a light box. Rules of composition found on in these photos are symmetry, leading lines, figure to ground and Diagonals. I also played with my aperture and ISO throughout my shoot. The main elements I used in my photos were light and the focus of my subjects. Ultimately, I think I had a successful photoshoot here. I do feel it could have been better in some areas.

Learning Log#2


I had fun taking these photos. For the two skeletons I tried to take It so that the skeleton was in focus while the background is blurred out. For the last picture I tried to make the skeleton blurred out and in the corner in the front while having something in the background more in focus this time. Something like figure to ground.

Learning Log #2


For my low-key photo I took the sola led light and lit the back of the setup to create darker shadows in the front like in the video we watched. For the high-key photo I took I used a soft box light and lit more directly on the setup. The background we used for this was a little more makeshift so I tried to bring the setup as far away from the background as I could to create a better depth of field.

learning log #2


these photos I followed a rule of thirds and I was using light and shadow . For  the low light I wanted it mostly on her back while the high light I wanted it on her face mostly for the shooting ins the dark it was very hard with Manuel focus I was having a problem with that one so I which to the auto focus I was trying to do what they lady did in the video, I need more work but I had fun shooting these. The dark one is two dark for me these where the only two good one of that one.

Learning Log #2 Anthony Murillo-rivera

sd

we spent most of our time messing with lighting so the majority of our pictures were high key pictures, for the pictures I took we decided to remove the lighting directly of our still life and decided to use our bounce board to light our object; what we ended up getting is strong and deep shadows and allowed the light to wash over both the mask, this ended up creating nice highlights on the left mask. for the shots that we took first our light was directly on the object and we were able to captures strong highlights on the right side of the yellow mask. For our low key photographs we decide to use a variety of items as we wanted to see how light affected each item. what we ended up getting were some nice highlights of light on the purple mask and the variety of our silver objects. this was the first time doing still life photography so playing with light and how it works in a variety of angles was really interesting.

Learning Log #2 High Key vs Low Key NSJR

The way how I can describe the photos I took today was that I was trying to following a few things like rule of thirds, and how to use balance of light and dark for them. As you can see based of these 2 photos the use of light and dark is used because everything around us involves balance. These 2 phots work well with the negative space because it feels like a drag race in the night. And lastly it feels like when you look at these photos it feels like a late night car show with high and low key lights being involved.