Professor Michals

Category: Class Topics (Page 1 of 3)

Week 14: Local Corrections

Review Global Corrections

Global corrections adjust the entire file. In the Lightroom, it includes the controls under Light, Color and Effects. In Lightroom Classic, this includes everything in the basic panel: White balance, Exposure, Tone and Presence.

Local Corrections

After you make global corrections, sometimes you will want to make corrections to part of your image. Generally, the brightest part of the image commands the most attention. Sometimes that is not where you want your viewer to look first so shifting the exposure of parts of your image can create the image you want.

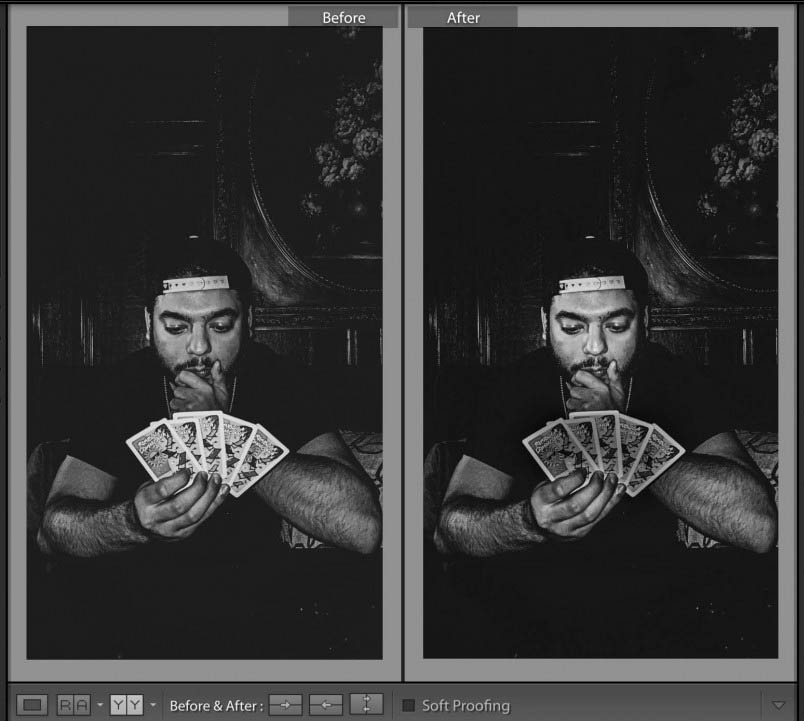
The important thing in this photo by Bryan Rodriguez is the face of the card player. However the cards are brighter and demanded too much attention. Using the adjustment brush, I darkened the cards. Creating a second adjustment, I lightened the face of the card player a little more. The goal was to bring more attention to the person’s face and less to the overly bright cards.

The main tools for local adjustments are the adjustment brush, the radial filter and the graduated filter.

Lab exercises

Review Global Corrections

Local Corrections

Homework

Final Project

This is the rubric.

Deliverables, due next week, Dec. 14th:

  1. Final project statement and mood board

2. 3 albums each of a minimum of 30 photos

3. 1 album of the 10 best photos of the 90 total, adjusted in Lightroom

4. a 3-5 min presentation of the final project – projected from the album on Flickr.

Presentation Guidelines

  1. Start by introducing yourself and your project. Give us the big picture in a few short sentences such as, ” I photographed variations on the theme of windows. most of the photos were taken in downtown Brooklyn.
  2. If you are showing 10 images, you have about 30 seconds to describe each photo. Tell us what your intention was, what interested you about the photo we are looking at, and give us information we may need to know to understand the photo. Tell us what makes it visually interesting ie the use of shallow depth of field or some other feature.
  3. Practice your presentation.
  4. Try making a simple notecard for each image that lists the one or two points you want to make about that image.
  5. Do not tell us about what you did to the photo in Lightroom or what would have made the photo better..
Week 13: Glass and Direct Reflection

Managing Reflection

The subject’s material can transmit, absorb or reflect the light that hits it.

Types of reflections:

  1. Diffuse reflections-the material reflects the light equally in all directions. Neither the angle nor the size of the light source changes the appearance of a diffuse reflection. The distance of the light to the subject will make the subject look brighter.  An example of a material that creates diffuse reflection is paper.
  2. Direct reflections are a mirror image of the light that produces them. If a direct reflection is seen is determined by the angles between the light source, the subject, and the camera. Brightly polished metal or glass are both examples of materials that create direct reflection.

Metal

To manage reflections on metal, either light it and let it go dark or fill the surface with light so the whole thing is reflecting the light.

Glass

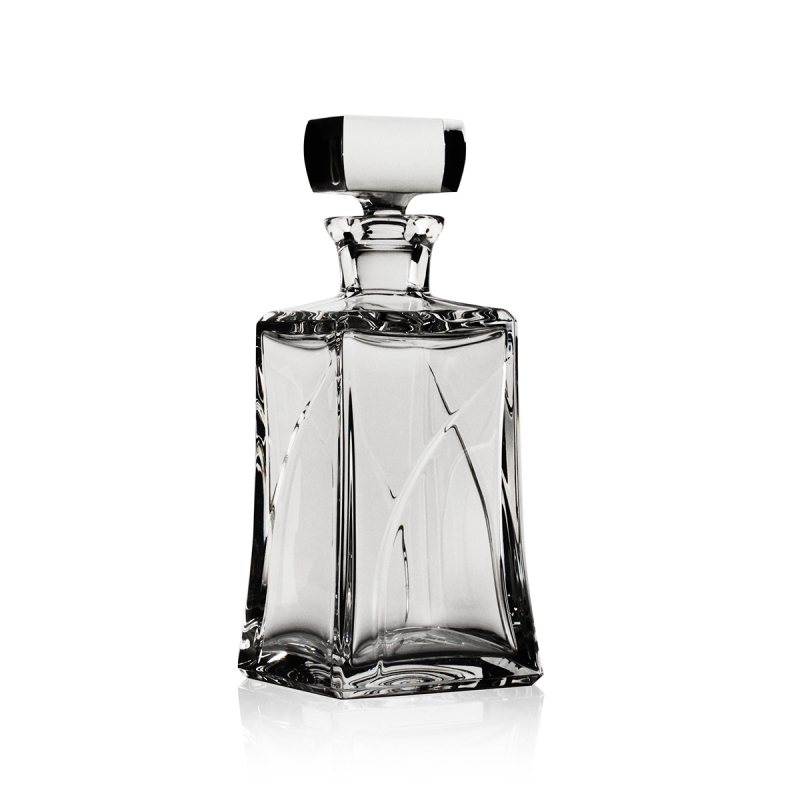
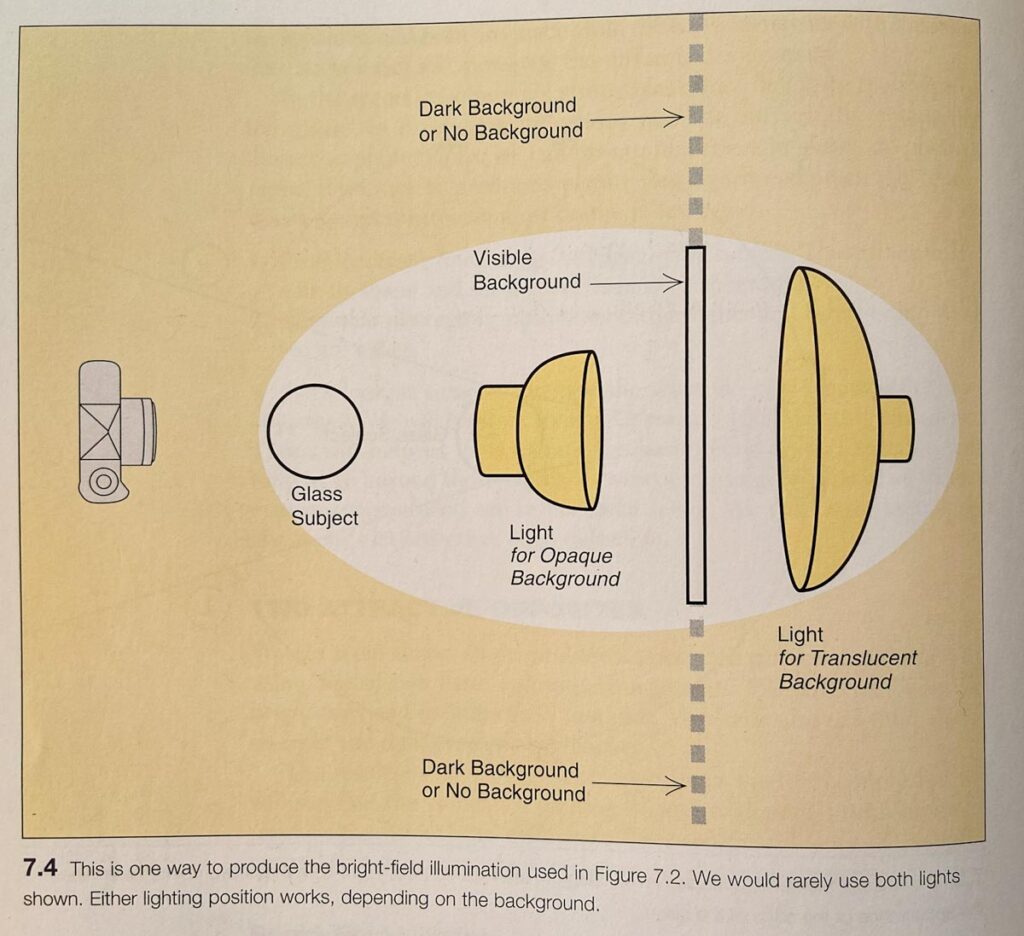
Glass produces direct reflection but it is also transparent. One needs to bring out the edges to see the shape of the glass. So there are two problems when photographing glass:

Controlling the direct reflection 

Bringing out the edges by reflecting onto them so they are visible.

Lighting diagram from Light, Science and Magic

Labs

Photographing Glass

Homework

Final Project

Next week

Class is online. Everyone is welcome to come in to the classroom as I will be there.

Week 12: Food Photography Basics

Food Photography

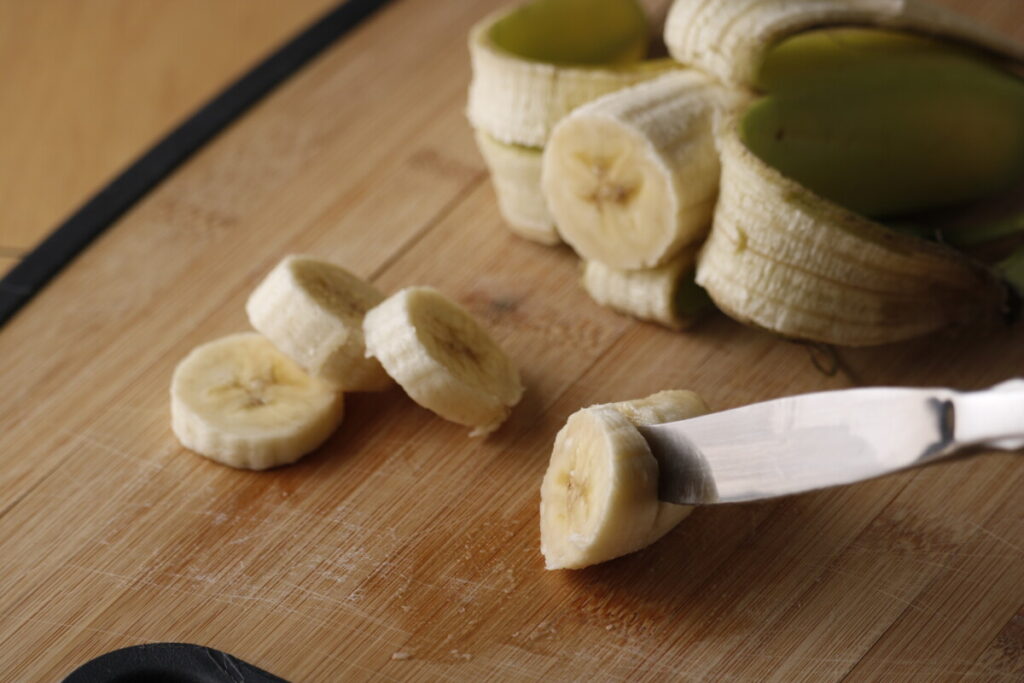
Food photography is a genre of commercial photography that makes food look appetizing for the camera. It is not just photographs of food. It has its own vocabulary and conventions.

Inspiration

Other Inspiration

  • Jennifer Causey https://www.michelekarpe.com/Jennifer-Causey/Food/1
  • Kana Okada https://www.michelekarpe.com/Kana-Okada/Food/1
  • Marcus Nilsson https://www.marcusnilsson.com/
  • Quentin Bacon http://www.quentinbacon.com/#/food/

Food Photography Basics

Angle of View:

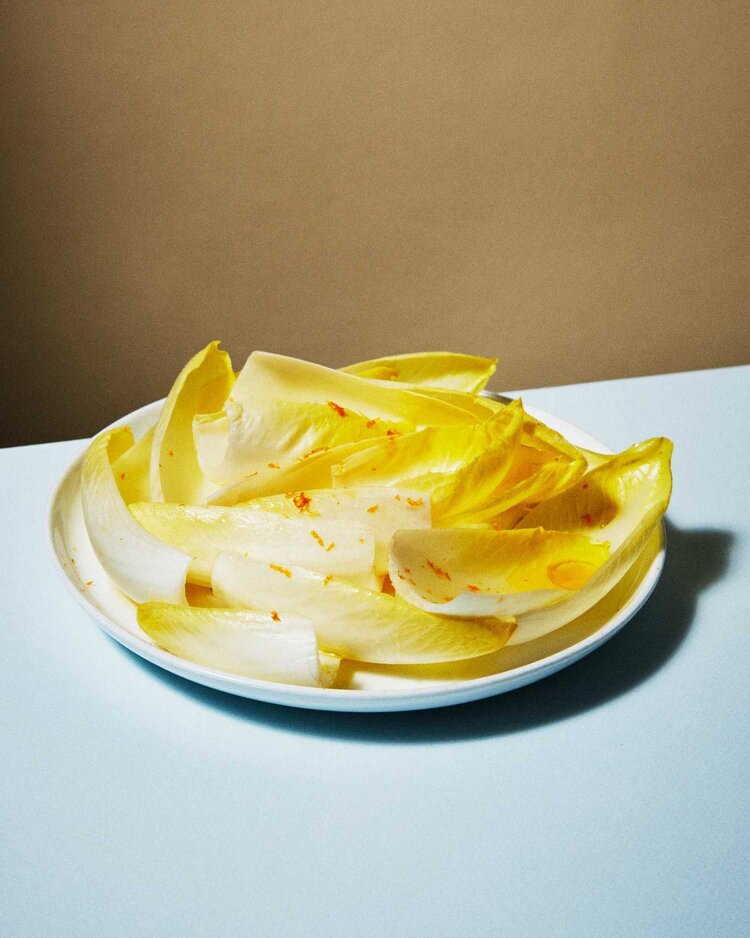
The two main angles of view used in food photography are: overhead and three-quarter view which is between eye level and overhead.

Depth of Field

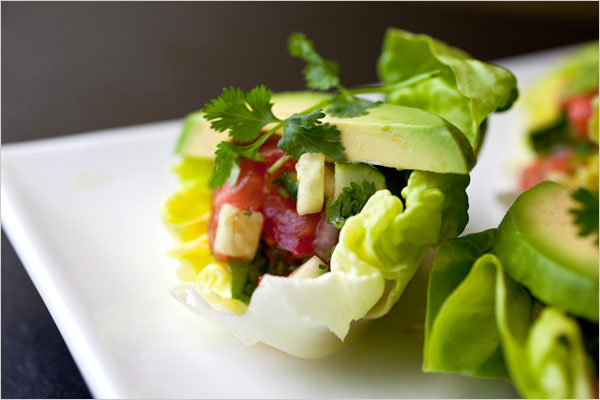
If a three-quarter view is used, often shallow depth of field is also used to bring attention to the food itself.

Light Quality

Direct light-all comes from one direction and makes clear crisp shadows. Sunlight is an example of direct or hard light.

Diffused light– comes from many directions and makes soft shadows. The light on a cloudy day is an example of diffused or soft light.

In food photography, there is a main light. It is usually a side or a back light.

The main light casts the shadows.

The fill light brightens shadows. Often instead of a second light or the fill, we use a reflector opposite the main light to bounce the light into the shadows.

Distance

The distance between the light source and the subject will allow you to control how it looks. This is such an important factor because of the Inverse Square Law.

The Inverse Square Law states that the intensity of the illumination changes in inverse proportion to the square of the distance from the source.

Translation: The light’s brightness drops much faster closer to the light source than further away.

Generally, when working with a clamp light as the main light, set the main light a bit further from the subject to spread out the light. Hold or fasten the diffuser in front of the light. The farther in front of the light the diffusion is set, the softer the light will be.

Set up the white reflector as close to the food as possible and not have it in the frame.

Resource

Watch 1:14 to 6:00 on lighting

Quiz Questions

  1. What is the role of the main light?
  2. What is the role of the fill light?
  3. What is the function of a diffusion panel? How does how you position it change how much it diffuses the light?
  4. What is the function of a reflector? How does how you position it change how much it reflects the light?

Lab Exercises

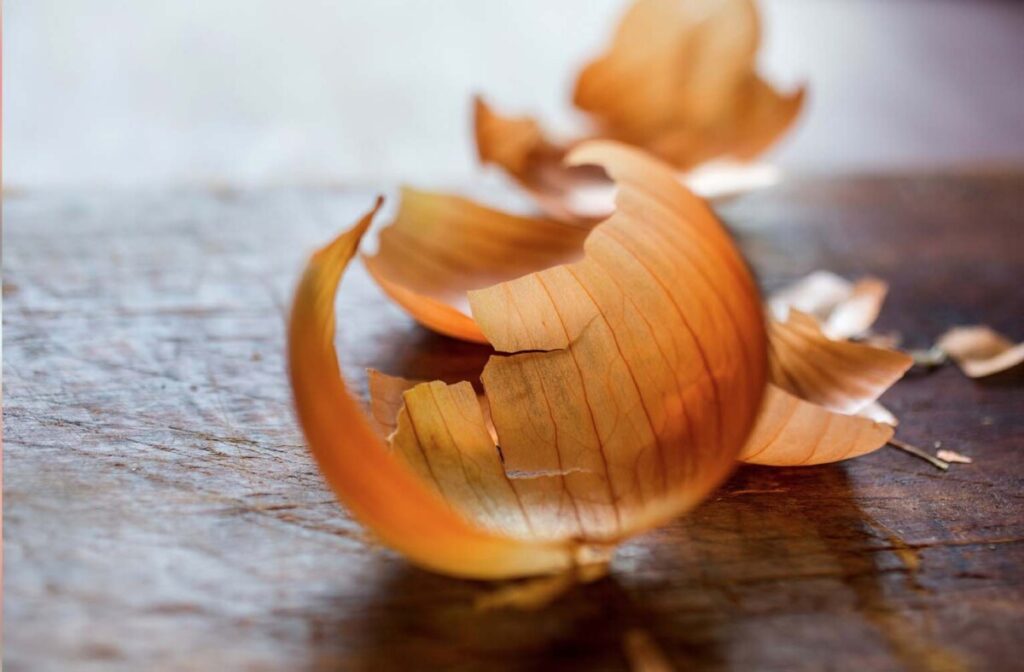
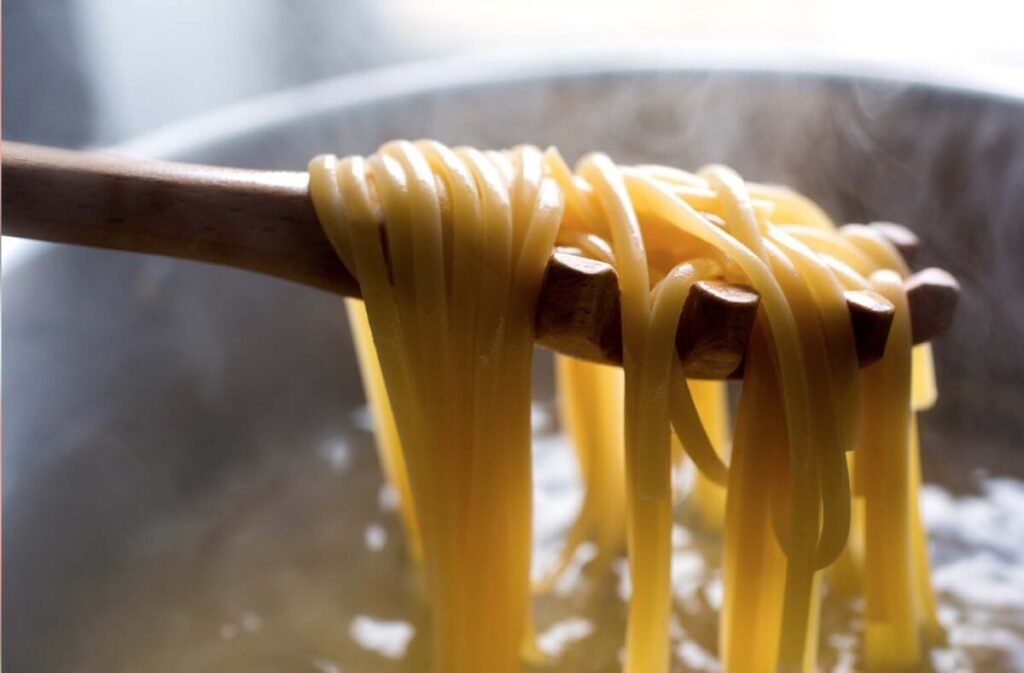
Onions and garlic

Homework

Final Project

Quiz 2

There will be a quiz next week on November 29.

The topics will be on portrait and food photography: the lighting patterns of portrait photography-Rembrandt, split, butterfly, broad and short light, three-point lighting, fill light, wide angle distortion, the conventions of food photography.

Week 11 – Portraits III

3-point Lighting

– standard lighting for portraits, video and film

Main light-is the brightest light and creates the shadows

Fill light-brightens the shadows

Background light-creates separation between the subject and the background. This light can be aimed at the background or it can be aimed at the subject. If the later, it would be called a hair light. If accenting the edge of the face or shoulders, this light would be called a rim light or a kicker.

Natural vs idealized

Compare the work of Dawoud Bey with Peter Hurley

Lab

Working within a Style

Homework

Using Brand Style

Week 10 – Portraits: Posing, Focal Length and Fill light

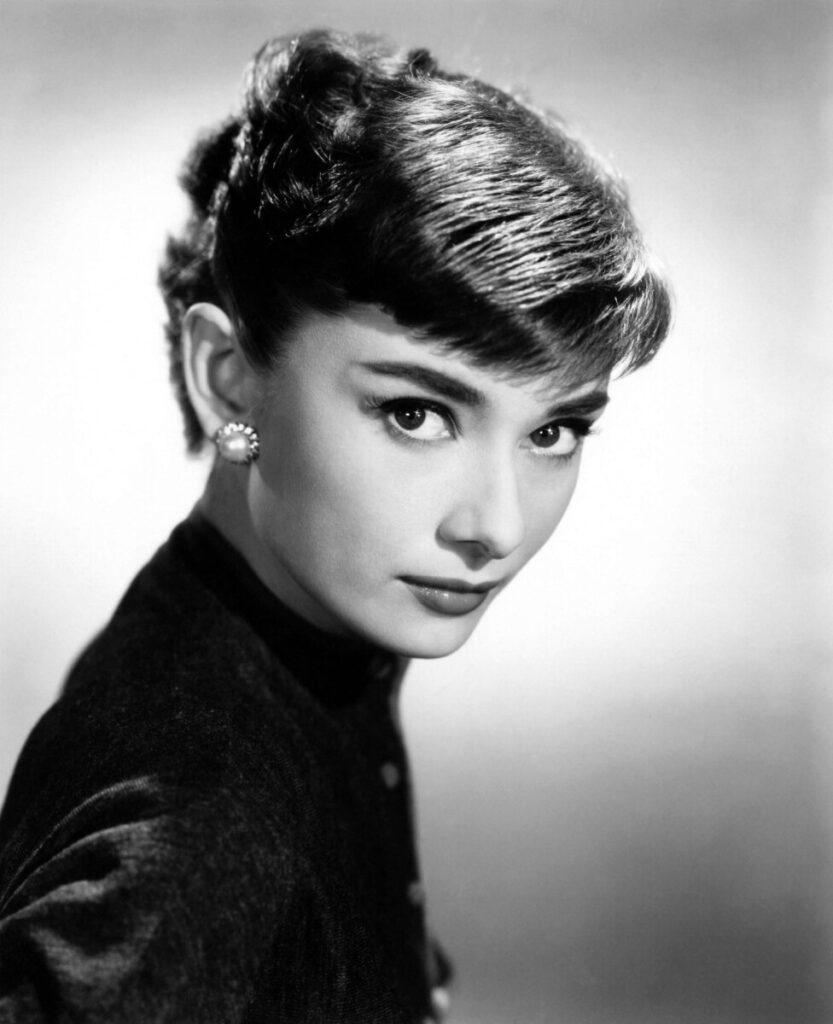
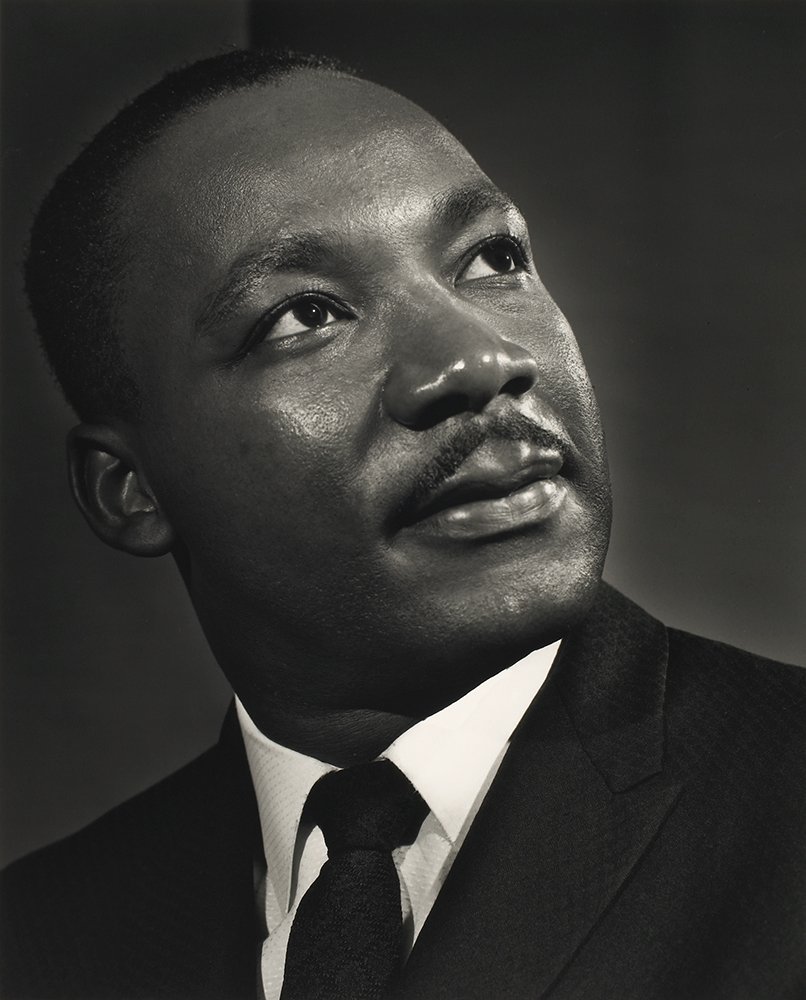
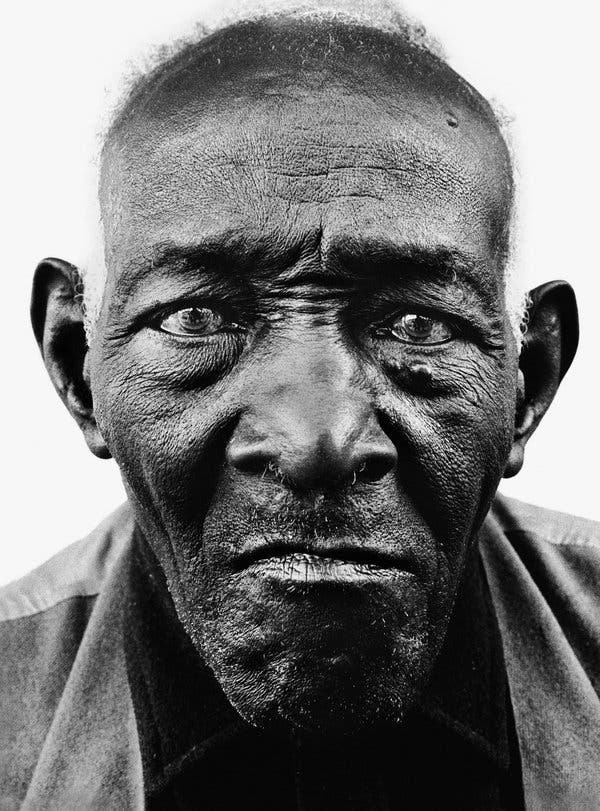
Inspiration

Focal Length

The focal length of a lens is defined as the distance in mm from the optical center of the lens to the the sensor when the lens is focused on infinity. This varies on the camera and the lens.

Focal length controls: Magnification and angle of view

Focal length is described as short, normal ie close to human vision, or long.

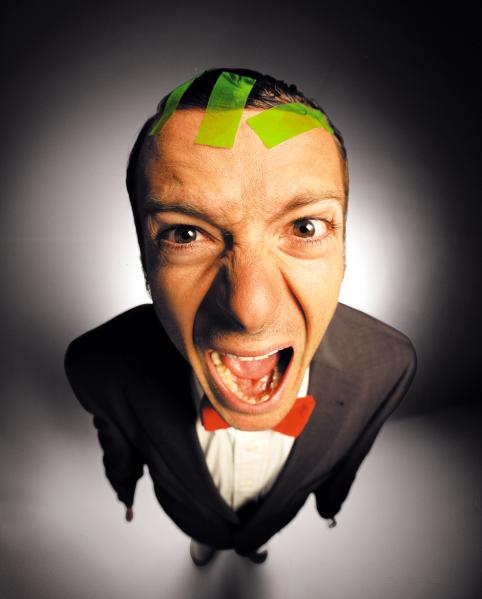
Wide Angle Distortion-created when using a wide-angle lens AND the camera is very close to the subject. The object close to the lens appears abnormally large relative to more distant objects, and distant objects appear abnormally small and hence more distant – distances are extended. 

Focal length and proximity to the camera affect how a person’s face looks in a photograph. A wide focal length and proximity between the subject and the camera create wide angle distortion and will distort a person’s features.

Photographer: Chip Simons

Think about selfie sticks. What are they for but to get the camera away from your face? This makes the photograph look more complimentary to the subject. This is really important with a cameraphone because it has a wide angle lens. The center of the lens and the sensor cannot be very far apart given the thin design of cellphones.

When shooting with a crop-frame sensor such as a Canon 60d, approximately 65 mm will be the most flattering to your subject.

When shooting with a full-frame sensor, 85 mm is generally thought to be the most flattering focal length for portraits.

Posing your model

Some basic tips for standing poses:

Ask your model to:

1.Shift weight to create contraposto-weight on one leg so the body makes a subtle curve.

2. Lean forward

3. Put their weight on their back leg – shoulder goes back

4. Cross arms

5. Lower chin (push forehead forward)

The single most useful pose suggestion that you can make to your model is to lower their chin. Peter Hurley explains his approach to this in the video below.

Watch .55 to 7.40

The Fill Light

The fill light brightens the shadows. It can be an actual light or you can use a reflector. This video shows how to use a reflector as the fill light.

Labs

Portraits-Two lights and more

Homework

HW 7: Environmental Portraits

« Older posts

© 2024 COMD 3330 HE 10

Theme by Anders NorenUp ↑