Professor Michals

Author: rmichals (Page 7 of 9)

HW 4 – Freezing Motion

In class, we worked with long exposures and shutter speeds of full seconds.

In this homework assignment, explore the opposite- freezing motion. Use very short shutter speeds. if you are working with your phone and are getting motion blur, shoot with the Adobe Photoshop Lightroom app. It will allow you to control the shutter speed and ISO.

Working outside in the day, freeze the motion of athletes and bike riders, dancers, jumping dogs. Try at least two different types of subjects ie soccer players and bikers, kids on swings and dancers. Capture the decisive moment. The soccer player when their leg is fully stretched out in a kick, a bike rider doing a wheelie. Don’t be shy. Fill your frame with the action. Please do not hand in any photos where the figures are tiny spots in the distance.

1/800 will freeze most motion. Try even faster shutter speeds for really fast motion close to the camera such as water in a fountain. Because these speeds are so fast and let in little light, make sure to work outside during the day. It will be very difficult to get sharp motion of a basketball game at twilight and really easy at 12 noon.

If using a camera, use predictive focus AI Servo or AF-C .

Post 15 shots of at least two different activities to an album on Flickr for a total of 30 shots. Please don’t include all of the times you missed: shots out of focus, the back of receding bike riders, etc. Just your best work.

4 pts. Due October 5th, 6 pm.

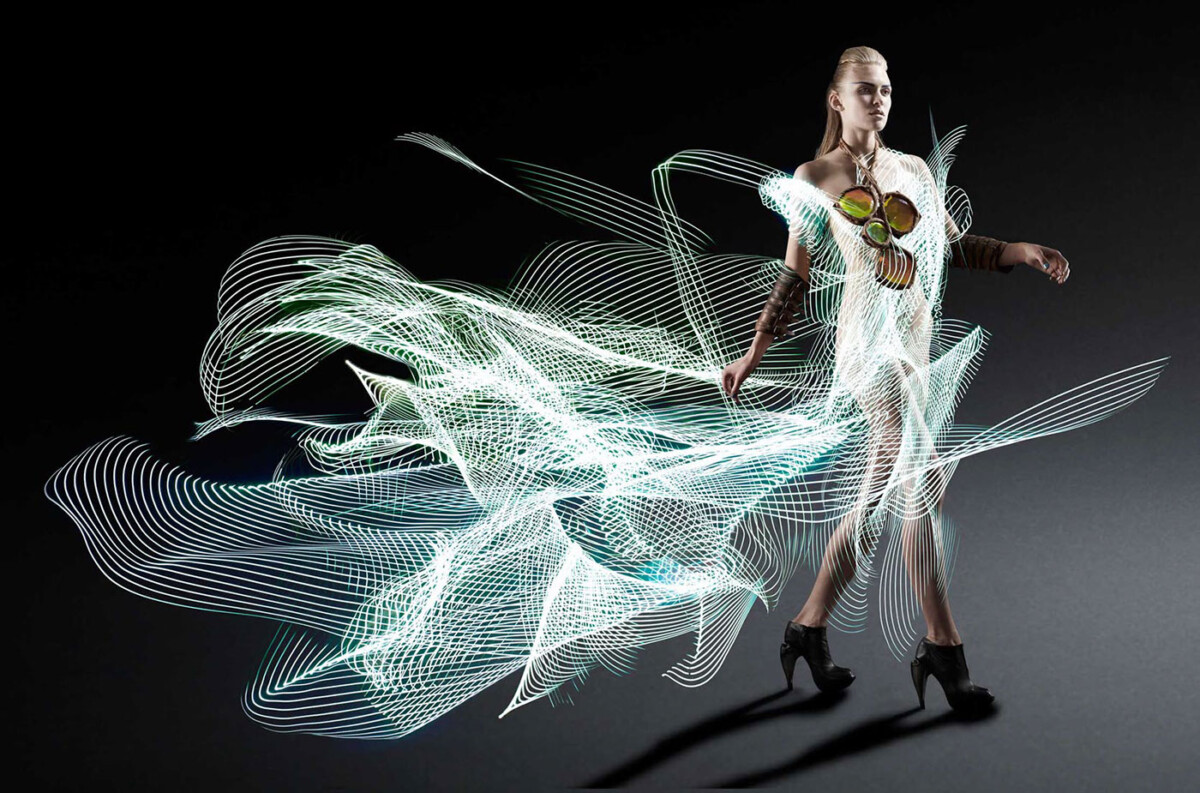
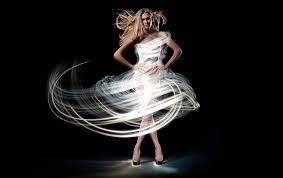
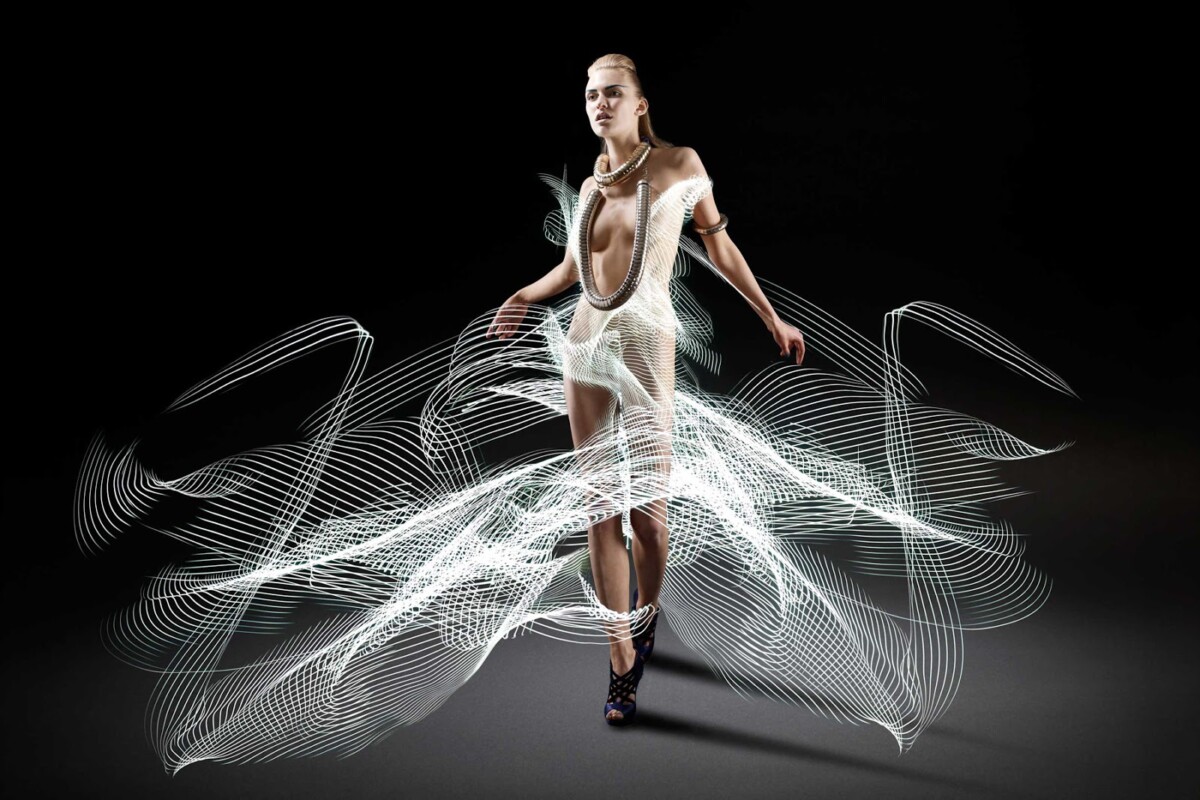
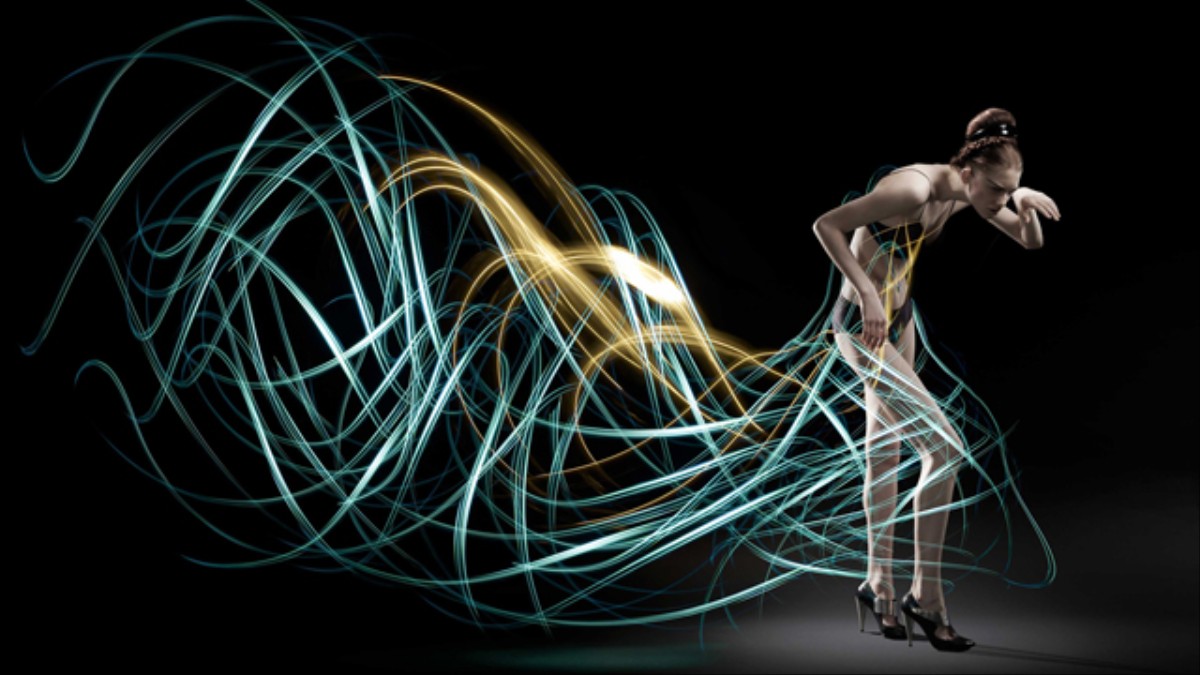
If you have a camera and a tripod, you may experiment with painting with light for the homework.

Lab: Week 4 – Painting with Light

Working with your group, using painting with light with or without a person in the frame create a series of photos that convey the following emotions: anxiety, loneliness, fear, hope, joy, serenity.

Post to Flickr, the best work you shot with your camera.

Working with your group, select the best photo that was taken by anyone in your group for each emotion and put them in a gallery block in a post on Openlab. Make sure to label them with the emotion and the photographer.

Category: Lab 4: Painting with Light

Week 4 – Painting with Light

Painting with light – Use a long exposure to draw an image with light over time in the frame.

Inspiration: Atton Conrad

Sprint Campaign: http://lightpaintingphotography.com/?s=sprint 

Tripod use

  • Spread the legs out and make sure the tripod is stable. Use the height from the legs before using the neck of the tripod. Put one leg forward and the two legs on your side.
  • Put the plate on the camera and make sure that the lens arrow is pointing towards the lens. Insert the plate into the locking mechanism and make sure that the camera is secure.
  • Use the camera timer and DO NOT TOUCH the camera or the tripod during the exposure.

Considerations for painting with light: 

1. Use a tripod 

2. Use Manual as the shooting mode.

3. Set the ISO to 100

4. Set the aperture to f/11 as a starting point to get a wide range of depth of field. 

5. Set the shutter speed to 2″ as a starting point.

6. Use manual focus. Make sure the subject is in focus. To do this shine a light on the subject and use auto focus. Then flip the lens back to MF. Remember that if the distance of the subject to the camera changes, you need to refocus!

Mixing Strobe Lights or Flash with Painting with Light 

The aperture controls the exposure of whatever is lit by the strobe lights. 

The shutter speed controls the illumination of the background. 

Strobes

Strobes have two bulbs:

  • the modeling light which helps you see where the light will fall
  • the flash bulb that fires when you press the shutter release

A trigger on the camera uses radio waves to tell the receiver to fire the light. The power pack stores the power used to make the exposure.

Lab

Painting Emotions with Light

Homework

HW 4 – Freezing Motion

Lab: Week 3 – Depth of Field and Aperture

2 pts. Take a series of photos, a minimum of 30, where there is something near the camera and something far from the camera. One of them is in focus. In other words, there is a subject in the foreground of the photo and a different subject in the background of the photo. One is out of focus and one is in focus.

It is going to be getting dark so set the camera to manual and:

  • set the shutter speed to 1/125 or 1/100
  • set the aperture to the widest setting – lowest number
  • set the ISO to auto

Once it is dark, take a minimum of 10 abstract out-of-focus photos of distant lights with your widest aperture. The lights should become beautiful round circles.

Put all the photos you took during class in an album on Flickr. Send the best two to the class group.

Week 3: Depth of Field

Review

Angle of view

From America at Hunger’s Edge, The New York Times, September 2, 2020

Photos by Brenda Ann Kenneally

Depth of Field

Depth of Field-The distance between the nearest and farthest points that appear in acceptably sharp focus in a photograph. Depth of field can be shallow or extensive. While the term includes the word depth, depth of field refers to focus.

The Depiction of Space

Perspective-the representation of a 3-dimensional space on a 2-dimensional surface by converging lines, diminishing scale and/or atmospheric perspective.

How to control depth of field

These four factors control depth of field:

  • lens aperture
  • focal length
  • camera-to-subject distance
  • sensor size.

Aperture is the size of the opening that allows light to hit the camera’s sensor when the photograph is taken. 

  1. Aperture values are expressed in numbers called f-stops. A smaller f-stop number means more light is coming into the camera and will create shallow depth of field. A larger f-stop number will let less light into the camera and create extensive depth of field.
  2. The full stops for aperture are: F2, f28, f4, f5.6, f8, f11, f16, f22, f32
  3. Cameraphones have a fixed aperture.

Focal Length  is the distance from where the light converges in the lens to the sensor. If it is a short distance then the lens is a wide angle lens and shows a lot of the scene. If it is a long distance, the lens is a telephoto lens and it magnifies the scene. Wide angle lenses create extensive depth of field while telephoto lenses create shallow depth of field.

Camera-to-subject distance is how far the subject is from the camera. If everything is far from the camera, it is easier to achieve extensive depth of field. If the main subject is very close to the camera and the background elements are far from the camera, it is easier to achieve shallow depth of field.

Sensor size-the smaller the sensor the easier it is to achieve extensive depth of field. Bigger sensors allow for shallow depth of field.

 Bokeh-Bokeh comes from the Japanese word boke (ボケ), which means “blur” or “haze”, or boke-aji, the “blur quality.” Bokeh is pronounced BOH-Kə or BOH-kay. 

 — From http://www.nikonusa.com/en/learn-and-explore/article/h0ndz86v/bokeh-for-beginners.html

Quiz Questions

  1. Compare perspective and depth of field. Summarize the difference between them.
  2. Explain how do you control depth of field with a camera vs with a cameraphone.
  3. When working with a cameraphone, what is the difference between optical shallow depth of field or depth of field created in the camera and the appearance of shallow depth of field created with software?

Lab Exercises

Depth of Field

Homework

Near and Far

« Older posts Newer posts »

© 2024 COMD 3330 HE 10

Theme by Anders NorenUp ↑