Inspiration
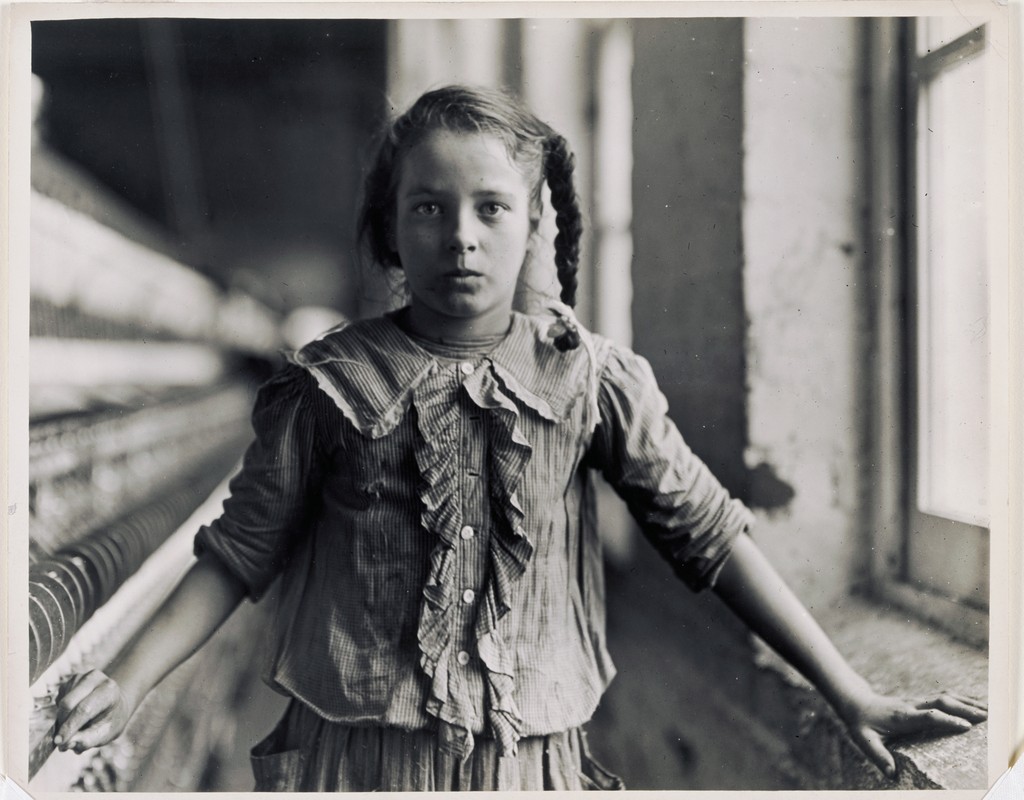
Irving Penn 
Irving Penn 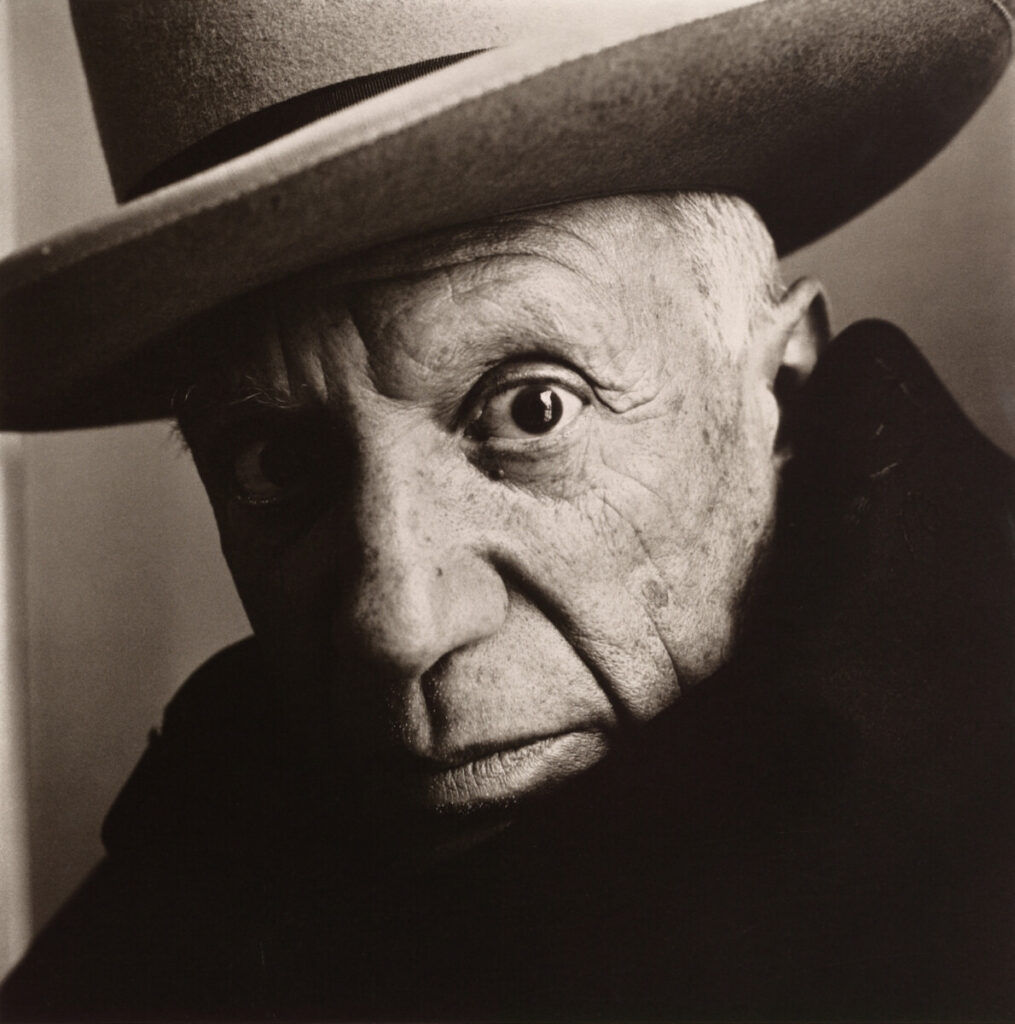
Irving Penn 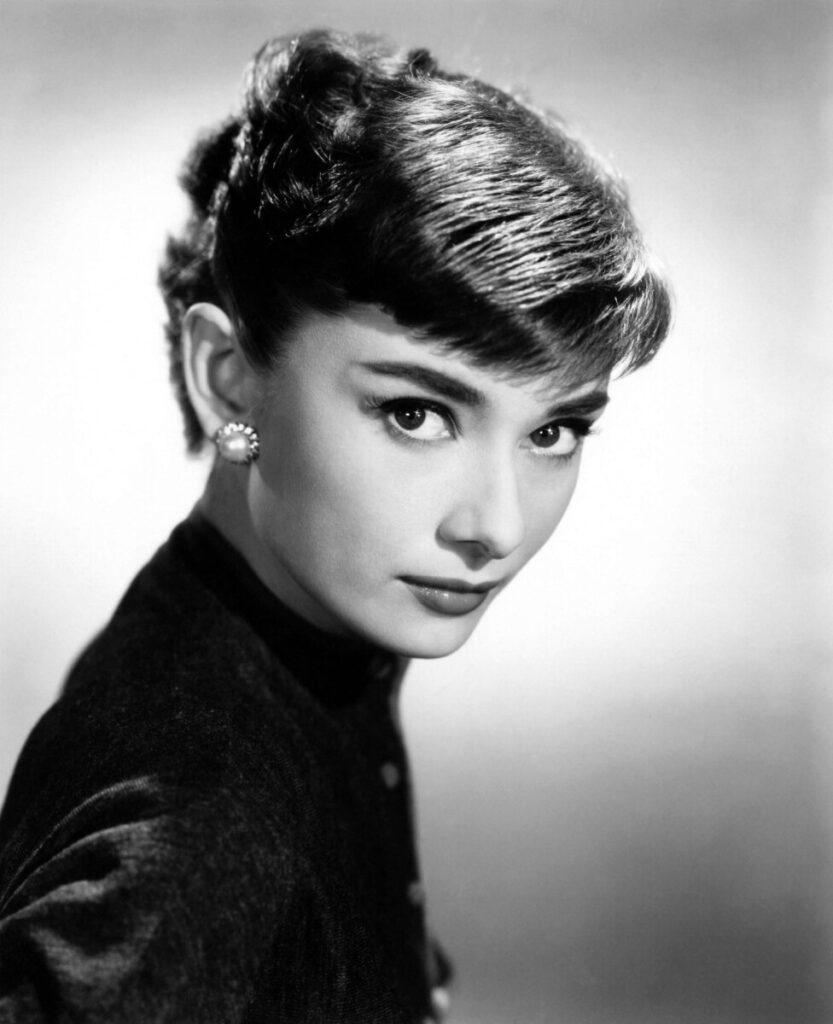
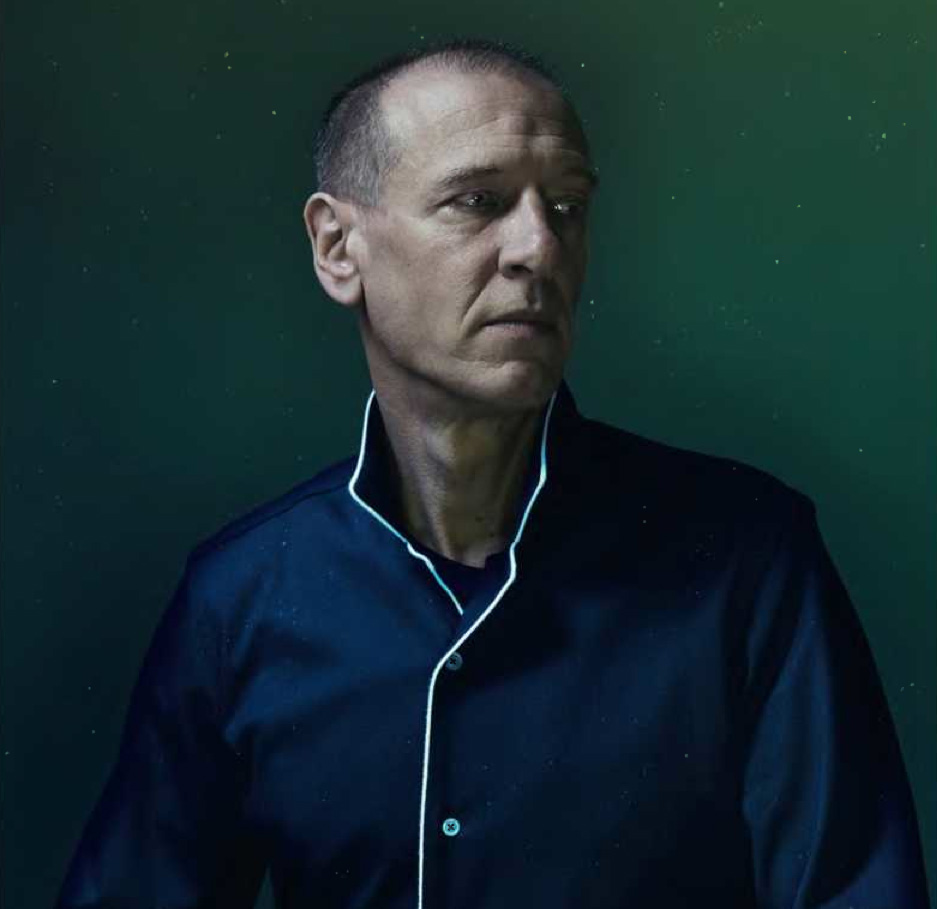
Yousef Karsh 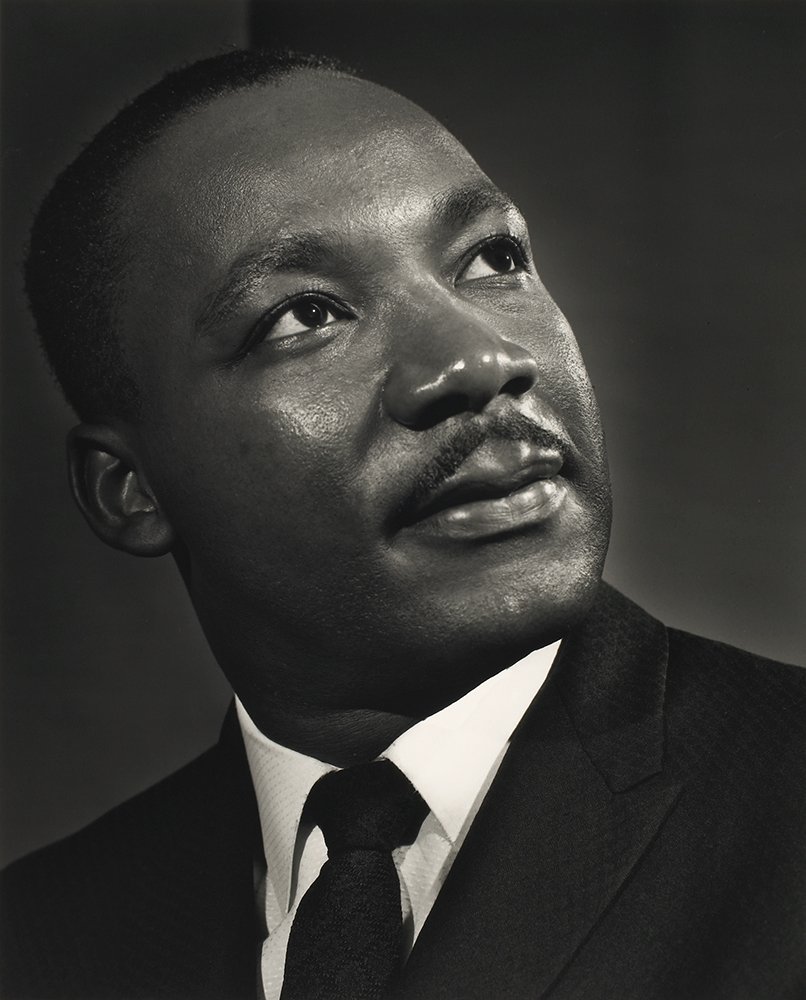
Yosef Karsh 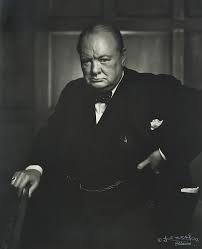
Yousef Karsh 
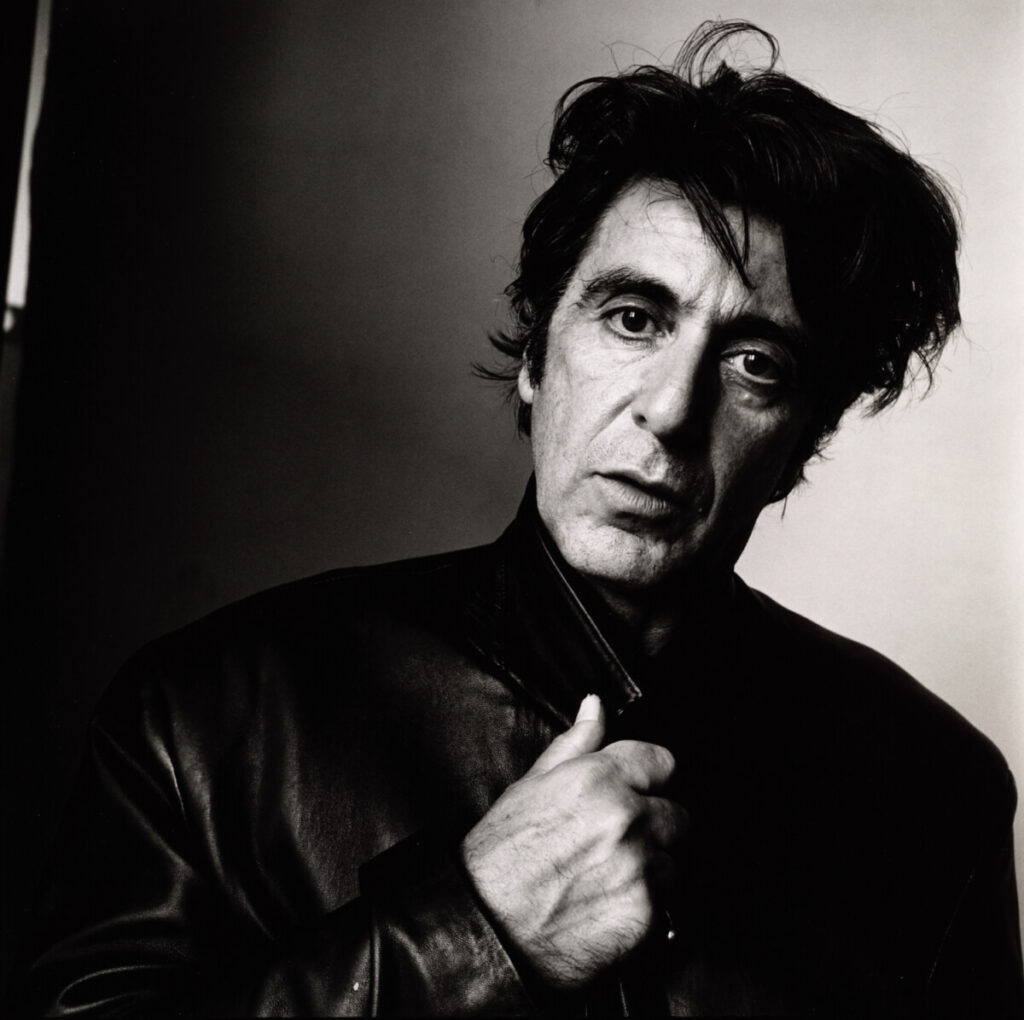
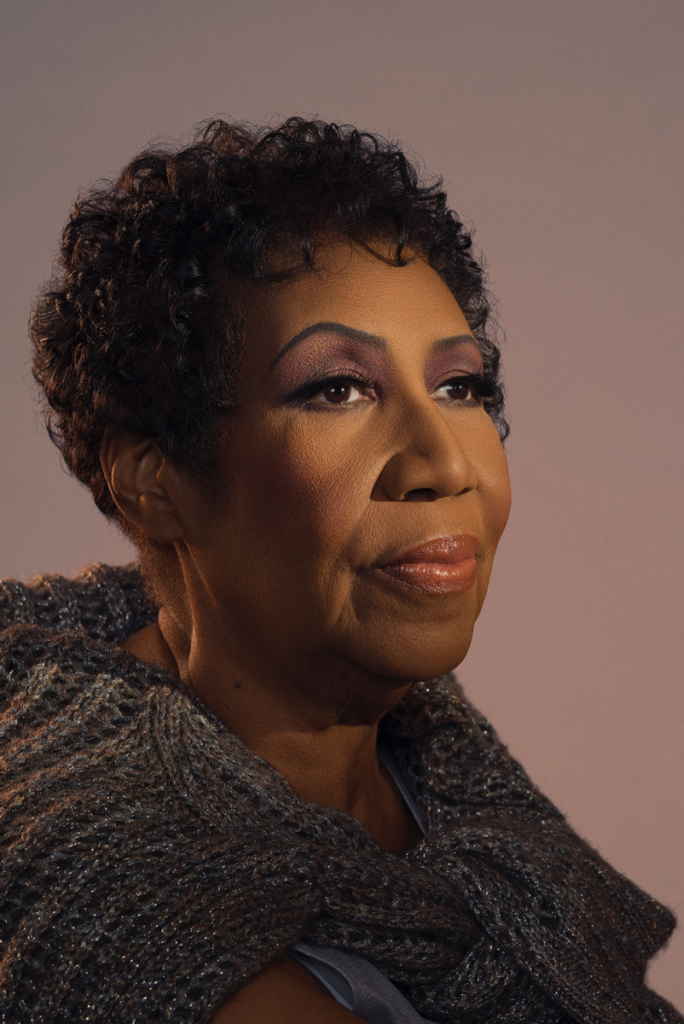
Richard Avedon 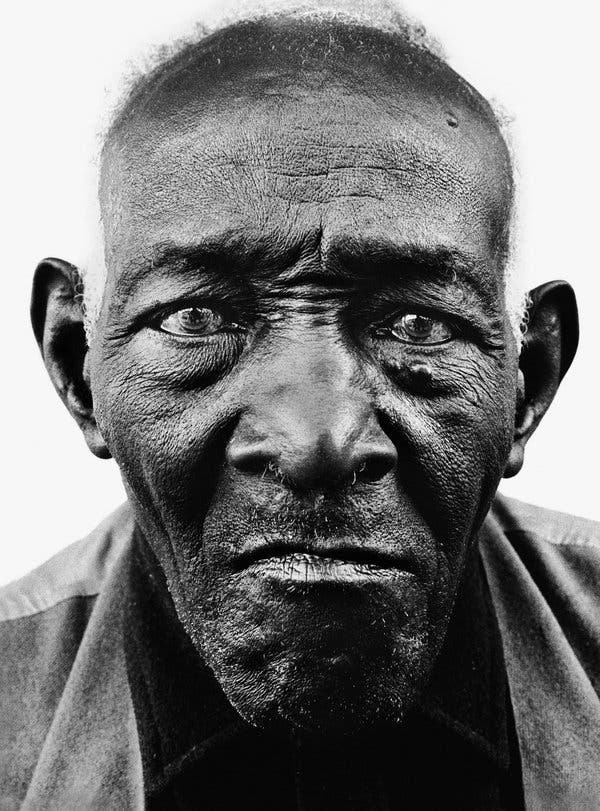
Richard Avedon 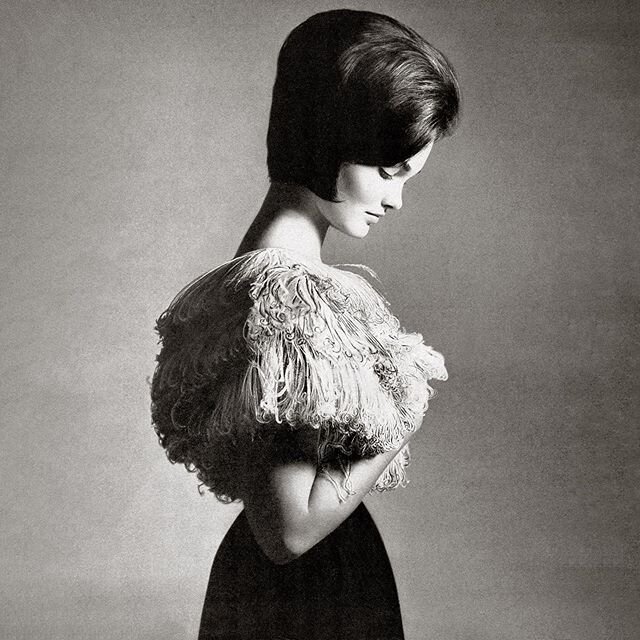
Richard Avedon
Focal Length
The focal length of a lens is defined as the distance in mm from the optical center of the lens to the the sensor when the lens is focused on infinity. This varies on the camera and the lens.
Focal length controls: Magnification and angle of view
Focal length is described as short, normal ie close to human vision, or long.
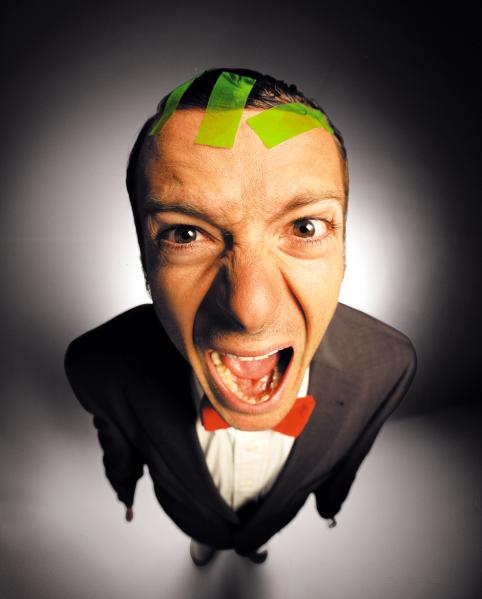
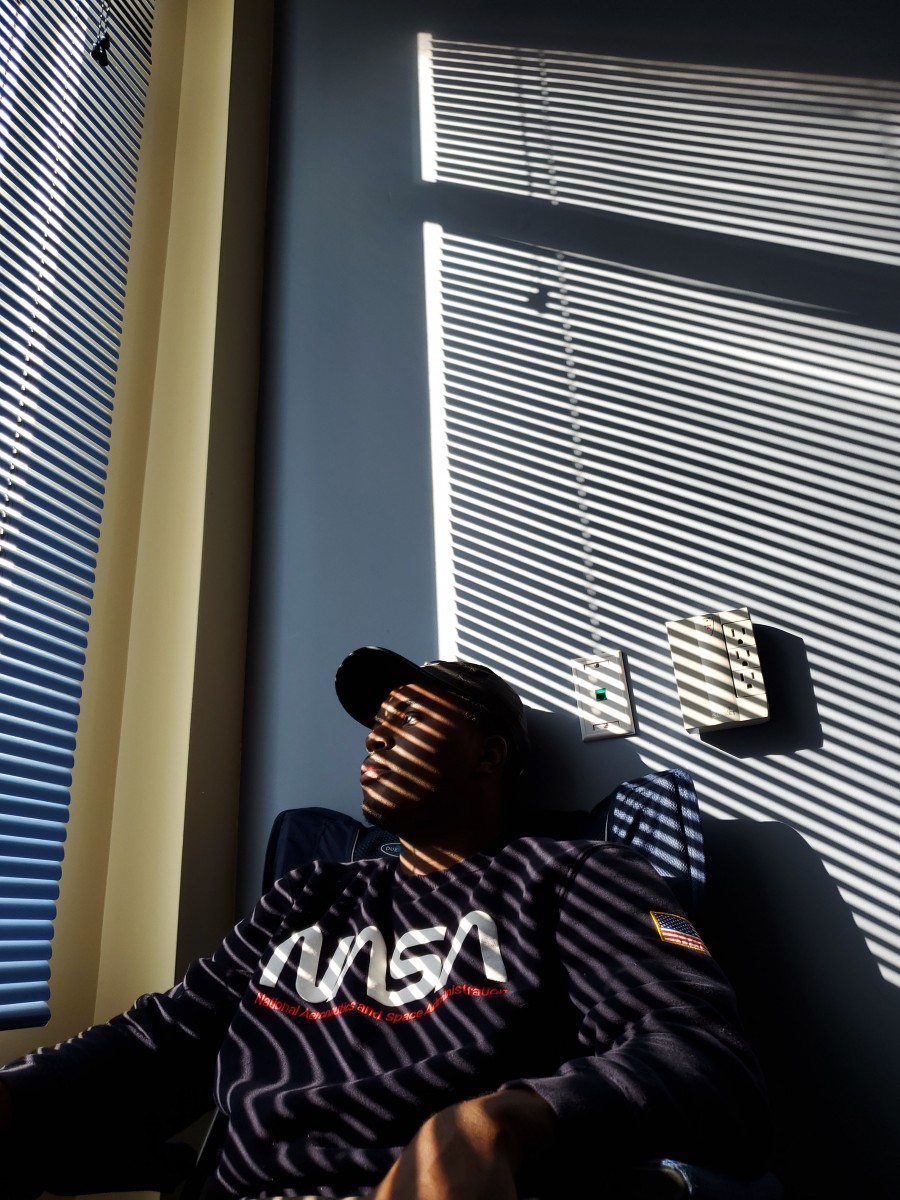
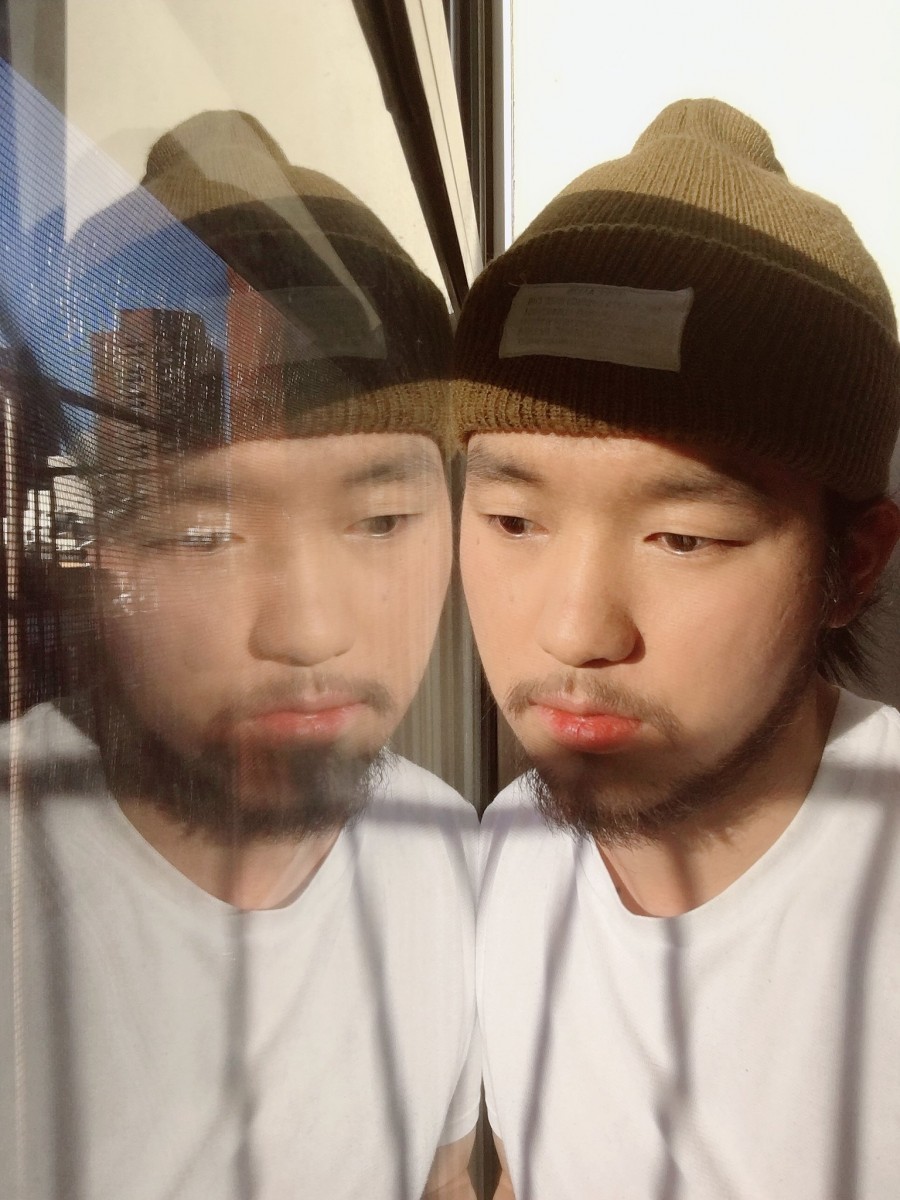
Wide Angle Distortion-created when using a wide-angle lens AND the camera is very close to the subject. The object close to the lens appears abnormally large relative to more distant objects, and distant objects appear abnormally small and hence more distant – distances are extended.
Focal length and proximity to the camera affect how a person’s face looks in a photograph. A wide focal length and proximity between the subject and the camera create wide angle distortion and will distort a person’s features.
Photographer: Chip Simons
Think about selfie sticks. What are they for but to get the camera away from your face? This makes the photograph look more complimentary to the subject. This is really important with a cameraphone because it has a wide angle lens. The center of the lens and the sensor cannot be very far apart given the thin design of cellphones.
When shooting with a crop-frame sensor such as a Canon 60d, approximately 65 mm will be the most flattering to your subject.
When shooting with a full-frame sensor, 85 mm is generally thought to be the most flattering focal length for portraits.
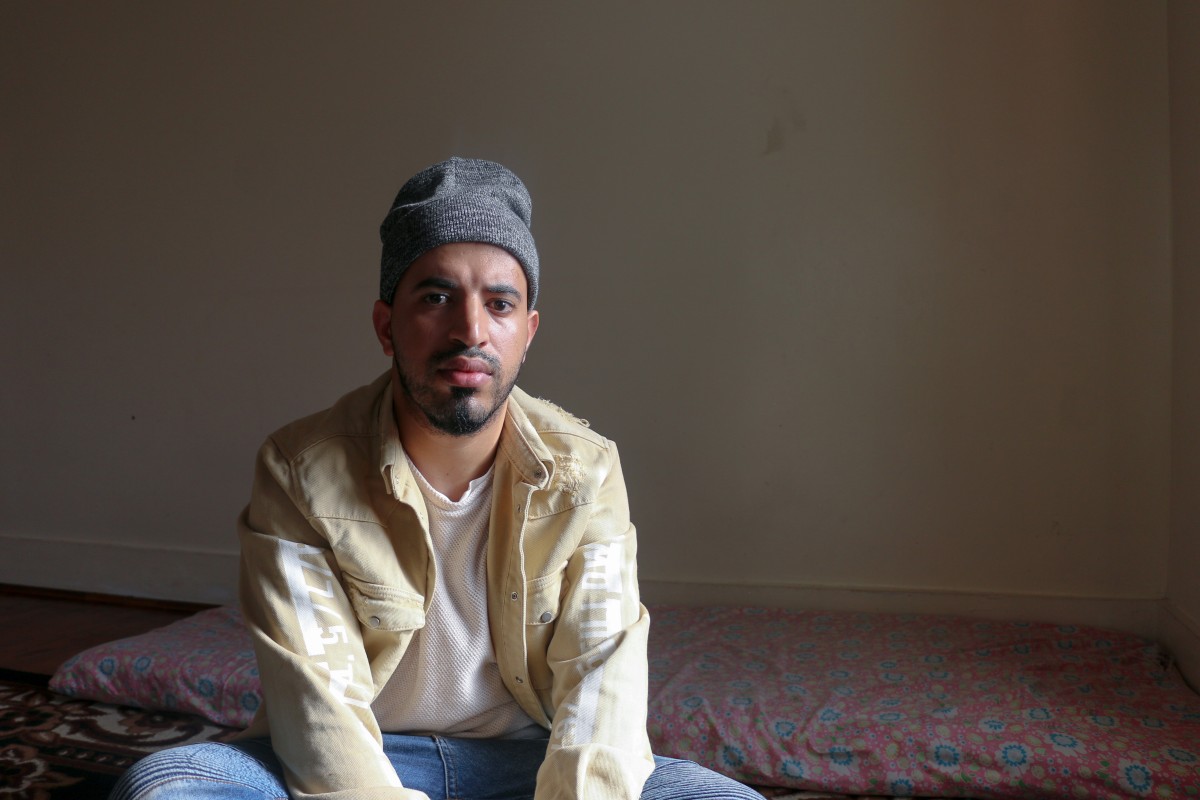
Posing your model
Some basic tips for standing poses:
Ask your model to:
1.Shift weight to create contraposto-weight on one leg so the body makes a subtle curve.
2. Lean forward
3. Put their weight on their back leg – shoulder goes back
4. Cross arms
5. Lower chin (push forehead forward)
The single most useful pose suggestion that you can make to your model is to lower their chin. Peter Hurley explains his approach to this in the video below.
The Fill Light
The fill light brightens the shadows. It can be an actual light or you can use a reflector. This video shows how to use a reflector as the fill light.


Recent Comments