The subject’s material can transmit, absorb or reflect the light that hits it.
Types of reflections:
Diffuse reflections-the material reflects the light equally in all directions. Neither the angle nor the size of the light source changes the appearance of a diffuse reflection. The distance of the light to the subject will make the subject look brighter. An example of a material that creates diffuse reflection is paper.
Direct reflections are a mirror image of the light that produces them. If a direct reflection is seen is determined by the angles between the light source, the subject, and the camera. Brightly polished metal or glass are both examples of materials that create direct reflection.
Metal
To manage reflections on metal, either light it and let it go dark or fill the surface with light so the whole thing is reflecting the light.
Rany Selem
Jonathan Baez
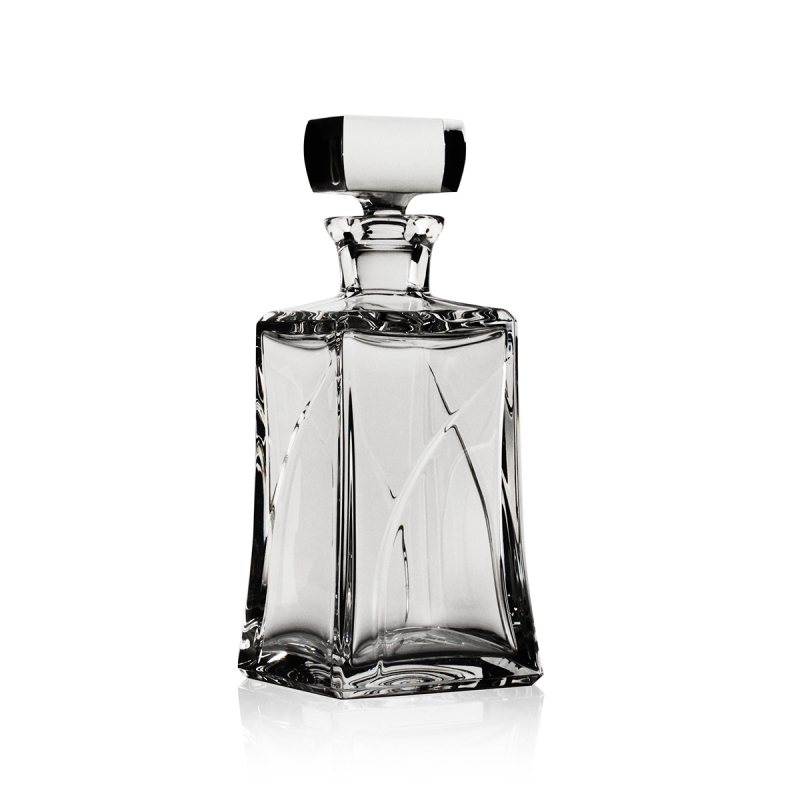
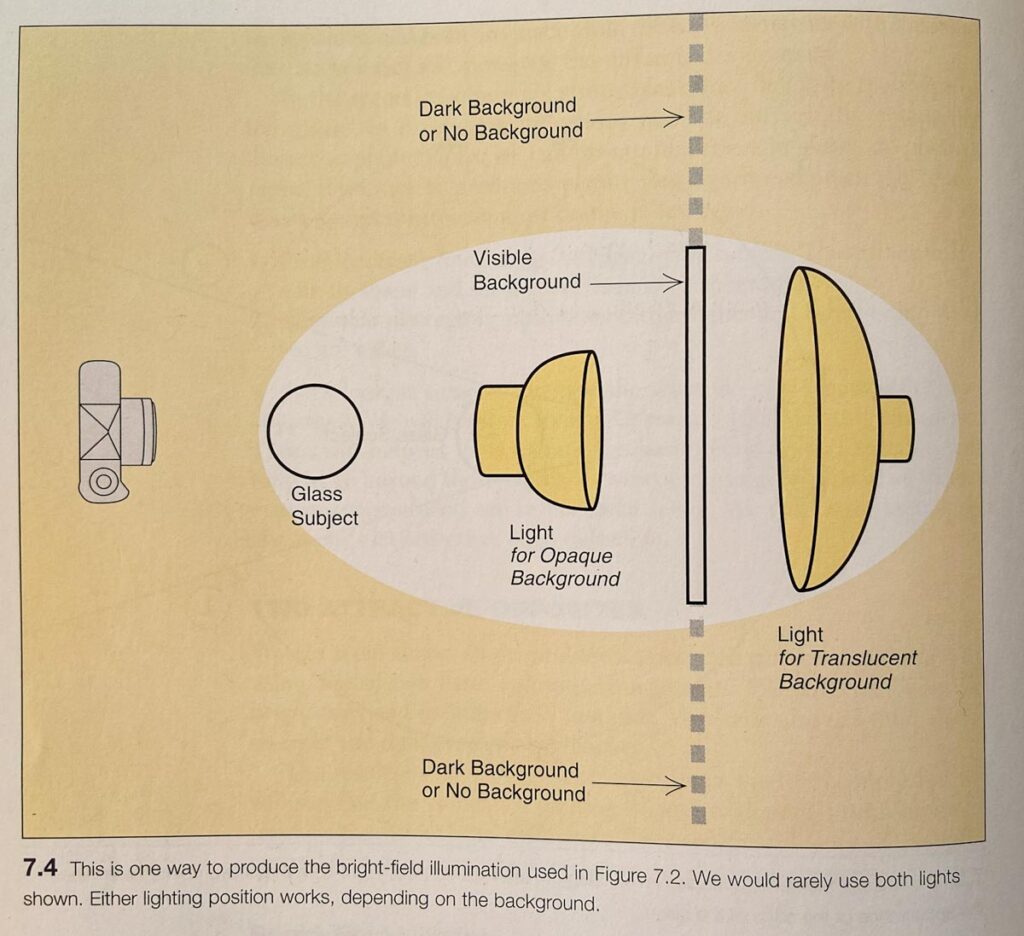
Glass
Glass produces direct reflection but it is also transparent. One needs to bring out the edges to see the shape of the glass. So there are two problems when photographing glass:
Controlling the direct reflection
Bringing out the edges by reflecting onto them so they are visible.
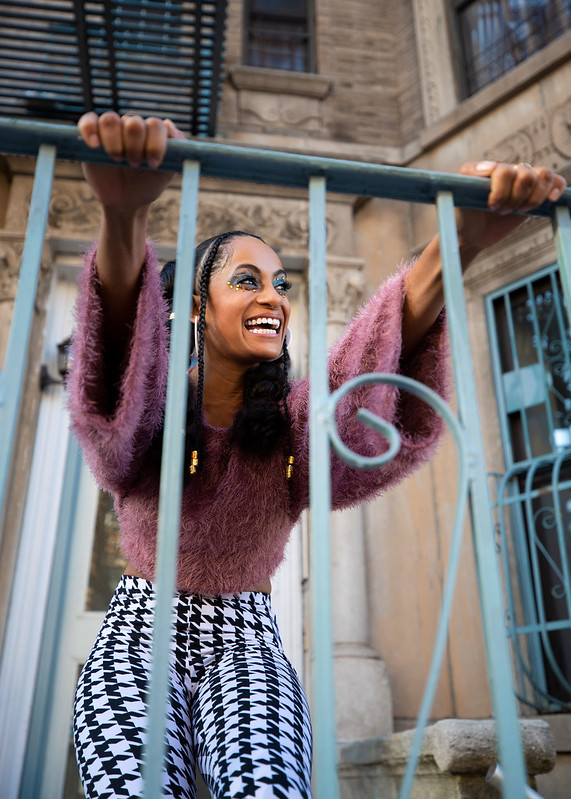
The goal of the Final Project is to create a series of 10 related images on a theme of your choice.
Examples from Spring 2021:
Examples from Fall 2020:
Jonathan Lopez
Rany Selem
Daniel King
Isadora Martinez
Final Project Statement– Post to OpenLab by November 30, 6 pm
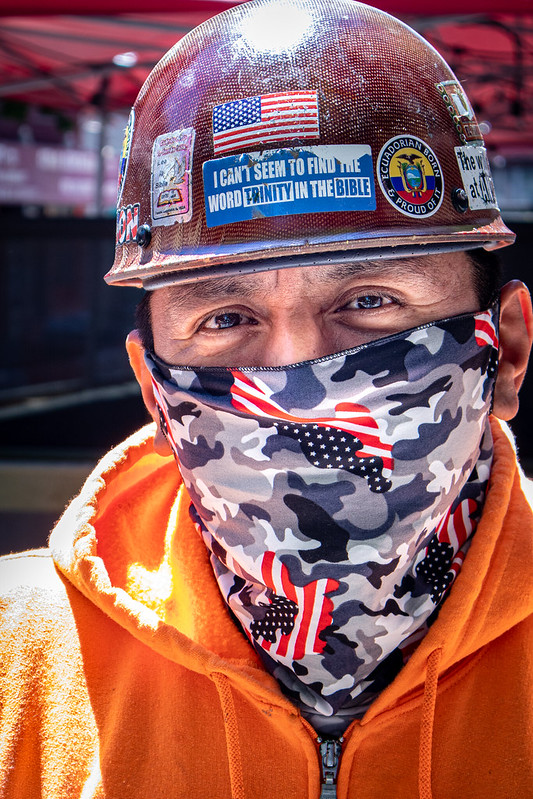
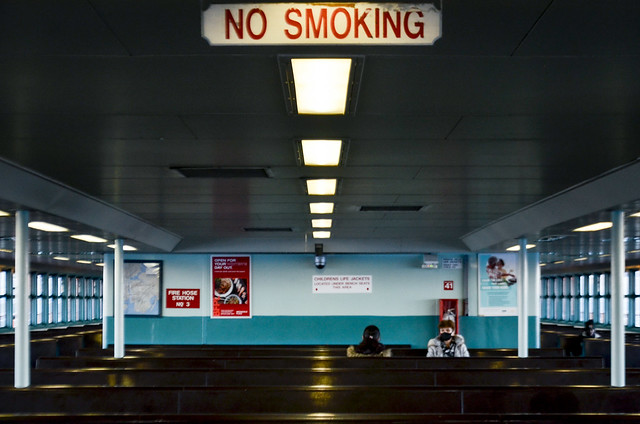
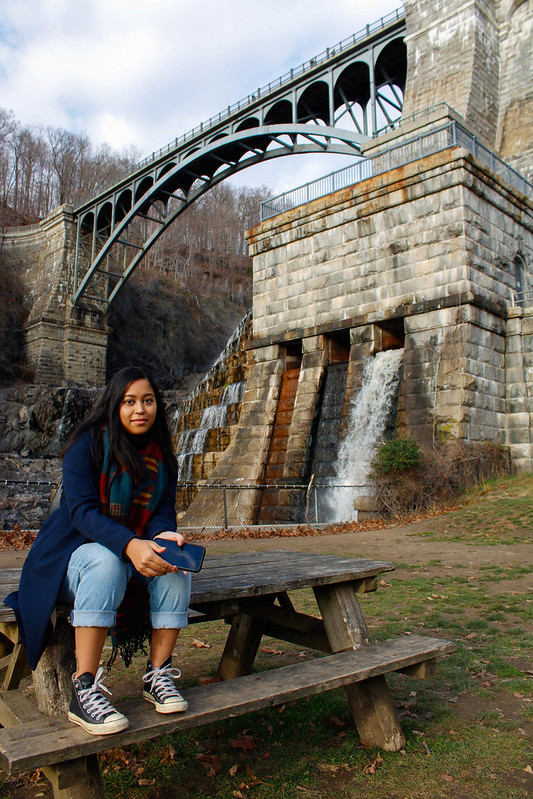
Topic: What is it about? What genre of photography interests you and would you like to explore: street photography, food photography, portrait photography
What purpose will it serve in your portfolio? Do you want to highlight your
conceptual thinking, your design sense, your lighting skills
Subject Matter: Literally what will you shoot?
Style: What will it look like? How will you use photographic style to communicate
emotion and point of view? Find at least one example and include at least one
image with your description.
Lighting: how will you light your project? This may be daylight.
Due Week 13, Nov 30, Shoot 1 – minimum of 30 images in an album on Flickr and mood board
Create a mood board for your project-use Instagram or an internet search to find 6 photographs by 6 different photographers that look like what you want the photos in your final project to look like. Post the images to a gallery on OpenLab with a short description of what you like about the photos. Please be courteous to the photographers and list their names!
Due Week 14, Dec 7, 6 pm:
Shoot 2 – minimum of 30 images in an album on Flickr
Due Week 15, Dec14: Shoot 3 – minimum of 30 images in an album on Flickr
Due Week 15, Dec 14:
final 10 images selected, adjusted in Lightroom, and posted to an album on Flickr
Write a post outlining your final project. Cover the following:
Topic: What is it about? What genre of photography interests you and would you like to explore: street photography, food photography, portrait photography
Purpose: What purpose will it serve in your portfolio? Do you want to highlight your conceptual thinking, your design sense, your lighting skills?
Subject Matter: Literally what will you shoot?
Style: What will it look like? How will you use photographic style to communicate
emotion and point of view? Find at least one example and include at least one
photograph with your description that shows what you want the project to look like.
Lighting: how will you light your project? This may be daylight.
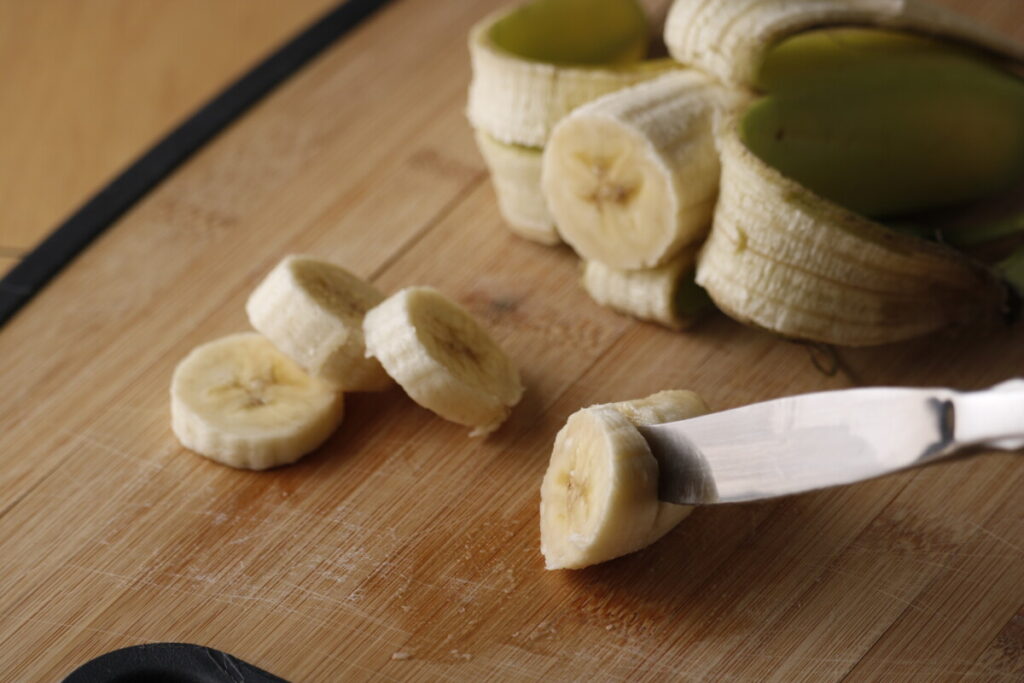
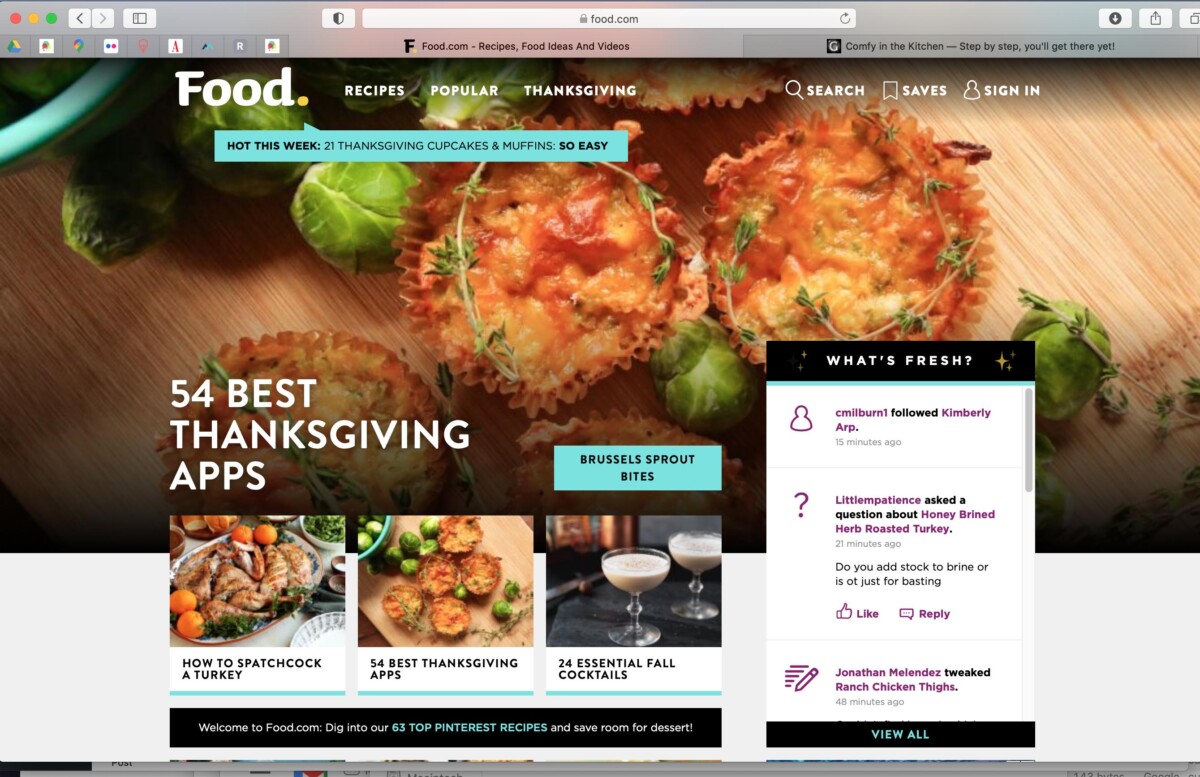
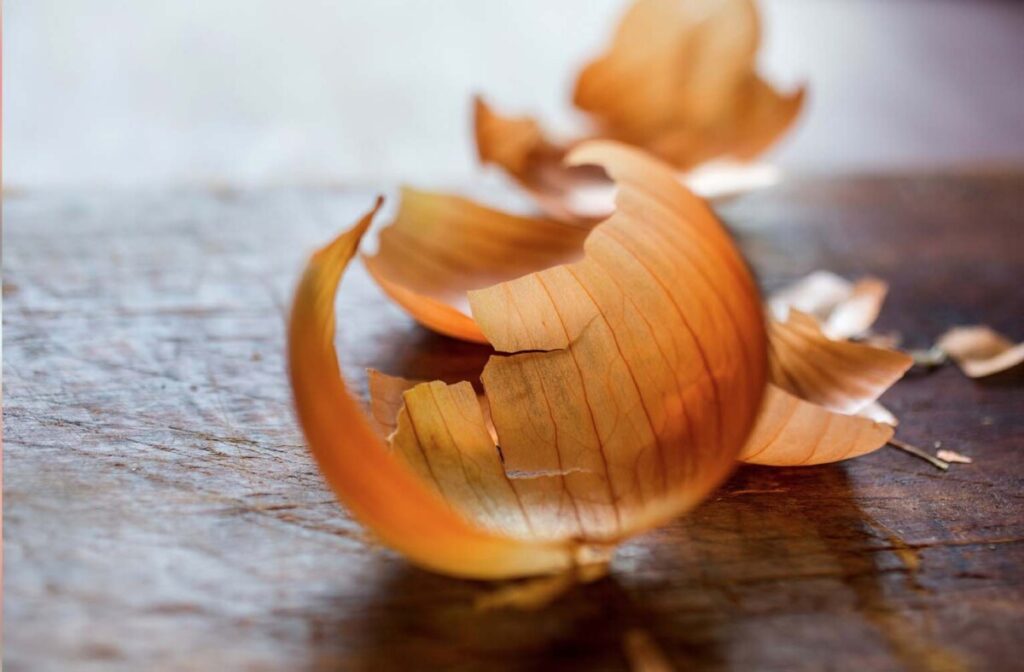
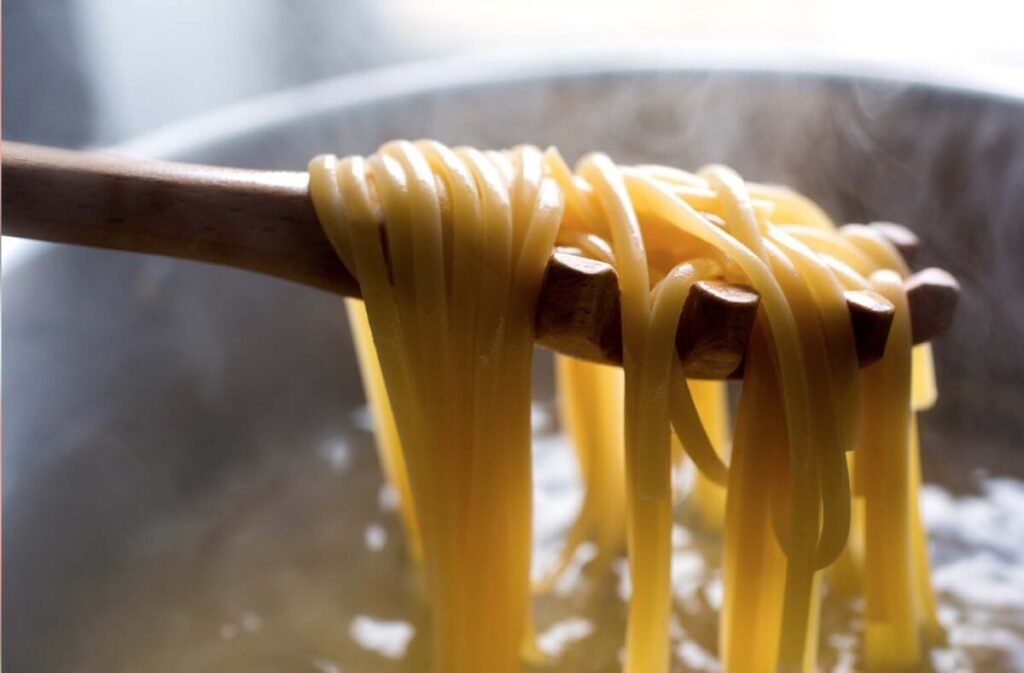
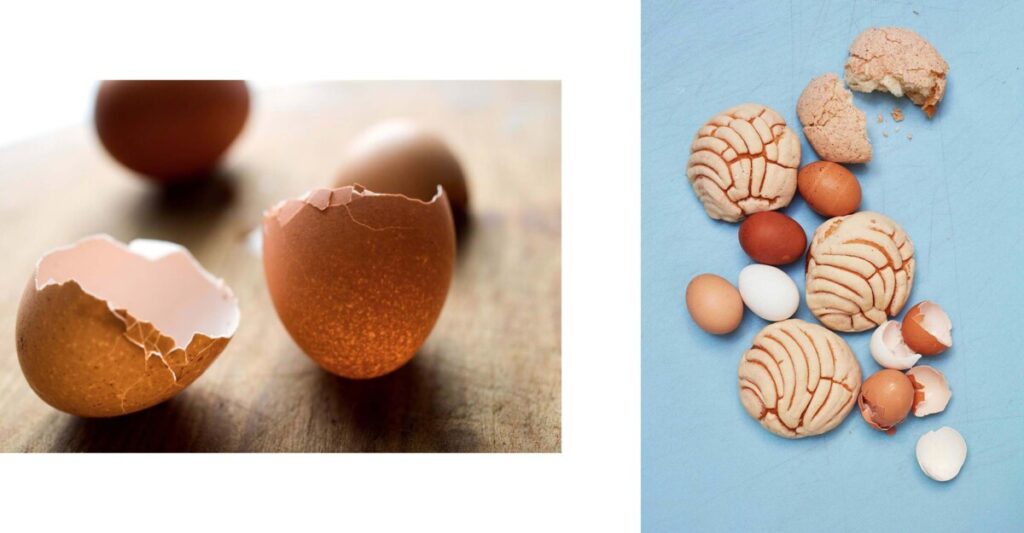
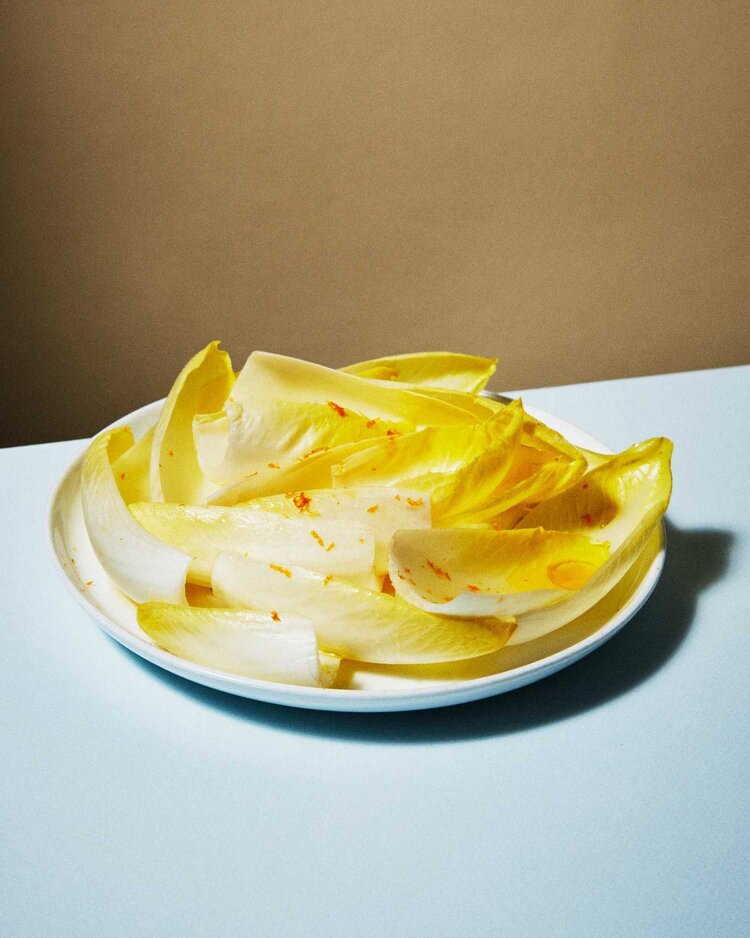
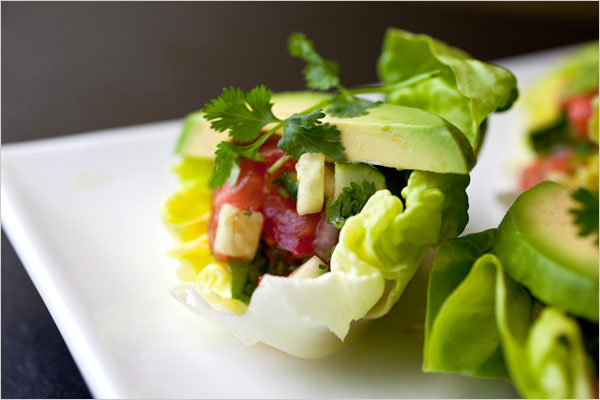
Food photography is a genre of commercial photography that makes food look appetizing for the camera. It is not just photographs of food. It has its own vocabulary and conventions.
Inspiration
Other Inspiration
Jennifer Causey https://www.michelekarpe.com/Jennifer-Causey/Food/1
Kana Okada https://www.michelekarpe.com/Kana-Okada/Food/1
Marcus Nilsson https://www.marcusnilsson.com/
Quentin Bacon http://www.quentinbacon.com/#/food/
Food Photography Basics
Angle of View:
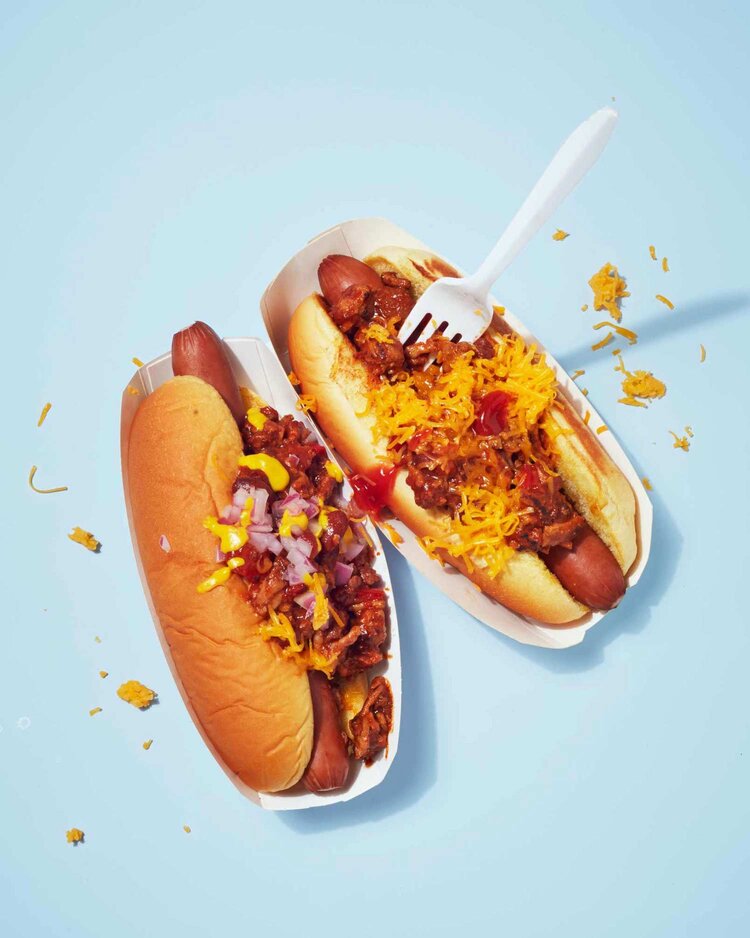
The two main angles of view used in food photography are: overhead and three-quarter view which is between eye level and overhead.
Photographer: Andrew Scrivani -Overhead
Photographer: andrew Scrivani – three-quarter view
Depth of Field
If a three-quarter view is used, often shallow depth of field is also used to bring attention to the food itself.
Light Quality
Direct light-all comes from one direction and makes clear crisp shadows. Sunlight is an example of direct or hard light.
Diffused light– comes from many directions and makes soft shadows. The light on a cloudy day is an example of diffused or soft light.
Marcus Nilsson – Direct Light
Andrew Scrivani – Diffused Light
In food photography, there is a main light. It is usually a side or a back light.
Andrew Scrivani – backlight
Andrew Scrivani – Side light
The main light casts the shadows.
The fill light brightens shadows. Often instead of a second light or the fill, we use a reflector opposite the main light to bounce the light into the shadows.
Marcus Nilsson – hard light with fill
Distance
The distance between the light source and the subject will allow you to control how it looks. This is such an important factor because of the Inverse Square Law.
The Inverse Square Law states that the intensity of the illumination changes in inverse proportion to the square of the distance from the source.
Translation: The light’s brightness drops much faster closer to the light source than further away.
Generally, when working with a clamp light as the main light, set the main light a bit further from the subject to spread out the light. Hold or fasten the diffuser in front of the light. The farther in front of the light the diffusion is set, the softer the light will be.
Set up the white reflector as close to the food as possible and not have it in the frame.
Resource
Watch 1:14 to 6:00 on lighting
Quiz Questions
What is the role of the main light?
What is the role of the fill light?
What is the function of a diffusion panel? How does how you position it change how much it diffuses the light?
What is the function of a reflector? How does how you position it change how much it reflects the light?
The topics will be on portrait and food photography: the lighting patterns of portrait photography-Rembrandt, split, butterfly, broad and short light, three-point lighting, fill light, wide angle distortion, the conventions of food photography.


Recent Comments