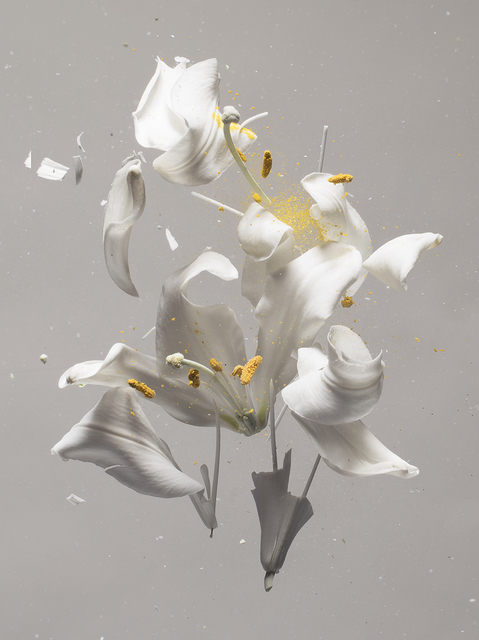
Freeze motion Shooting with strobes, experiment and create some magic with frozen motion. Shoot at least 10 examples and put them in an album on Flickr.
2. Blur motion In a series of long exposure photographs, use motion blur to tell a story, a ghost story if you will. Contrast something sharp, still and in focus with motion blur to create a narrative or show an inner state or emotion. Shoot at least 10 versions and put them in an album on Flickr.
Technical
Use a tripod. The camera cannot move during the exposure.
2. Use the timer so that you do not shake the camera.
3. Use a long exposure such as 10″ with ISO 100 and a narrow aperture such as f11. This should give you enough time to create the blur you want.
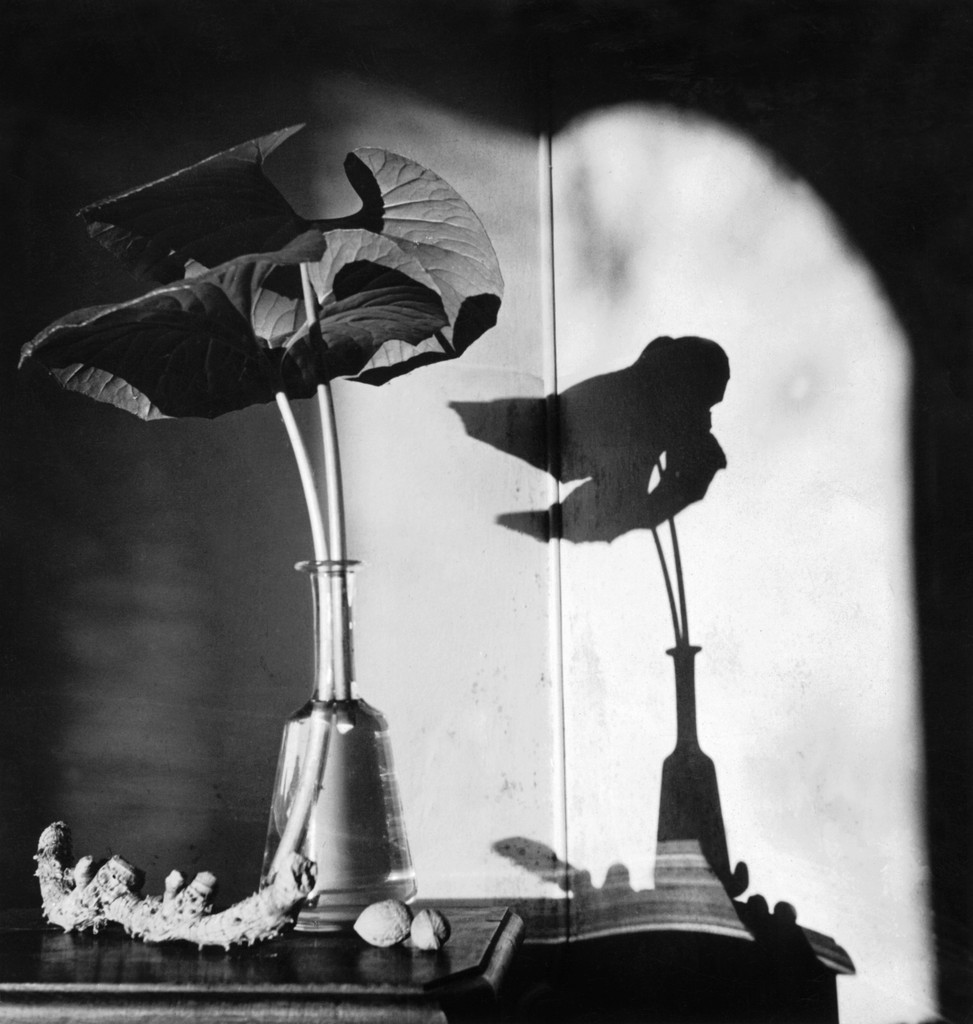
Floodlight– light is diffused and wraps around the subject hitting it from many angles. shadows are soft.
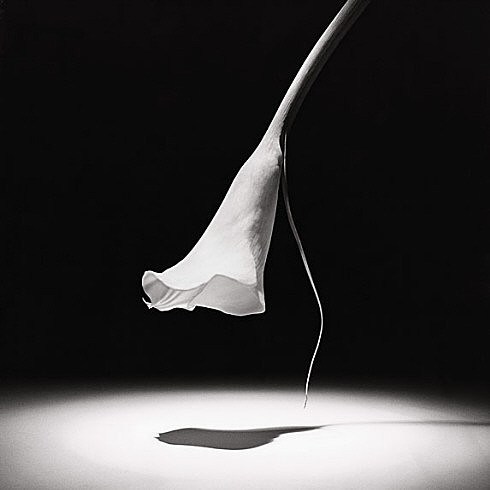
Spotlight – light is direct and hits the subject from one angle. Shadows are hard.
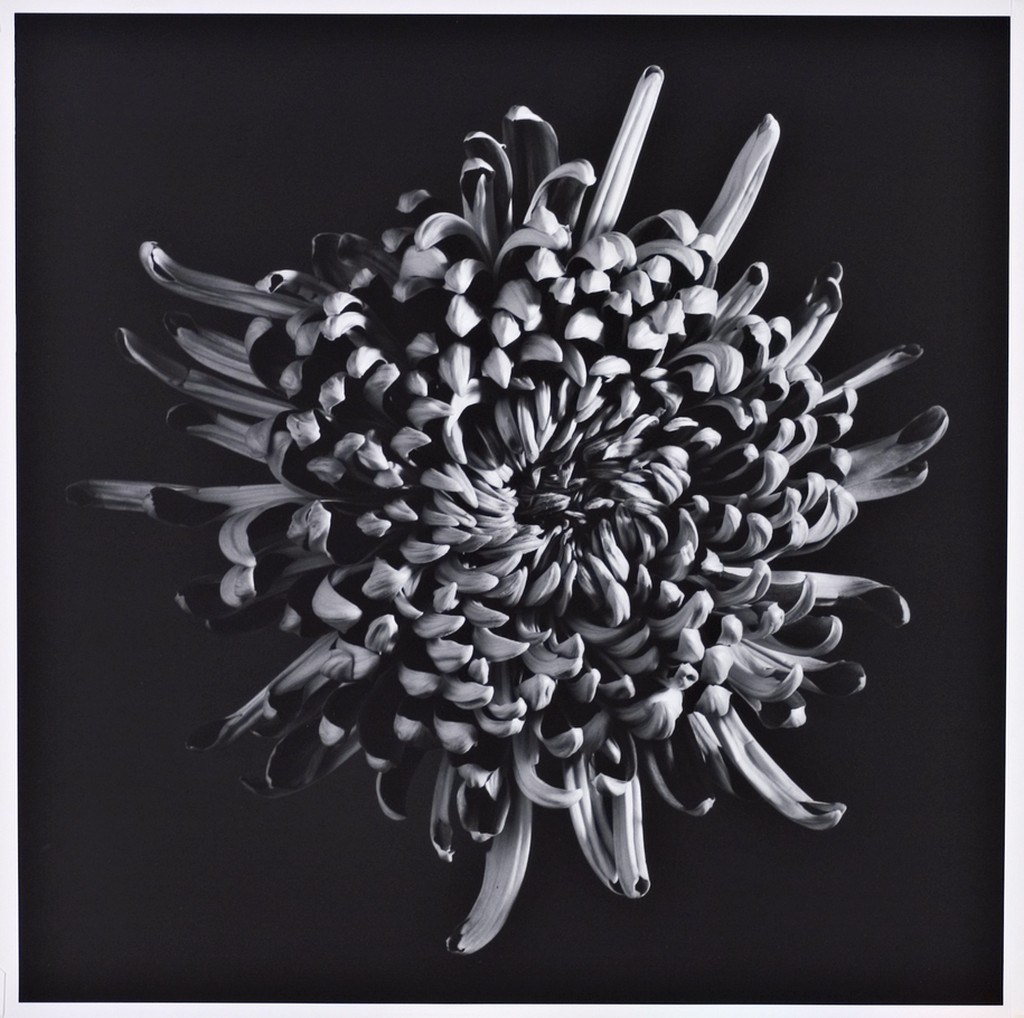
In-class Flower Shoot Camera Settings:
Resolution=RAW
ISO=100-400
WB=Flash
Shooting Mode=Tv
Shutter speed = 1/125
The camera sets the aperture
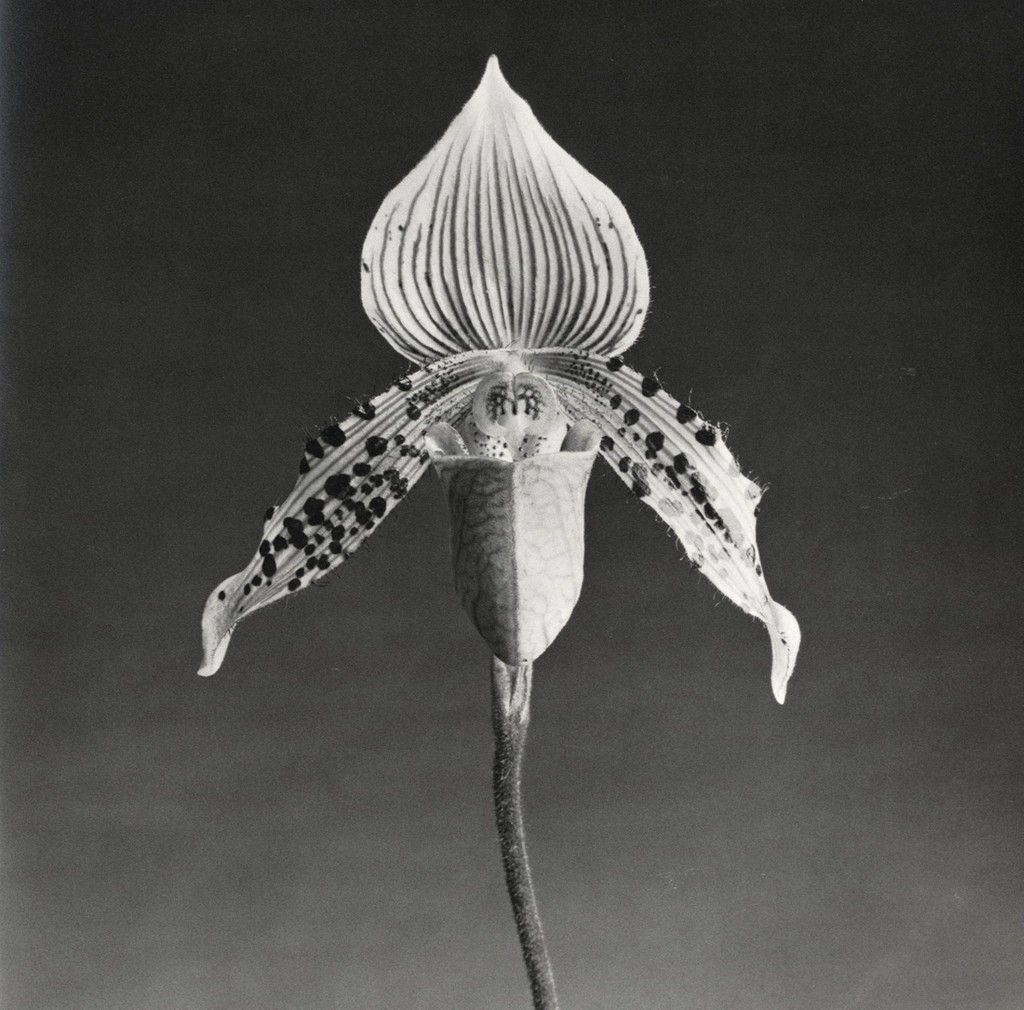
Every shot has a flower in it as the main subject.
Shot list 1:
A. Front light: reduces detail, low contrast
Make the light a floodlight by diffusing the light with a soft box. Place it close to the camera position and subject.
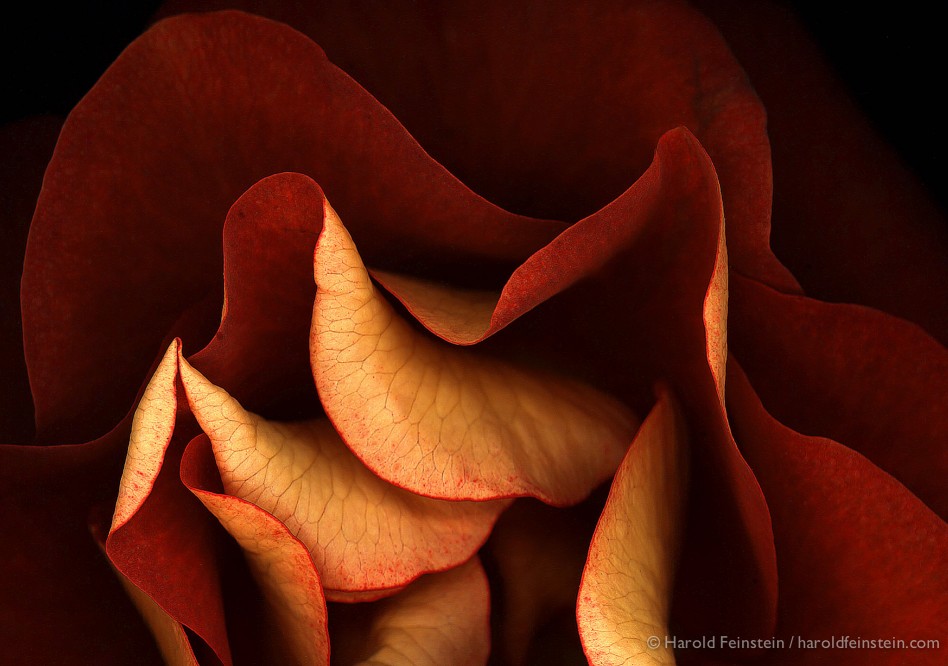
B. Side Light floodlight with diffusion: brings out texture.
C. Side Light spotlight: brings out texture, high contrast
To get the background to fall off to black, increase the distance between the subject and the backdrop and angle the light so that it falls on the subject not the background.
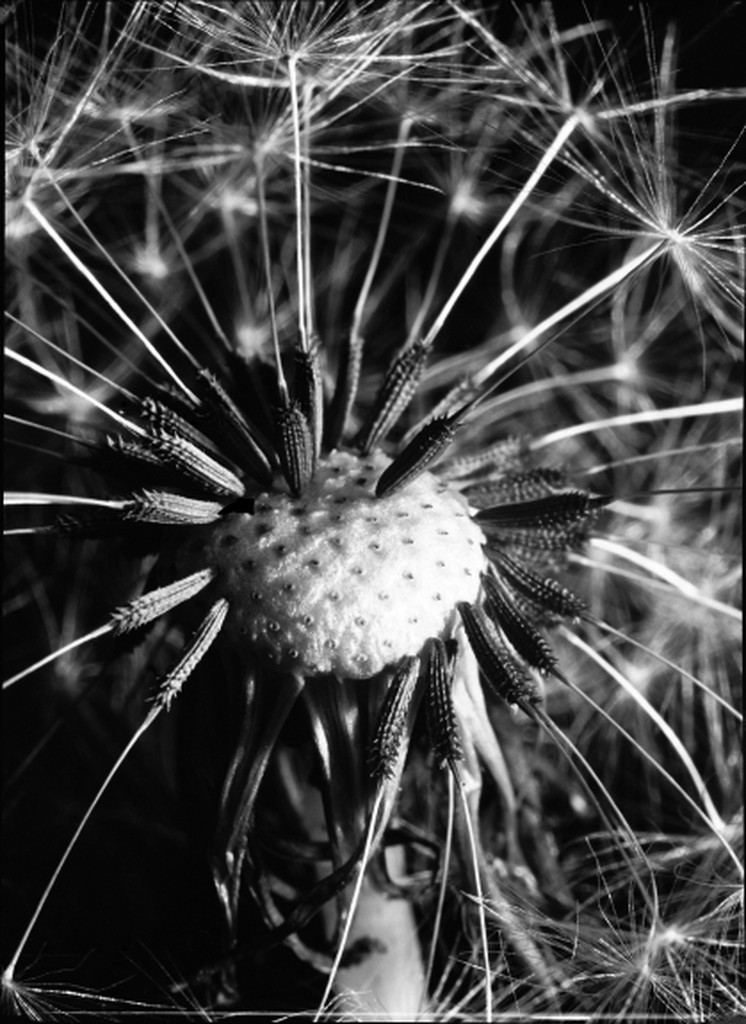
D. Extreme close-up for texture-use extension tube
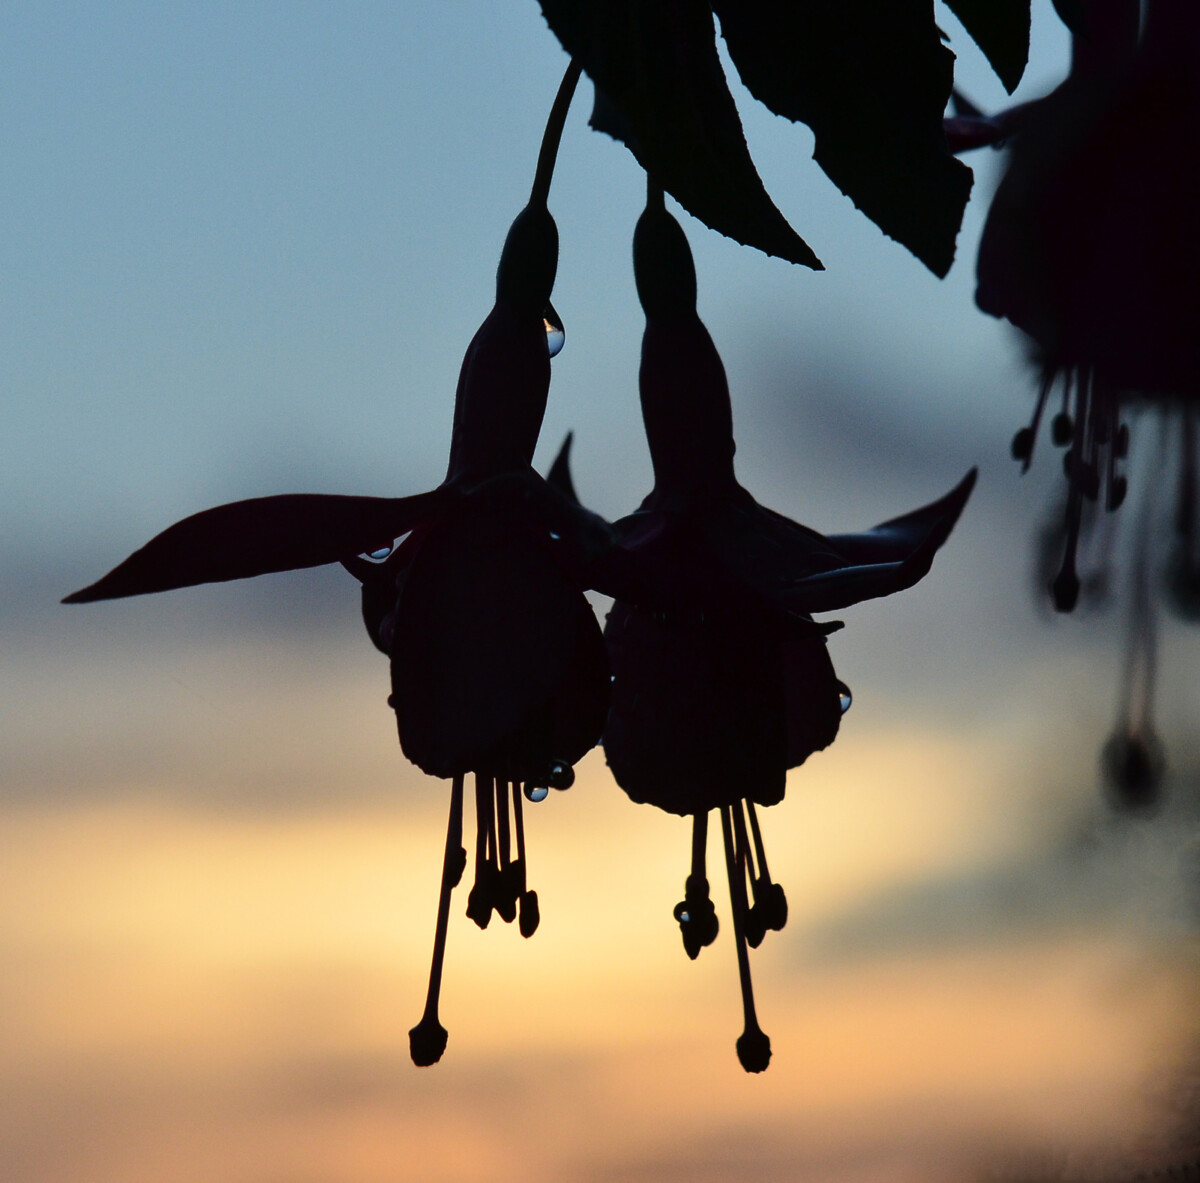
E. Back Light (white background): high contrast, reduces subject detail
Light the background only. Increase the distance between the background and the subject to increase the difference in the lighting ratio and to achieve a silhouette.
Shot list 2:
Photograph the same flower for the following uses:
A sympathy card – type will say “With Deepest Sympathy”
An article in National Geographic on patterns in nature
An upscale chocolate bar – organic dark chocolate
Put your best 20 in an album on Flickr. You must include at least one for each category. Please label your images accordingly so know what you intended. Send your best three, one for each of the items on shot list 2, to the class group.
2 pts. Take as many photos as you need to to create one visually engaging photo for each of the following compositional principles:
Rule of Thirds
Diagonal Lines
Leading Lines
Patterns (or breaking the pattern)
Symmetry
Figure to Ground
Contrast of light and dark
A frame within a frame
Put your 8 final photos in an album on Flickr. Label each file with the category above.
Working with your group:
Sign up for milanote. Create one mood board and add the members of your group to the board as editors. Everyone should then add their examples of each category of compositional principle.
Each group will select the best photo for each category. The final mood board should have 8 photos each labeled with the compositional principle and the photographer’s name. Make sure to include at least one photograph by every member of the group.
Send the secret link with me by email: rmichals@nastassiam so I can share the boards with the class.


Recent Comments